Sendgrid tag
Updated Nov 3, 2026
The SendGrid tag by Stape simplifies email sending and contact management from your Google Tag Manager server container (sGTM). It connects sGTM with SendGrid, allowing you to send emails and add or update contacts directly from your server-side tracking setup.
- The tag supports two actions: Send an Email and Add or Update a Contact, letting you automate email communication and manage contact data based on incoming events.
- It integrates with the SendGrid API using an API key, allowing you to configure the required email or contact fields and trigger the tag based on specific events.
Before you begin
Please ensure that you already have Google Tag Manager web and server containers, as well as a configured server container and custom domain in Stape. Please follow these guides if you don’t have any of those:
In addition, you’ll need to configure sending data to the server GTM container. The most popular options for sending data to sGTM are Google Analytics 4 and Data Tag/Data Client. For more information, read the Send data to server container article.
How to set up the SendGrid tag
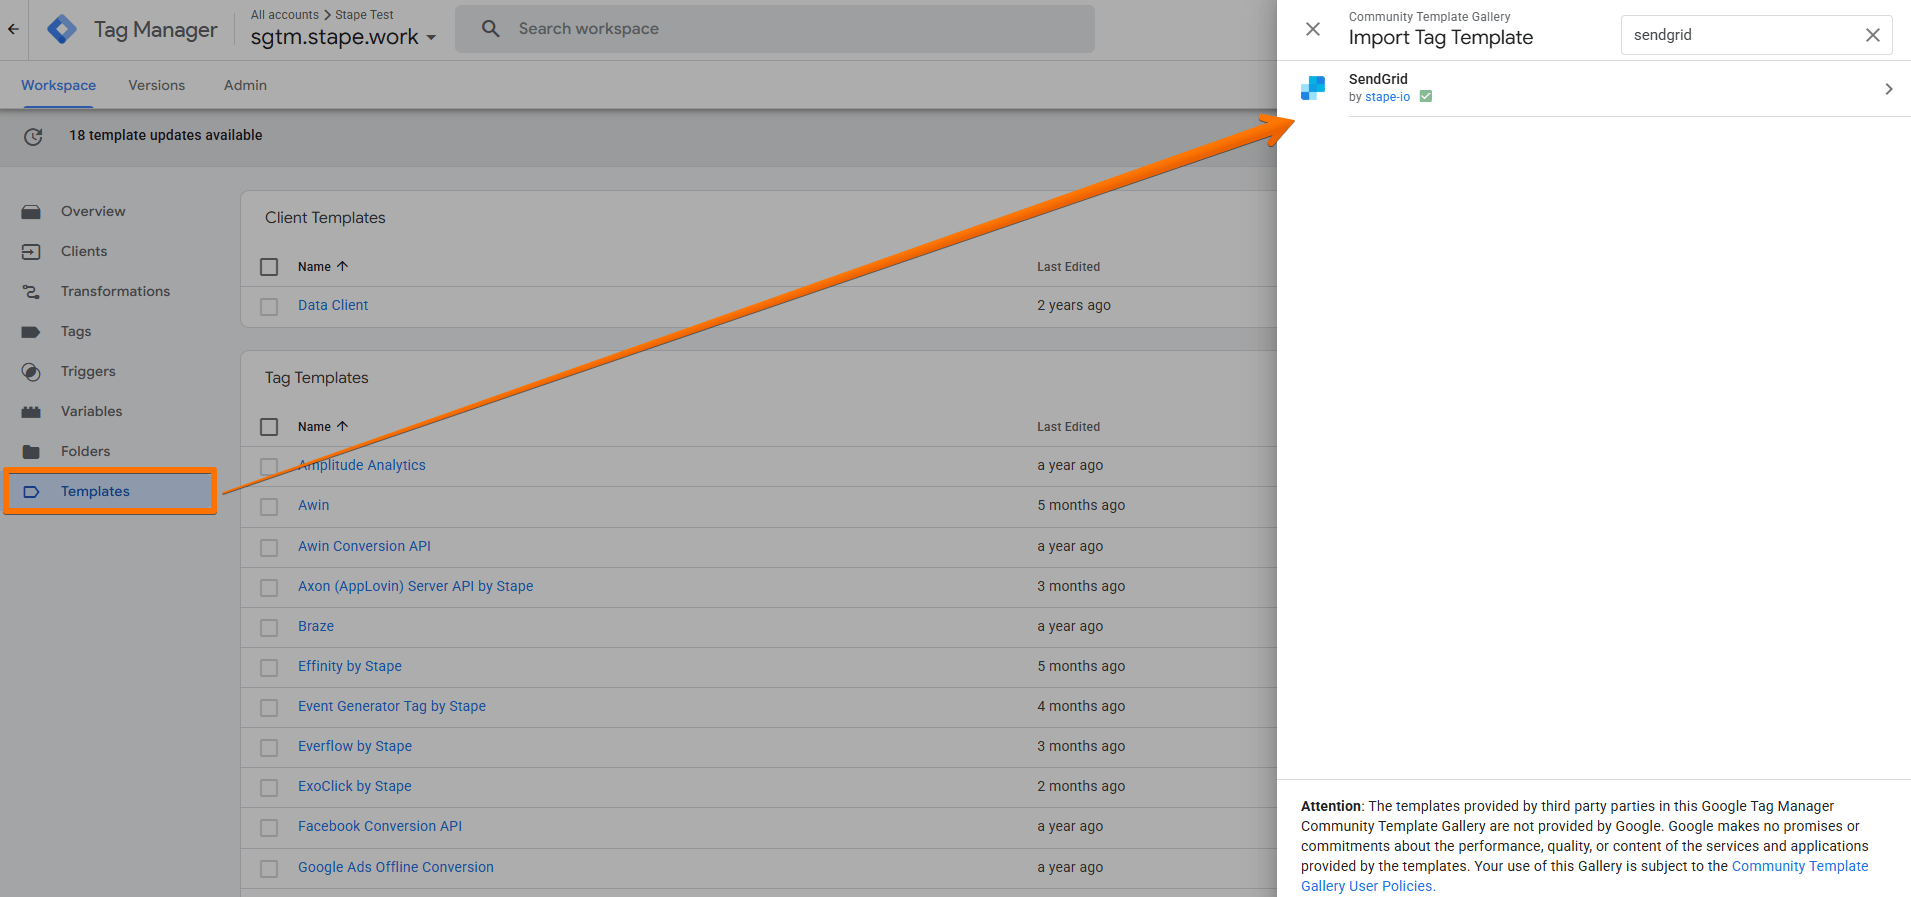
1. Add the SendGrid tag template in the server GTM container by importing it from the Template gallery:
- Search for the SendGrid tag by Stape in the Google Tag Manager Template Gallery.
- Click Add to workspace.
2. Create the SendGrid tag:
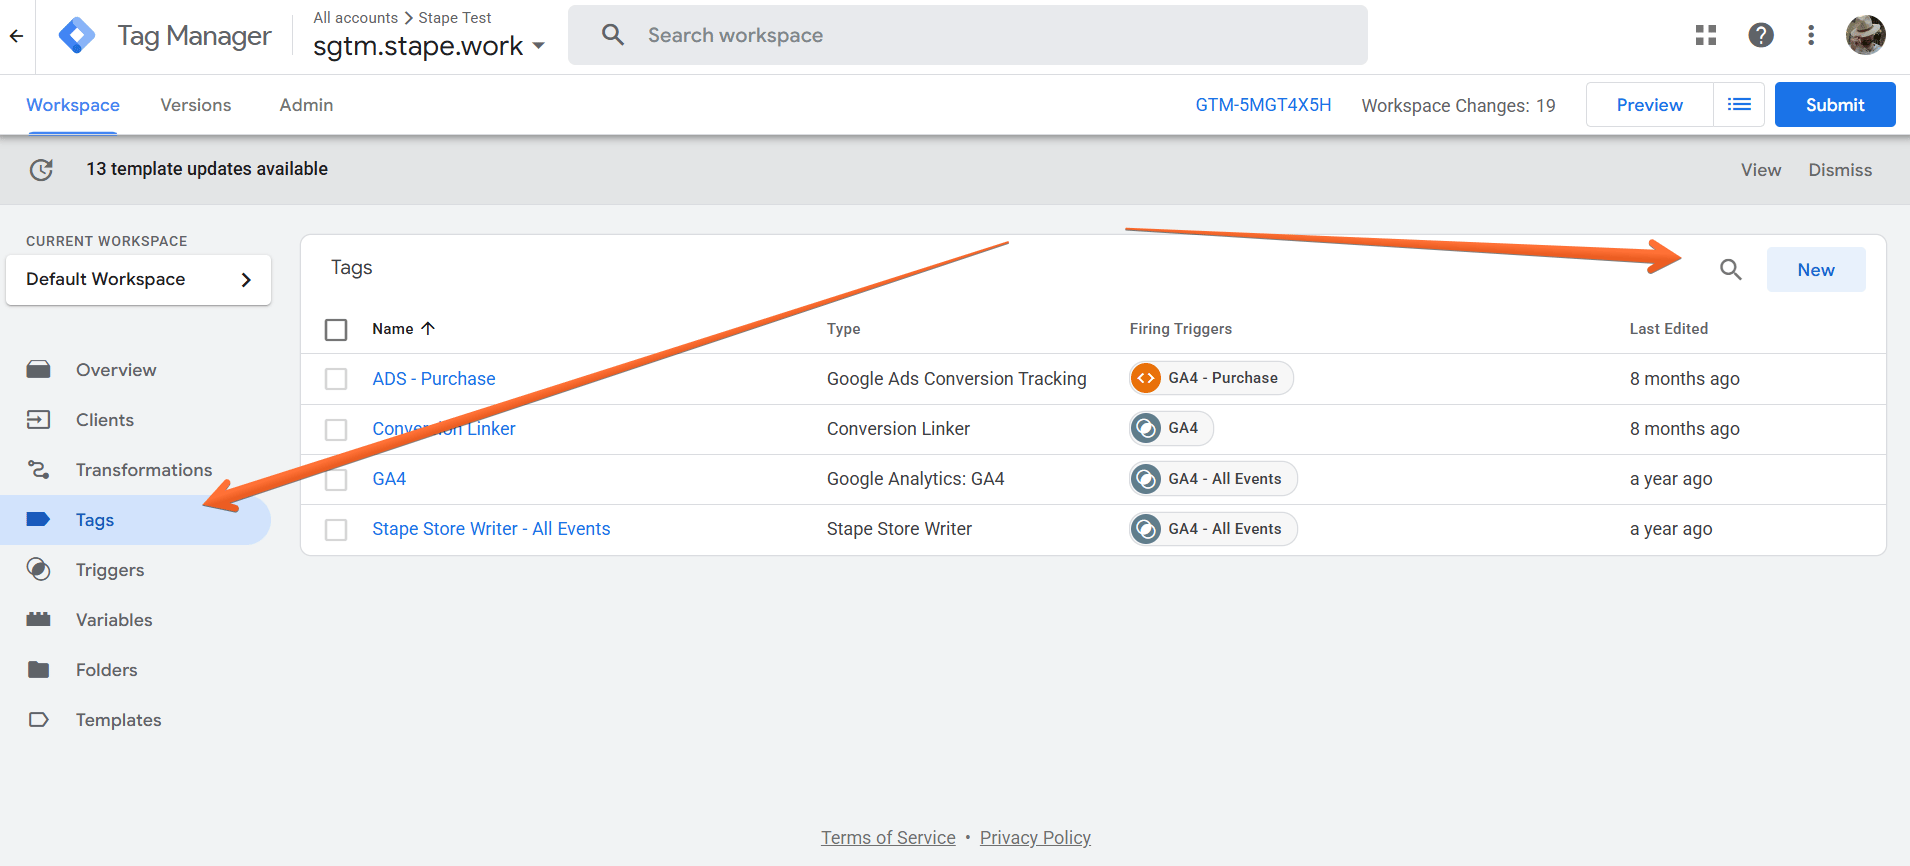
- Go to the Tags menu → click New.
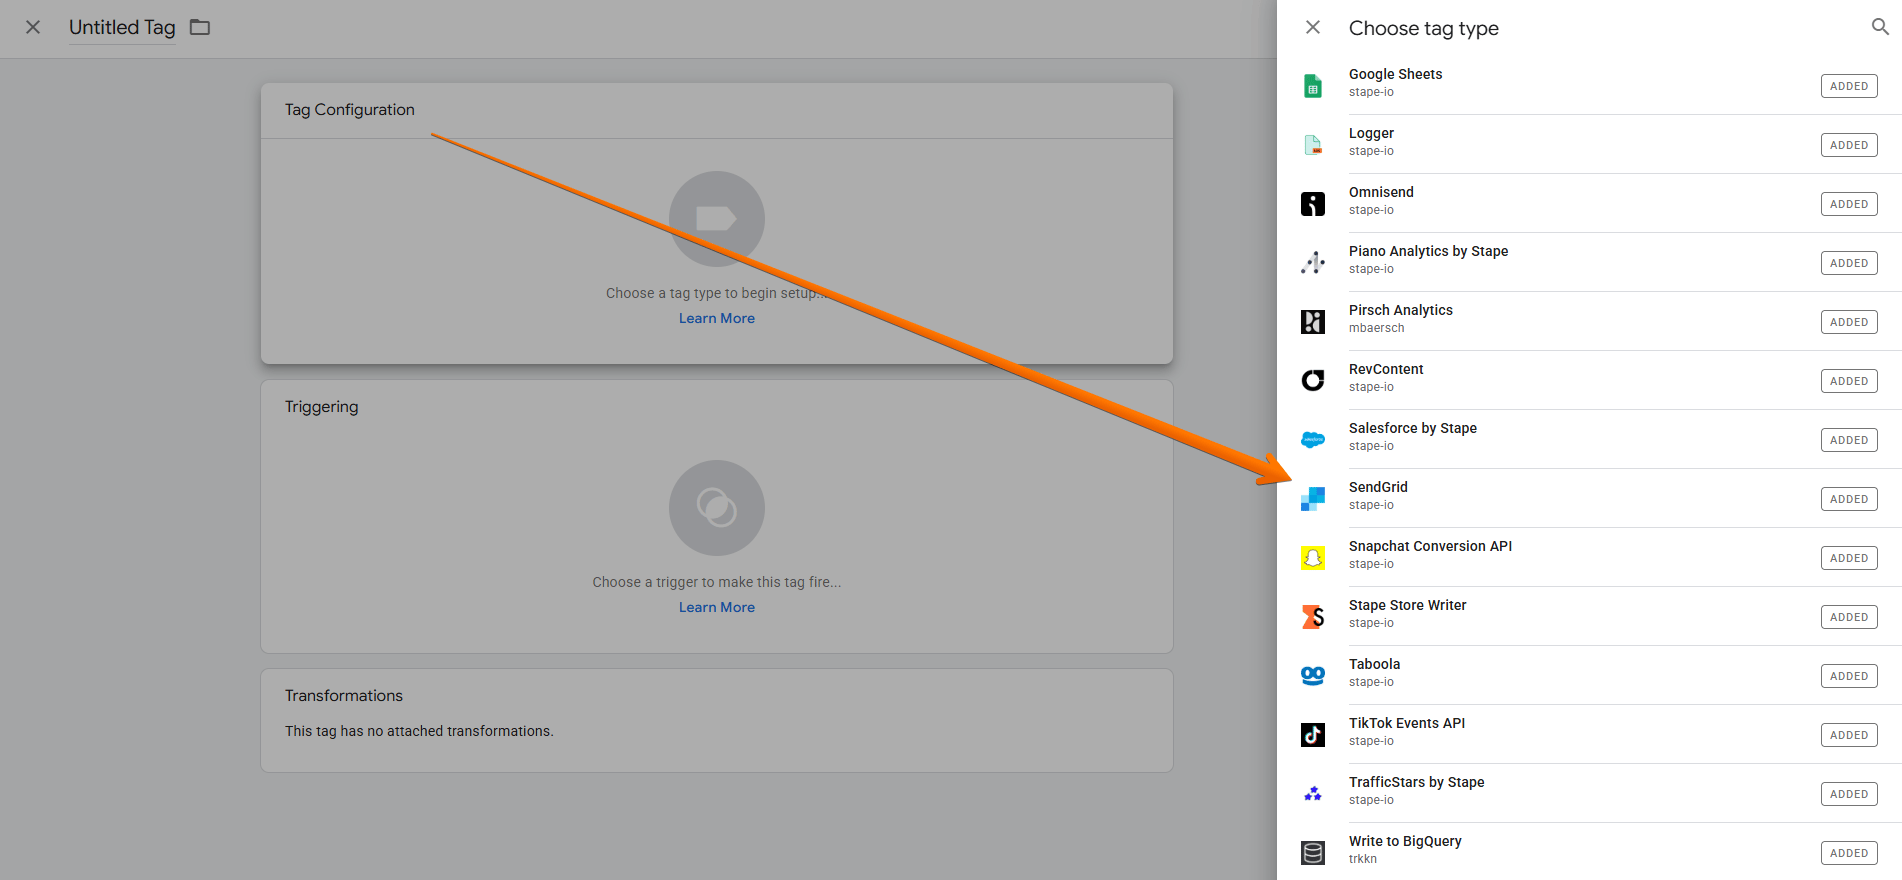
- Click Tag Configuration → select SendGrid.
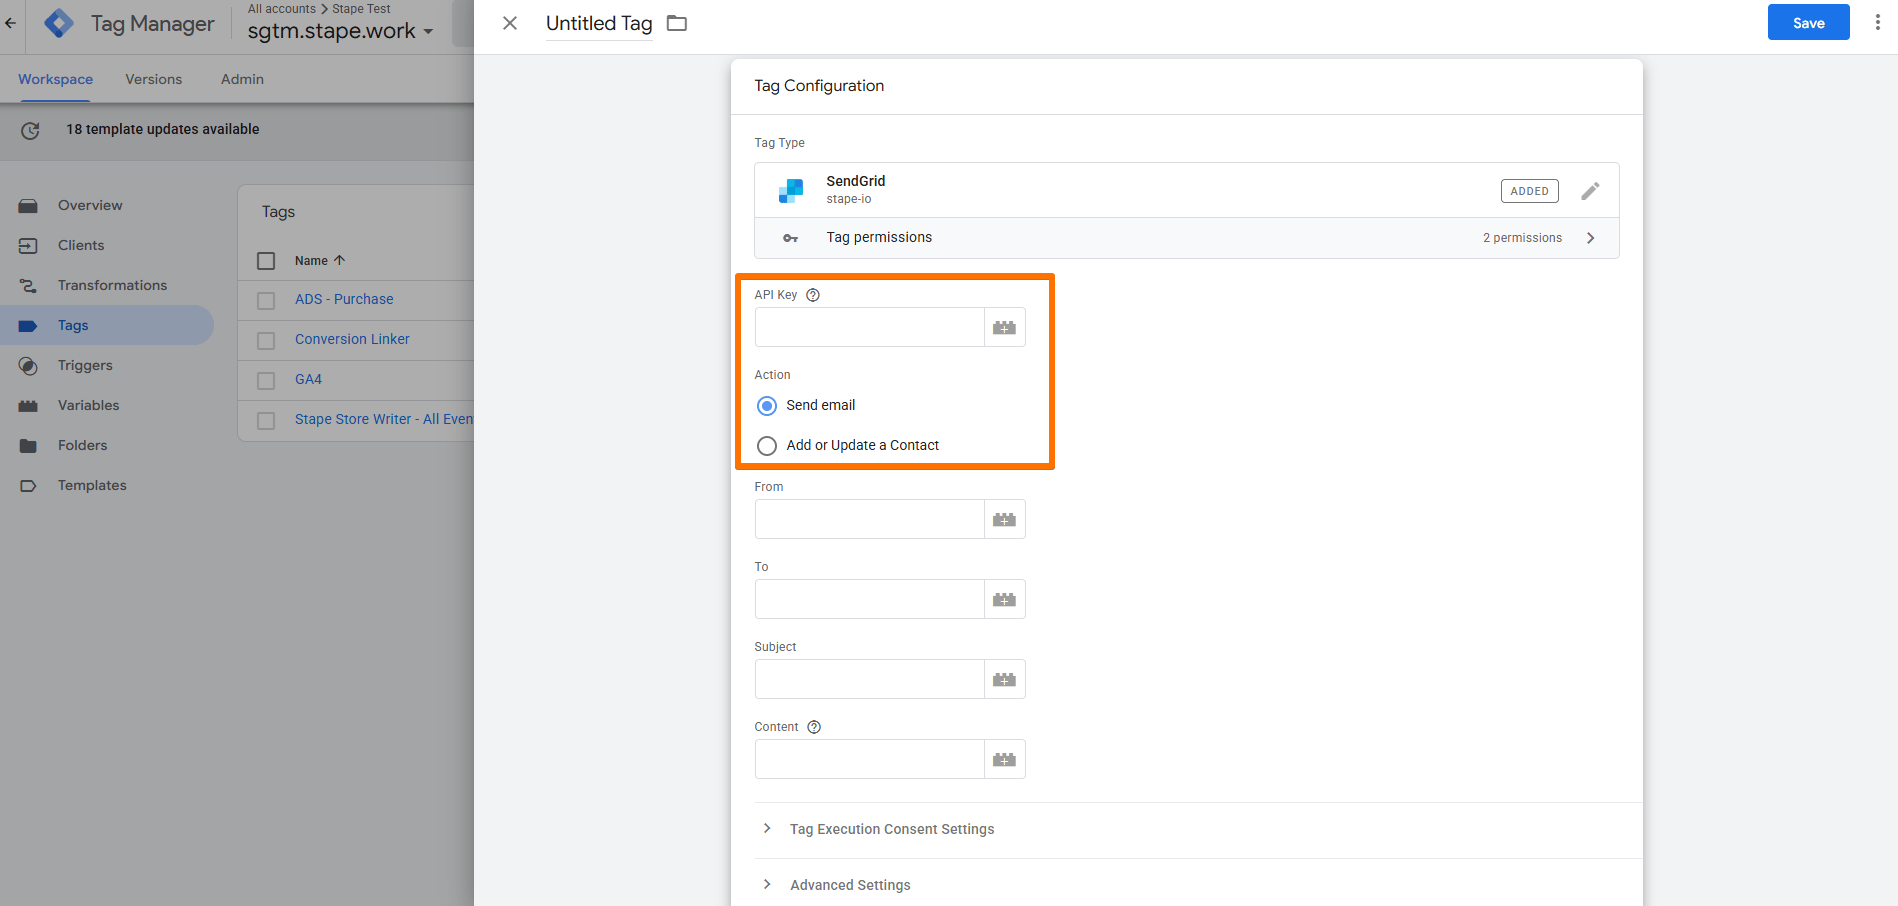
3. Configure the SendGrid tag:
- API Key - you can create API keys in your SendGrid account. Learn more in the official manual on API keys.
- Action - select whether you wish the tag to Send email or Add or Update a Contact.
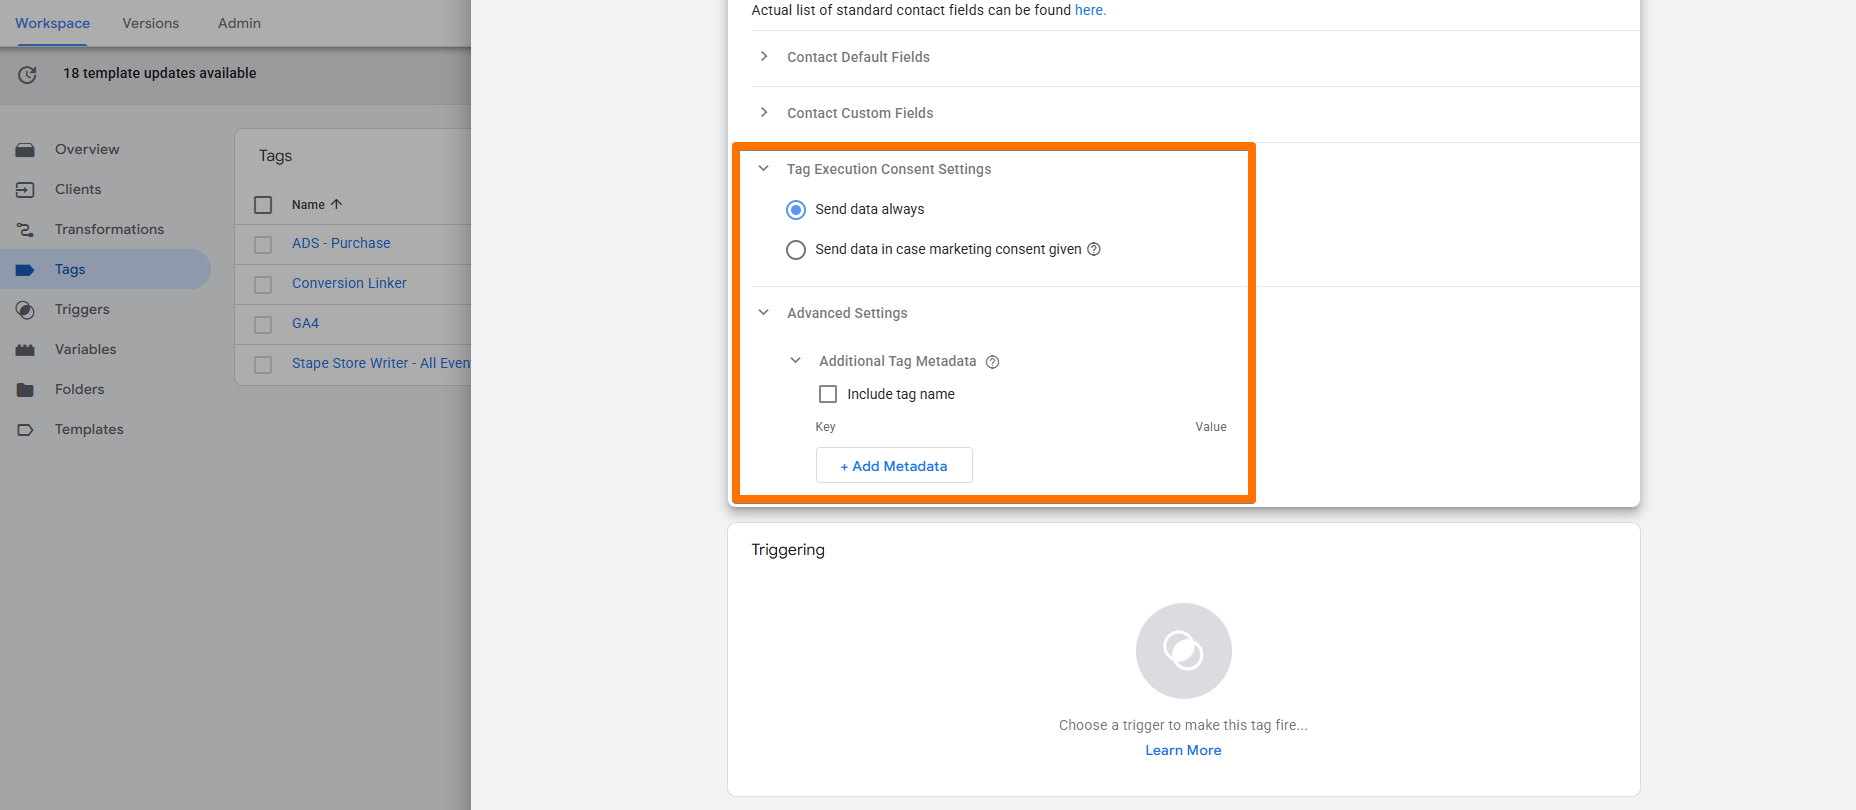
- Tag Execution Consent Settings - choose if you wish for the tag to wait for marketing consent from the user before firing.
- Advanced Settings (Additional Tag Metadata) - specify additional tag metadata to be included in the event data when the tag is fired. For more information, see the Google documentation.
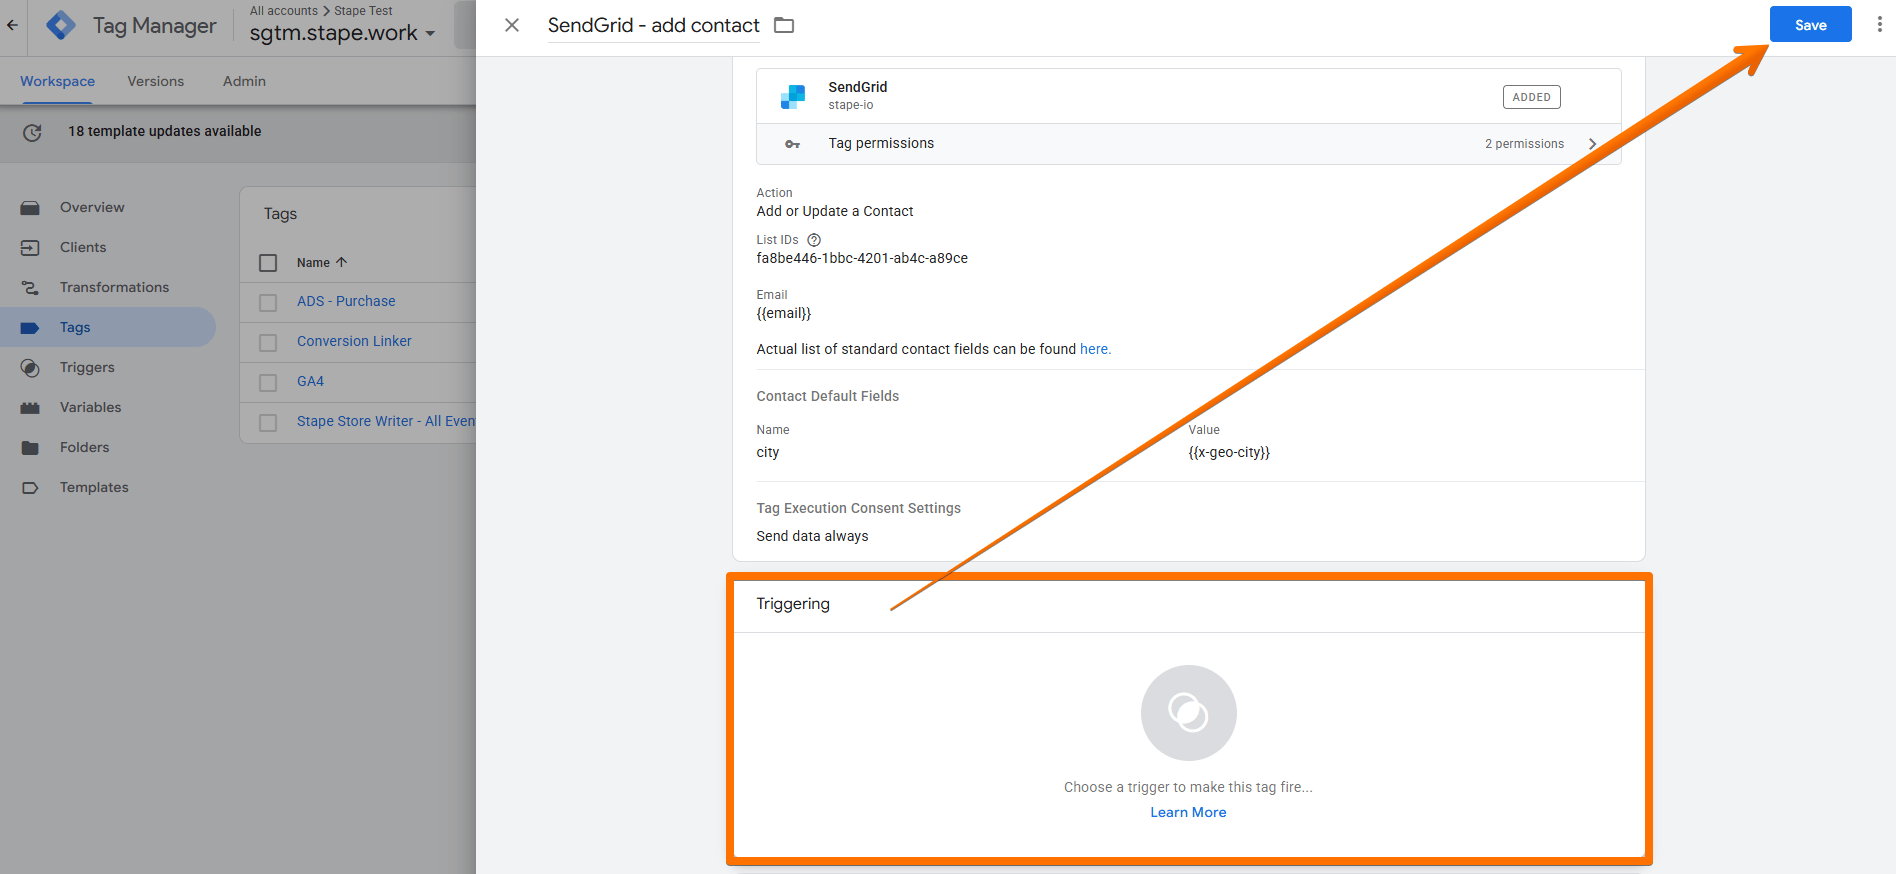
4. Add the Trigger for the tag, give it a descriptive name, and click Save.
Testing
You can test the configurations in Google Tag Manager. Click on Preview, trigger the event on your website with actions like viewing a page or completing a transaction, and check whether the tag has fired.

Find out more about debugging and monitoring server-side tracking configuration in our guide.
Was this article helpful?
🍽 Table of content:
Comments