Klaviyo
Updated May 10, 2026
The Klaviyo Tag for the server Google Tag Manager container allows you to add new users and send events and parameters from your website directly to Klaviyo. This tag communicates with the Klaviyo API. With the tag, you can add contacts, update an existing contact's information, track contact activity on-site, and send events and parameters.
Use Cases
Benefits of Klaviyo server-side tracking
- Improved data accuracy. Server-side tracking allows for reducing the impact of ad blockers, browser restrictions, and cookie limitations. The key events, like purchases or cart updates, are reliably captured and sent to Klaviyo.
- Better attribution. Reliable event tracking lets Klaviyo accurately attribute sales, engagement, and other actions to specific campaigns, even when client-side tracking fails.
- No developer required. Platforms like Stape make it easy to implement server-side tracking through server GTM - no coding needed. Everything can be configured directly within the sGTM interface.
- Better performance. Moving tracking processes from the browser to the server reduces load on web pages. Compared to Klaviyo’s JavaScript library, this approach improves site speed and user experience.
Prerequisites for setting up the Klaviyo tag
Before you start, make sure you have both Google Tag Manager web and server containers set up, along with a configured server container and custom domain in Stape.
If you haven’t set these up yet, refer to the following guides:
How to set up Klaviyo tag
- Add the Klaviyo Tag to the server container.
In your server container, add the Klaviyo tag from the server Template Gallery.
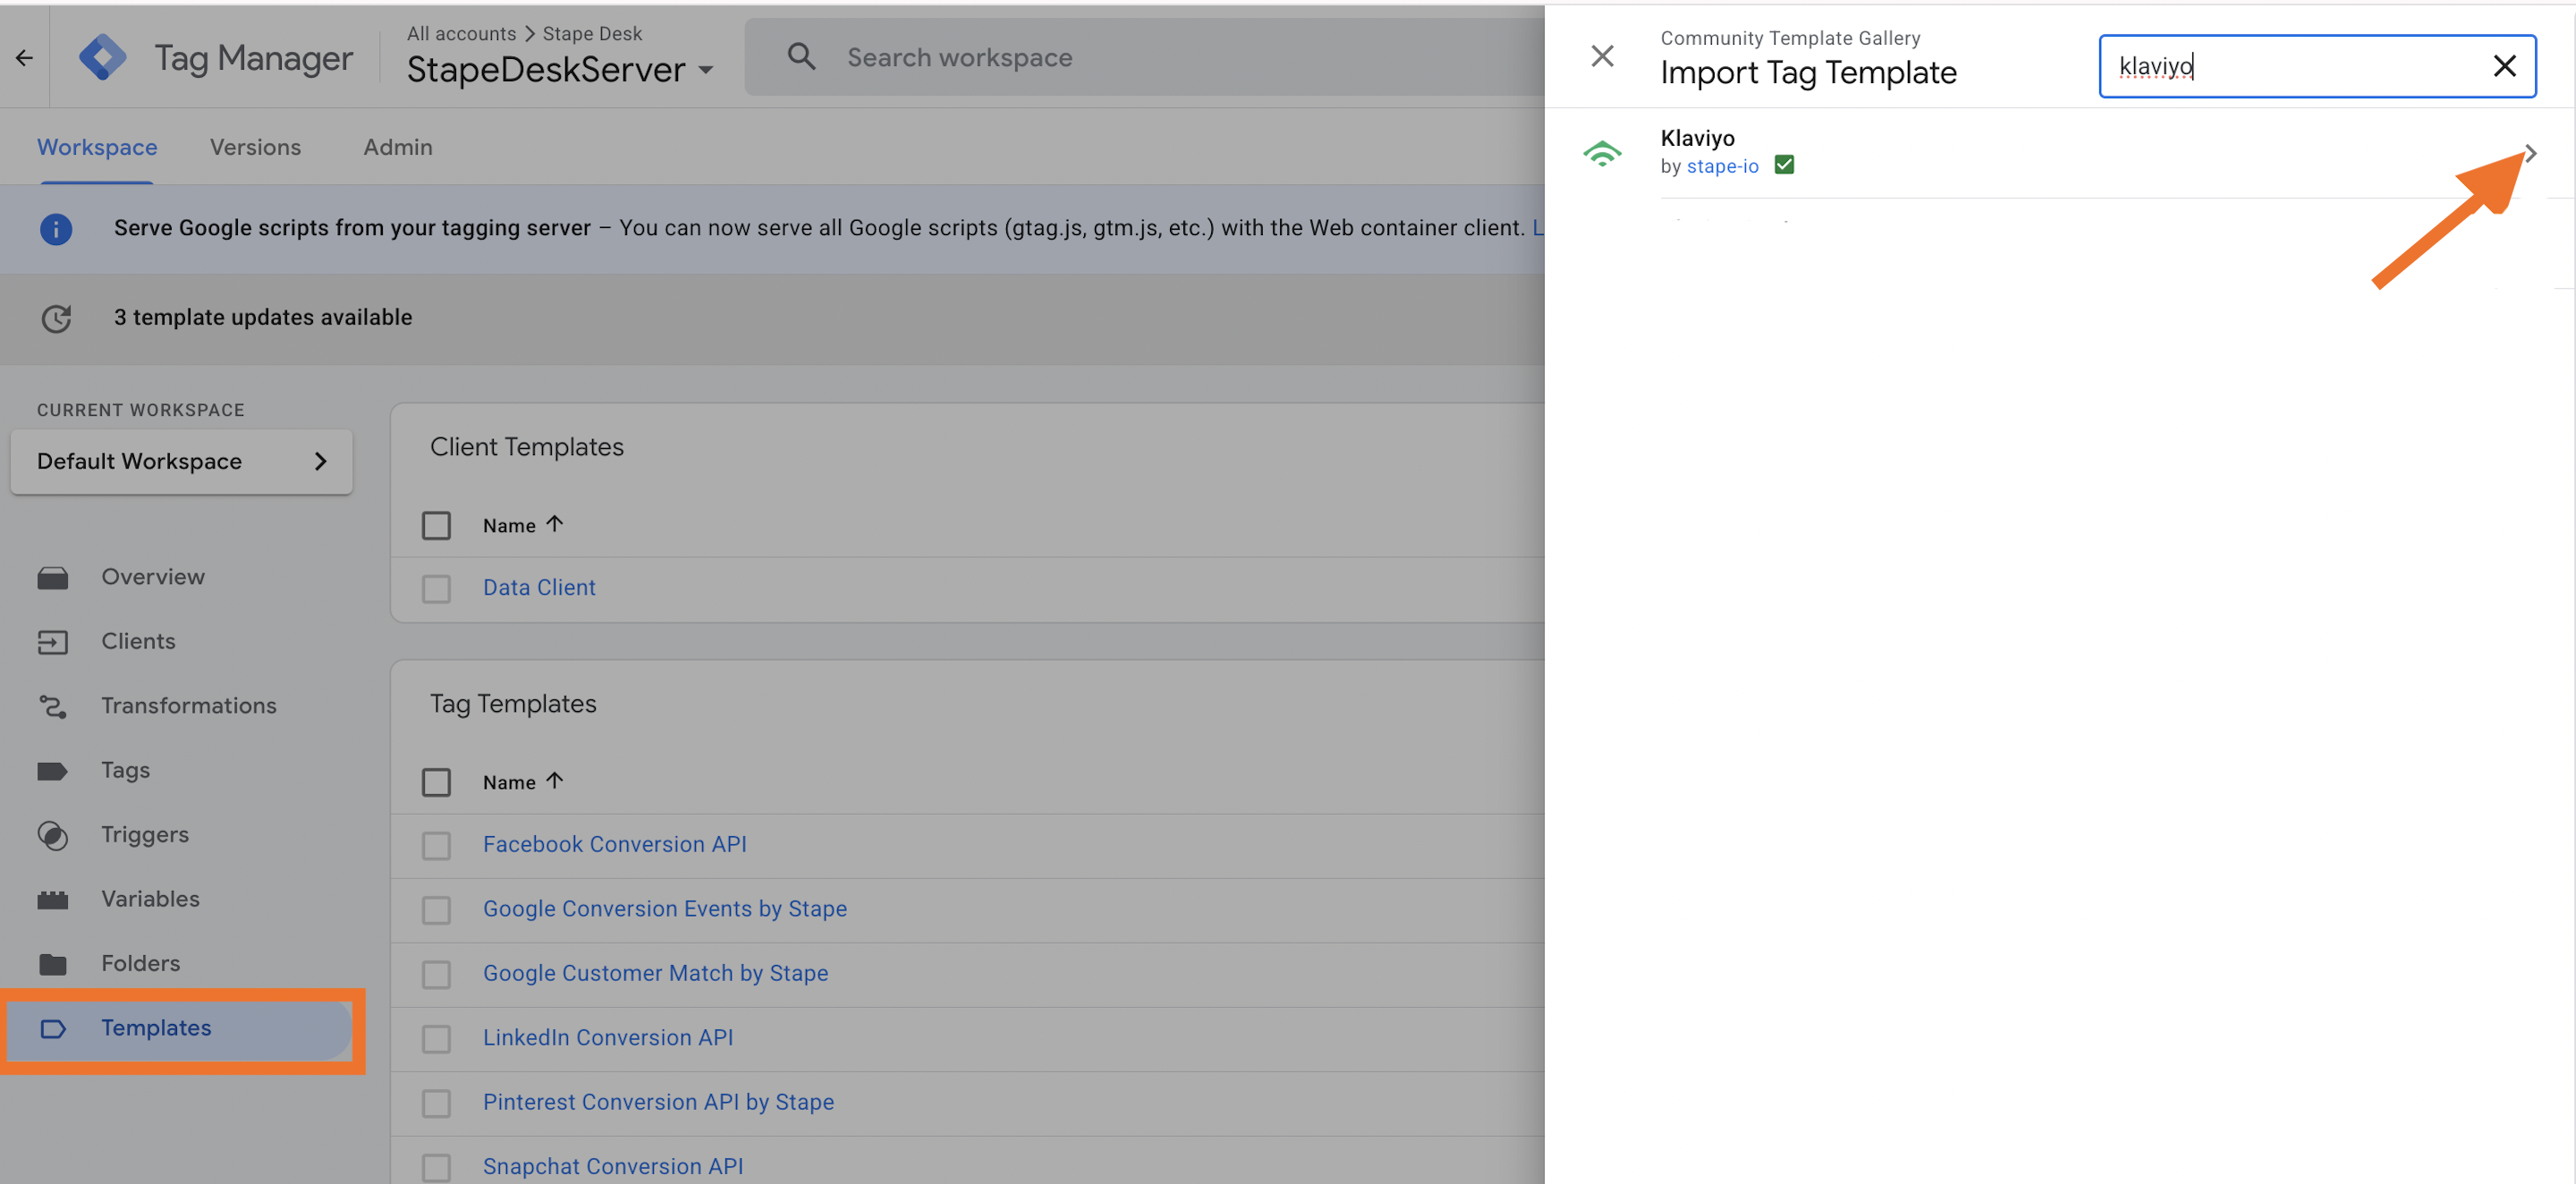
2. In the server container, create a new tag and, as a tag type select “Klaviyo”.
3. Configure the tag:
3.1 Type - from the drop-list select the type of action you want to track:
- Active on site - track contact activity on your website.
- Event - send events and parameters.
- Add to list - add a new contact to Klaviyo.
- Create or update profile - create a new profile or update an existing contact information.
3.2 Add your Klaviyo Private API Key (see Klaviyo’s documentation for instructions on finding your private API key).
3.3 Email - add a variable with a user email.
3.4 Klaviyo User ID - is the unique identifier for a user profile, automatically generated by Klaviyo.
3.5 Event name (if selected “Event” action type) - specify the event type you want to track. In the blog article on the Klaviyo tag, we listed the events you can track with a tag.
3.6 List ID (if selected “Add to list” action type) - to get the List ID, please refer to Klaviyo documentation on List ID.
3.7 Use Optimistic Scenario - when enabled, the tag will call gtmOnSuccess() immediately without waiting for the API response. This improves sGTM performance but always reports a “success” even if the API request fails.
3.8 Store email in cookies - if the user’s email is captured, store it in a cookie. This allows you to use the stored value later when the email is missing from the current event or profile update.
3.9 Add event/customer properties that you want to send. Include any additional event or user properties you want to send to Klaviyo.
Here is an example of tag configuration:
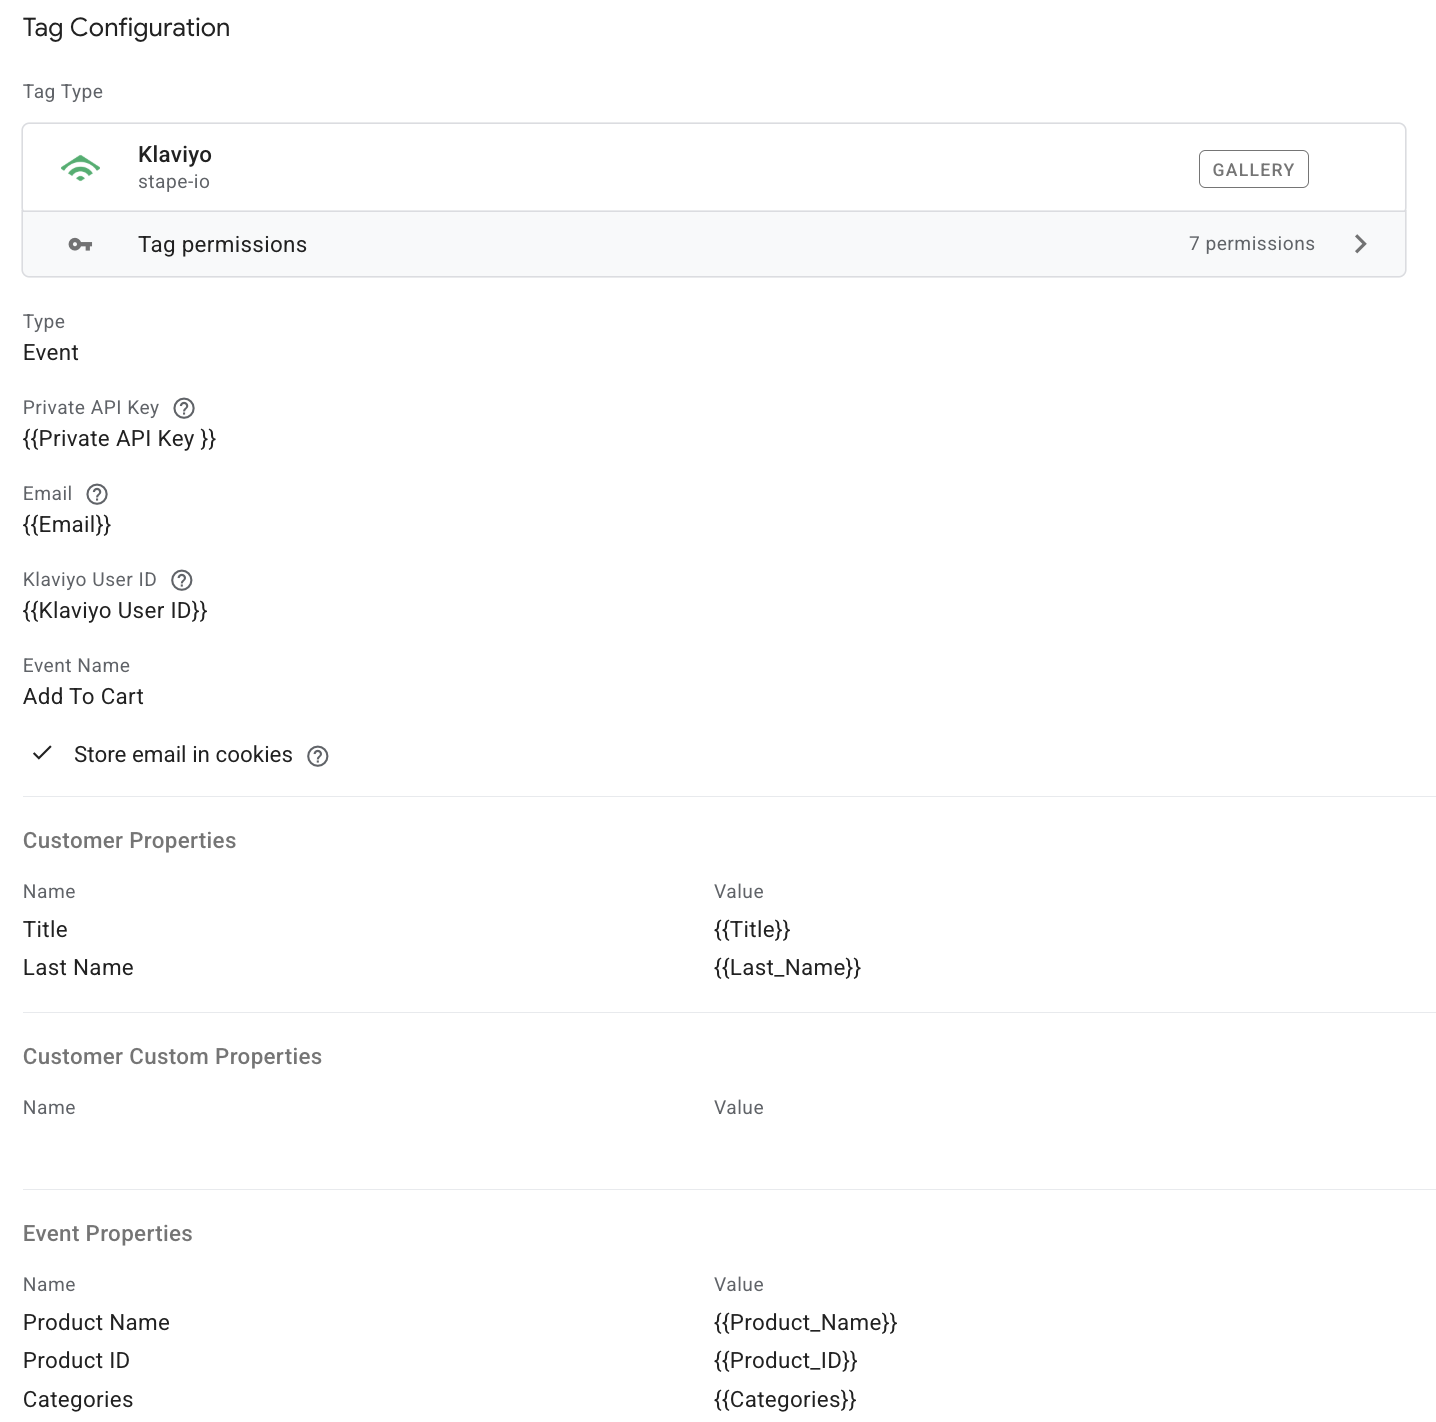
4. Add a trigger. In this setup, the tag is triggered by a custom event (the “add to cart” event), which is captured and passed by the Data Client.

How to test and troubleshoot the Klaviyo tag setup
You can verify your setup directly in Google Tag Manager:
- Click Preview to enter Debug Mode.
- Trigger the relevant event.
- Check whether the Klaviyo tag has fired correctly.

For more detailed guidance on debugging and monitoring server-side tracking, refer to our guide.
Was this article helpful?
Comments