Spotify tag
Updated May 10, 2026
Spotify tag for server GTM allows you to create Spotify Google Tag Manager integration. The tag features automatic event name mapping and parameter formatting, which simplifies integration with Spotify's events.
Key benefits
- Higher data accuracy. Server-side tracking minimizes issues commonly associated with client-side methods (such as ad blockers or browser privacy settings), resulting in fewer lost events and more reliable analytics.
- Better website performance. Tracking data on the server side reduces the load on your website, leading to faster load times and a better user experience.
- Easier privacy compliance. Handling data on the server-side provides higher control over data collected and how it’s processed. It helps you stay compliant with privacy regulations like GDPR and HIPAA.
Setup requirements
Before configuring the Spotify tag, make sure you have the following:
- A custom domain setup in Stape (optional)
How to configure Spotify tag for Google Tag Manager
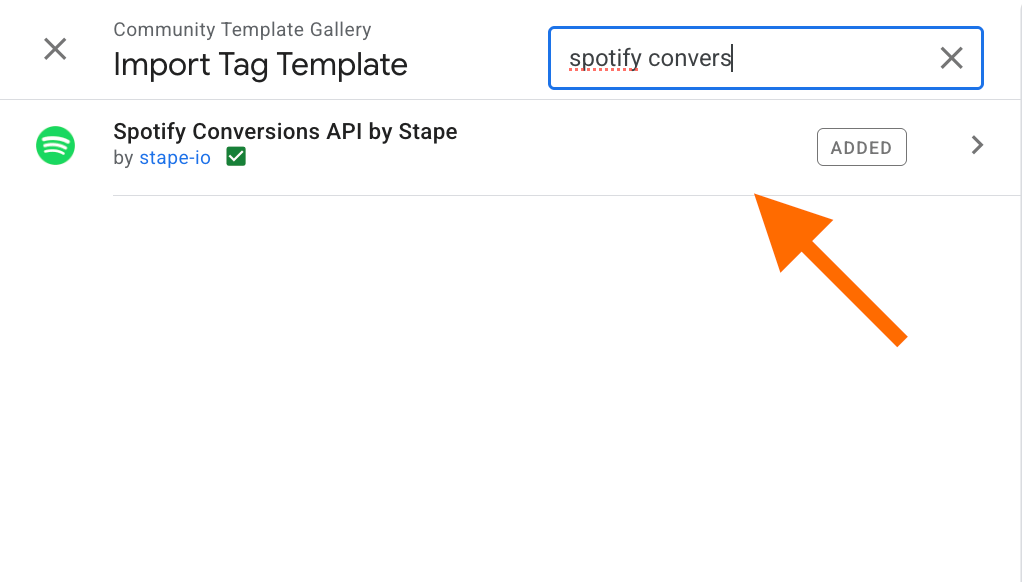
- Add the Spotify tag template to your server GTM container by importing it from the Template Gallery:
- Go to the "Templates" section of the server GTM, next to "Tag Templates", search in the gallery "Spotify Conversions API by Stape".
- Click Add to workspace.
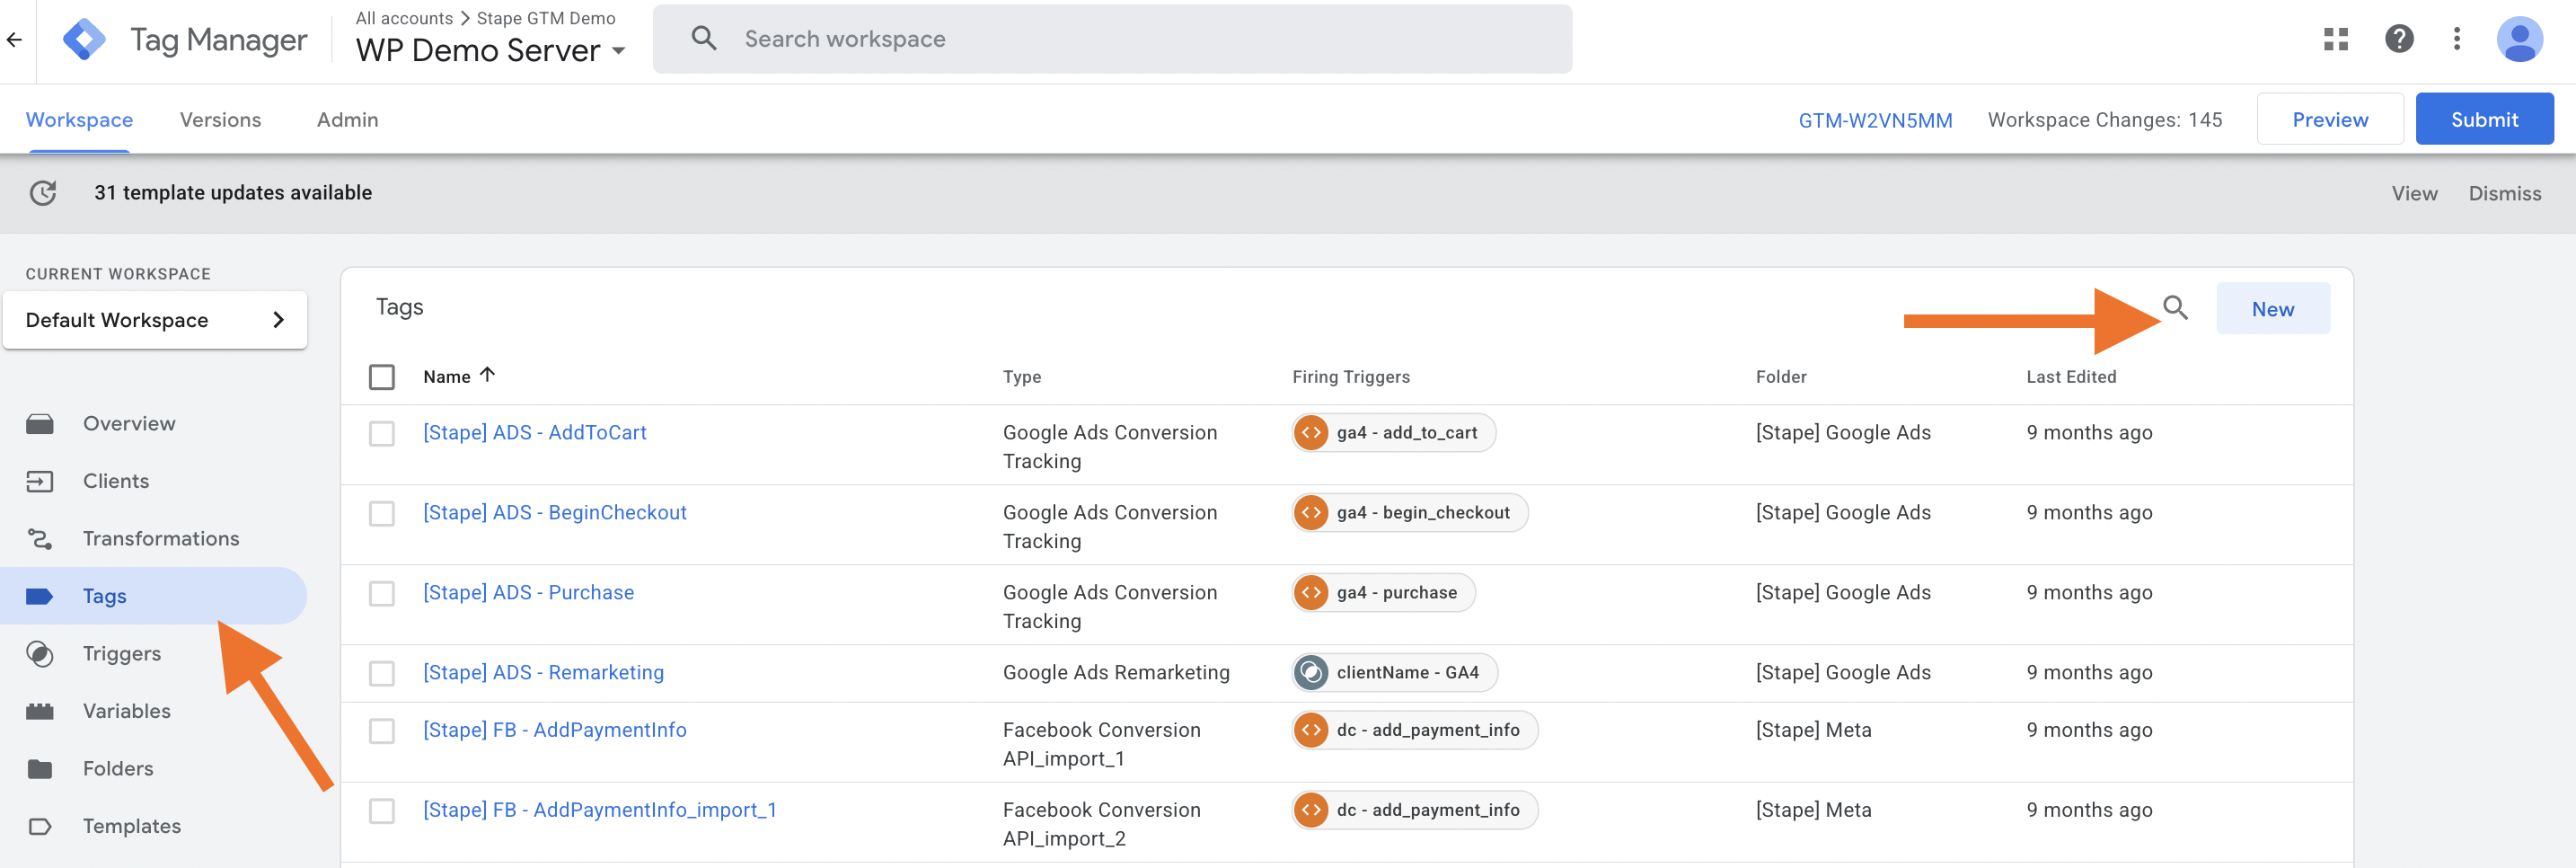
2. Create a new tag:
- Go to the Tags menu → click New.
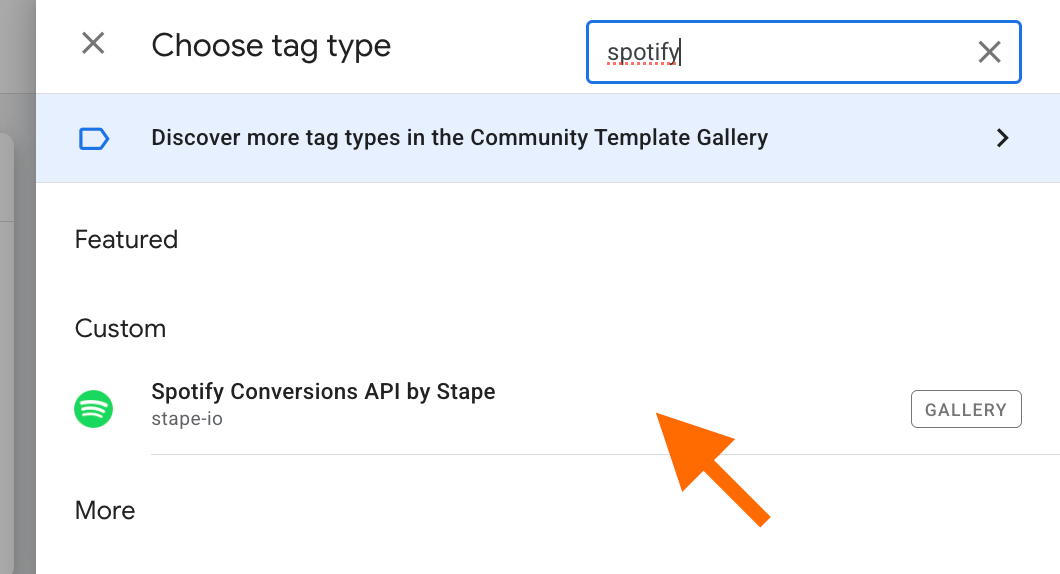
- Click Tag Configuration → select Spotify Conversions API by Stape.
3. Configure the Spotify Conversions API tag.
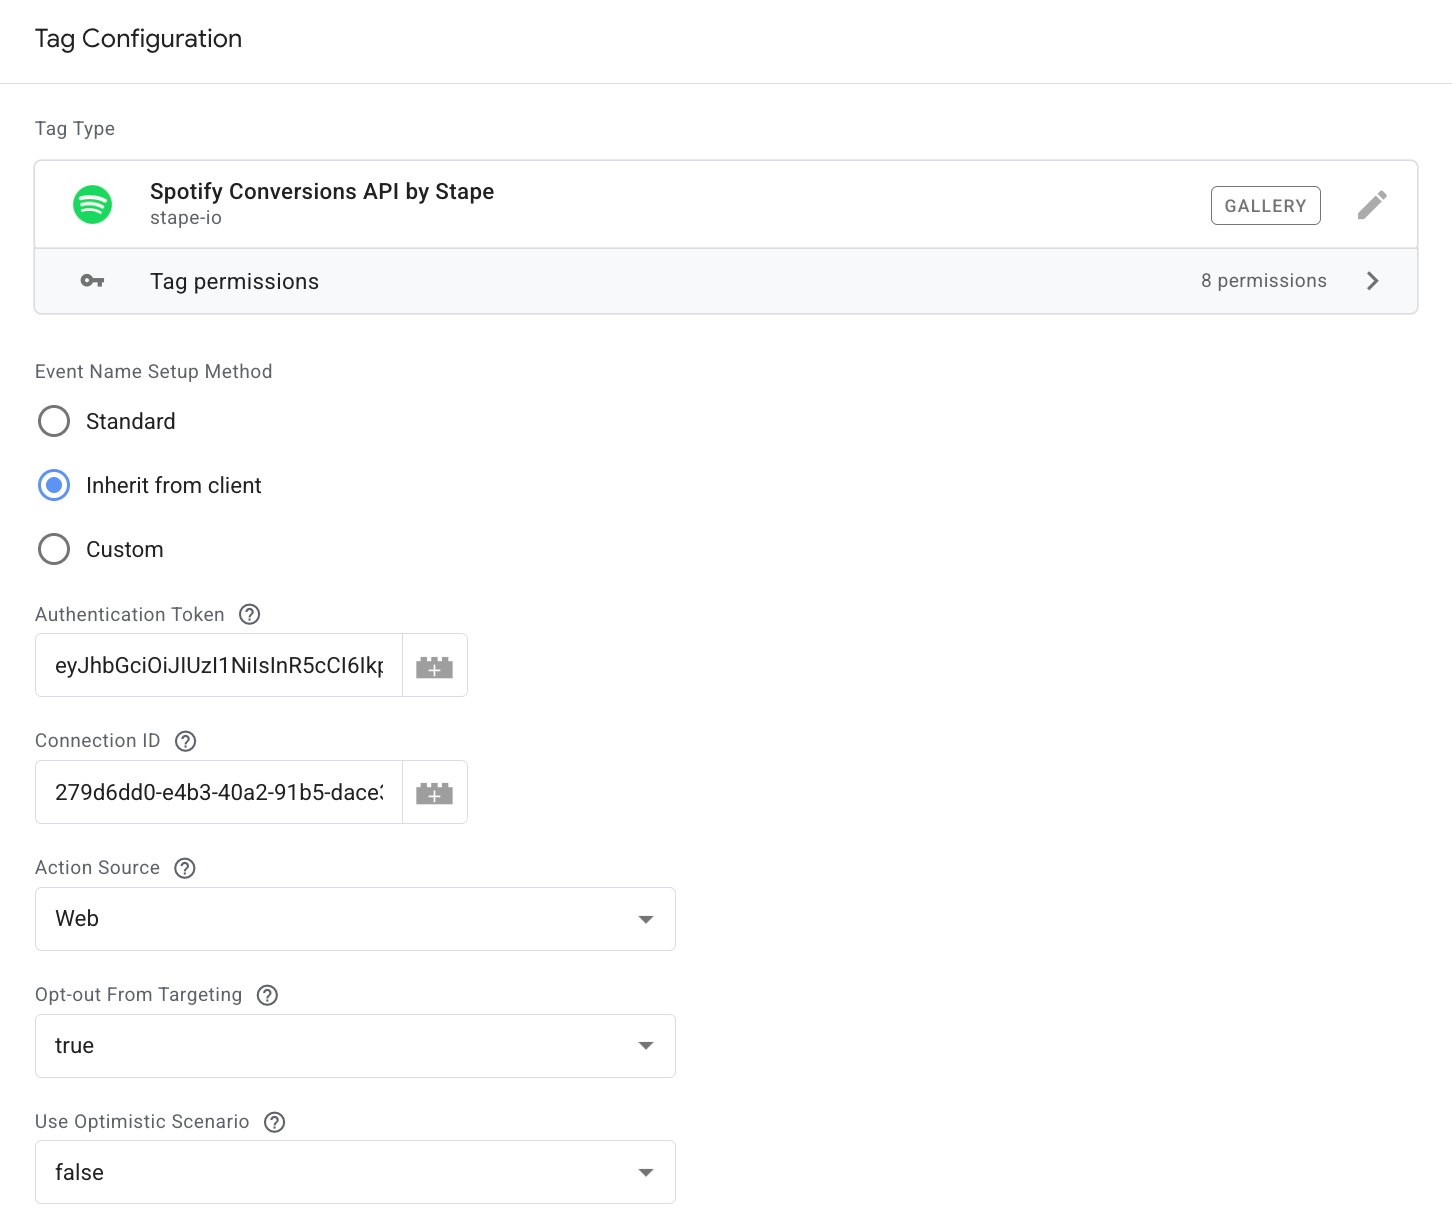
3.1 Choose Event Name Setup Method (how you define and assign the name for an event that you want to track):
- Standard - track standard events such as page view, sign up, lead, view product, add to cart, purchase, etc.
- Inherit from client - the tag will autonomously interpret event data and assign corresponding information.
- Custom - with this option, you can create custom event tracking.
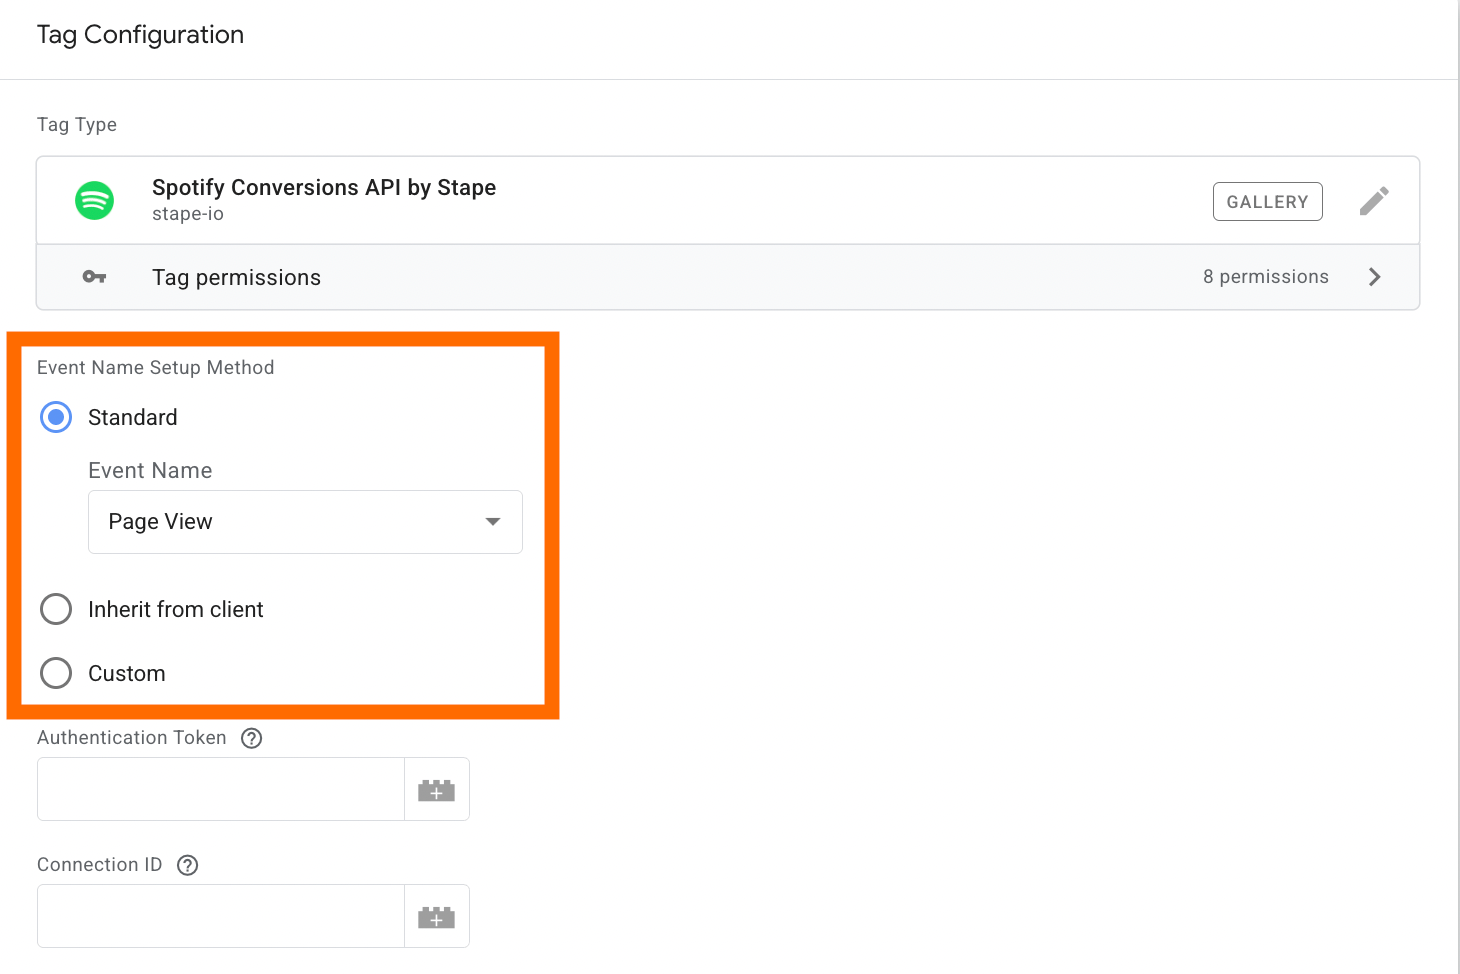
Regardless of the Event Name Setup Method you choose, the following fields you should fill in are the same and are explained below.
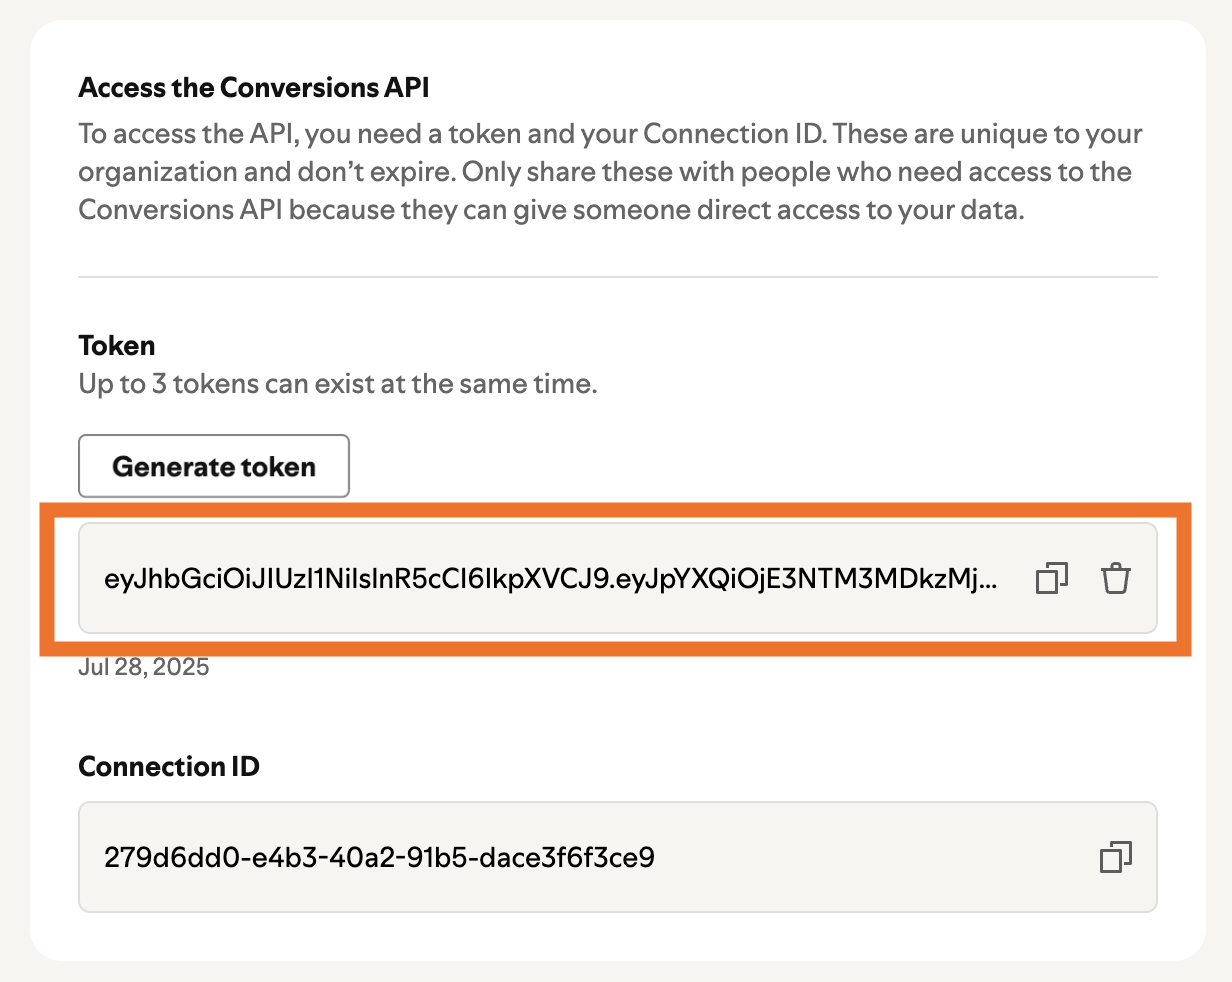
3.2 Add Authentication Token - a string that carries the credentials and permissions needed to access specific resources (such as artists, albums, or tracks) or user data (like your profile or playlists).
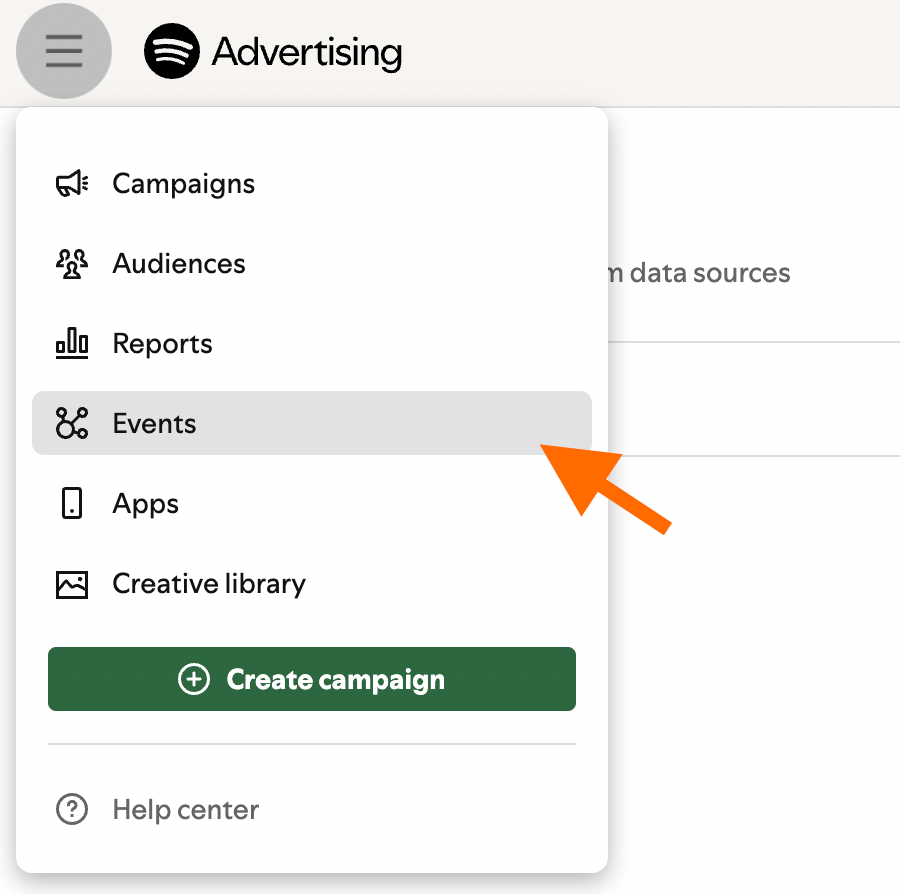
To get the Authentication Token, you should log in to the Spotify Ads → Events section.
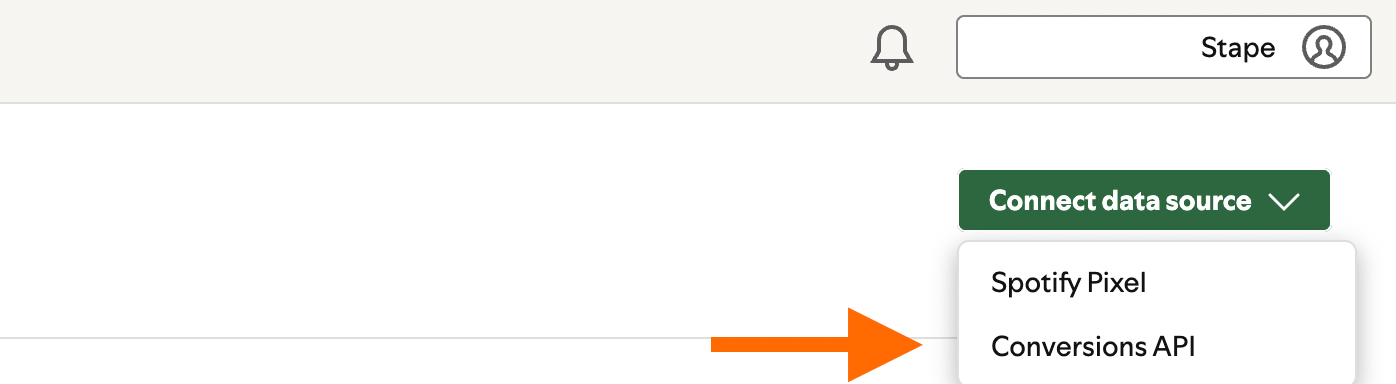
Click on "Connect data source" → Conversions API → add the name.
Generate a token and copy it.
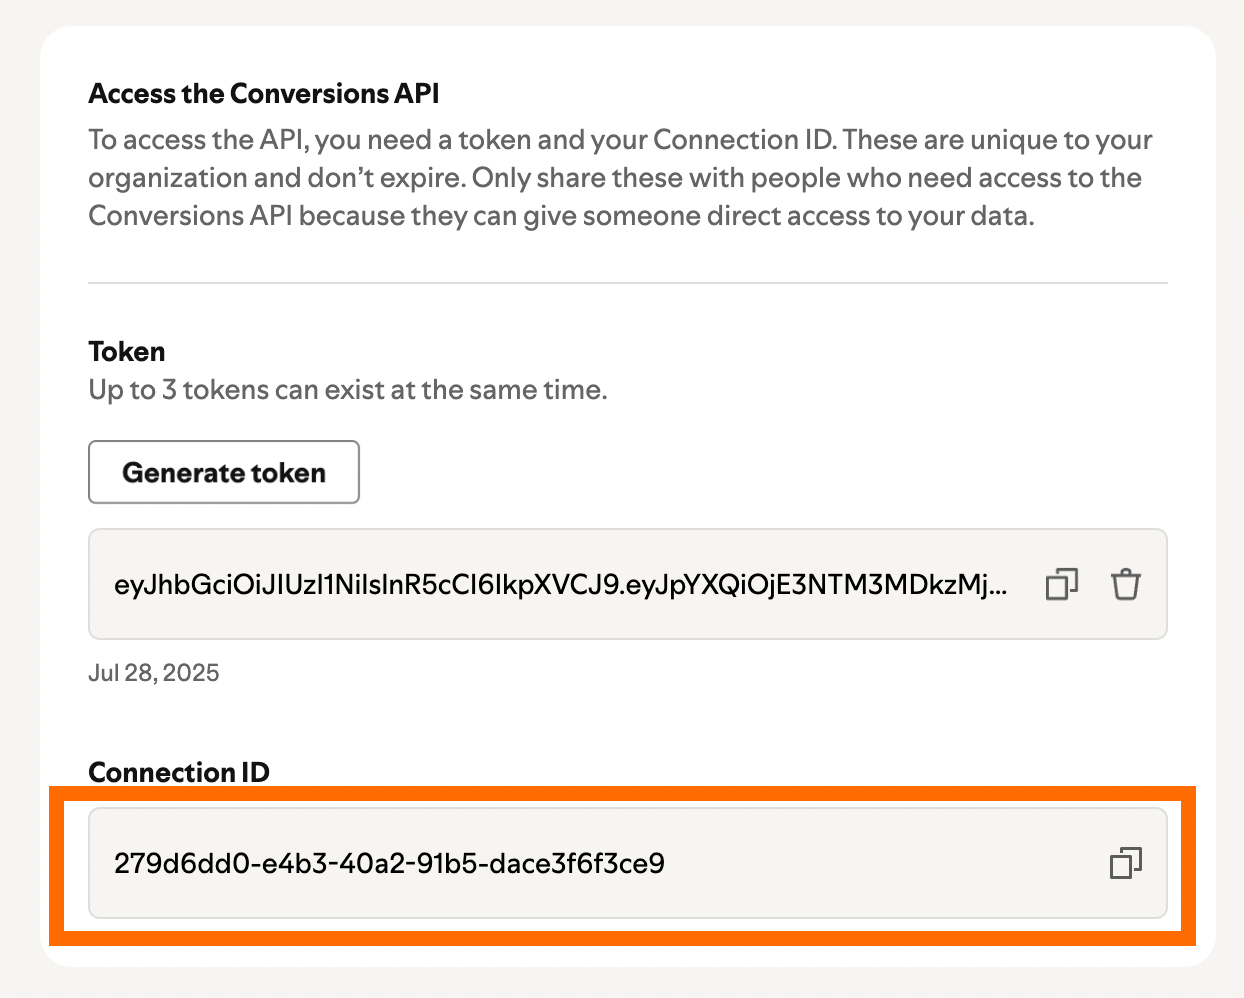
3.3 Add Connection ID - a unique identifier assigned to your organization within the Spotify advertising platform.
It can be found right below the token.
3.4 Select Action Source - it stands for the source through which the event was sent (web, app, or offline).
3.5 Opt-out From Targeting - if true, the event will not be used for retargeting, only for attribution.
3.6 Use Optimistic Scenario - if true, the tag will call gtmOnSuccess() without waiting for a response from the API. This will speed up sGTM response time; however, your tag will always return the status fired successfully even if it is not.
4. Add a trigger for a tag.
Test Spotify Conversions API tag configuration
You can verify the configurations in Google Tag Manager by clicking Preview, triggering the event, and confirming whether the tag has fired.

For more details on debugging and monitoring your server-side tracking setup, refer to our guide.
Was this article helpful?
Comments