RevContent Tag
Updated May 10, 2026
The RevContent Tag for server-side GTM enables server-to-server (S2S) conversion tracking by sending postback conversion data directly to RevContent’s API. It supports tracking two types of events: Page View and Conversion.
Benefits of using the RevContent tag
- Reliable conversion tracking: server-to-server calls bypass client-side blockers and limitations.
- Improved data privacy: allows you to redact or override the user IP and user agent.
- Faster response times: the Optimistic Scenario option allows faster tag execution by skipping the API wait.
Requirements for setting up the RevContent tag
Before configuring the RevContent tag, make sure you have the following:
Important! To avoid event duplication, this tracking method should not be used together with RevContent conversion pixels on your site. Use either one or the other.
How to configure RevContent tag for Google Tag Manager
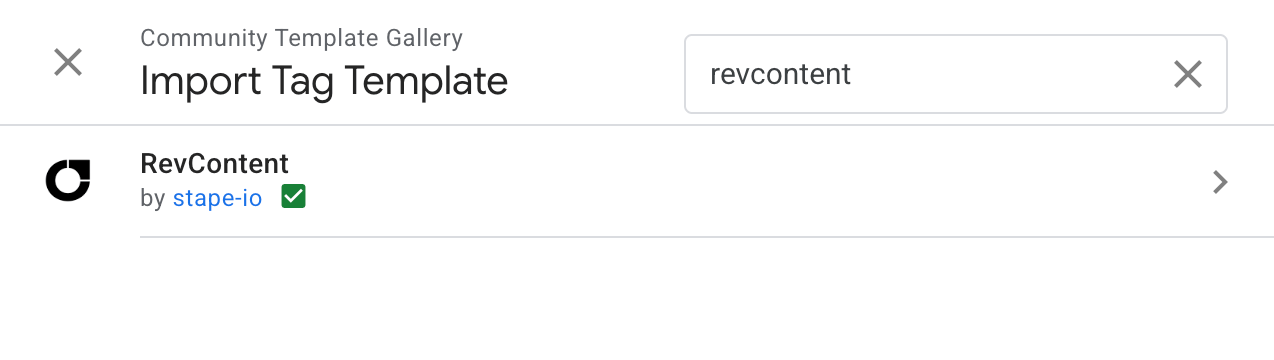
1. Add the RevContent tag template to your server GTM container by importing it from the Template Gallery:
2. Click Add to workspace, then confirm the tag permissions:

3. Create a new RevContent tag:
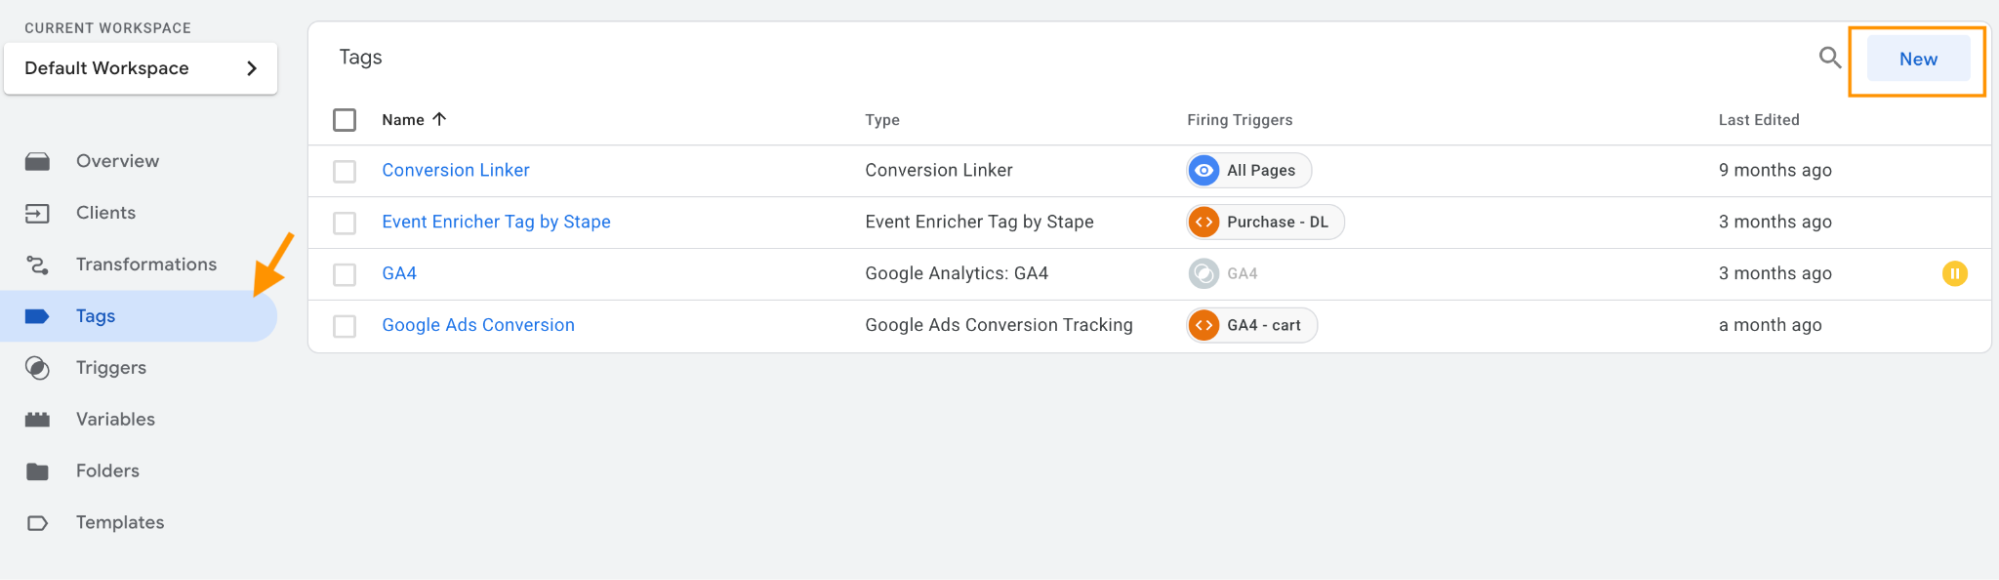
Go to the Tags menu → click New.
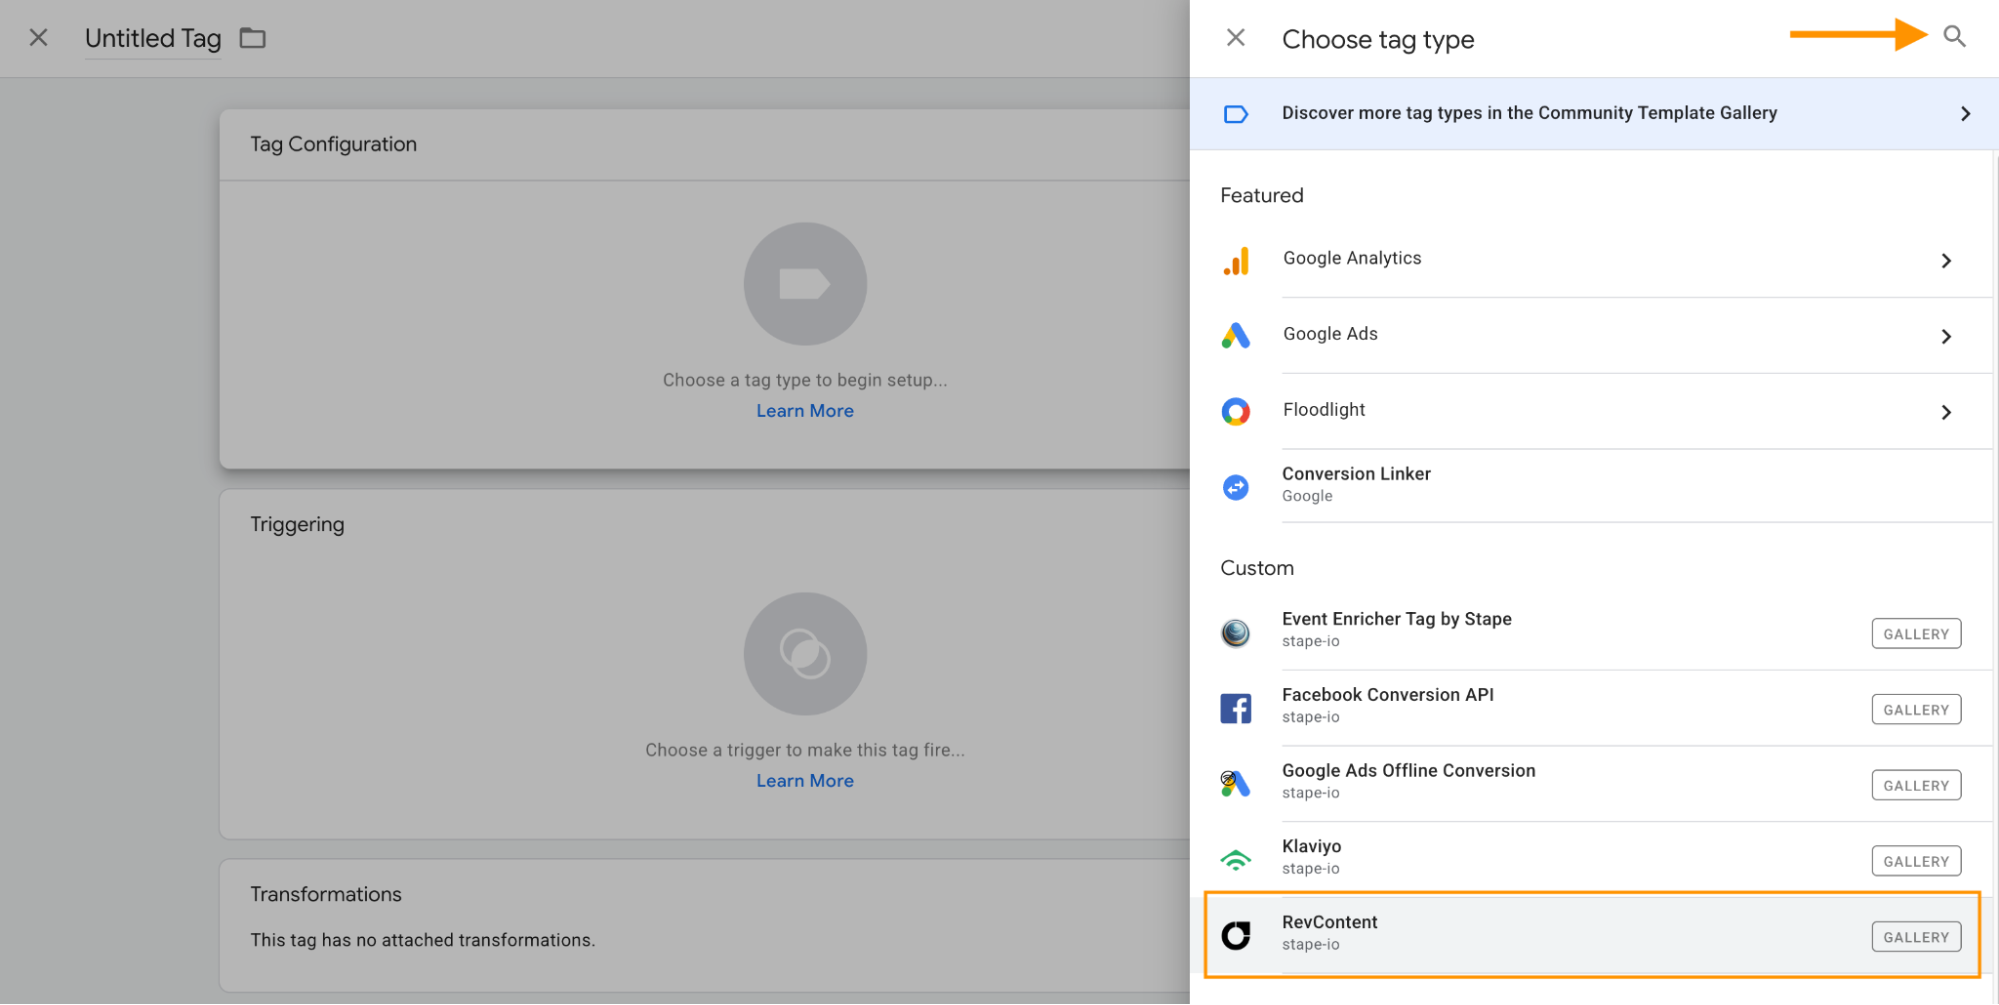
Click Tag Configuration → select RevContent by Stape in the list:
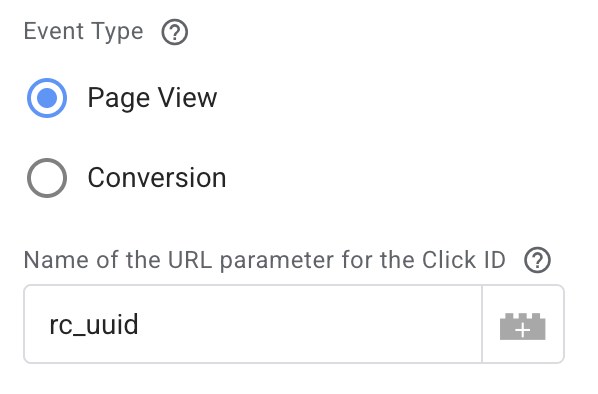
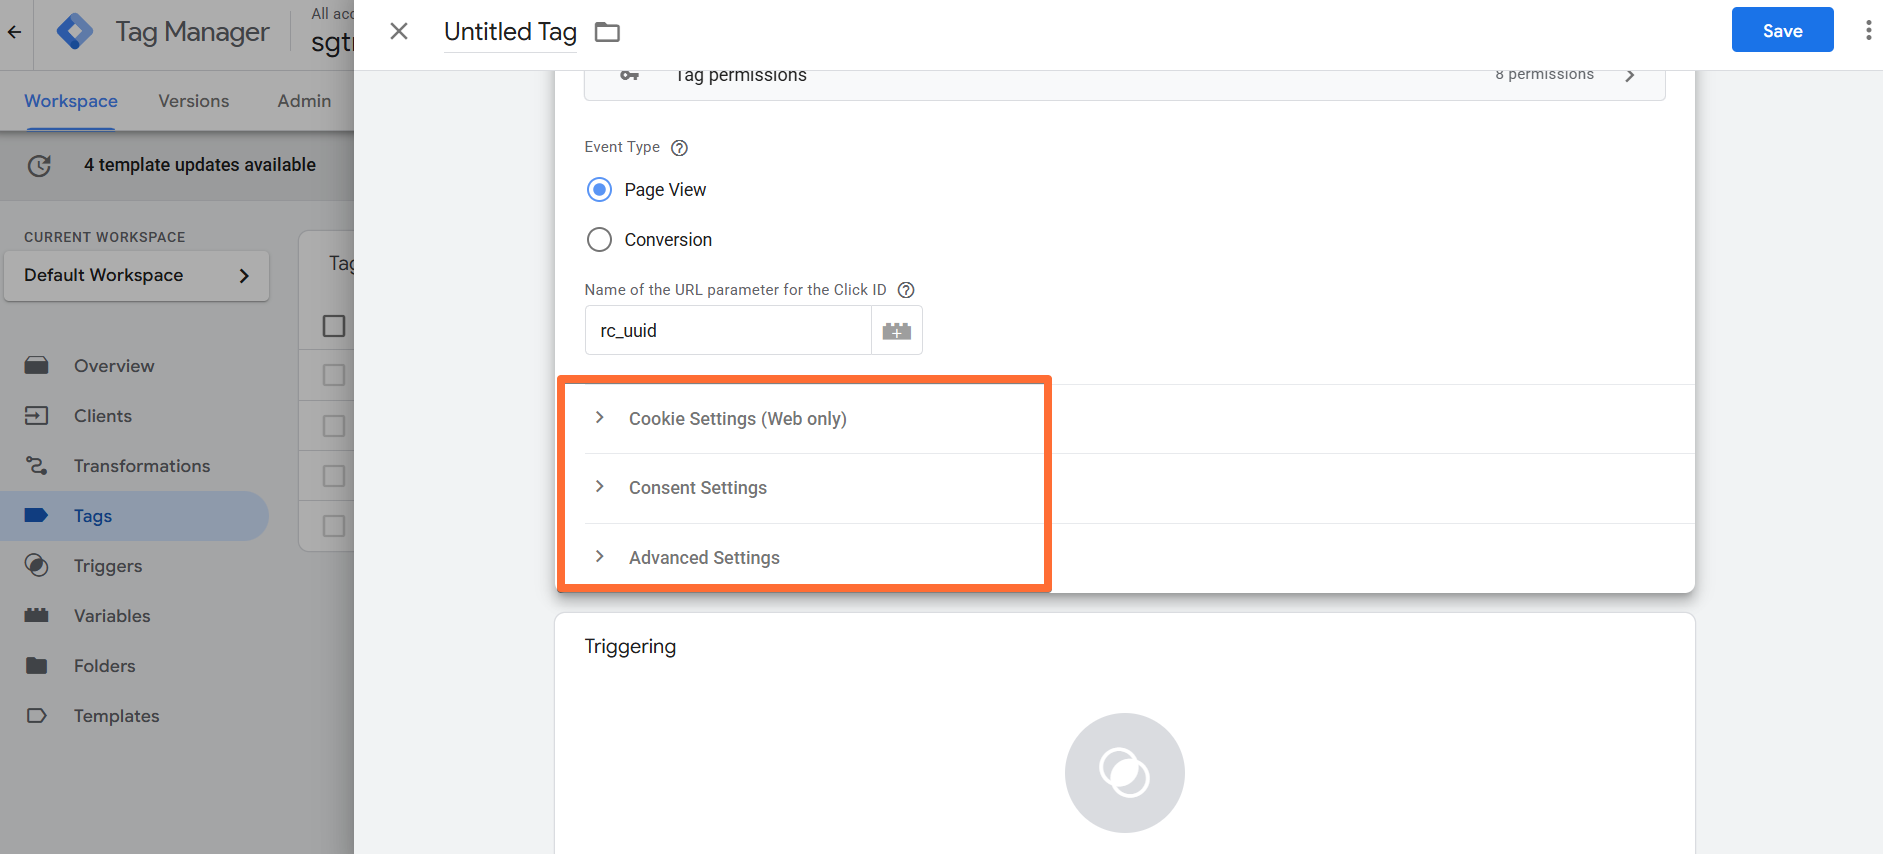
4. Configure the RevContent tag. There are two types of events available for the tag: PageView and Conversion.
- For Page View events, configure the URL parameter name for the Click ID, otherwise it defaults to the rc_uuid URL parameter.
- Optional Page View event settings:
- Cookie settings - set cookie expiration (days), domain, and HttpOnly flag.
- Consent Settings - gives you an option to send data only if marketing consent is given. Should only be enabled when the web container is configured to send to the server container the consent status (e.g., via the Data Tag); otherwise, leave this option disabled to avoid tracking issues.
- Advanced Settings (Additional Tag Metadata) - specify additional tag metadata to be included in the event data when the tag is fired.
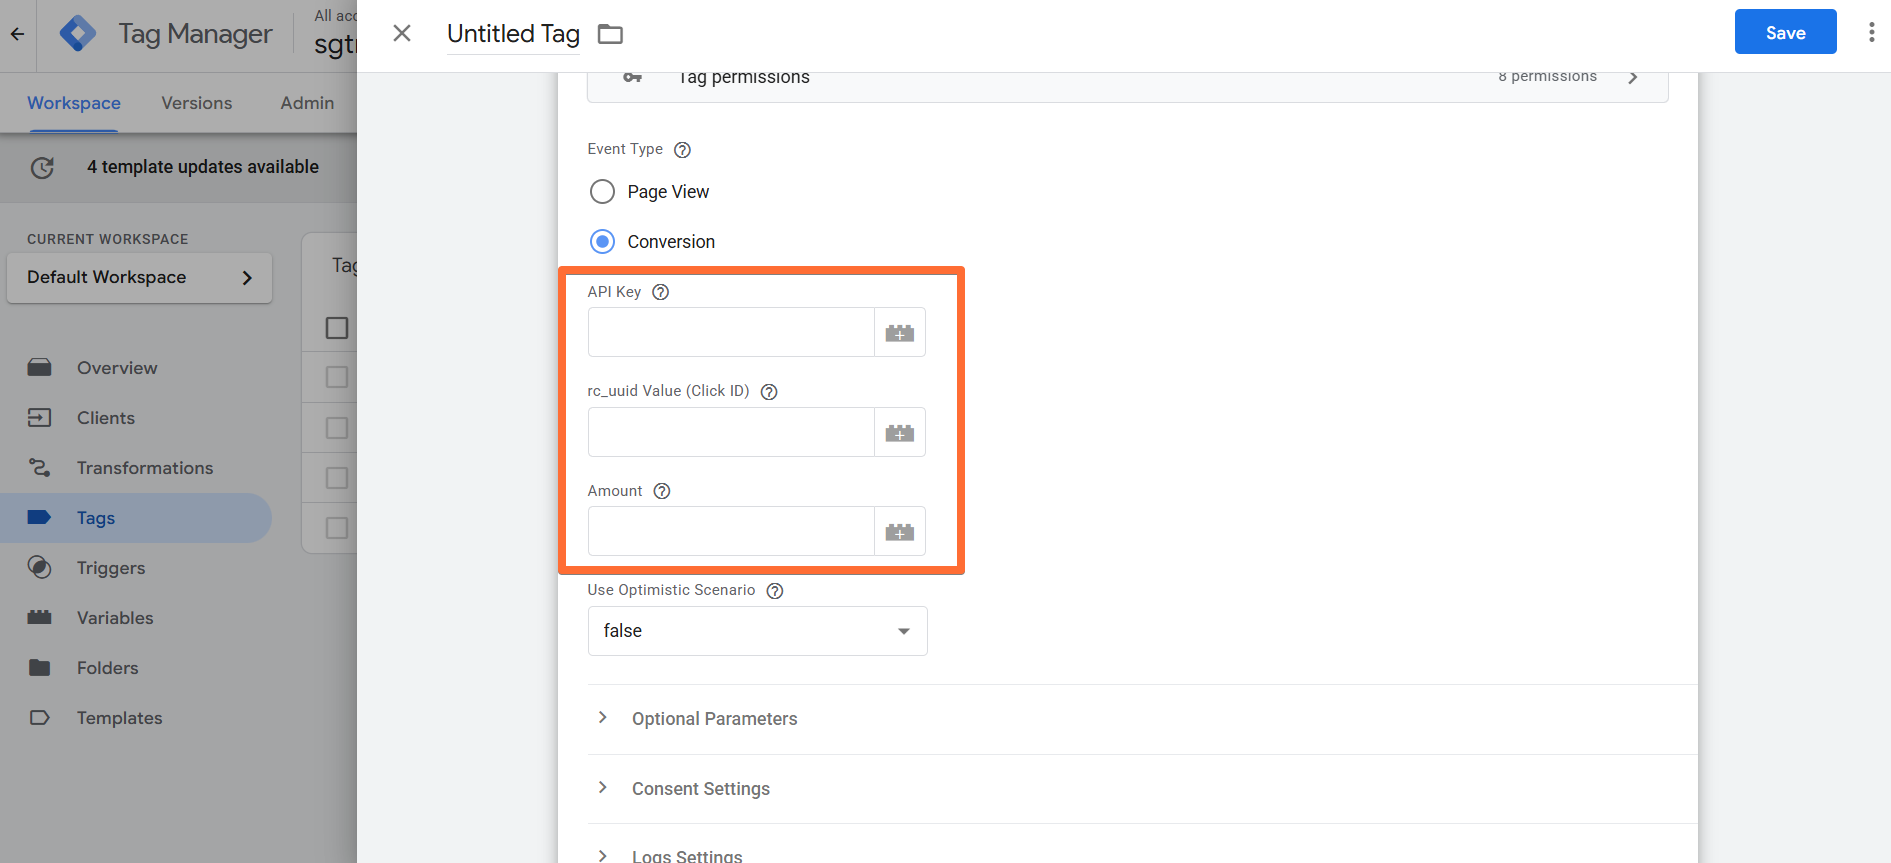
- For Conversion events:
- API Key - provide your API Key from your RevContent account. Follow this guide to find your RevContent API key.
- rc_uuid Value (Click ID) - specify the rc_uuid Click ID value (optional; if omitted, the tag reads from the cookie).
- Amount - enter the Amount of the conversion (must be a positive integer).
- Optional Conversion event settings:
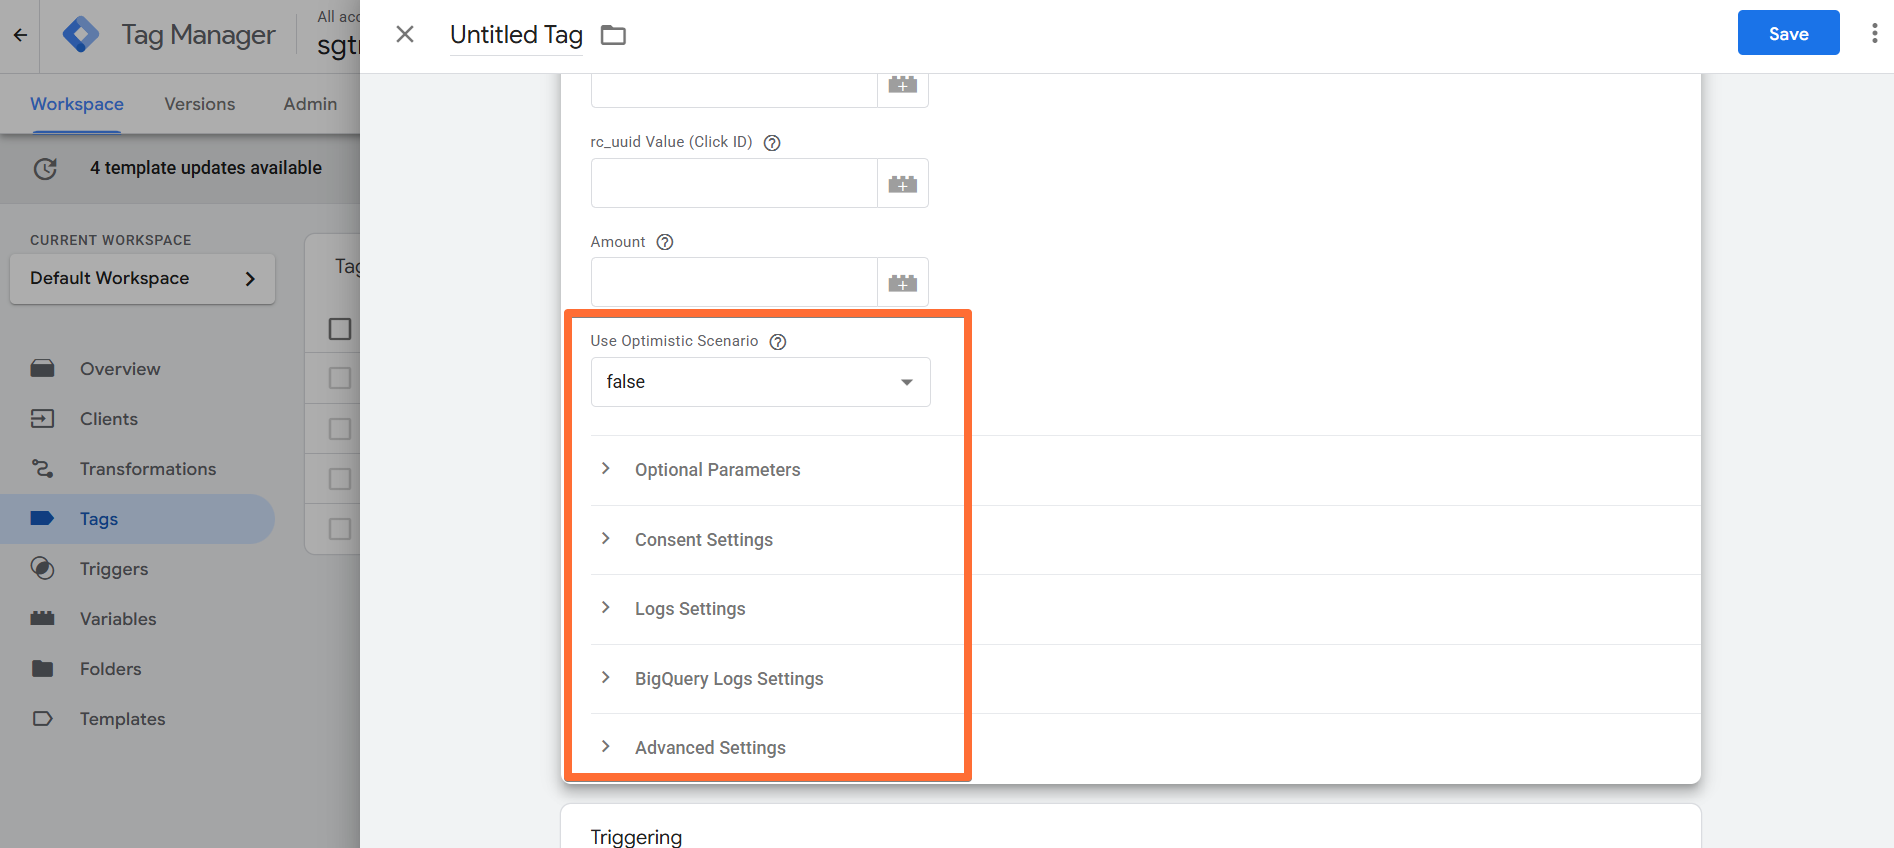
- Use Optimistic Scenario - enable Use Optimistic Scenario to speed up tag execution by firing success immediately without waiting for API response.
- Optional parameters - override the User IP Address and User Agent in the Optional parameters section.
- Consent Settings - gives you an option to send data only if marketing consent is given. Should only be enabled when the web container is configured to send to the server container the consent status (e.g., via the Data Tag); otherwise, leave this option disabled to avoid tracking issues.
- Logs Settings - choose if you want to log requests to your Stape account. This feature is handy when setting up server-side tagging since it allows seeing incoming and outgoing requests and network responses.
- BigQuery Logs Settings - allows you to configure BigQuery logging.
- Advanced Settings (Additional Tag Metadata) - specify additional tag metadata to be included in the event data when the tag is fired.
5. Add a trigger to the tag and click Save.

Test the RevContent tag configuration
You can verify the configurations in Google Tag Manager by clicking Preview, triggering the event, and confirming whether the tag has fired:

For more details on debugging and monitoring your server-side tracking setup, refer to our guide here.
Was this article helpful?
Comments