Taboola tag
Updated Sep 9, 2026
The Taboola tag by Stape enables server-side conversion tracking and Taboola Click ID storage to your Google Tag Manager server container. Instead of relying on browser-based pixels, it sends conversion information to Taboola through server-to-server (S2S) requests, helping maintain attribution when client-side tracking is limited.
- The tag captures the Taboola Click ID (
tblci) from landing page URLs and stores it in a first-partytaboola_cidcookie, with a configurable cookie lifetime for use in subsequent conversions. - It supports Conversion events with an event name, revenue, currency, and the stored Click ID, allowing conversion data to be sent to Taboola for campaign reporting and optimization.
- The integration can replace the Taboola web pixel and helps reduce reliance on browser-side tracking, improving data control and tracking reliability in environments affected by ad blockers, VPNs, and browser tracking restrictions.
Before you begin
Please ensure that you already have Google Tag Manager web and server containers, as well as a configured server container and custom domain in Stape. Please follow these guides if you don’t have any of those:
How to set up the Taboola tag
1. Configure sending data to the server GTM container. The most popular options for sending data to sGTM are Google Analytics 4 and Data Tag/Data Client. For more information, read the Send data to server container article.
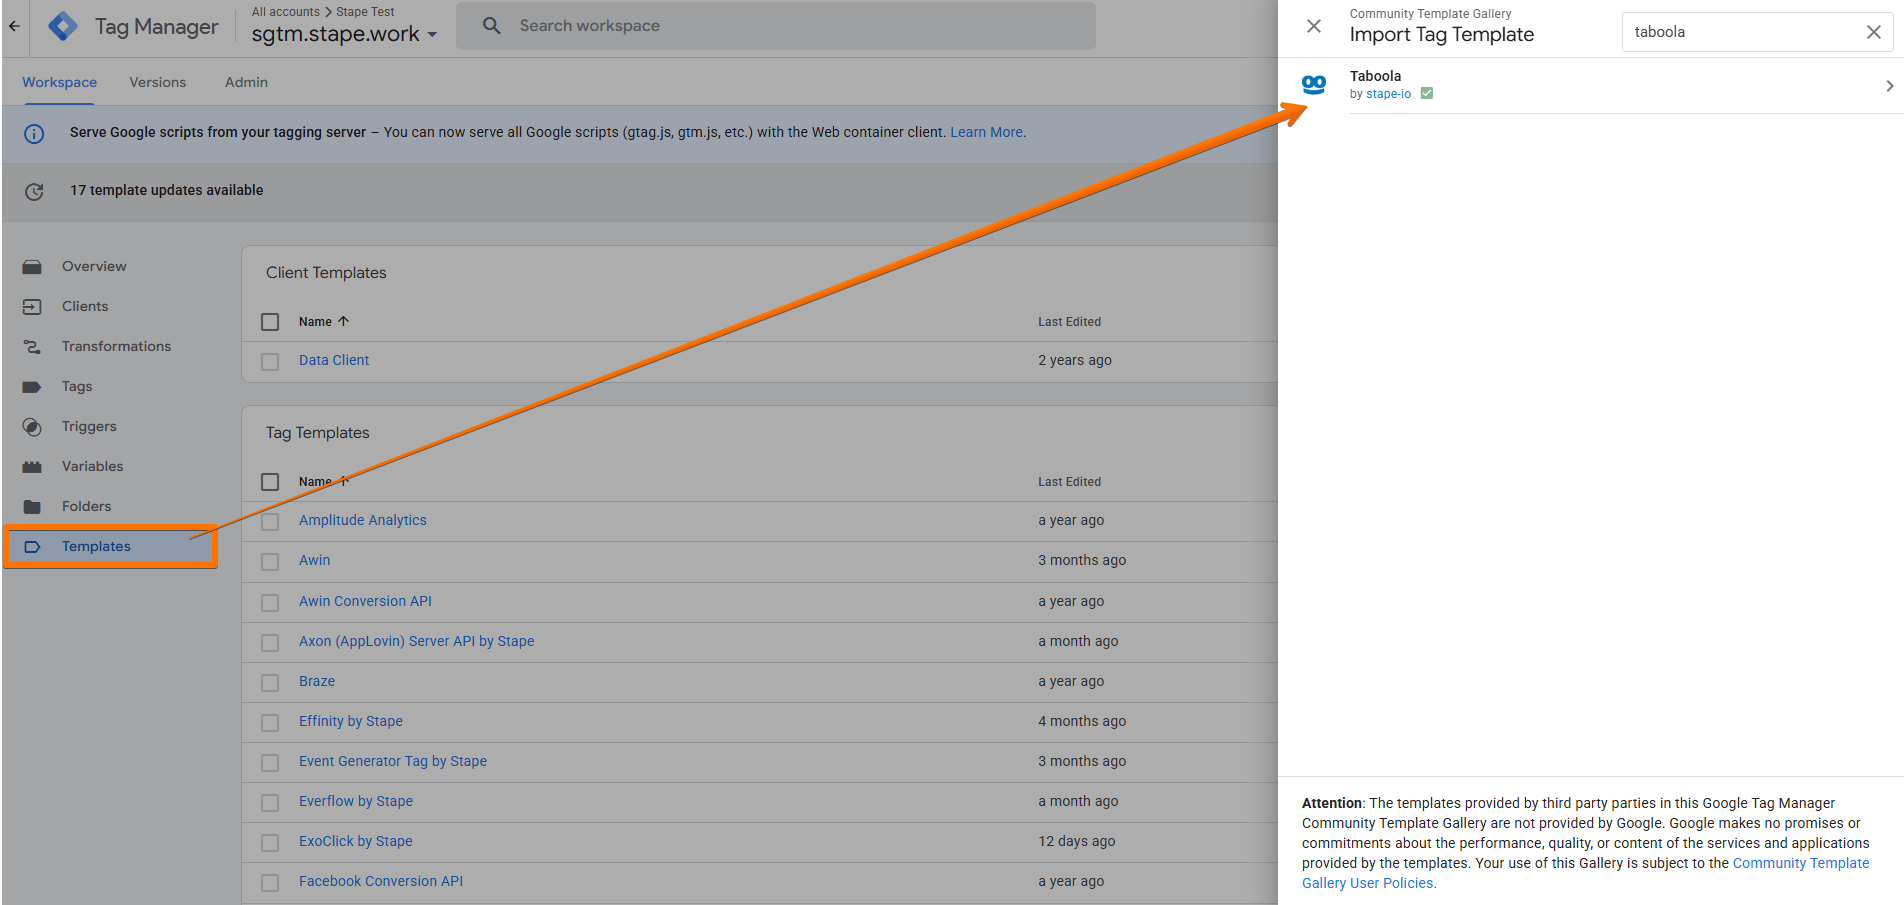
2. Add the Taboola tag template in the server GTM container by importing it from the Template gallery:
- Search for the Taboola tag by Stape in the Google Tag Manager Template Gallery.
- Click Add to workspace.
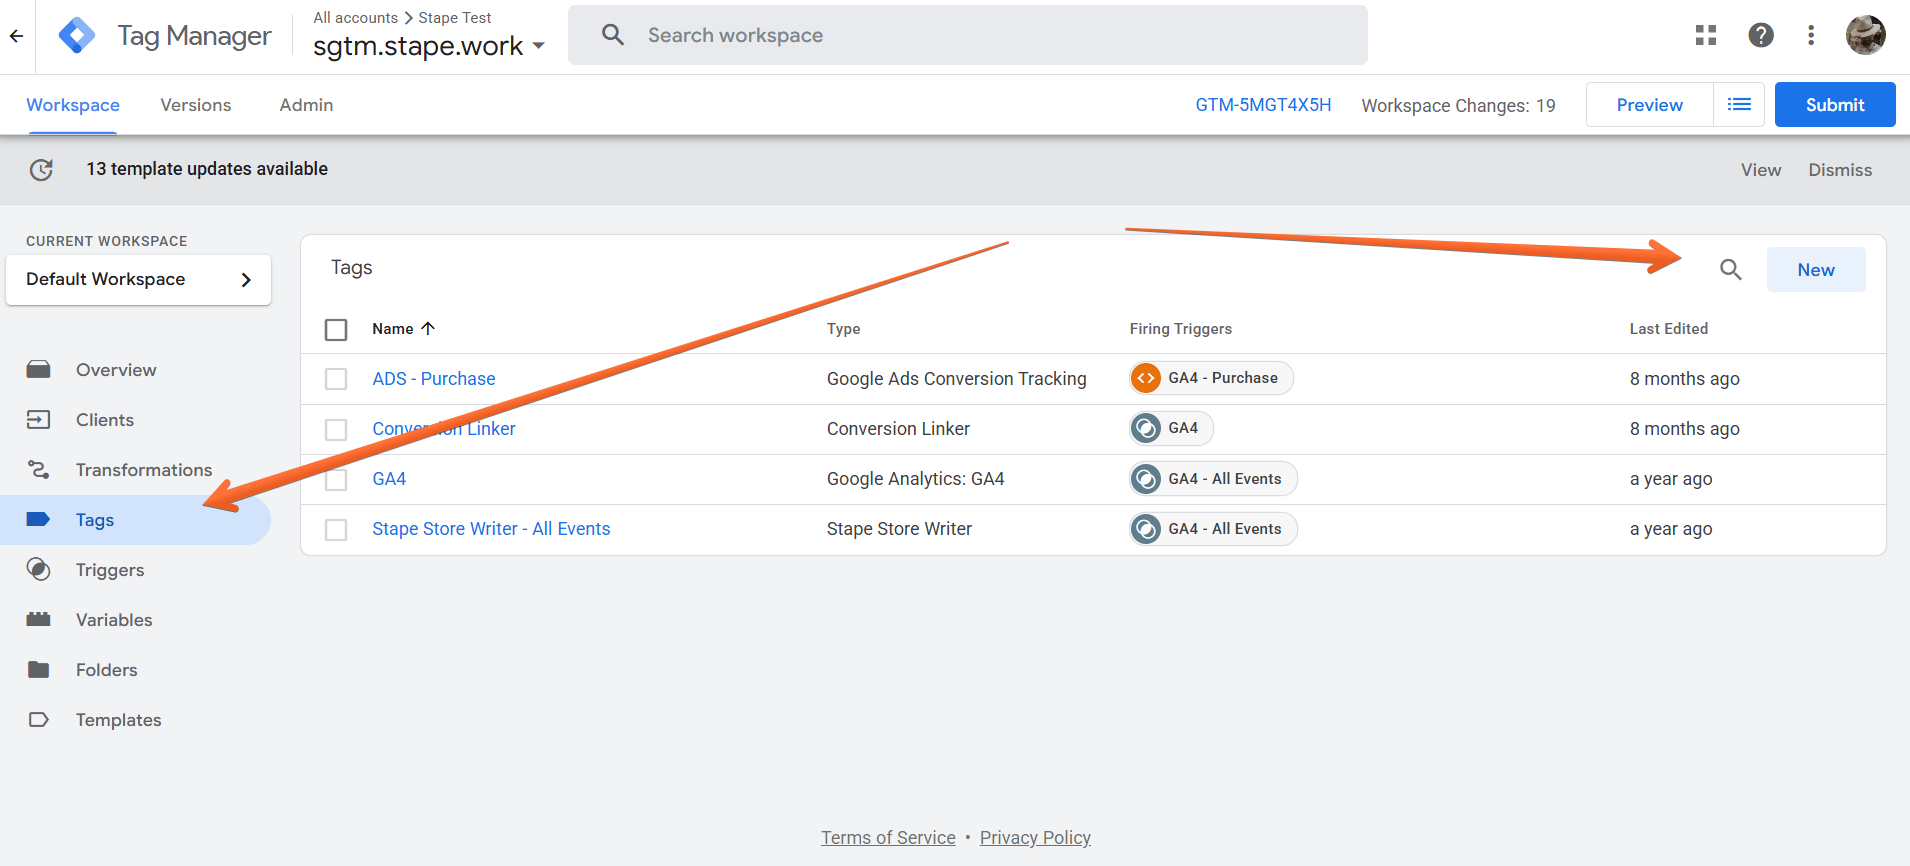
3. Create the Taboola tag:
- Go to the Tags menu → click New.
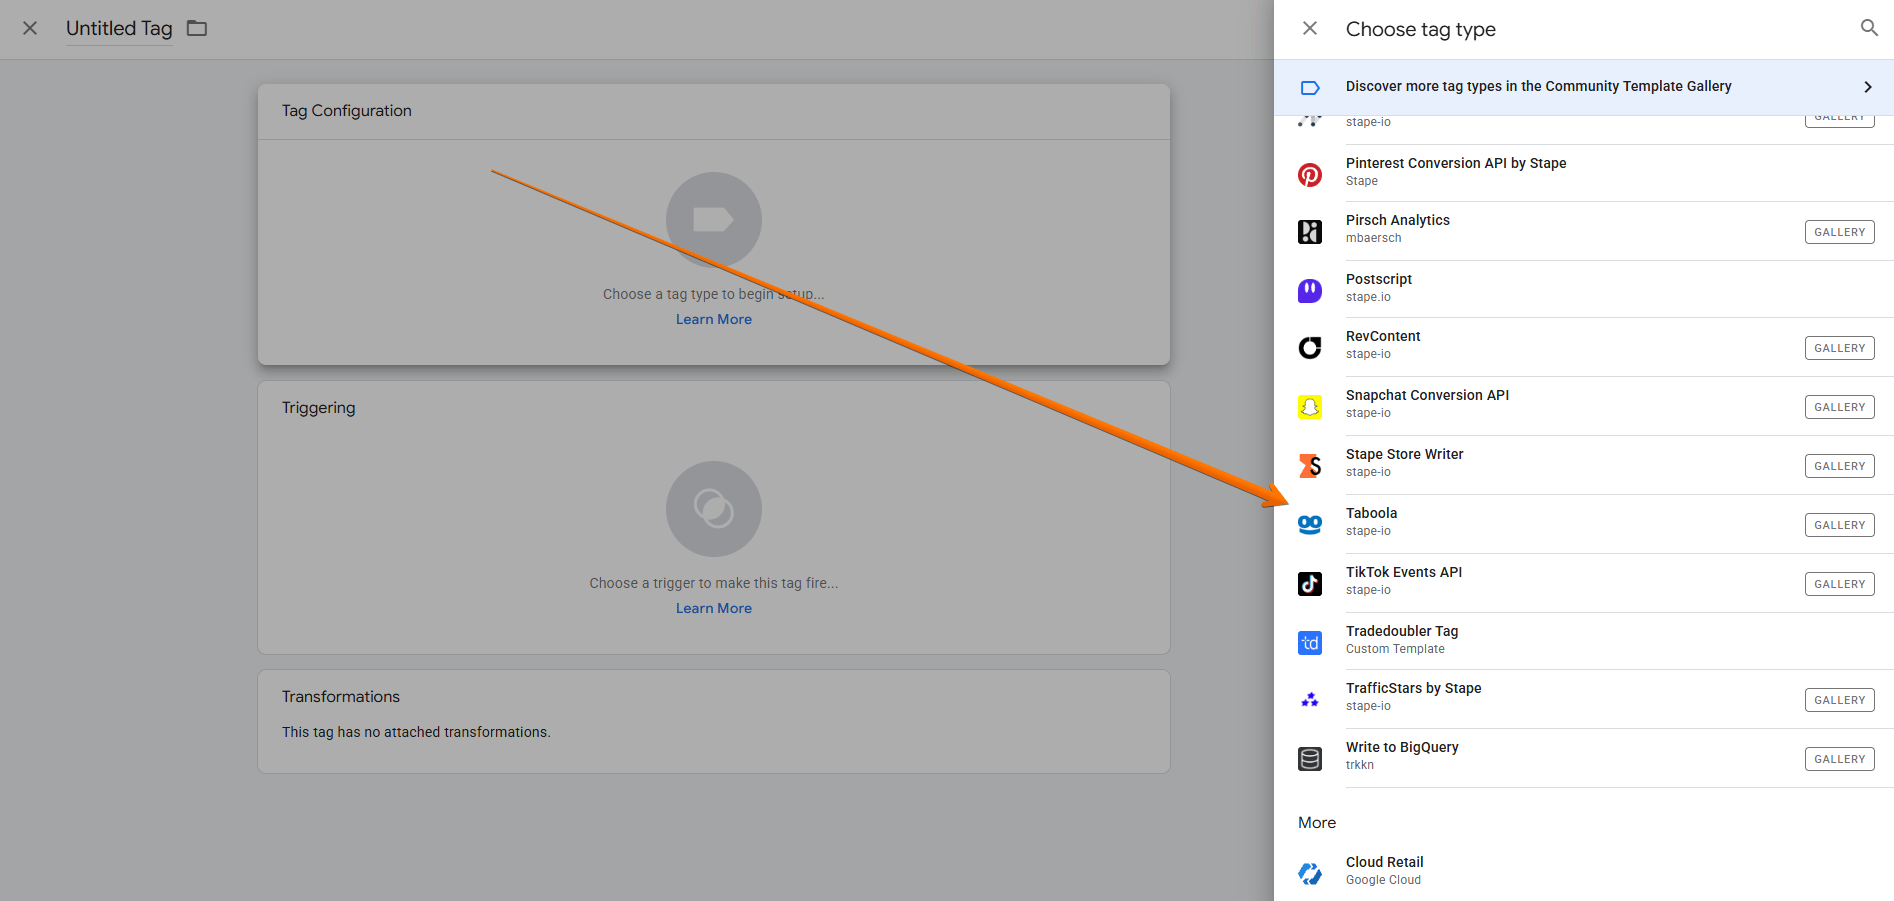
- Click Tag Configuration → select Taboola.
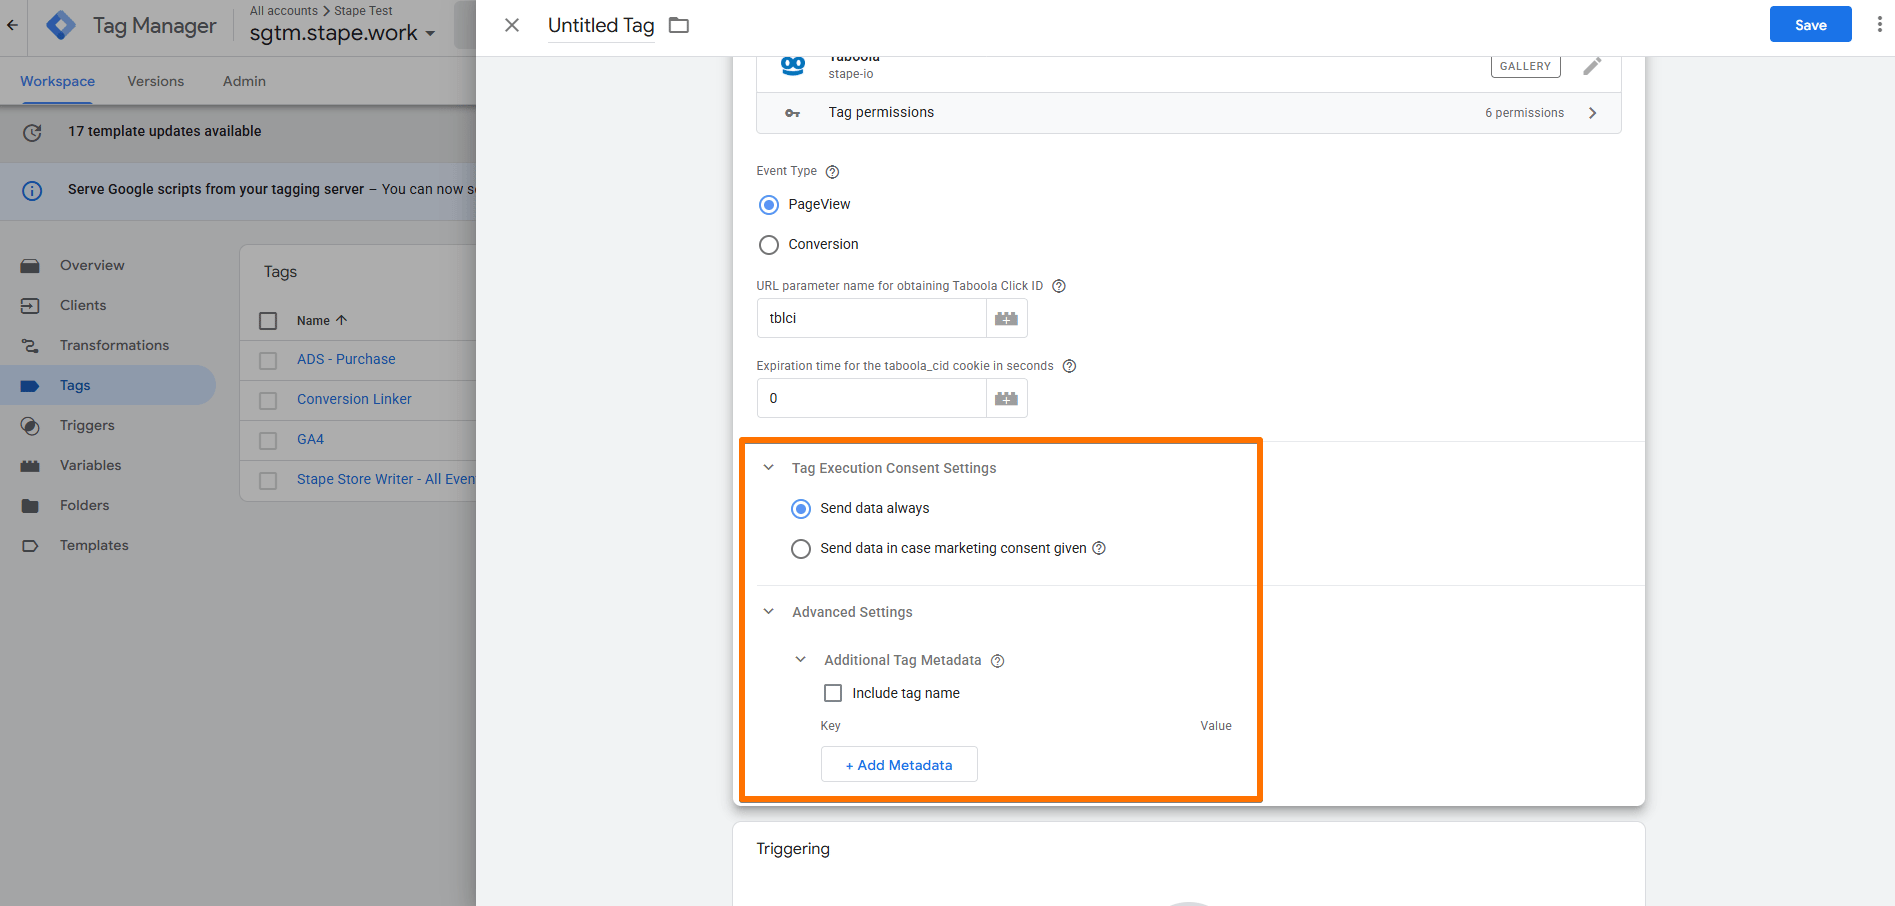
4. Configure the Taboola tag:
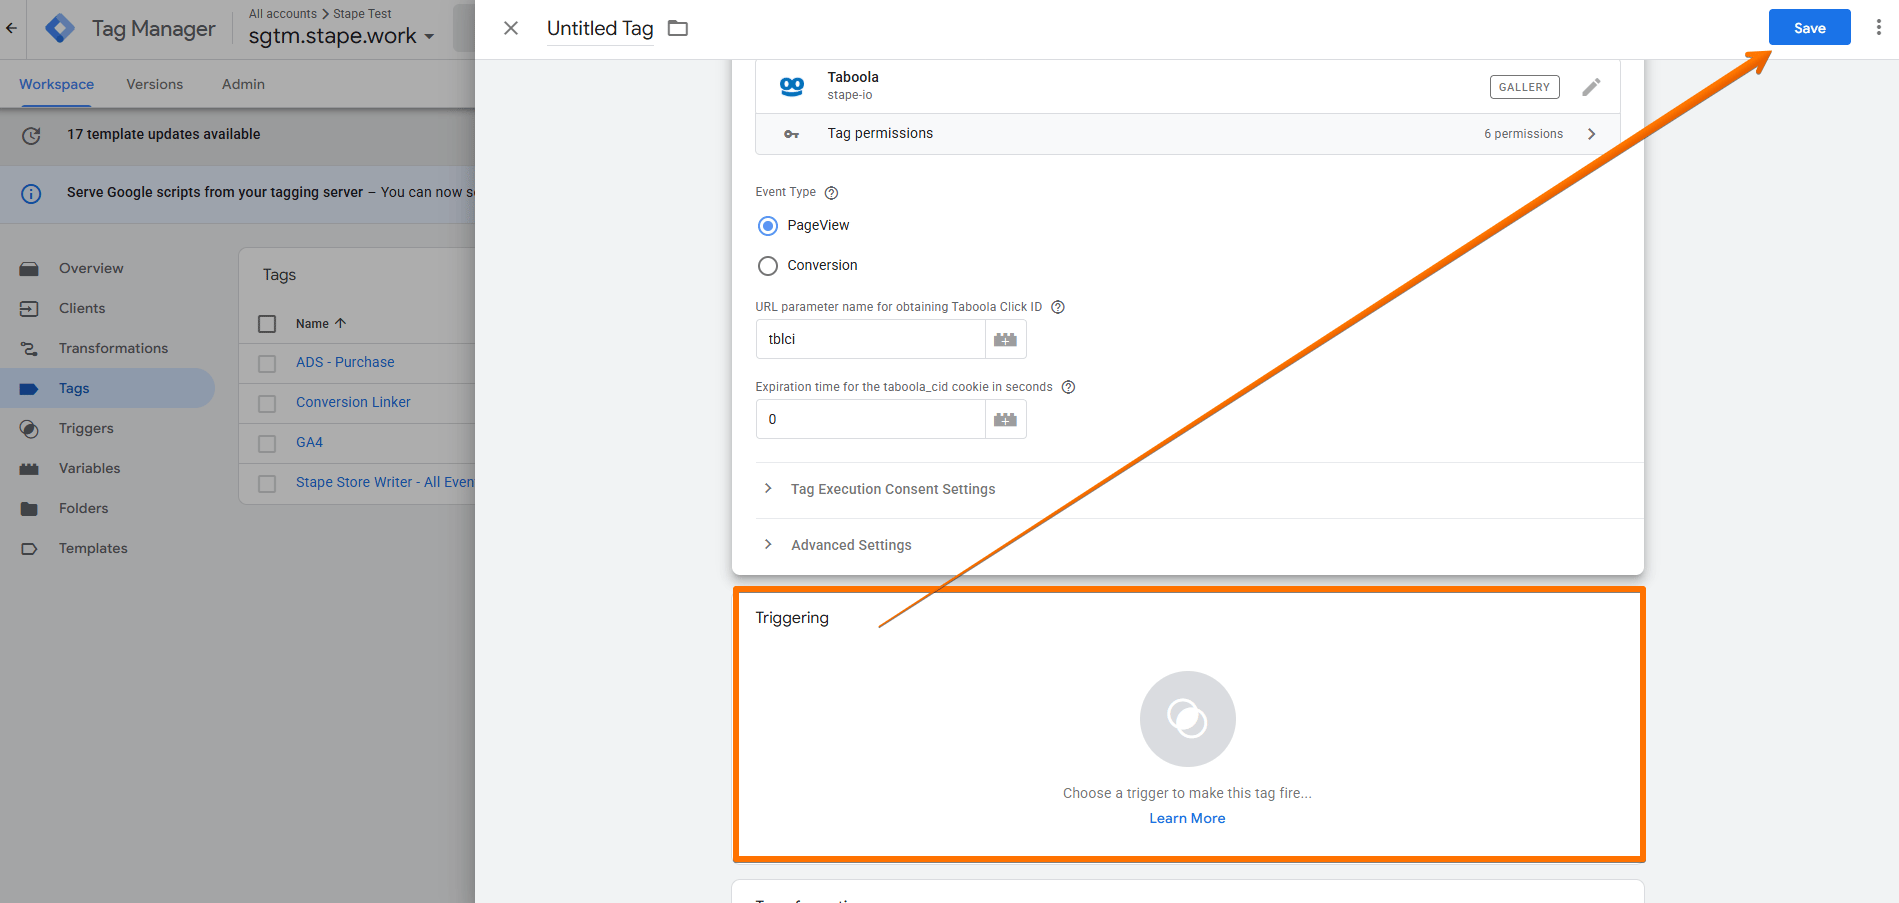
- Event Type - select whether you wish the tag to pass PageView or Conversion events.
- Tag Execution Consent Settings - choose if you wish for the tag to wait for marketing consent from the user before firing.
- Advanced Settings (Additional Tag Metadata) - specify additional tag metadata to be included in the event data when the tag is fired.
5. Add the Trigger for the tag, give it a descriptive name, and click Save.
Testing
You can test the configurations in Google Tag Manager. Click on Preview, trigger the event on your website with actions like viewing a page or completing a transaction, and check whether the tag has fired.

Find out more about debugging and monitoring server-side tracking configuration in our guide.
Was this article helpful?
🍽 Table of content:
Comments