ExoClick tag
Updated Sep 7, 2026
The ExoClick tag by Stape enables server-side conversion tracking and Click ID management through your Google Tag Manager server container. It uses ExoClick's server-to-server (S2S) postbacks to send conversion data from sGTM to ExoClick, reducing reliance on browser-based tracking for conversion attribution.
- The tag captures the Click ID from landing page URLs during Page View events and saves it in a first-party
_exoclick_cidcookie for use in subsequent conversions. - It supports Conversion events with Goal IDs, Click ID values, and conversion values, including dynamic values when supported by the selected conversion goal.
- You can enable cookie syncing as a fallback when a Click ID is missing or invalid, and use the optimistic scenario to complete tag execution without waiting for the ExoClick API response.
Before you begin
Please ensure that you already have Google Tag Manager web and server containers, as well as a configured server container and custom domain in Stape. Please follow these guides if you don’t have any of those:
How to set up the ExoClick tag
1. Configure sending data to the server GTM container. The most popular options for sending data to sGTM are Google Analytics 4 and Data Tag/Data Client. For more information, read the Send data to server container article.
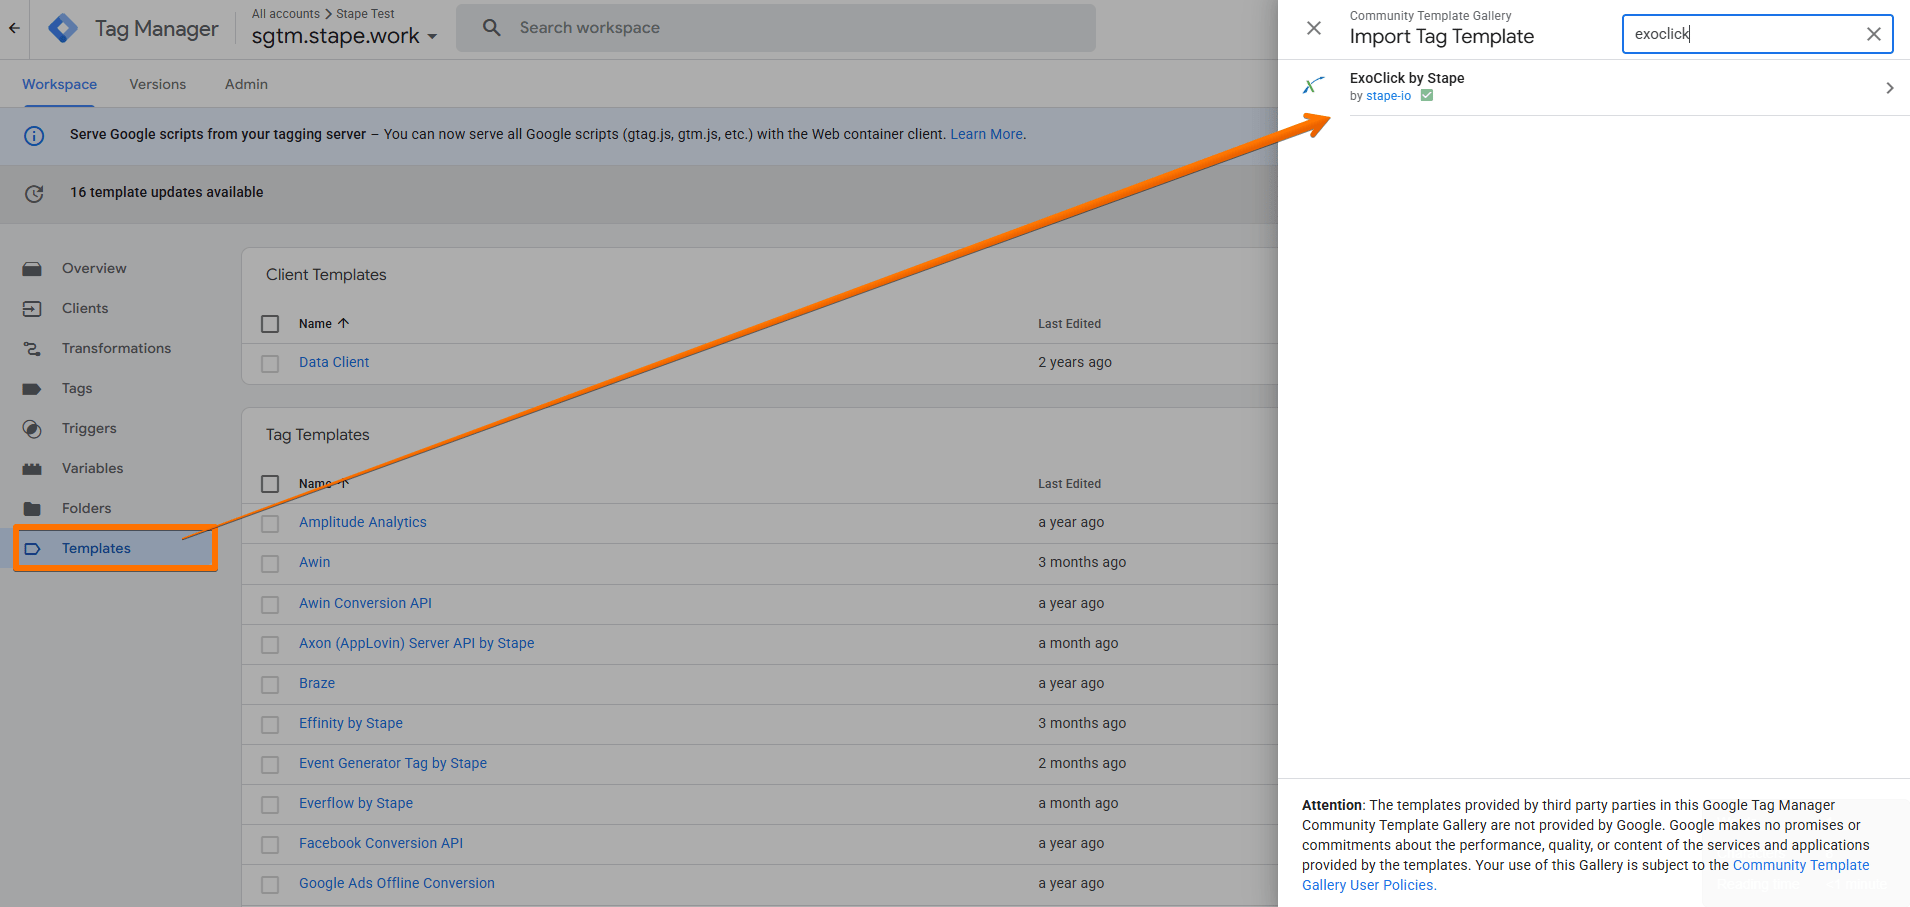
2. Add the ExoClick tag template in the server GTM container by importing it from the Template gallery:
- Search for the ExoClick tag by Stape in the Google Tag Manager Template Gallery.
- Click Add to workspace.
3. Create the ExoClick tag:
- Go to the Tags menu → click New.
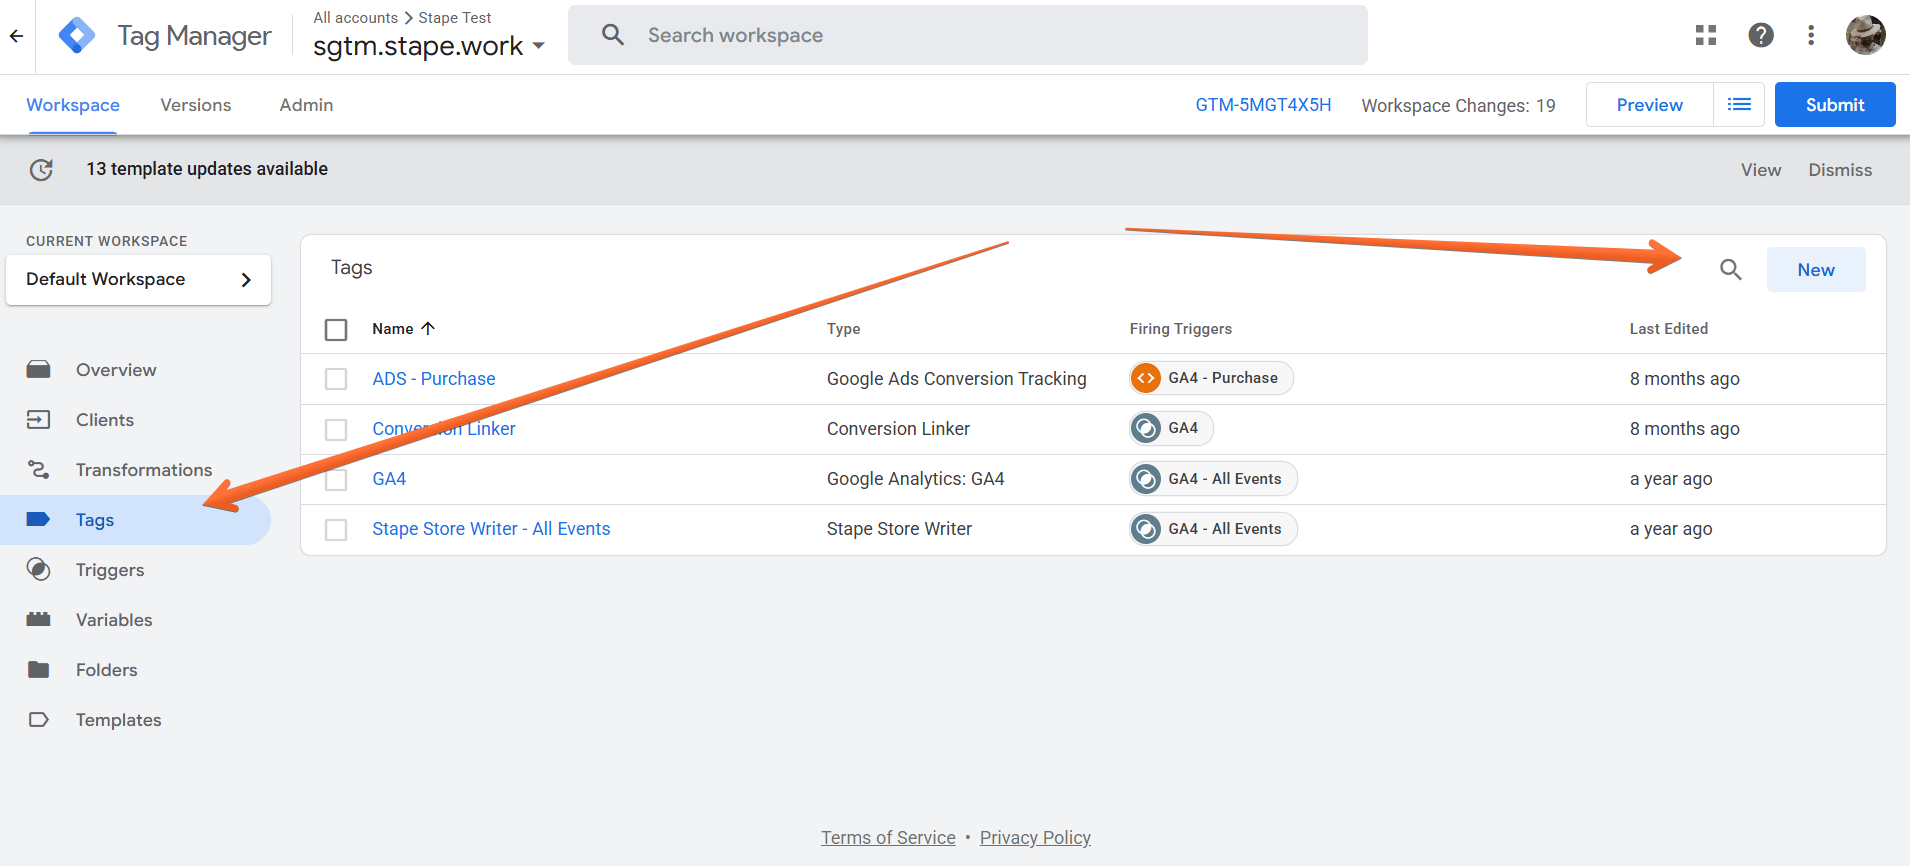
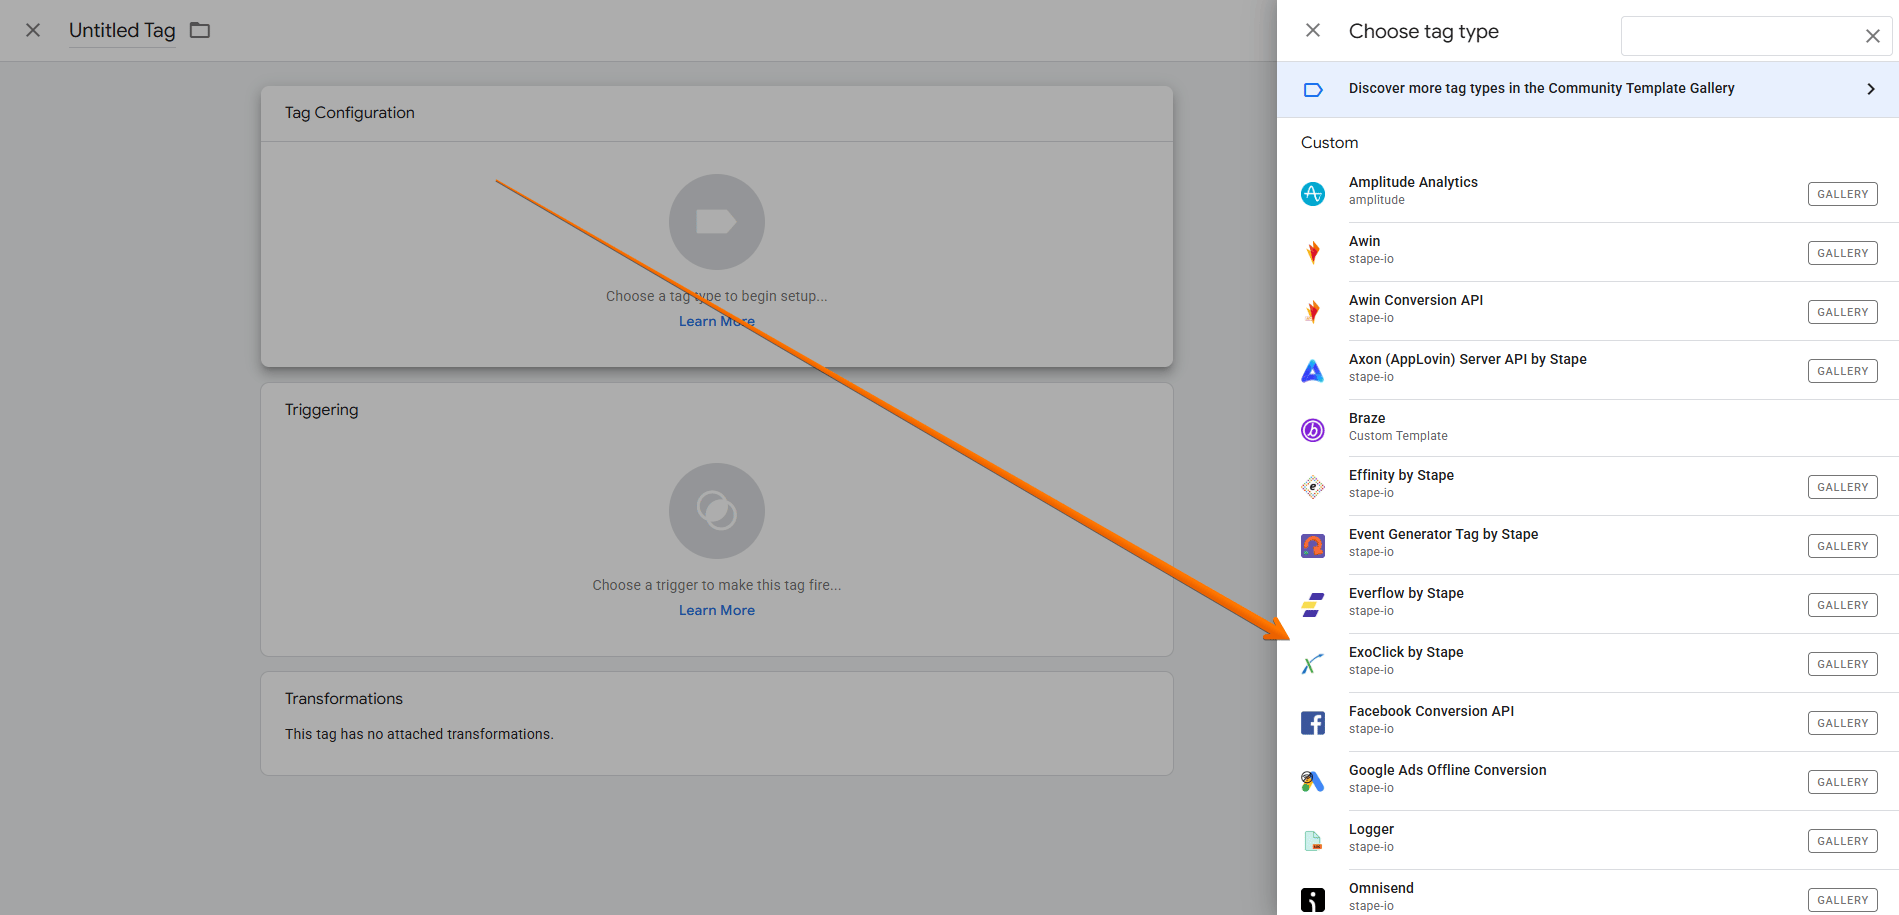
- Click Tag Configuration → select ExoClick.
4. Configure the ExoClick tag:
- Event Type - select whether you wish the tag to pass Page View or Conversion events.
If you send Page View events
- When a user reaches the landing page, this tag will fire to store the Click ID from your ad destination URL (see below) in the
_exoclick_cidfirst-party cookie. - Click ID URL Parameter Name - the query parameter key for your {conversions_tracking} token, found in your ad destination URL. It is user-defined in the ExoClick platform at Ad Level. For example, if your ad URL is http://www.yoursite.com/?exotracker={conversions_tracking}, then exotracker is the Click ID you should enter in this input.
- Cookie Settings (Web only) - you can change parameters or just leave them as is to keep the default settings:
- Time the Cookie Expiration - use this to set cookie lifetime in days.
- Override the Cookie Domain - enter your website's top-level domain as a fixed value (e.g., example.com), or leave auto for the domain to be determined automatically.
- Set up the Cookie SameSite - control whether or not a cookie is sent with cross-site requests (requests originating from a site different from the one that set the cookie). Learn more about the cookie SameSite value.
- Cookie HTTP Only Flag - control whether the cookies can be accessed by JavaScript running in the browser.

If you send Conversion events
- This tag will fire to send a postback to ExoClick.
- Click ID URL Parameter Name - the query parameter key for your {conversions_tracking} token, found in your ad destination URL. It is user-defined in the ExoClick platform at Ad Level. For example, if your ad URL is http://www.yoursite.com/?exotracker={conversions_tracking}, then exotracker is the Click ID you should enter in this input.
- Goal ID - found in the ExoClick Conversion Tracking tab under the ID column.
- Click ID Value - if left empty, this value will be automatically taken from the
_exoclick_cidcookie created by the ExcoClick tag configured to send Page View events (see above), which is set on pages containing the {conversions_tracking} ad destination token in the Click ID Key URL parameter. If you do not wish to fall back to the default value, pass your own value to this field. Only modify it if you have a custom implementation. - Conversion Value (for dynamic values) - required if you are using dynamic values on this Conversion Goal. If your Conversion Goal has a fixed value or no value, you can leave this field empty.
- Enable cookie syncing - sends 3rd party cookie-syncing pixels from the browser (for example, to s.chmsrv.com, s.pemsrv.com, etc.) if the server-side conversion request fails due to unavailable or invalid Click ID.
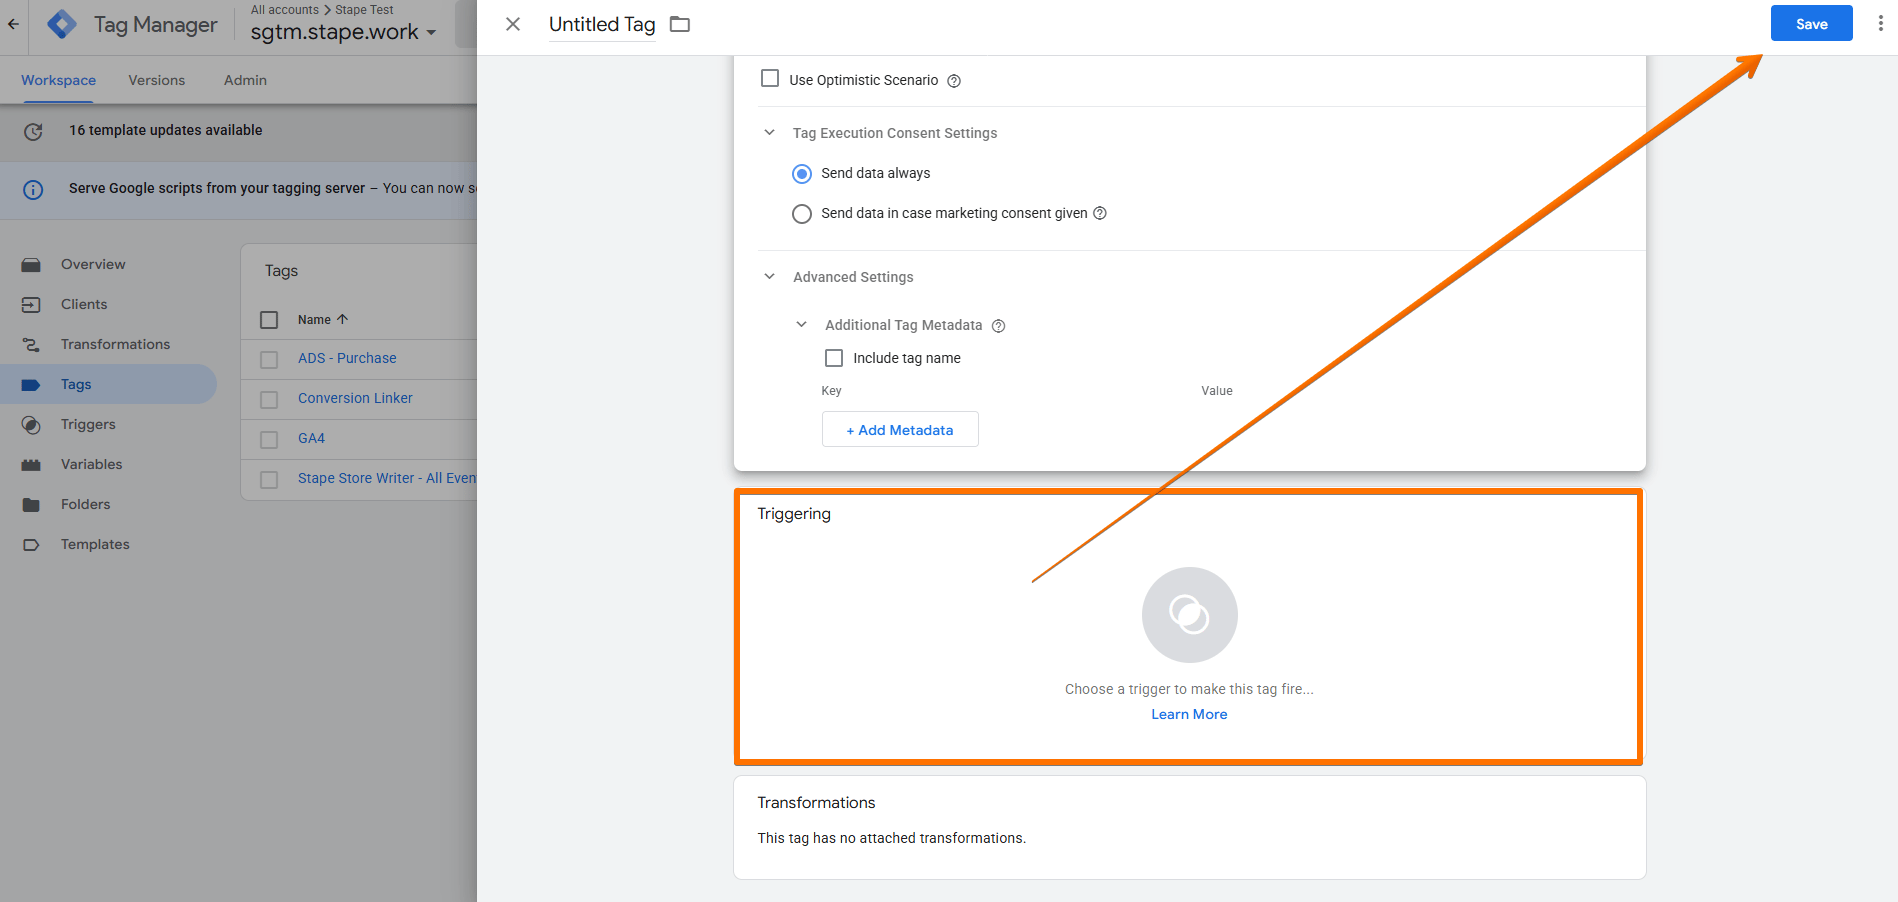
- Use Optimistic Scenario - the tag will call gtmOnSuccess() without waiting for a response from the API.

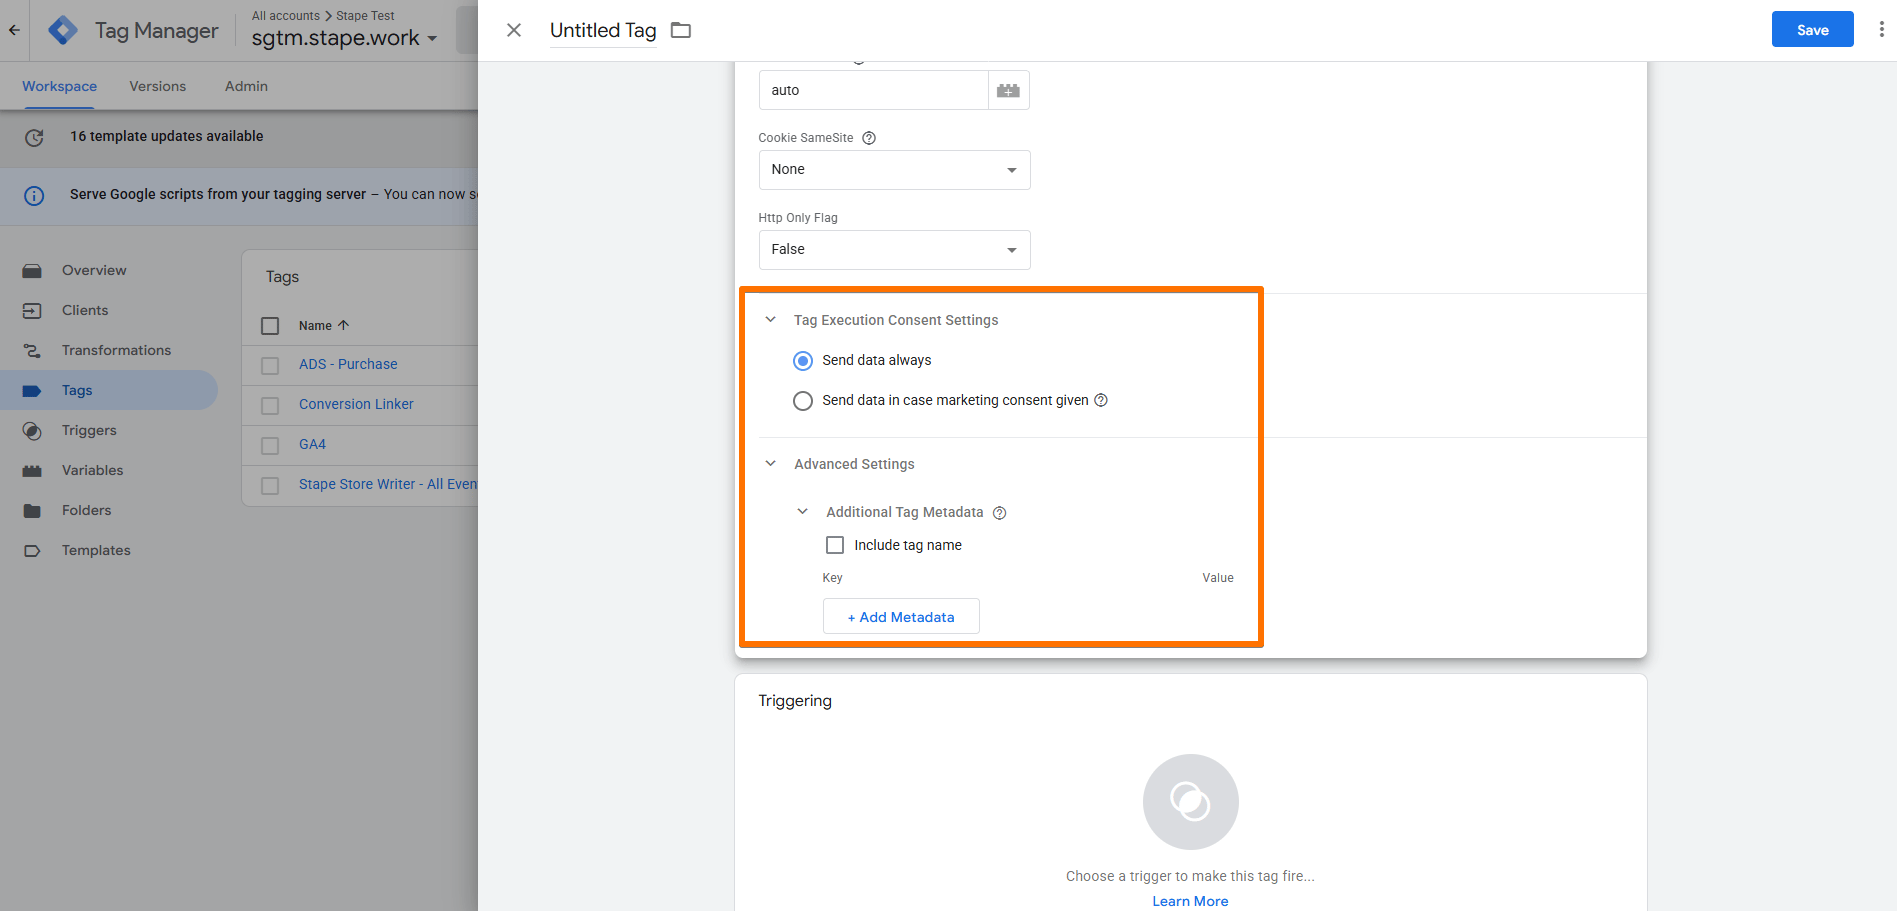
- Tag Execution Consent Settings - choose if you wish for the tag to wait for marketing consent from the user before firing.
- Advanced Settings (Additional Tag Metadata) - specify additional tag metadata to be included in the event data when the tag is fired.
5. Add the Trigger for the tag, give it a descriptive name, and click Save.
Testing
You can test the configurations in Google Tag Manager. Click on Preview, trigger the event on your website with actions like viewing a page or completing a transaction, and check whether the tag has fired.

Find out more about debugging and monitoring server-side tracking configuration in our guide.
Was this article helpful?
Comments