Step 2. Сreate a server container in Stape
Updated Jun 26, 2026
1. Go to stape.io and create an account or log in.
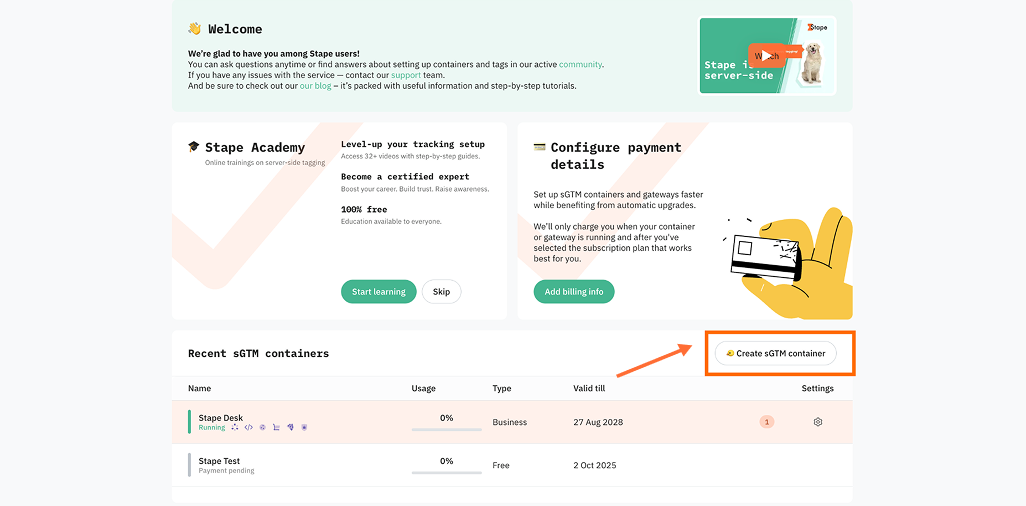
2. Click Create sGTM container on the main page.
3. Enter your container details.
- Container name - give your container a name (for convenience, we recommend using the same name you gave to the server container in GTM).
- Container configuration - paste the Container Config data that you copied from the Install Google Tag Manager pop-up. If you lost it, go to Google Tag Manager → click Admin → click Container settings → copy the string under Container Configuration.
- Server location - for best performance, choose the server location that’s closest to where most of your clients are. See the list of available server locations here. Also, you can opt for the Global multi-zone server location option if you have traffic from different regions. It will automatically route incoming requests to the nearest available zone based on the user’s IP address.
Then click Create Container.
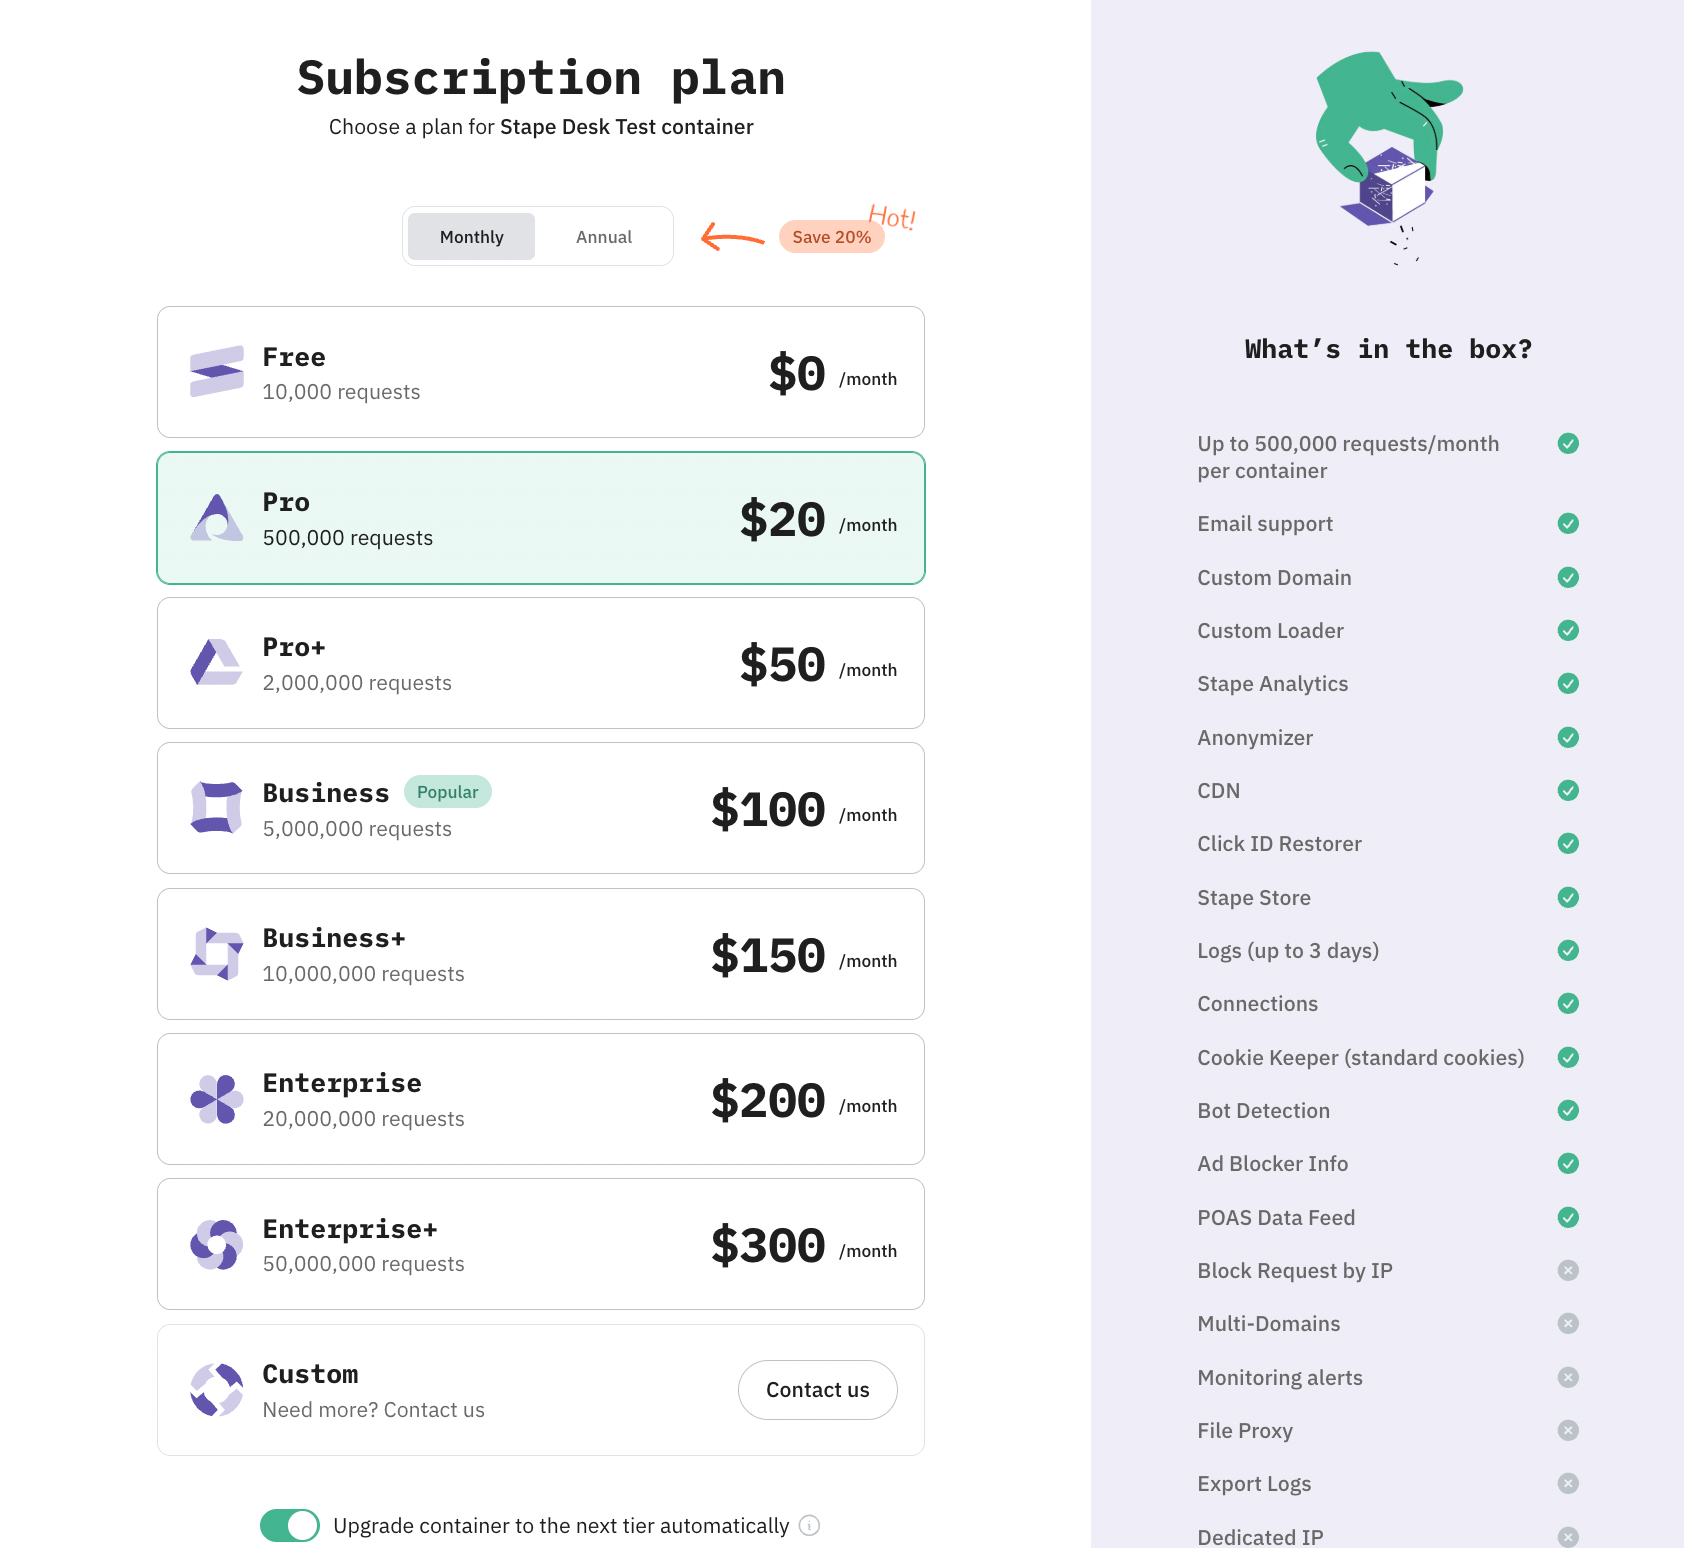
4. Choose a plan for your container. You can start with a Free plan. Click Continue with a Free plan.
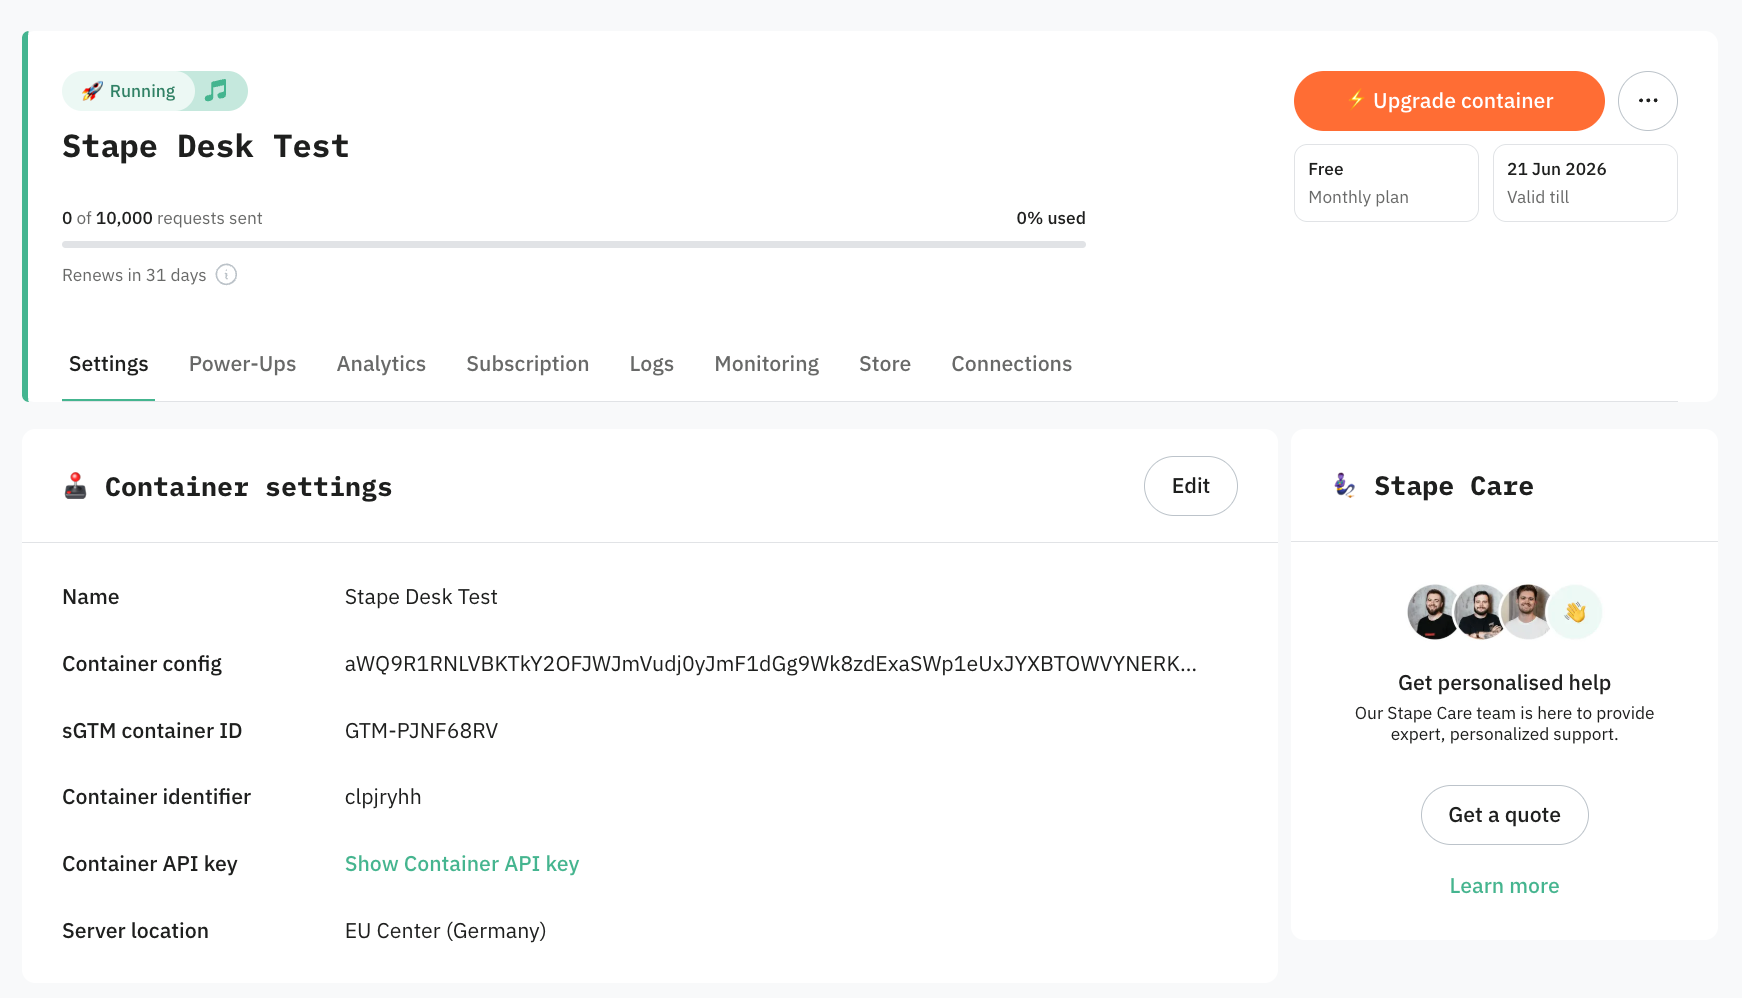
5. You will see the status of your container, container config, and plan name. It takes around 5 minutes to deploy a server container.
Please reload the page to update the status. If the Google Tag Manager server-side setup was done correctly, you should see the status Running.
Was this article helpful?
Subscribe to product updates:
Can’t find what you are looking for?
Comments