Effinity tag
Updated May 10, 2026
The Effinity tag is a custom tag template specifically designed for the Google Tag Manager (GTM) server container. Its main mission is to help you build a reliable, performance-based partnership with your affiliates by ensuring every sale and lead is accurately tracked and attributed.
This tag supports 2 primary actions:
- Page View. It "listens" for visitors arriving from Effinity partner links, captures the tracking parameters from the URL, and securely stores them in a first-party cookie for future use.
- Conversion. It sends a secure server-to-server request (postback) to Effinity, carrying all the essential details of a sale or lead to check your partners are credited correctly.
Move affiliate tracking to your secure server enables the Effinity tag to bypass ad blockers and restrictions such as Intelligent Tracking Prevention (ITP). Get more accurate sales data by preventing conversions from being missed due to technical limitations.
To maximize reliability, use a subdomain (e.g., ssgtm.domain.com) or a same-origin path (e.g., domain.com/metrics) for your server URL. Since cookies are set directly in the server response, they will be treated as first-party. This prevents ITP from restricting their lifespan, keeping your attribution rock-solid.
Prerequisites
To set up the Effinity tag, you will need the following:
- Configured data-streaming to the server GTM container (it can be server-side Google Analytics 4 or Data tag/Data Client).
How to set up server-side tracking for Effinity
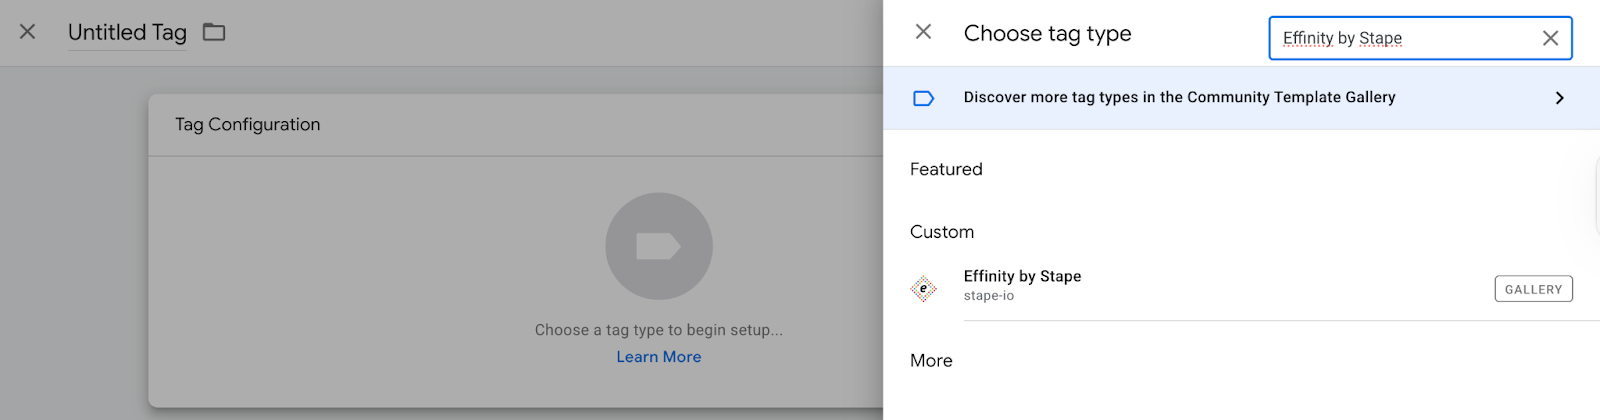
1. Add the Effinity tag by Stape to your GTM workspace. Go to your server GTM container → Templates section → Tag Templates → click Search Gallery → type Effinity by Stape → choose the template → click Add to workspace.

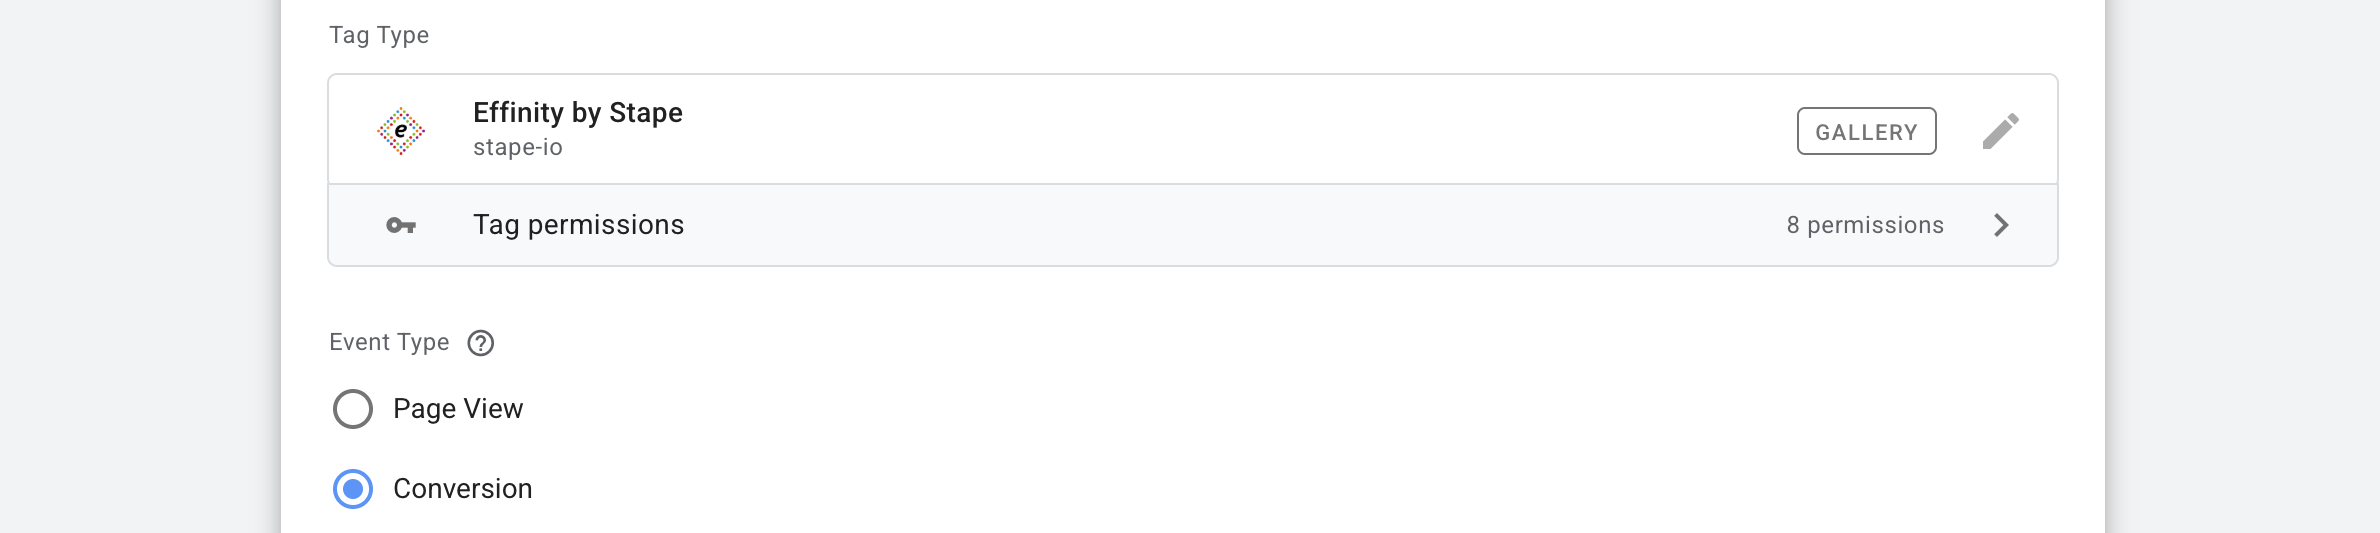
2. Create a new tag. Go to the Tags section → click New → as a tag type select Effinity by Stape.
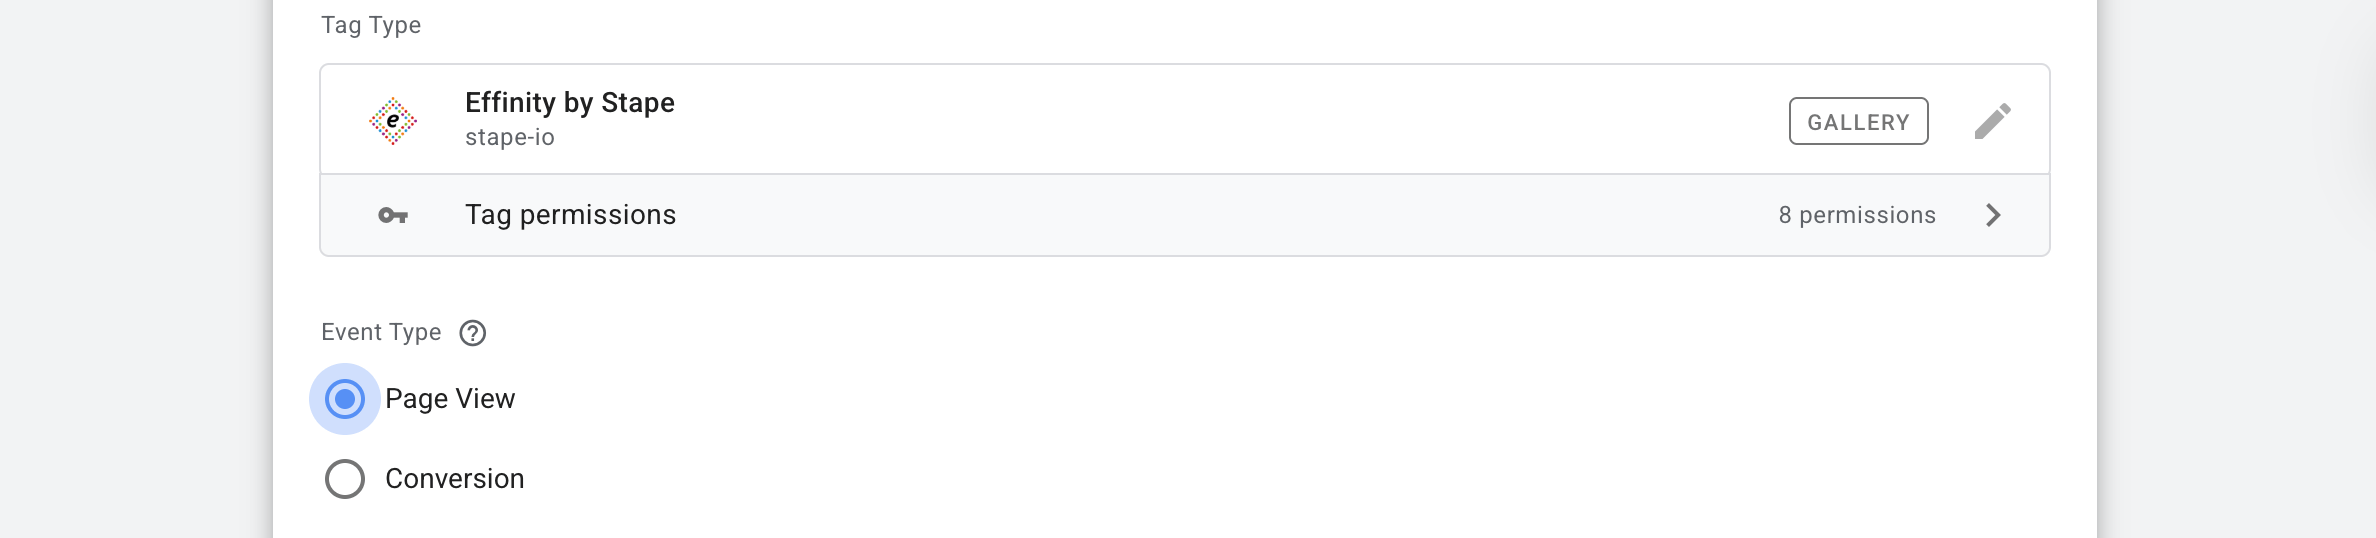
3. Choose the Event type for this tag → Page View (3.1) or Conversion (3.2). If you need both, create 2 tags.
3.1 Setting up the Page View event
Page View action is key for extracting affiliate-tracking parameters from the URL. When a user lands on your site via an Effinity partner link, this event "remembers" the visitor by saving the tracking ID into a secure first-party cookie.
3.1.1 Select Page View in the Event Type field
3.1.2 Cookie Settings section
This section defines how the tracking ID is stored on the user's browser.
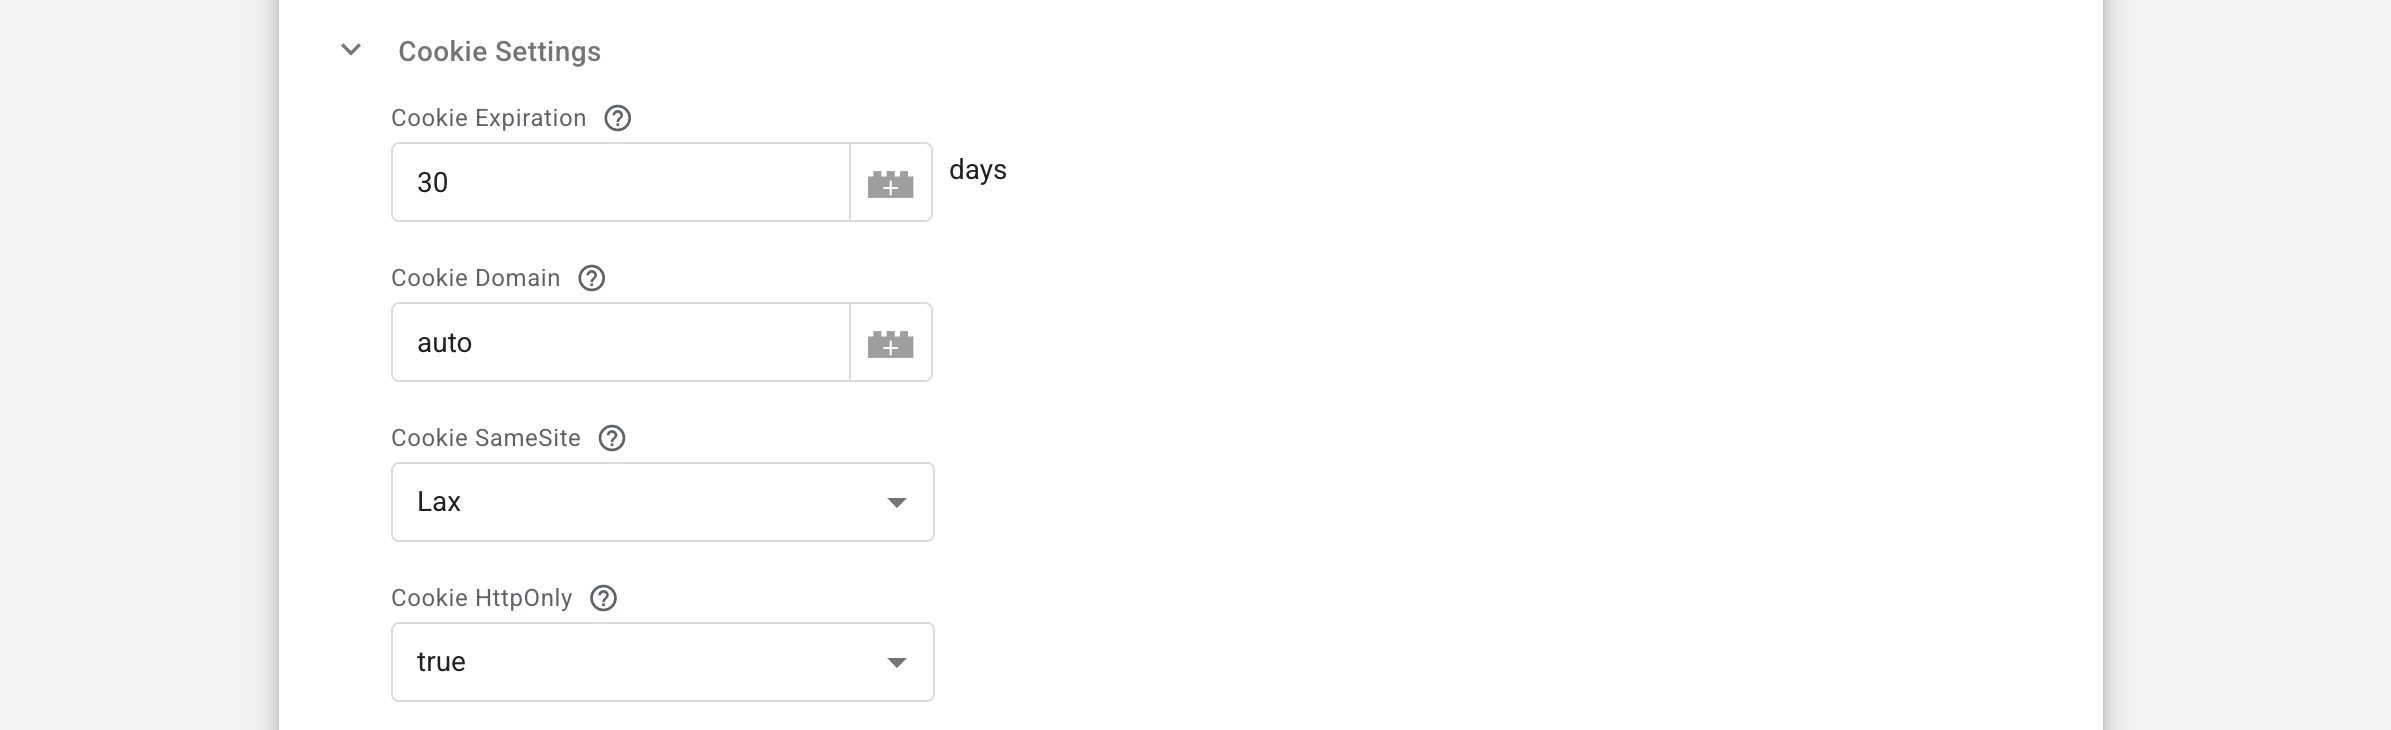
⦿ Cookie Expiration → set the number of days the cookie should remain valid (e.g., 30 days). The duration should match your agreement with Effinity.
⦿ Cookie Domain → keep this field empty or set to auto to use your top-level domain. Enter your website's top-level domain as a fixed value (e.g., example.com). If left as auto, the domain will be automatically determined using the following priority:
- Domain of the Forwarded header (if present).
- Domain of the X-Forwarded-Host header (if present).
- Domain of the Host header.
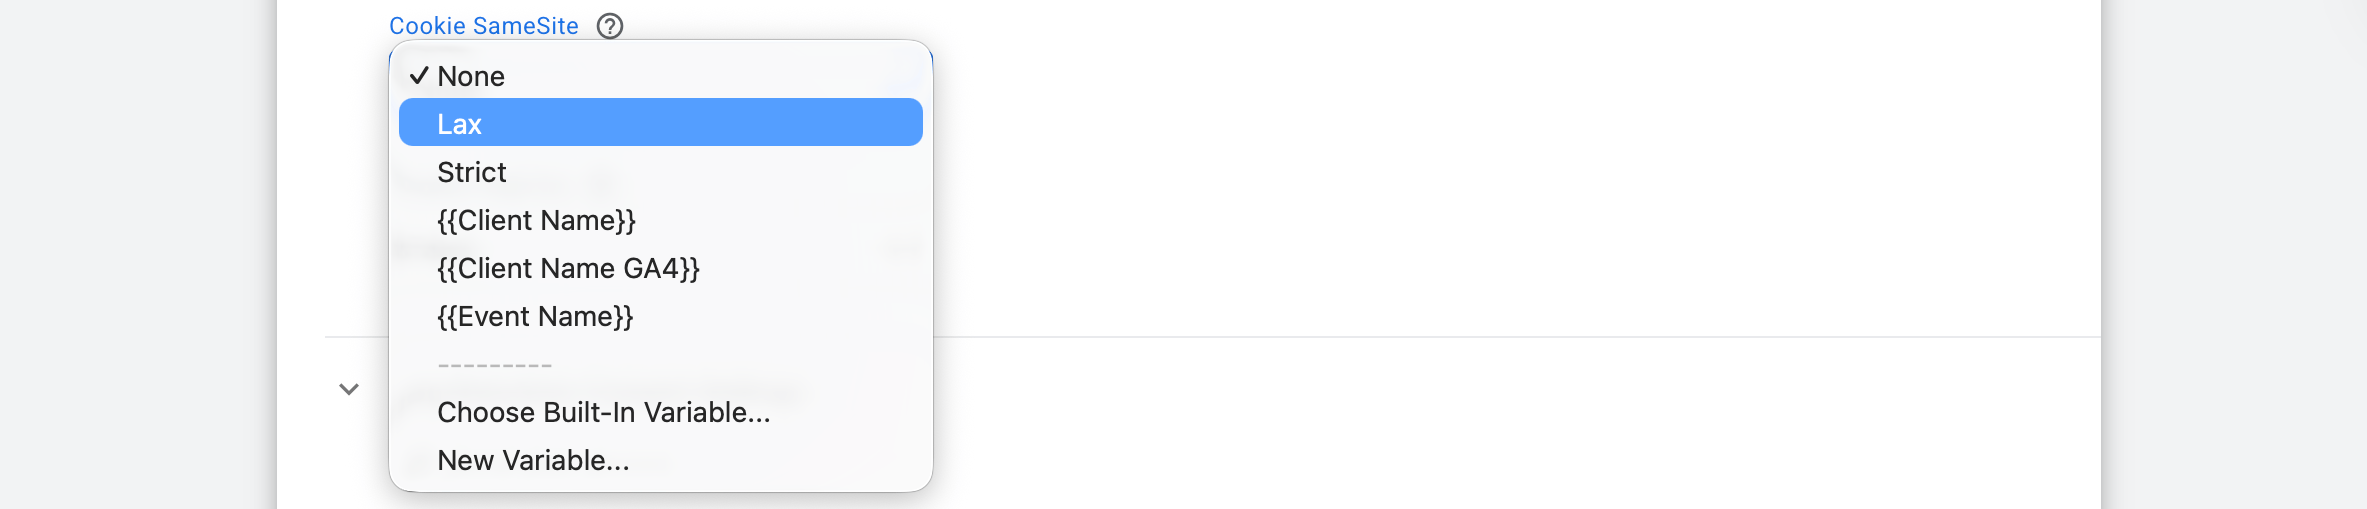
⦿ Cookie SameSite → choose how the cookie behaves across different sites:
- Lax is the recommended default for a balance between security and functionality.
- None requires a secure HTTPS connection.
- Strict prevents the cookie from being sent on cross-site requests.
⦿ Cookie HttpOnly → forbids JavaScript in the browser from accessing the cookie. We recommend setting this to true. This security feature prevents client-side scripts from accessing the cookie, protecting it from XSS attacks.

3.1.3 Tag Execution Consent Settings section
Manage your tracking compliance based on user privacy preferences:
- Send data always → the tag fires regardless of the user's consent status. Use this only if you have a legal basis for tracking that doesn't require explicit marketing consent.
- Send data in case marketing consent is given → this option acts as a "safety switch." It aborts the tag execution if marketing consent is not detected. The tag automatically checks for the
ad_storagesignal from Google Consent Mode or the marketing consent parameter from Stape's Data Tag. If no consent is found, the tag stops immediately to check compliance.

3.1.4 Advanced Settings
This block allows you to add technical metadata to the tag execution for better auditing.
- Include tag name → check this box to pass the name of the GTM tag along with the event data.
- Key for tag name → define the label for the tag name (e.g.,
gtm_tag_name). This key will be used to retrieve the tag name from the event data, making it easy to identify exactly which tag triggered the event in your reports. - Additional Tag Metadata → use the Key/Value table to add custom static parameters. For example, you can add
environment: productionorversion: 1.0to help distinguish data across different workspaces.

3.1.5 Add a trigger for your Page View tag.
3.2 Setting up the Conversion event
While the Page View action "remembers" the user, the Conversion action is where the magic happens. This event sends actual sales or lead data to Effinity to ensure your partners get their hard-earned commissions.
3.2.1 Select Conversion in the Event Type field.
3.2.2 Use Optimistic Scenario section
Choose true or false → If true, the tag will call gtmOnSuccess() without waiting for a response from the API. This will speed up sGTM response time. However, your tag will still return the status fired successfully even if it isn't.

3.2.3 Conversion Data section
This section is the core of your tracking setup. It defines what type of conversion occurred and how the data is mapped from your server to Effinity.
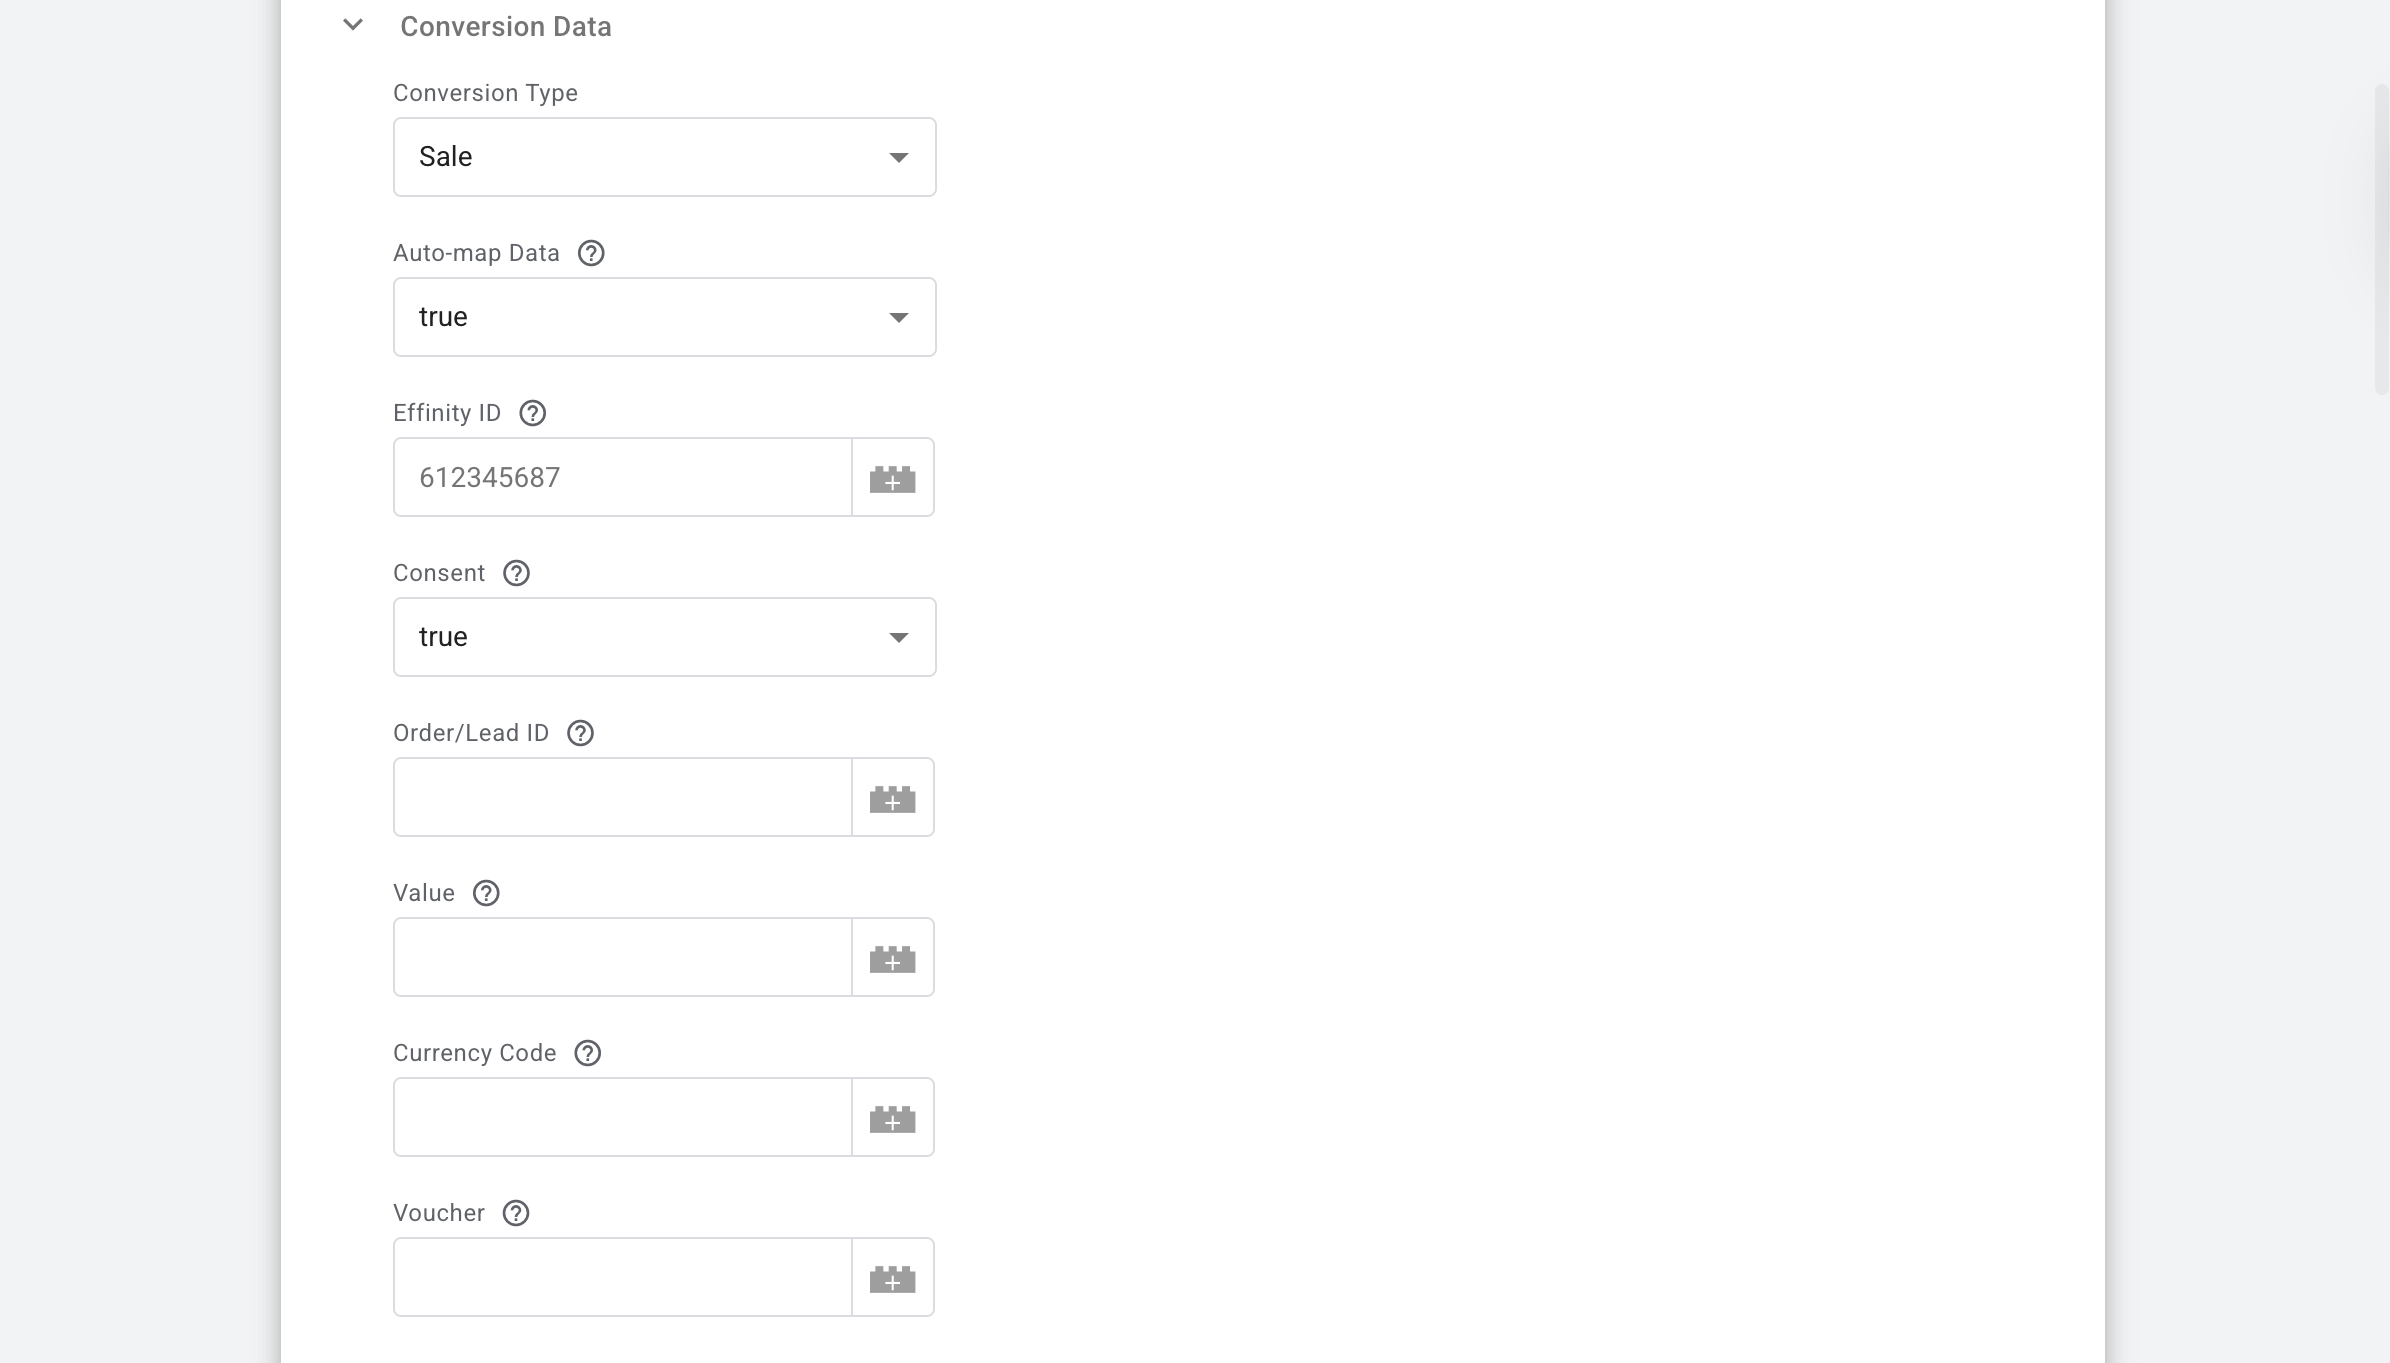
⦿ Conversion Type → select either Sale (for eCommerce transactions) or Lead (for sign-ups or inquiries).
⦿ Auto-map Data: → when set to true, the tag automatically pulls values from your eventData (like GA4 events). Even with auto-mapping enabled, any value you manually enter in the fields below will override the automatically generated data. Here is how the tag maps data by default:
- Order/Lead ID ← transaction_id.
- Value ← value.
- Currency Code ← currency.
- Voucher ← coupon.
- Cart Details ← items.
⦿ Effinity ID → enter your unique advertiser identifier provided by the Effinity team.
⦿ Consent (Required) → you must inform Effinity whether the user has given consent. Map this to a variable that returns true or false.
⦿ Order/Lead ID (Required) → the unique reference for the transaction. If auto-map is on, it defaults to transaction_id.
⦿ Value (Required) → the order total excluding tax and shipping. Do not include currency symbols or commas. Use a decimal point (e.g., 99.99).
⦿ Currency Code (Required) → must be a 3-letter ISO-4217 code (e.g., USD, EUR, GBP).
⦿ Voucher → enter the discount code used. Defaults to coupon if auto-mapped.
3.2.4 IDs
Effinity uses specific parameters (often found in the landing page URL) to attribute the sale to the right partner. Our tag is smart enough to look for these in the URL or the cookie created during the Page View event.
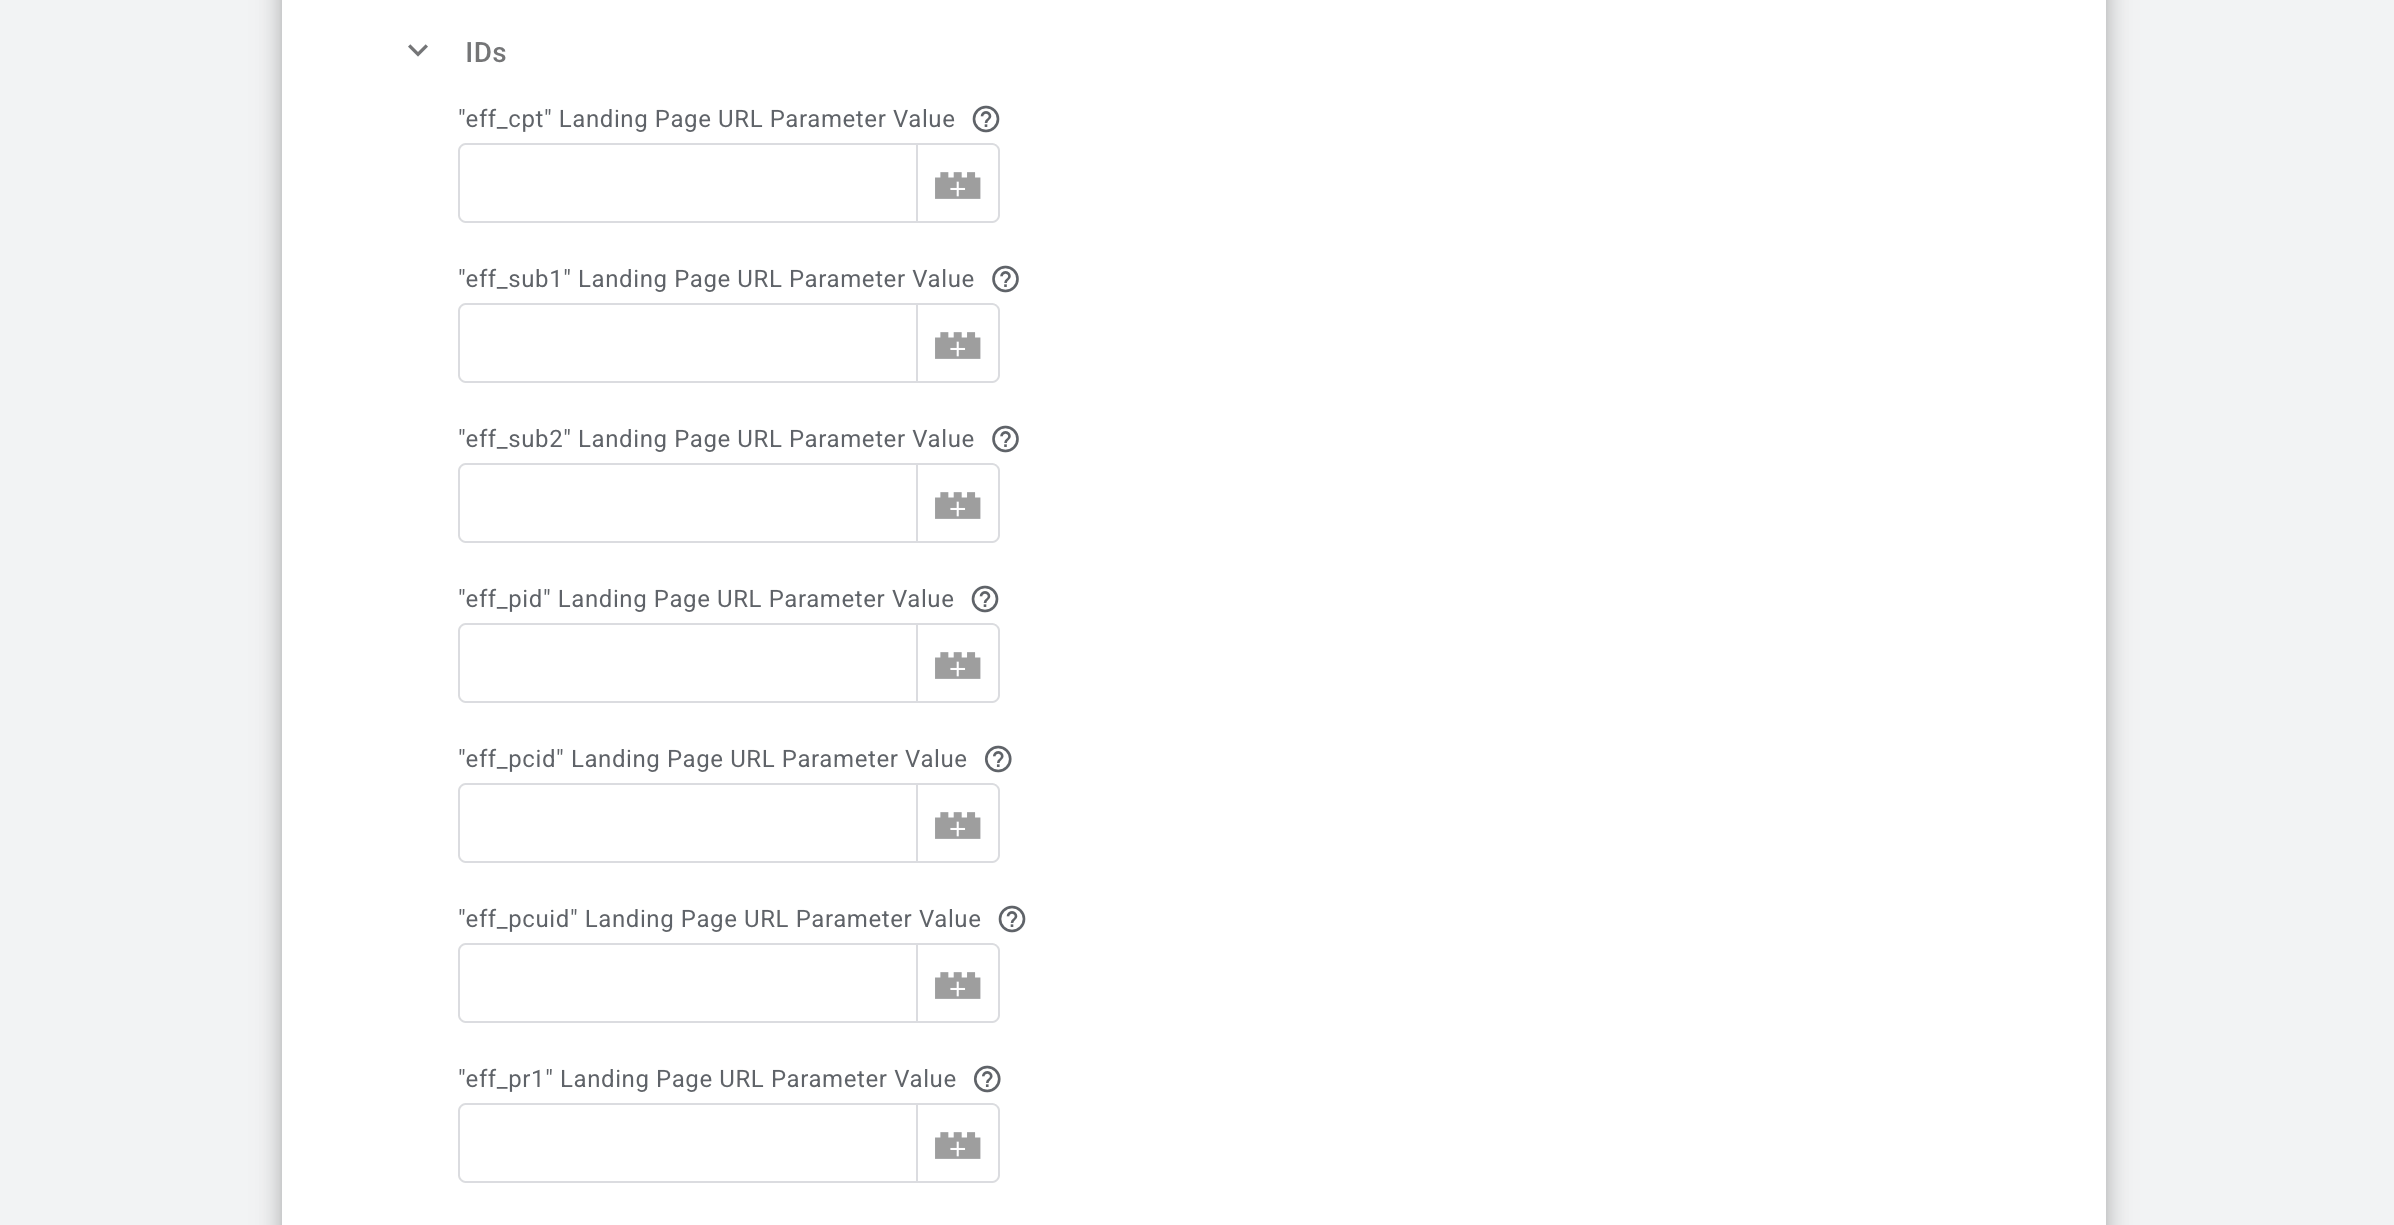
⦿ eff_cpt (ID Compteur) (Required) → this is the main tracking identifier. The tag automatically looks for the eff_cpt parameter or the value saved in your first-party cookie.
⦿ Optional Tracking Identifiers → these fields allow for deeper granularity in your reporting. If left blank, the tag defaults to the corresponding URL parameter or cookie value:
eff_sub1 / eff_sub2— custom tracking identifiers for your own sub-campaign logic.eff_pid— unique product identifier.eff_pcid— publisher content ID (used for content commerce operations).eff_pcuid— redirection URL identifier.
Eff_pr1— unique identifier for a BAT (Business Affiliate Tracking).
3.2.5 Optional Conversion Data section
While these fields aren't strictly required to fire the tag, filling them in gives Effinity much deeper insights into your traffic quality and customer behavior.
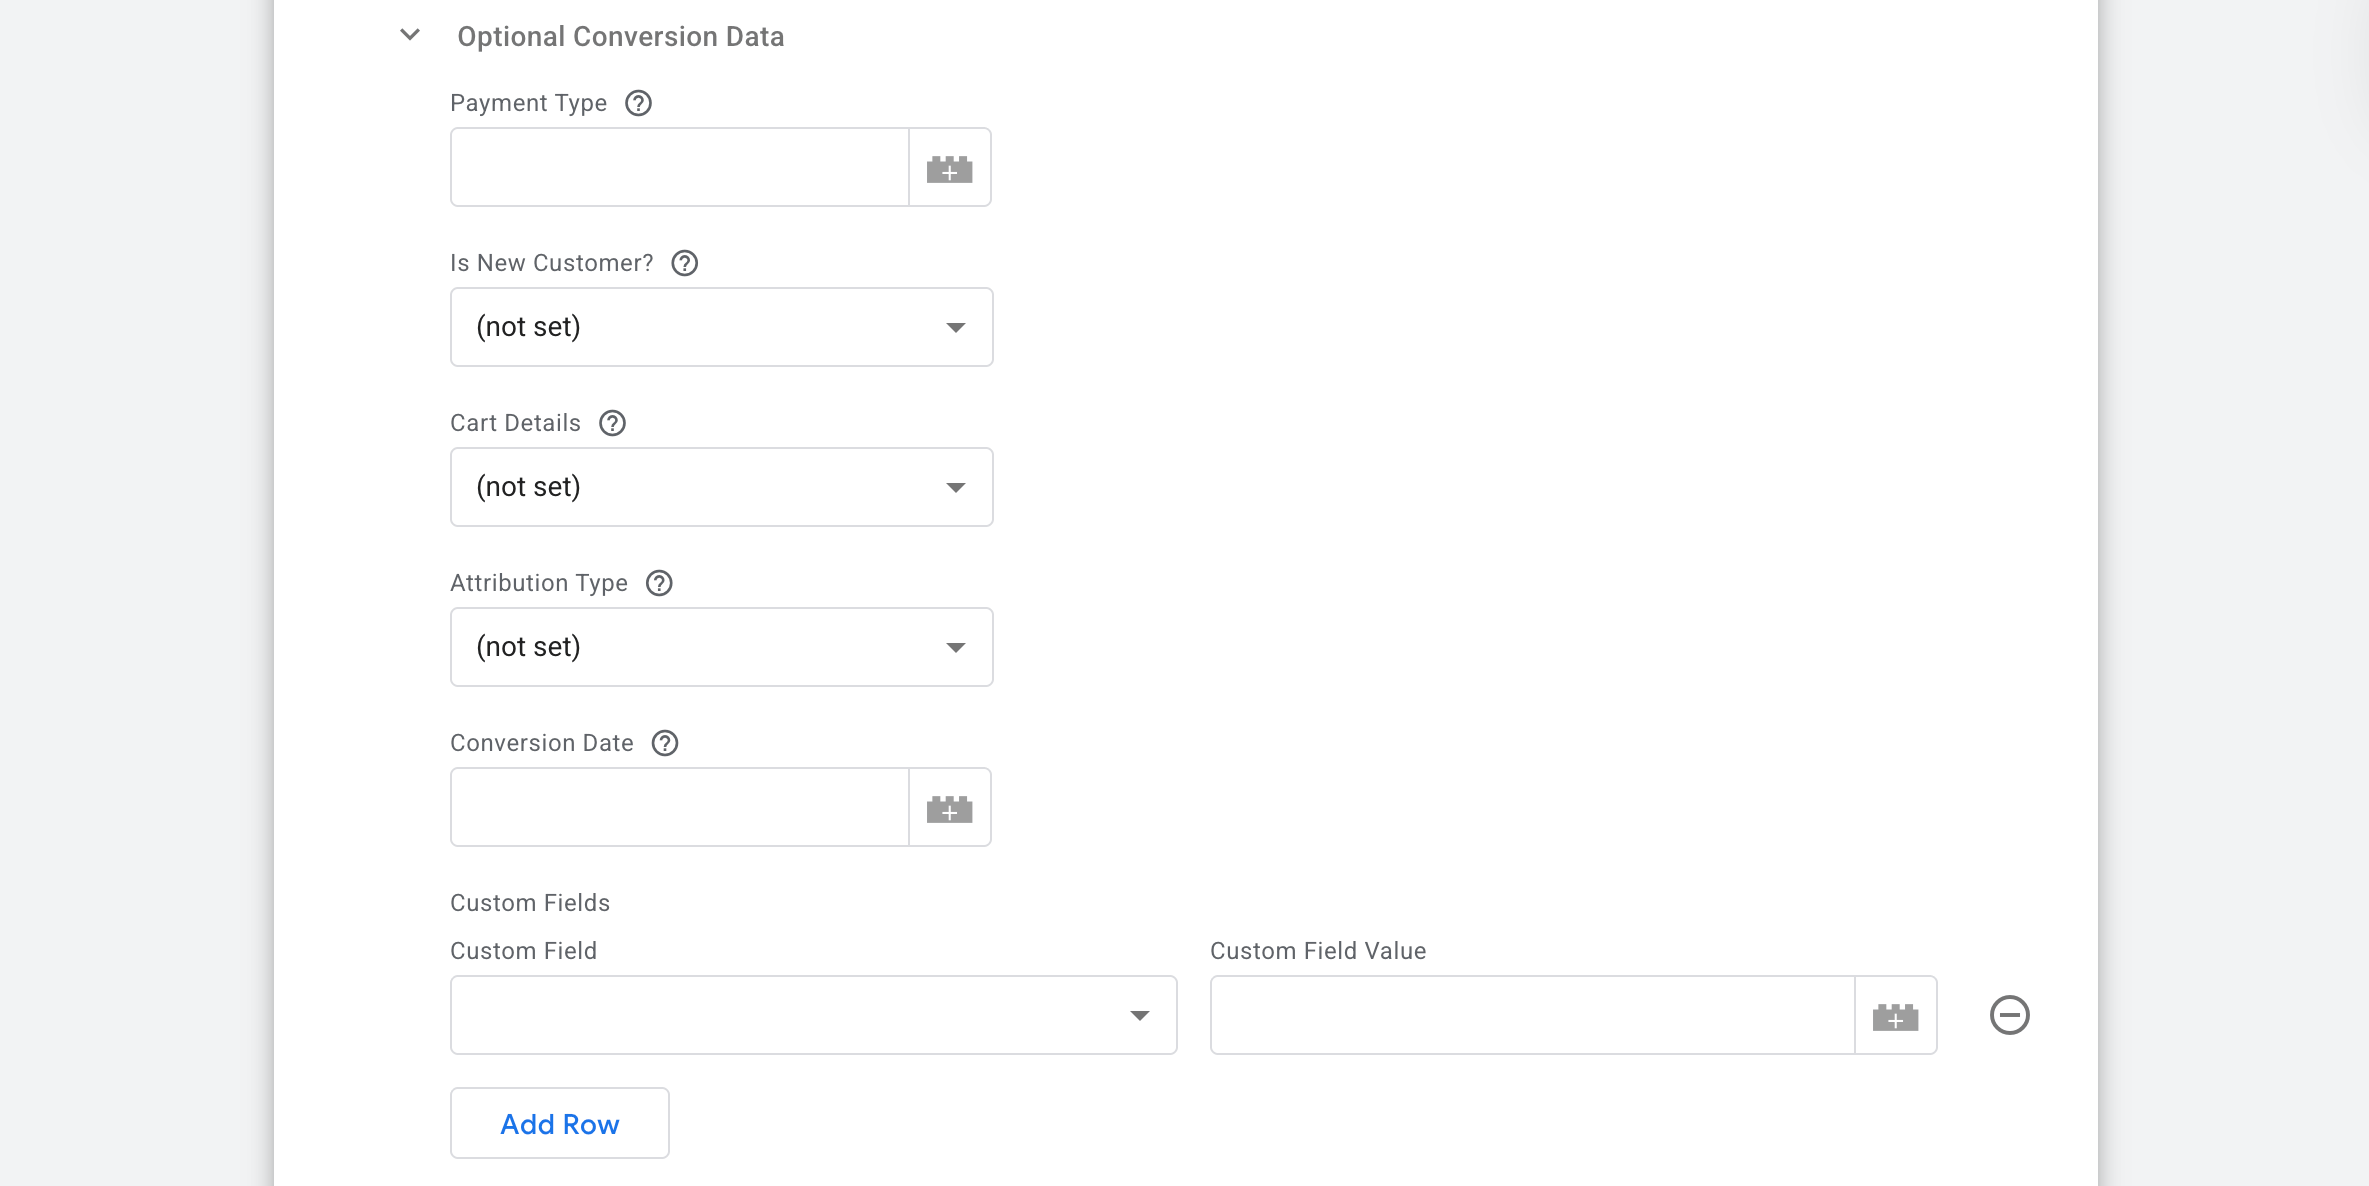
⦿ Payment Type → specify how the customer paid (e.g., credit_card, paypal). If you have Auto-map Data enabled, the tag will automatically look for eventData.payment_type.
⦿ Is a New Customer? → this is great for campaigns that pay different commissions for new vs. returning users. Set to true for new users or false for returning ones. The tag maps eventData.customer_type (it recognizes new as true and returning as false).
⦿ Cart Details → this parameter tracks the specific products inside the order. It expects an array of product objects. If Auto-map is on, it pulls directly from eventData.items. For the best results, ensure your items contain the standard keys: id (or item_id), nom (or item_name), price, and quantity. If any are missing or unmatched, they will be excluded from the item data sent.
⦿ Attribution Type → the field tells Effinity where they stood in the customer's journey. You can choose:
- 0 — Effinity was not part of the journey.
- 1 — Effinity was the last touchpoint (standard affiliate logic).
- 2 — Effinity was part of the journey but not the last click.
⦿ Conversion Date → use this if you need to report a conversion that happened at a specific time in the past. Accepted Formats are YYYY-MM-DD (e.g., 2025-12-31) or YYYYMMDDThhmmss. If left empty, the current time is used.
⦿ Custom Fields → if you need to send something unique that isn't covered above, click Add Row and define your own Custom Field (key) and Value. This is perfect for internal reference IDs or specific campaign labels.
3.2.6 Logs Settings section
This section allows you to control how much technical information is recorded in your server logs.

⦿ Do not log → use this for your live production environment. It keeps your logs clean and focused once you are 100% sure the integration is working perfectly.
⦿ Log to console during debug and preview (Recommended for setup) → Technical details will only appear when you are actively testing in GTM's Preview mode. It allows you to see the exact request sent to Effinity and their server's response.
⦿ Always log to console → the tag records data to the console for every request, even outside of preview mode.
3.2.7 BigQuery Logs Settings section
This moves your data from temporary GTM previews into a robust database for long-term storage.
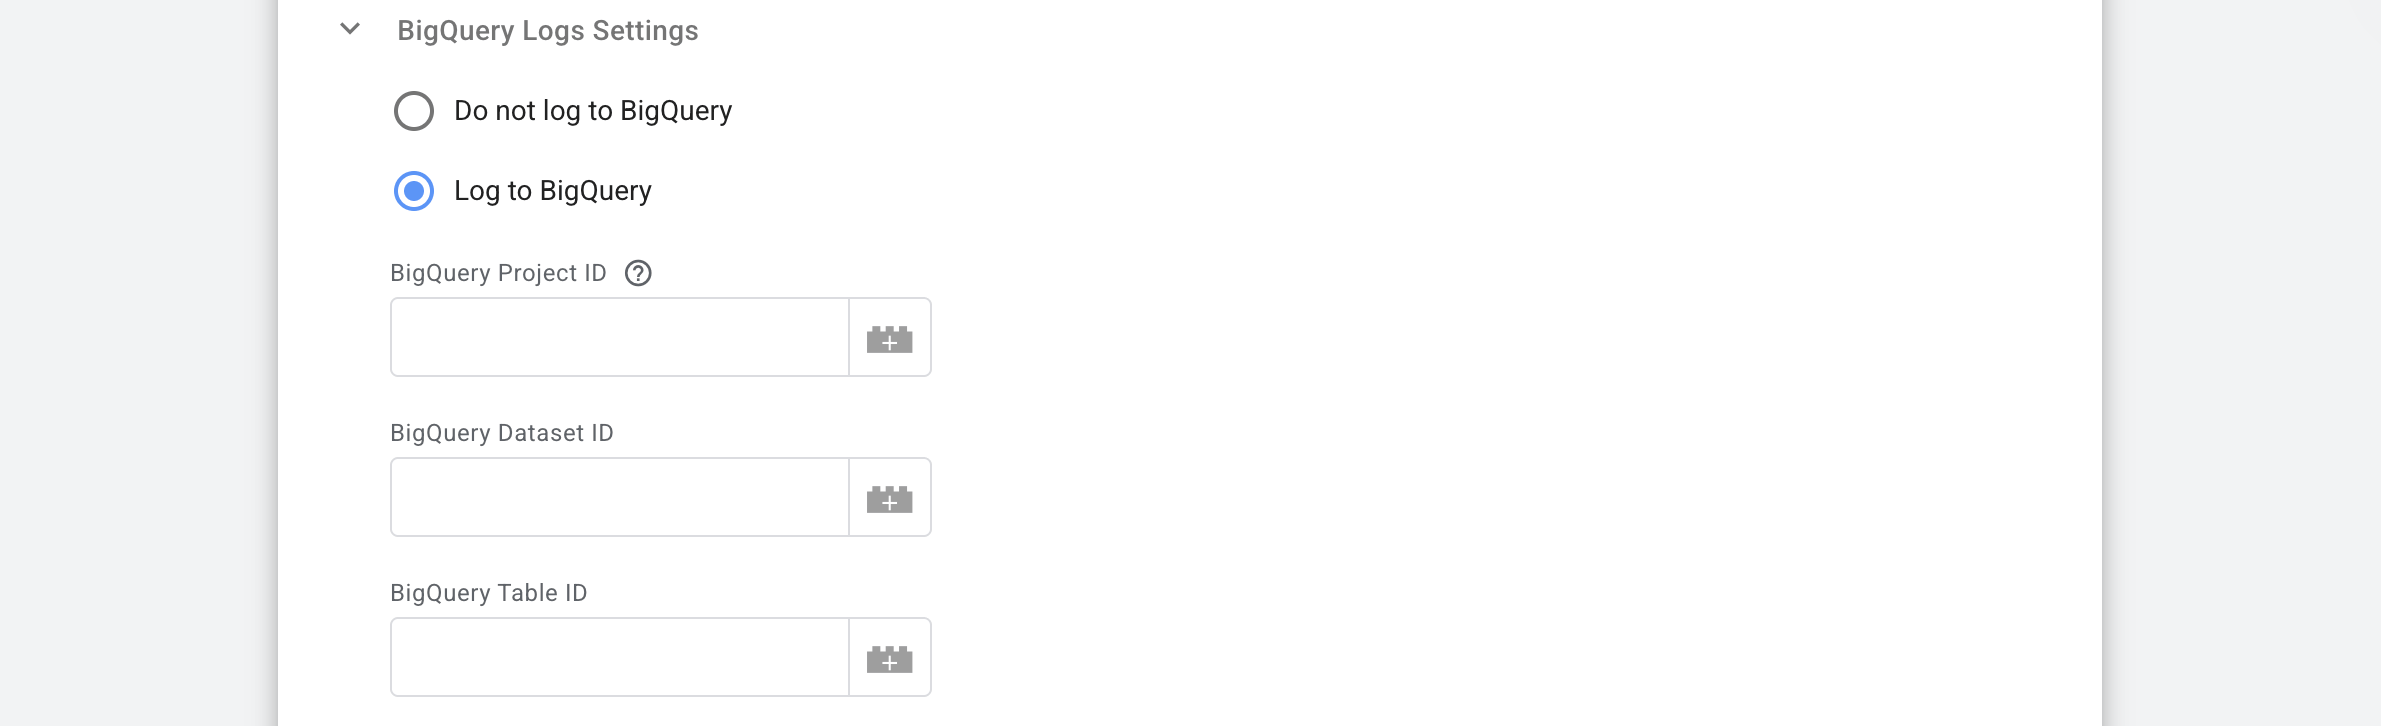
⦿ Do not log to BigQuery → this is the default setting. Use this if you don't need a permanent database record of your conversion logs.
⦿ Log to BigQuery → when enabled, the tag will send every request and response to a specified table in Google BigQuery:
- BigQuery Project ID → enter your Google Cloud project identifier.
- QA Nerd Note → if you leave this blank, the tag is smart enough to pull the ID from your environment variable (
GOOGLE_CLOUD_PROJECT). This is especially handy if your server container is already running on Google Cloud. - BigQuery Dataset ID → enter the specific dataset name where you want to store the logs.
- BigQuery Table ID → provide the exact table name where the log entries should be recorded.
3.2.8 Tag Execution Consent Settings section
The parameters are the same as for the Page View event. Use instructions from the point 3.1.3 to set it up.
3.2.9 Advanced Settings section
Just like in the Page View event, this block helps with auditing and keeping your server data organized. Use instructions from the point 3.1.4 to set it up.
3.2.10 Add a trigger for your Conversion tag.
4. Test the setup using Preview mode in the server GTM container. Refer to our guide on debugging and monitoring server-side configuration.
Was this article helpful?
Comments