Affiliate Future tag
Updated Apr 24, 2026
The Affiliate Future tag is a custom tag template for the Google Tag Manager (GTM) server container. Its main job is to ensure you accurately credit the partner who sent you a customer, and it supports 2 primary actions:
- Page View. Captures the Affiliate Future Click ID from the URL and saves it as a cookie for later use.
- Conversion. Sends a server-to-server request (postback) with conversion data to Affiliate Future.
So, this tag moves affiliate tracking away from the web browser and onto your secure server, giving you much more accurate sales data.
Prerequisites
To configure the Affiliate Future tag, you will need the following:
- Configured data-streaming to the server GTM container (it can be server-side Google Analytics 4 or Data tag/Data Client).
How to set up Affiliate Future server-side tracking
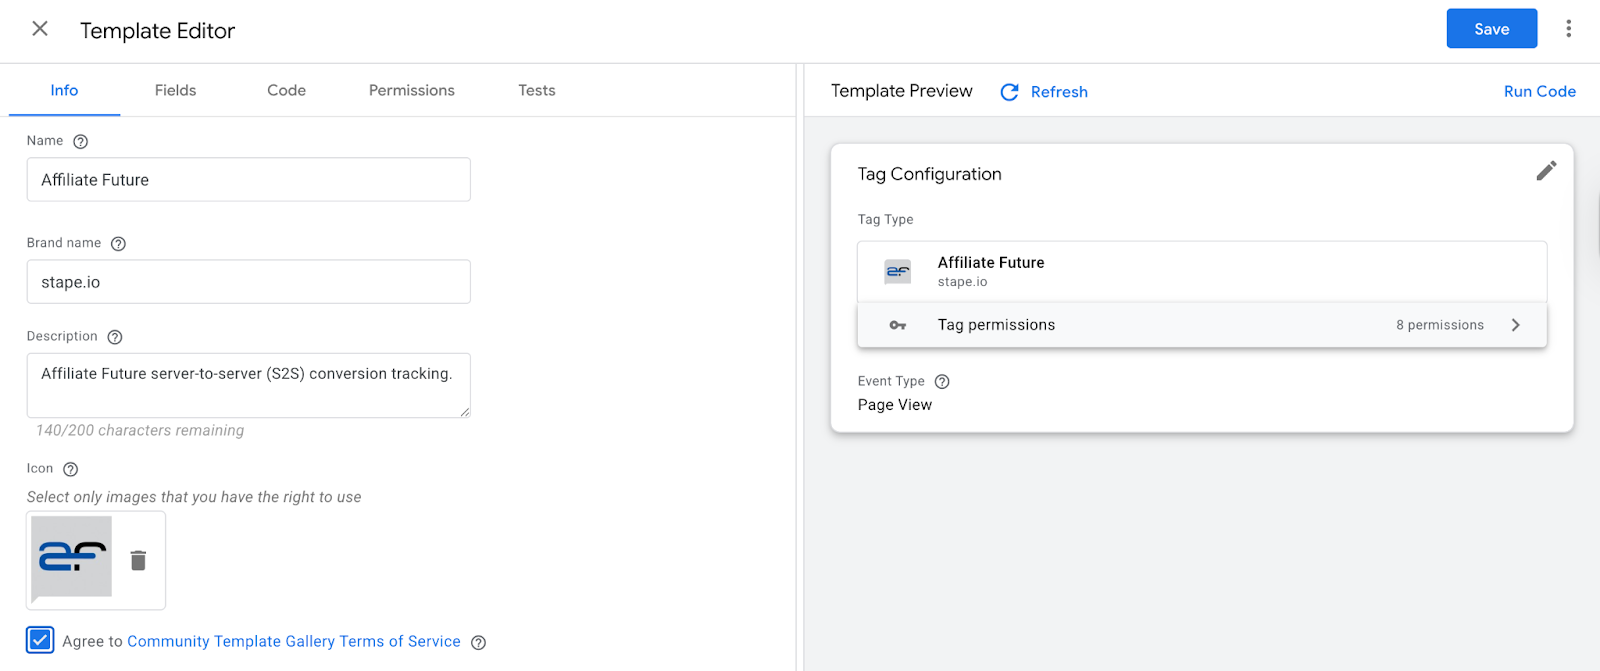
1. Add the Affiliate Future tag by Stape to your GTM workspace. To do this, download a zip archive on GitHub → unzip the archive → go to your server GTM container → Templates section → Tag Templates form → click New → click 3 dots icon in the upper right corner of the page → choose Import option → upload file template.tpl from the zip archive → click Save.
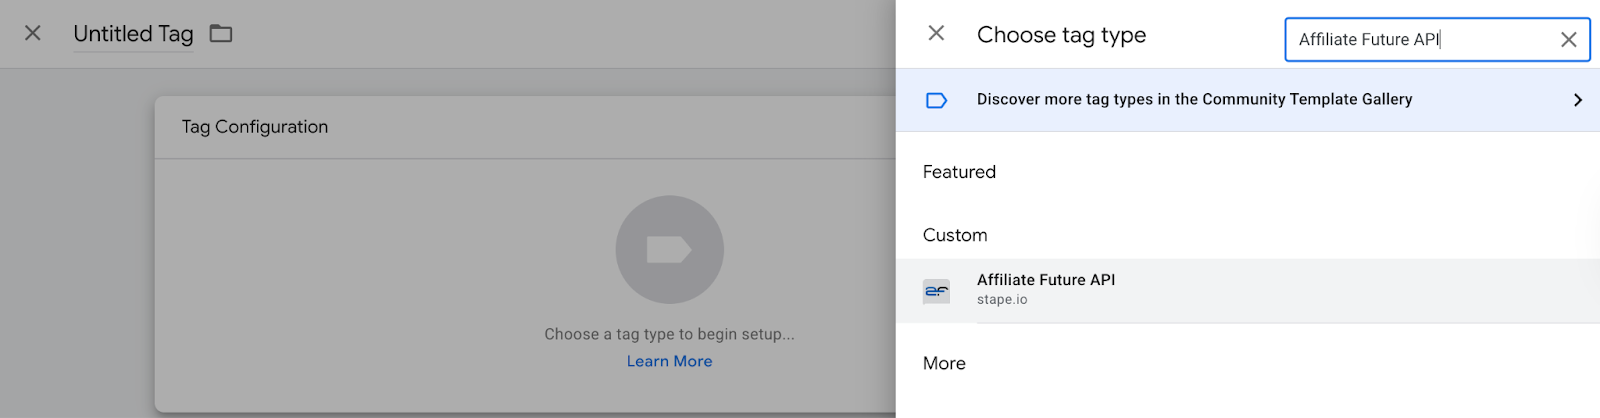
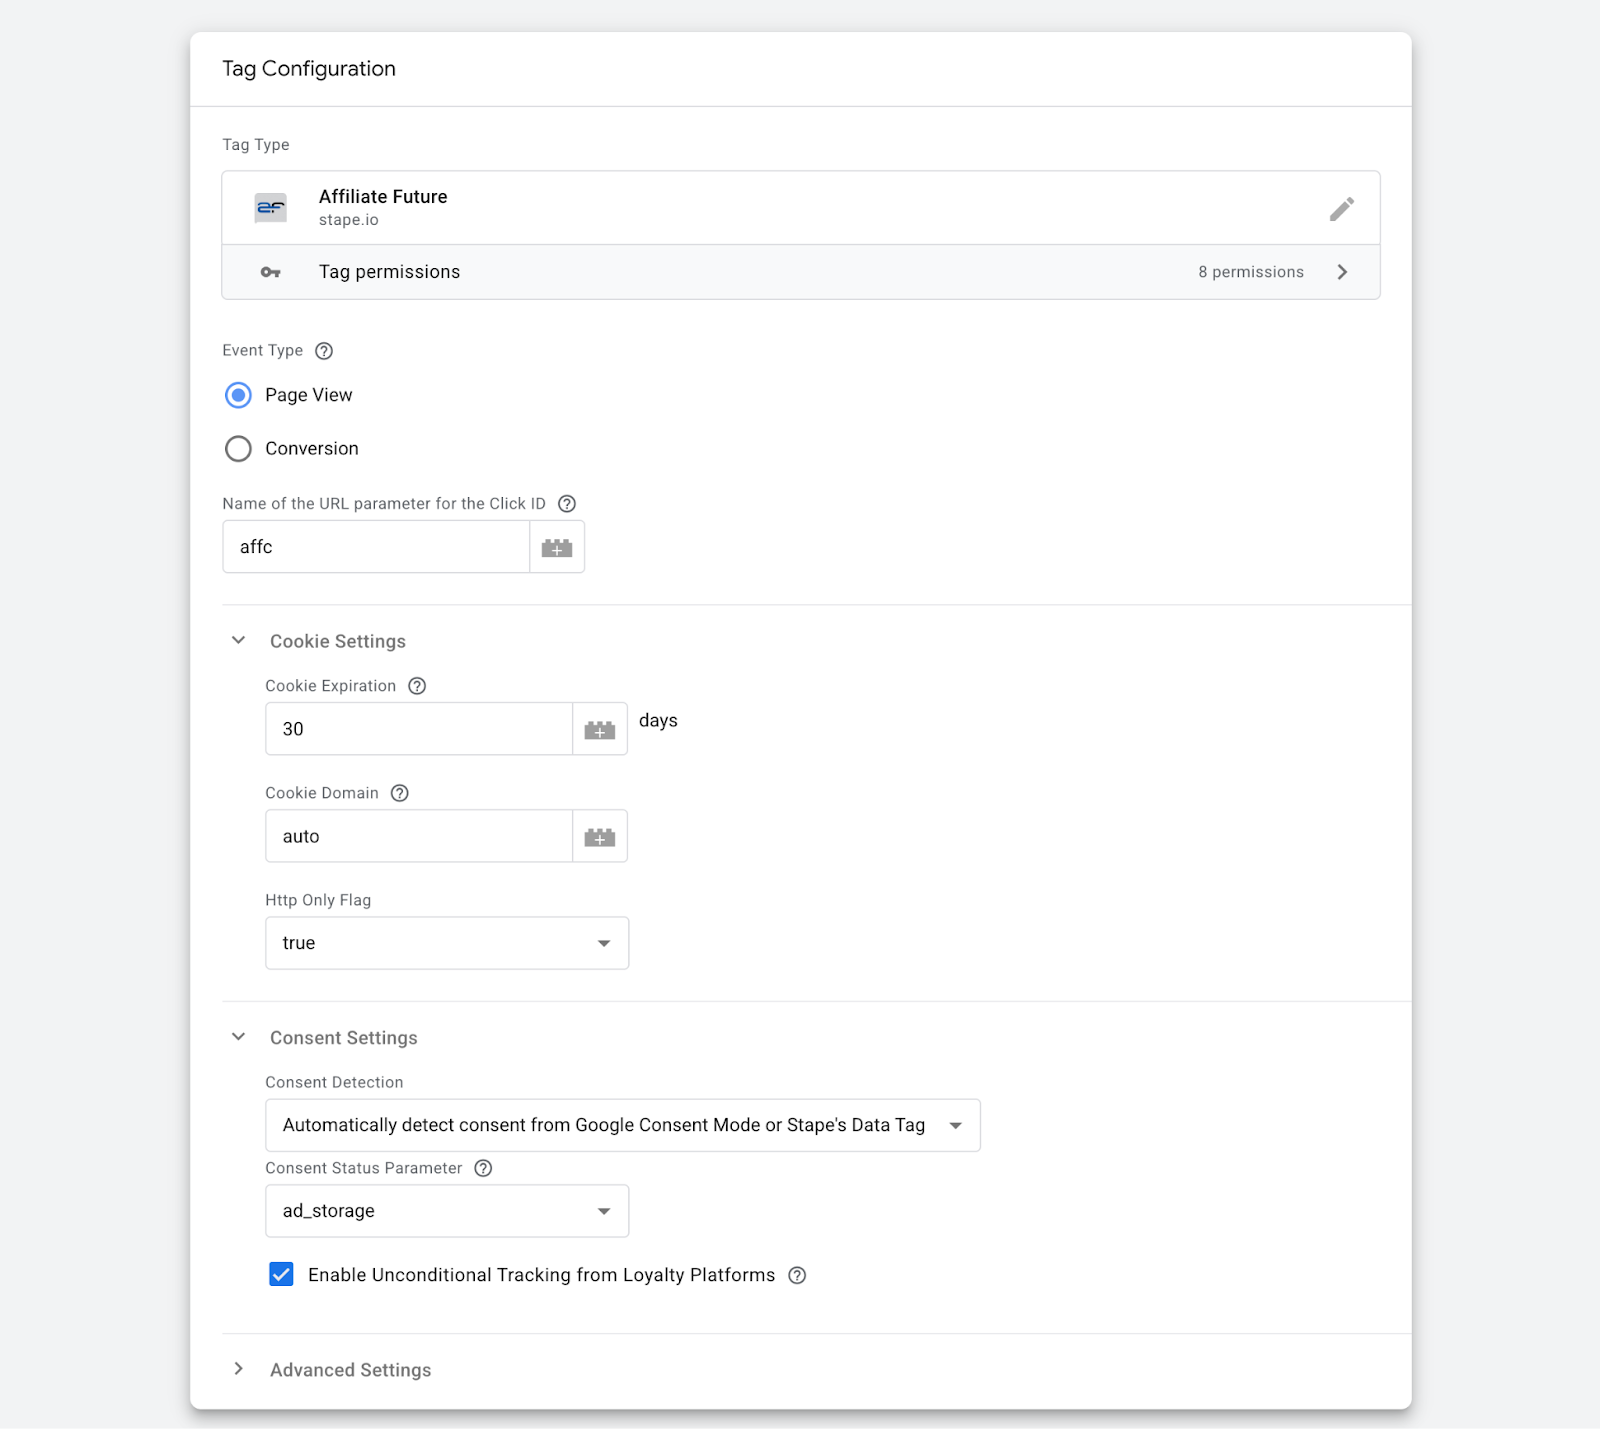
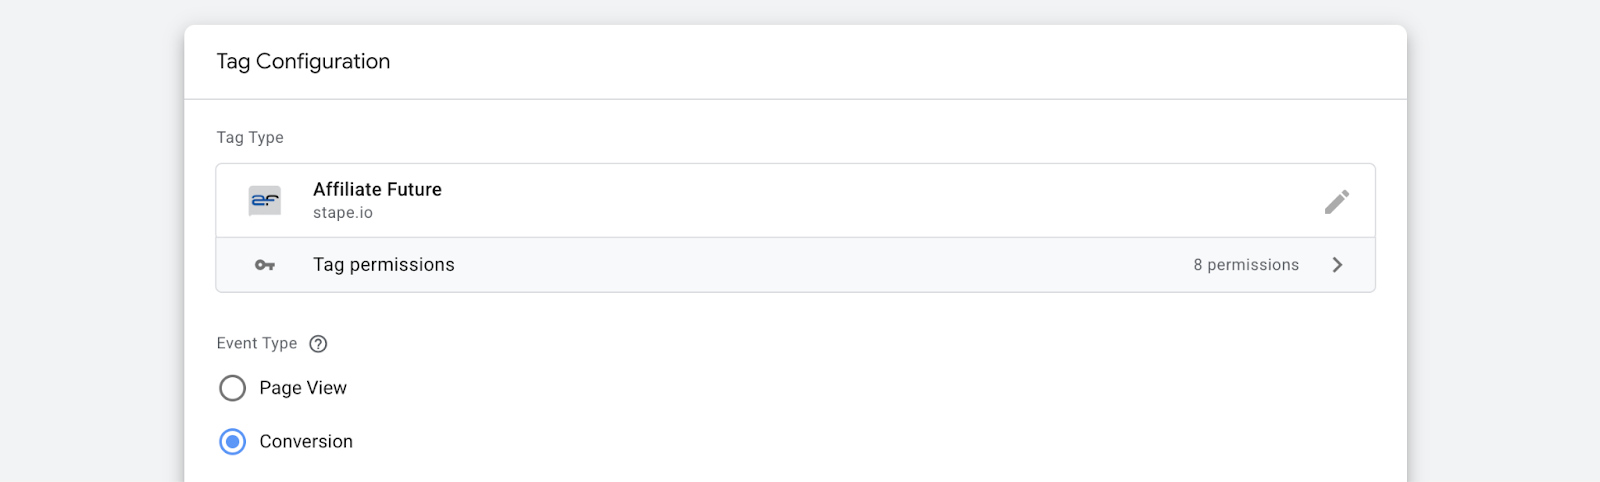
2. Create a new tag. Go to the Tags section → click New → as tag type select Affiliate Future.
3. Choose the Event type for this tag - Page View (3.1) or Conversion (3.2). If you need both, create 2 tags.
3.1 Setting up the Page View event
This tag configuration with Page View event works on all pages that a user can visit via an affiliate link. Its purpose is to "remember" the unique click ID.
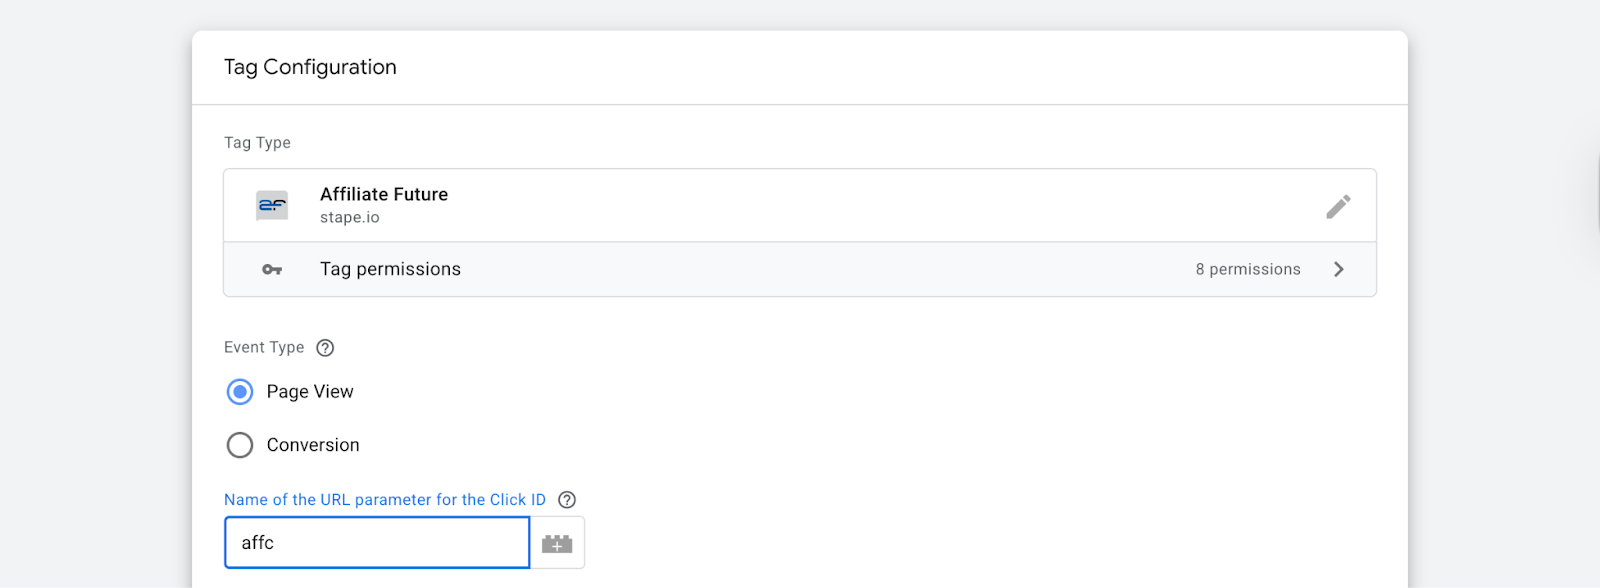
3.1.1 Select Page View in the Event Type field.
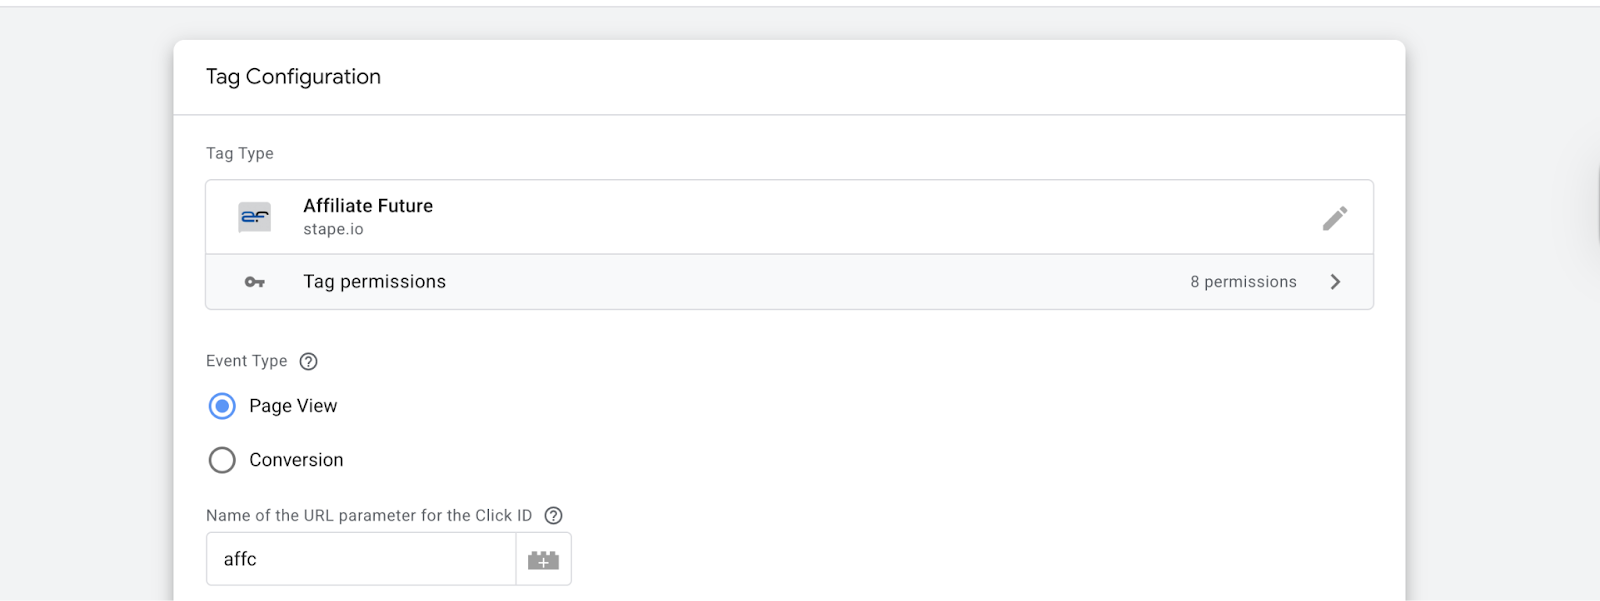
3.1.2 Choose Name of the URL parameter for the Click ID → Keep the default value affc if your affiliate network does not use another parameter.
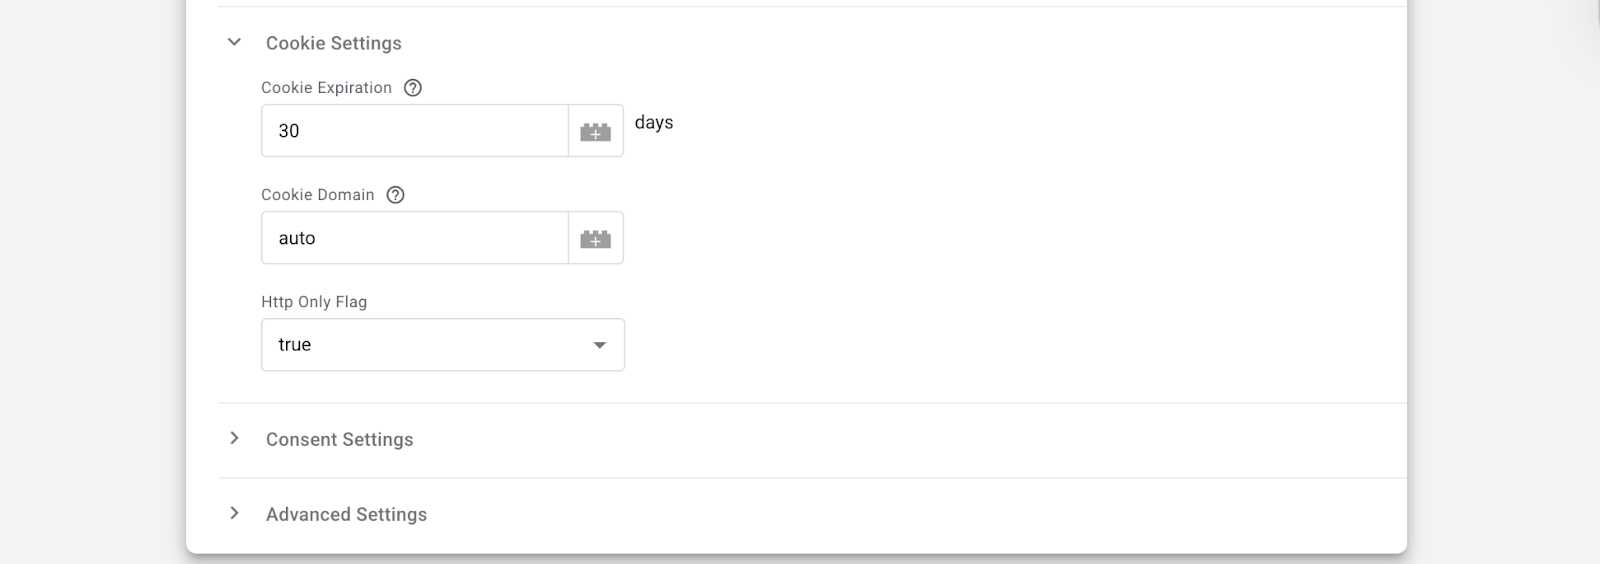
3.1.3 Fill out the form with Cookie Settings:
- Fill in Cookie Expiration → Set the number of days the cookie should last, for example, 30 days. This parameter should align with your Affiliate Future agreement.
- Choose Cookie Domain → Keep
autoif there is no need to override it.
- Check Cookie Http Only Flag → Keep it
truefor security.
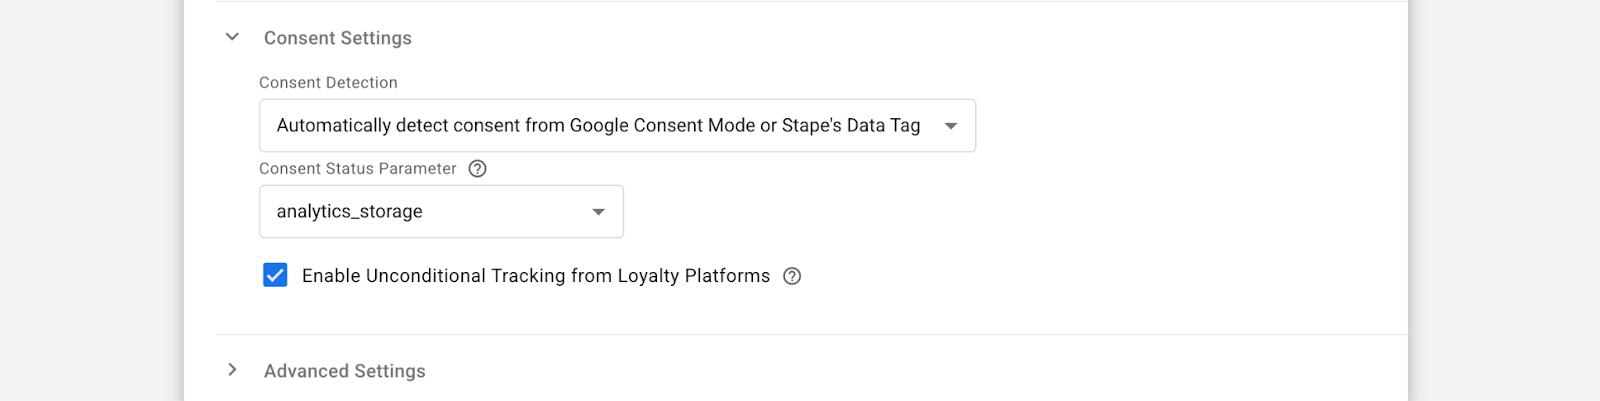
3.1.4 Select the consent detection method in the Consent Settings section:
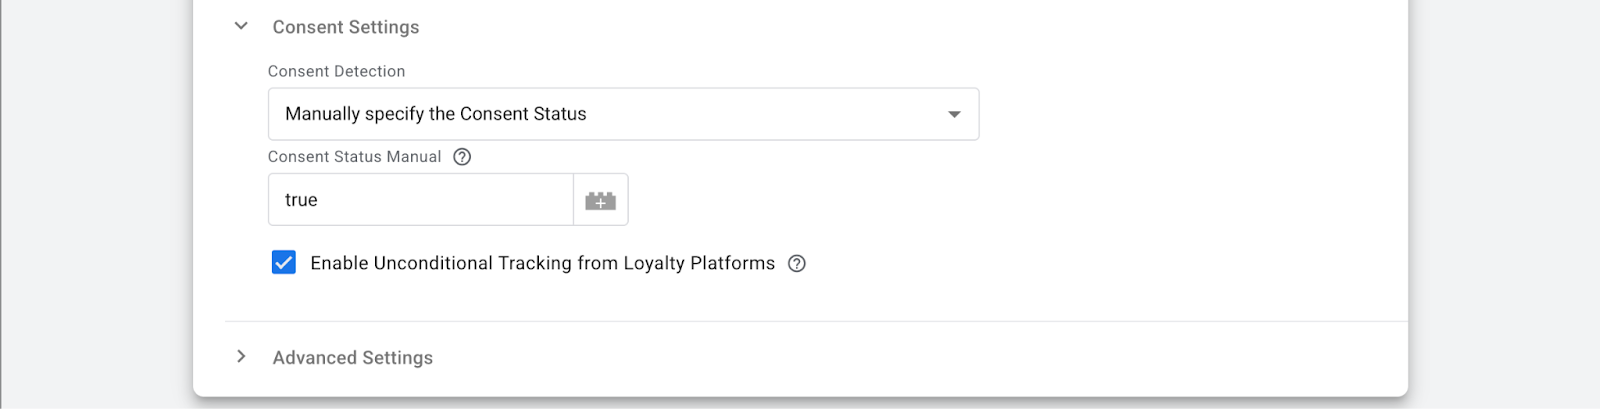
- Choose the Consent Detection as Automatically detect consent or Manually specify the Consent Status.
- Select the consent parameter
analytics_storageorad_storagethat is related to the category of cookies for affiliate tracking. - Specify a variable that returns
trueorfalse. Use this field if you are not using Google Consent Mode. This field allows you to specify the user consent status using a custom variable. Accepted values are:0orfalse,1ortrue. If the field is blank or with a value other than0/false, the tag will assume by default that consent istrue.
- Check the box Enable Unconditional Tracking from Loyalty Platforms if you work with loyalty programs. It will allow cookies to be recorded if the URL contains
afloyalty=1, even without consent.
3.1.5 Add a trigger for your Page View/Conversion tag.
3.2 Setting up the Conversion event
This tag configuration with Conversion event only fires when a completed conversion, like a purchase, occurs.
3.2.1 Select Conversion in the Event Type field.
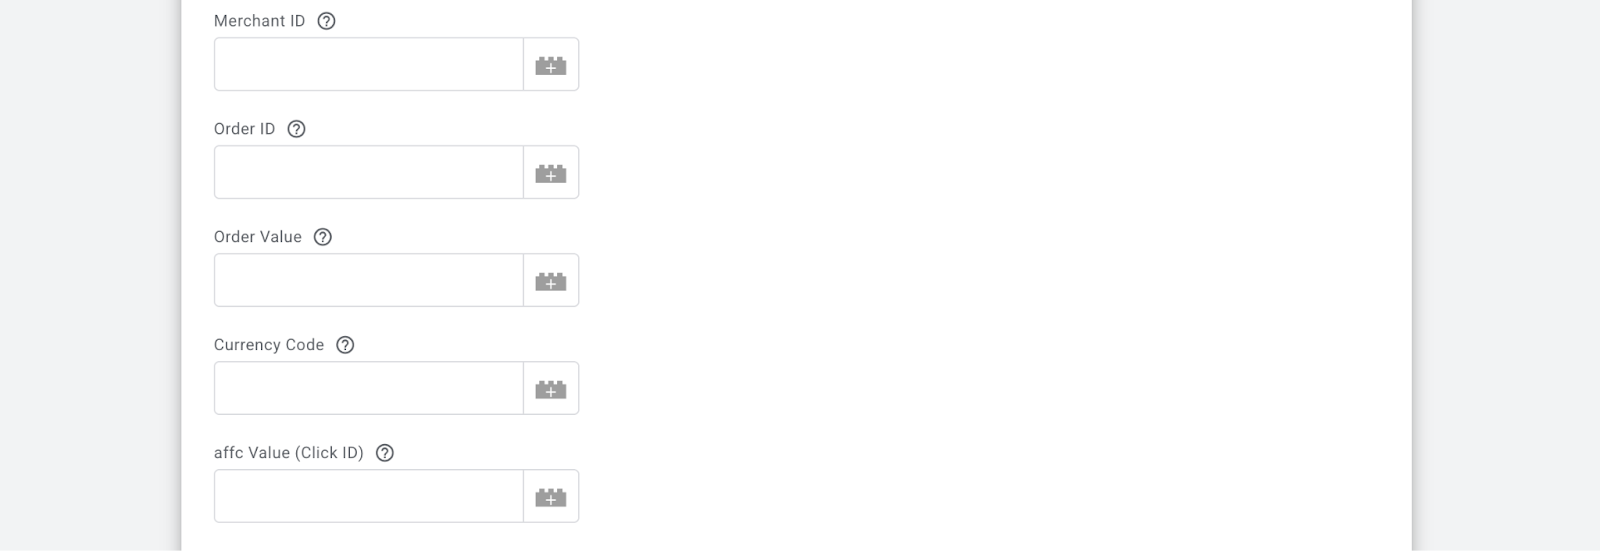
3.2.2 Fill out your Affiliate Future's data
- Set your Merchant ID from your Affiliate Future account.
- Specify a unique Order ID that identifies the conversion.
- Assign Order Value as your order NET sum. Avoid currency symbols, like $, €, £, etc. Do not include thousand separators like in 10,000, as well. Only a decimal point can be used as a separator, e.g., 3.14.
- Set Currency Code. Here must be a recognized currency code as per ISO-4217 standard - EUR, USD, GBP, etc.
- Keep the affc Value (Click ID) field empty. This parameter already exists in the cookie
affc_cidthat you had already set before. Only modify it if you have a custom implementation.
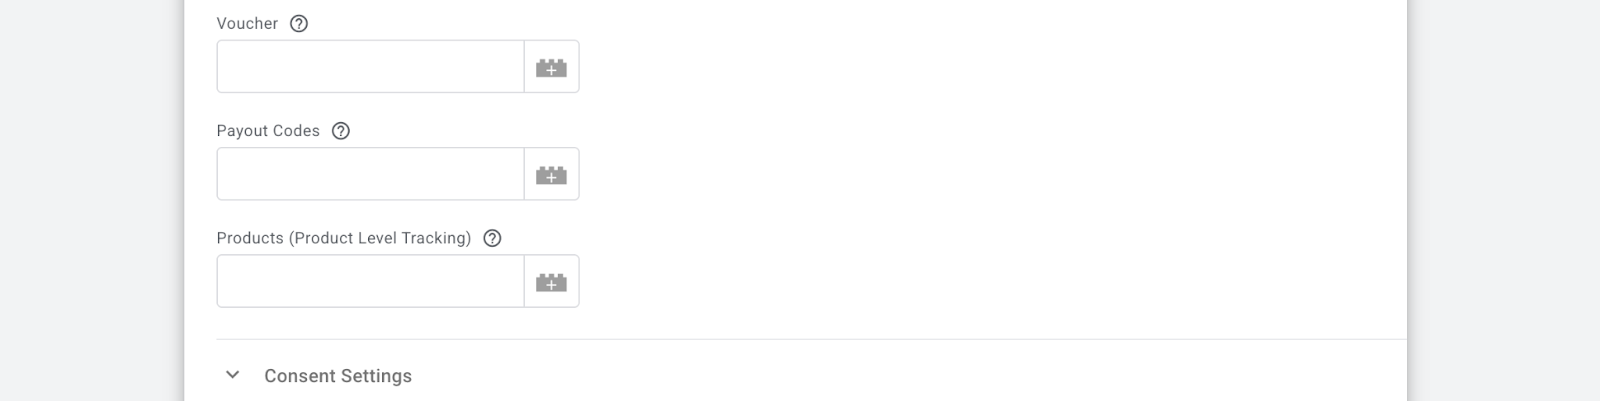
3.2.3 Set Additional Parameters, such as:
- Voucher. Voucher Level Tracking allows you to track when a consumer uses a voucher code during a sale. It enables the Voucher Level Commission and Exclusive Voucher Code functionalities.
- Payout Codes. Specify payout codes to apply different commission rates to specific parts of the order. The combined payout values must not exceed 100% of the Order Value. Any discounts (e.g., from voucher codes) must be reflected in both the payout code values and the main order value. The value must be a comma-separated string of payout codes and values in the following format: PAYOUT_CODE_1, VALUE_2, PAYOUT_CODE_2, VALUE_2. Example: CD,11.10,DVD,14.99.
- Products (Product Level Tracking). Use a variable if you want to send details at the product level. Use a variable if you want to send details at the product level. The expected format is an array of objects, each containing the properties:
idoritem_id,skuoritem_sku,nameoritem_name,categoryoritem_category,price, andquantity.
3.2.4 You can set Consent Settings for Conversion events as we described before in step 3.1.4.
3.2.5 Add a trigger for your Page View/Conversion tag.
4. Test the setup using the Preview mode in server GTM containers. Refer to our guide on debugging and monitoring server-side configuration.
Was this article helpful?
Comments