Tradedoubler tag
Updated May 10, 2026
The Tradedoubler tag for server-side GTM enables you to send events such as conversions or user identifiers from your sGTM container directly to Tradedoubler’s affiliate tracking system via their server-to-server (S2S) integration.
It supports tracking standard event types like Page View, User Data, and Conversion, and offers optional support for Product-Level Tracking (PLT).
Benefits of using the Tradedoubler tag
- Reliable conversion tracking: server-side events are more accurate and less likely to be blocked by extensions or browser restrictions.
- Click ID persistence: click identifiers such as tduid and tdclid_sn are stored in server cookies and automatically reused in conversion events.
- User-based attribution: the tag supports hashed user data (email, user_id, device ID), which helps improve conversion match rates.
- Detailed conversion reporting: product-level tracking (PLT) is supported, so you can include detailed purchase information when needed.
Requirements for setting up the Tradedoubler tag
Please ensure that you already have Google Tag Manager web and server containers, as well as a configured server container and custom domain in Stape. Please follow these guides if you don’t have any of those:
How to set up the Tradedoubler tag
1. Configure sending data to the server GTM container. The two most popular options for sending data to sGTM are Google Analytics 4 and Data Tag/Data Client. Here is a step-by-step guide on sending data to sGTM.
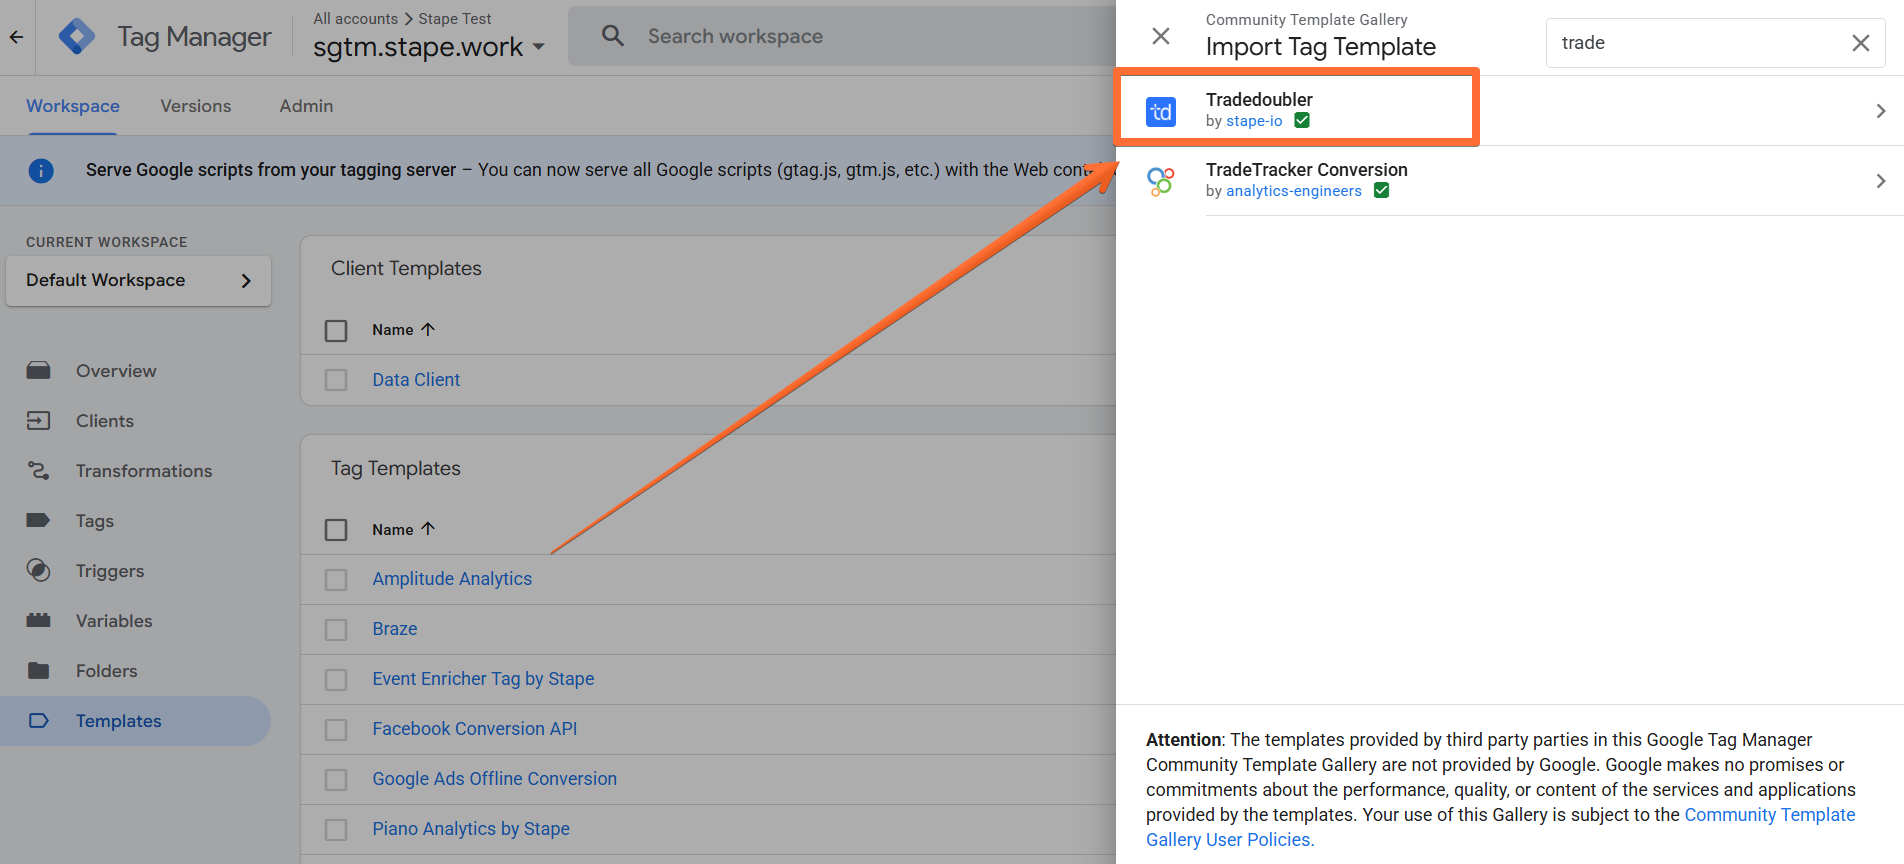
2. Add the Tradedoubler tag template in the server GTM container by importing it from the Template gallery:
- Search for the Tradedoubler tag by Stape in the Google Tag Manager tag template gallery.
- Click Add to workspace.
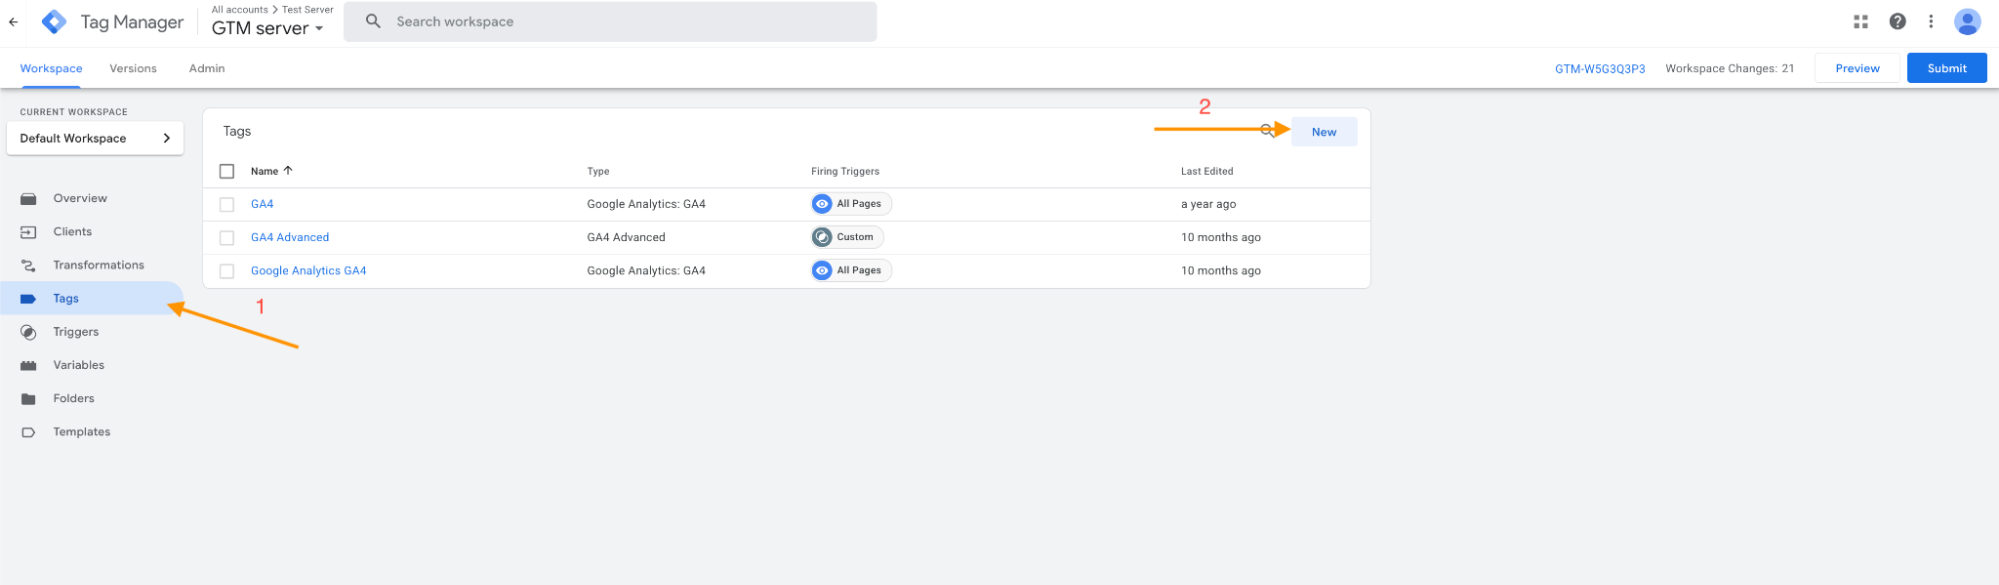
3. Create the Tradedoubler tag:
- Go to the Tags menu → click New.
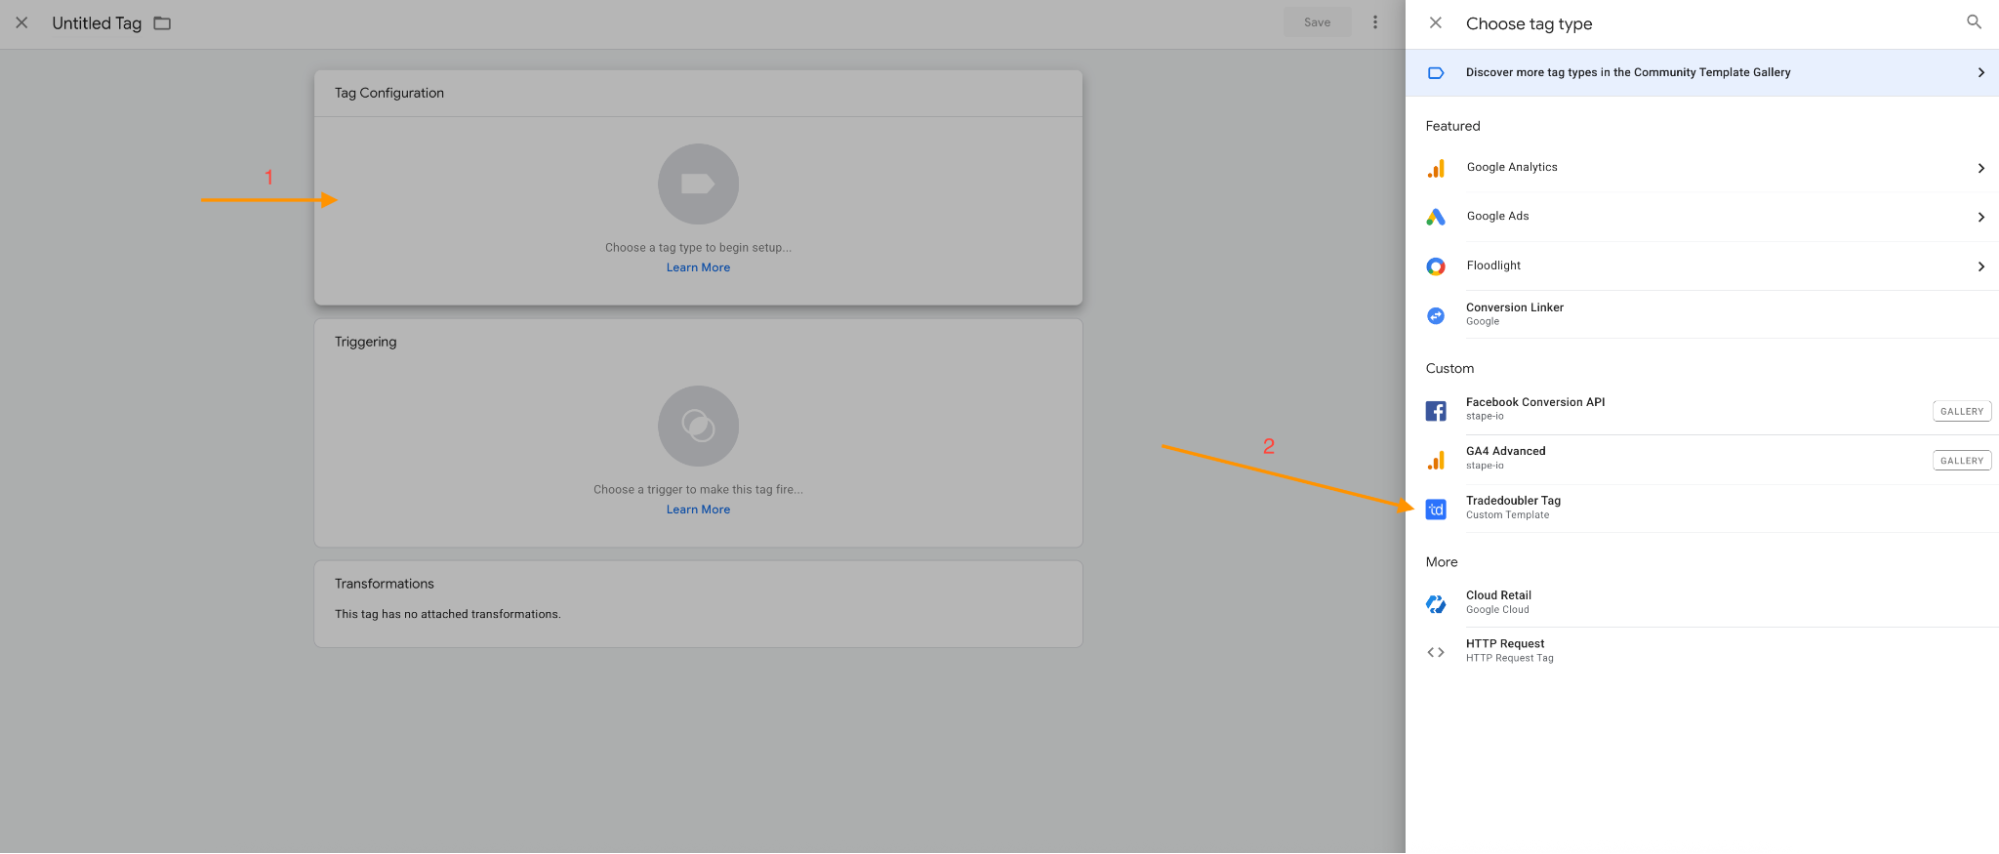
- Click Tag Configuration → select Tradedoubler tag.
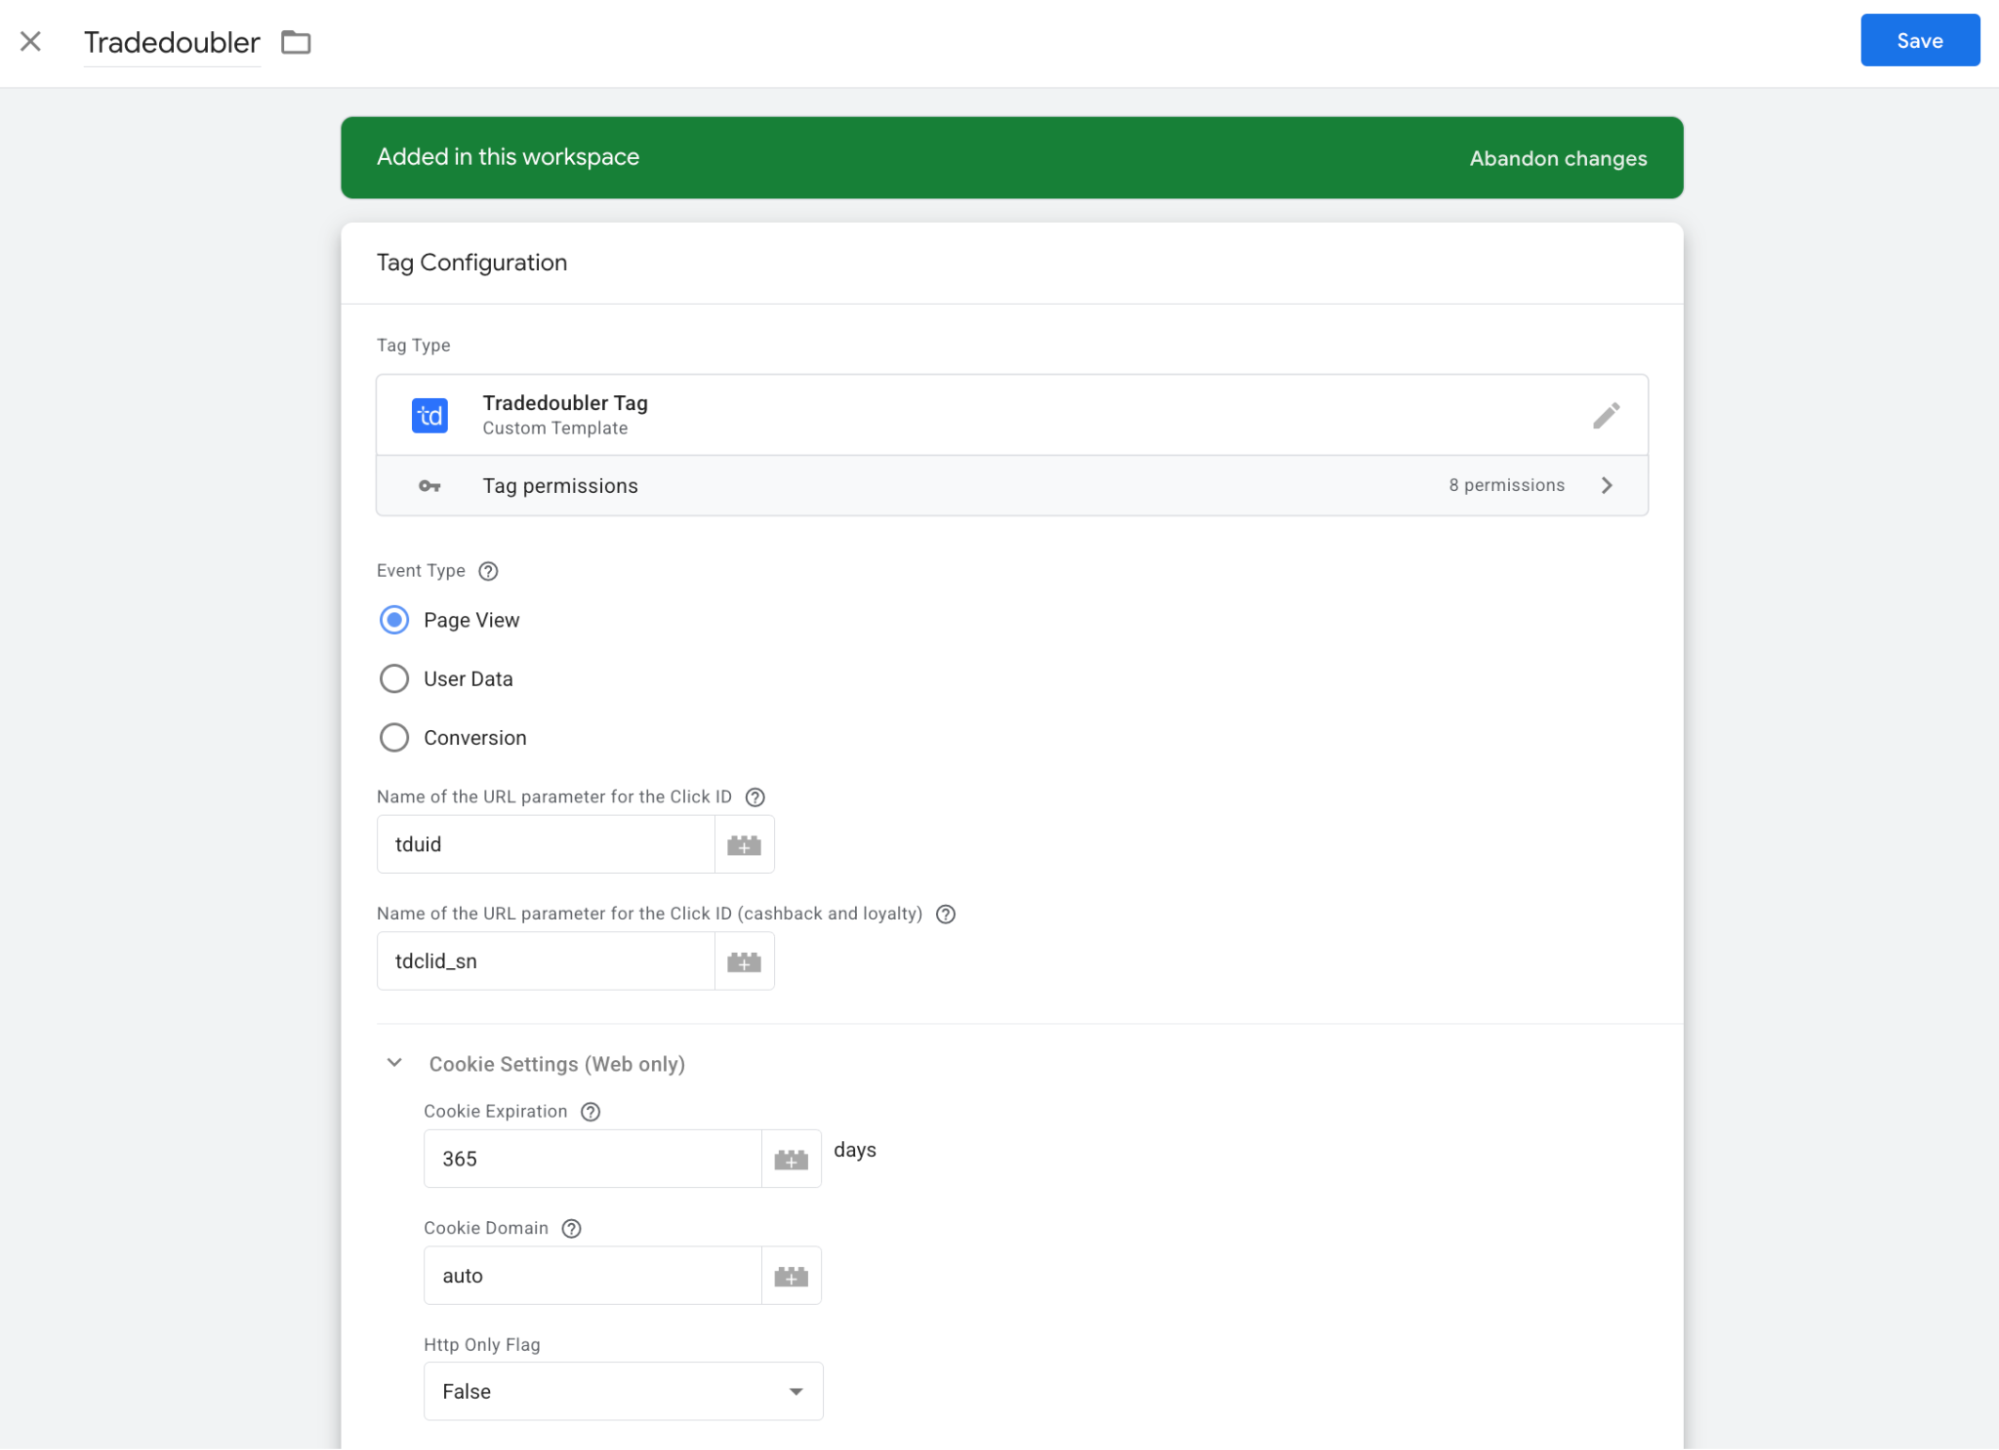
4. Configure the Tradedoubler tag:
Choose one of the three supported event types:
- Page View - set the parameter names for Click IDs (tduid, tdclid_sn) if different from the defaults. Optionally set the cookie expiration (days), domain, and HttpOnly flag.
- User Data - set a user identifier such as email, user ID, or device ID. Optionally, you can add a device ID and redact IP address.
- Conversion - specify the type of Event ID, Conversion Type, and either Organization ID or the combination of Program ID and Publisher Site ID, Provide the Order/Lead Number and Order Value (for sales). Optionally, provide Currency, Voucher, Product List, and Click IDs (tduid, tdclid_sn). If you are using PLT, enable Product Level Tracking (PLT) to send detailed product information.
When setting up the User Data event type and the Conversion event type, you will have two mandatory parameters:
- The Organisation ID - this identifier can be replaced with a combination of the programme ID and the publisher's site ID, if necessary. Your Tradedoubler contact representative can provide further clarification on this. To find it, please use the
- Optimistic Scenario - when using this option, the tag will call gtmOnSuccess() without waiting for a response from the API. This will speed up sGTM response time, but your tag will always return a ‘successfully completed’ status, even if this is not the case.
Optional configurations:
- Logs Settings - choose if you want to log requests to your Stape account. This feature is handy when setting up server-side tagging since it allows seeing incoming and outgoing requests and network responses.
- BigQuery Logs Settings - allows you to configure BigQuery logging.
- Advanced Settings (Additional Tag Metadata) - specify additional tag metadata to be included in the event data when a tag is fired.
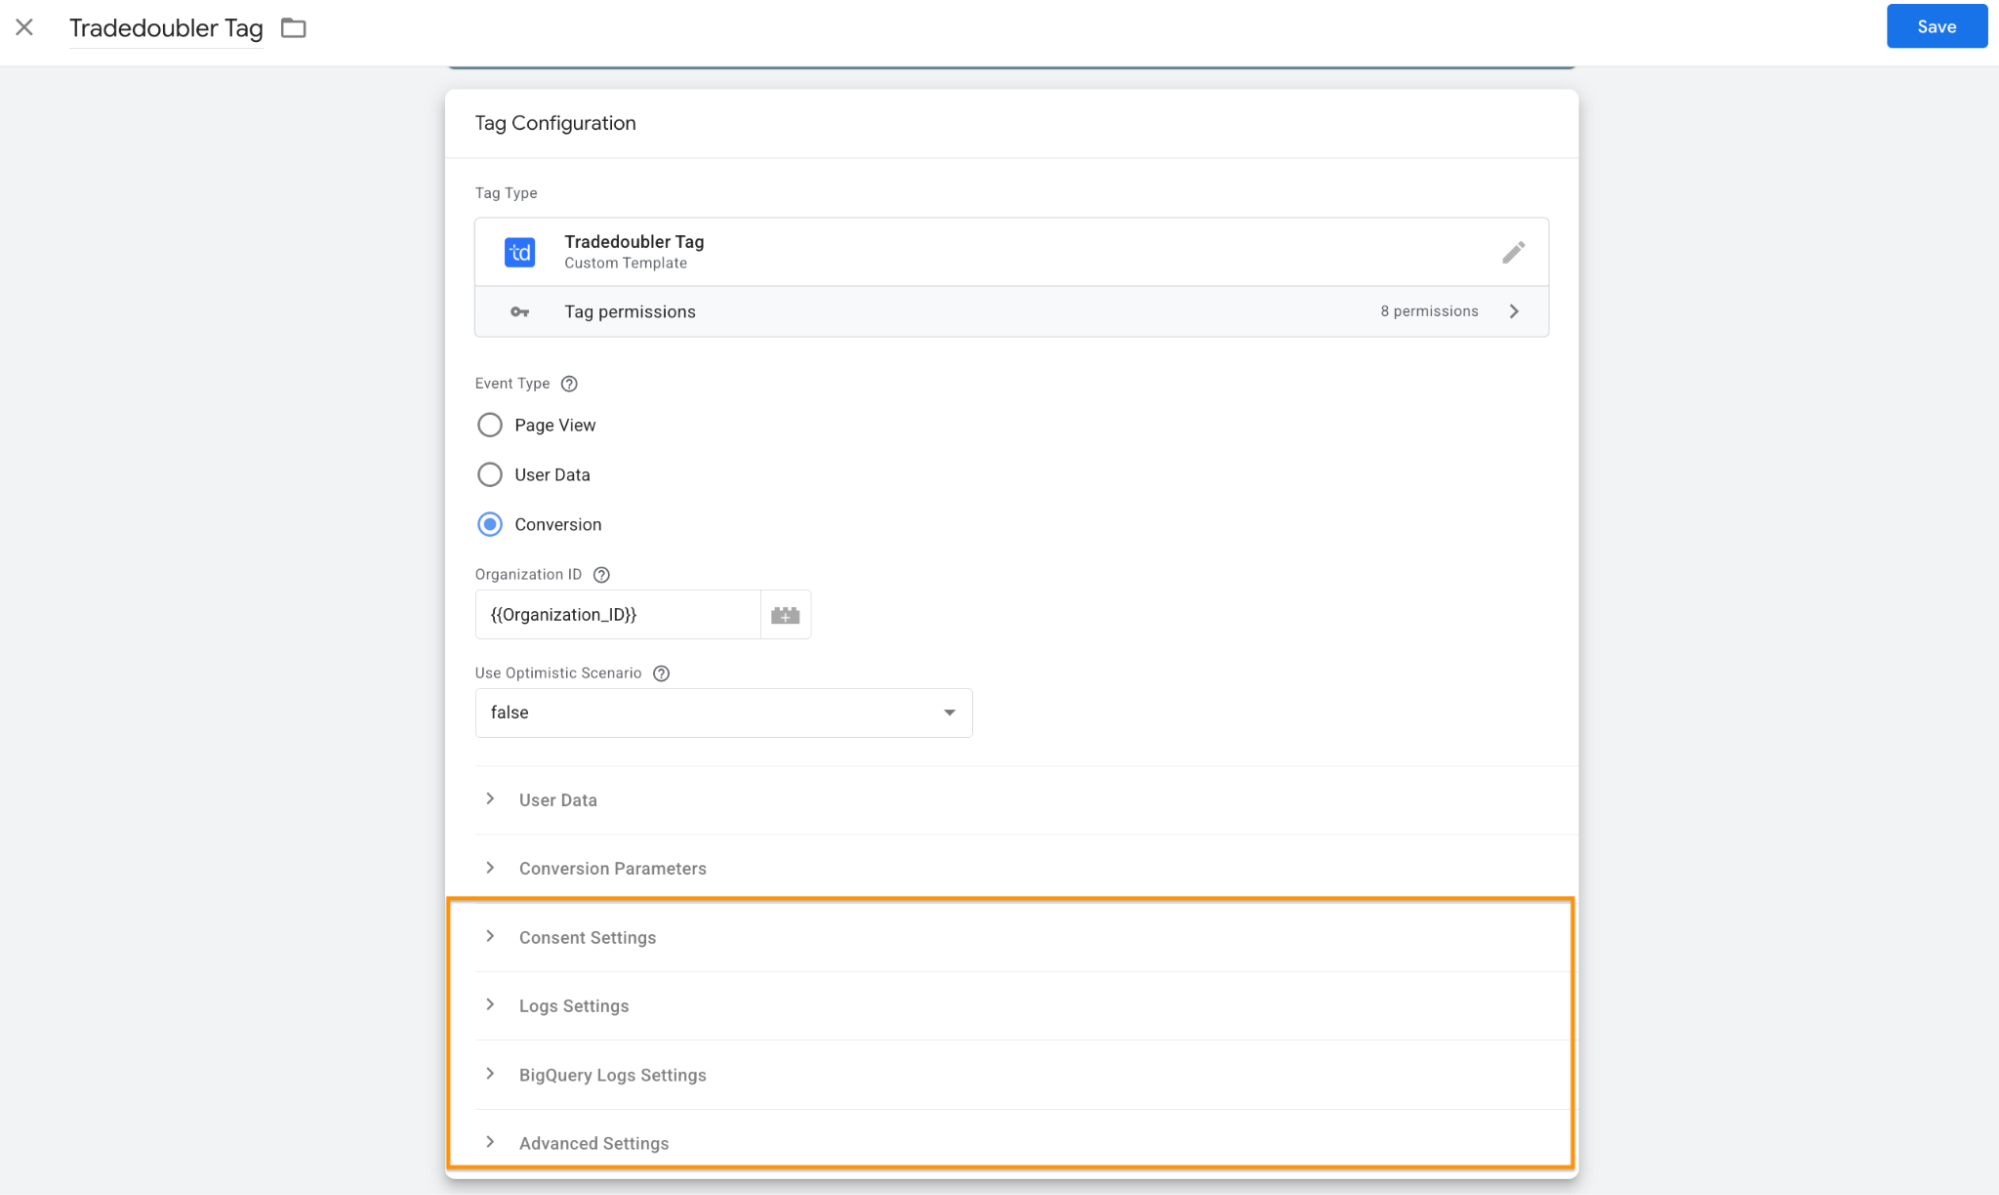
- Configure Consent Settings to control whether data is sent always or only if marketing consent is given.

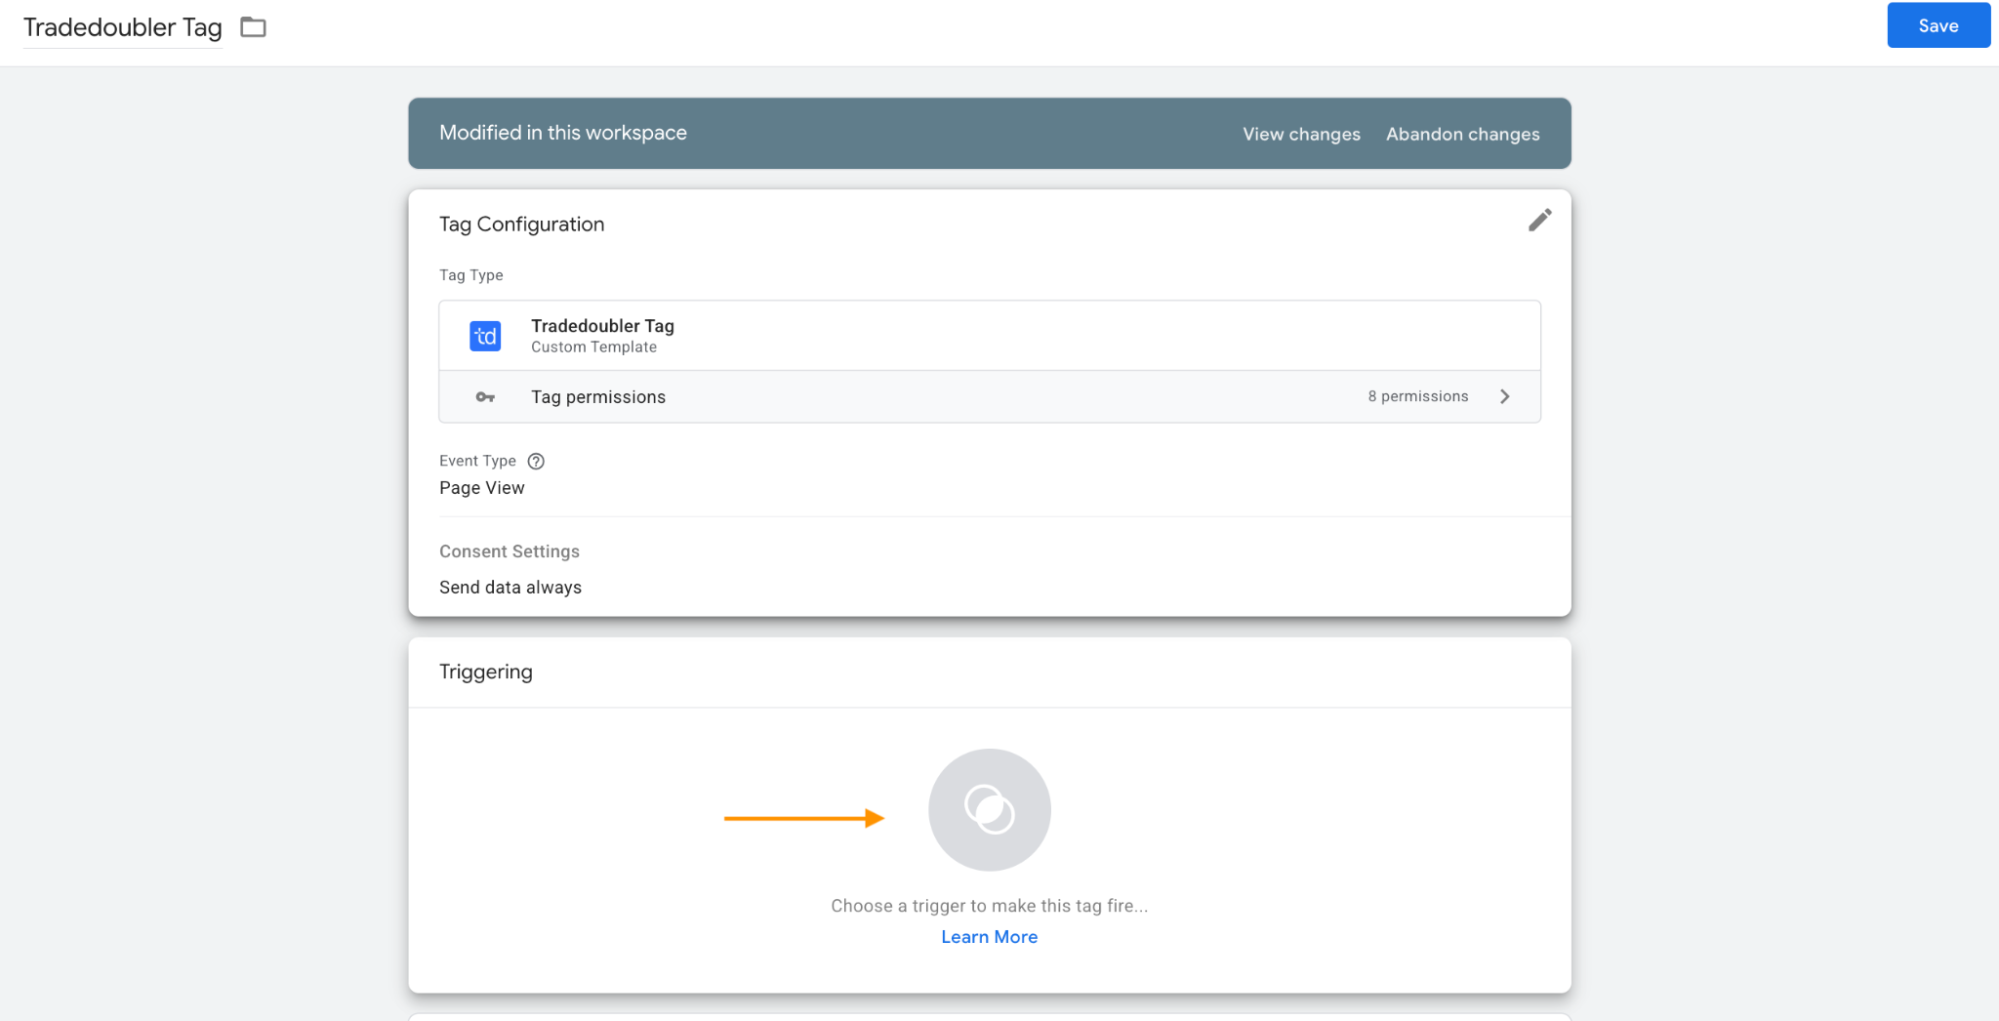
5. Add the Trigger for the tag, give it a descriptive name, and click Save.
How to test and troubleshoot the Tradedoubler tag setup
You can test the configurations in Google Tag Manager. Click on Preview, trigger the event, and check whether the tag has fired.

Find out more about debugging and monitoring server-side tracking configuration in our guide.
Was this article helpful?
Comments