Braze tag
Updated May 10, 2026
The Braze tag for server-side Google Tag Manager (GTM) lets you send data directly from your server to Braze. It’s a simple and powerful way to track user actions, update user profiles, and log purchases, without relying on client-side scripts or browser behavior. If you’re already using Braze as your customer engagement platform, this tag gives you a more reliable, faster, and secure way to feed data into it.
Benefits of using the Braze tag
- Better data accuracy: server-side tracking avoids ad blockers and browser limits. This means fewer events are lost, giving you cleaner, more complete data.
- Faster page loads: client-side scripts slow down websites. Moving logic to the server keeps your front-end light and fast.
- More reliable campaigns: Braze relies on good data to power things like personalized messaging, segmentation, and journey orchestration. The server-side tag helps ensure everything gets logged and your campaigns perform the best.
- Stronger privacy compliance: sending data server-to-server allows better control over what’s shared and how. This helps you stay aligned with privacy regulations like GDPR or HIPAA.
How it works
The Braze server-side tag is installed inside your server GTM container. Once set up, it sends data to Braze’s REST API without needing the user’s browser. This allows you to:
- Track custom events like signups, clicks, or feature use.
- Log purchase events, either full order totals or item-level data.
- Update user profiles such as email, phone number, or custom attributes.
- Link identifiers like external IDs or user aliases to Braze user profiles.
- Send context data like page URL or device info.
Requirements for setting up the Braze tag
Please ensure that you already have Google Tag Manager web and server containers, as well as a configured server container and custom domain in Stape. Please follow these guides if you don’t have any of those:
How to set up the Braze tag
1. Configure sending data to the server GTM container. The two most popular options for sending data to sGTM are Google Analytics 4 and Data Tag/Data Client. Here is a step-by-step guide on sending data to sGTM.
2. Add the Braze tag by importing it from GitHub:
- Download the tag template.
- In server Google Tag Manager container, open the Templates menu → click New.
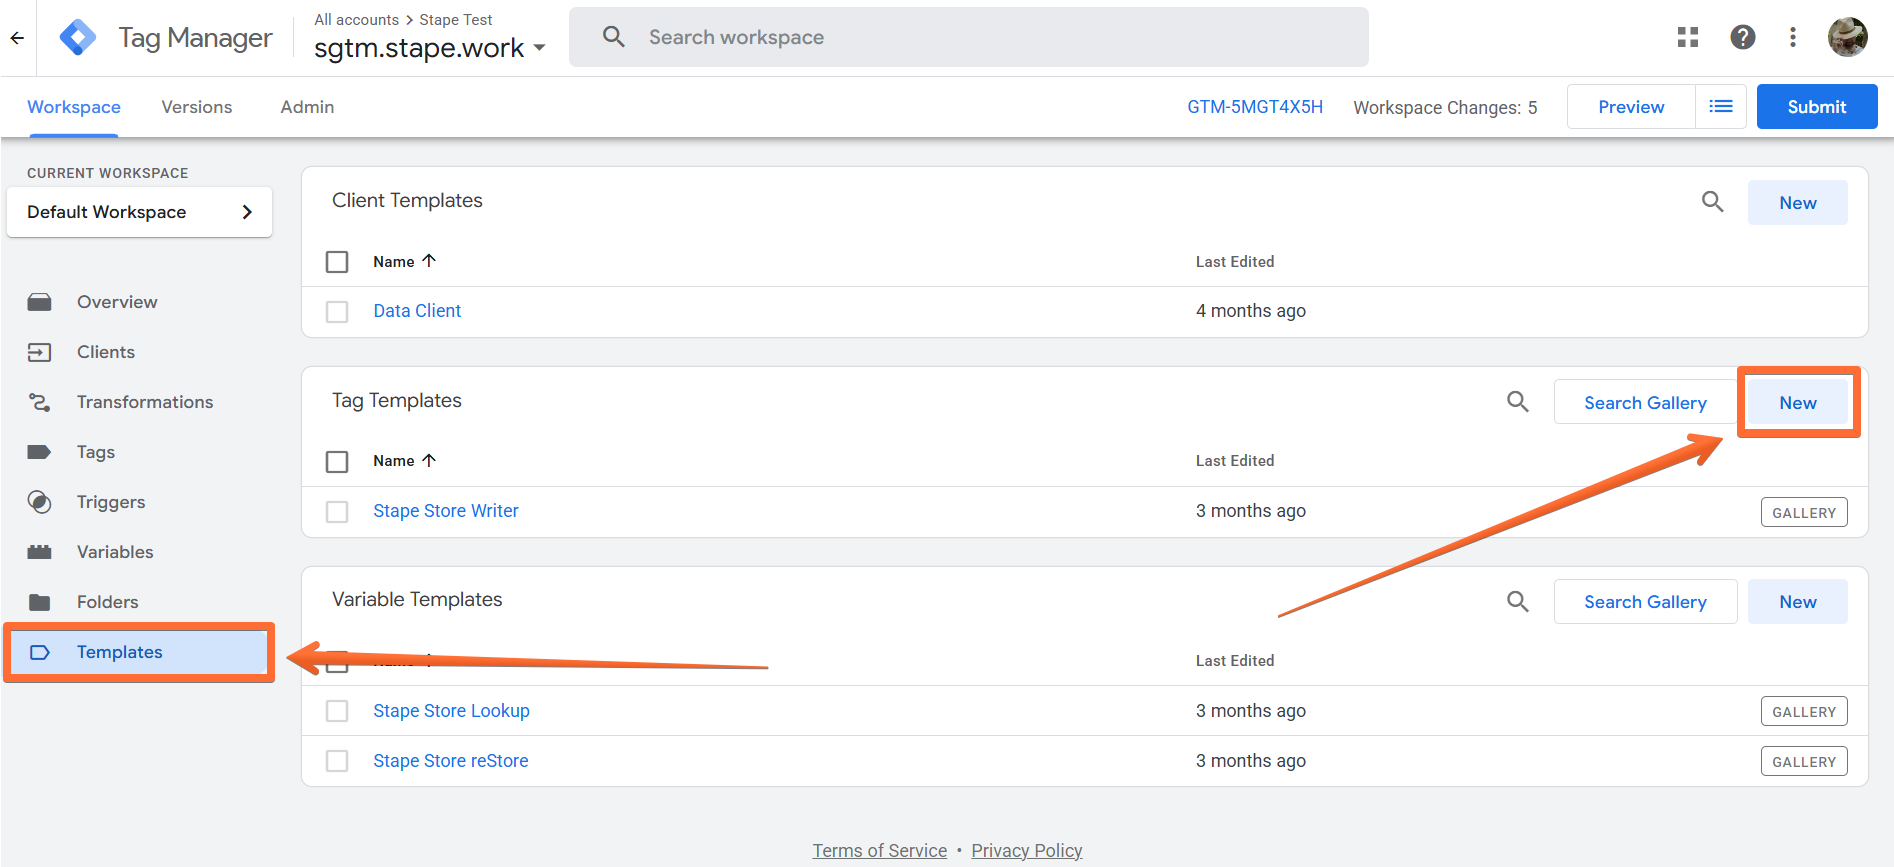
- Click Import → select the Braze tag template you’ve downloaded → click Save.
3. Create the Braze tag:
- Go to the Tags menu → click New.
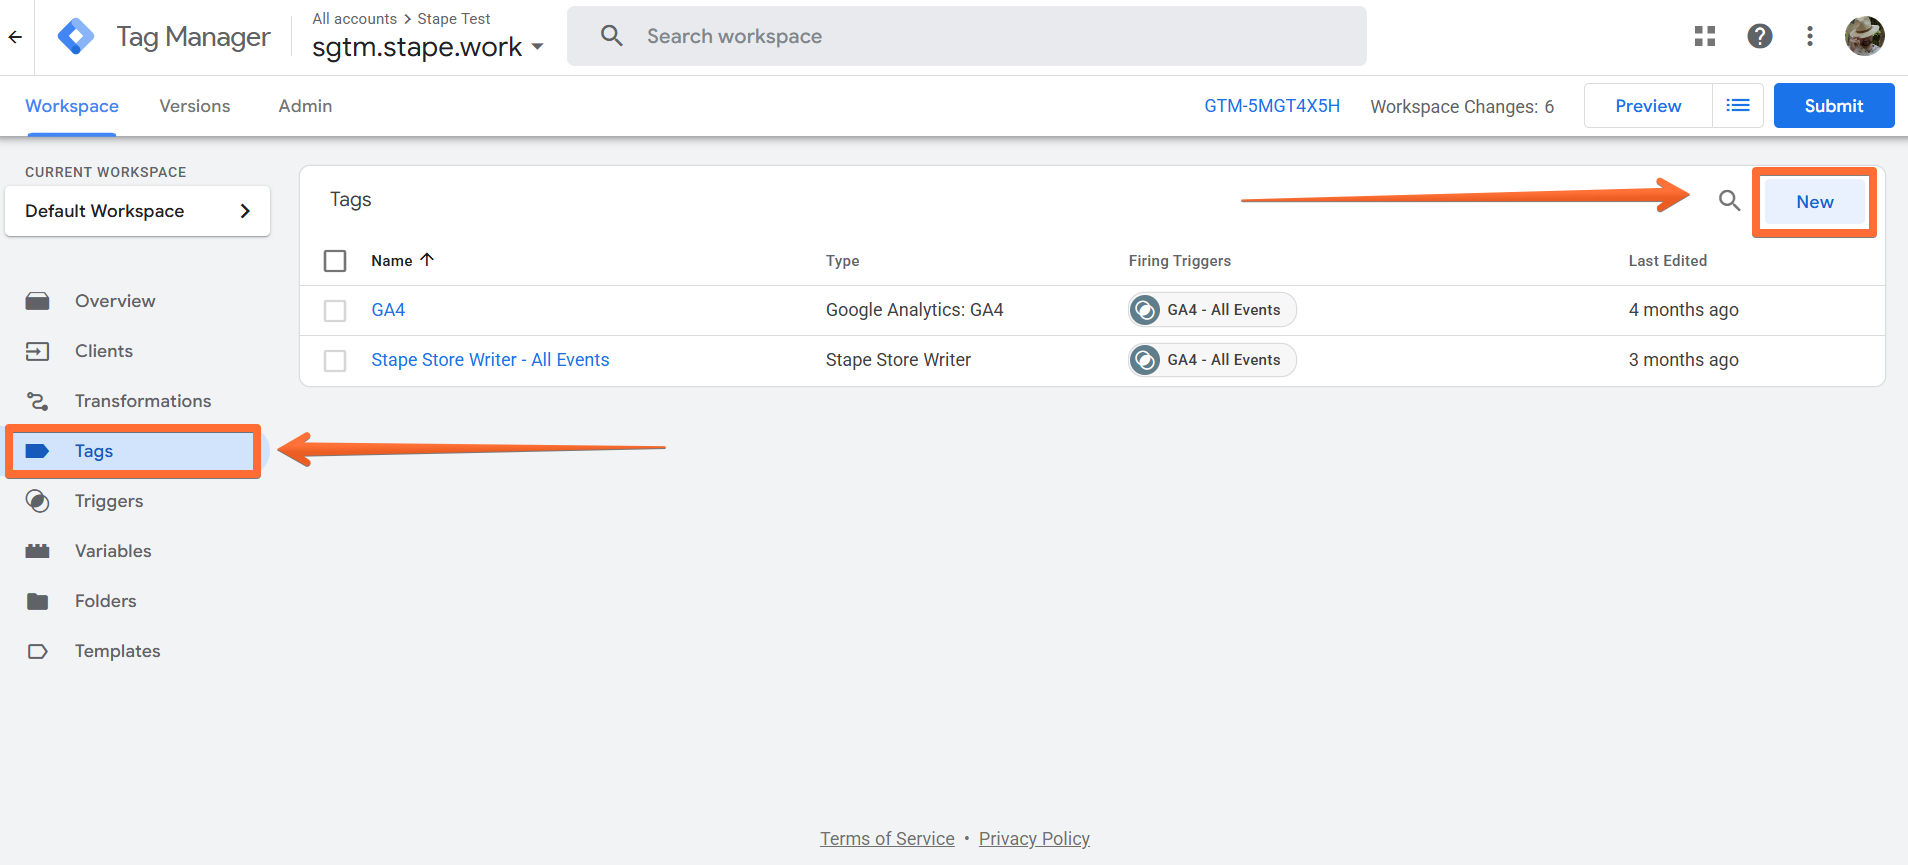
- Click Tag Configuration → select Braze.
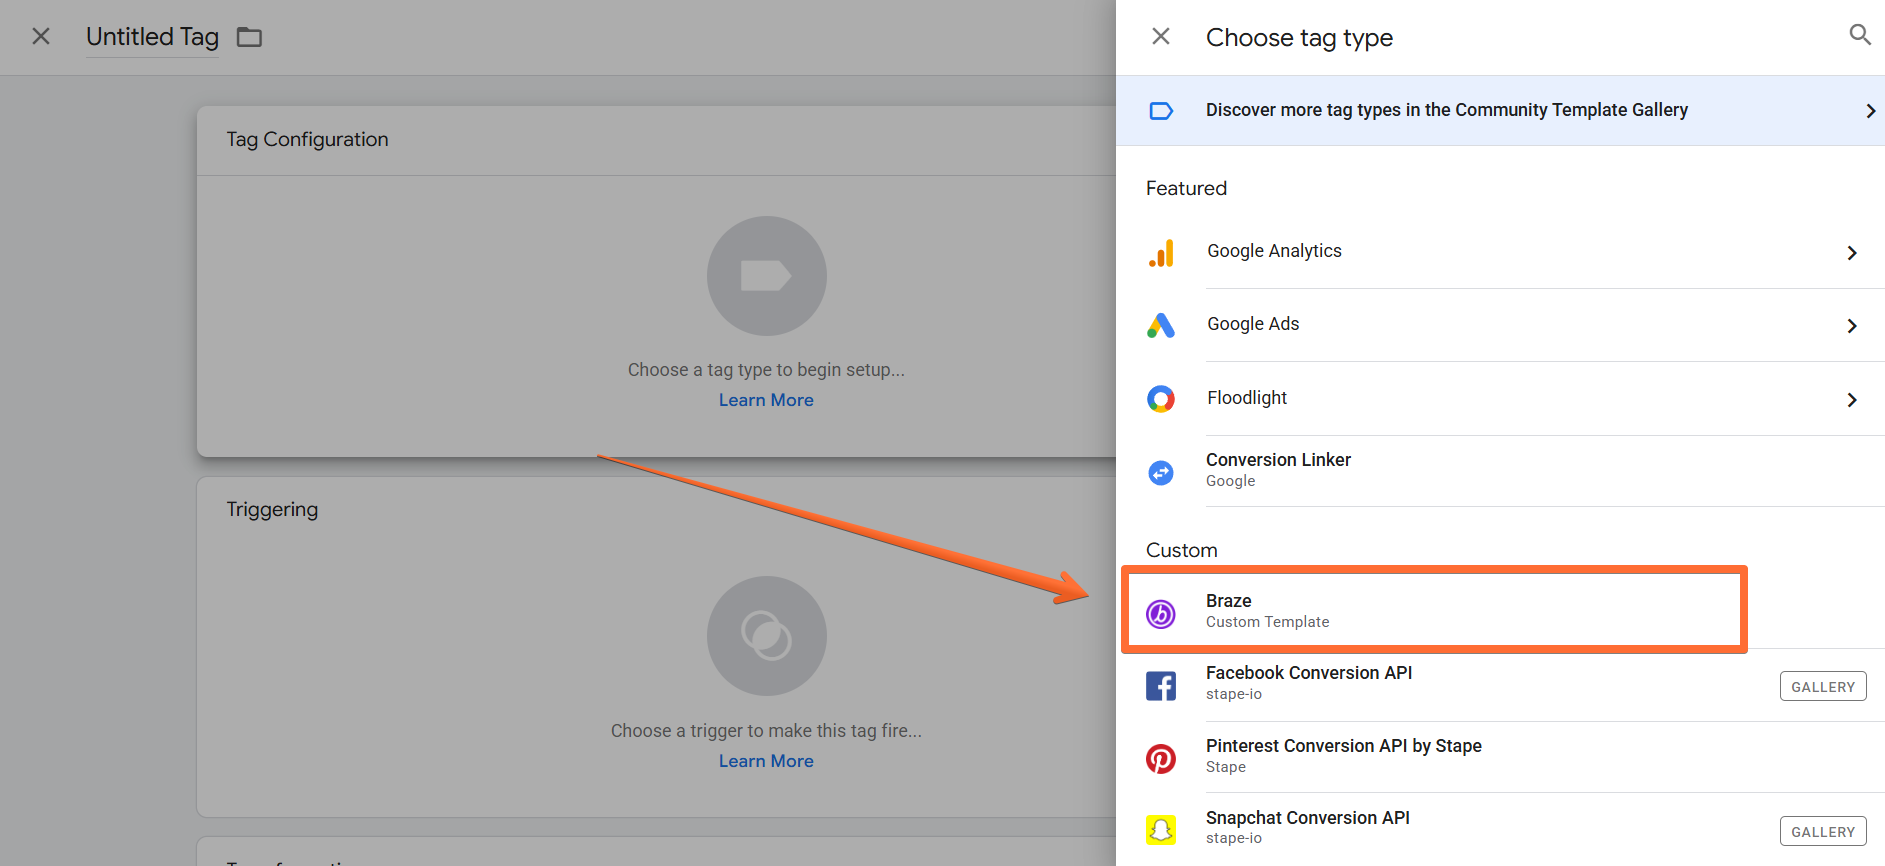
4. Configure the Braze tag:
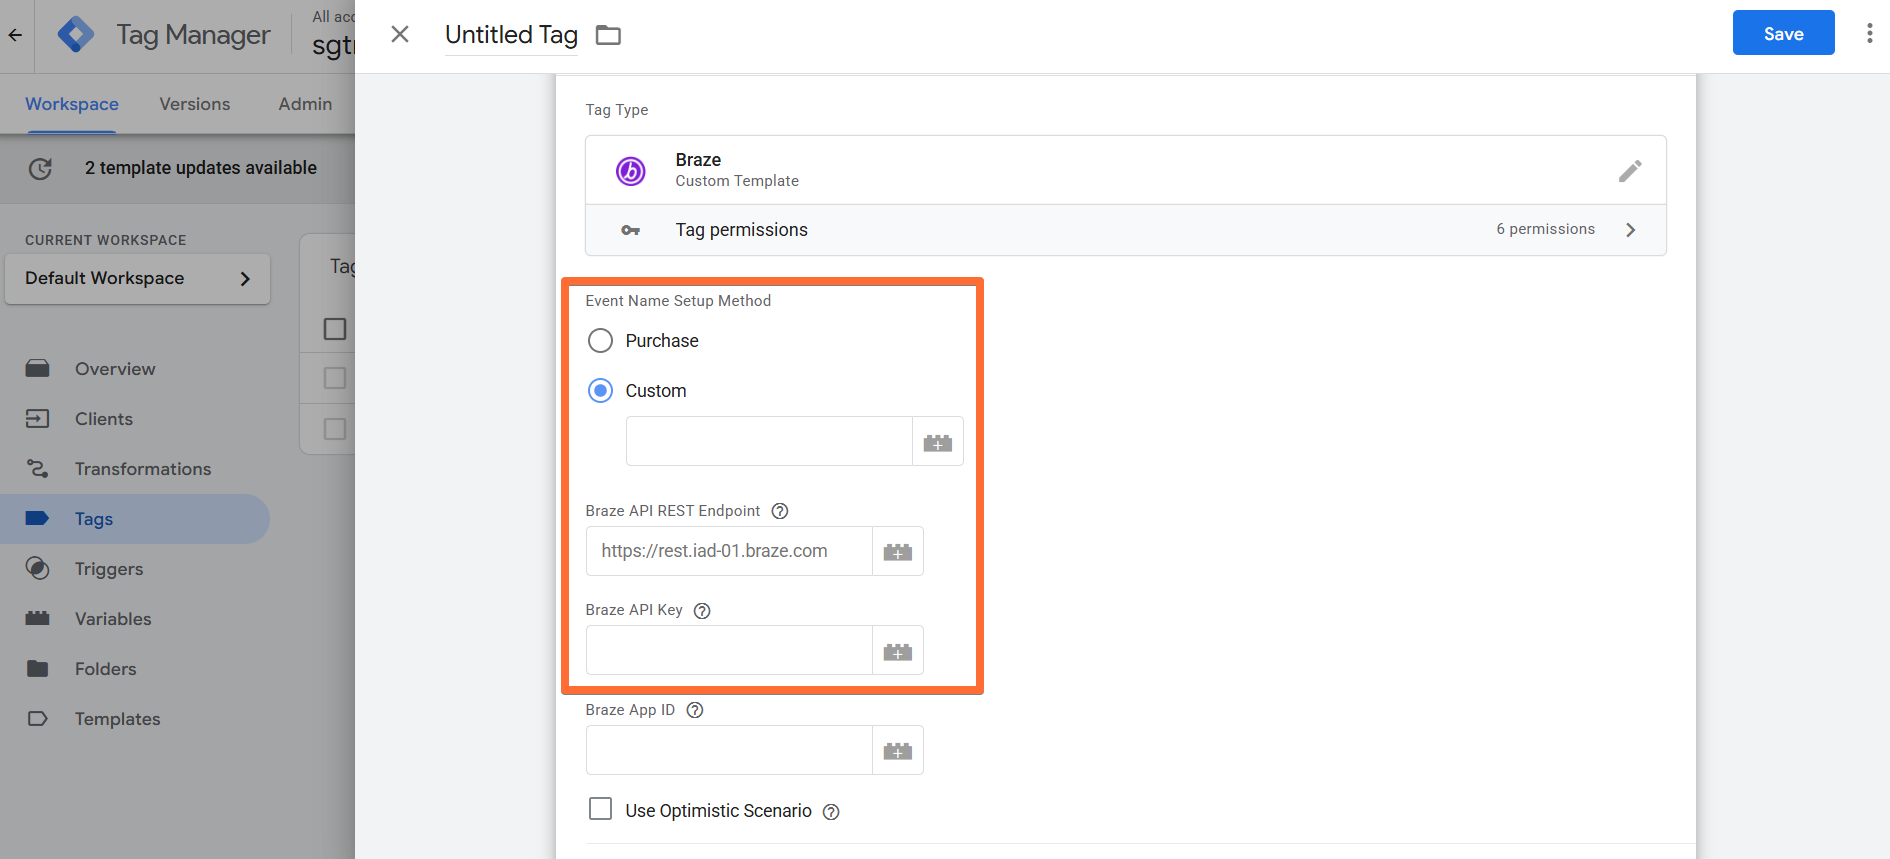
- Event Name Setup Method - choose the Event Type you want to send:
- Purchase - select for the standard purchase event name.
- Custom - use a custom name.
- Braze API REST Endpoint - use the correct REST endpoint based on which the URL you use to access your account (e.g., https://rest.iad-01.braze.com). See Braze’s guide on endpoints for more information.
- Braze API Key - must include the users.track permission. See Braze’s guide on creating a new REST API key to learn more.
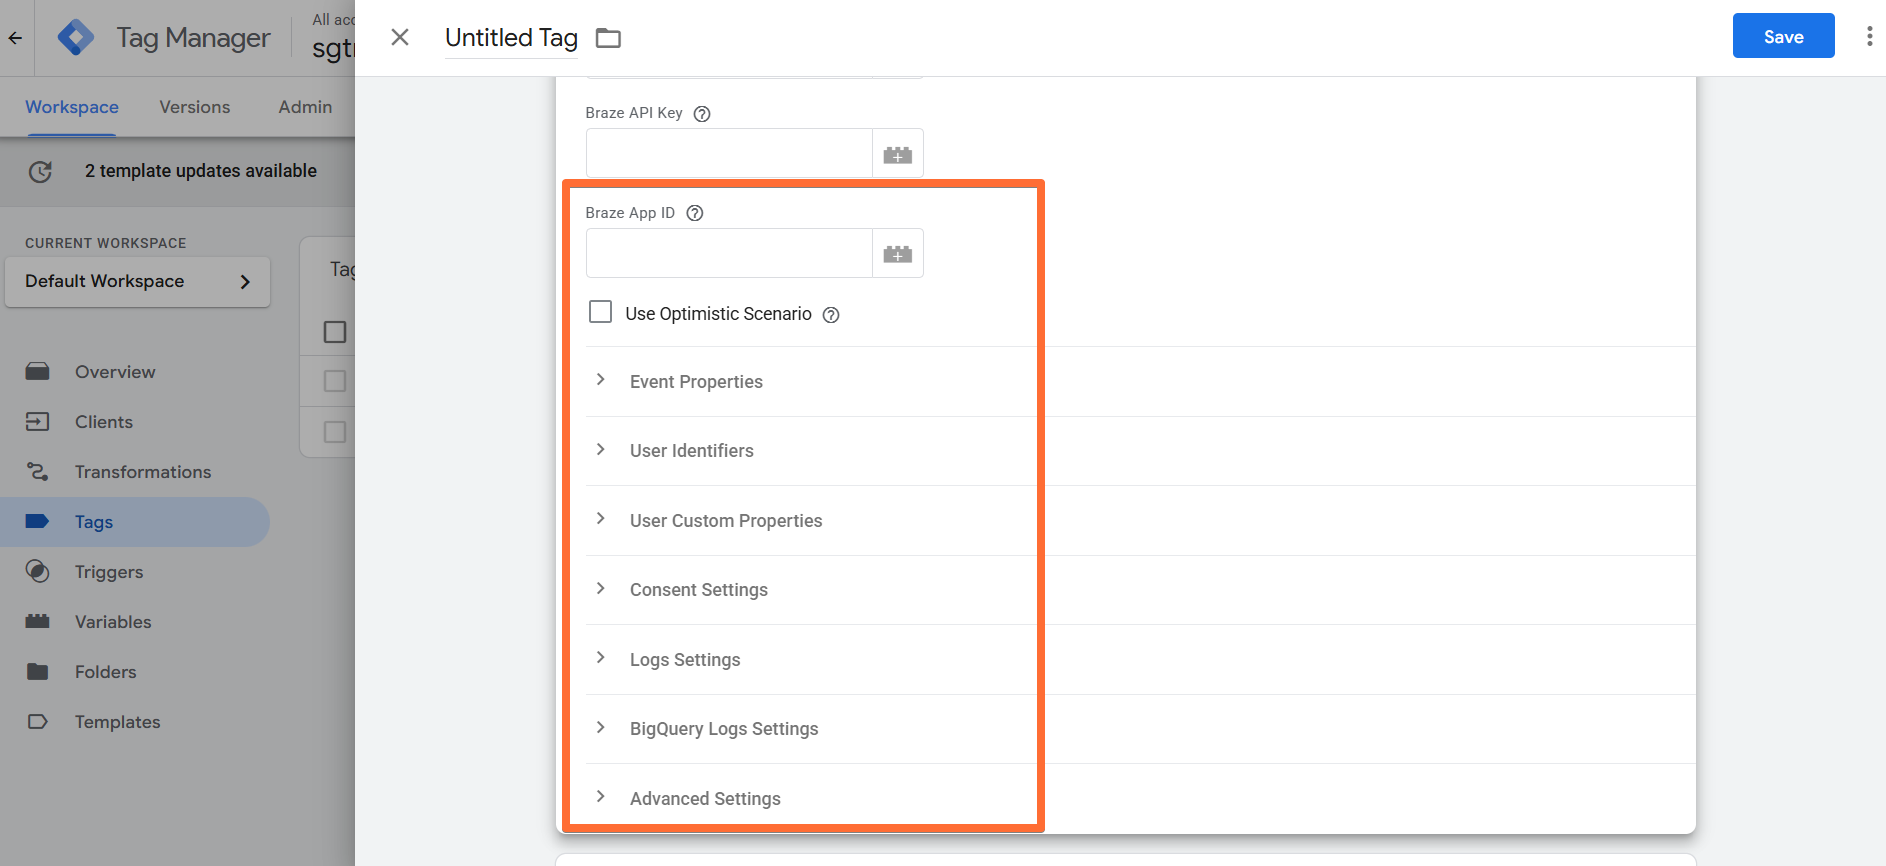
- Optional configurations:
- Braze App ID - enter your app_id to ensure events are sent to the correct app instance. See here how to locate your Braze App identifier.
- Use Optimistic Scenario - the tag will call gtmOnSuccess() without waiting for a response from the API. This will speed up sGTM response time. However, your tag will always return the status “fired successfully,” even if it is not.
- Event Properties - add custom event properties and user profile attributes.
- User Identifiers - set user identifiers and user alias.
- User Custom Properties - add any user traits you wish to send and store in the user’s profile (e.g., language or platform).
- Consent Settings - gives you an option to send data only if marketing consent is given. Should only be enabled when the web container is configured to send to the server container the consent status (e.g., via the Data Tag); otherwise leave this option disabled to avoid tracking issues.
- Logs Settings - choose if you want to log requests to your Stape account. This feature is handy when setting up server-side tagging since it allows seeing incoming and outgoing requests and network responses.
- BigQuery Logs Settings - allows you to configure BigQuery logging.
- Advanced Settings (Additional Tag Metadata) - specify additional tag metadata to be included in the event data when a tag is fired.
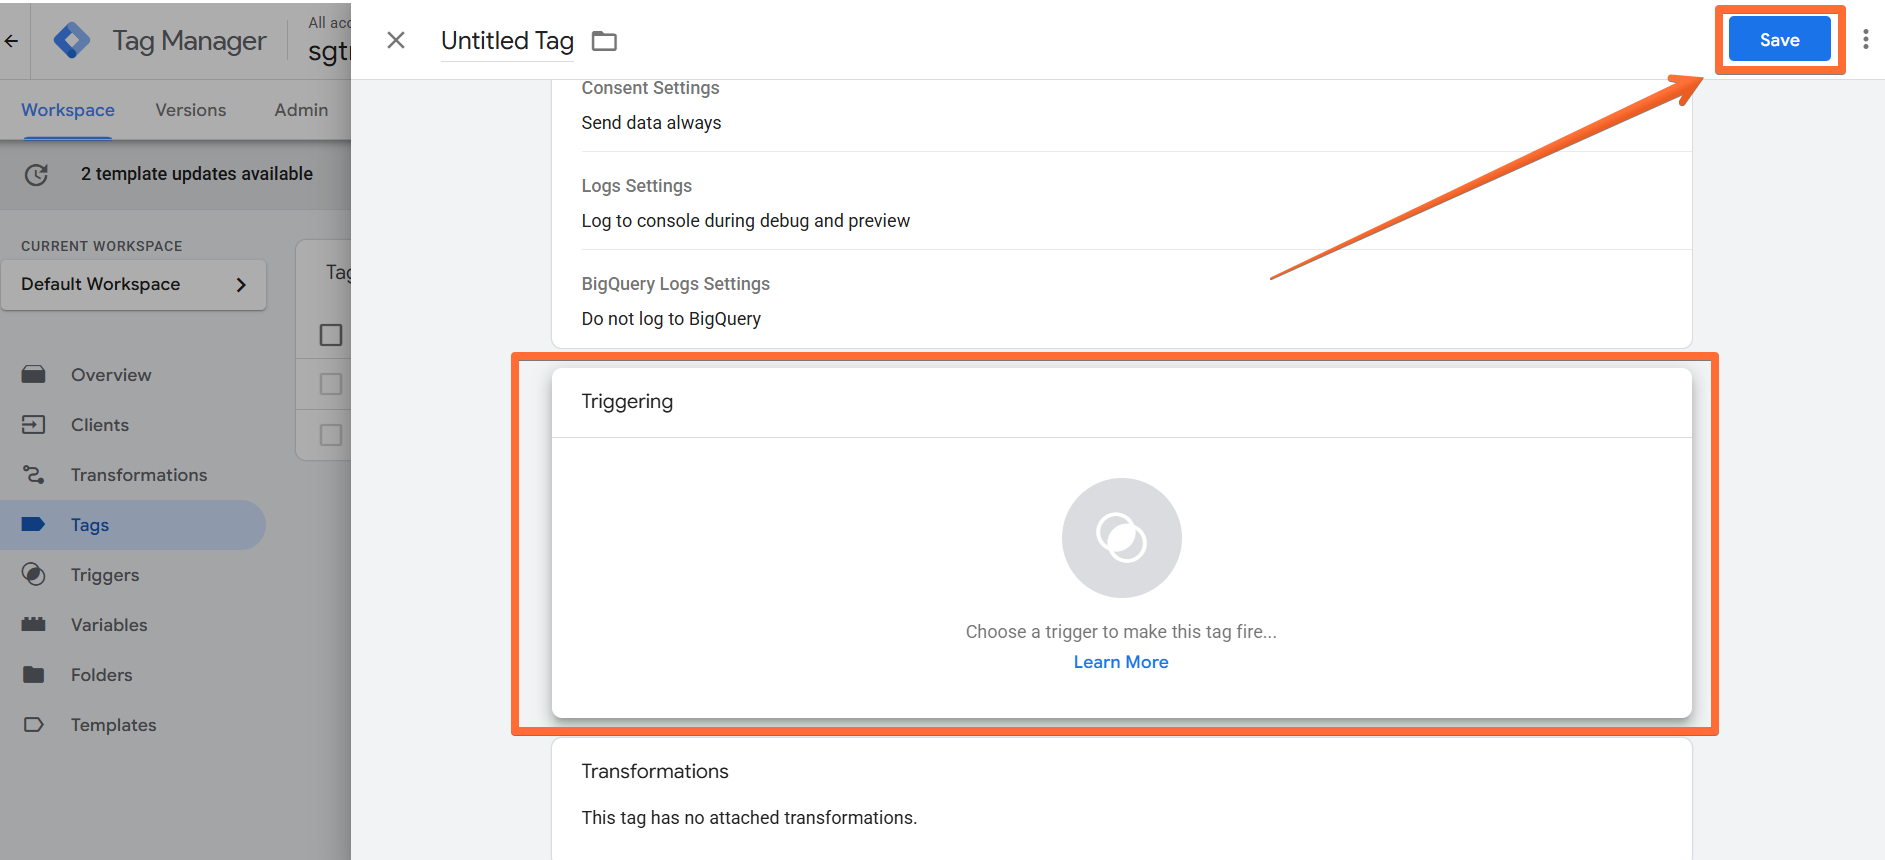
5. Add the Trigger for the tag, give it a descriptive name, and click Save.
How to test and troubleshoot the Braze tag setup
You can test the configurations in Google Tag Manager. Click on Preview, trigger the event, and check whether the tag has fired.

Find out more about debugging and monitoring server-side tracking configuration in our guide.
Was this article helpful?
Comments