Sep 29, 2026
Guide to ActiveCampaign conversion tracking & Meta integration
Written by
Uliana Lesiv
Published Sep 11, 2026 comments
Key takeaways
- Site and event tracking show website activity, but conversion tracking connects marketing interactions with CRM activity such as lead status updates and revenue.
- ActiveCampaign CRM data can be connected to Meta, Google Ads, and other platforms to improve campaign optimization and audience targeting.
- Server-side tracking provides higher control over the data you collect and share, but it doesn’t automatically make your tracking GDPR compliant. Consent and appropriate data-processing practices are still required.
- You can use custom API integrations, webhooks with server-side tracking, or the Stape Conversion Tracking app to send CRM conversion data to third-party platforms.
- CRM-based conversion tracking helps businesses optimize campaigns based on business values rather than leads or website conversions alone.
👉 Who this article is for
This article will be helpful for specialists using ActiveCampaign as their CRM and running Meta and/or Google Ads. Also, it’s useful for those who want to improve campaign optimization and audience targeting based on CRM data.
ActiveCampaign site tracking vs. event tracking
ActiveCampaign provides several ways to track customer activity: site tracking and event tracking. Each of them has a different purpose.
Site tracking records visits and page views made by known contacts on your website. This is useful for understanding what content or products a contact is interested in.
Event tracking aims to record specific actions performed by a contact. For example, you can track actions such as watching a video, starting a checkout, downloading a resource, or completing some step in your application.
Here’s a quick comparison of site and event tracking:
| Site tracking | Event tracking | |
| What it tracks | Page visits and activity | Specific user actions |
| Main purpose | Understand website behavior | Measure important interactions |
| Setup | Add ActiveCampaign tracking snippet to pages | Send event data through ActiveCampaign's Event Tracking API |
| Example | Contact visits a pricing page | Contact completes a demo request |
| Best for | Website engagement tracking | Tracking users actions |
The key difference is that site tracking focuses primarily on website activity, and event tracking focuses on specific interactions or actions.
Bottom line:
For basic website analytics, site tracking can be sufficient. However, if you need to connect marketing activity with CRM stages, offline sales, revenue, or advertising optimization, you typically need a more comprehensive conversion tracking setup.
ActiveCampaign site tracking and GDPR
If your website targets users in the EU or EEA, your business is subject to the General Data Protection Regulation (GDPR). In such a case, you need to consider data protection requirements before enabling ActiveCampaign site, event, and conversion tracking.
Site tracking collects information about website activity and can associate that activity with an identifiable contact in your ActiveCampaign account, which means it may process personal data.
Here's what you would need to start with to comply with GDPR:
1. Configure your Consent Management Platform (CMP). The configuration will help ActiveCampaign site tracking only load after the visitor has provided the required consent (via interacting with the consent banner). If the visitor rejects the specific category of cookies or tracking, the ActiveCampaign tracking script won't run.
If you don't have a CMP configured yet, consider our guides for platforms:
2. Consider what information is sent to ActiveCampaign and how it's used. Make sure your privacy notice clearly explains the relevant data processing. It must include the purpose of tracking, the categories of data collected, and the third parties or processors involved.
💡Pro tip:
Consider configuring server-side tracking for higher control over data you collect and share.
With server-side tracking, website data is first sent to a server-side tracking environment instead of being sent directly from the visitor's browser to ActiveCampaign. The server can then process the incoming request, apply your privacy and data filtering rules, and forward only the information you specify to ActiveCampaign.
However, it's important to highlight that server-side tracking doesn't automatically make your tracking GDPR-compliant. You still need to have a cookie banner installed and consult with the legal team on what data can be collected to be compliant.
We have a dedicated guide on server-side tracking and GDPR; please refer to it for more information.

Why site and event tracking alone may not be enough
Site and event tracking can capture only online website visits and actions. But the most important business outcomes (such as becoming a qualified lead, closing a deal, or generating revenue) may happen later beyond your website.
This creates a gap between website activity and actual business results.
As an example, let's consider two contacts that submitted the same demo request online:
- Lead 1 never responds to the sales team.
- Lead 2 becomes a customer and generates revenue for your business.
From a website and event tracking perspective, both contacts generated the same conversion: a demo request. Without CRM data, it is difficult to connect the difference in their value with the marketing campaign that generated them.
ActiveCampaign can contain this additional information through contacts, deals, pipeline stages, and sales outcomes. If you connect CRM data with advertising platforms, you can track what happens after the initial website interaction.
ActiveCampaign conversion tracking explained
The configuration of conversion tracking helps you connect marketing interactions with the actions that happen later in your customer journey. You can use conversion tracking to understand what happens after a lead gets into your CRM.
This is especially important for businesses with long sales cycles or multiple conversion points. A user may click a Facebook ad, submit a form, become a lead in ActiveCampaign, and make an offline purchase later. If you track only the initial website conversion, you cannot easily connect the ad click with the final revenue.
In practice, conversion tracking can help you:
✅ Connect website leads with contacts and deals in ActiveCampaign.
✅ Track offline conversions that happen after the initial website interaction.
✅ Send conversion data back to advertising platforms such as Meta and Google Ads.
✅ Build audiences based on CRM data rather than website activity alone.
✅ Optimize campaigns for higher-value outcomes, such as purchases or revenue.
Site, event, or conversion tracking for ActiveCampaign?
ActiveCampaign uses site tracking, event tracking, and conversion tracking to monitor different levels of contacts' behavior and tie those actions back to your CRM contacts. They may seem confusing, so let's quickly consider which one is required for what purposes:
- Choose site tracking if you want to understand website activity of ActiveCampaign contacts. It can show which pages known contacts visit and help you understand their interests and engagement with your website.
- Choose event tracking if you need to record specific actions performed by contacts. For example, you can track form submissions, video views, downloads, purchases, or other custom interactions and use this information in ActiveCampaign.
- Choose conversion tracking if you need to connect marketing activity with business results. Conversion tracking is useful when the conversion happens after the initial website interaction or outside your website. For example, a lead can enter ActiveCampaign after submitting a form and later become a qualified lead or a won deal.
Conversion tracking can be considered the most valuable setup for business since it can help you better understand what really helps your business grow rather than relying on the “plain” number of conversions in reports. So, in this guide below, we focus on the available methods and how to configure conversion tracking for your website.
Conversion tracking configuration: available options comparison
There are several ways to connect ActiveCampaign conversion data with third-party platforms. The best option depends on your tracking needs, the level of customization you need, and the technical resources available.
A quick overview of each available option:
| Approach | Best for | Technical effort | CRM conversion tracking |
| ActiveCampaign API integration | Highly customized tracking requirements | High | ✅ |
| Webhooks + server-side tracking | Custom server-side workflows | Medium-High | ✅ |
| Stape Conversion Tracking app | Easy connection of ActiveCampaign CRM data with third-party platforms | Low-Medium | ✅ |
1️⃣ ActiveCampaign API custom integration.
A custom integration gives you the highest level of control over data. Developers can define which ActiveCampaign contacts, events, deal stages, or other CRM data should be sent to the platform you need and how the data should be processed.
The challenge is maintenance. Your team needs to build and maintain the integration, handle authentication and data mapping, monitor errors, and adapt the setup when APIs or business requirements change.
2️⃣ Webhooks + server-side tracking config.
Webhooks can be used to send data to other platforms when, for example, the status of an existing contact changes in ActiveCampaign. Along with server-side tracking, this allows you to build custom workflows for sending CRM conversions to third-party platforms.
It requires some manual work from your end within GTM; we have guides related to webhook configuration that can be helpful for this method:
The same setup can be done more quickly and with fewer manual actions on your side (see the next option).
3️⃣ Stape Conversion Tracking app installation.
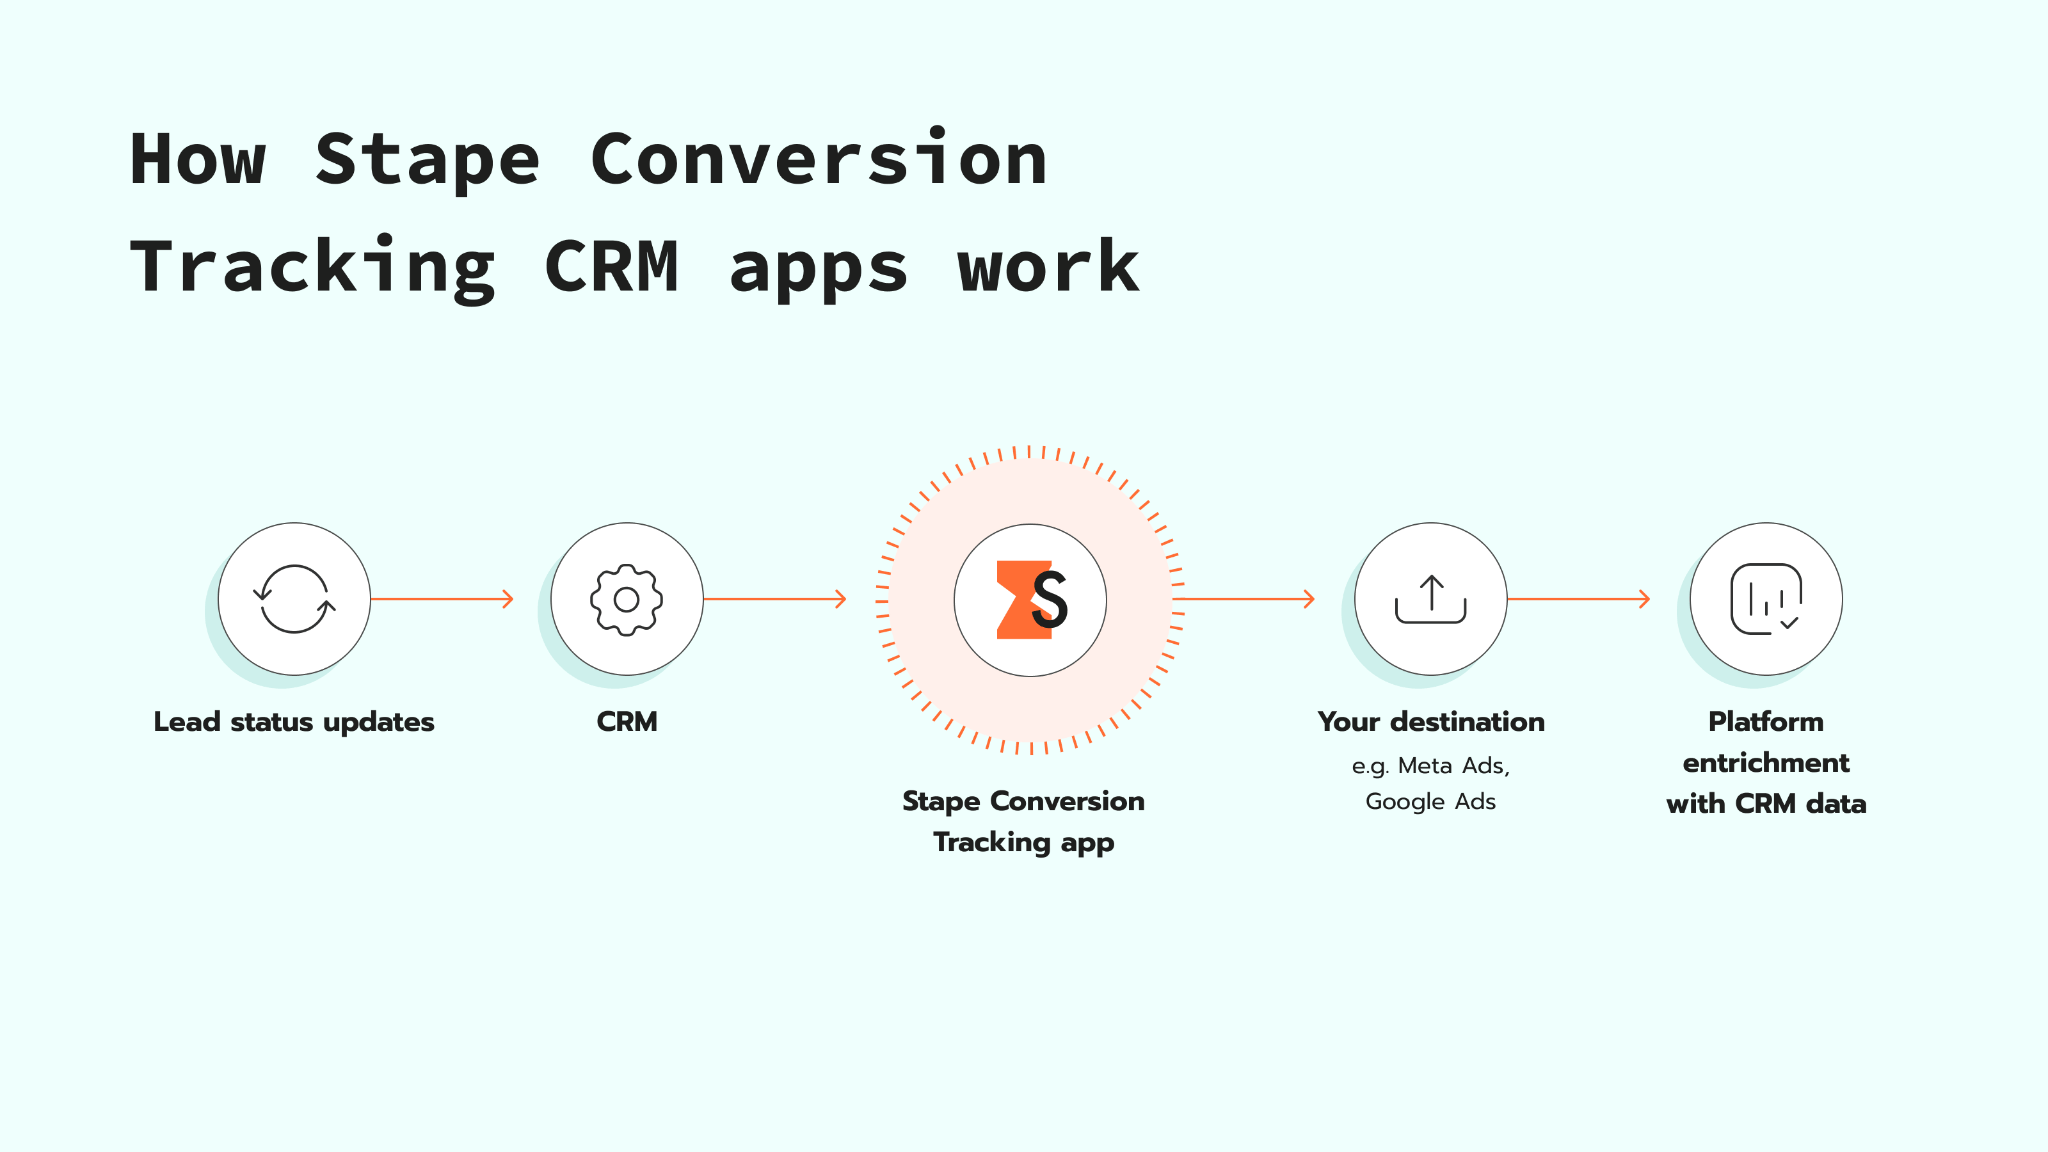
The Stape Conversion Tracking app monitors deals in your ActiveCampaign pipelines. When a deal is created in or moved to a stage you've configured, the app automatically sends the corresponding conversion event to the destination selected in the app configuration.
The app can be used for CRM-based conversion tracking as well as audience synchronization. In this way, the app becomes a great choice for use cases such as tracking qualified leads or won deals, sending offline conversions, and updating advertising audiences based on ActiveCampaign CRM data.
Stape's Conversion Tracking app use cases
For businesses that rely heavily on paid traffic, the app will be especially helpful, since it provides Meta and Google Ads integration. In addition, you can configure Facebook offline conversion tracking, update Meta Custom Audiences, and create or automatically update Customer Match lists.
Create Facebook Lead Ads-ActiveCampaign integration
You can use the Stape Conversion Tracking app to connect Facebook Lead Ads to ActiveCampaign CRM. The app monitors deals in your ActiveCampaign pipelines. When a deal is created or moved to a stage you've configured, the app automatically sends the conversion event to Meta.
For example, you can configure the app to send a conversion event when a deal reaches a stage such as Qualified Lead or Won. This allows Meta to receive information about what happens to leads after they enter your CRM and use these signals for campaign optimization.

Track offline sales and automatically update ActiveCampaign contacts
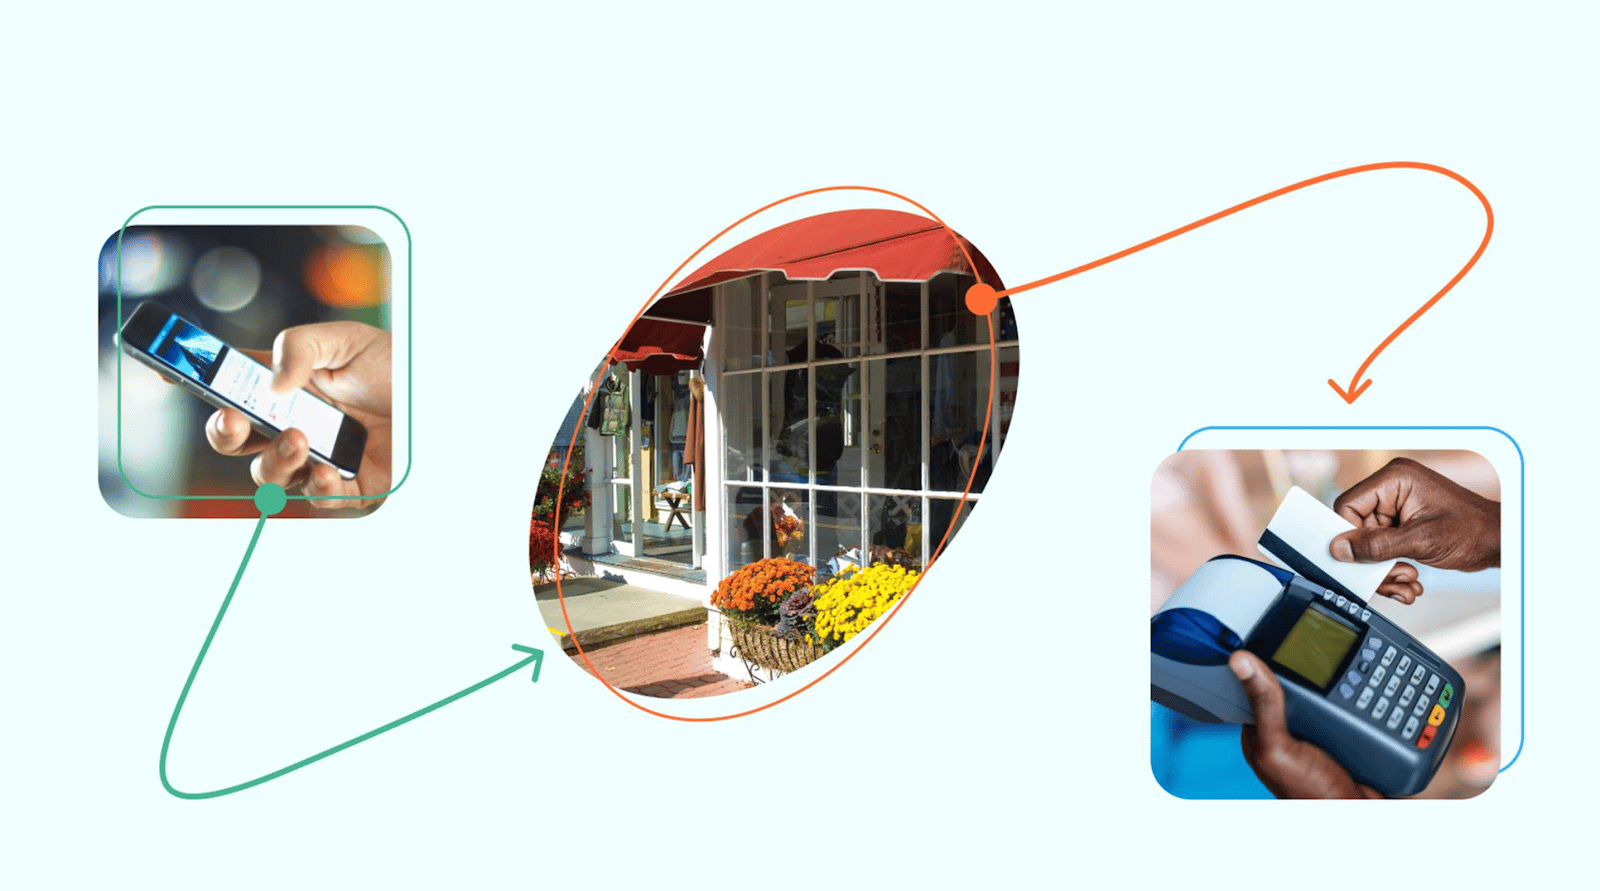
Depending on the business type, a customer may complete the conversion offline. For example, after a sales call, in a physical location, by phone, or through another offline process.
When the deal reaches the configured stage in ActiveCampaign, the corresponding conversion can be sent to the advertising platform using Stape's app. This helps you connect online marketing activity with offline sales and gives advertising platforms additional information about which marketing efforts bring the most value.
Integrate Facebook Custom Audiences with ActiveCampaign
Website-based audiences only represent part of your customer data. Your ActiveCampaign CRM may contain more segments that might be interesting to target for your business.
The Stape Conversion Tracking app can synchronize ActiveCampaign data with Facebook Custom Audiences. The Custom Audience itself is created in Meta.
For example, you can build audiences based on CRM segments such as existing customers, qualified leads, won deals, contacts at a specific pipeline stage, or leads that have not yet converted.
Such lists can be helpful for sales and marketing teams, since these audiences can then be used in Meta advertising campaigns for targeting, remarketing, or excluding existing customers from acquisition campaigns.
Optimize Facebook Ads for revenue, not just leads
Generating a large number of leads doesn't always mean that a campaign is generating more revenue.
Your ActiveCampaign CRM contains information about what happens after a lead is generated. You can use this information to identify the results that really matter for business, such as qualified leads, won deals, or sales.
When a deal reaches one of the stages you've configured, the Stape app can send the corresponding conversion event to Meta.
This changes the optimization goal from:
“Which campaign generates the most leads?”
to:
“Which campaign generates the most valuable customers?”
For businesses with longer sales cycles or significant differences in lead value, this can provide a much stronger optimization signal than just website lead conversions.
Create and update Customer Match Lists in Google Ads
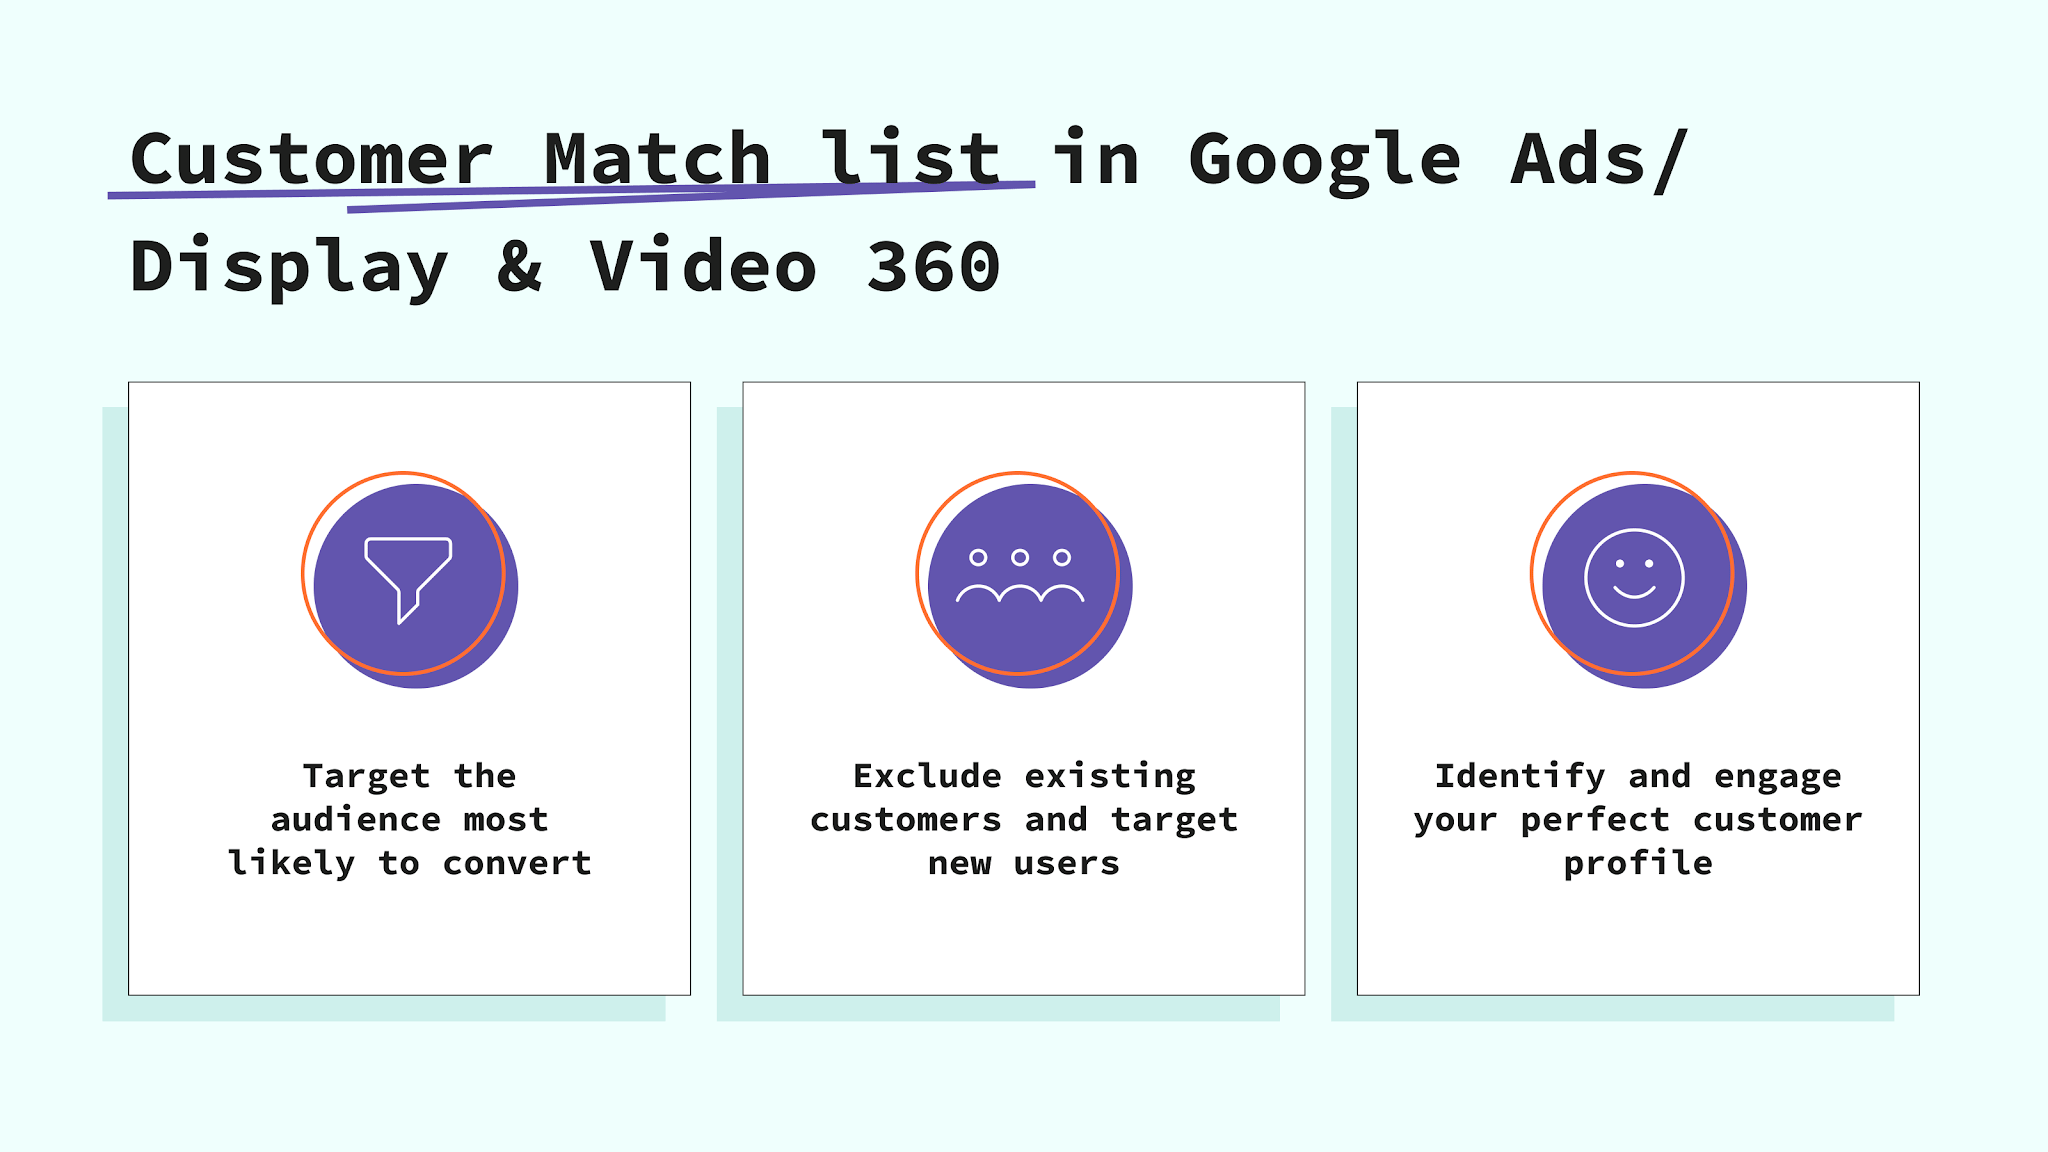
The app allows you to create an ActiveCampaign integration with Google Ads. You can create or update Customer Match lists based on your CRM data. As contacts move through your ActiveCampaign pipeline, their status will be automatically updated in the relevant Customer Match list.
How to set up ActiveCampaign conversion tracking with Stape
Stape's Conversion Tracking app makes it easy to send user progress and conversion events to your CAPI Gateway, Signals Gateway, or server GTM container.
After setup, the app automatically tracks users as they move through your defined conversion stages and sends the corresponding conversion events to your selected destination. This helps ensure accurate and reliable conversion tracking.
The app can also sync customer data with Google Ads Customer Match and automatically keep Meta Custom Audiences up to date based on your deals' progress.
App installation
To install the app, you need to have an ActiveCampaign account.
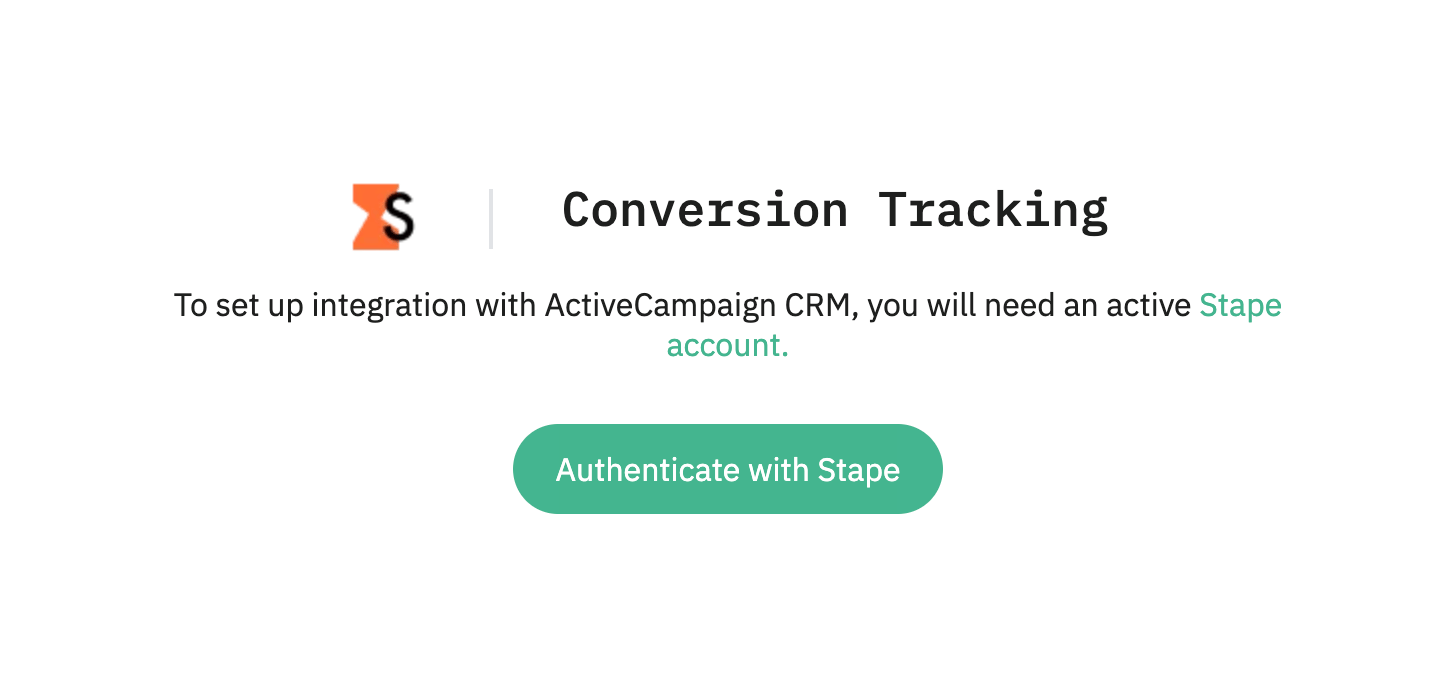
Open the app and click Authenticate with Stape. If you don't have a Stape account yet, create a free account.
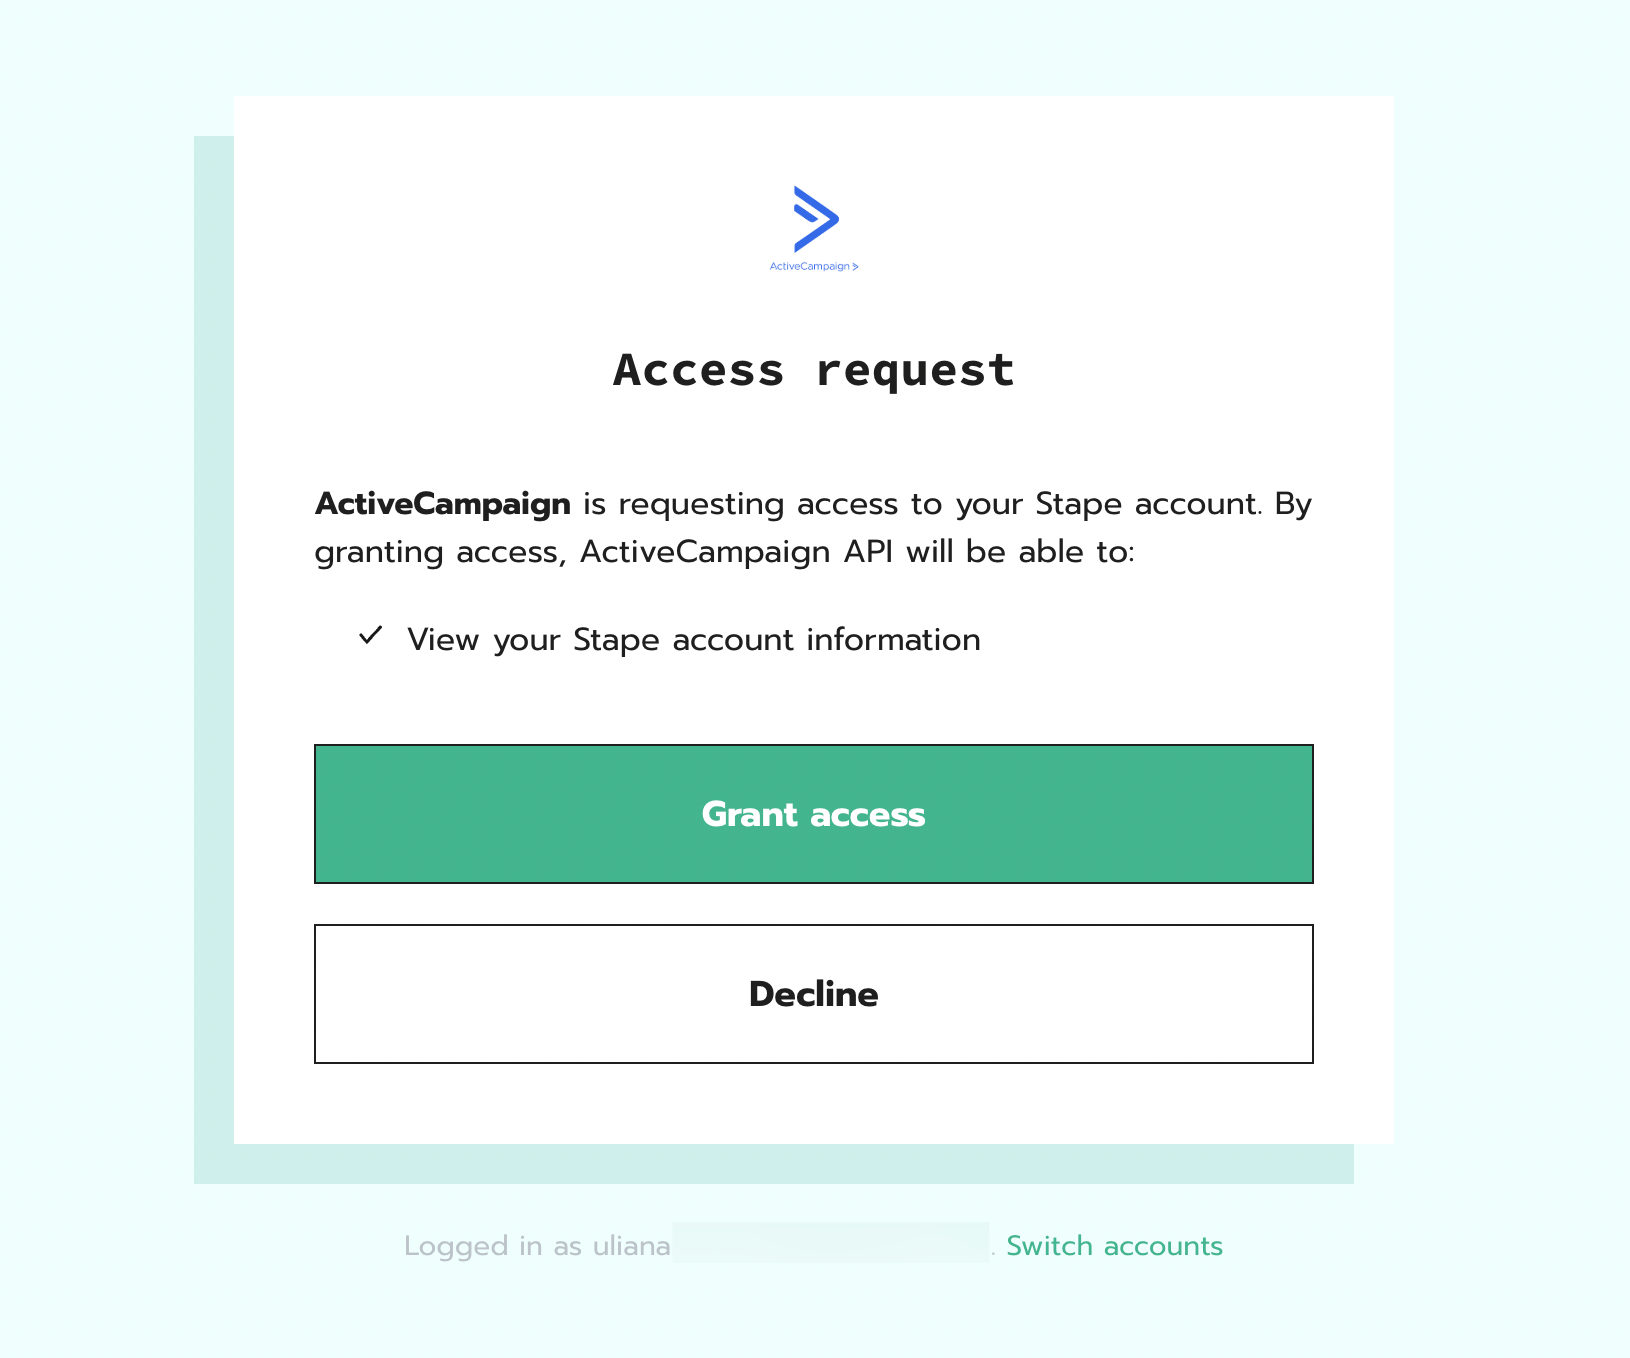
Give the app the scopes it requires:
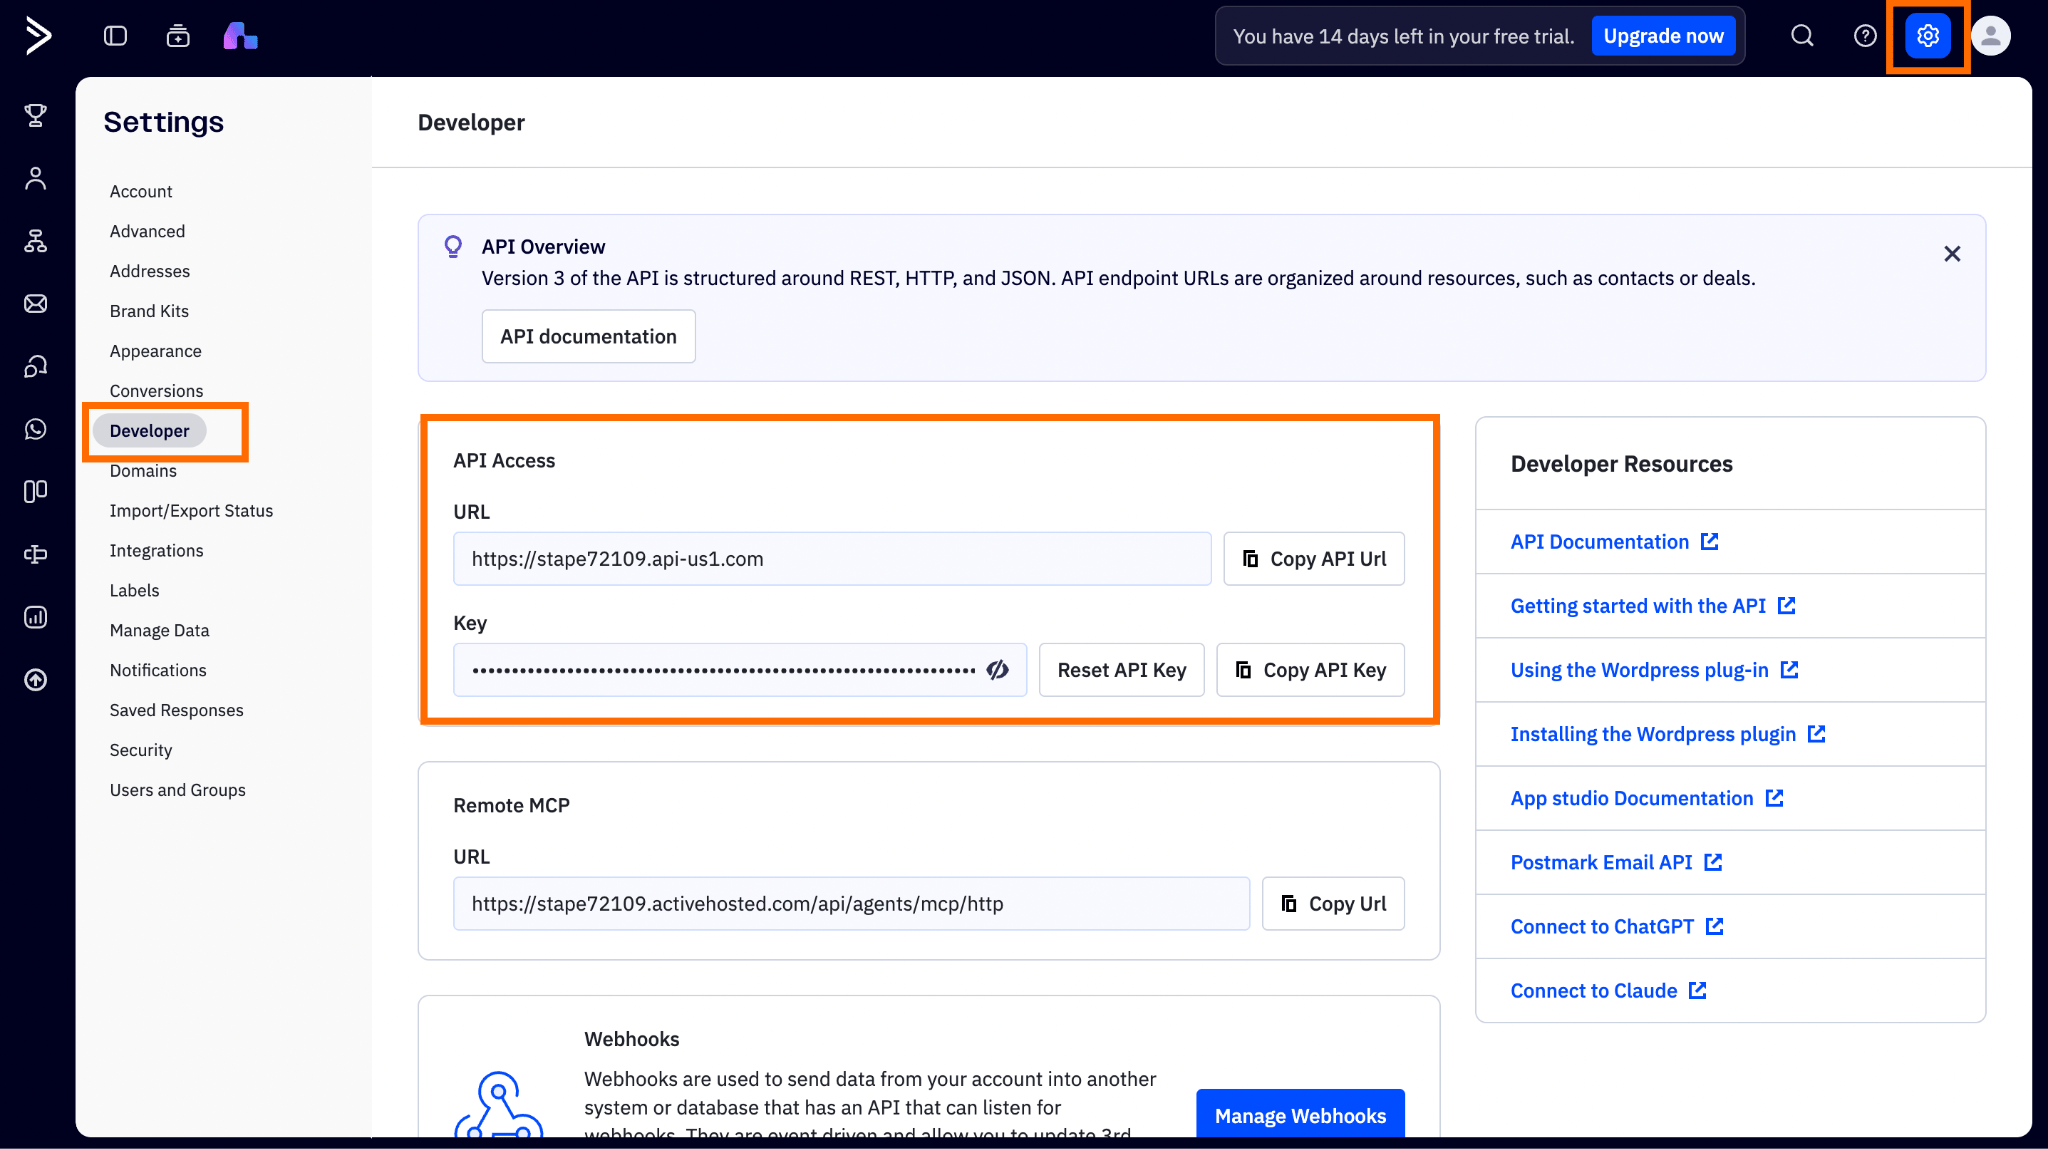
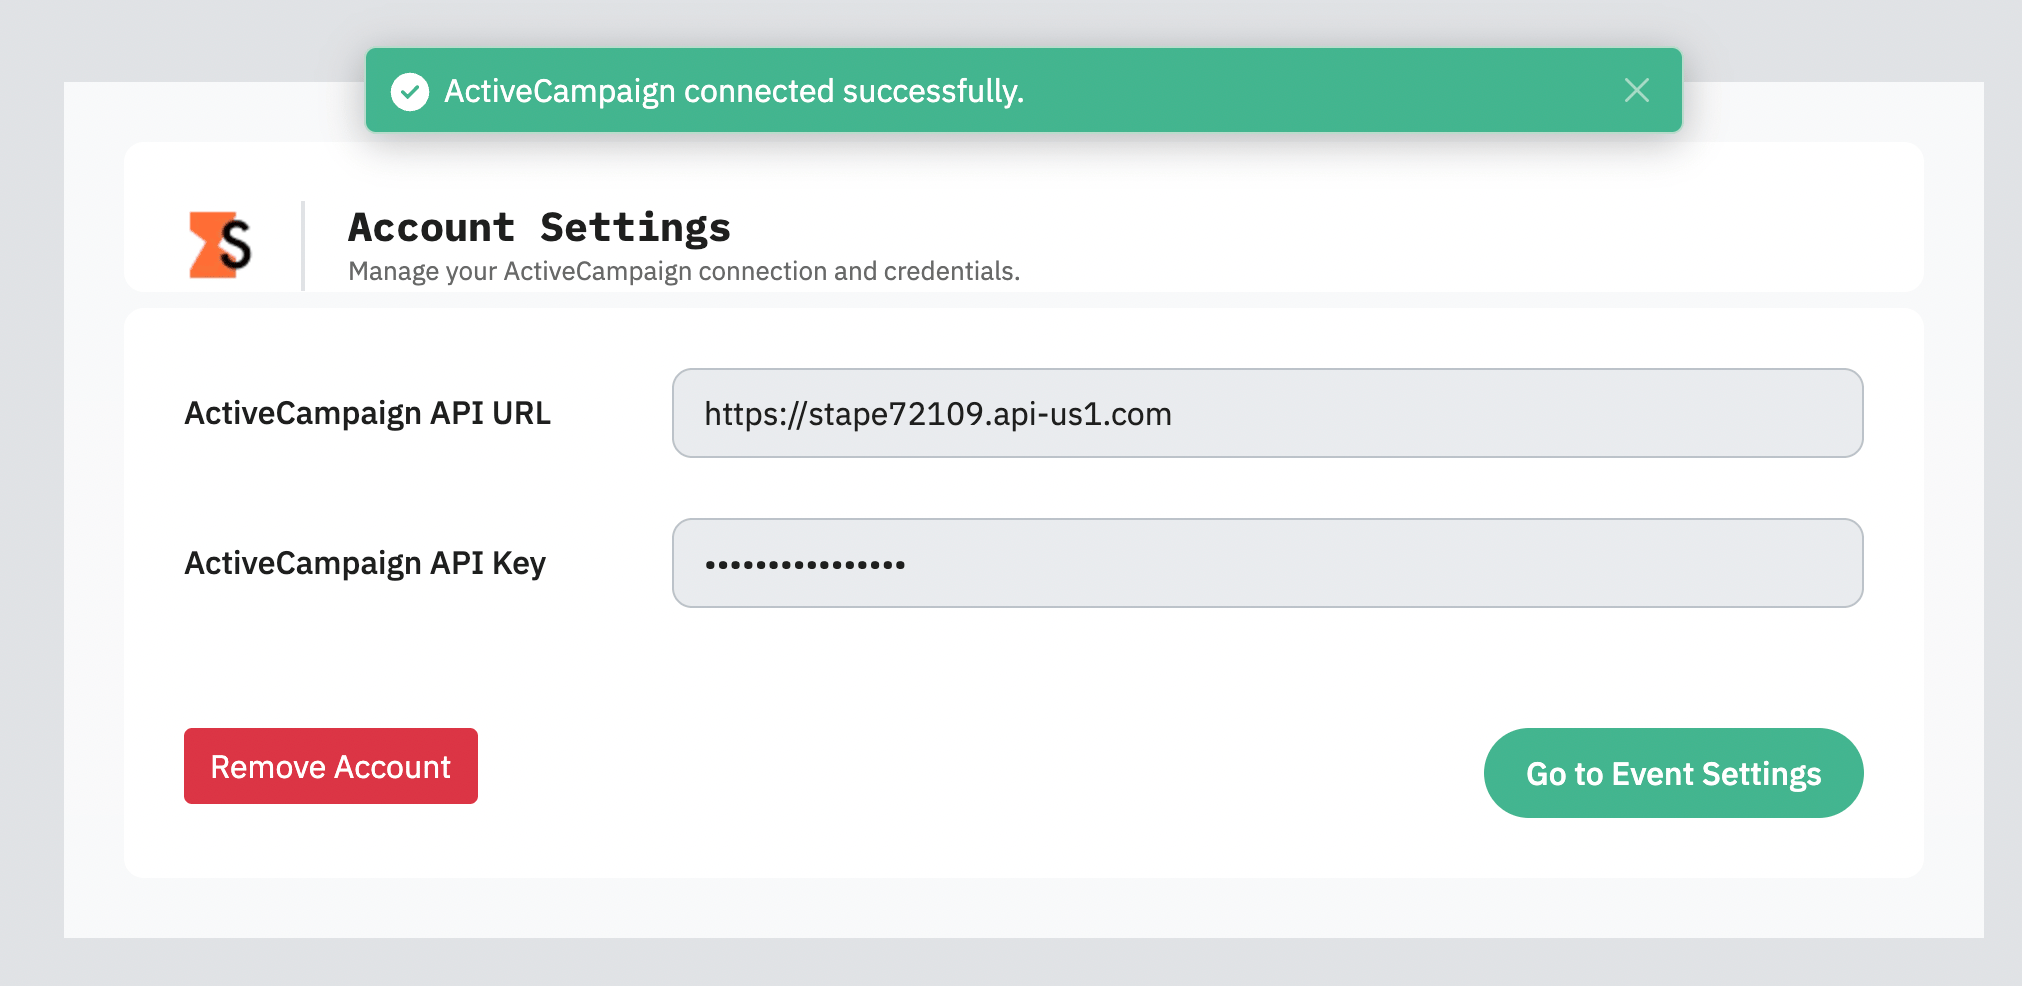
On the next step, specify the ActiveCampaign API URL and API Key.
To find the values, go to your ActiveCampaign account → click Settings (gear icon) → click the Developer tab → copy and paste your API URL and Key.
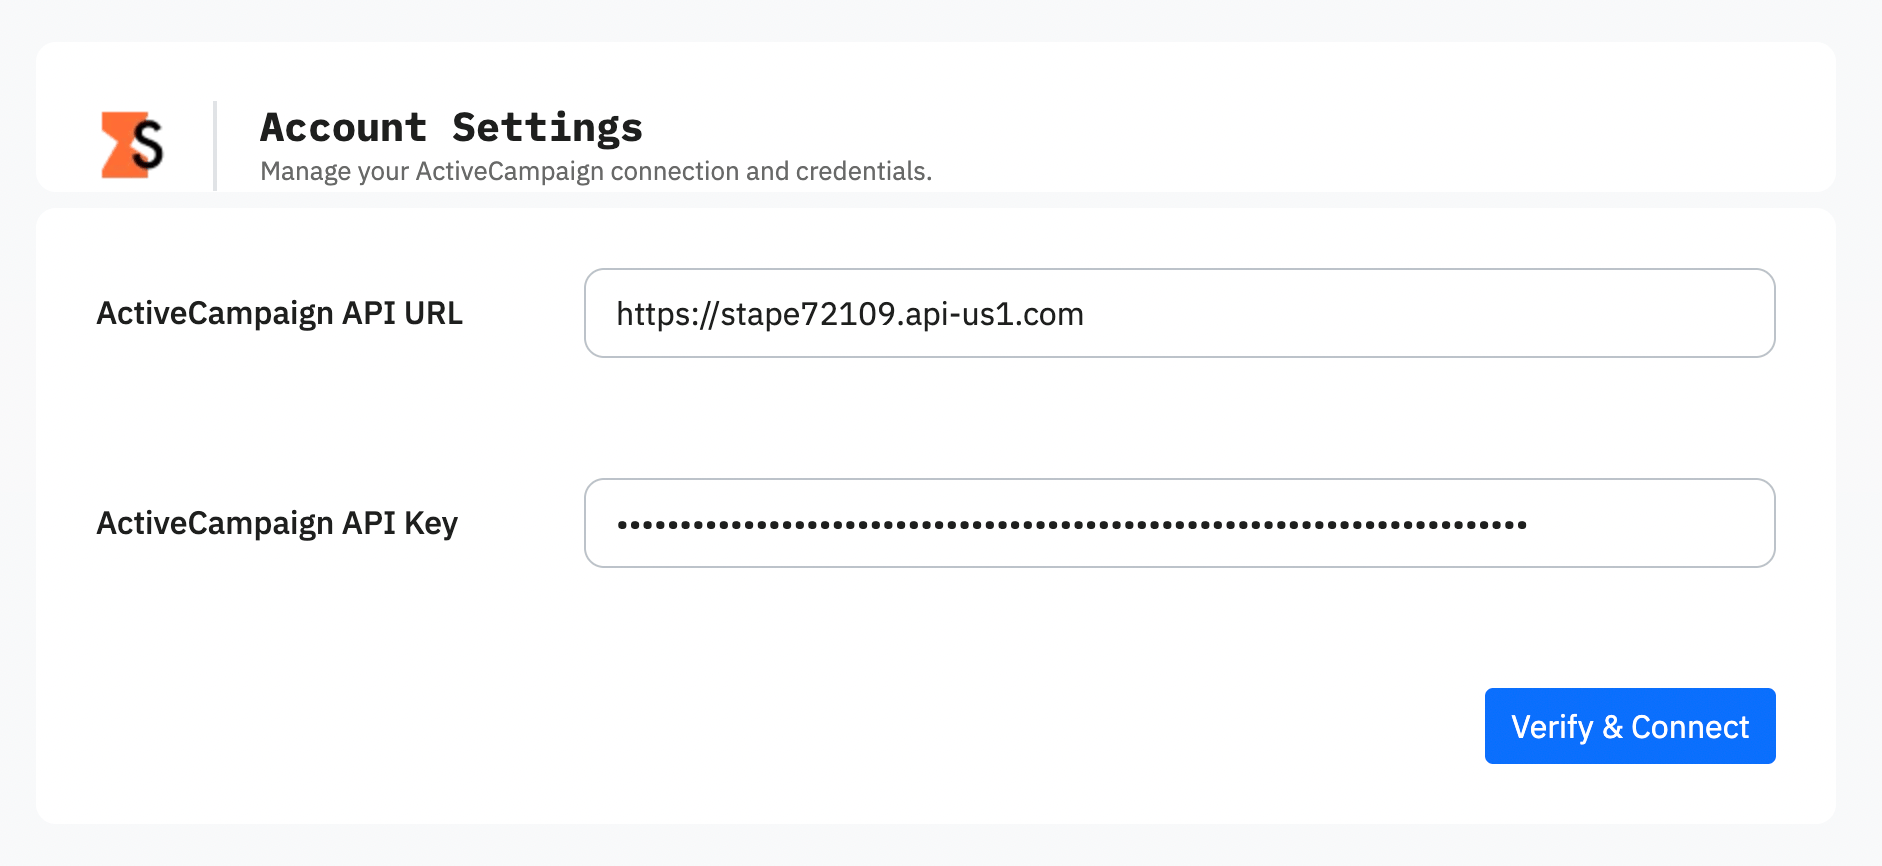
Paste the values into the app and click Verify & Connect.
After the app is successfully connected to your ActiveCampaign account, click Go to Event Settings.
Integration methods and their differences
The ActiveCampaign CRM app by Stape provides 5 different integration methods for sending profiles' progress status to your marketing platforms.
Note: you can configure multiple tabs/methods; each one runs on its own.
Server Google Tag Manager (sGTM)
This method integrates directly with your server-side Google Tag Manager container. It gives you full control over how data is processed and routed.
Server GTM is best for tracking setups that require custom logic or integrations with other platforms that Signals Gateway doesn't provide. It offers the highest level of customization and control, but requires more technical setup and ongoing management.
Customer Match (Google Ads)
It sends CRM audience and contact data directly into Google Ads, where it is used to create and update Customer Lists for targeting and remarketing.
Customer Match is best for users who run Google Ads campaigns and want to build and automate Google Ads audiences based on CRM activity, such as leads, opportunities, and customer lifecycle stages.
Meta Custom Audiences
The method focuses on syncing CRM data to Meta Custom Audiences for retargeting and segmentation. Once configured, it sends data about users who have already interacted with your website or CRM into Meta, so you can target them based on their stage in the customer journey.
Meta Custom Audiences is best for advertisers who want to retarget and re-engage users who have already interacted with their business.
Meta Conversions API Gateway (CAPIG)
This integration is built for Meta platforms such as Facebook and Instagram. It sends CRM event data directly to the Meta Conversions API.
Meta CAPIG is best for users who only need to track offline conversions and events in Meta. It is the most direct and simplest way to connect CRM data to Meta, but it is limited to Meta's ecosystem.
Signals Gateway
Signals Gateway is the unified routing solution. Instead of sending data separately to each platform, you send it once to Stape and then distribute it to multiple destinations.
Signals Gateway is best for users who, besides Meta, want to connect a few other platforms and look for a balance between simplicity and flexibility. Signals Gateway is more powerful than CAPIG (as it provides the option to add other platforms), and easier to configure than server-side GTM.
Configure the app based on the configuration method
❗Please note before starting:
Stape's app supports multiple integrations simultaneously. Each integration method has its own tab with an Activate integration toggle; switch it on for the integrations you want to send data to.

The integration method depends on your tracking setup and goals, and/or on your current experience with Stape. Click on the section below that corresponds to the tracking method you use:
Settings editing
If you have some changes in the funnel or you want to change the events sent to your CAPI Gateway, server GTM container, Signals Gateway, Meta Custom Audiences, or Google Ads Customer Match List, you can always edit your app configuration.
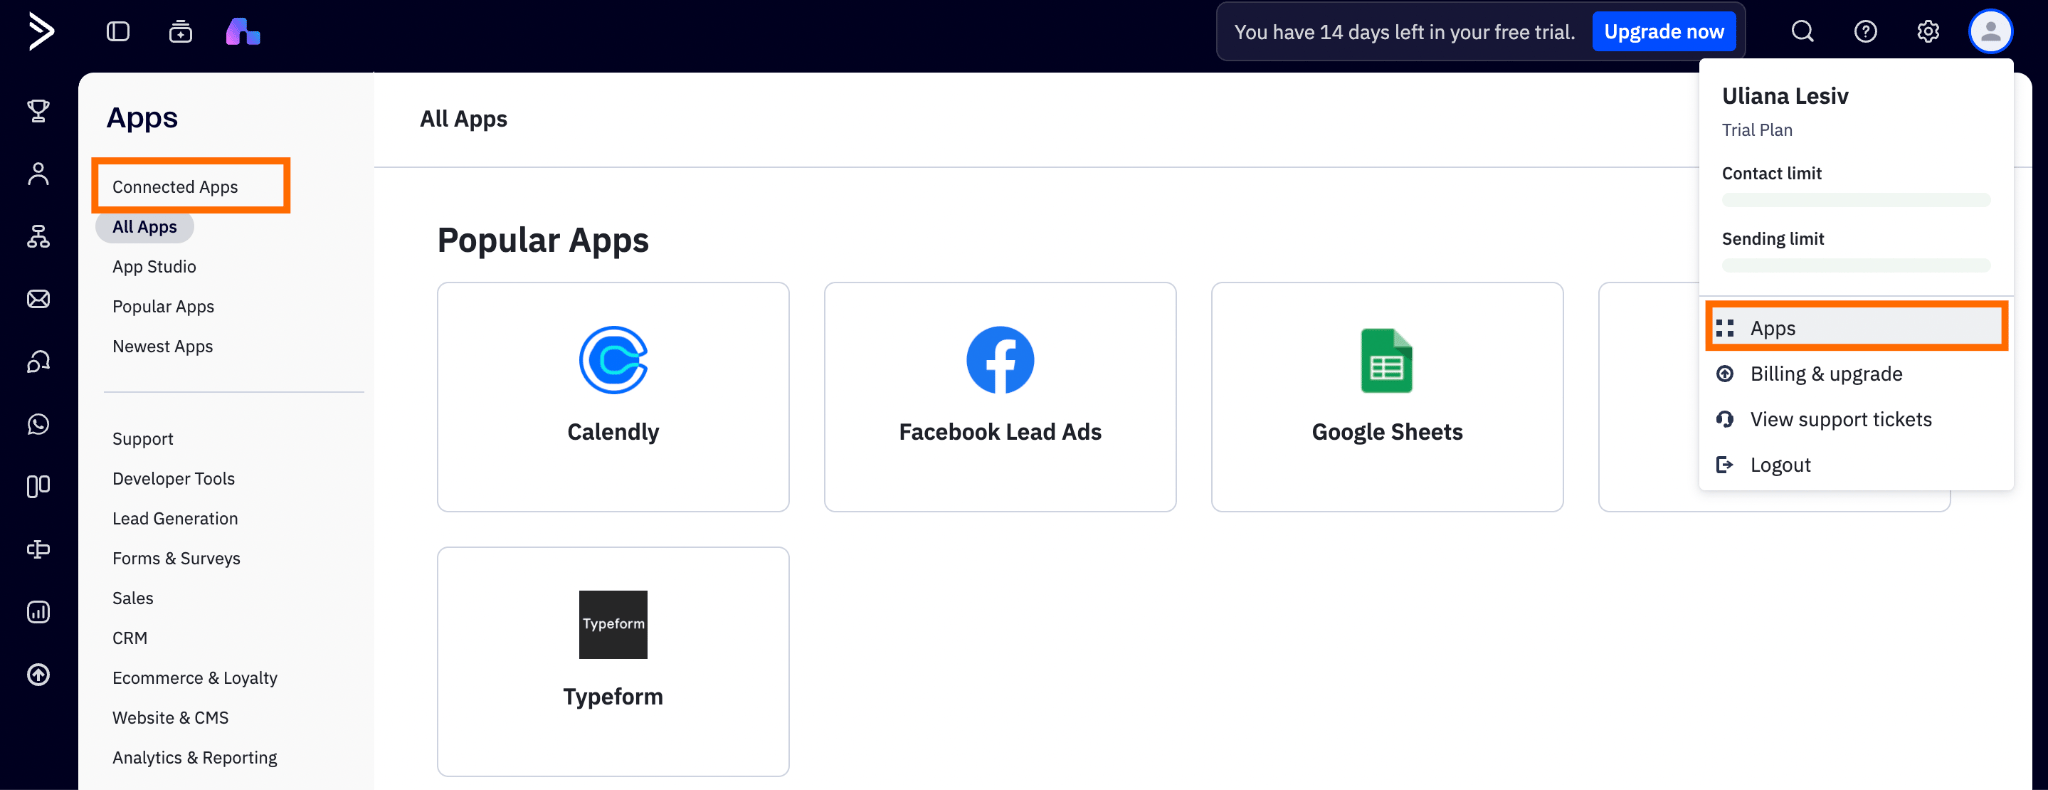
To do it, go to your ActiveCampaign account → click on your profile icon → Apps → Connected Apps → locate the Stape app and edit it as required.
FAQ
Final words
ActiveCampaign site and event tracking help you understand website activity, but they don't show what happens after a lead enters your CRM. Conversion tracking is helpful to connect marketing interactions with qualified leads, deals, customers, and revenue.
Depending on your needs, you can use a custom API integration, webhooks with server-side tracking, or the Stape Conversion Tracking app to send ActiveCampaign CRM data to a server GTM container and platforms like Meta and Google Ads. With the app, you can also enable marketing automation (sync data for Meta Custom Audiences and create/update Google Ads Customer Match lists automatically), connect Facebook Lead forms with CRM, and supply third-party platforms with new lead status updates.
By tracking business outcomes instead of website conversions alone, you can better understand which campaigns generate value and optimize your marketing strategy accordingly.
Want to start on the server side?
Try for freeRecommended for you
Sep 16, 2026
Blog
Stape's Conversion Tracking CRM Apps: use cases and benefits
Stape's CRM apps for CRMs automatically send lead statuses updates from CRM to platforms such as Meta and Google Ads, improving campaign performance and audience targeting.
Sep 14, 2026

Comments