How to set up same origin server-side GTM on Webflow with Cloudflare
Lars Friis
AuthorIf you're running your website on Webflow and want to get the most out of server-side Google Tag Manager, a same-origin setup is the gold standard. Instead of serving sGTM requests from a separate subdomain like ss.example.com, same origin routes them through your main domain (for example, example.com/metrics). This means browsers treat all cookies as fully first-party, which translates to longer cookie lifetimes and more accurate conversion tracking.
However, Webflow manages DNS differently from most platforms, so the standard same origin setup doesn't apply directly. Cloudflare bridges that gap through its proxy and Workers functionality.
I'm Lars Friis, tracking specialist, and in this guide, I'll walk you through exactly how to get there.
If you haven't set up sGTM yet, start with the server-side tracking setup guide.
Step-by-step setup
Step 1. Enable Cloudflare proxy for Webflow (O2O)
First of all, you need to migrate your DNS records to Cloudflare and activate the Cloudflare proxy so you can set up the Cloudflare Workers on the domain as step 2.
1.1. Move DNS records to Cloudflare
If you already use Сloudflare for your DNS records, you can skip this step and proceed to step 1.2.
If not, you need to move your DNS records and nameserver to Cloudflare DNS, where all Webflow-related records should initially be set to DNS-only to connect and validate SSL.


1.2. Switch root DNS record to a CNAME record
Remove the A record for root.

Next, replace it with a CNAME record so Webflow can validate it in later steps.

1.3. Wait for the SSL to beсome active in Webflow
Wait until Webflow shows SSL: Active for your domain(s) as shown below:
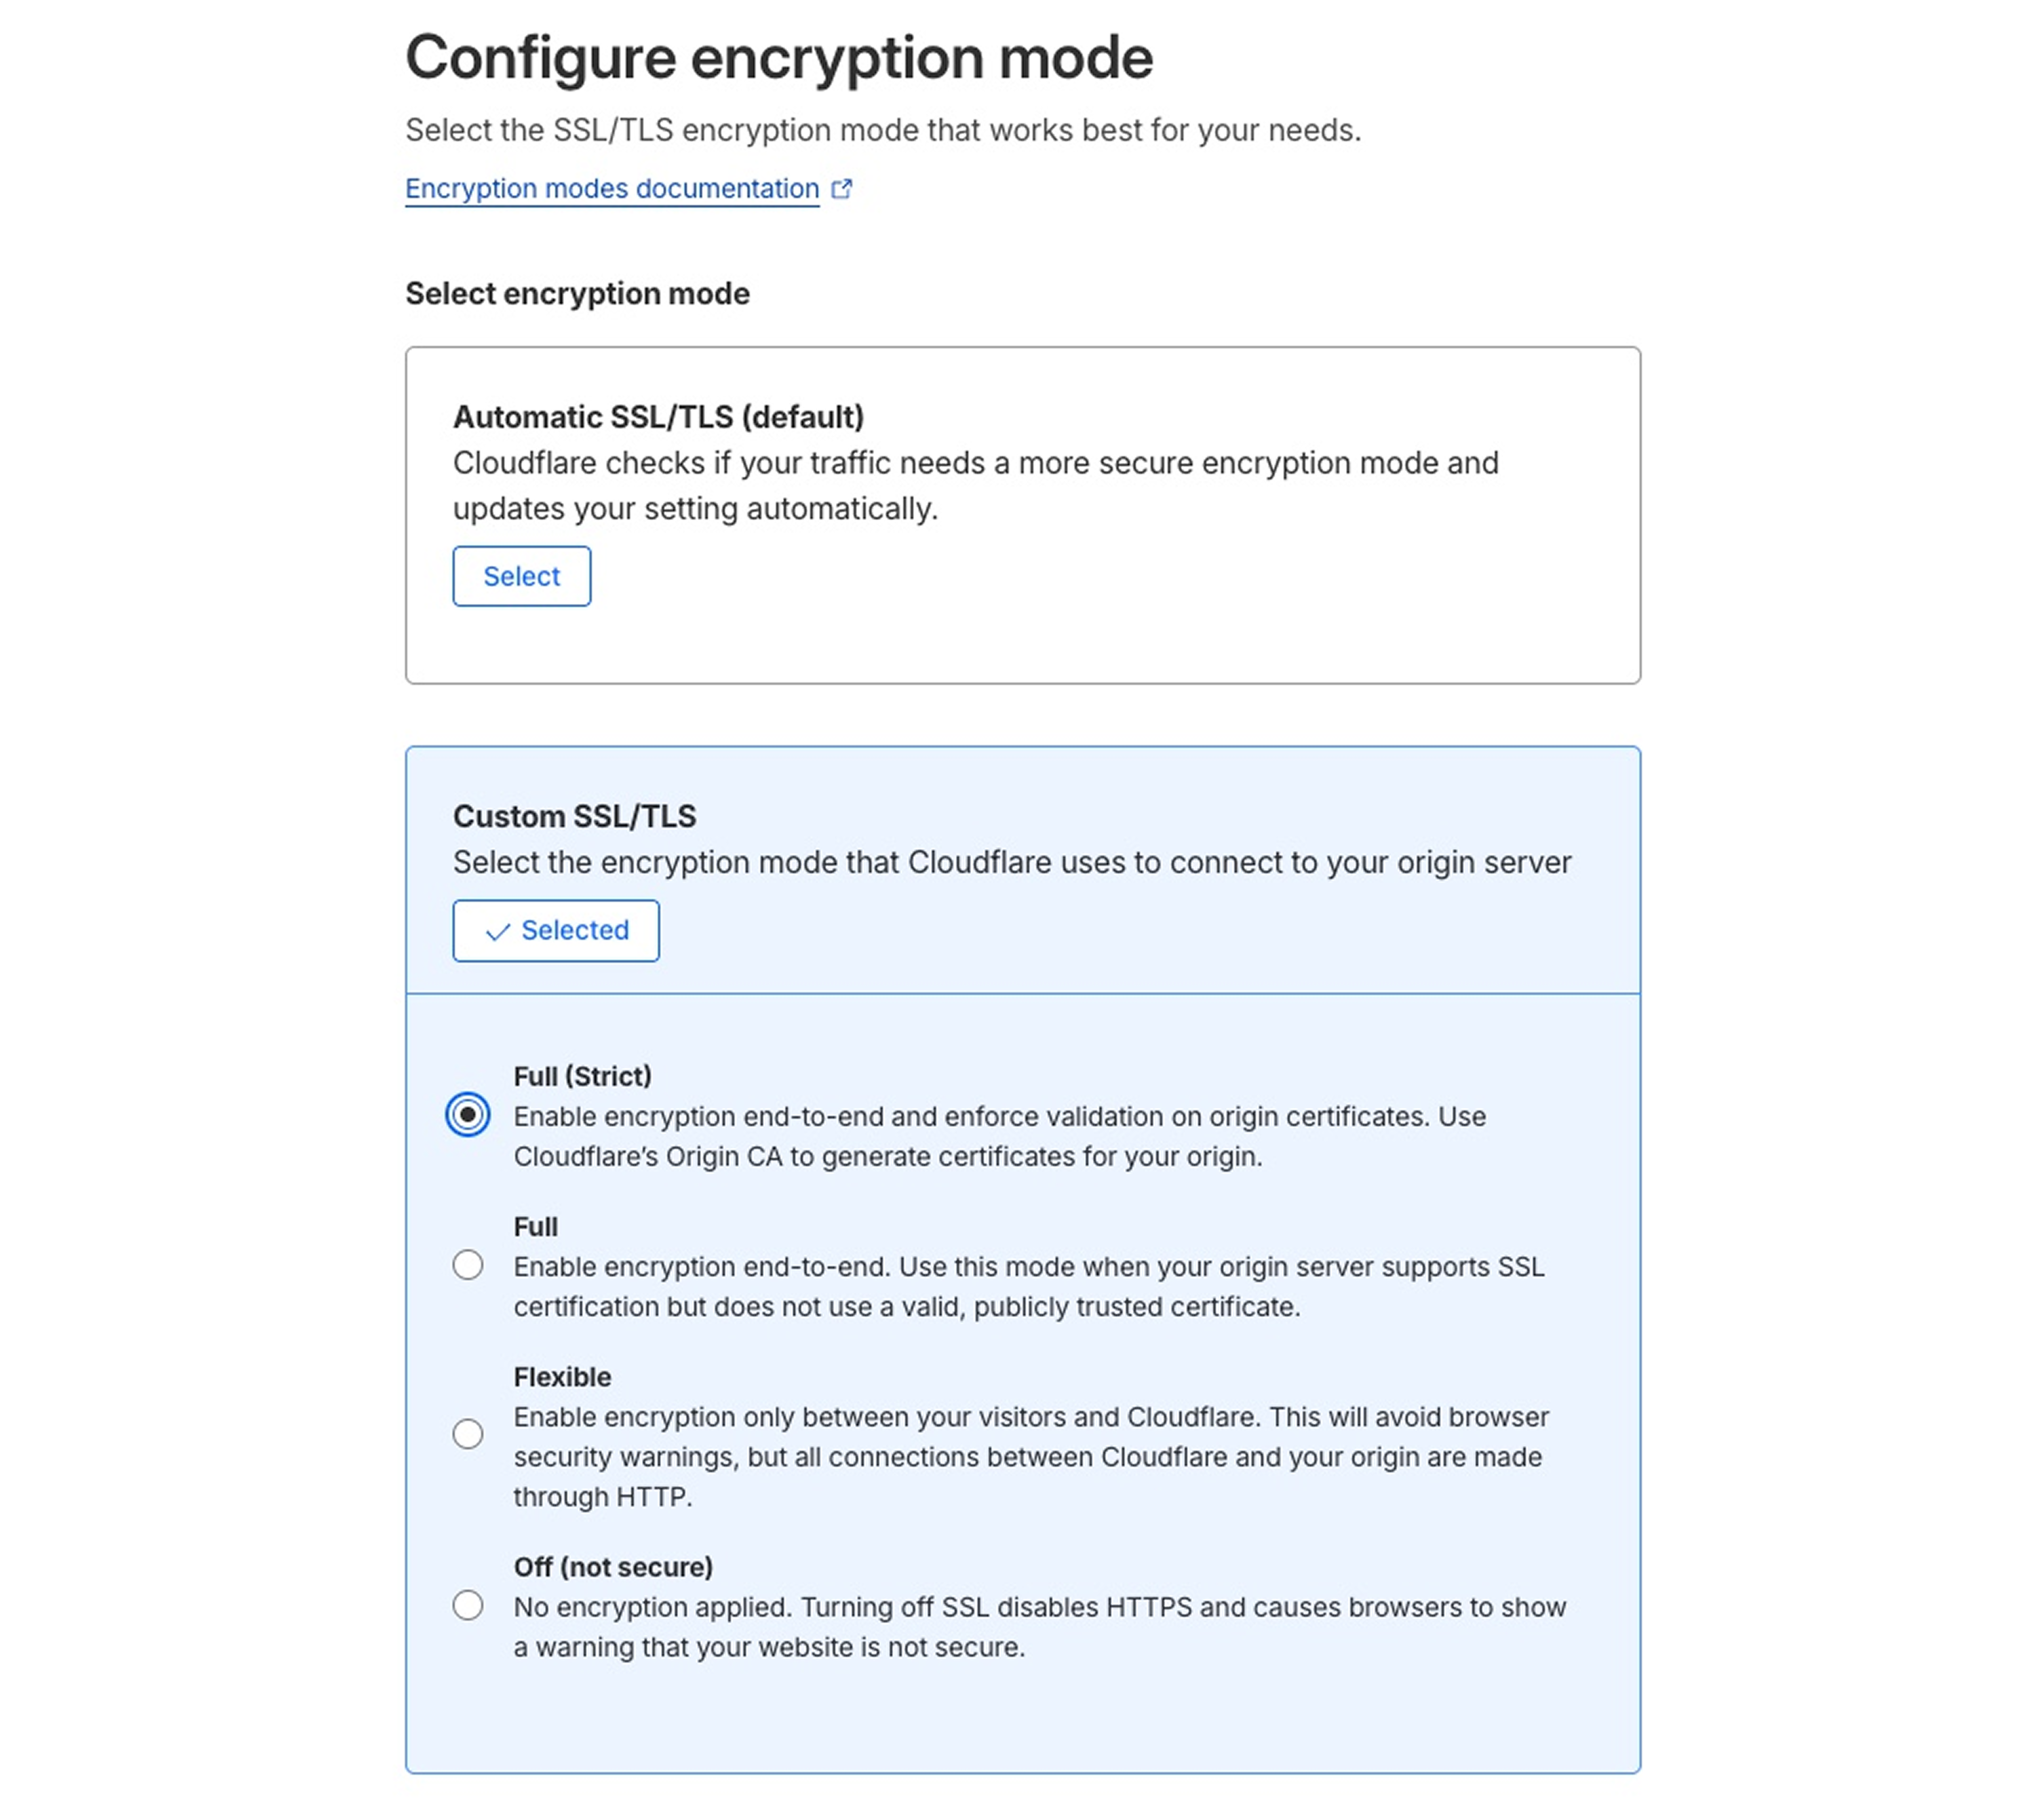
1.4. Enable Cloudflare proxy and set SSL to Full (Strict)
1. Enable the Cloudflare proxy.


2. Configure O2O with Full (Strict) SSL.
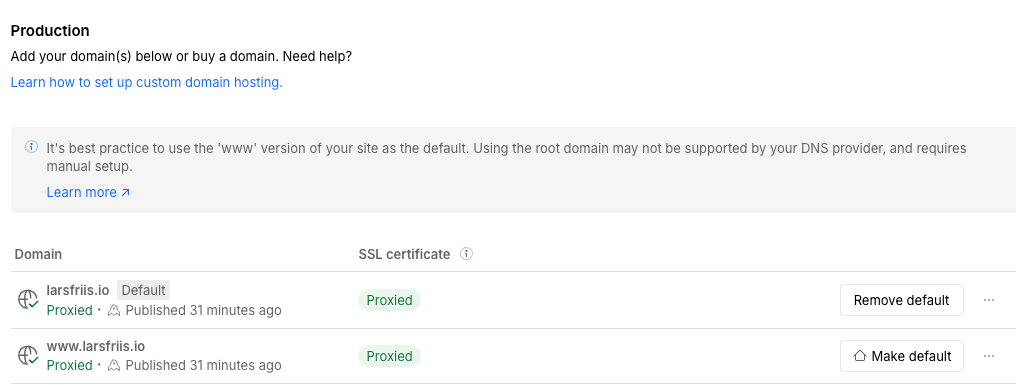
1.5. Wait for SSL to be proxied in Webflow
Wait for the Webflow SSL certificate status to change to Proxied.

Step 2. Set up a custom Worker in Cloudflare
You're now ready to set up the Cloudflare Worker as described in Stape’s documentation on how to use same origin through Cloudflare.
Summary
Once this setup is complete, your sGTM container will serve requests from the same origin as your Webflow site. Cookies set by your tags will be treated as first-party by all browsers, including Safari, giving you the longest possible cookie lifetimes and the most accurate tracking data available.
It takes a few more steps than a standard subdomain setup, but for any Webflow site where tracking accuracy matters, same origin is worth the effort.

Comments