1.1. Open web Google Tag Manager container.
Click on Admin section → then click +

1.2. Add the container name, choose Server as a target platform, and click Create.

1.3. Select Manually provision tagging server, copy the container config, and paste it into any text editor. We will need it for the next steps.

1.4 Create or log in to the Stape account.

1.5. In the Stape's admin, click Create container on the right.

1.6. Add container details:
Click Create Container.

1.7. Choose a plan for your container. You can try a Free plan.

1.8. Check the status of your container, its configuration, and your plan name in the Stape admin.
Deploying a server container typically takes about 5 minutes. To view the updated status, refresh the page. If the Google Tag Manager server-side setup was completed successfully, the status should show as Running.

| What's Custom Loader? The Custom Loader is a Stape's power-up, which modifies gtag.js and gtm.js loading paths, allowing you to minimize ad blockers on data collection. Using the Custom Loader may increase data volume up to 40%. |
2.1. Find and copy your web GTM container ID
Log in to your Google Tag Manager account and open your web GTM container. In the top right corner of the screen (next to the Submit and Preview buttons), you'll find a short identifier beginning with "GTM-" followed by a combination of letters and numbers. This is your Web GTM ID.
Copy it to use later.

2.2. Open the sGTM container on Stape → Click on the Power-Ups section.
Find Custom Loader and click Configure.

2.3. Configure the following settings:
Click Generate, and follow the instructions provided on the right.

3.1 Log in to your Salla account. To install the app, you need to buy the app on the Salla platform (you have a 7-day free trial).

3.2 Configure the app. You will need to configure three sections of a single-page app installation: General, Data Layer, and Webhooks.
3.2.1 General section.
This section contains all the options for configuring the GTM snippet installation on every page of your Salla site.
Add the following data:
| If you haven't configured a custom domain yet, please check Stape's guide on subdomain setup. |


3.2.2 Dala Layer section.
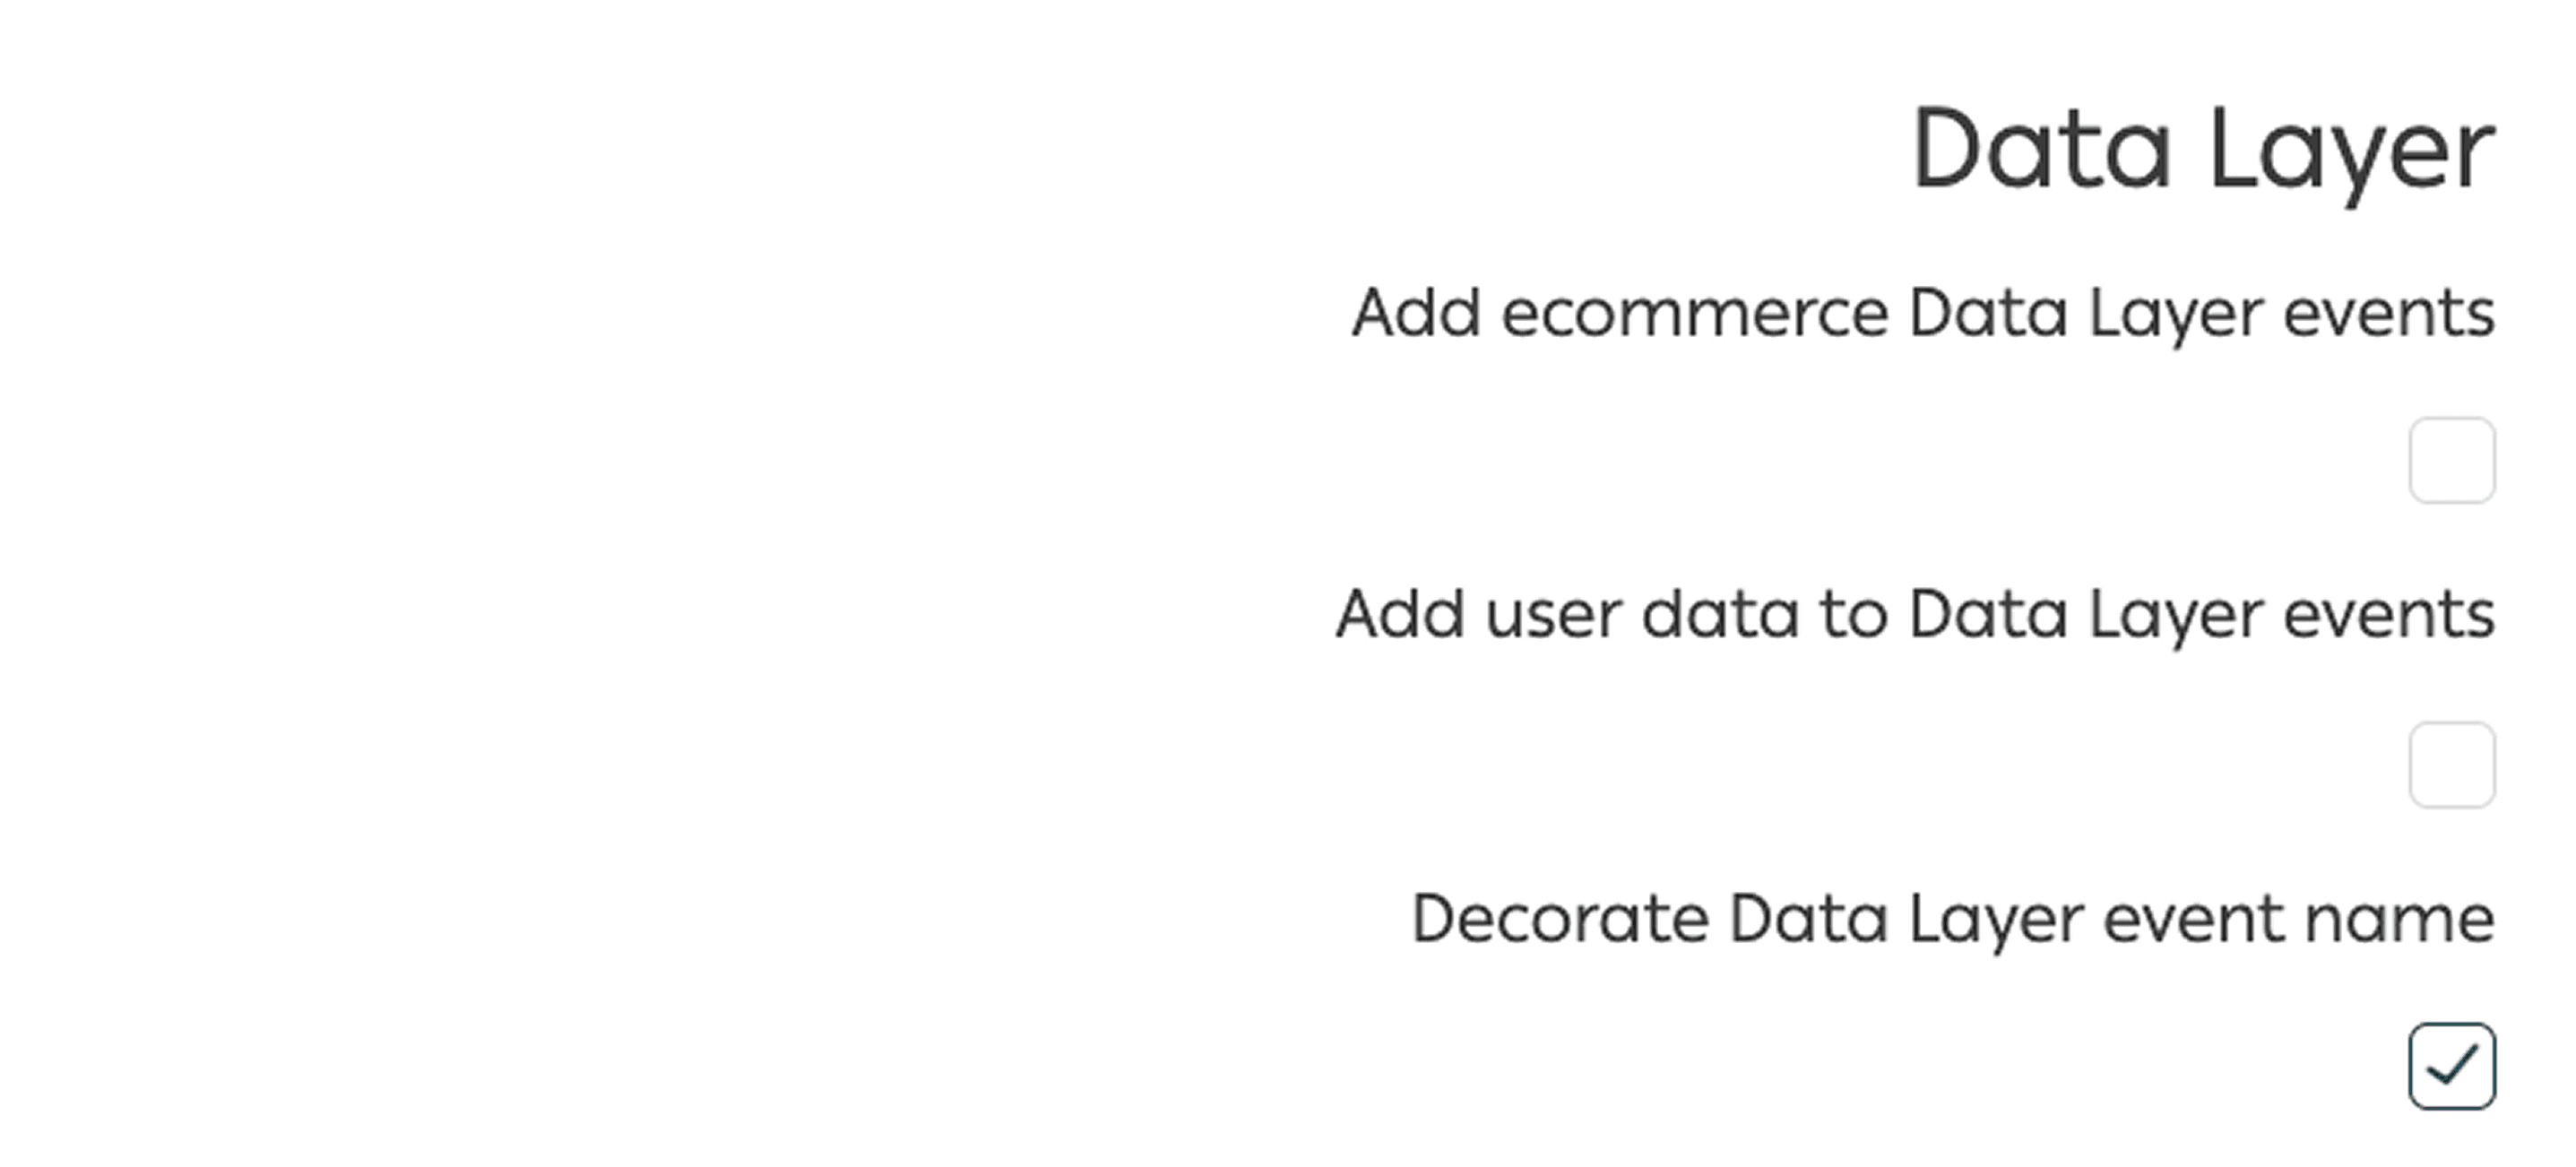
In this section, you can see toggles that enable Data Layer events. With their help, you can enrich the data by incorporating product and user details. The “Decorate Data Layer event name” option lets you choose whether to add the _stape suffix to all event names so they don’t conflict with existing GTM events. When it’s off, events keep their standard names.

3.2.3 Webhooks section.
In this section, you can set up webhooks sending to a specified URL for various events, such as purchases and/or refunds.
To enable webhook configuration, check the box next to "Send webhooks to server GTM container." After that, provide the URL of your server container and /path where the webhooks should be sent in the format: https://gtm.example.com/data
Activate the appropriate fields based on the event type - purchase and/or refund.
If you would like to find out more about webhooks and configure them, please check our blog posts:
Click Save.

4.1 Download GTM templates from GitHub and unzip the file.

4.2. Import the templates into both your web and server containers in GTM
Please note: the .json files include not only Meta templates, but also templates for Google Analytics 4 and Google Ads.

The process of importing .json files is identical for both containers. Go to Admin → Import Container to begin.

4.3. Choose your template file from the desktop, ensuring it matches the container type (web or server).
4.4. Select a workspace for the import; you may create a new one if needed.
4.5. Choose whether to Overwrite or Merge the existing configuration.
The Overwrite option should only be used with a new, empty container or if you're absolutely certain about replacing existing content. For this demo, we'll use the Merge option with Rename conflicting tags, triggers, and variables selected. This ensures that in case of any conflicts, GTM will simply rename the imported items, preserving your existing container setup.

5.1. The templates come fully configured, with triggers, payloads, and event names already set up for you.
All you need to do is enter your specific details (such as destination URLs, IDs, API keys, etc.).
To make things easier, both the Web and Server containers include a folder named [Stape] _Settings where these configurations can be managed.
In web GTM container:

In the server GTM container:

All of these variables are already linked to the relevant tags; you simply need to assign the appropriate values. For example:

5.2. Pixel ID and API token can be found in your pixel settings:


Meta allows you to test both browser and server events, which is helpful when setting up the Facebook Pixel with GTM server for the first time and wanting to make sure all data is tracked correctly.
6.1. To start, you'll need to get a test_event_code. To do this, log in to Facebook Business Manager, select the data source you want to test, and navigate to the Test Events tab. There, you'll find the test event code, something similar to TEST2120.

Please note: TEST ID is changing once in a couple of hours. If your debug sessions are spread in time, make sure to check that the value you're using is still valid.
6.2. In your server container, fill the LT - Map | Debug Mode → FB Test ID variable with the test event code you obtained in the previous step.

This variable is already integrated into all Meta tags. It only activates in preview mode, so there's no need to remove it before publishing your setup.
6.3. Enable preview mode in both your web and server containers. If everything is set up correctly, you should see both web and server test events appear on the Facebook Test Events page.

Comments