Cookie Keeper power-up
Updated Jun 29, 2026
The Cookie Keeper power-up extends the lifetime of your first-party cookies, preventing browsers with Intelligent Tracking Prevention (ITP), such as Safari 16.4+, from expiring them after 7 days. This ensures consistent user identification, longer attribution windows, and more accurate retargeting across sessions.
Cookie Keeper without custom cookies is available on the Pro subscription plan and higher. The custom cookies are available on the Business subscription plan and higher. To check your current plan or upgrade, go to your sGTM container settings.
How to set up Cookie Keeper
1. Log in to your Stape account and select your sGTM container from the dashboard.
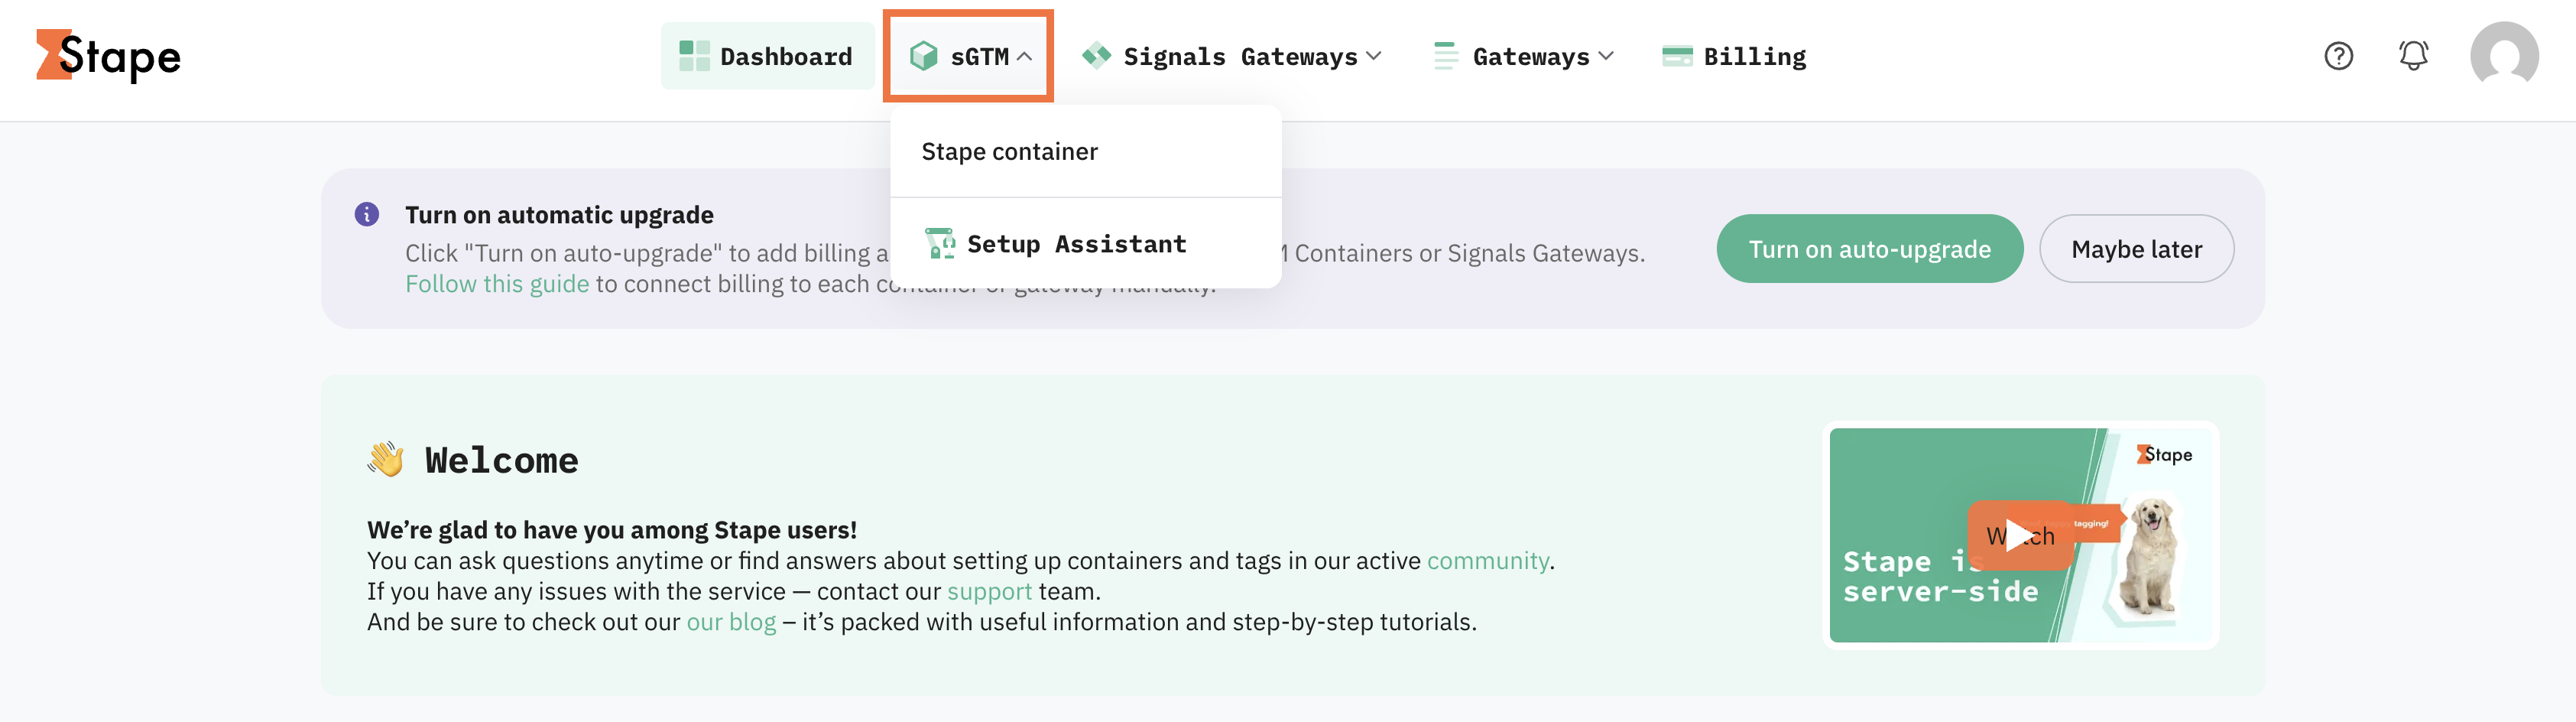
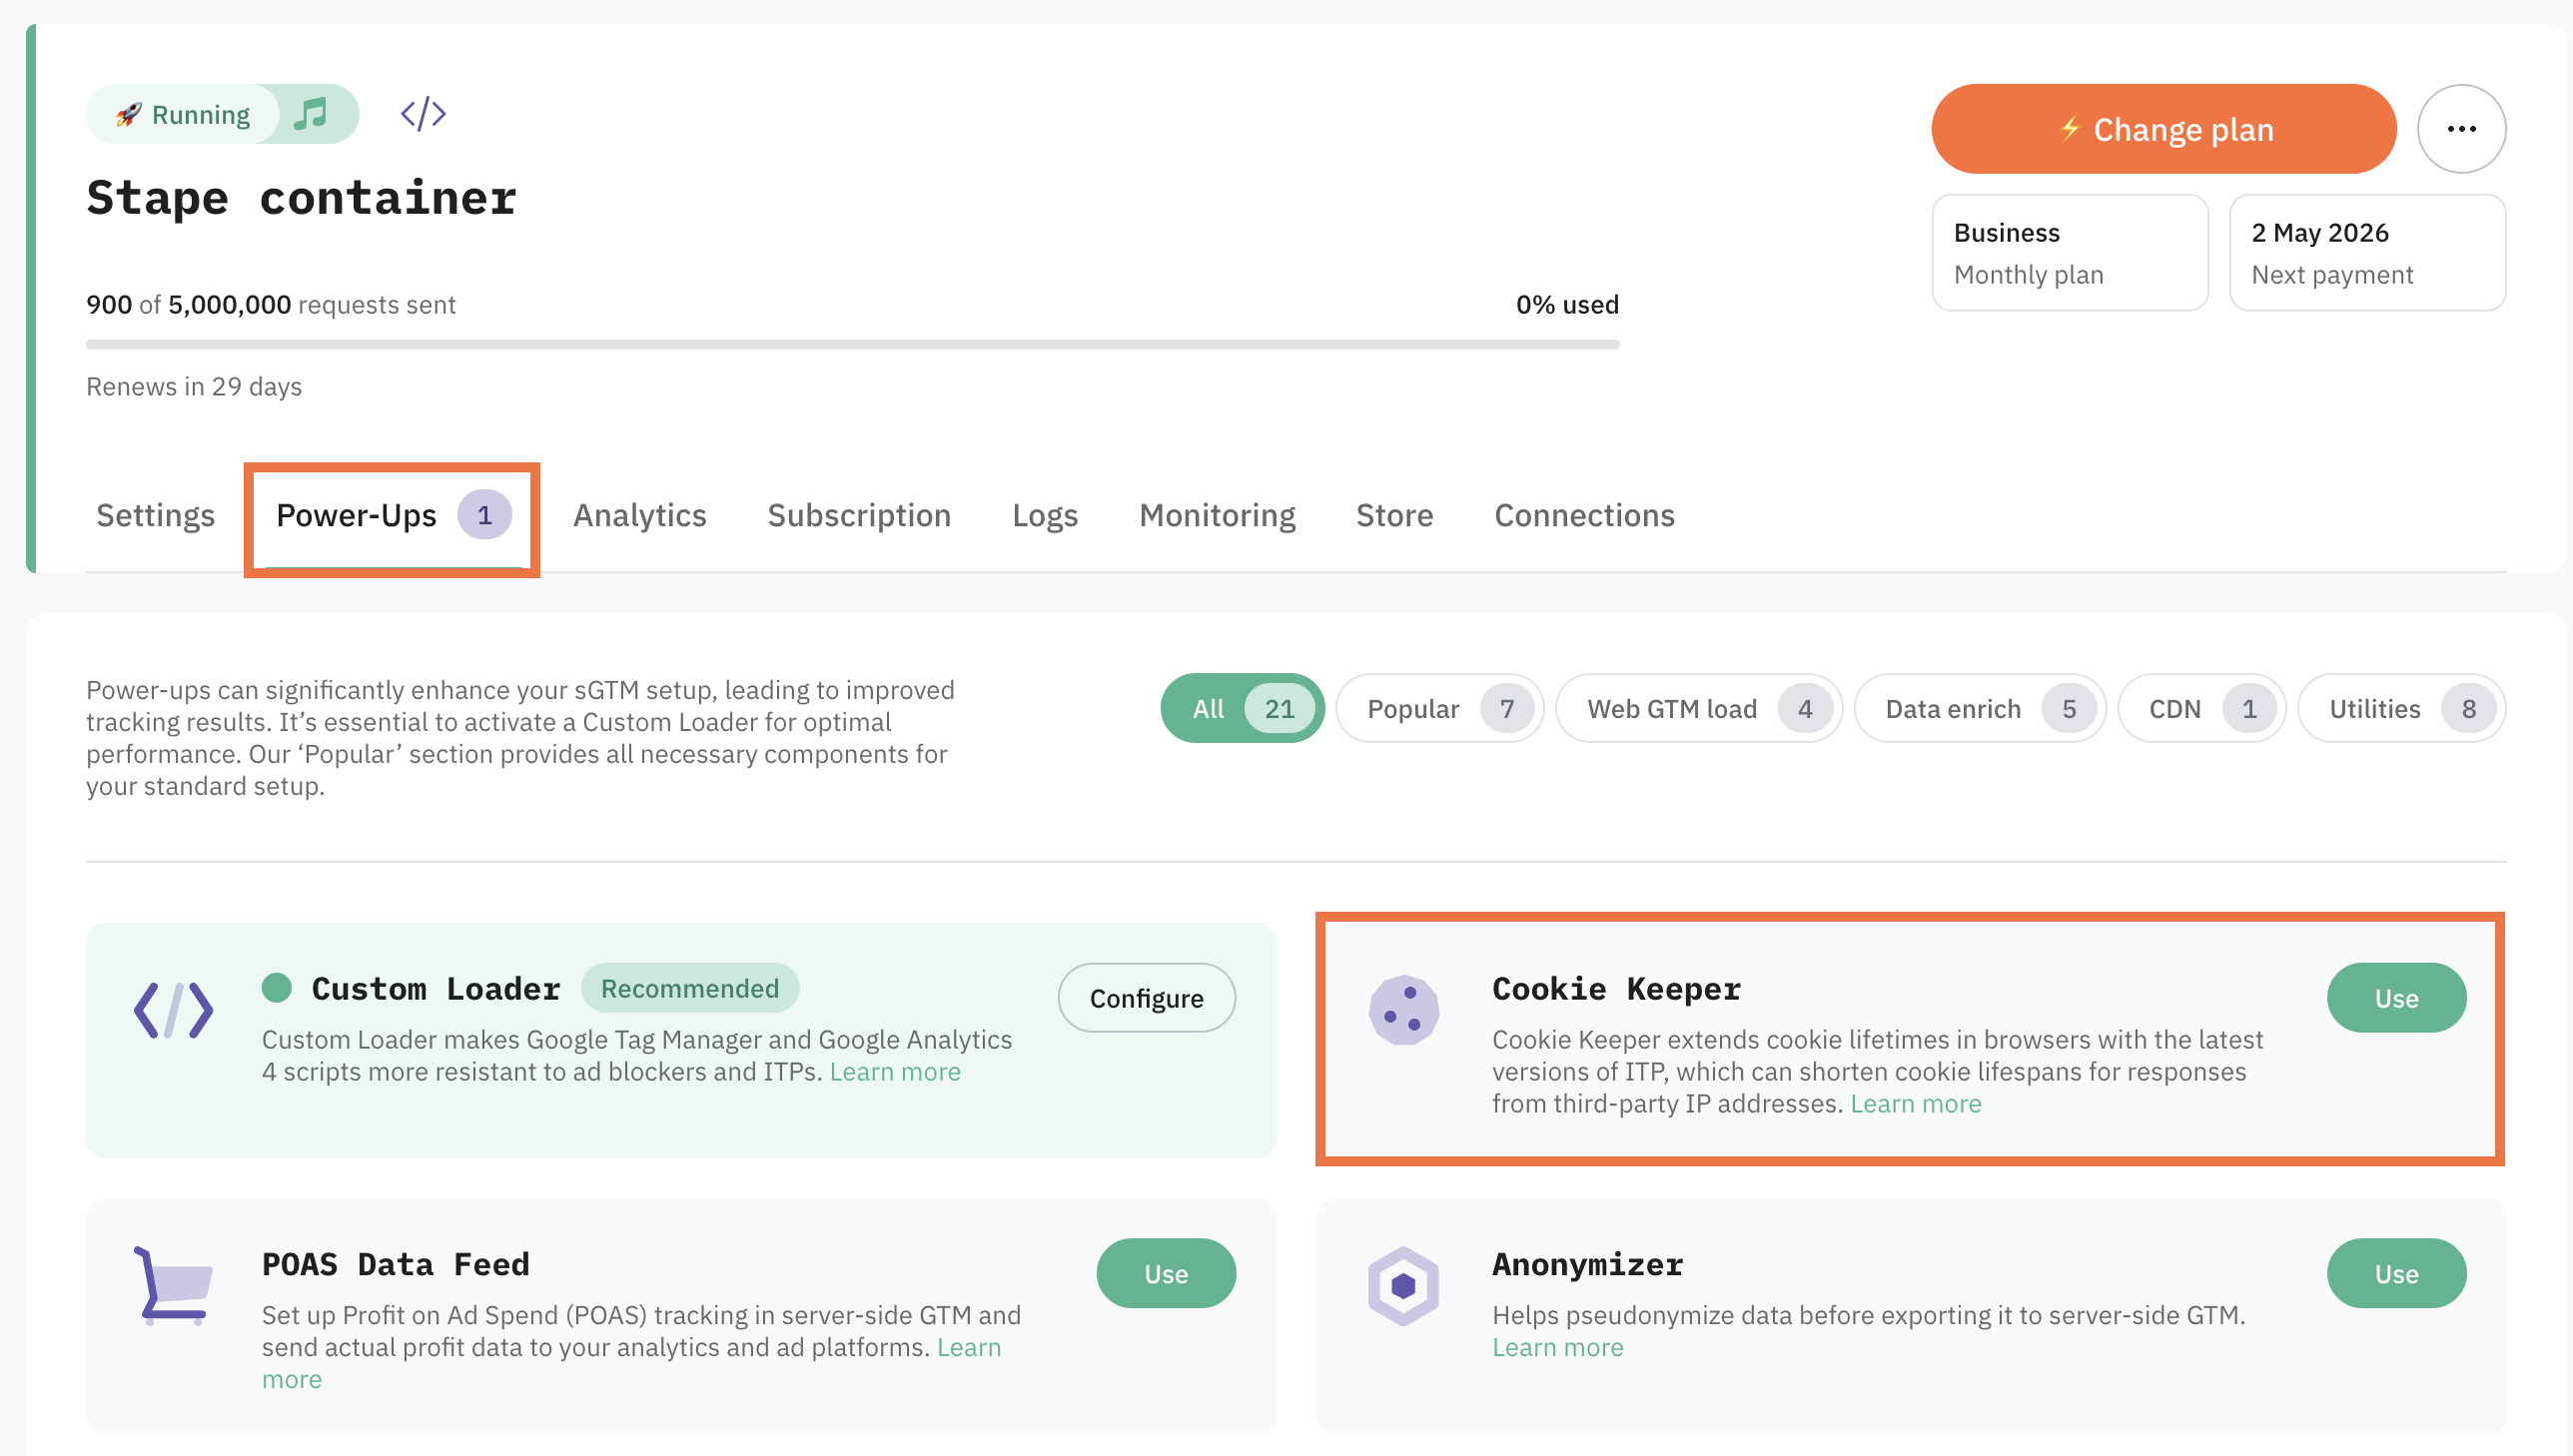
2. Go to Power-ups and click Use next to the Cookie Keeper panel.
3. Toggle the Cookie Keeper switch to enable it.
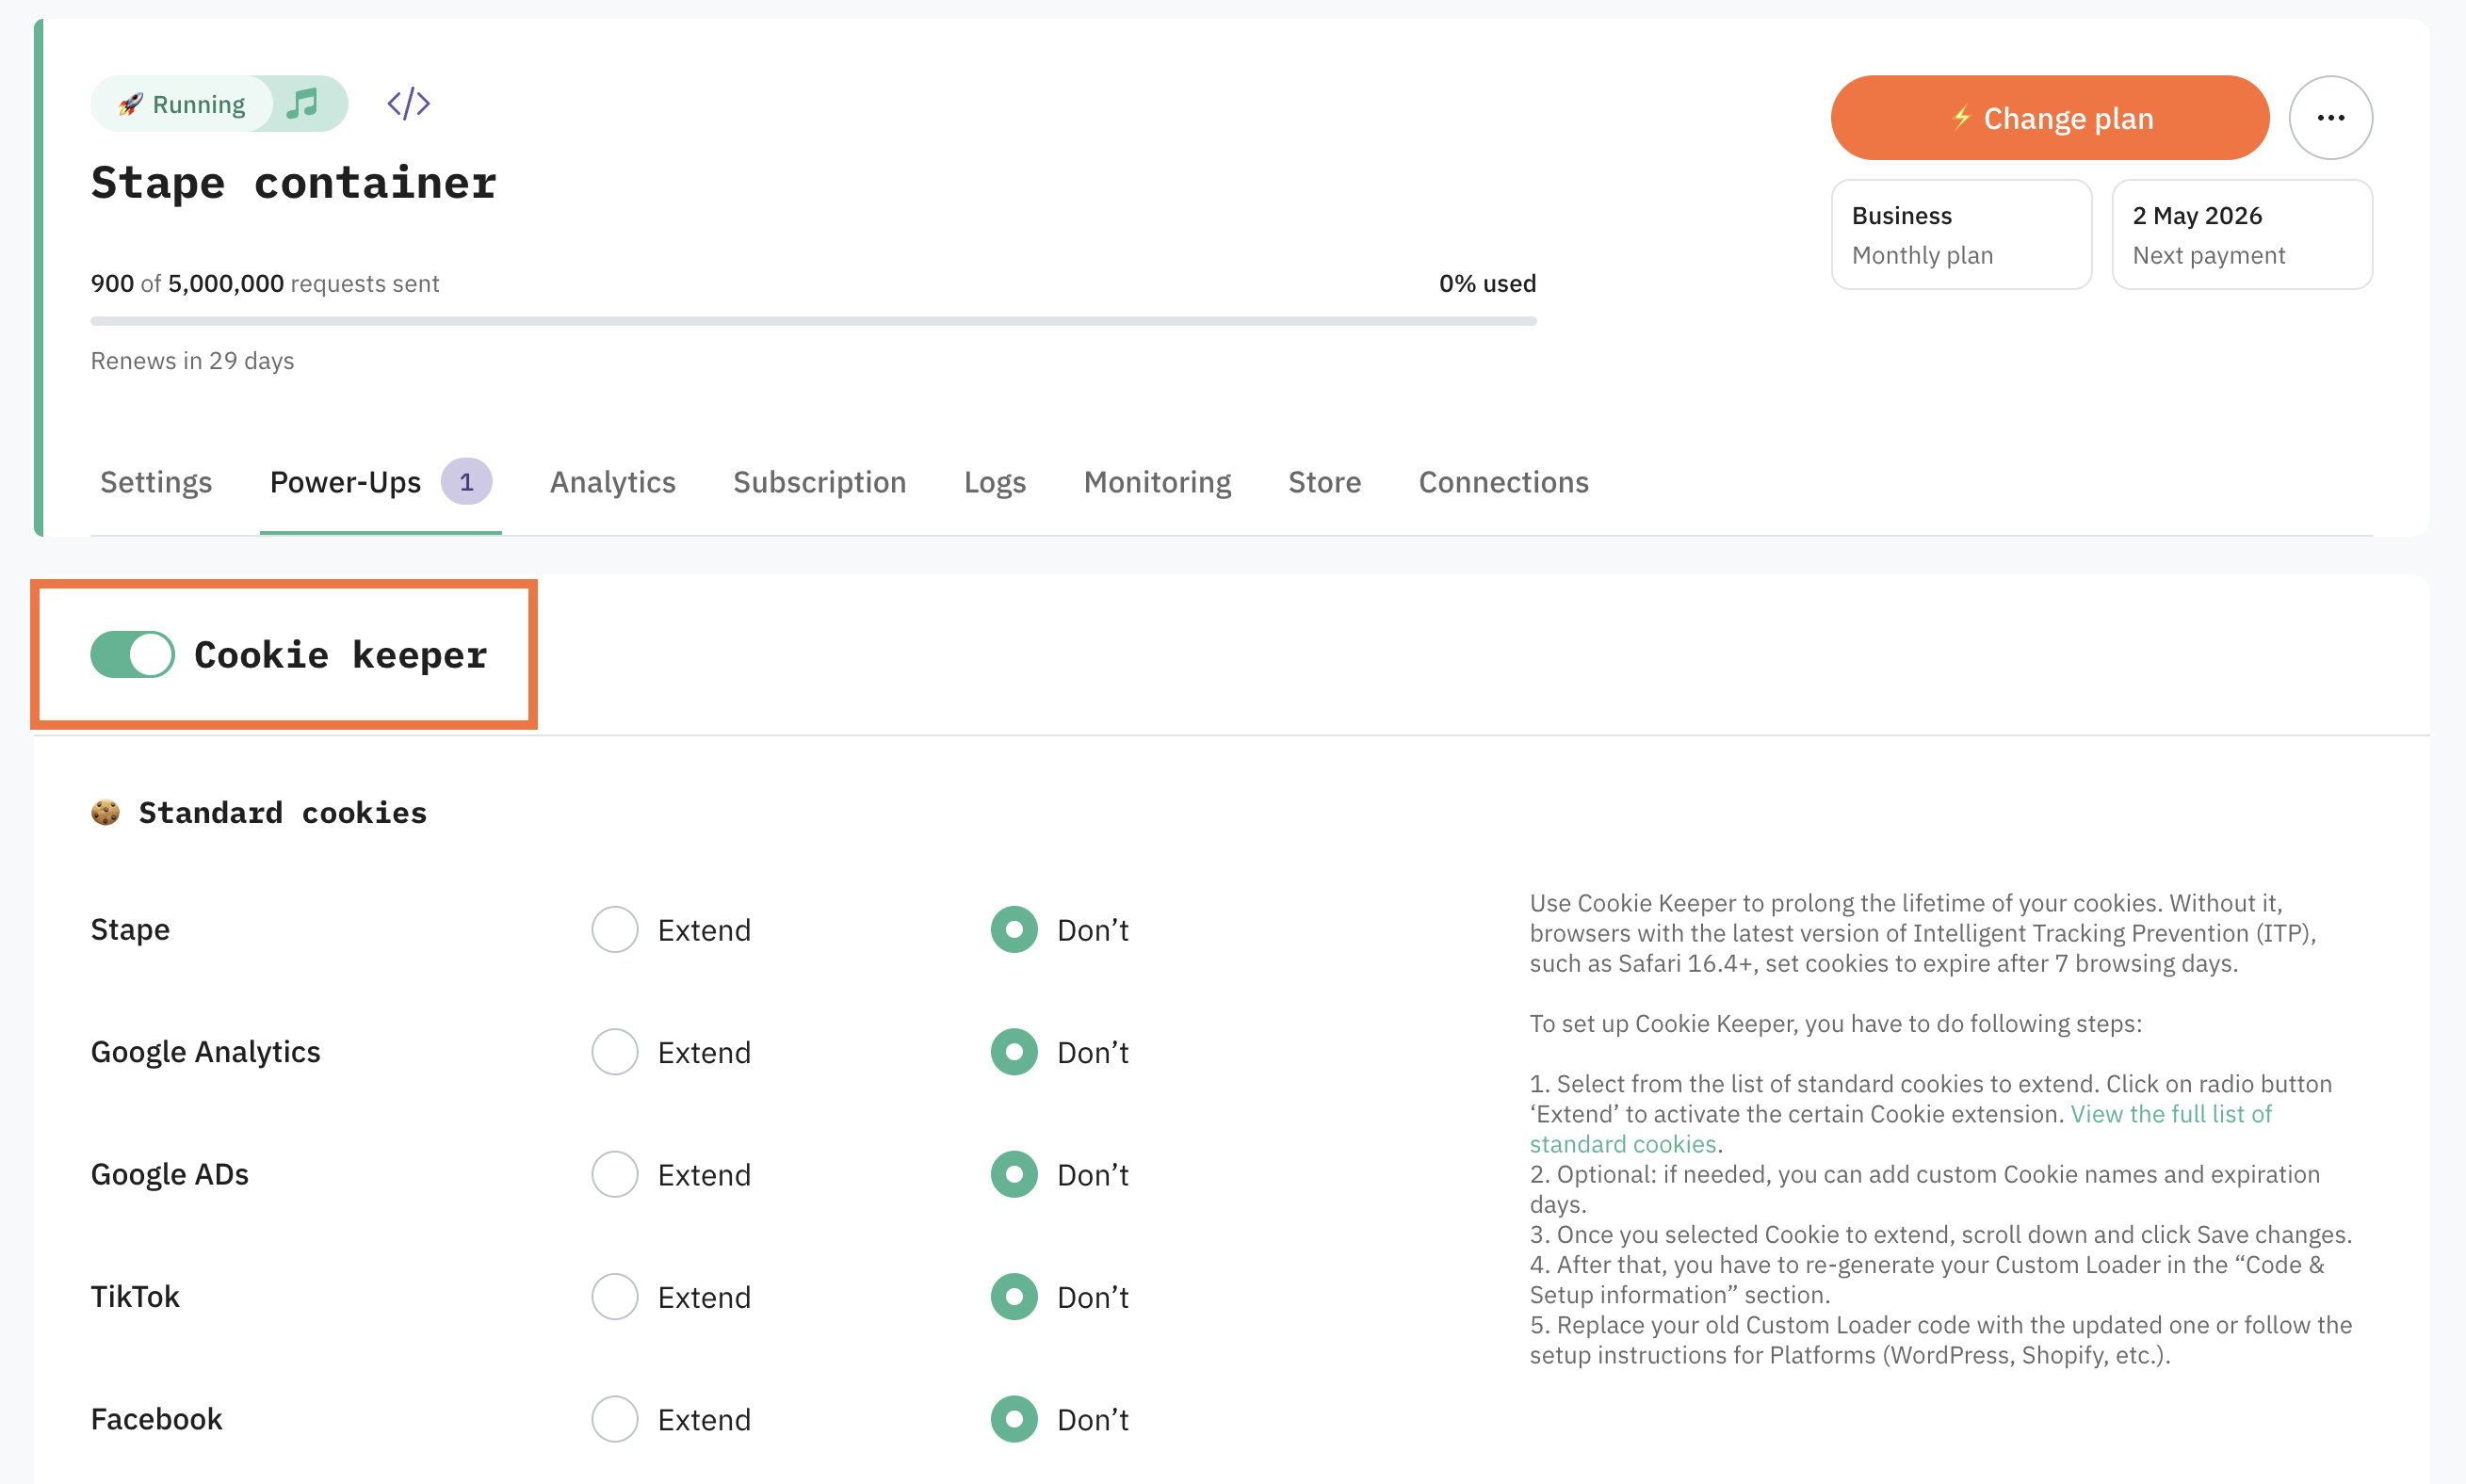
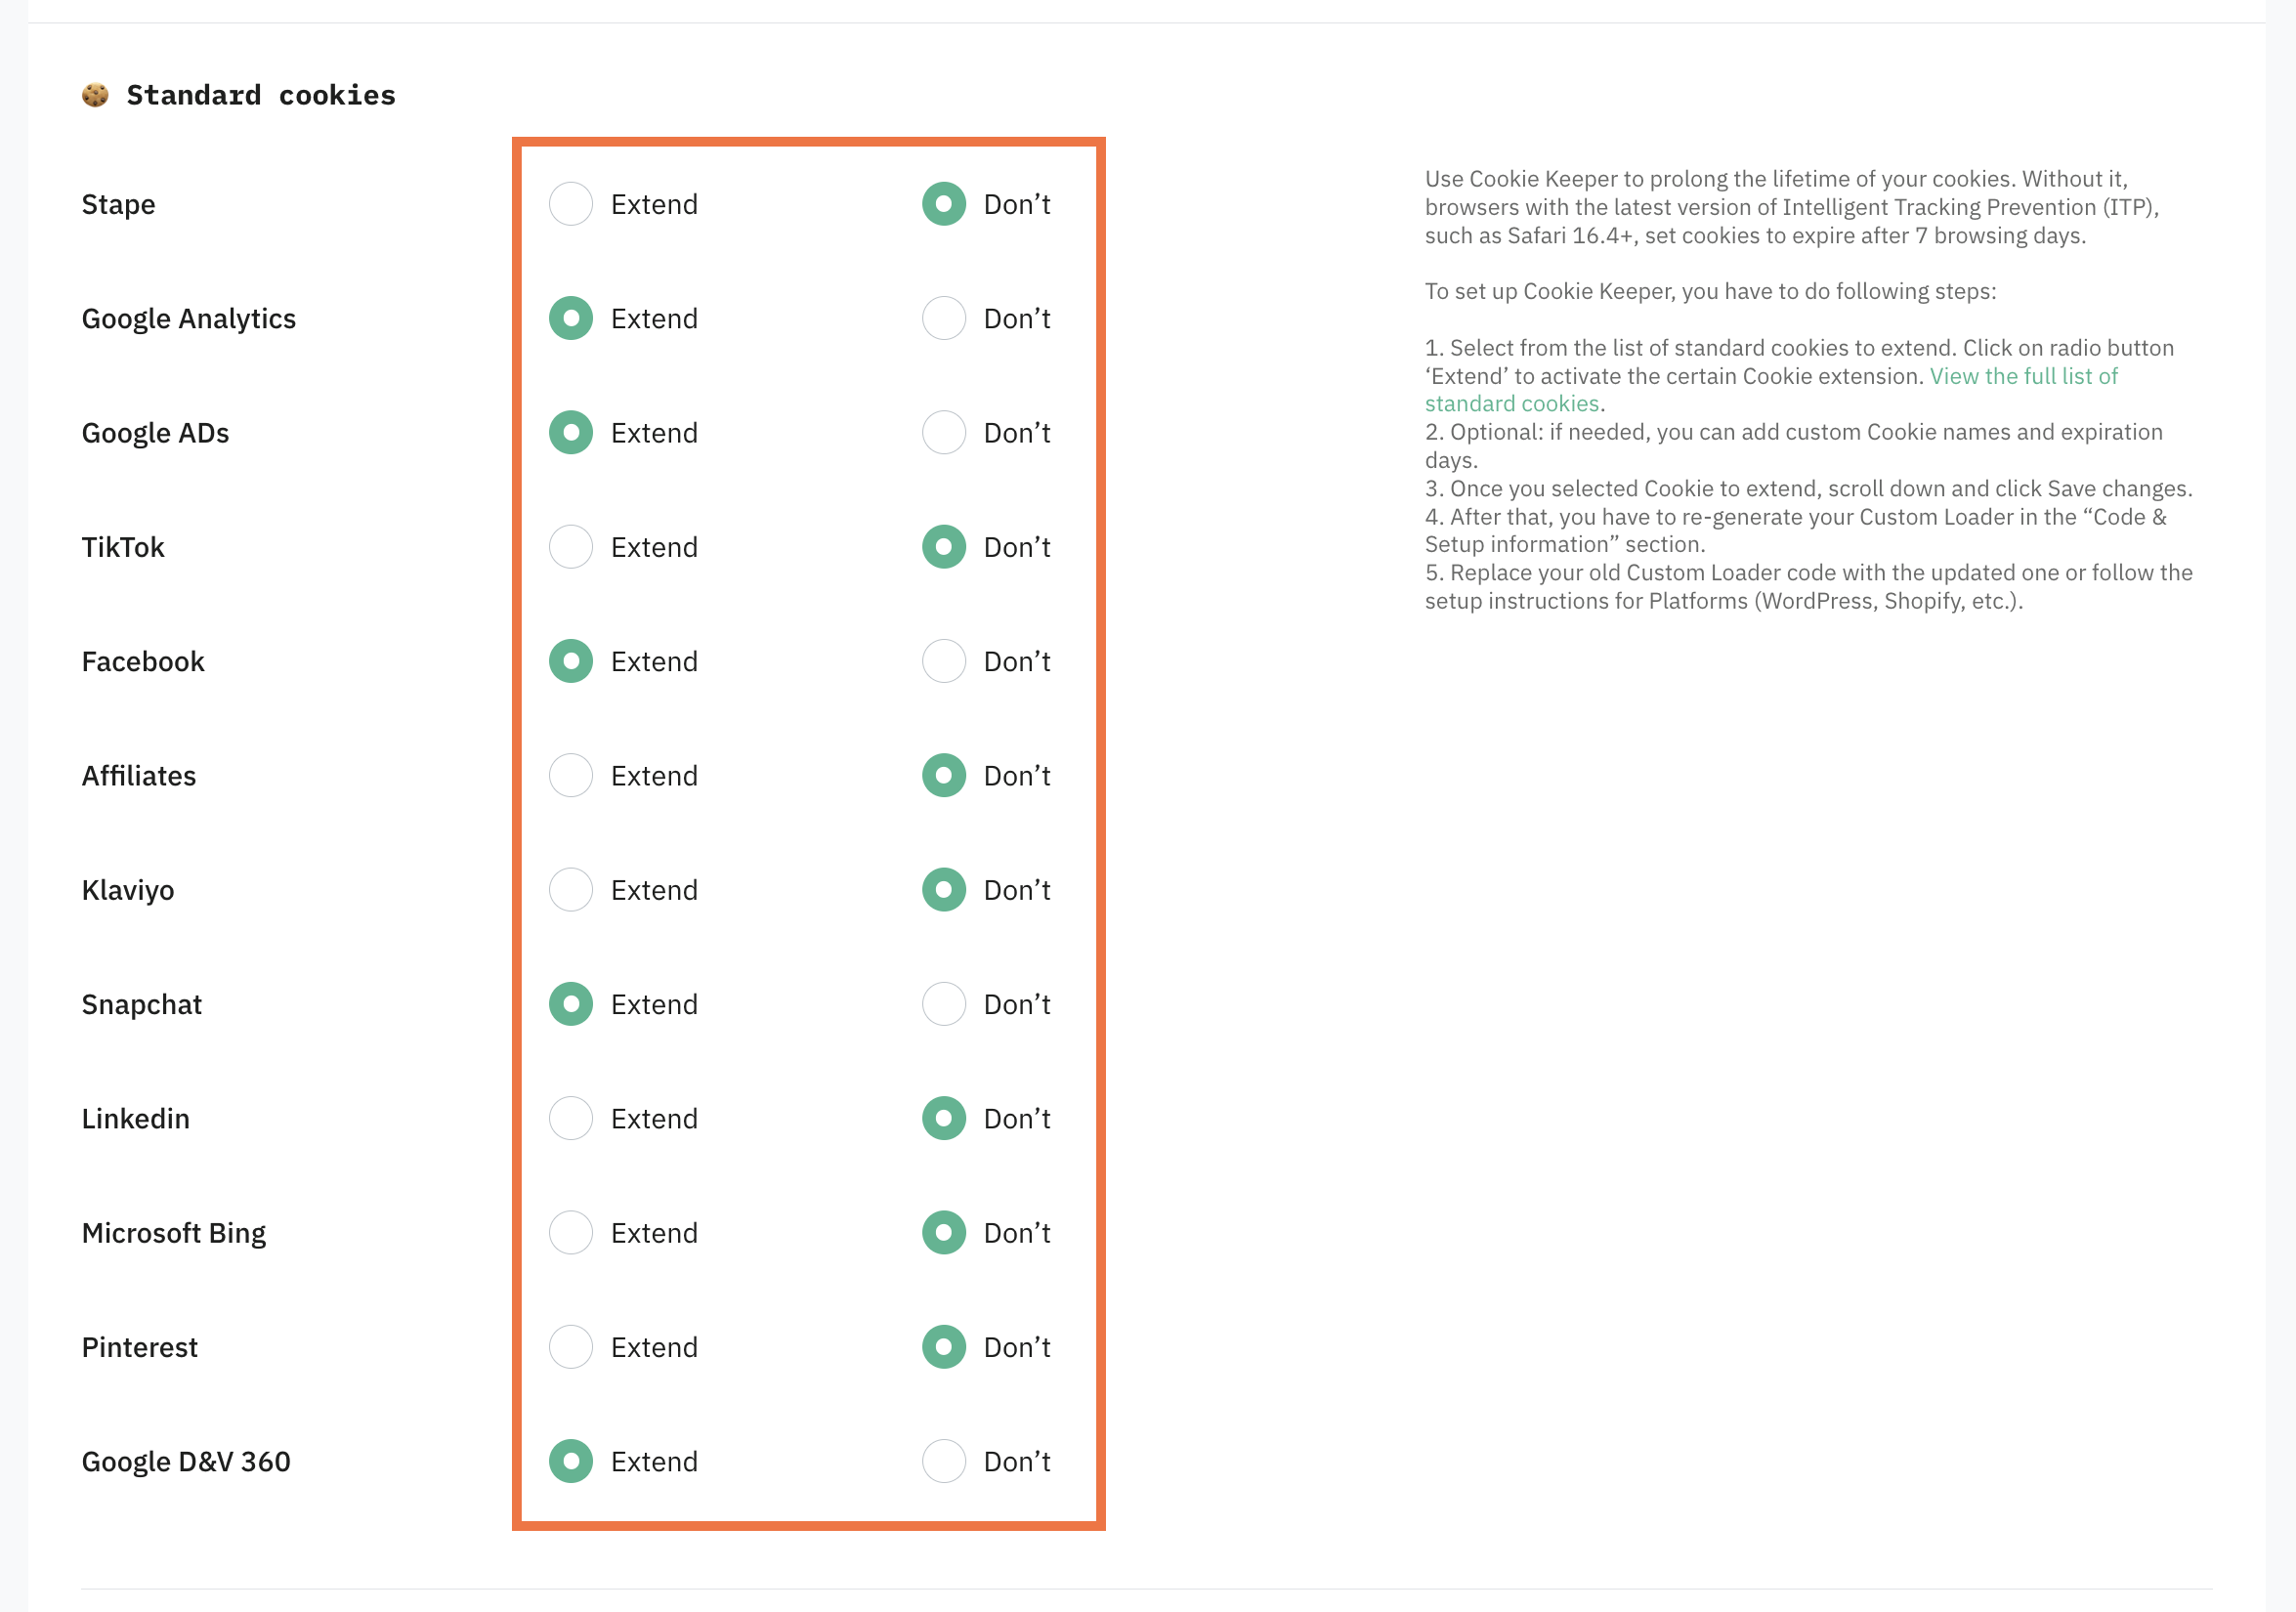
4. Under Standard cookies, select which cookies to extend. Supported cookies include:
| Name | Cookie | Time |
| Stape | _dcid | 13 months |
| stape | 13 months | |
| _sbpee | 13 months | |
| Google Analytics | _ga | 13 months |
| FPID | 13 months | |
| Google ADs | FPAU | 90 days |
| FPGCLAW | 90 days | |
| _gcl_au | 90 days | |
| FPGCLGB | 90 days | |
| _gcl_aw | 90 days | |
| _gcl_gb | 90 days | |
| FPGCLGS | 90 days | |
| _gcl_gs | 90 days | |
| FPGSID | 90 days | |
| _fbp | 90 days | |
| _fbc | 90 days | |
| TikTok | _ttp | 13 months |
| ttclid | 1 month | |
| Affiliates | awin_awc | 400 days |
| awin_source | 400 days | |
| awin_sn_awc | 365 days | |
| rakuten_site_id | 400 days | |
| rakuten_time_entered | 400 days | |
| rakuten_ran_mid | 400 days | |
| rakuten_ran_eaid | 400 days | |
| rakuten_ran_site_id | 400 days | |
| outbrain_cid | 400 days | |
| taboola_cid | 400 days | |
| cje | 400 days | |
| Klaviyo | stape_klaviyo_kx | 400 days |
| stape_klaviyo_email | 400 days | |
| Snapchat | _scclid | 90 days |
| _scid | 400 days | |
| li_fat_id | 90 days | |
| Microsoft ads (Bing) | uet_vid | 90 days |
| Microsoft Bing | _uetmsclkid | 90 days |
| _epik | 90 days | |
| Google D&V 360 | FPGCLDC | 90 days |
| _gcl_dc | 90 days |
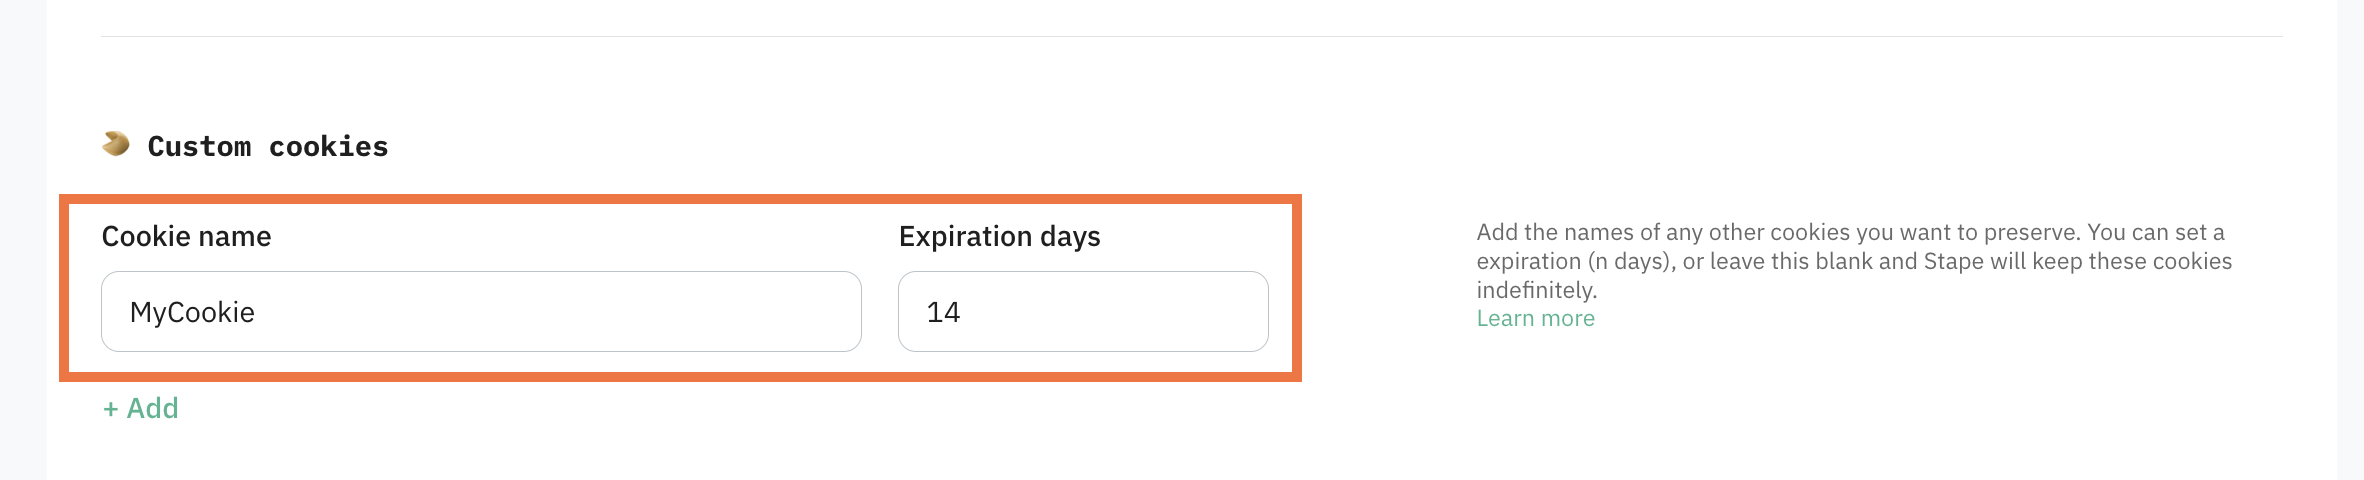
Custom cookies
If the cookies you need aren’t in the standard list, you can configure custom cookies. Enter the cookie name and optionally set an expiration in days (leave blank to keep indefinitely).
5. Click Save changes.
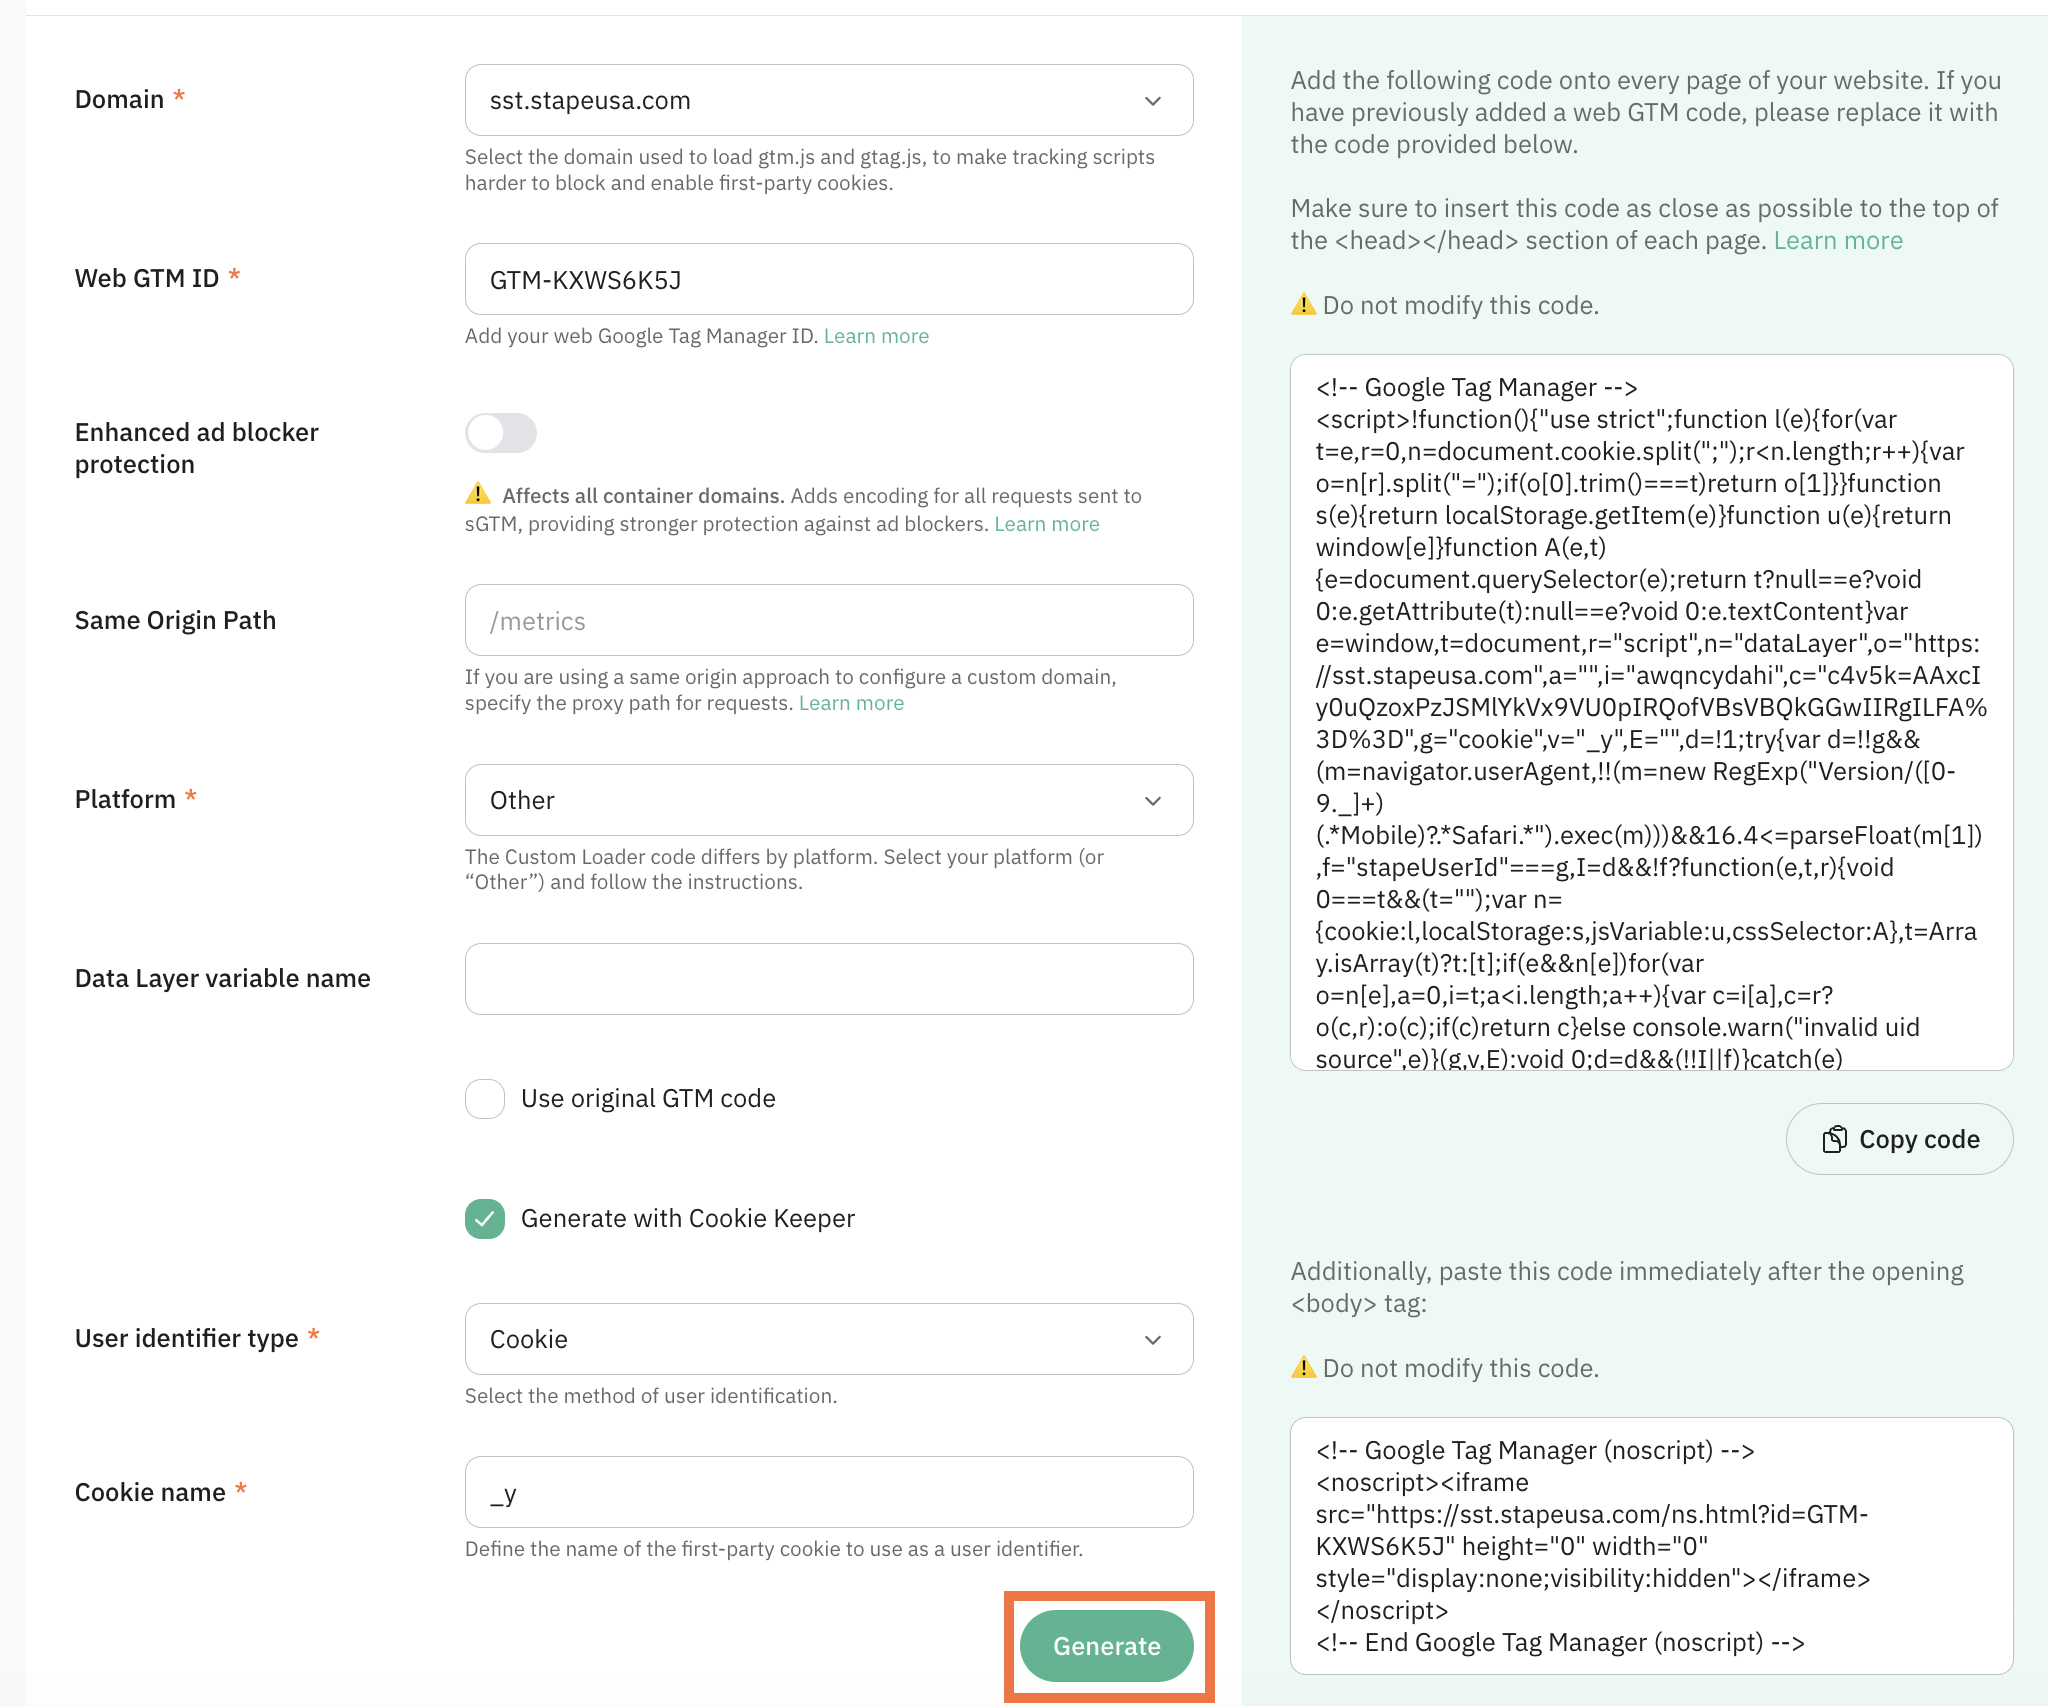
6. In the Code & Setup information section configure the following settings:
- Domain - select one of the domains linked to your container.
- Web GTM ID - enter your web Google Tag Manager ID.
- Enhanced ad blocker protection - when enabled, all requests to your sGTM server are encrypted so ad blockers can’t block them based on request patterns. Learn more about the enhanced ad blocker protection.
- Same Origin Path - if you use the same-origin approach, enter the path here so both GTM and gtag.js load through it.
- Platform - here you can either:
- Select your CMS platform (such as Shopify, Wordpress, etc.). In this case you’ll be required to install and configure a Stape app.
- Select Other to receive a JS snippet in case you’re using another platform or a custom website.
Setup for a listed platform
Select your platform and click Generate. You’ll get configuration and app installation instructions in the Configuration panel for your selected platform. Follow the app installation guide.
Note: While configuring the app on a platform, don’t forget to tick the Cookie Keeper checkbox for the power-up to work on the platform.

Setup for other platforms
1. Select Other. Configure the following:
- User identifier type - choose how to identify users - cookie is the recommended option. When selected, enter the name of the first-party cookie to use as the identifier. For more information read How to choose user identifier type in Cookie Keeper.
You can also configure the Advanced Settings:
- Data Layer variable name - specify only if you use a non-standard dataLayer.
2. Click Generate and add the provided code to your website.
Testing
The steps below use Google Analytics _ga cookie as an example, but you can apply the same flow for any platform. To test the flow, make sure you’ve set up at least one GA4 tag.
- Open the Safari browser. The version shouldn’t be older than 16.4. To confirm the version, click Safari in the menu bar and select About Safari.
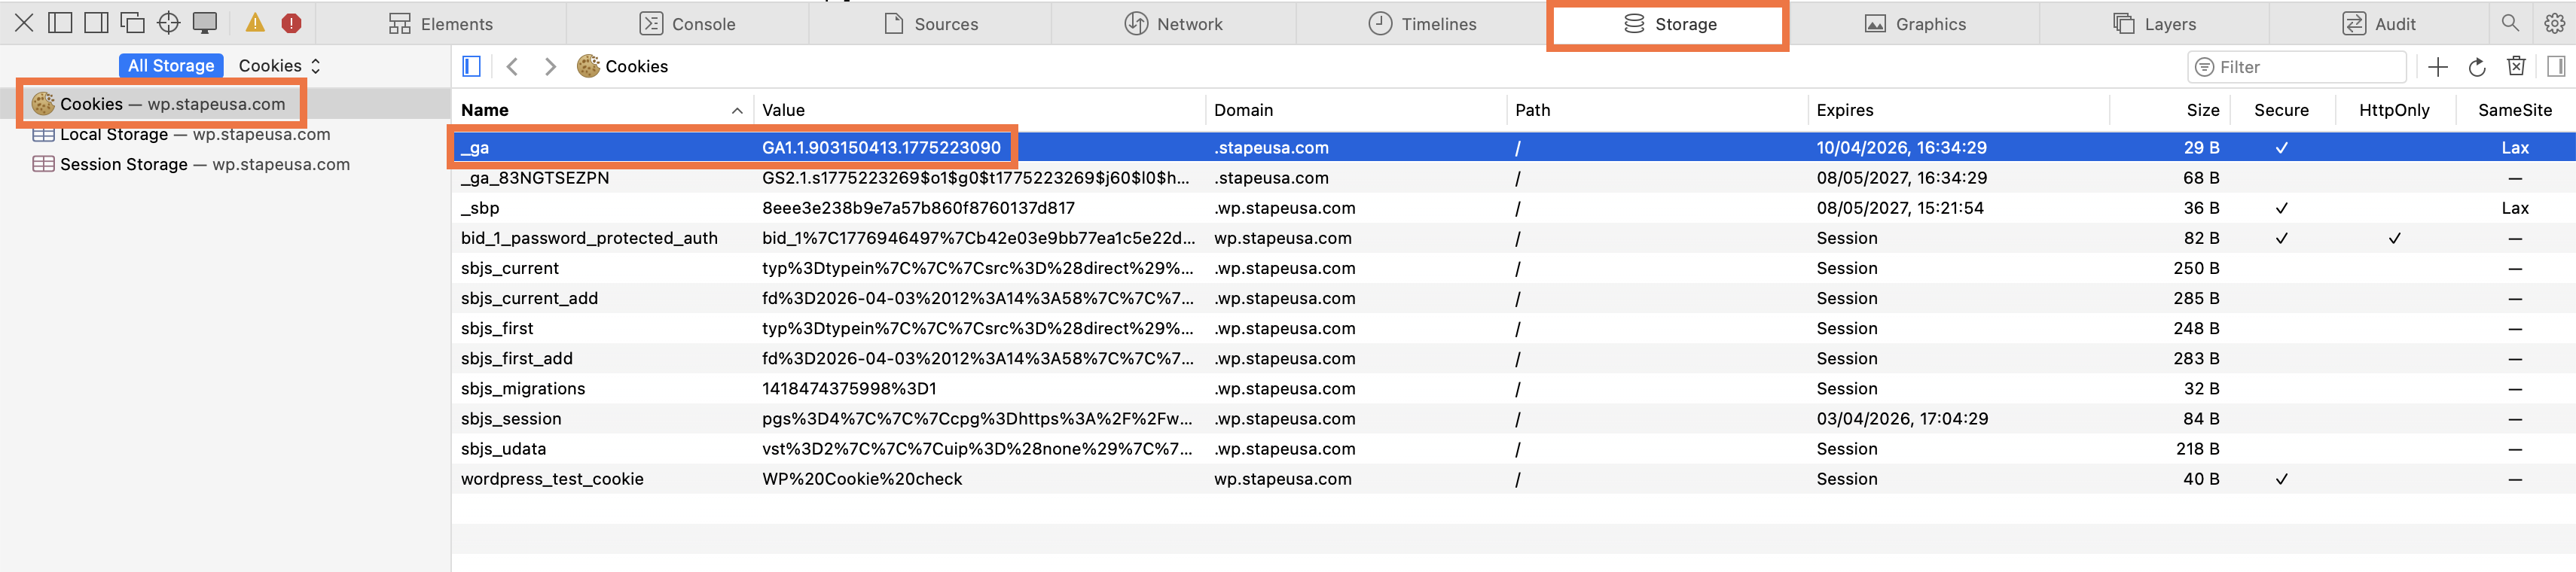
- Enter your site’s URL with the appended
?galid=test123query parameter to set the _ga cookie. For example, yourwebsite.com/?galid=test123. - Right-click the page → Inspect Element → Storage tab → Cookies.
- Locate
_ga, copy and paste its value somewhere, then delete the cookie (right-click on the cookie → Delete). - Refresh the page twice.
- Confirm the
_gacookie has reappeared with the same value. If yes, Cookie Keeper is working correctly.
Use case
A sample scenario is an eCommerce store where Safari accounts for roughly 30% of total traffic. Because Safari's ITP expires the _ga cookie after 7 days, a large share of returning visitors are re-identified as new users on every visit, and conversions from campaigns that run longer than a week lose their attribution chain, they show up as Direct in GA4 instead of their true source.
For example, an eyewear retailer running this exact setup saw 34.63% of all traffic misattributed as Direct. After enabling Cookie Keeper, Direct traffic dropped by 67.9%, while Paid Search grew by 56.8% and Organic Search by 36.1%.
You can achieve the same improvement with this flow:
- In Google Analytics, go to Reports → Traffic acquisition and look at the share of Direct / (none) sessions over a 30-day window. If Direct is disproportionately high, ITP cookie resets are likely transforming the known source sessions into Direct.
- Filter the Traffic acquisition by Browser. If Safari sessions show a noticeably higher Direct share than Chrome sessions for the same period, ITP is the cause.
- Enable Cookie Keeper and select to extend Google Analytics cookies.
- Monitor traffic acquisition after enabling Cookie Keeper. Direct traffic should begin declining as previously unattributed Safari sessions are correctly assigned to their original sources.
Was this article helpful?
Comments