Stape
Search
Try for free

How to set up Meta Conversions API for HubSpot CRM with Stape’s app

Updated
Feb 7, 2025
Published
Oct 30, 2024

While reporting leads from Meta Ads to CRM (e.g., HubSpot) is already a must for analyzing and benchmarking campaign performance, it is important to send lead statuses back to your Meta CAPI Gateway, server GTM container, or Signals Gateway for effective campaign optimization. Such a setup helps provide any selected destination with the necessary data to refine and improve the targeting audience of your ads.

To configure the sending conversions from HubSpot to your Meta CAPI Gateway, server GTM container, or Signals Gateway, you can use the app created by Stape - Meta Conversions API for HubSpot CRM.

In this article we will review the benefits of the Meta (Facebook) Conversions API for HubSpot CRM and show how you can easily connect HubSpot for Facebook conversion leads.

Benefits of Meta (Facebook) Conversions API for Hubspot CRM

Among the advantages of HubSpot integration for Facebook conversion leads are the following:

  • Report Contacts’ progress to Meta Dataset (Pixel). With the configured Meta CAPI for HubSpot CRM, Contacts’ statuses are automatically sent as conversion events, ensuring accurate and efficient tracking.
  • Optimize ad campaigns. Feed CRM data back into Facebook'’s algorithm to optimize campaign performance. Sharing lead status data helps Facebook refine ad targeting.
  • Track offline conversions. Some businesses have many purchases that started online but completed in-store or through call centers. HubSpot integration allows direct data sharing from the CRM, enabling tracking of online and offline events.

Automated workflow can effectively nurture leads and enhance conversion rates.

How to set up the Meta Conversions API for HubSpot CRM

App installation

Install Meta Leads API by Stape on HubSpot's marketplace.

Choose the account to install the app into:

1.3 Confirm access requested by the app and hit “Connect app”:

You will see the following success screen:
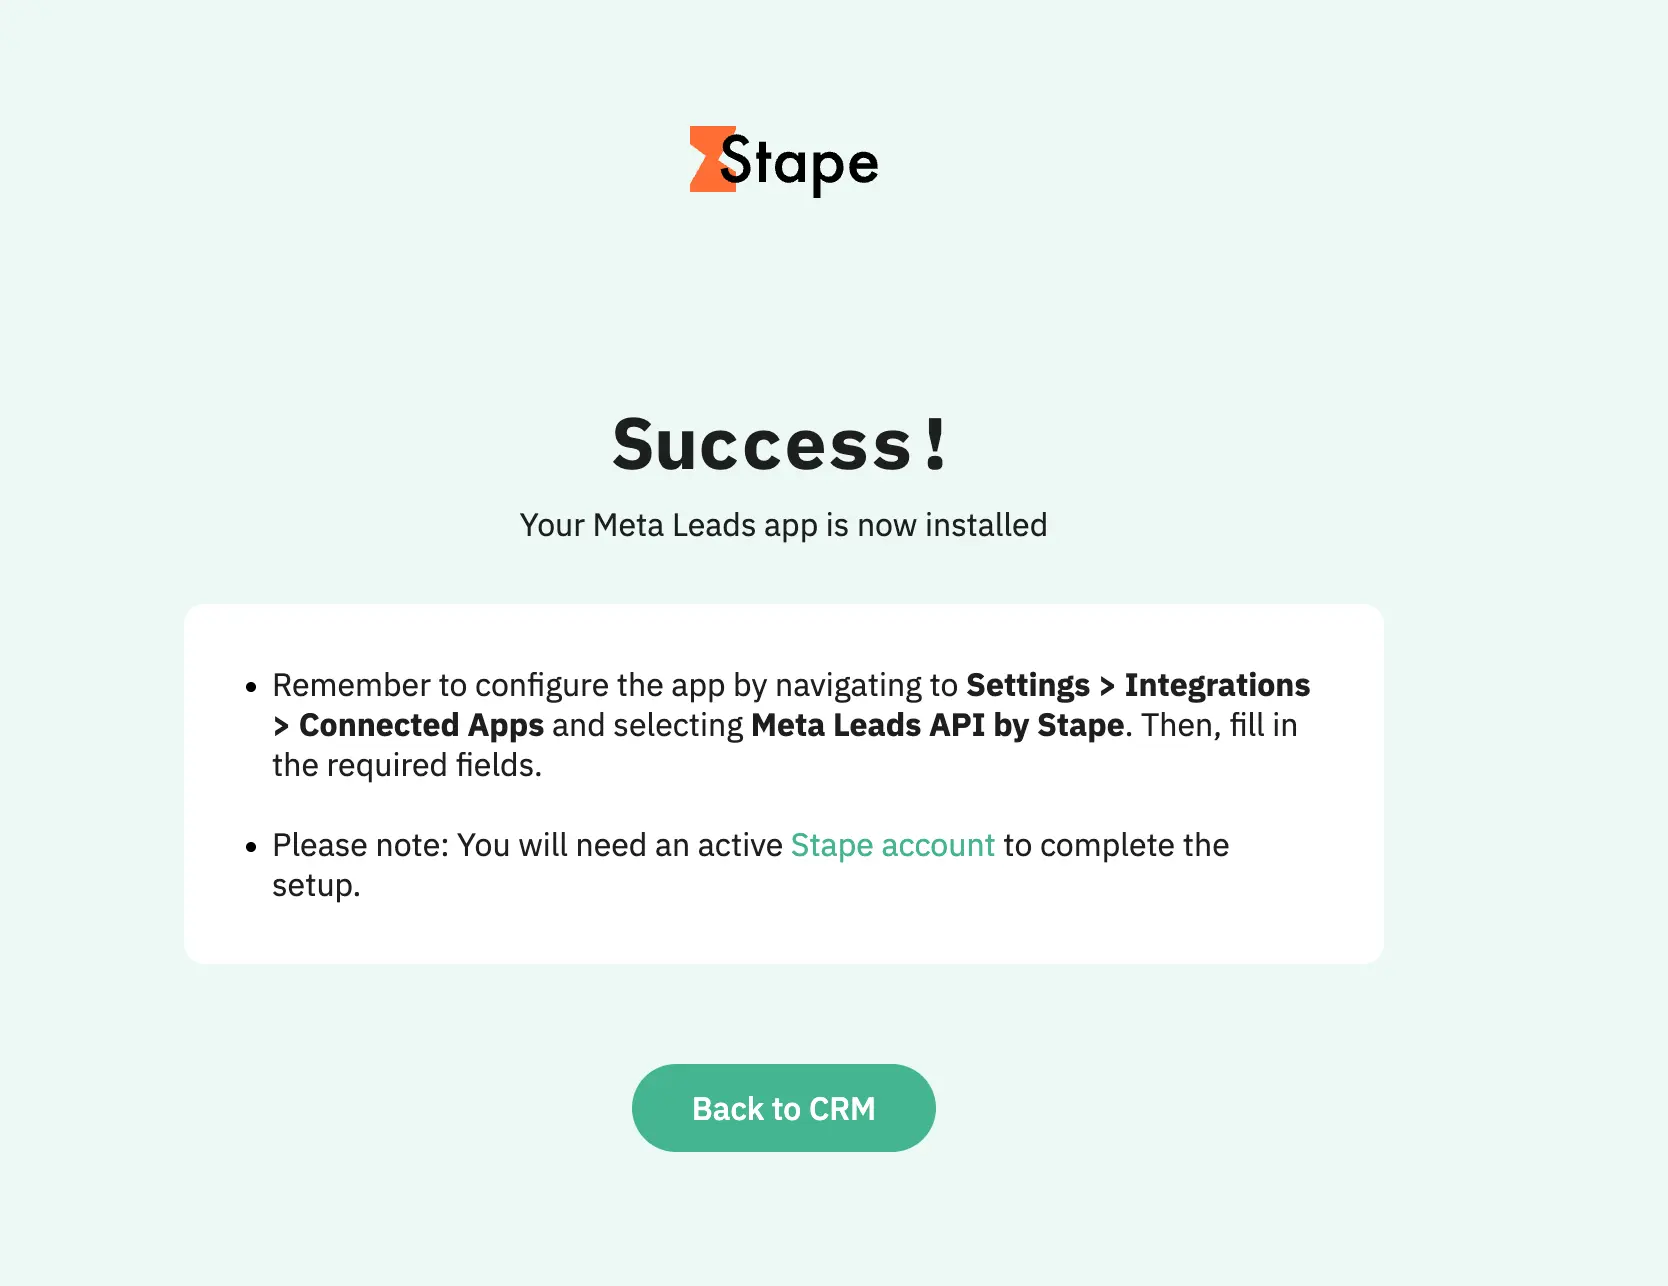
Go back to Hubspot CRM and pick an account you need. Then go to Settings → Integrations → Connected Apps.

On the next page click “Add Settings”:

Integration methods: CAPI Gateway, Signals Gateway or server GTM

Integration method depends on your tracking setup and goals, and/or on current experience with Stape. 

App configuration | CAPI Gateway

Before you start

Make sure you have an active Stape account with Meta Conversions API Gateway.

If you don’t have an account on Stape, please create one or log in if you already have. In the main menu click “More Gateways” → “Meta CAPIG” → “Create CAPIG” on the top right.

Add name, email, and server location for new CAPIG. Then, choose the subscription plan and add billing details.

After creating Meta Conversions API Gateway in your Stape account, connect your Meta Dataset (Pixel) - just click "Add data source" → authorize in Meta → select the Business Manager and Dataset (Pixel) you want to connect.

To increase the events match quality, please enable “Automatic advanced matching”.

App setup

The setting process can be divided into two parts:

- Meta and Stape accounts data

- HubSpot CRM fields

Meta and Stape accounts data

You will need to fill in the following field:

- Meta Dataset (Pixel) ID - unique identifier that is used to configure integrations and view events in Events Manager. You can find it in your Meta account in Data Sources’ “Settings” tab. See the detailed instruction on how to find Meta Dataset (Pixel) ID here.

- CAPIG API Key - alphanumeric string value that is needed for app identification. Find CAPIG API Key in the CAPIG settings section of your Stape account. See the detailed instructions on where to find CAPIG API Key here.

HubSpot CRM fields

Next you need to map your CRM fields to conversion event parameters.

- (Optional) Pick a field where Meta Lead ID is stored.

- Configure additional User data you’d like to send to Meta, by choosing a parameter in the left dropdown and selecting an appropriate field in the right-side one.

- Application sends conversion Events based on statuses of your Contacts, whenever a deal reaches a status you define, a corresponding event will be sent towards your Meta Dataset (Facebook Pixel). So we need to configure it by choosing one of two approaches:

  • In the left-side dropdown, select a Contact stage to trigger an event; in a box to the right, type the event name you’d like to send to Meta.
  • Select the ‘Send all stages’ checkbox if you want to send all Contacts stages as events to Meta. Events are then named automatically and consist of a Contact status name. You can also select stages to ignore in this case.

Once done, click “Save and Connect”. Once you see a success message your installation is complete and the application will send conversion events in the background based on your settings.

App configuration | Signals Gateway

Before you start

Make sure you have an active Stape account with Signals Gateway.

If you don’t have an account on Stape, please create one or log in if you already have. In the main menu click “Signals Gateway” → “Create Signals Gateway” on the top right.

Add name, email, and server location for new Signals Gateway. Then, choose the subscription plan.

For more detailed instructions, check Stape’s article on how to configure Signals Gateway.

App setup

The setting process can be divided into two parts:

- Signals and Stape accounts data

- HubSpot CRM fields 

Signals and Stape accounts data

You will need to fill in the following field:

- Signals Gateway Pixel - unique identifier that is used to configure integrations and view events in Signals Gateway. You can find it in your Signals Gateway account in the Data Sources tab. See the detailed instruction on how to find Signals Gateway Pixel ID here.

- Signals Gateway API Key - alphanumeric string value that is needed for app identification. Find Signals Gateway API Key in the Gateway settings section of your Stape account. See the detailed instructions on where to find Signals Gateway API Key here.

HubSpot CRM fields

Next you need to map your CRM fields to conversion event parameters.

- (Optional) Pick a field where Meta Lead ID is stored.

- Configure additional User data you’d like to send to Signals Gateway, by choosing a parameter in the left dropdown and selecting an appropriate field in the right-side one.

- Application sends conversion Events based on statuses of your Contacts, whenever a deal reaches a status you define, a corresponding event will be sent towards your Signals Gateway Pixel. So we need to configure it by choosing one of two approaches:

  • In the left-side dropdown, select a Contact stage to trigger an event; in a box to the right, type the event name you’d like to send to Signals Gateway pipeline.
  • Select the ‘Send all stages’ checkbox if you want to send all Contacts stages as events to Signals Gateway pipeline. Events are then named automatically and consist of a Contact status name. You can also select stages to ignore in this case.

Once done, click “Save and Connect”. Once you see a success message your setup is complete and the application will send conversion events in the background based on your settings.

App configuration | Server GTM

Before you start

Make sure you have an active Stape account with a server GTM container hosted on Stape.

If you don’t have an account on Stape, please create one or log in if you already have. In the main menu click “sGTM” → “Create container” on the top right.

Add your container name, Container Configuration that you copied from your Google Tag Manager Server Container, and select server location. Click Create Container.

App setup

The setting process can be divided into two parts:

- Stape accounts data

- HubSpot CRM fields

Stape account data

You will need to fill in the following field:

- Container API Key - alphanumeric string value that is needed for app identification. Find Container API Key in the Container settings section of your Stape account. See the detailed instructions on where to find Container API Key here.

HubSpot CRM fields

Next you need to map your CRM fields to conversion event parameters.

- (Optional) Pick a field where Meta Lead ID is stored.

- Configure additional User data you’d like to send to server GTM, by choosing a parameter in the left dropdown and selecting an appropriate field in the right-side one.

- Application sends conversion Events based on statuses of your Contacts, whenever a deal reaches a status you define, a corresponding event will be sent towards your server GTM container. So we need to configure it by choosing one of two approaches:

  • In the left-side dropdown, select a Contact stage to trigger an event; in a box to the right, type the event name you’d like to send to server GTM.
  • Select the ‘Send all stages’ checkbox if you want to send all Contacts stages as events to server GTM. Events are then named automatically and consist of a Contact status name. You can also select stages to ignore in this case.

Once done, click “Save and Connect”. Once you see a success message your installation is complete and the application will send conversion events in the background based on your settings.

Settings editing

If you have some changes in the funnel or you want to change the events sent to your CAPI Gateway, server GTM container, or Signals Gateway, you can always edit your app configuration.

To do this, go to Settings → Integrations → Connected Apps and follow the steps from section 1 of this manual.

Conclusion

Using the Meta (Facebook) Conversions API for HubSpot CRM is a convenient and easy way to configure sending data on Contacts’ statuses from HubSpot to your Meta CAPI Gateway, server GTM container, or Signals Gateway. To start using the app you need to have the Stape account and connect Meta Conversions API Gateway. Start with a free trial to see how the HubSpot integration can boost the performance of Facebook Lead Ads!

Comments

Try Stape for all things server-sideright now!