Sending lead statuses from HighLevel CRM to your Meta CAPI Gateway, server GTM container, or Signals Gateway through Conversions API can be highly beneficial for businesses that utilize Facebook Lead Ads. This CRM integration enables you to connect with audiences most likely to buy your product or service. When Meta receives updates on Opportunities’ statuses from HighLevel CRM, the platform’s algorithms analyze the performance and target the most suitable audience for your ads.
In this article we will show how you can set up Meta Conversions API for HighLevel CRM with Stape’s app in a few simple steps.
Once the Meta (Facebook) Conversions API for HighLevel CRM with Stape’s app is installed and the required fields are configured, it begins tracking the status of your Opportunities in HighLevel. When there are updates on the statuses, they are sent as conversion events to your CAPI Gateway, server GTM container, or Signals Gateway, and server-side tracking ensures precise and efficient tracking of each conversion.
The lead may convert to a buyer using offline methods like a phone call, even if they found out about your product or service through a Facebook advertisement. Stape's app will assist in moving data from HighLevel CRM to your Meta CAPI Gateway, server GTM container, or Signals Gateway for such cases. The app will instantly submit the purchase record as a conversion event as soon as you upload it to CRM.
Following the setup of the Meta Conversions API for HighLevel CRM, all of your Oportunities’ statuses will be transmitted to your Meta CAPI Gateway, server GTM container, or Signals Gateway automatically without the need for extra actions from your side.
Once Meta has updates on the Opportunities' statuses from HighLevel CRM, the platform can evaluate the effectiveness of advertisements and select the best audience for your product or service.
Make sure you have sub-account on HighLevel.
You can find your sub-account on the left-hand side of the panel in the section “Sub-Accounts”.
If the page “Sub-Accounts” is empty, click the “Create Sub-Account” button in the top-right corner → choose account type → choose a snapshot → add your client’s address → “Save”.
Install Meta Leads API by Stape on the HighLevel’s marketplace.
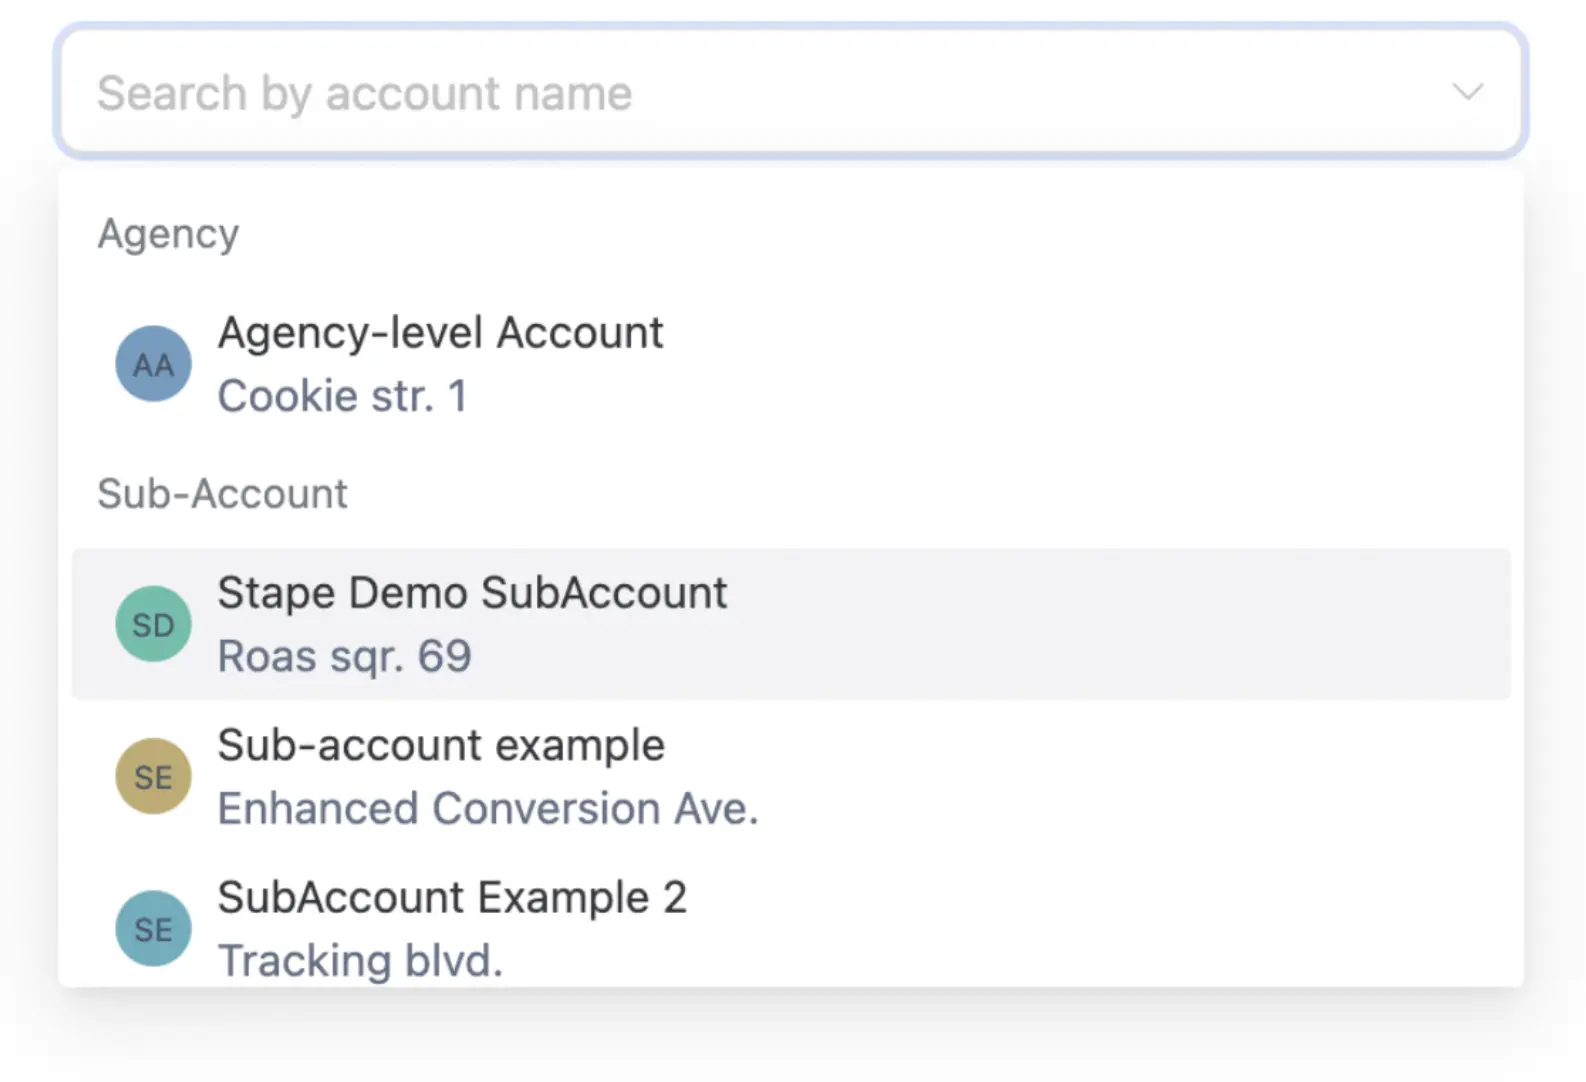
Select a sub-account you want to install the app on.
Integration method depends on your tracking setup and goals, and/or on current experience with Stape.
Make sure you have an active Stape account with Meta Conversions API Gateway.
If you don’t have an account on Stape, please create one or log in if you already have. In the main menu click “More Gateways” → “Meta CAPIG” → “Create CAPIG” on the top right.
Add name, email, and server location for new CAPIG. Then, choose the subscription plan and add billing details.
After creating Meta Conversions API Gateway in your Stape account, connect your Meta Dataset (Pixel) - just click "Add data source" → authorize in Meta → select the Business Manager and Dataset (Pixel) you want to connect.
To increase the events match quality, please enable “Automatic advanced matching”.
For more detailed instructions, check Stape’s article on how to set up Meta Conversions API Gateway. |
The setting process can be divided into two parts:
You will need to fill in the following field:
- Meta Dataset (Pixel) ID - unique identifier that is used to configure integrations and view events in Events Manager. You can find it in your Meta account in Data Sources’ “Settings” tab. See the detailed instruction on how to find Meta Dataset (Pixel) ID here.
- CAPIG API Key - alphanumeric string value that is needed for app identification. Find CAPIG API Key in the CAPIG settings section of your Stape account. See the detailed instructions on where to find CAPIG API Key here.
If you haven’t set up Meta Conversions API Gateway yet, see the section above.
Next you need to map your CRM fields to conversion event parameters.
- (Optional) Pick a field where Meta Lead ID is stored. Note dropdown will only reflect custom fields.
- Configure additional User data you’d like to send to Meta, by choosing a parameter in the left dropdown and selecting an appropriate field in the right-side one.
- Application sends conversion Events based on stages of your Opportunities, whenever an opportunity reaches a stage you define, a corresponding event will be sent towards your Meta Dataset (Pixel). So we need to configure it by choosing one of two approaches:
Once done, click “Save and Connect”. Once you see a success message your installation is complete and the application will send conversion events in the background based on your settings.
Make sure you have an active Stape account with Signals Gateway.
If you don’t have an account on Stape, please create one or log in if you already have. In the main menu click “Signals Gateway” → “Create Signals Gateway” on the top right.
Add name, email, and server location for new Signals Gateway. Then, choose the subscription plan.
For more detailed instructions, check Stape’s article on how to configure Signals Gateway. |
The setting process can be divided into two parts:
- Signals and Stape accounts data
- HighLevel CRM fields
You will need to fill in the following field:
- Signals Gateway Pixel ID - unique identifier that is used to configure integrations and view events in Signals Gateway. You can find it in your Signals Gateway account in the Data Sources tab. See the detailed instruction on how to find Signals Gateway Pixel ID here.
- Signals Gateway API Key - alphanumeric string value that is needed for app identification. Find Signals Gateway API Key in the Gateway settings section of your Stape account. See the detailed instructions on where to find Signals Gateway API Key here.
Next you need to map your CRM fields to conversion event parameters.
- (Optional) Pick a field where Meta Lead ID is stored.
- Configure additional User data you’d like to send to Meta, by choosing a parameter in the left dropdown and selecting an appropriate field in the right-side one.
- Application sends conversion Events based on stages of your Opportunities, whenever an opportunity reaches a stage you define, a corresponding event will be sent towards your Signals Gateway Pixel. So we need to configure it by choosing one of two approaches:
Once done, click “Save and Connect”. Once you see a success message your installation is complete and the application will send conversion events in the background based on your settings.
Make sure you have an active Stape account with a server GTM container hosted on Stape.
If you don’t have an account on Stape, please create one or log in if you already have. In the main menu click “sGTM” → “Create container” on the top right.
Add your container name, Container Configuration that you copied from your Google Tag Manager Server Container, and select server location. Click Create Container.
For more detailed instructions, check Stape’s article on how to set up a Google Tag Manager server container. |
The setting process can be divided into two parts:
- Stape account data
- HighLevel CRM fields
You will need to fill in the following field:
- Container API Key - alphanumeric string value that is needed for app identification. Find Container API Key in the Container settings section of your Stape account. See the detailed instructions on where to find Container API Key here.
Next you need to map your CRM fields to conversion event parameters.
- (Optional) Pick a field where Meta Lead ID is stored.
- Configure additional User data you’d like to send to server GTM, by choosing a parameter in the left dropdown and selecting an appropriate field in the right-side one.
- Application sends conversion Events based on stages of your Opportunities, whenever an opportunity reaches a stage you define, a corresponding event will be sent towards your server GTM container. So we need to configure it by choosing one of two approaches:
Once done, click “Save and Connect”. Once you see a success message your installation is complete and the application will send conversion events in the background based on your settings.
If you have some changes in the funnel or you want to change the events sent to CAPI Gateway, server GTM container, or Signals Gateway, you can always edit your app configuration.
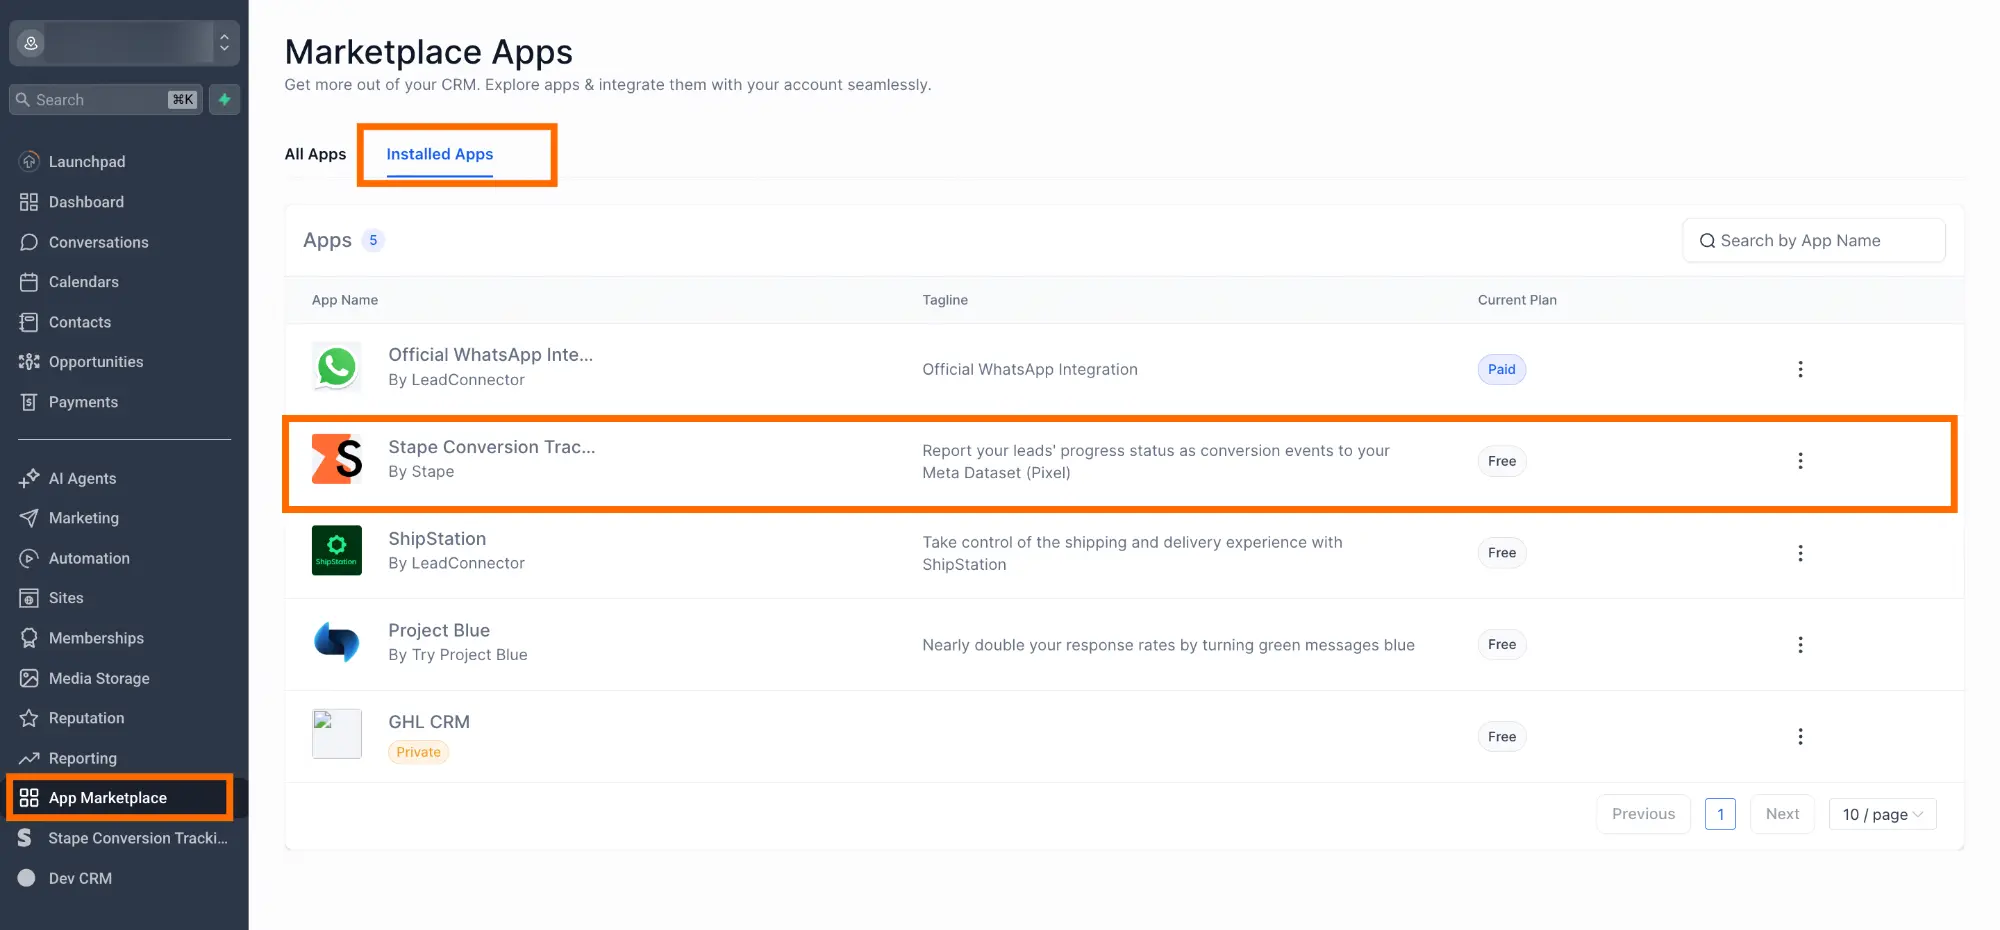
To do this, go back to settings page via a dedicated item in the side menu or go to “Installed Apps” section of the App Marketplace:
With the Meta Conversions API for HighLevel CRM you can easily monitor the progress of your Opportunities and report them as conversion events to your destination.
The setup process is quick and simple with a single-screen interface. You can begin reporting Opportunities' progress to your destination by mapping CRM fields to conversion event parameters in a few easy steps.
Stape has lots of tags for server GTM! Click on Try for free to register and check them all.
Comments