Google Analytics 4 Advanced tag for sGTM
As businesses seek to gain more insights into their website visitors and optimize their marketing efforts, advanced tracking capabilities have become increasingly important. Google Analytics 4 (GA4) offers more advanced tracking features than its predecessor, Universal Analytics, but setting it up can be challenging.
However, with the GA4 Advanced tag for server Google Tag Manager (GTM), you can track and override advanced metrics and parameters that are not available in the default GA4 tag.
In this blog post, we'll explore the GA4 Advanced tag for server Google Analytics and how it can help you gain deeper insights into your website visitors, improve tracking accuracy, and optimize your campaigns. We'll also discuss how to set up the GA4 Advanced tag in GTM Server Side and provide best practices for using it effectively.
Why choose GA4 Advanced tag rather than GA4 Base Tag
Choosing the GA4 Advanced tag over the setting up server-side GA4 with Base Tag can offer several advantages, especially for businesses that require extended tracking potential. The GA4 Advanced tag allows you to use more advanced metrics and parameters, including the ability to override all parameters (including _gcs and cid) and leverage Data Source settings to build requests to Google Analytics using eventData properties (is now in Beta). Additionally, the GA4 Advanced tag is compatible with Google Analytics 4 Measurement Protocol, which enables the collection of custom event data that can be used for advanced analysis and optimization. GA4 Advanced tag can be a powerful tool for businesses looking to take their tracking efforts to the next level.
Benefits of GA4 Advanced tag
- Ability to override any user or event parameter.
- Works based on incoming GA4 requests or Event Data.
- Compatible with Google Analytics 4 Measurement Protocol
GA4 advanced tag settings
Measurement ID - If the event came from a GA4 web tag, you can leave this field blank to inherit the measurement ID of the event.
Redact visitor IP address - Remove visitor IP address from the event. Reports based on the event will not include geographic information.
Event Name - The event name to send to Google. See the recommended events for more information. If this field is blank, the value of the event_name parameter will be sent.
Event Parameters:
- Default Parameters to Include - Specify which event parameters to send to Google by default. Do not send personally identifiable information (PII) to Google Analytics. See the documentation for more details. The following parameters are excluded regardless of the selected option: first_name, last_name, email_address, phone_number, address
- Parameters to Exclude - Event parameters listed here will not be sent to Google.
- Parameters to Add / Edit - Event parameters listed here will be added to the event sent to Google. If the event parameter is already included, then the value will be replaced with the specified value.
User Properties:
- Default Parameters to Include - Specify which user properties to send to Google by default.
- Parameters to Exclude - User properties listed here will not be sent to Google.
- Parameters to Add / Edit - User properties listed here will be added to the event sent to Google. If the user property is already included, then the value will be replaced with the specified value.
Request Headers - specify Request Headers that should be sent.
Data Source Settings:
- Incoming Request - select if you want advanced GA4 tag work based on incoming GA4 requests.
- Event Data (Beta) - select if you want advanced GA4 tag work based on event data. In this case, all request properties will be constructed from eventData. We have a list of parameters copied from thyngster.com, but for now, we don't have a mapping for all of these parameters, so you are welcome to open PR with improvements and fixes.
Logs Settings - select if you want to use stape logs.
How to use GA4 Advanced tag
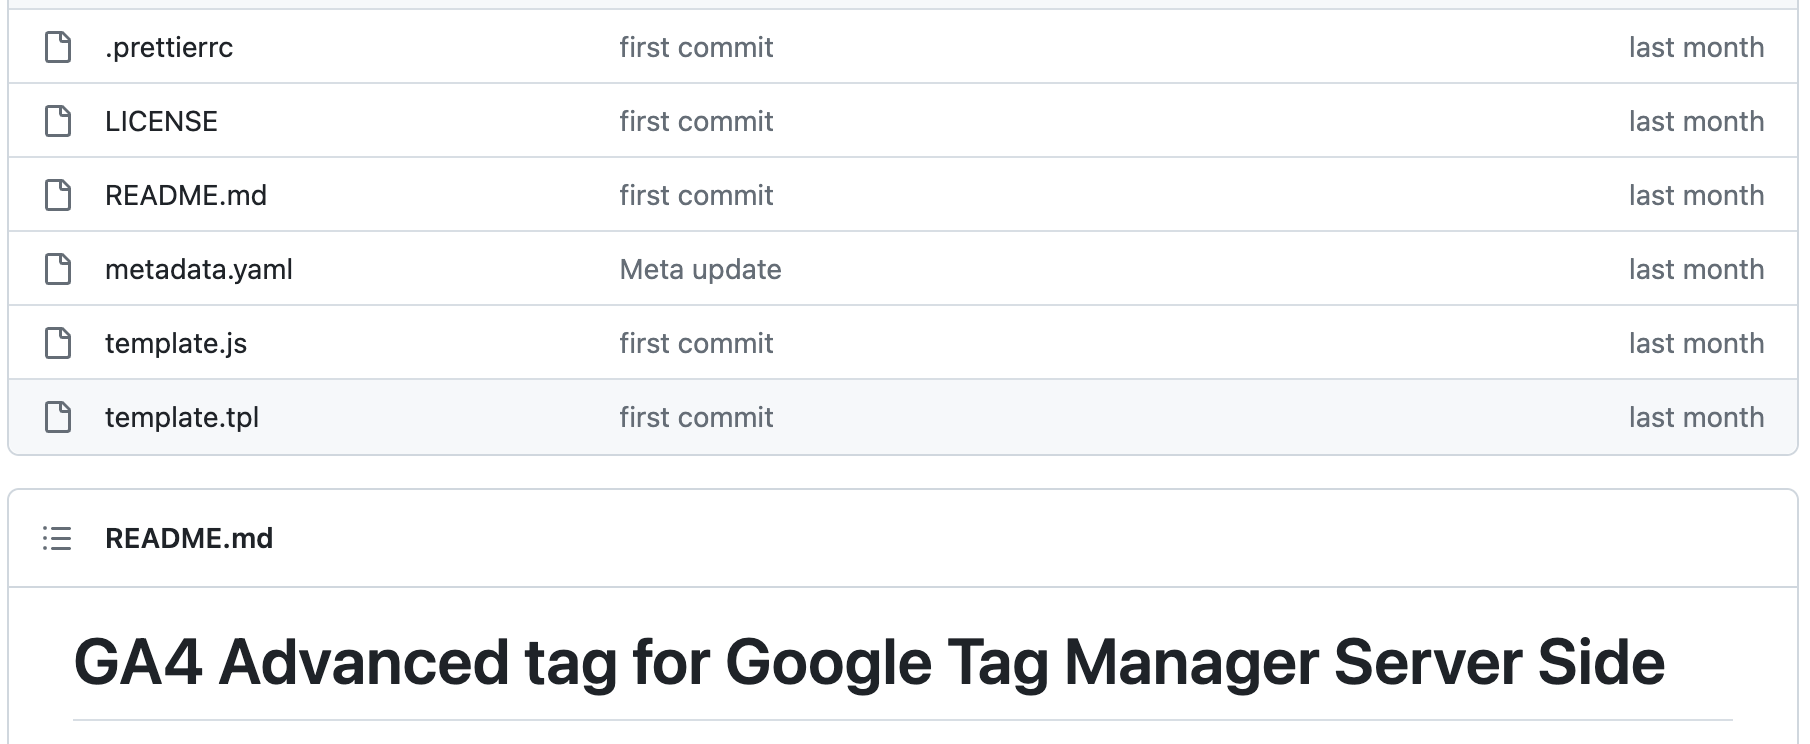
2. Download the GA4 Advanced tag from GitHub or get it in the Template Gallery.
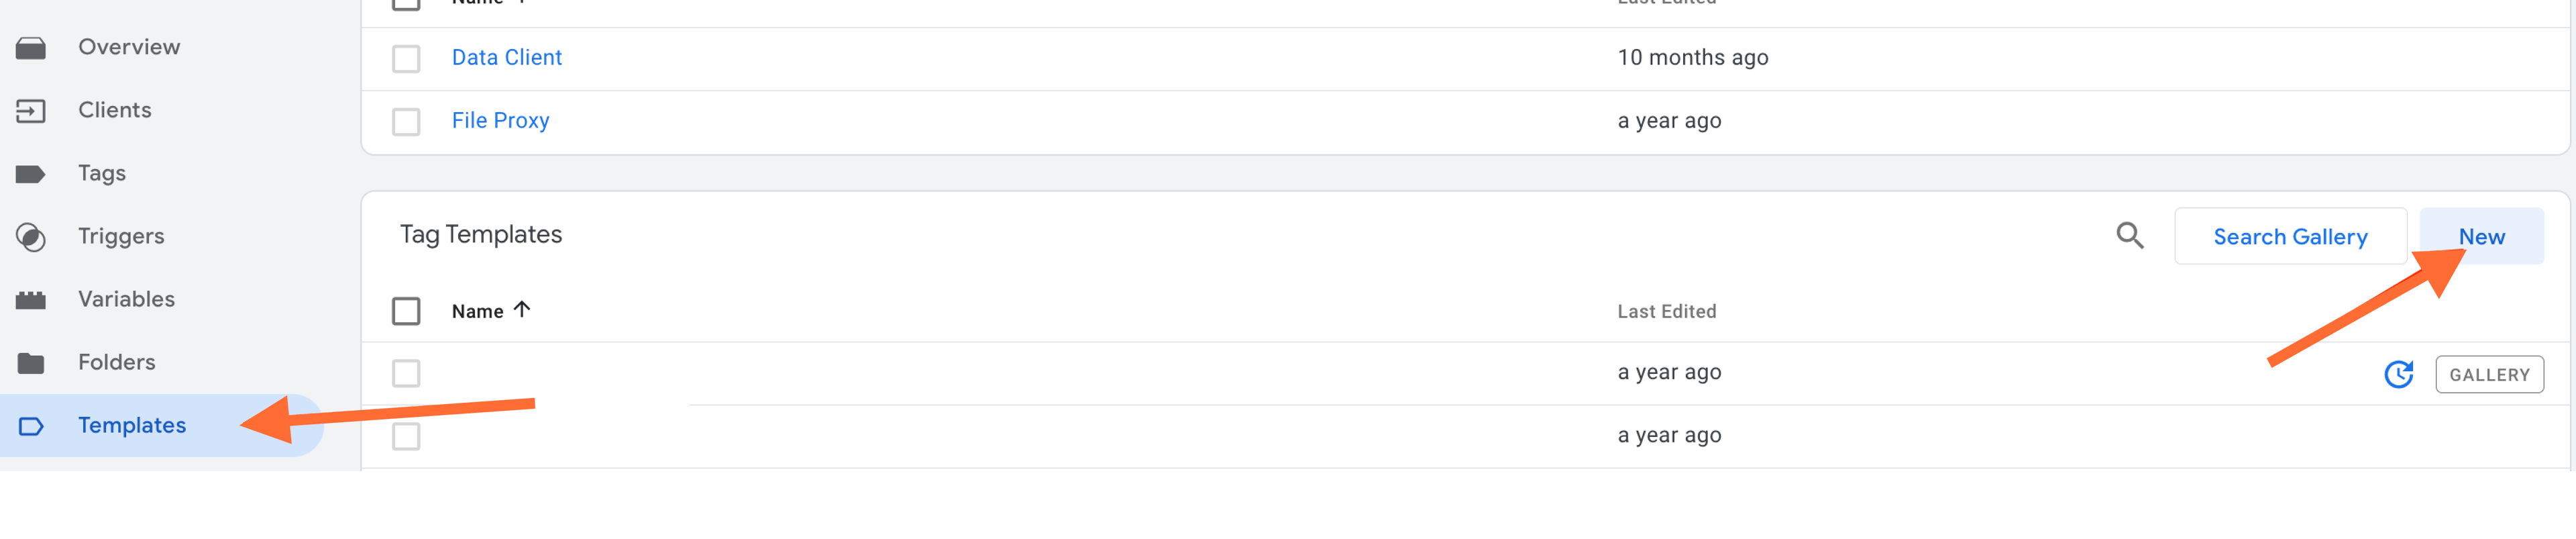
3. In your server container, on the left menu go to “Templates” and click “New”.
4. On the right, click three dots and choose “Import”. Select the GA4 Advanced Tag that you just downloaded.
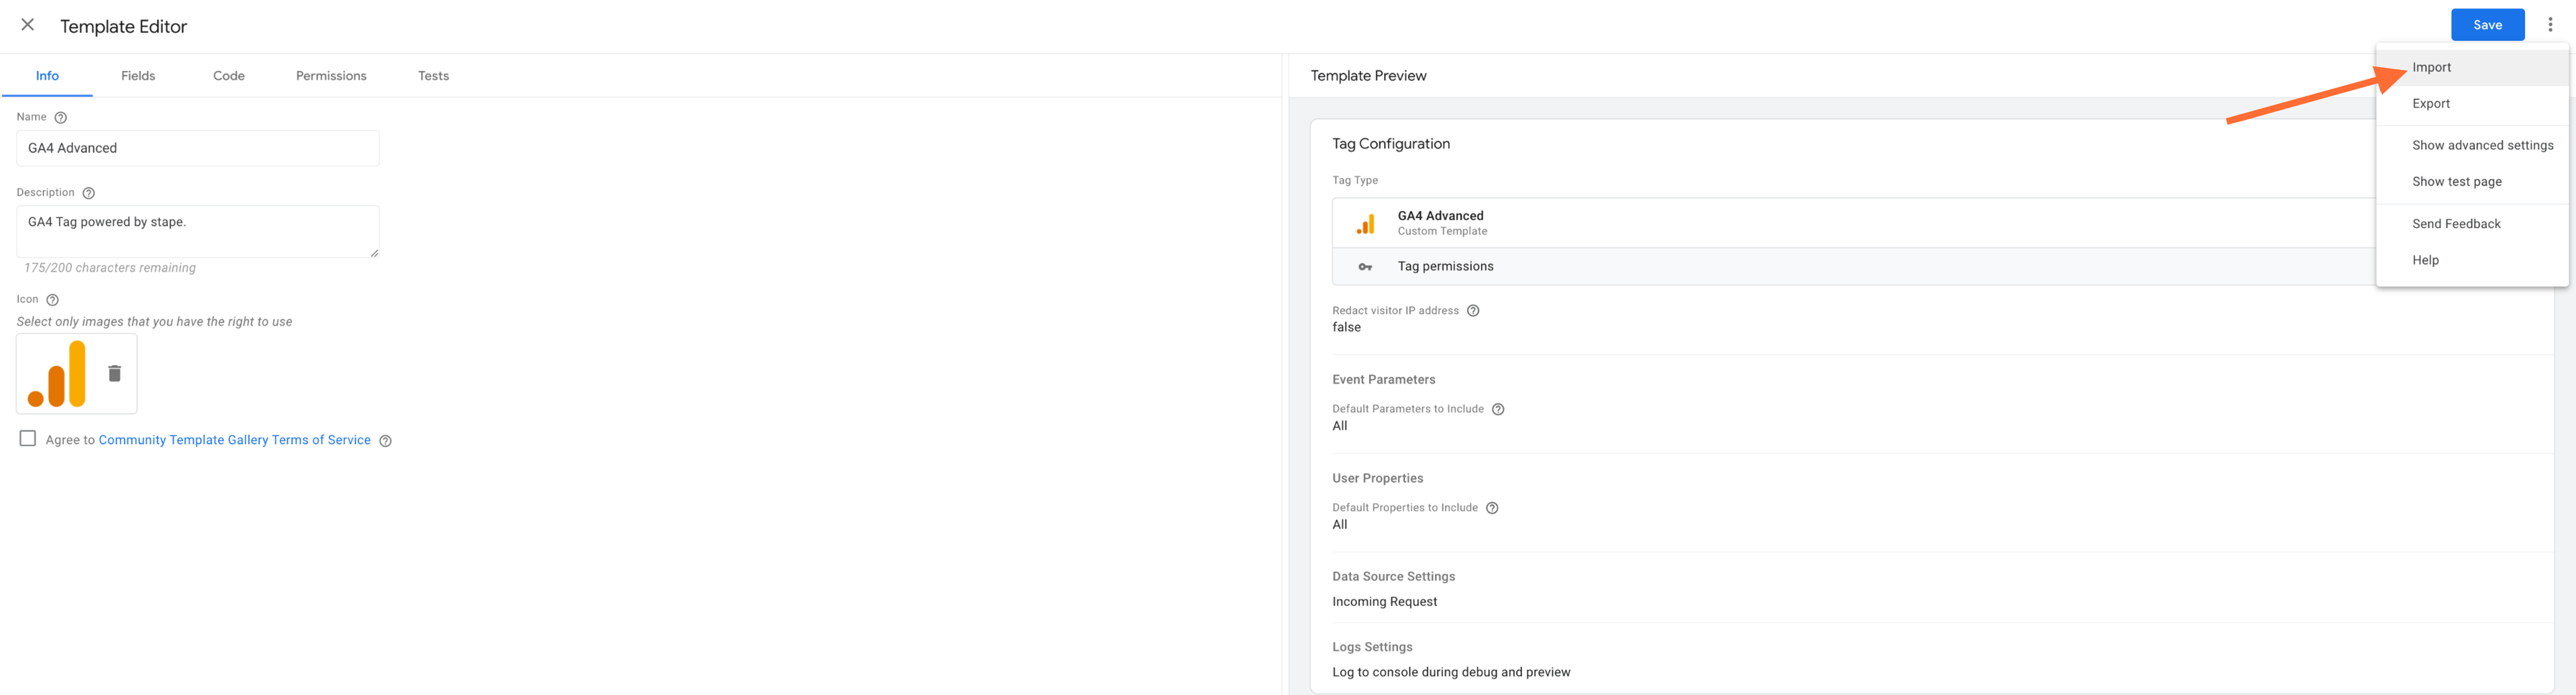
5. Click Save button.
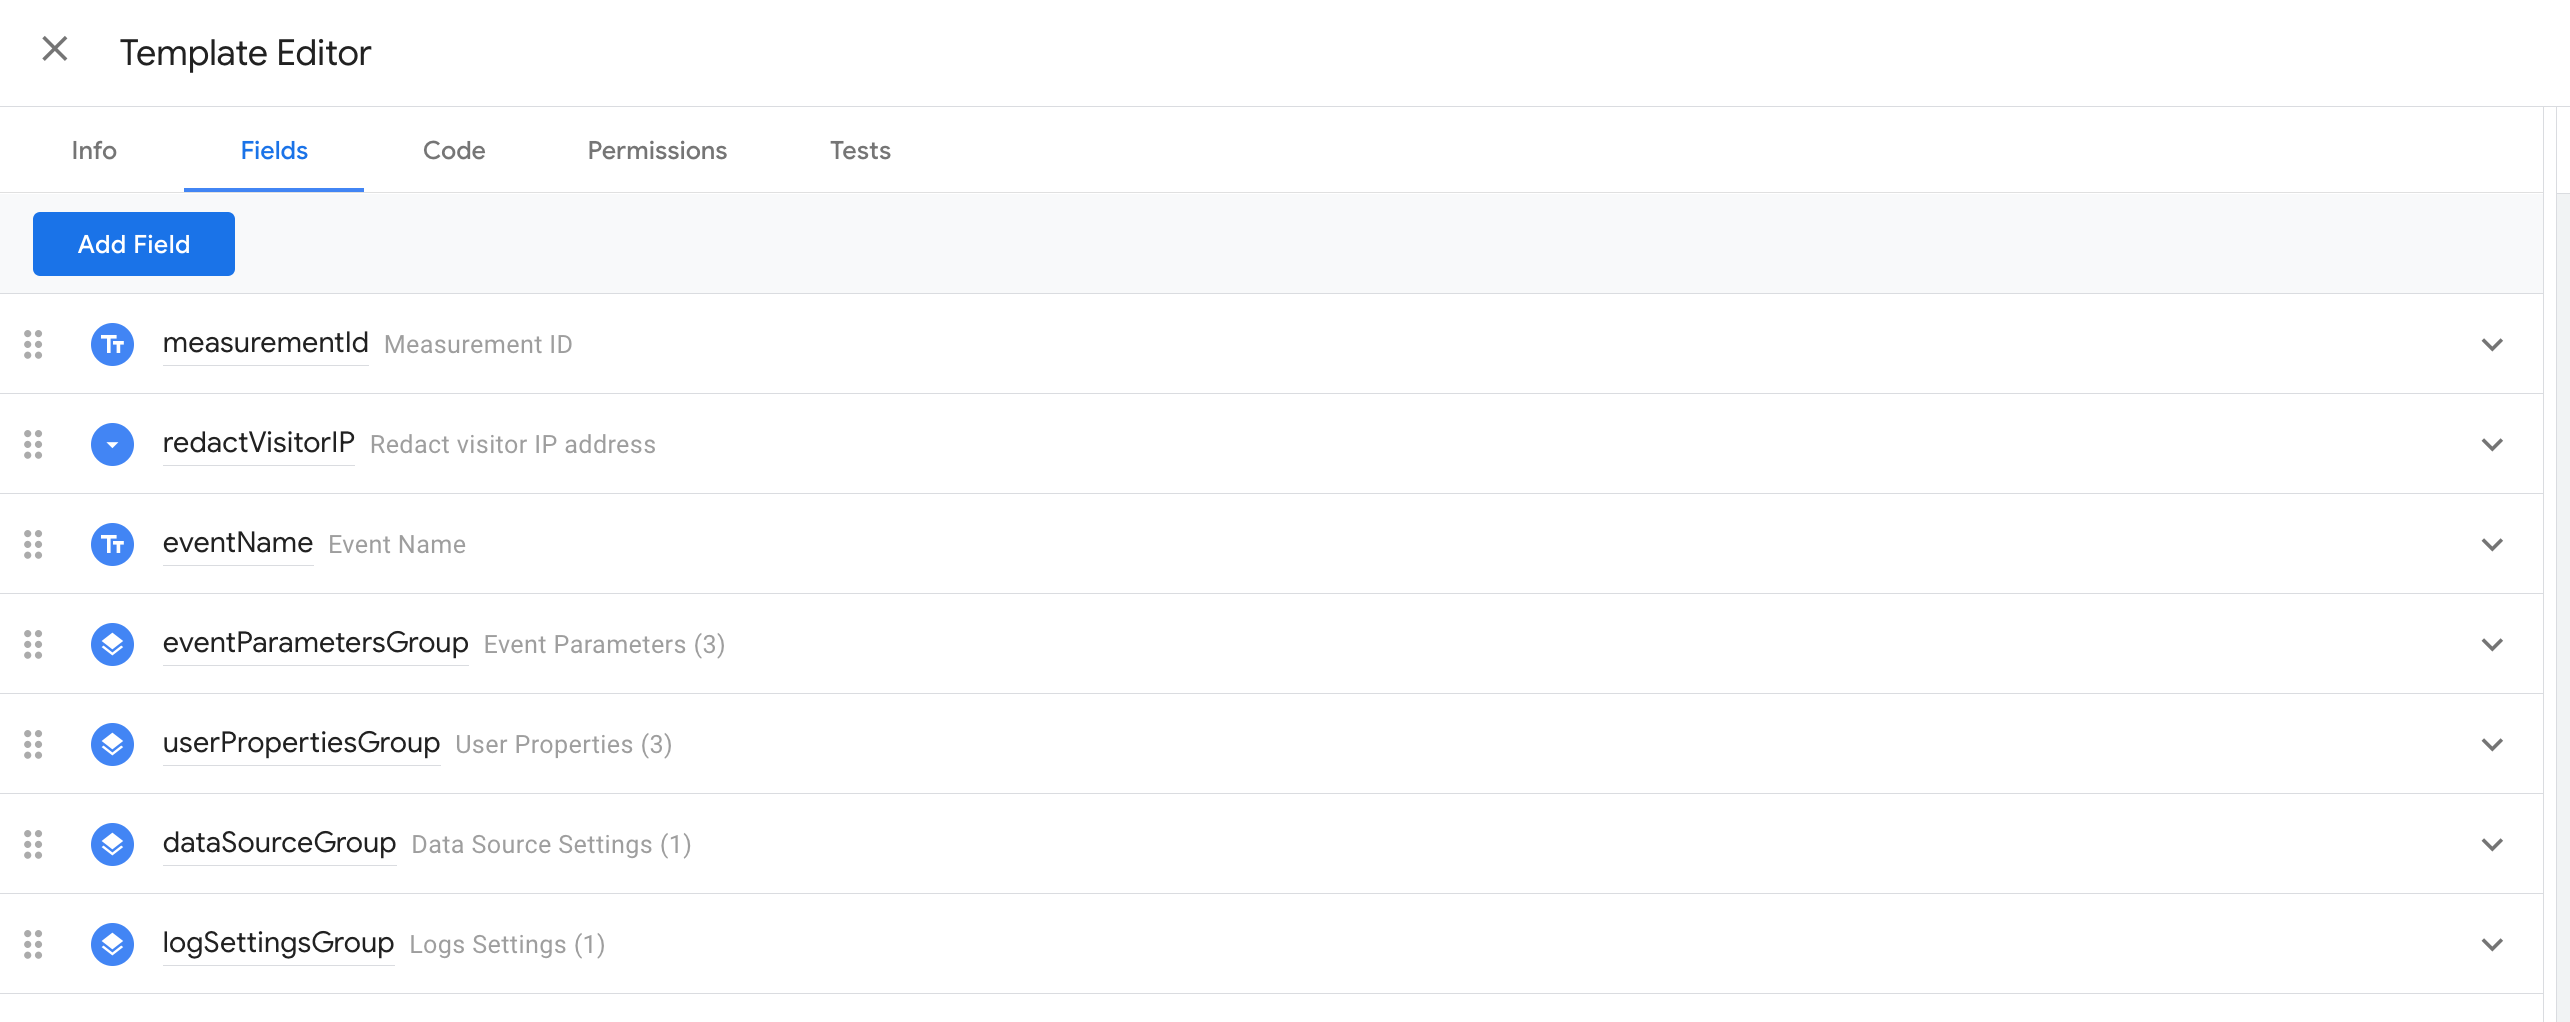
6. In the tab “Fields” you will see all optional fields:
7. On the left menu, go to “Overview” and click “New tag”. In “Tag configuration” choose GA4 Advanced.
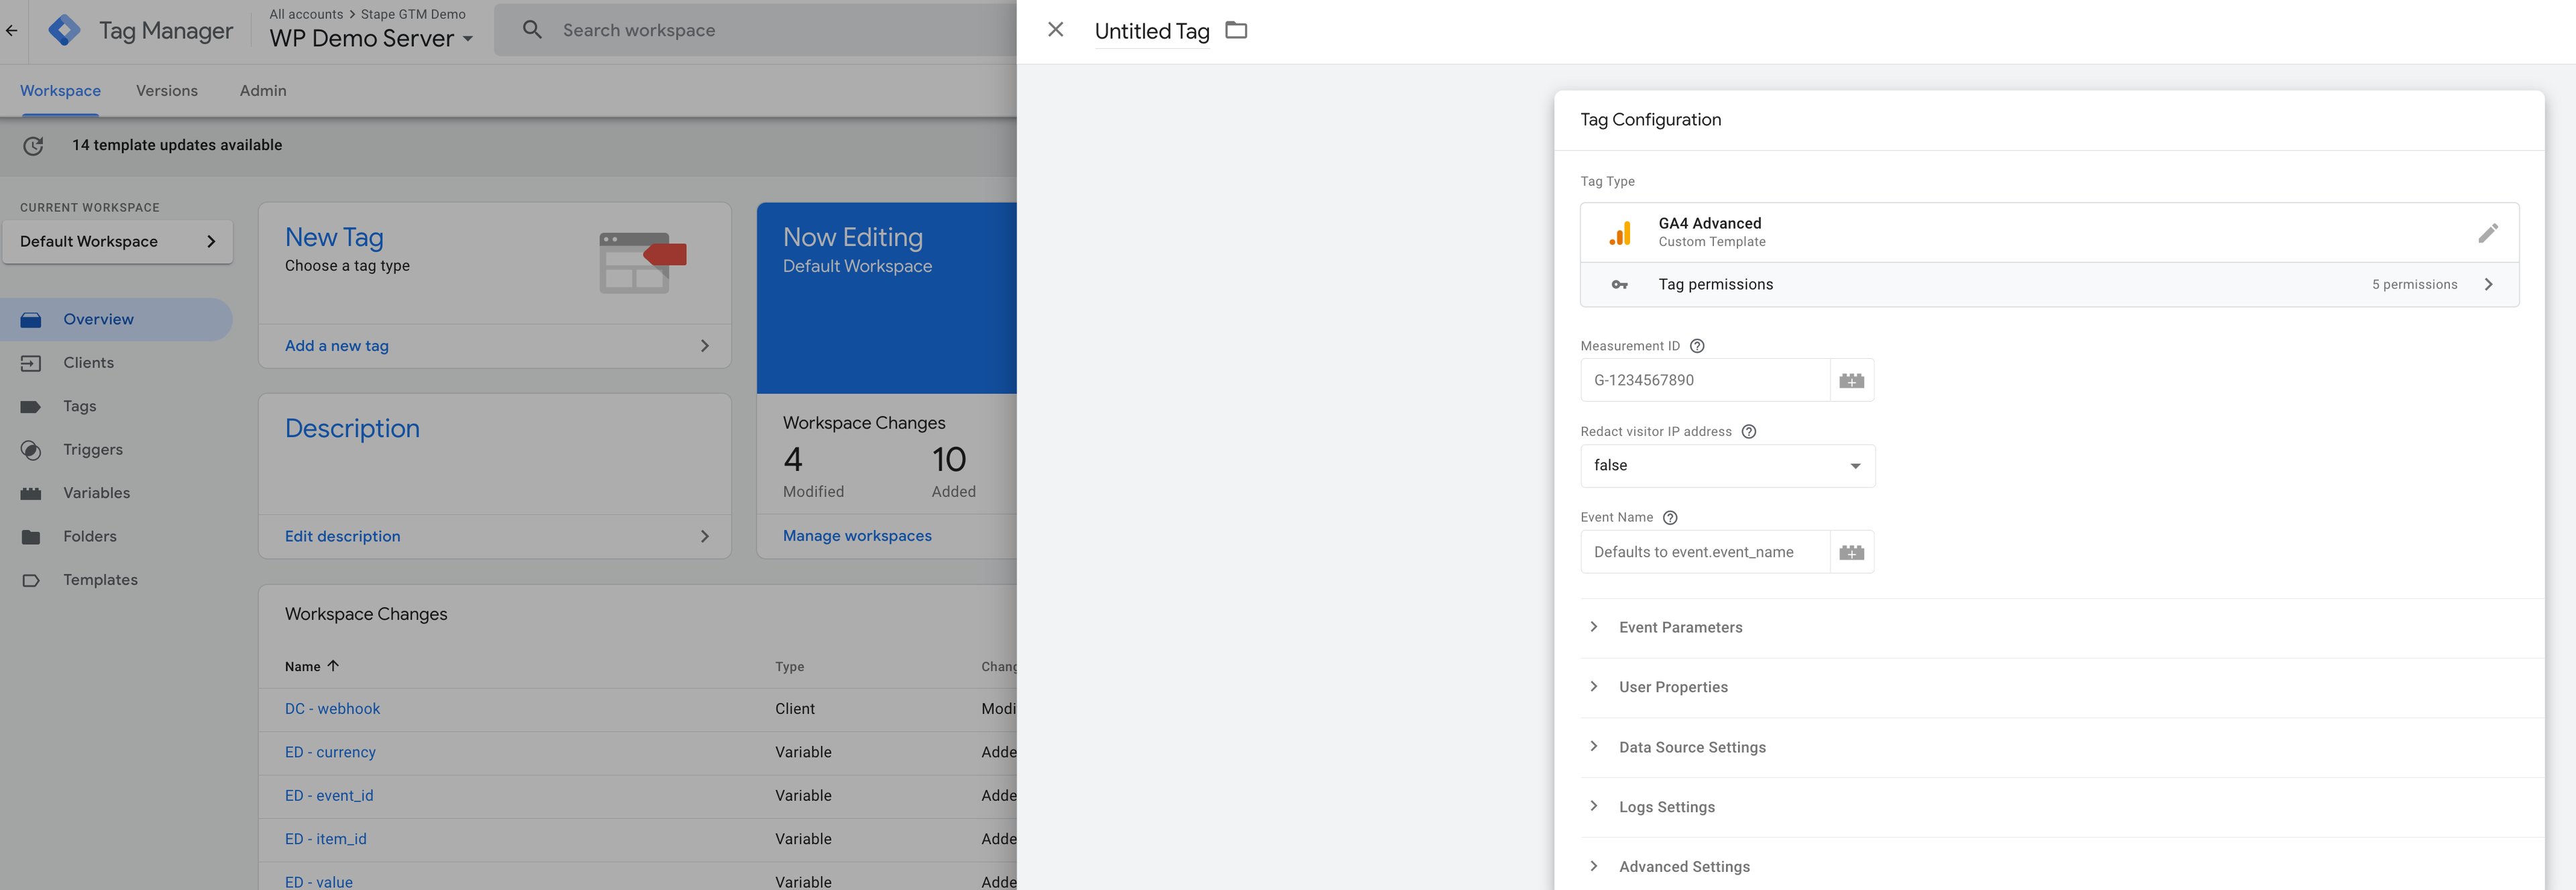
8. Set up GA4 Advanced tag based on your requirements.
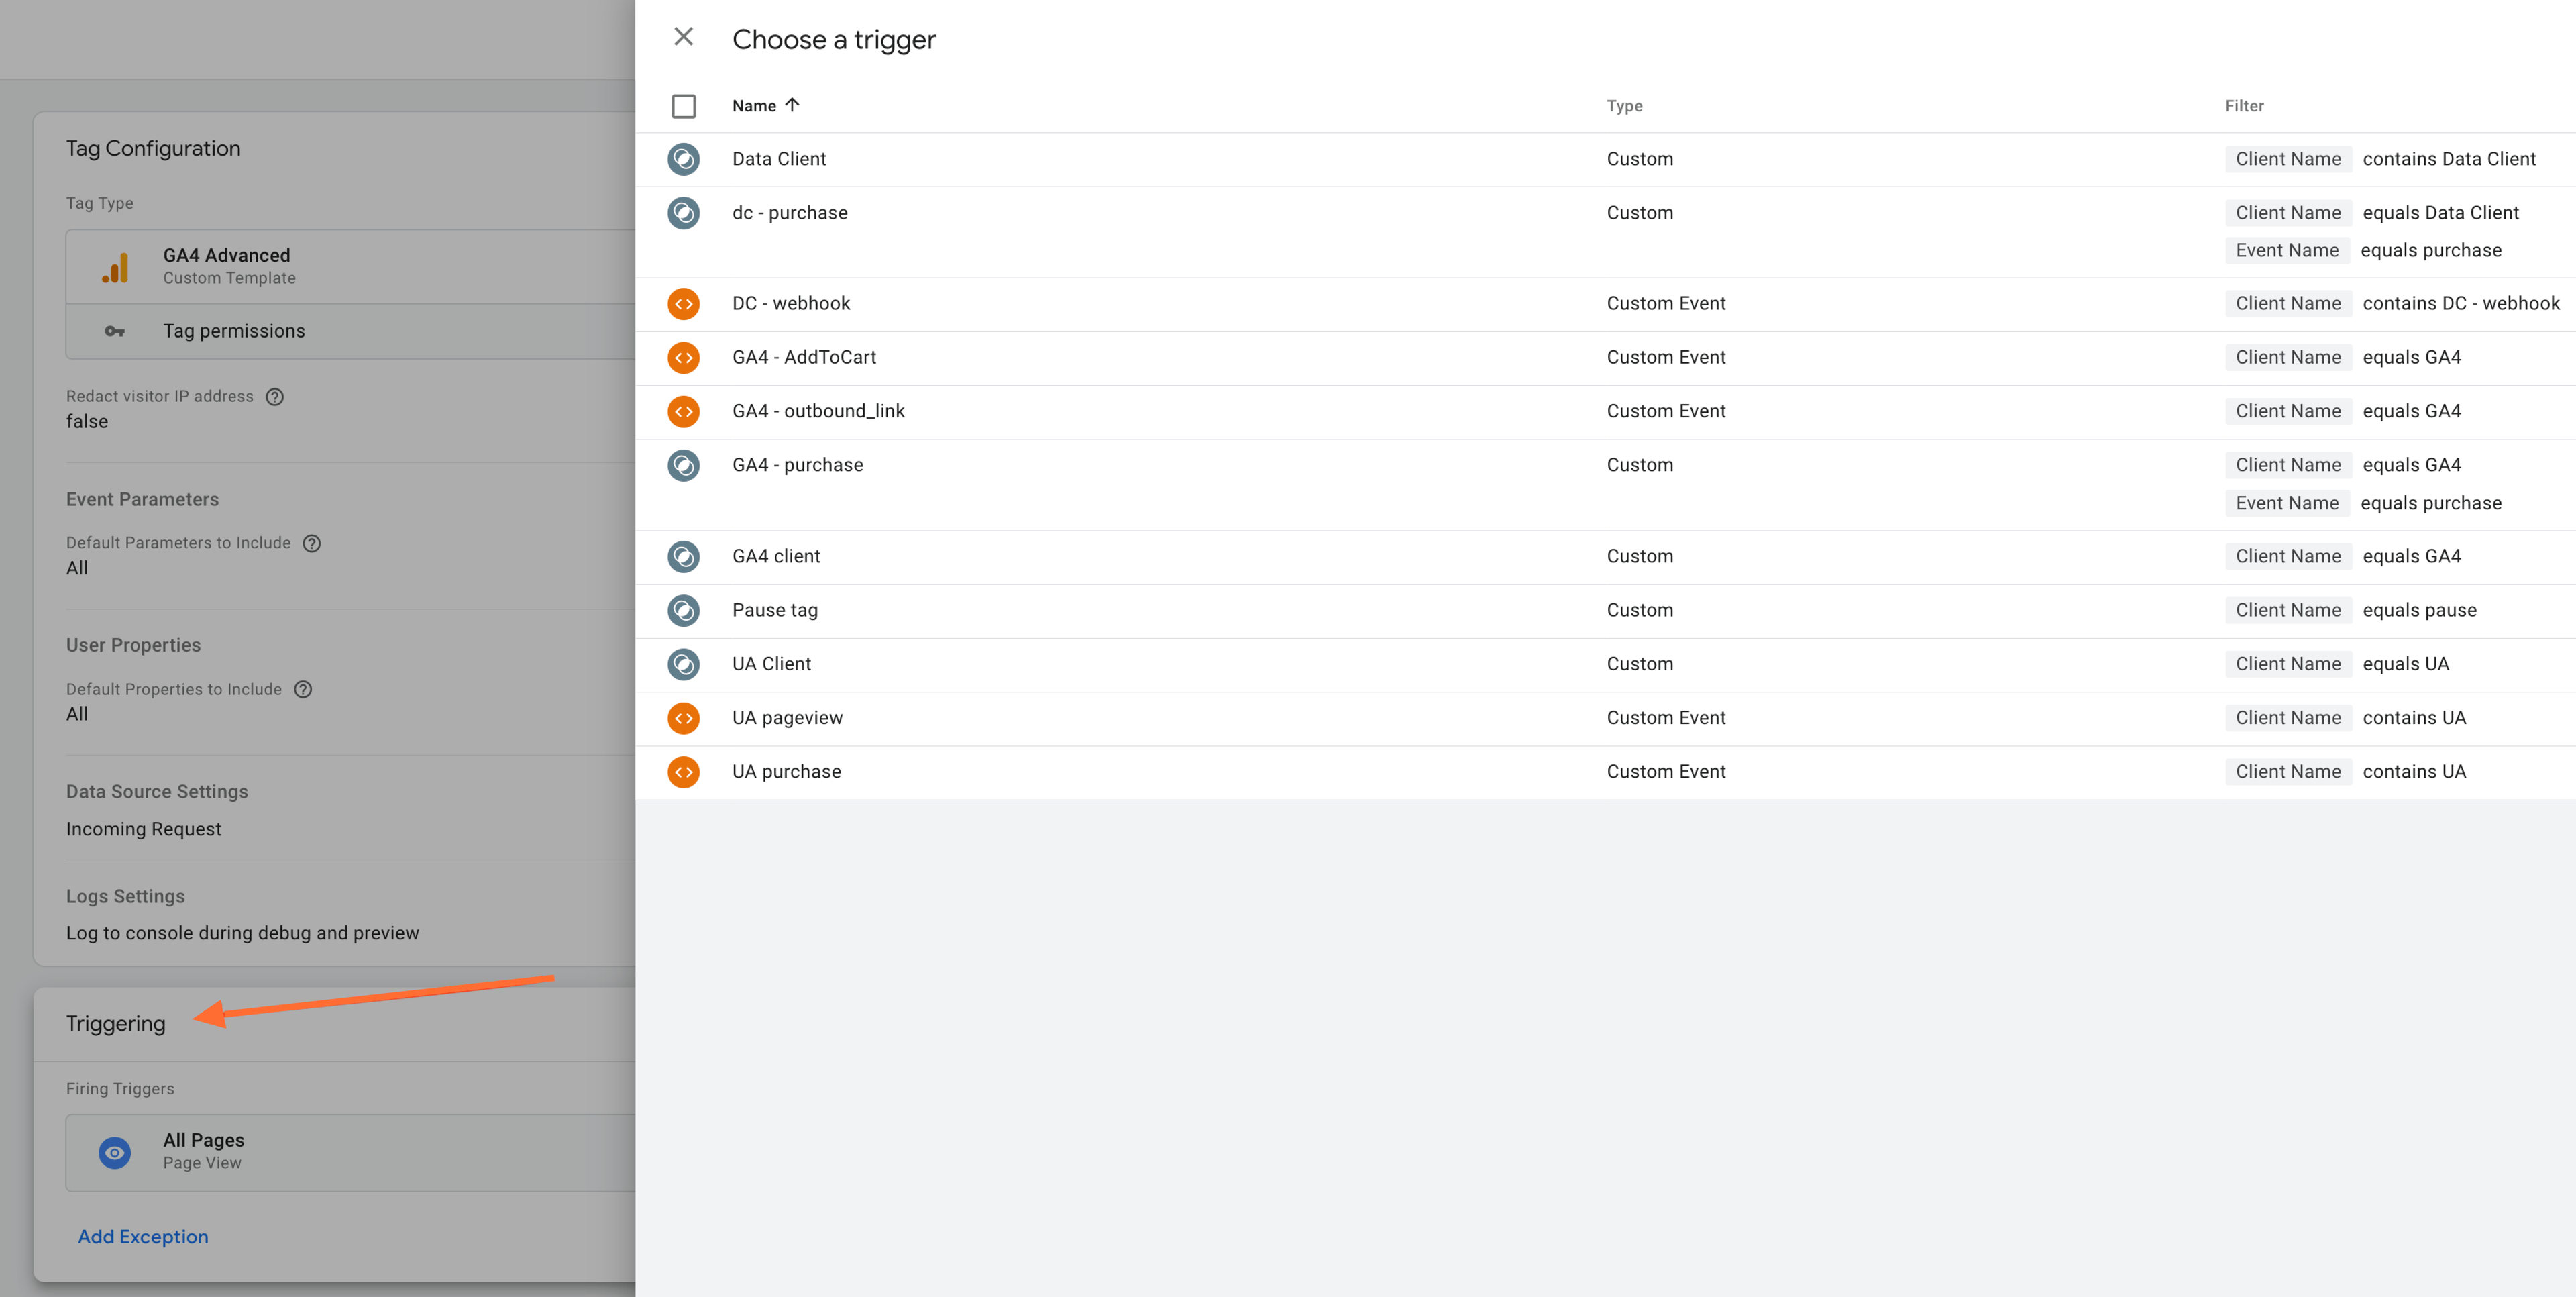
9. Don’t forget to add the triggers. If you select Incoming Request as a Data Source ensure to use GA4 requests in the trigger. When selected Event data any type of trigger can be used.
Conclusion
GA4 Advanced tag can be a powerful tool for gaining insights into your website visitors and optimizing your campaigns. It's easy to set up in GTM Server Side and with our best practices, you'll be using it like a pro in no time. With all its great benefits, there are no reasons not to give the GA4 Advanced tag a try. If you have any trouble getting the tag set up or need help understanding exactly how to use it, don't hesitate to contact Stape support.
Would like a setup?
We've got you covered! Click Get assistance, fill-up the form, and we will send you a quote.

Comments