How to import the GTM template automatically
Updated Jan 19, 2026
The guide shows how to generate and automatically import templates for web and server GTM containers using the Setup Assistant.
What you need before you start
2. Ensure you have created a web container and a server container in Google Tag Manager.
3. Ensure your server container is hosted on Stape.
4. (Optional) Ensure you have configured a custom domain (even though it’s optional, but highly recommended for setting first-party cookies).
| Note: To set up a same-origin domain, indicate the full Same Origin Path as the Server Container URL in the Setup Assistant. For example, you would enter https://www.yourdomain.com/sgtm/ as your URL. |
5. If your website is built on Shopify, Magento 2, BigCommerce, WordPress, Wix, PrestaShop, or Salla, ensure the DataLayer is configured in the CMS app of the platform you're using.
The app configuration is similar for each CMS:
6. If you have a custom website, you’ll need to collaborate with your developers to implement the Data layer events with the specific payloads you need. To create a Data layer, you can make a copy of our documentation, edit it according to your needs, and pass the doc to your developers. Please check our article on the Data layer for helpful guidelines on Data layer implementation.
Where to find the Setup Assistant?
In the Stape admin, click on the sGTM section in the menu and locate Setup Assistant.
Then, click on Got it, let's go! to start answering the questionnaire.

Step 1. Choose type

Type - indicate your setup type. eCommerce setups focus on product tracking, while Lead Generation setups focus on form submissions and conversions.
Platform (if you select eCommerce as a type) - specify the CMS platform you are using (e.g., Shopify, WordPress, etc.). Setup Assistant can provide the appropriate templates and settings for your site, ensuring that everything works seamlessly with your CMS. If your platform is not on the list, select Other.
Consent settings - check the box if you have a consent provider. Then, select one from the list.
| Note: If you choose Other as your consent provider, you need to specify an additional event in the dataLayer that signals a change in consent status. You can usually find this information from your consent provider or by checking the dataLayer when the consent status changes. |
Step 2. Select destinations

Select the advertising and analytics platforms you want to track (e.g., Google Ads, Meta, GA4, etc.).
Different platforms require specific tags and tracking settings. By selecting the platforms you want to track, the Setup Assistant customizes your GTM container with the necessary tags. This step ensures that your tracking setup aligns with the platforms you want to use.
Please note
Step 3. Add IDs details
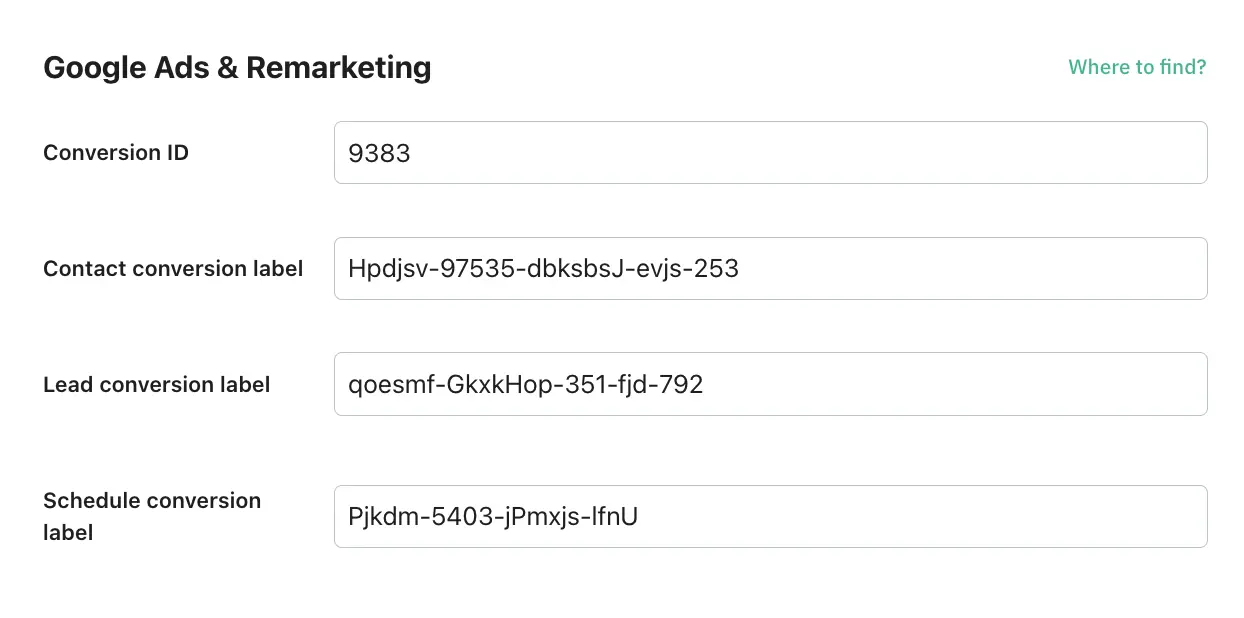
Lead and Schedule events (for lead generation only)
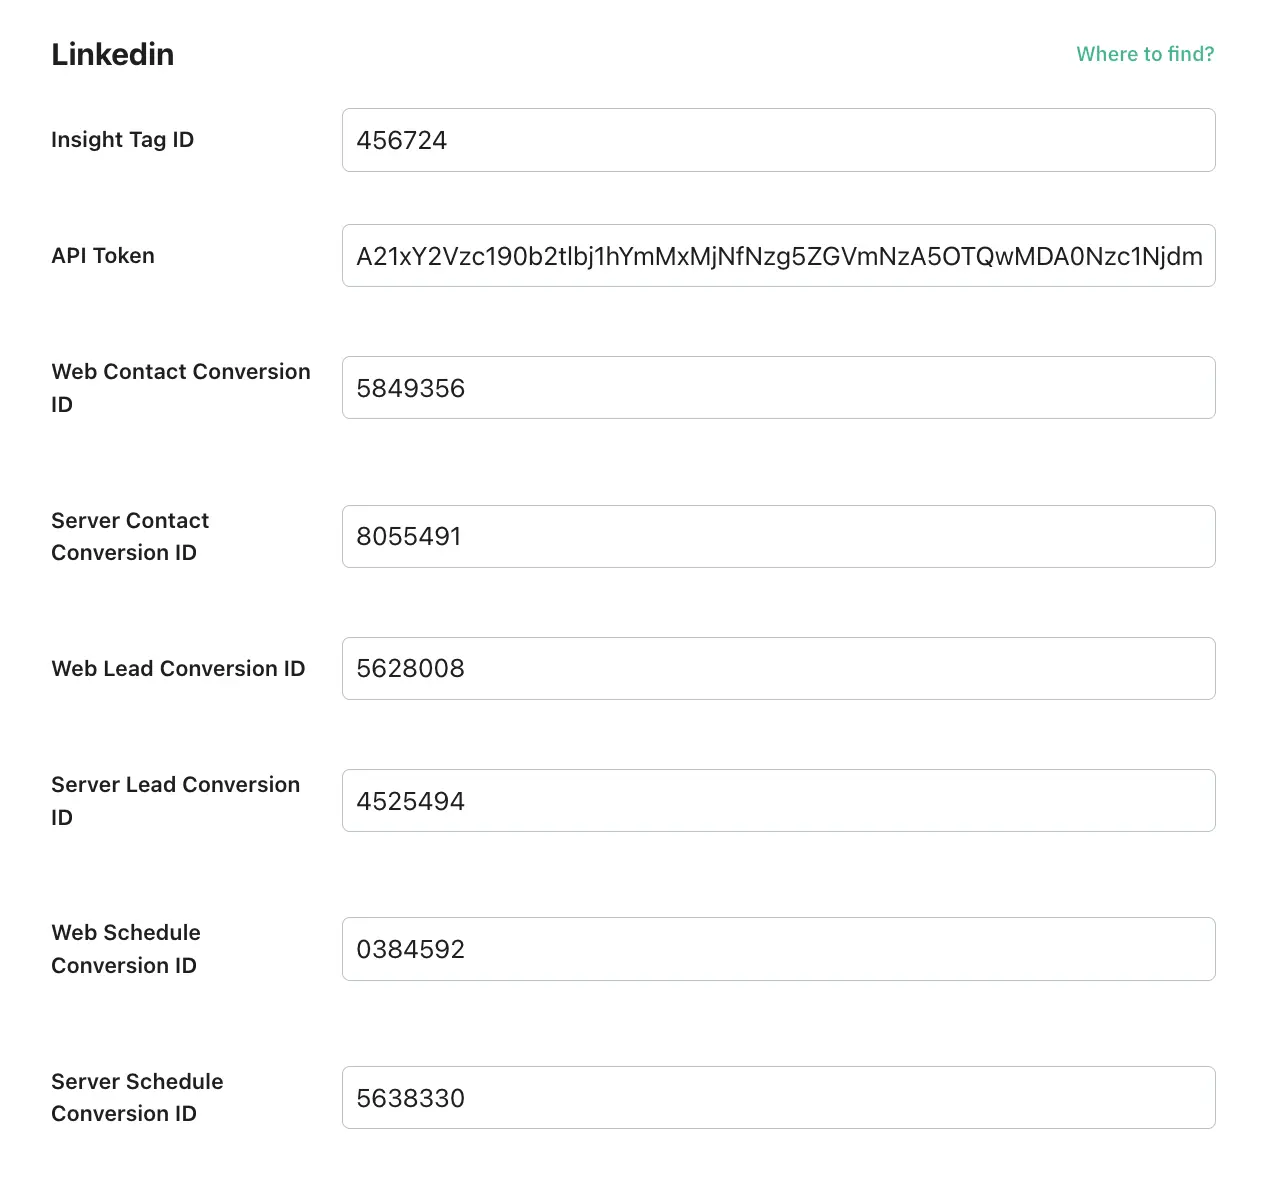
If you selected the “Lead generation” type, enter the URLs of the “thank you” pages that users reach after completing the lead form (Lead event “Thank you” page URL) and/or after scheduling a call (Schedule event “Thank you” page URL).
Use the following format:
https://yourdomain.com/thank-you-page
To proceed, you must configure at least one field.

Please contact your developers and request the creation of a separate thank-you page.
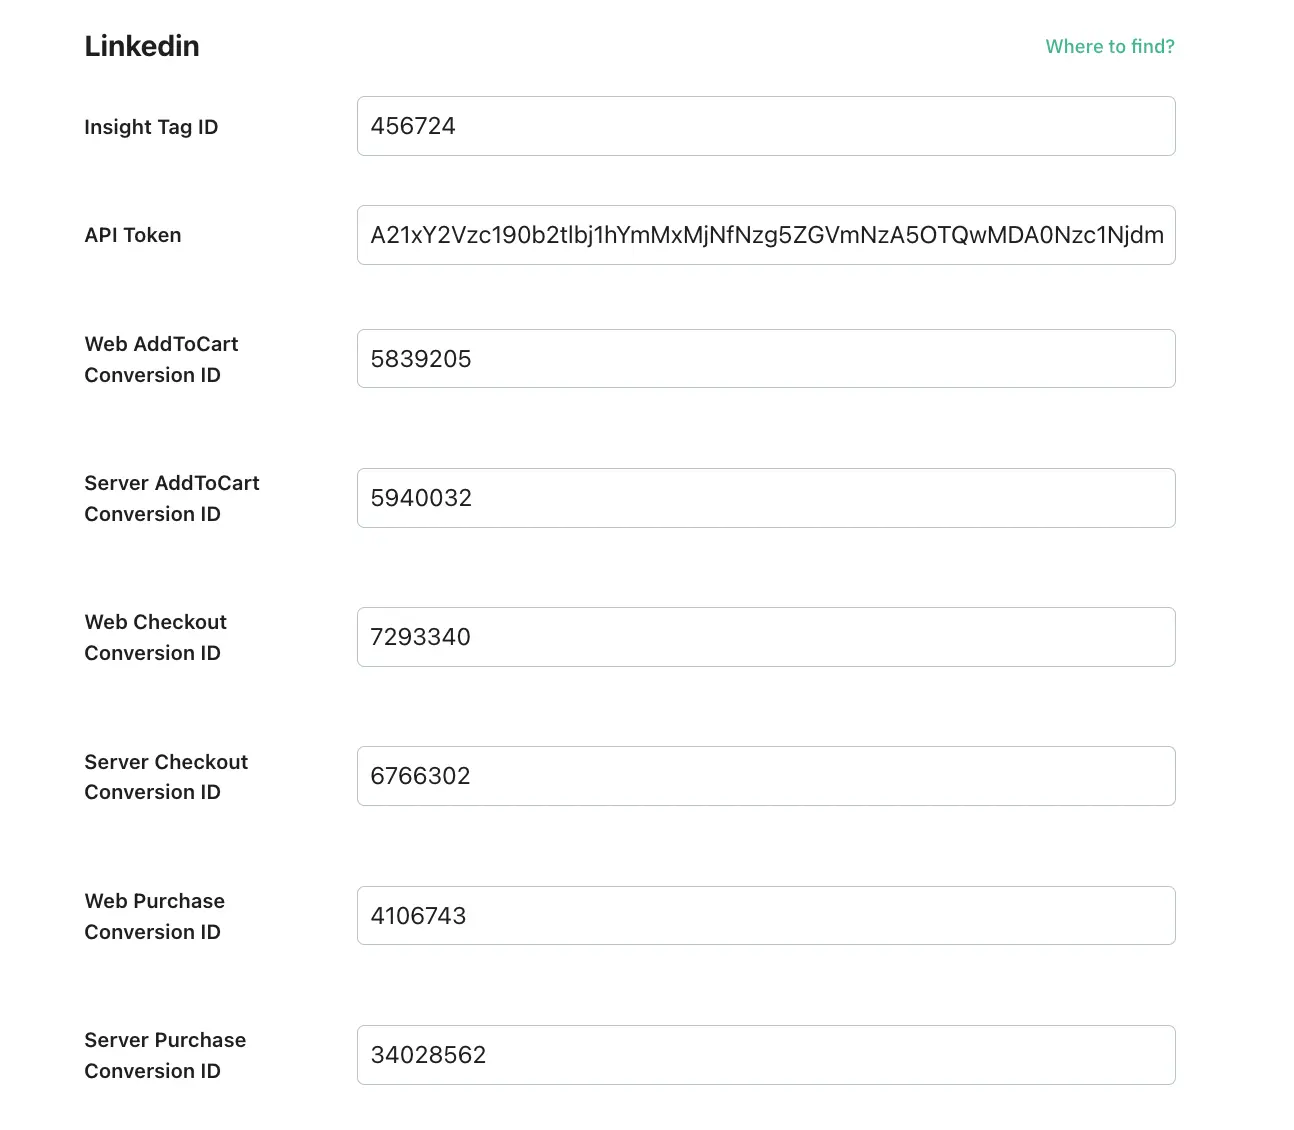
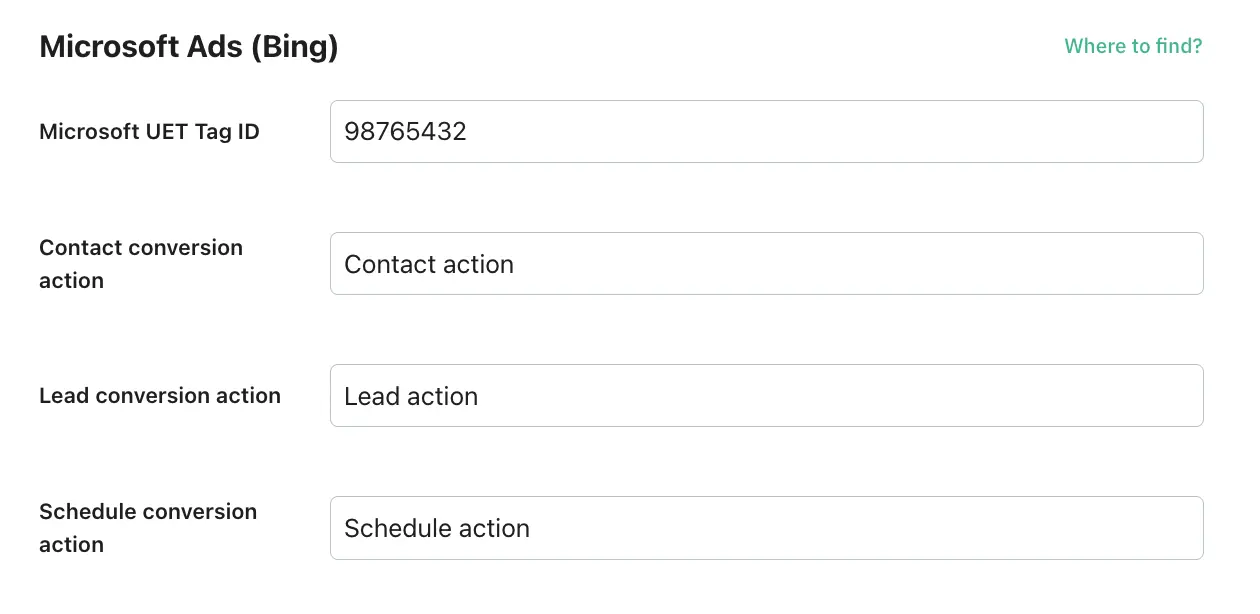
IDs for platforms you want to configure

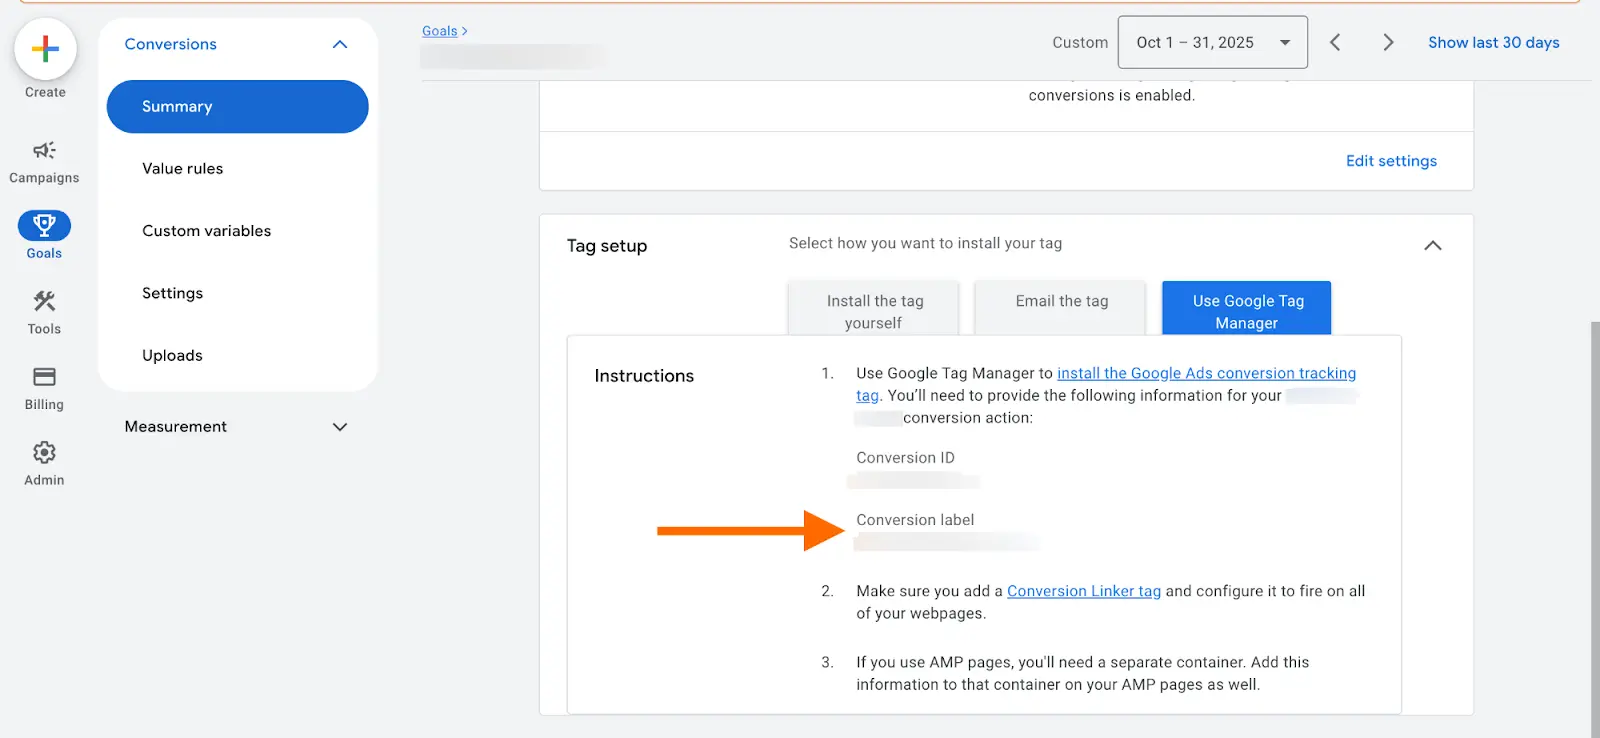
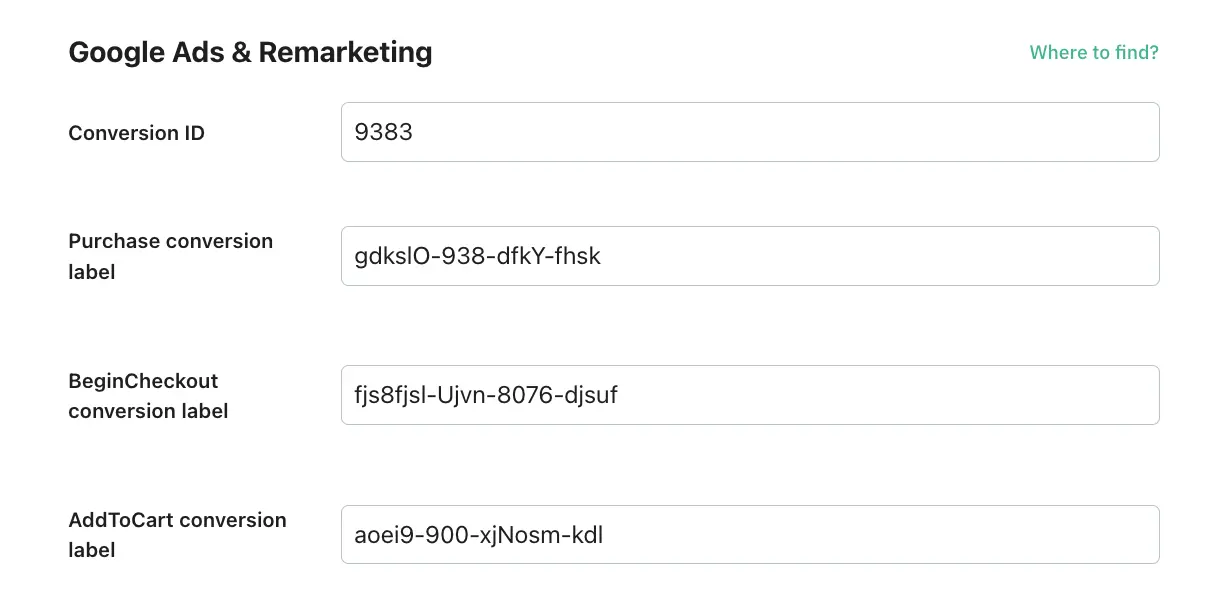
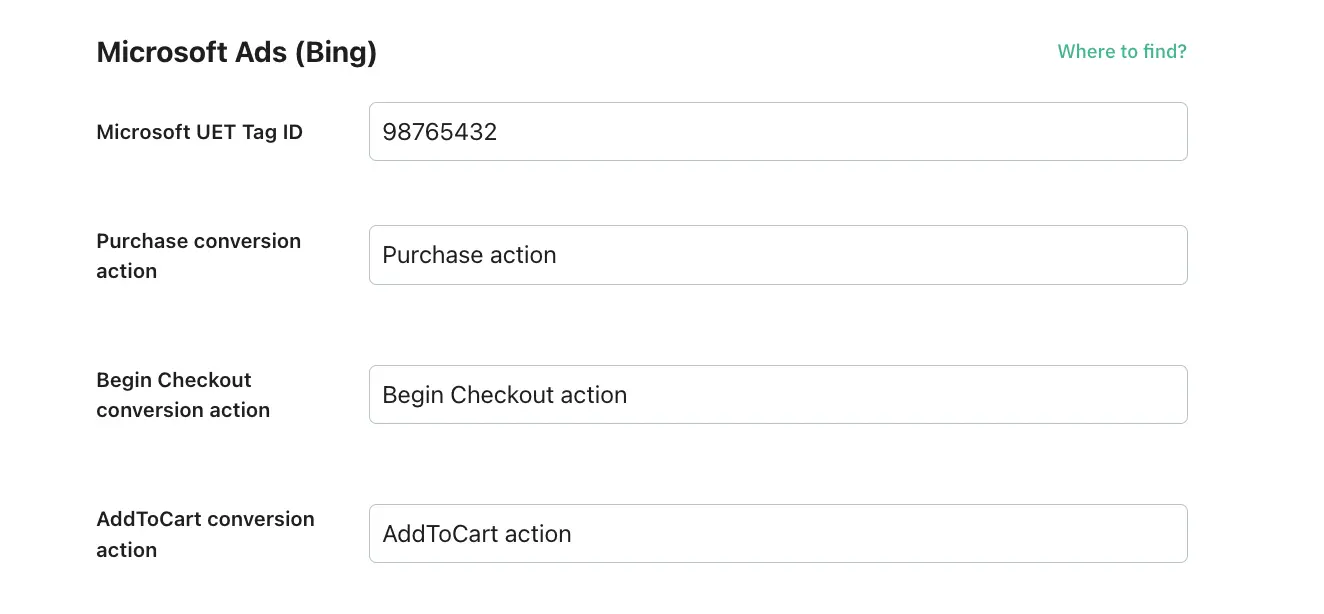
Enter the tracking details such as your Pixel ID, Analytics ID, or other required credentials.
This information is essential for the Setup Assistant to link your site to the respective platforms. It ensures that data is sent accurately from your website to the right destination and helps you to track conversions, user interactions, and more.
Without this step, the necessary data cannot be captured and sent to your platforms. Additionally, you can add IDs directly in your web and server containers at any time.
Regardless of the platform you need to configure, the Server Container URL field is required for any.
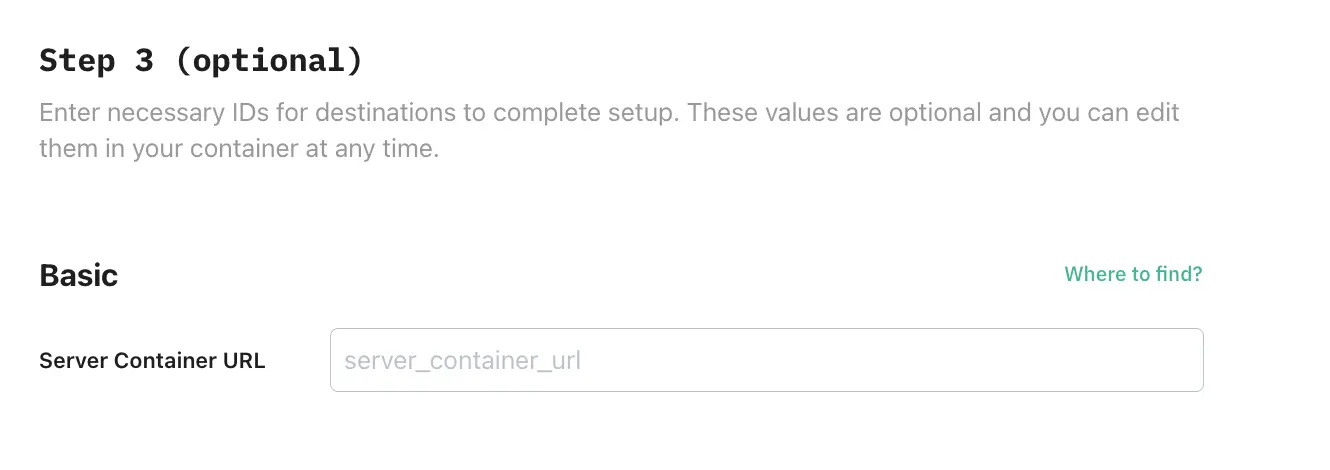
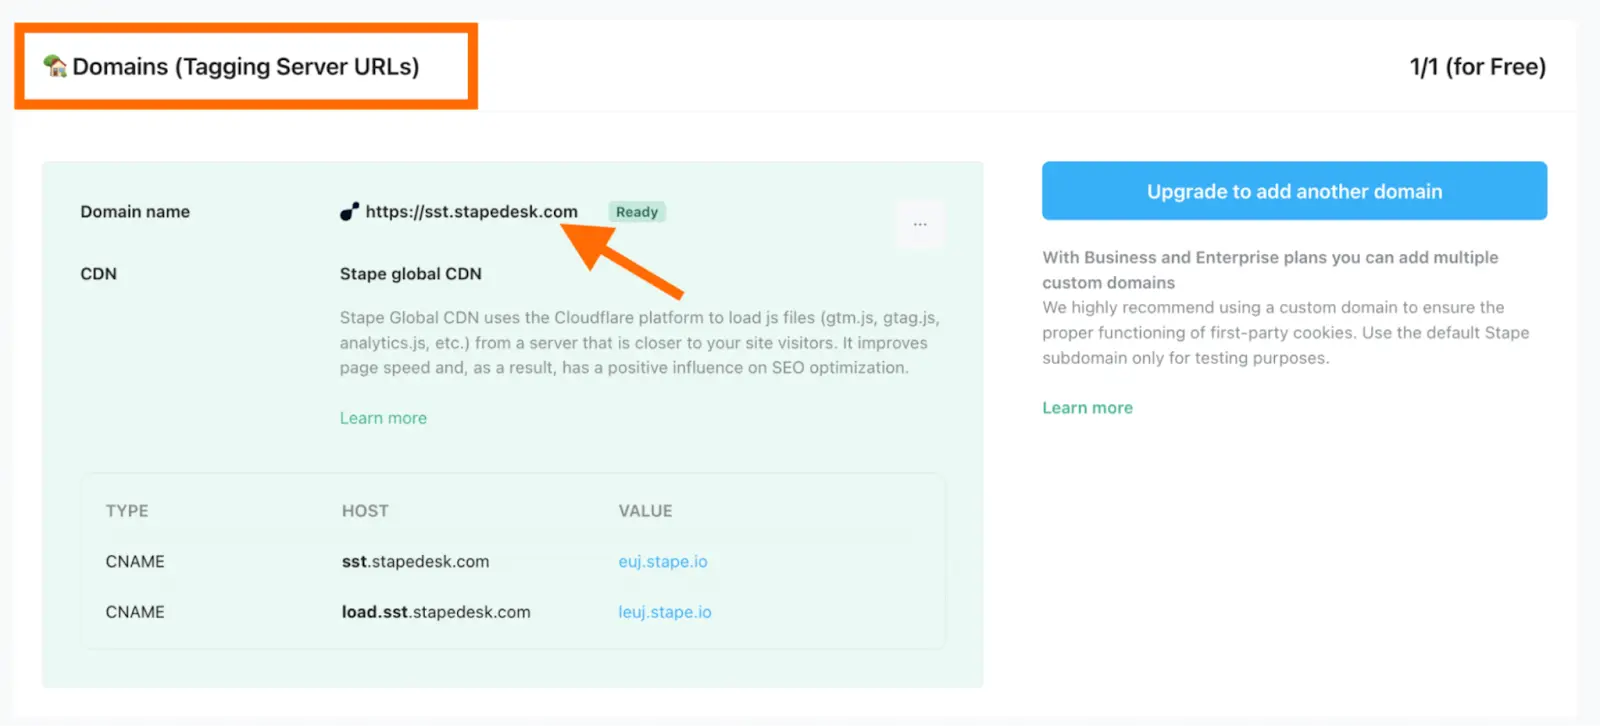
To find Server GTM container URL, log in to your Stape account → navigate to the sGTM section of the menu → choose your container → Domains (Tagging Server URLs) → copy domain name.
| We have prepared a quick guidance on how to find each necessary ID for destinations. |
Step 4. Import templates

Choose how you want to import templates. In our case, it's automatically. Click on Next.
How to test Setup Assistant configuration
Simply open the tags to make sure they include all the necessary data and run Preview in both web and server GTM containers.
Trigger the events on your website and check whether tags work successfully. Once confirmed, publish the changes to activate the setup.

| For more details on debugging and monitoring your server-side tracking setup, refer to our guide. |
Prevent over-reporting from other integrations
Check whether you have any additional plugins or integrations that also send events to the same platforms that are currently configured in GTM. Sending the events will lead to over-reporting. For example, Shopify has Google and Meta apps that may have active integrations for sending events. If there are some integrations like this, disable this functionality in the apps.
Along the same lines, consider what you already may have in your GTM containers or site code-base, and make sure there are no conflicts or double-firing tags.
In case of any questions, feel free to ask in our Stape Community.







Comments