How to set up Magento 2 extension
Updated Jul 6, 2026
1. Log in to your Magento Admin.
2. Go to Magento Marketplace, then choose Stape Conversion Tracking extension, click Add to cart and proceed to Checkout.
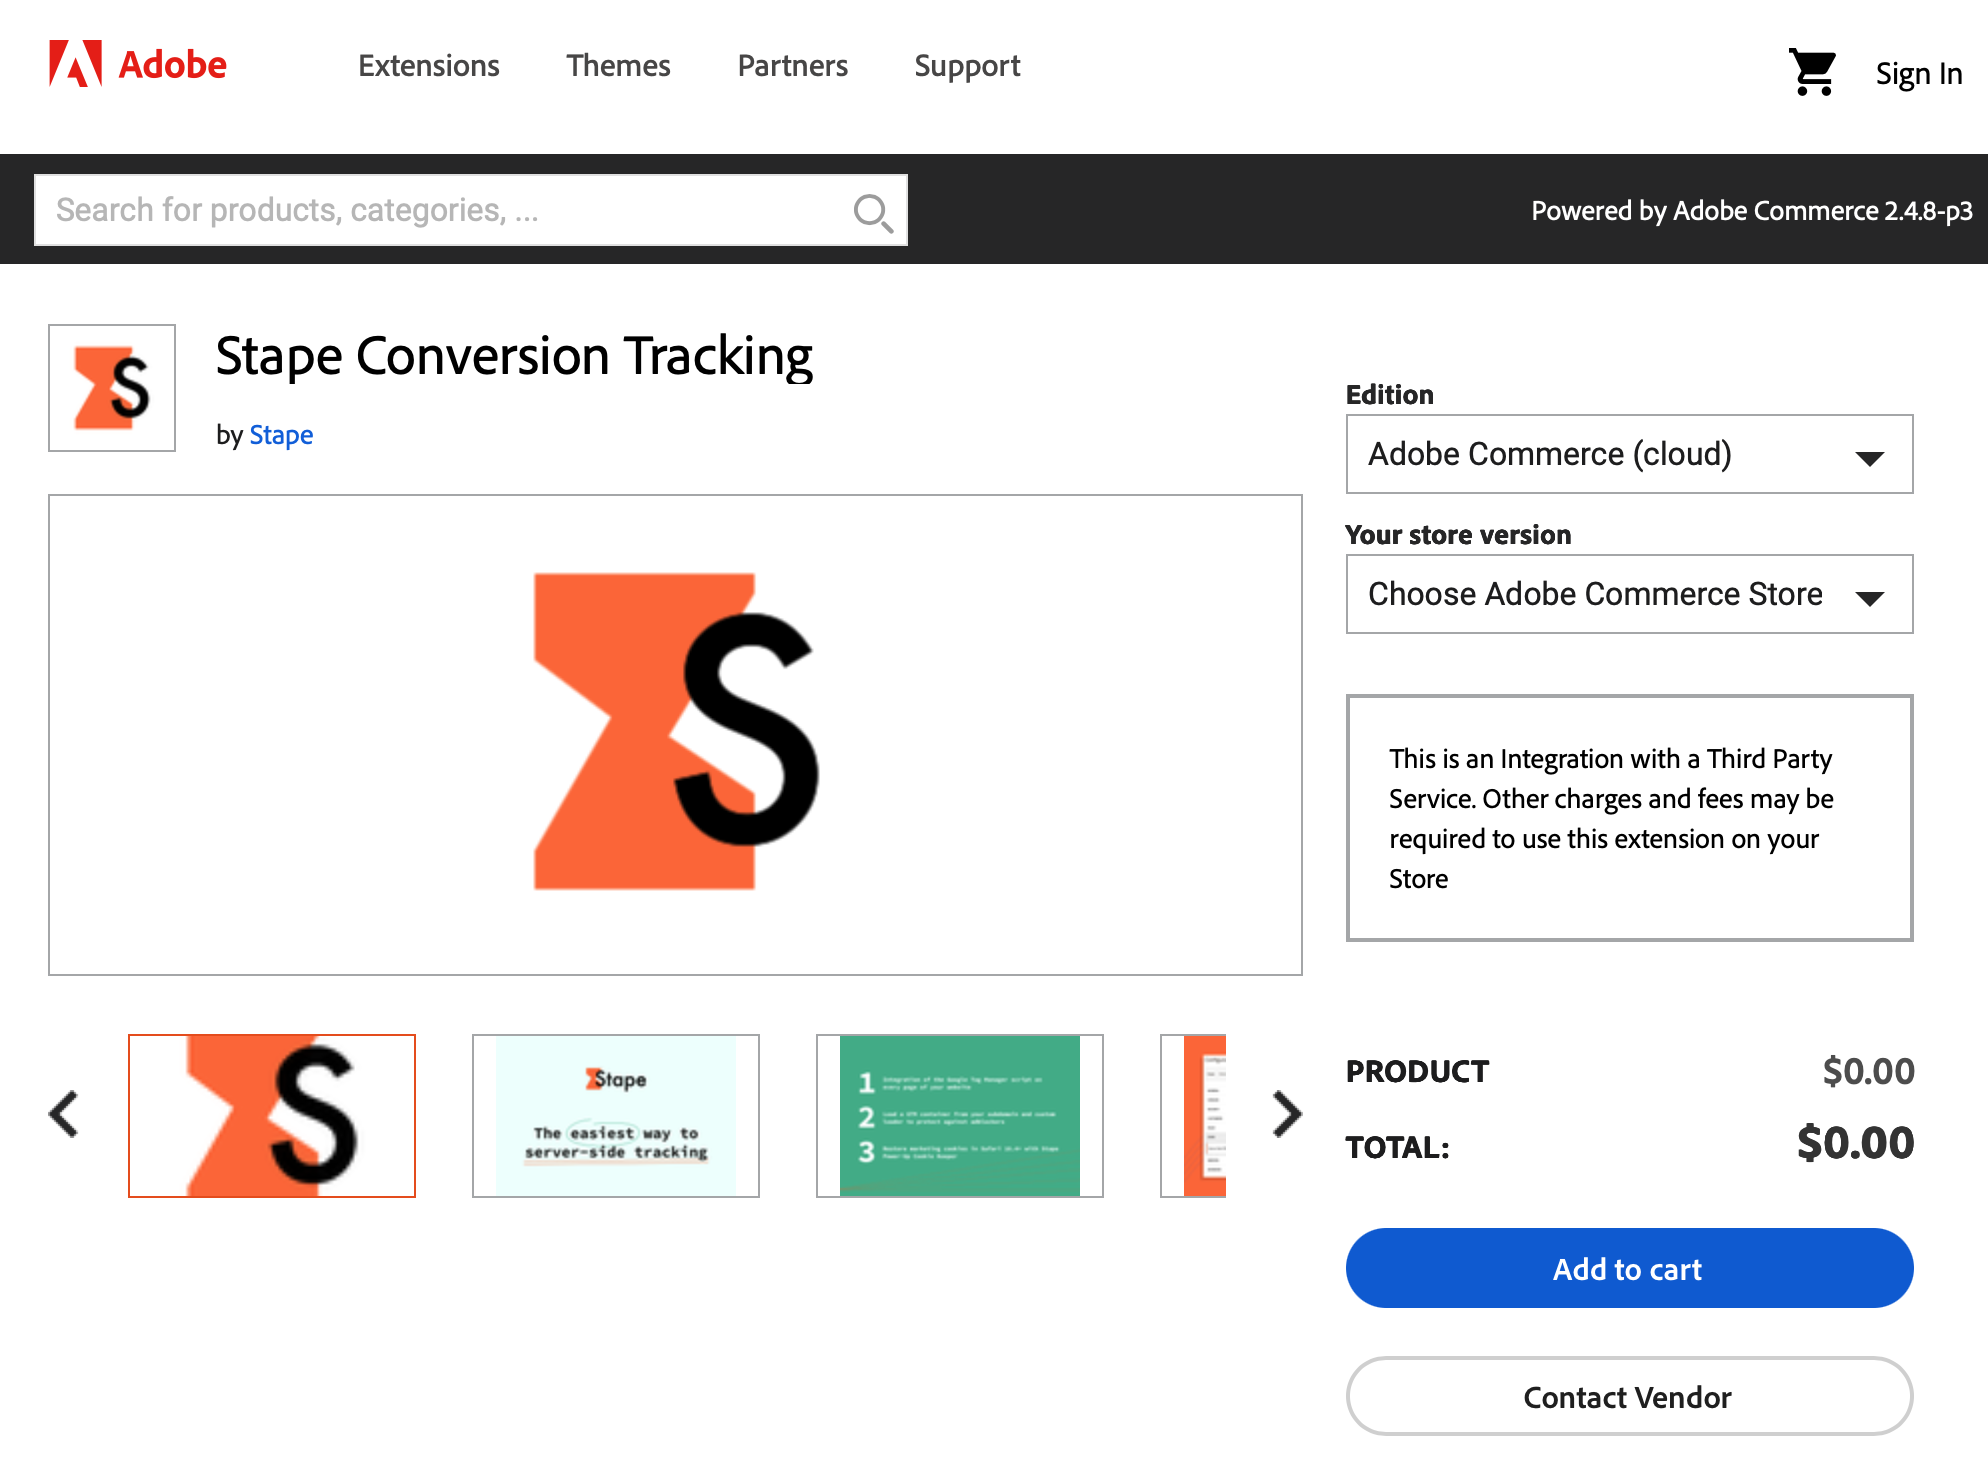
Please note that the extension is entirely free, and all plugin functions - except the Cookie Keeper - can be used regardless of whether you use the Stape service or not. The Cookie Keeper function will only work if you use the Stape service on any tariff and have activated it in your container settings.
3. Follow the instructions provided to install the extension on your Magento 2 site.
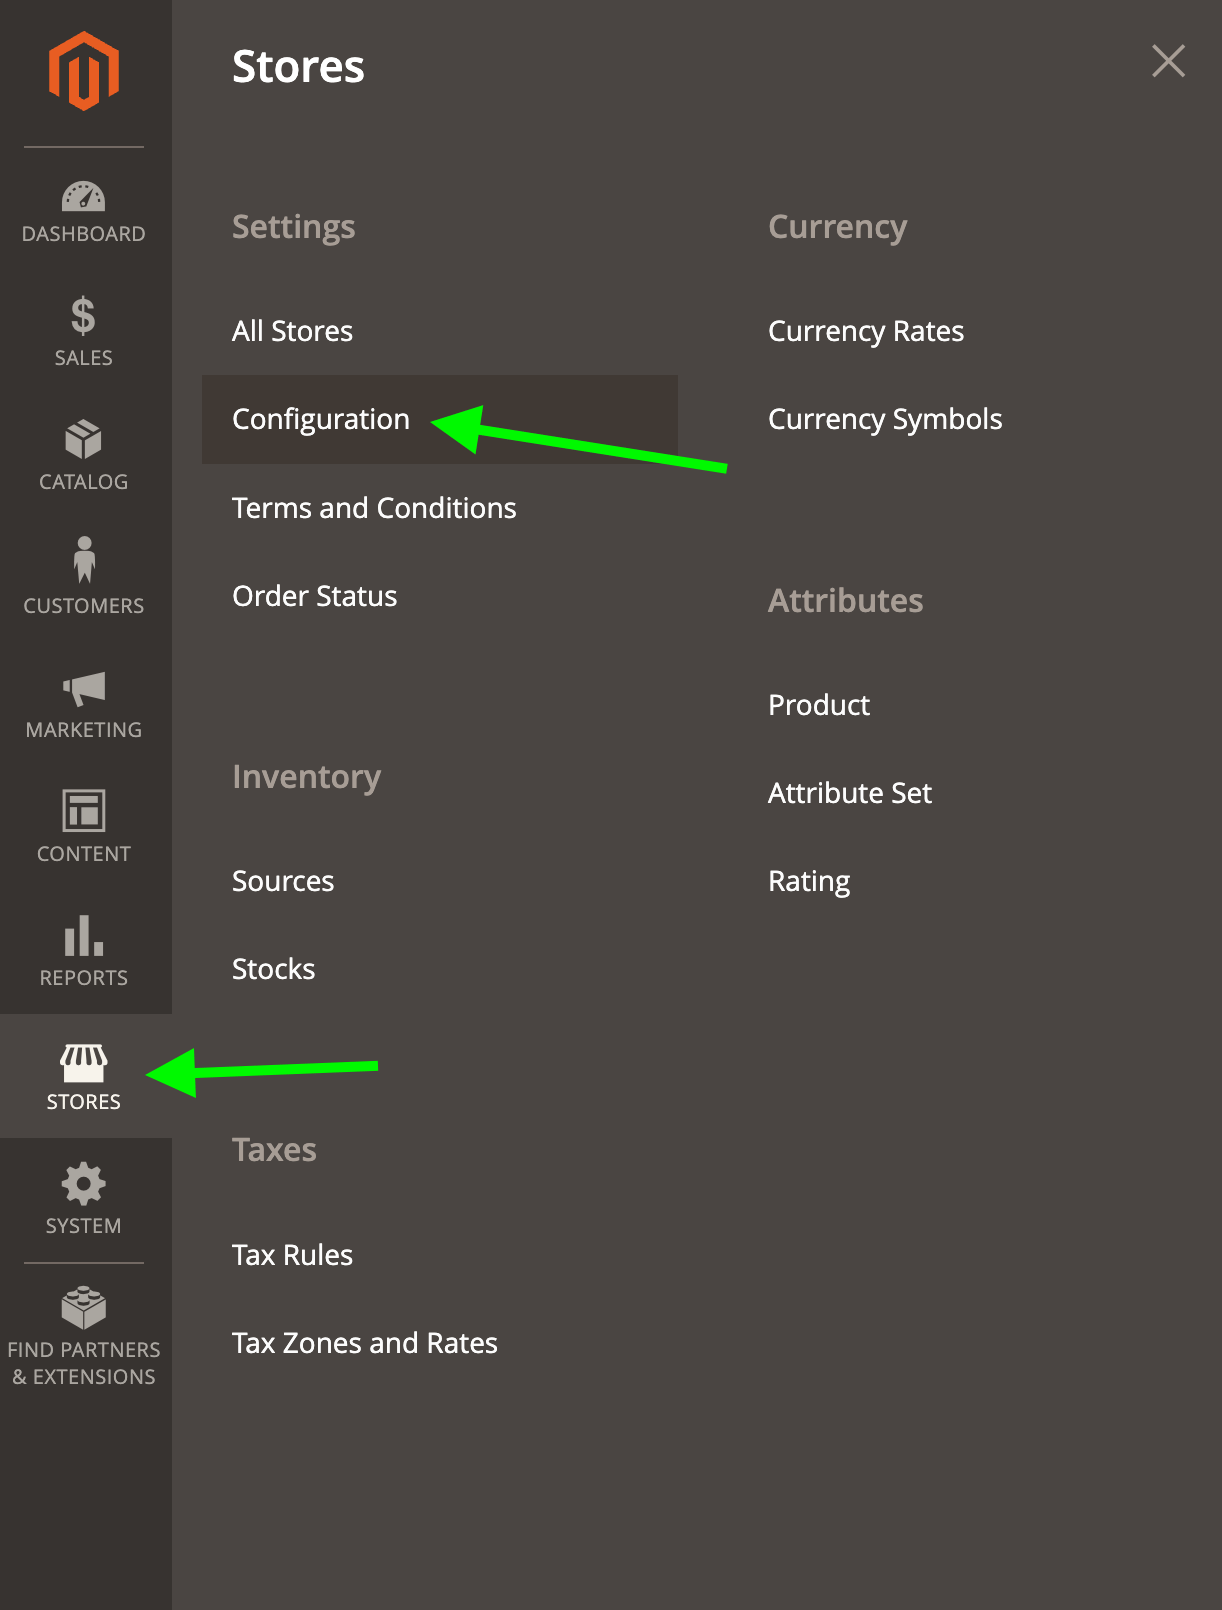
5. In your Magento account go to Stores and choose Configuration.
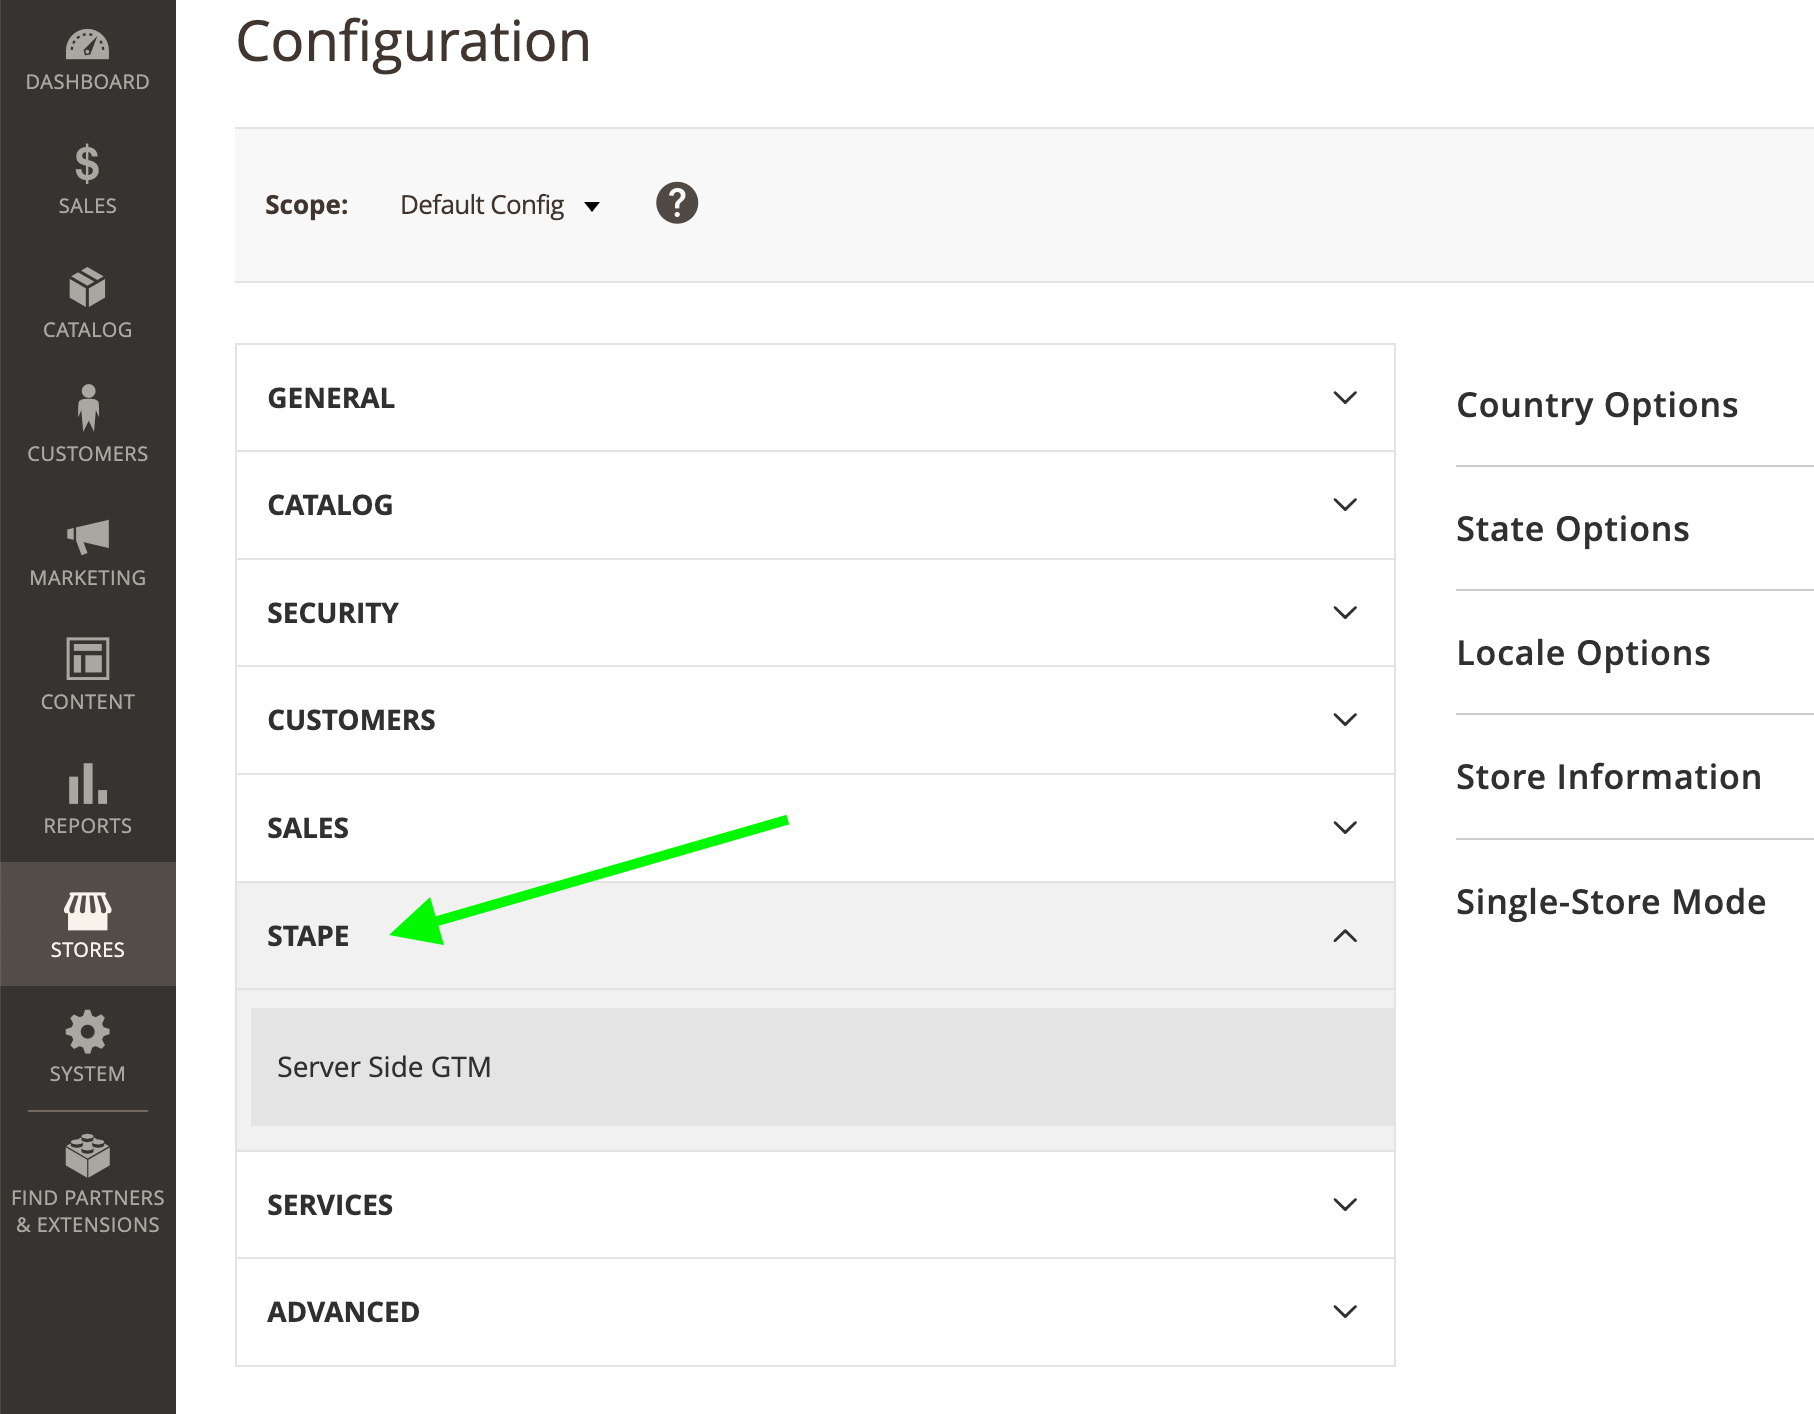
6. Choose Stape and click on Stape Conversion Tracking.
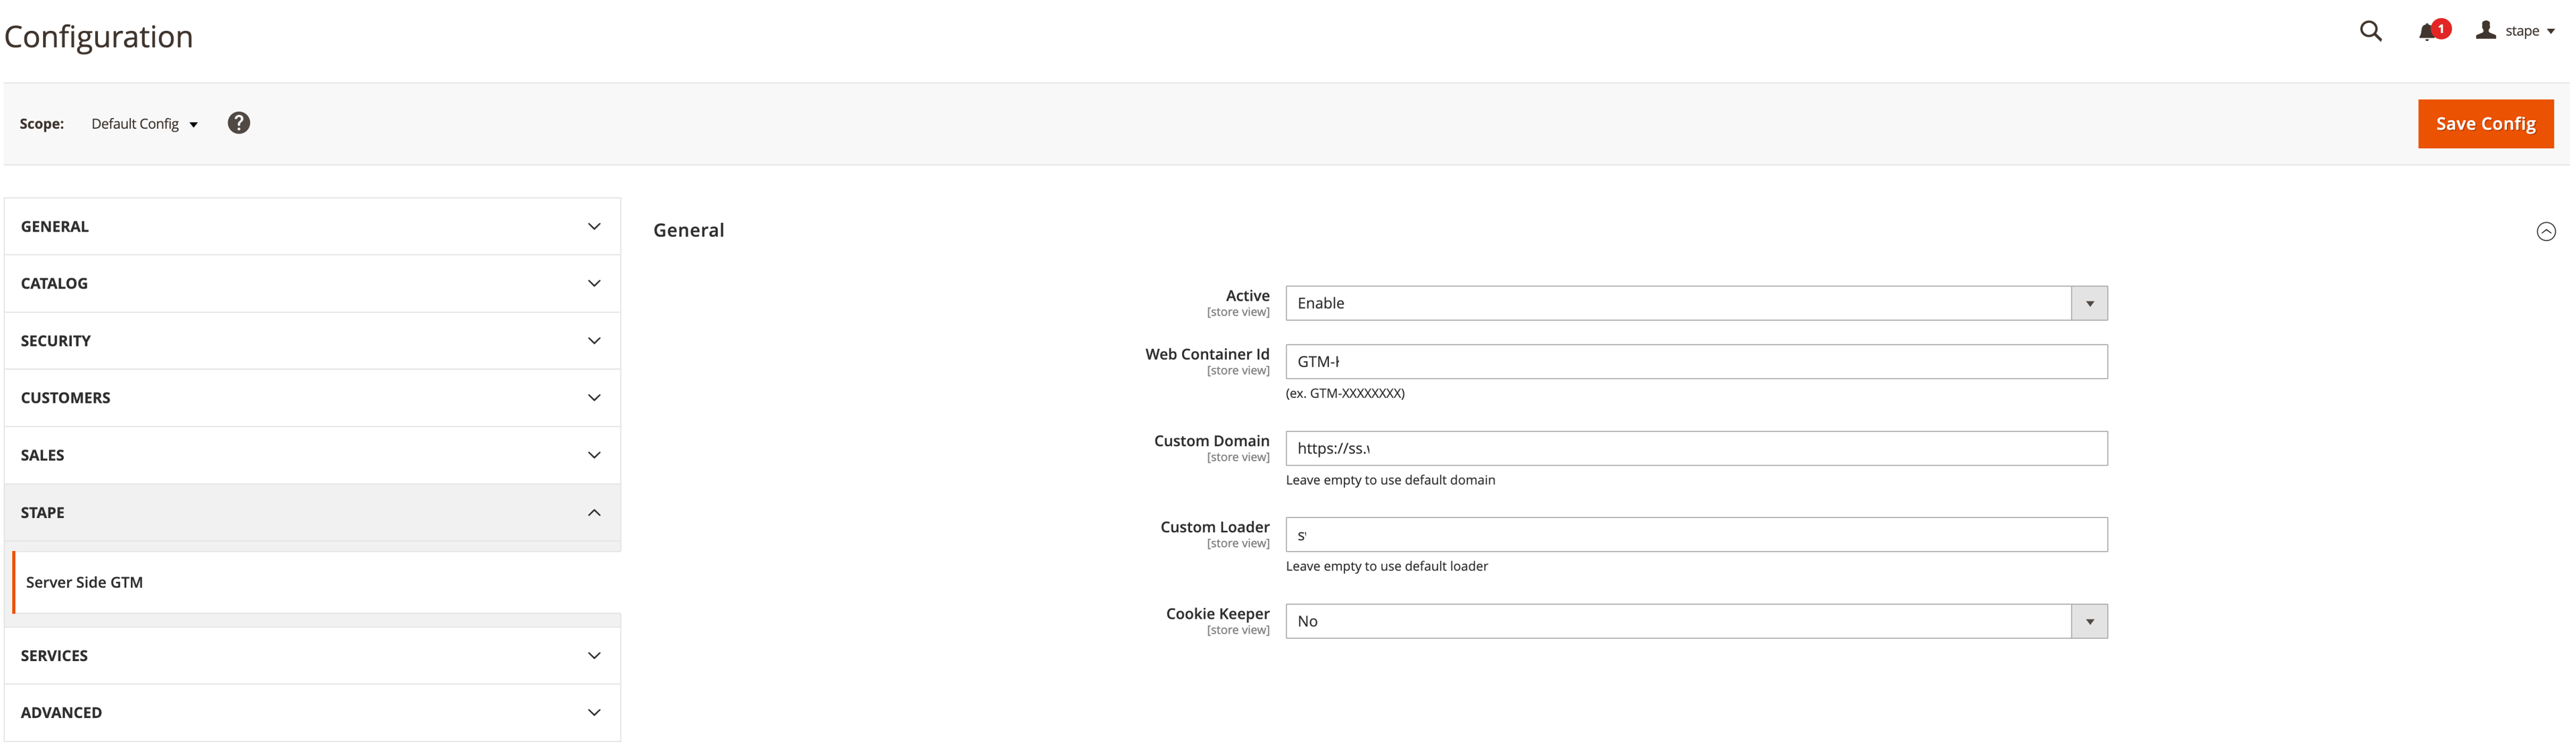
7. Paste your WEB container ID, Custom domain and Custom Loader from your container. Don’t forget to click the Save config button.
8. You also have an option to send data layer with the help of Magento 2 extension. Simply enable two boxes to send e-commerce and user data.
- View item
- View collection
- Add to cart
- View cart
- Begin checkout
- Payment info
- Purchase
User data:
- Email
- First name
- Last name
- Customer ID
The Stape Suffix Enabled option determines whether the _stape suffix is added to event names to prevent conflicts with your existing GTM events; when this option is turned off, events keep their original names.

9. Once you have a server GTM container for the Magento site up and running, you can start setting up server-side tagging for needed platforms. For example, we already have blog posts describing setting up server-side Google Analytics 4, Facebook, TikTok, Snapchat, etc. You can also opt for the Setup Assistant by Stape, which allows you to generate and automatically import templates for web and server GTM containers that meet your tracking needs.
Was this article helpful?
Comments