AI Traffic Detection power-up
Updated Sep 29, 2026
AI Traffic Detection power-up helps to track traffic to the website that was caused by LLMs. This guide shows how to configure and test the power-up.
AI Traffic Detection is available on the Pro subscription plan and higher.
Step 1: Set up Custom Loader power-up
The Custom Loader free power-up must be configured before proceeding; otherwise, you won't be able to activate the AI Traffic Detection power-up. If you don't have this set up yet, please click on the collapsed element below for the detailed instructions:
Step 2: Activate the AI Traffic Detection power-up
2.1 Navigate to your Stape account and select your sGTM container from the dashboard.
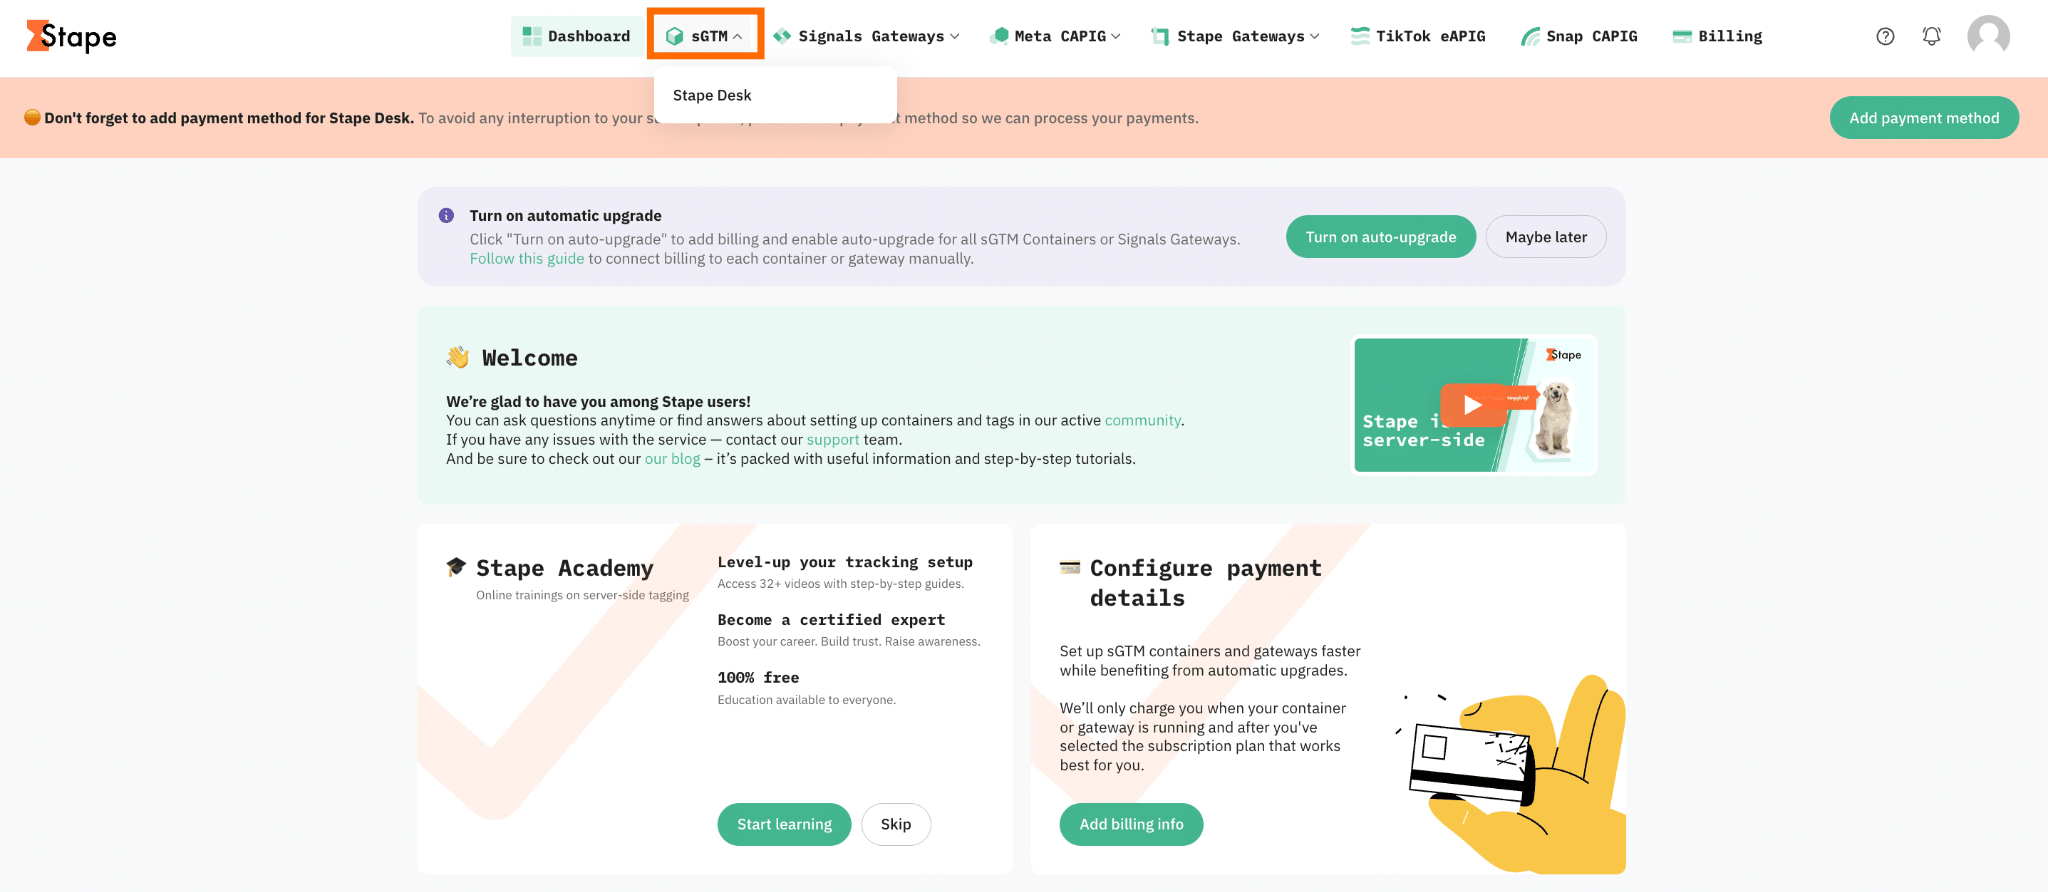
2.2 Go to Power-ups and click Use next to the AI Traffic Detection panel.
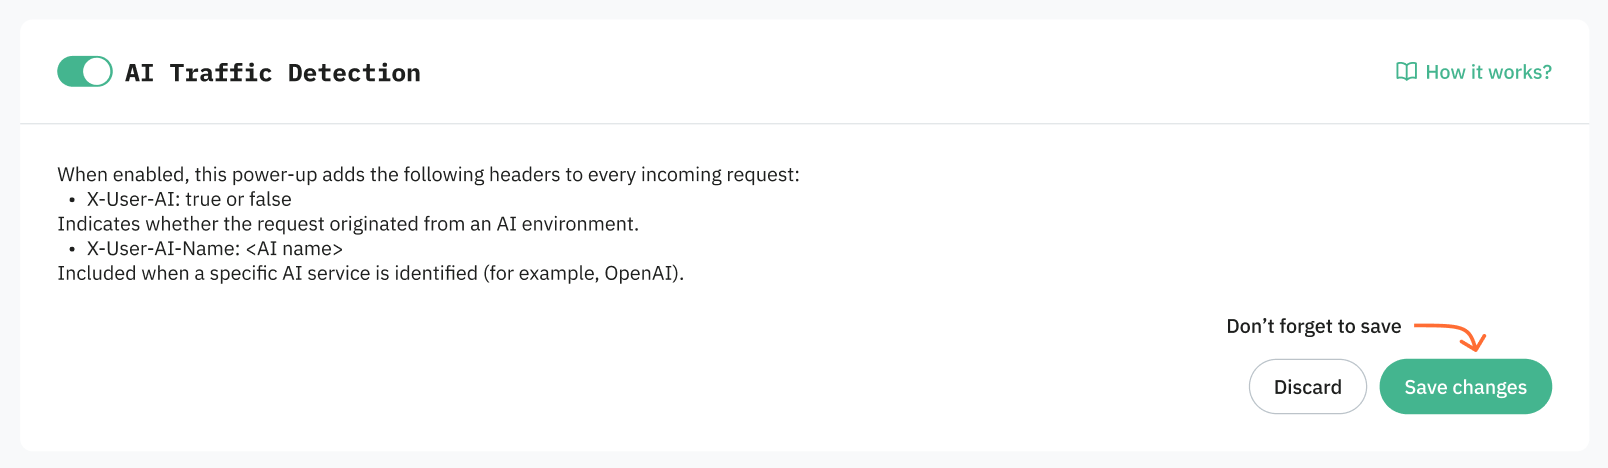
2.3 Toggle the AI Traffic Detection switch to enable it and click Save changes.
Step 3: Configure sending detected AI traffic data to analytics platforms
Sending data on AI traffic to the platforms you use (such as Google Analytics 4, Matomo, or any other) allows you to analyze AI traffic alongside your existing website data and understand how different AI systems contribute to visits, engagement, and conversions.
It can be configured by creating custom dimensions in your analytics system (please refer to the platform's official documentation) and editing the corresponding tag in the server GTM container.
We will consider, as an example, Matomo, since the platform doesn't provide any default channel group for AI-driven traffic.
3.1 Create the custom dimensions in Matomo. For example, you can create dimensions for AI traffic type and AI source. When creating them, note the exact names you use, as you will need these names when configuring the Matomo tag in server GTM.
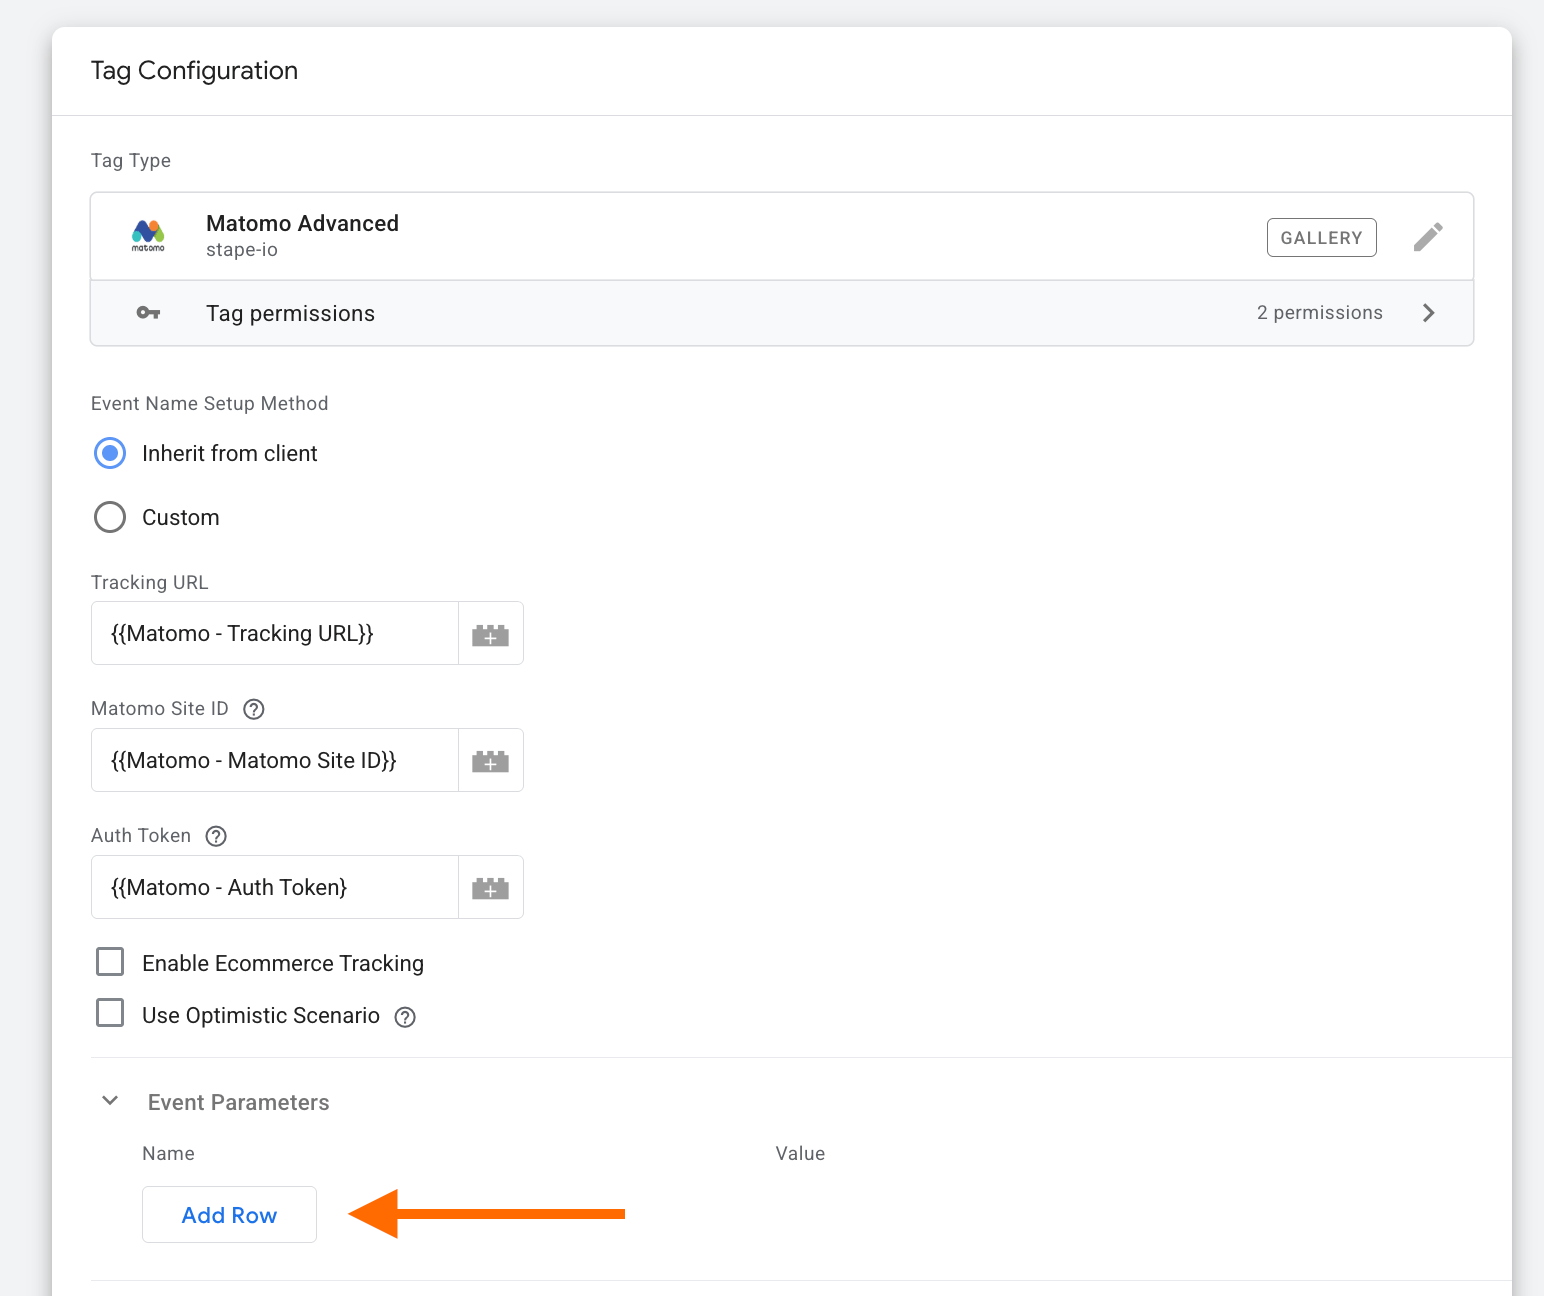
3.2 Once done, go to your server GTM container and open the Matomo server-side tag.
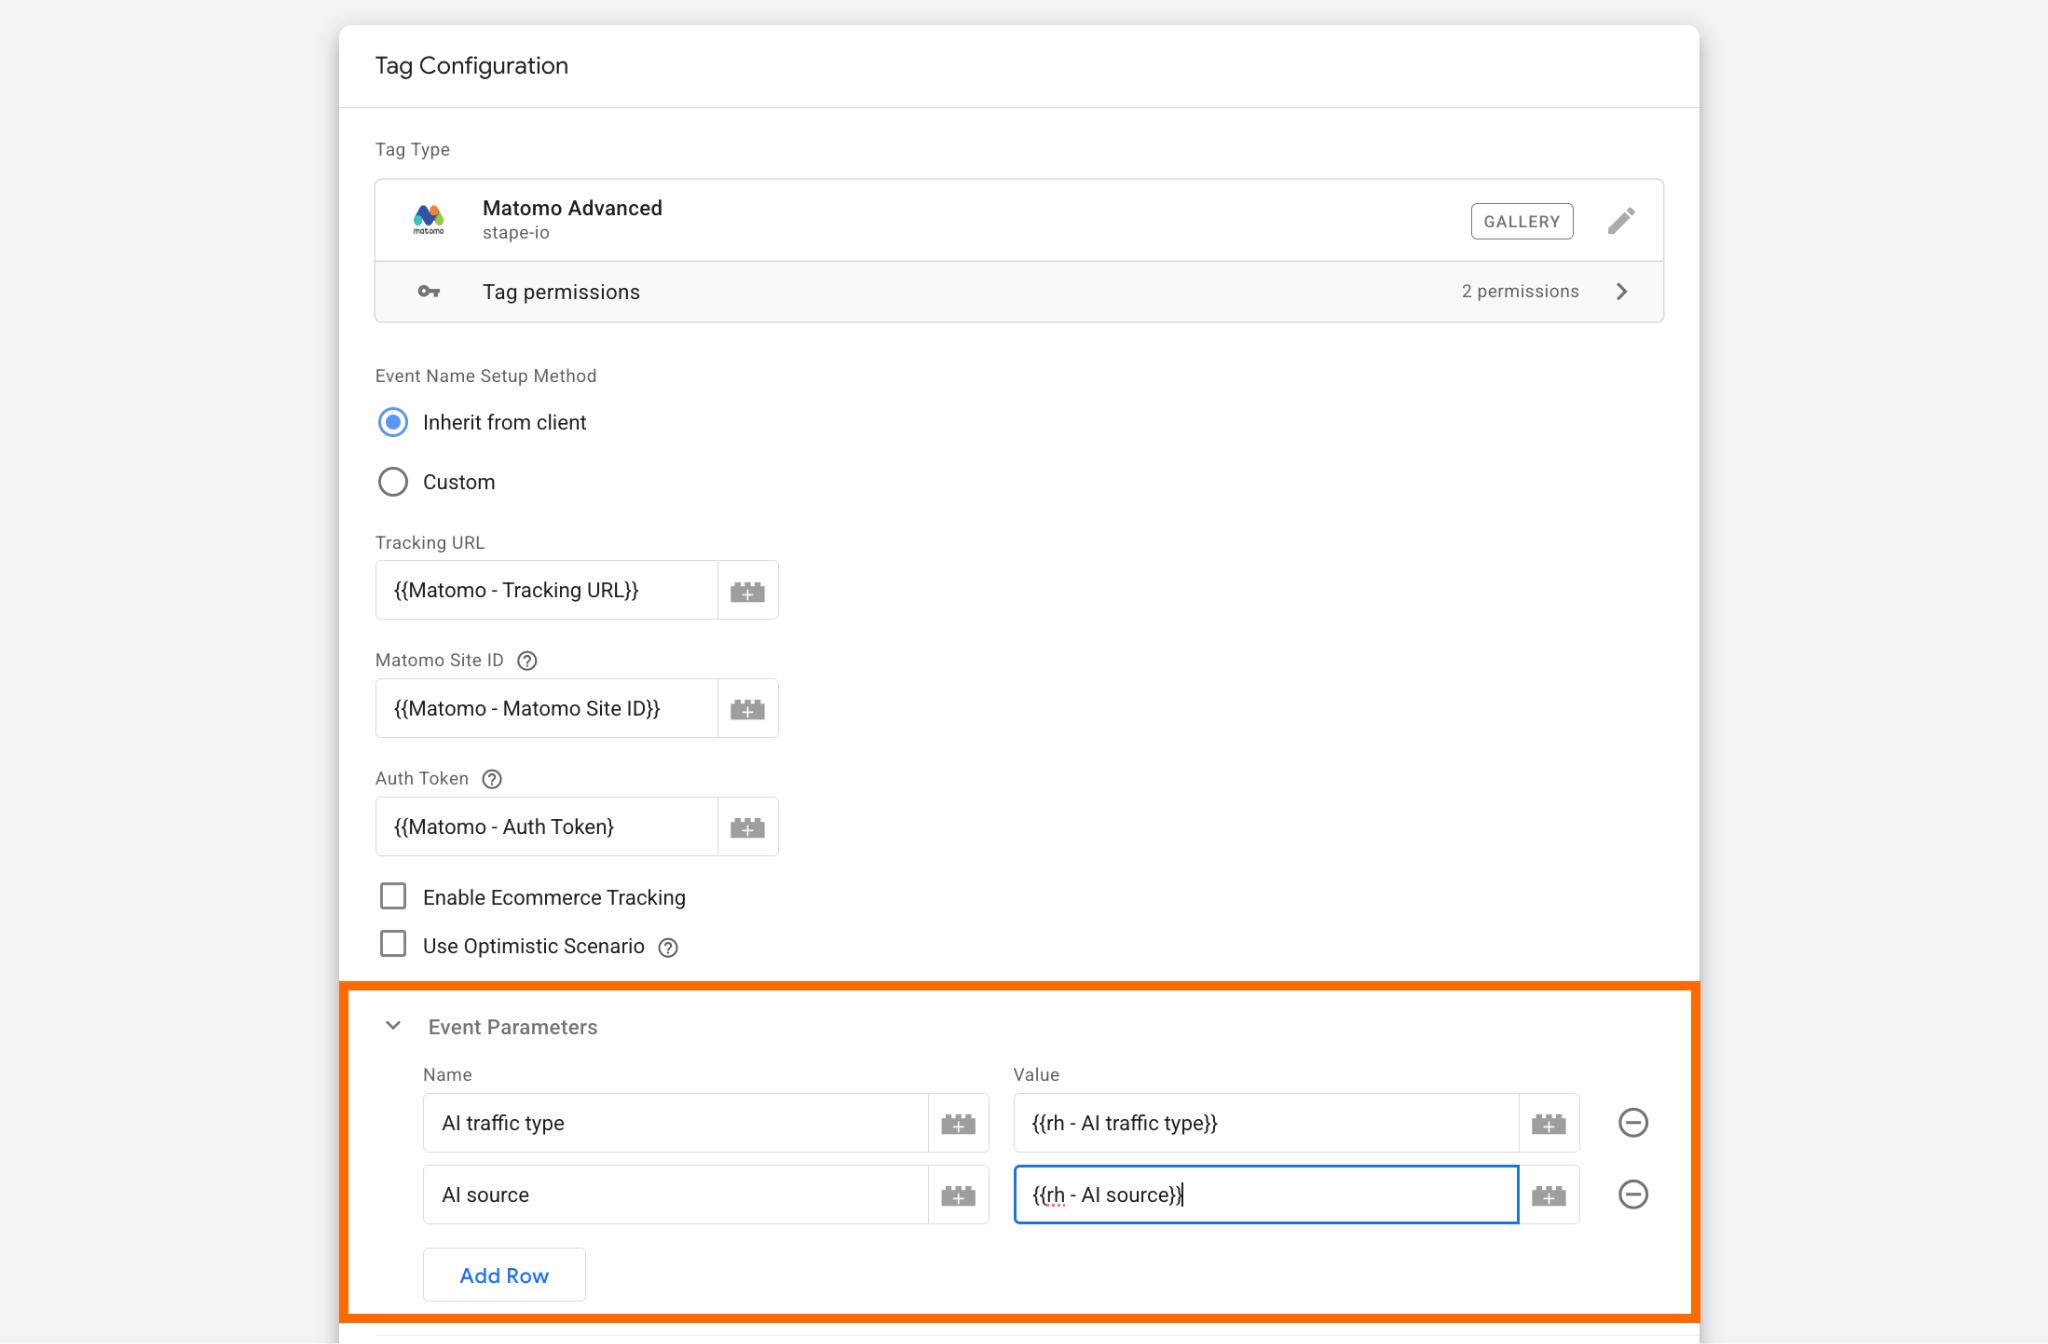
3.3 In the section "Event Parameters," add a new event parameter for each custom dimension you want to send to Matomo. Use the exact name of the corresponding Matomo custom dimension as the event parameter name.
For example, if you created the following custom dimensions in Matomo:
- AI traffic type
- AI source
3.4 As the value, add request header variables:
- X-User-AI to identify the AI traffic;
- X-User-AI-Name to send to Matomo the name of AI platforms.
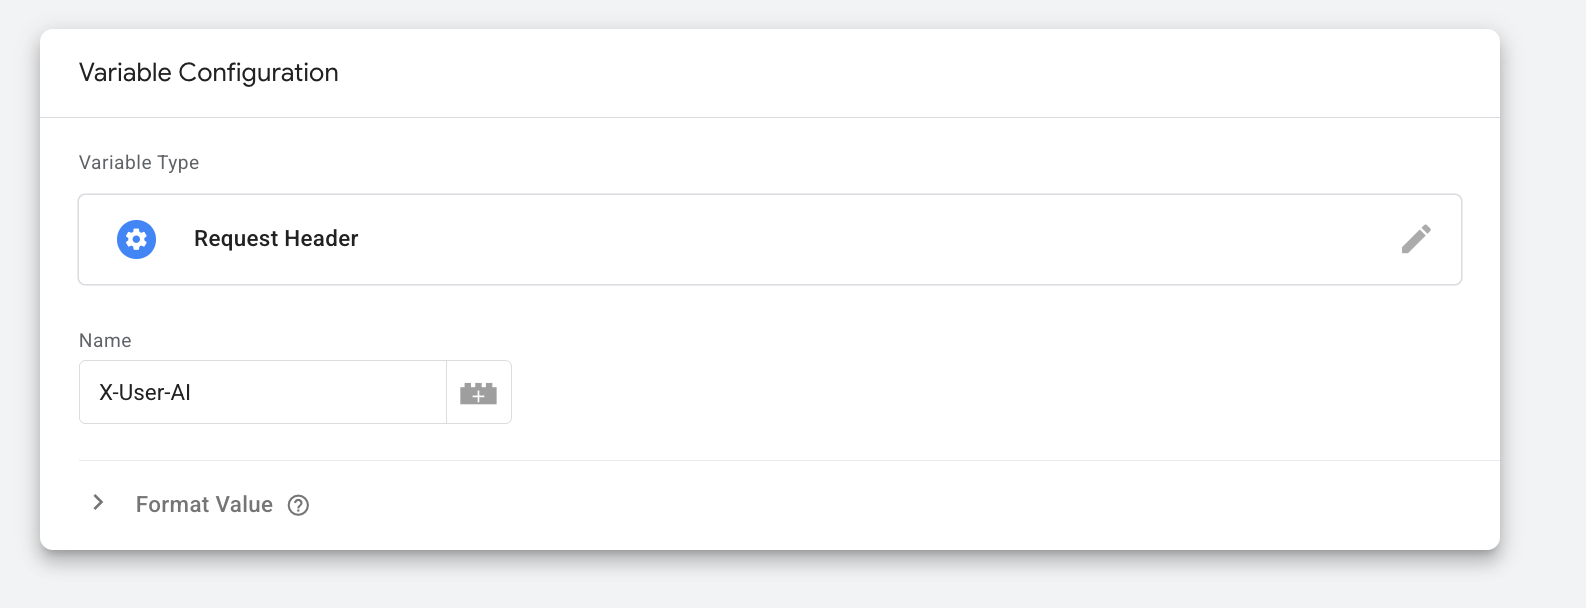
Here’s how it looks in the Matomo tag:
Step 4: Test the setup and verify detected traffic
When the power-up is active, two headers will be added to the incoming requests:
- X-User-AI with the value ‘true’ if it is AI traffic;
- X-User-AI-Name with the name of the AI platform as its value, if we were able to detect the platform.
Use case
The straightforward scenario of using AI Traffic Detection power-up is tracking AI data that your analytics platform doesn't detect automatically.
After the power-up adds headers to Incoming requests, you can send information from Incoming request headers to your analytics platform. For example, pass AI traffic data to Matomo to measure and analyze AI-driven traffic, since Matomo doesn’t provide built-in AI traffic detection.
Was this article helpful?
🍽 Table of content:
Comments