Pre-built Google Tag Manager container templates for Magento are an efficient solution that will simplify the configuration of server-side tracking. The templates developed by Stape will accelerate the setup process with Meta, Google Analytics 4, and Google Ads. They are a great combo with Stape’s Magento 2 extension.
In this article, we will walk you through the steps to configure and complete the server-side tracking setup for your Magento website.
To set up the pre-built template, make sure you have:
1.1 Download GTM Templates for Magento from GitHub. Click on “Code” → “Download ZIP”.
1.2 After downloading, unzip the file. We will use the first two highlighted templates, which include Meta, GA4, and Google Ads setup.
2.1 To import the templates, go to Admin → Import Container.
Please note you need to import the templates into web and server GTM containers. The process is the same for both containers.
2.2 Select the template file from the unzipped folder (make sure you upload the correct file that matches the container type - web or server).
Select the workspace for this import - new or existing.
Select Overwrite or Merge.
The "Overwrite" option need only be used with a new or empty container. For this demo, we are using the Merge option with the "Rename conflicting tags, triggers, and variables" setting enabled. This ensures that GTM will rename the tags without altering existing entities in your container if there are any conflicts. |
Click “Add to workspace”.
3.1 Templates are fully prepared. They include configured triggers, payloads, and event names. The only thing you need to do is to enter your specific destinations, IDs, API keys, and other details. For convenience, see the “Folder” section of web and server GTM containers. Here, you can find the folders that start with “[Stape]”; they store all the pre-built tags and variables.
Web
Server
All the variables are already referenced in tags that use them; you only need to change the values.
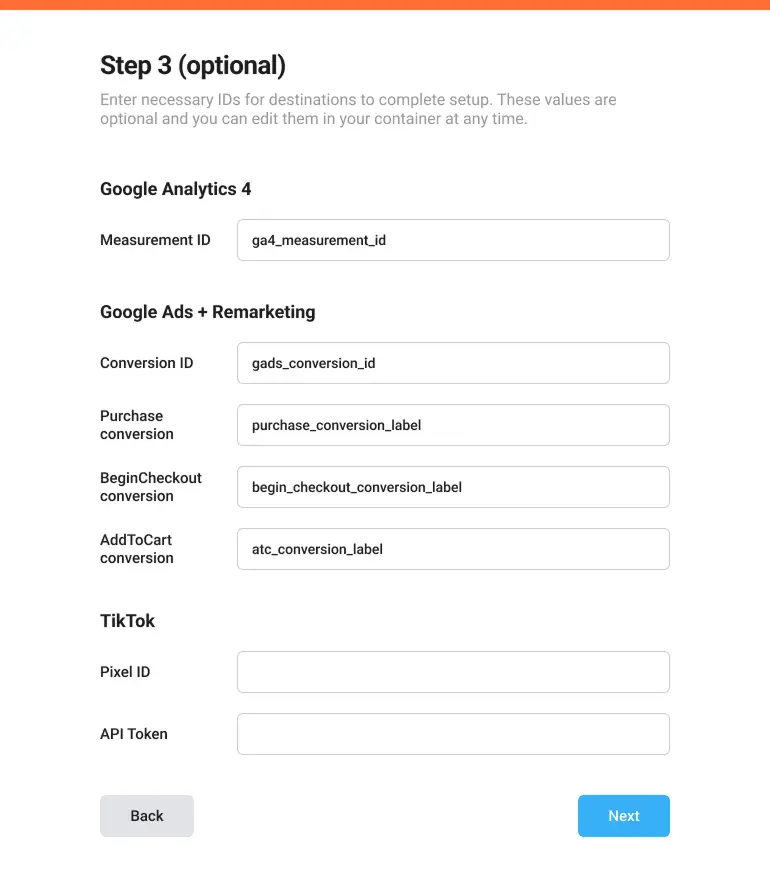
To customize the tags and variables for Meta, GA4, and Google Ads, you will need the following data:
a. For Meta settings, you will need Pixel ID and API token.
You can find the Pixel ID and API token in Pixel Settings:
b. For Google Analytics 4 settings, you need to find the GA4 Measurement ID, and go to your Google Analytics account. In Admin section → Data collection and modification → Data Streams.
c. Google Ads conversion ID and conversion label you can find when creating/editing a conversion goal in Google Ads.
Save changes.
3.2 In case your GTM container is new, add a preview URL in your server container. To do it, go to Admin → Container Settings. If the container is not new, skip this step.
3.3 Test and publish the setup. The testing is the same as when making changes in the GTM container. Run Google Tag Manager preview, trigger events on the website, and see them in GTM.
Read the detailed post on debugging and monitoring server-side tracking configuration. |
After configuration, you can connect Stape power-ups and features that will improve tracking accuracy:
It is Stape’s power-up that ensures your marketing cookies are functional, even if they get deleted for any reason.
This power-up improves the resilience of Google Tag Manager and Google Analytics 4 scripts against ad blockers and ITPs. It works by adjusting the loading paths of gtag.js and gtm.js.
If you add a custom domain, you can extend the cookie lifespan due to setting first-party cookies.
Find out the detailed instructions on how to add a custom domain to the Google Tag Manager server container in our blog post. |
Pre-built GTM container templates for Magento offer an easy and efficient method for implementing server-side tracking for GA4, Meta, and Google Ads. These templates provide a strong starting point for basic configurations. They include all the necessary templates that you may need to start server-side tracking for the listed above platforms.
Stape has lots of tags for server GTM! Click on Try for free to register and check them all.