How to set up Adtraction tag using server GTM
Uliana Lesiv
AuthorIn this article, we will show you how to configure Adtraction conversion tracking with server GTM. Below in the guide, you'll find a step-by-step breakdown of the tag setup process, including the steps:
- Creating a server GTM container.
- Transmitting data from the web to the server GTM container.
- Adding the Adtraction tag to the server GTM.
- Configuring the tag to track page views and/or conversions.
- Adding a trigger to the tag.
- Testing the setup.
What is the Adtraction tag and its benefits
The Adtraction tag works for the server GTM container and allows smooth integration between the Adtraction platform and your website. It helps you set up tracking for two types of events: pageviews and/or conversions.
Since the tag works on the server GTM container, it gives the complete list of server-side tracking benefits, which include, but are not limited to, extended cookie lifetime, precise data recorded unaffected by adblockers, and high control over the data that makes complying with data regulations easier.
What you need to set up the Adtraction tag
Before configuring the Adtraction tag, make sure you have:
- Configured data flow from the web to the server GTM container (e.g., setting up server-side Google Analytics 4 or Data Tag/Data Client).
How to set up Adtraction conversion tracking via Adtraction tag for server GTM
1. Go to GitHub and download the Adtraction tag. Then upload it to the server GTM container.
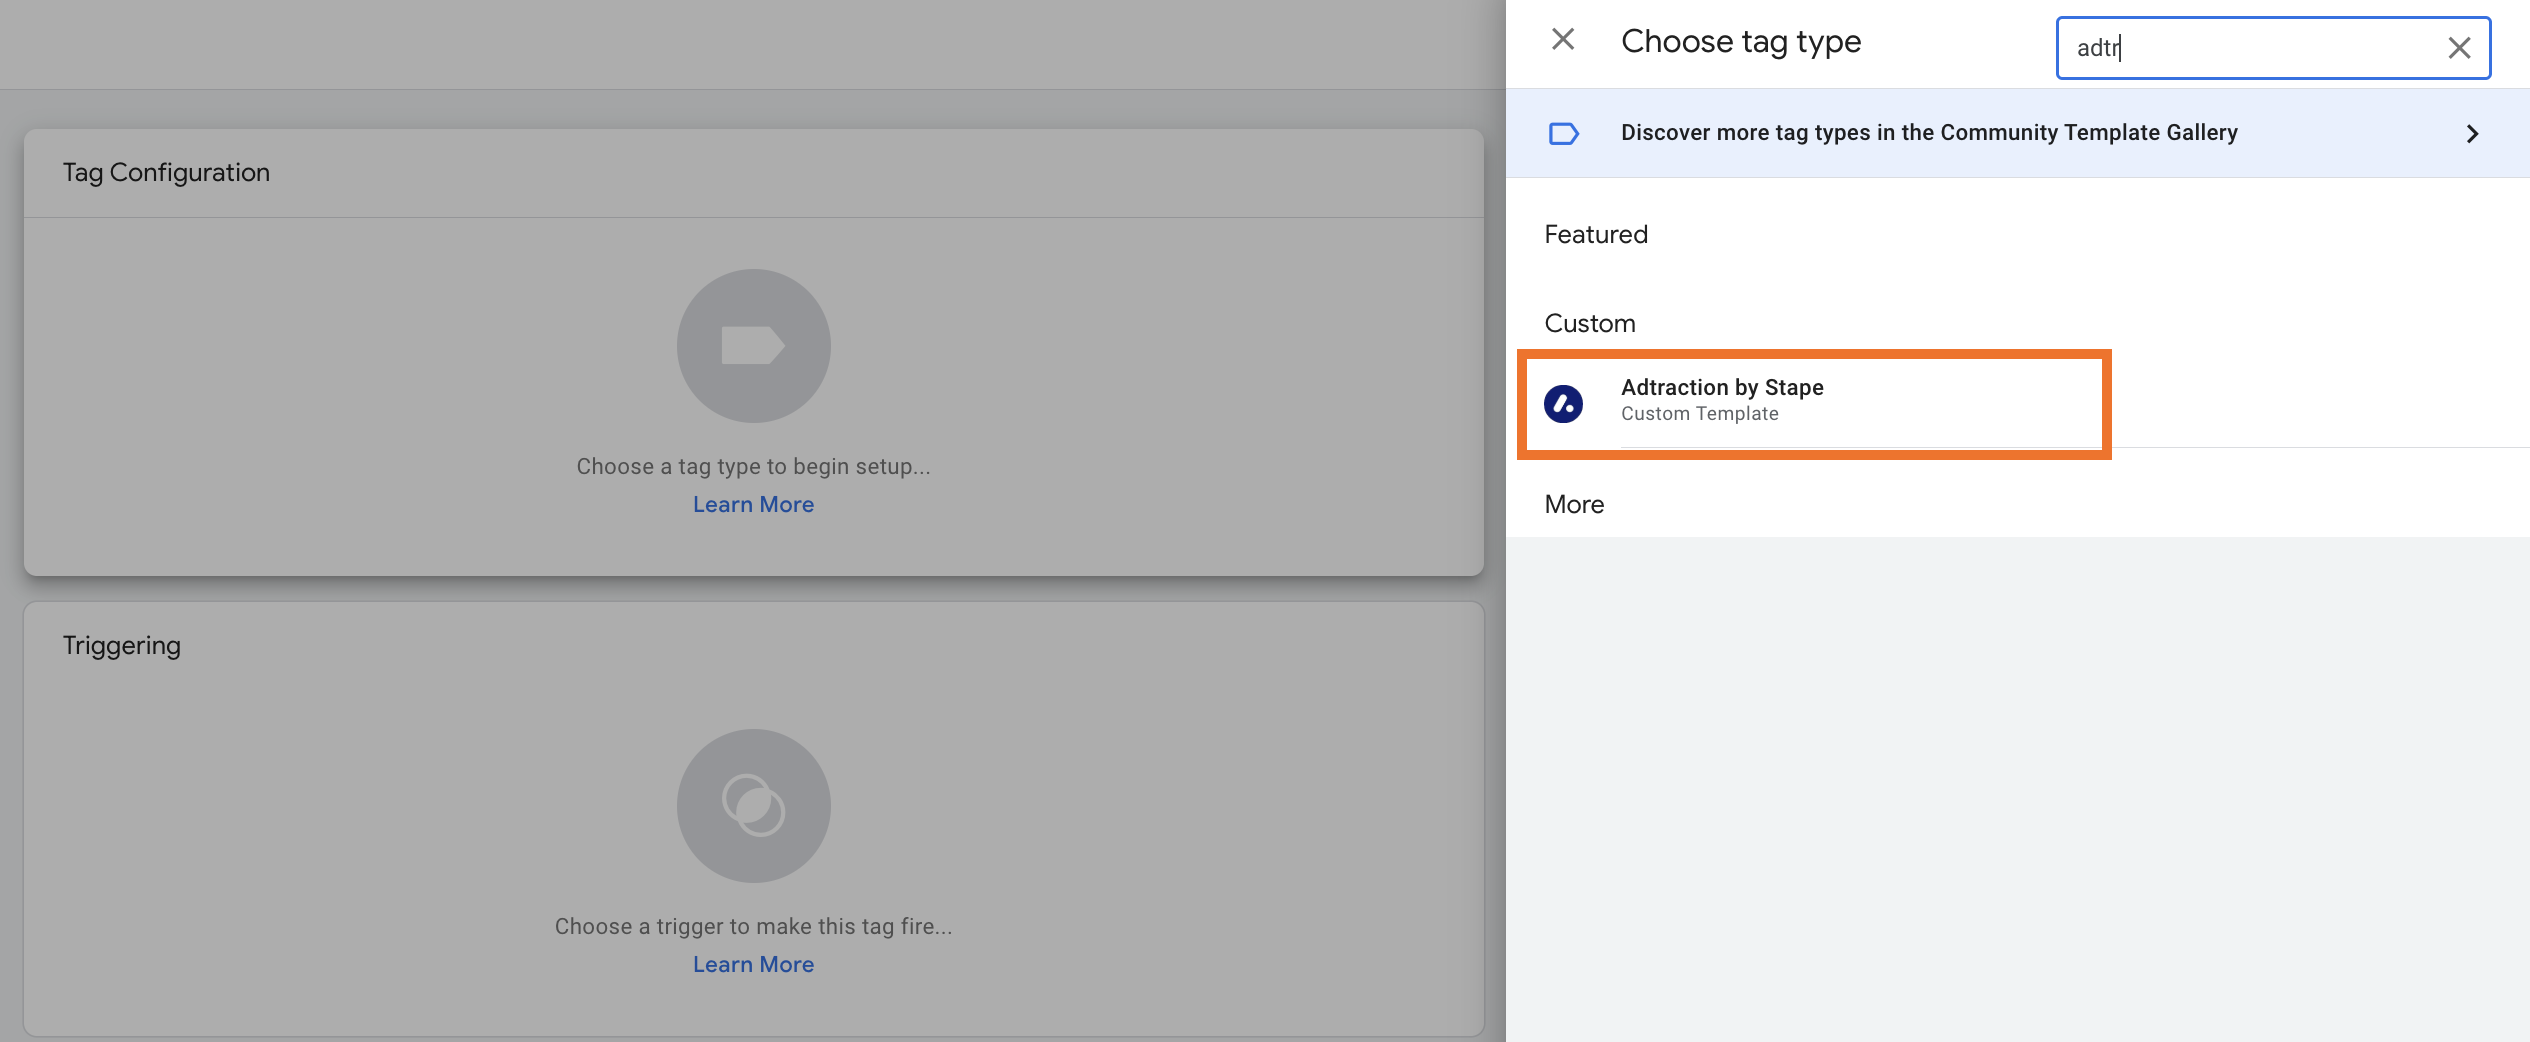
Now, you can also add the Adtraction tag from the Template Gallery.
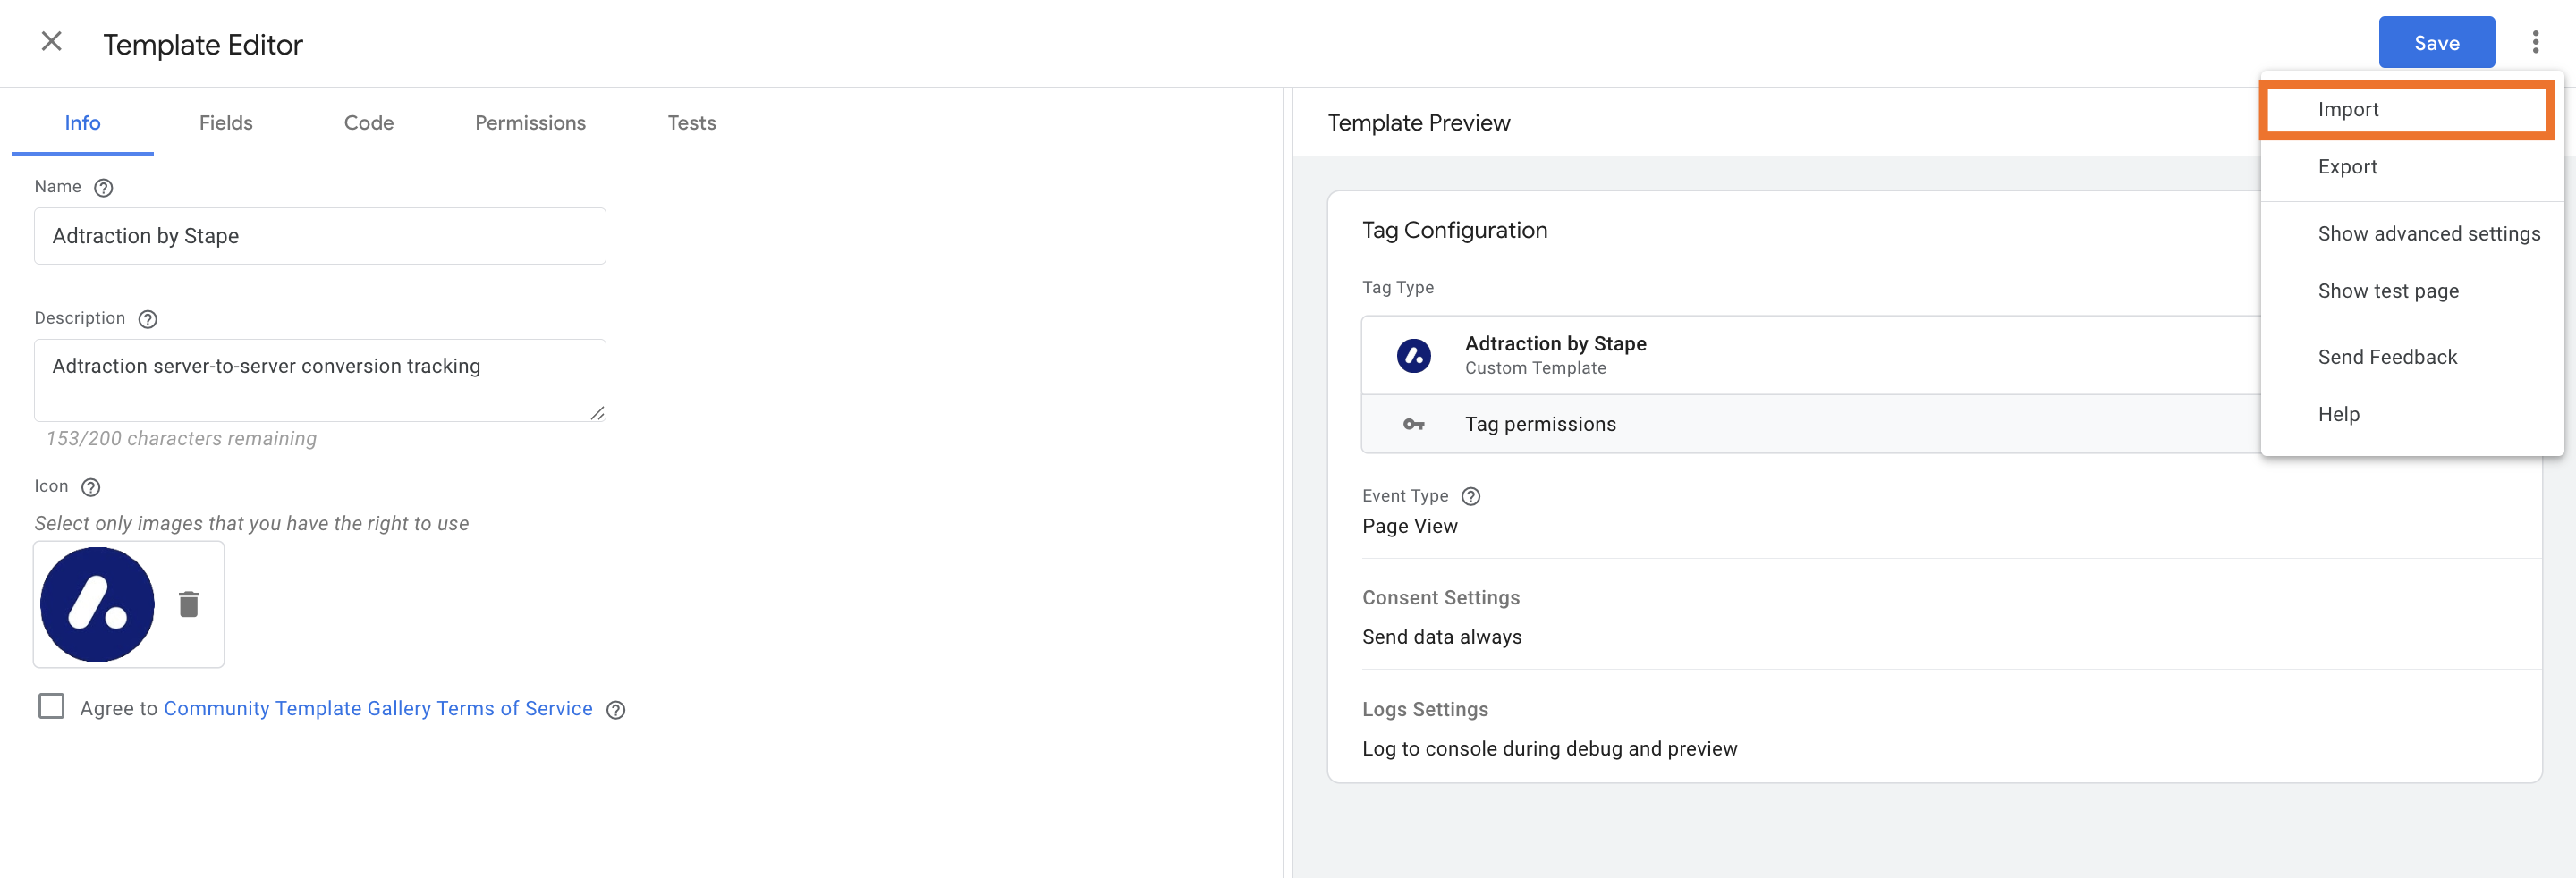
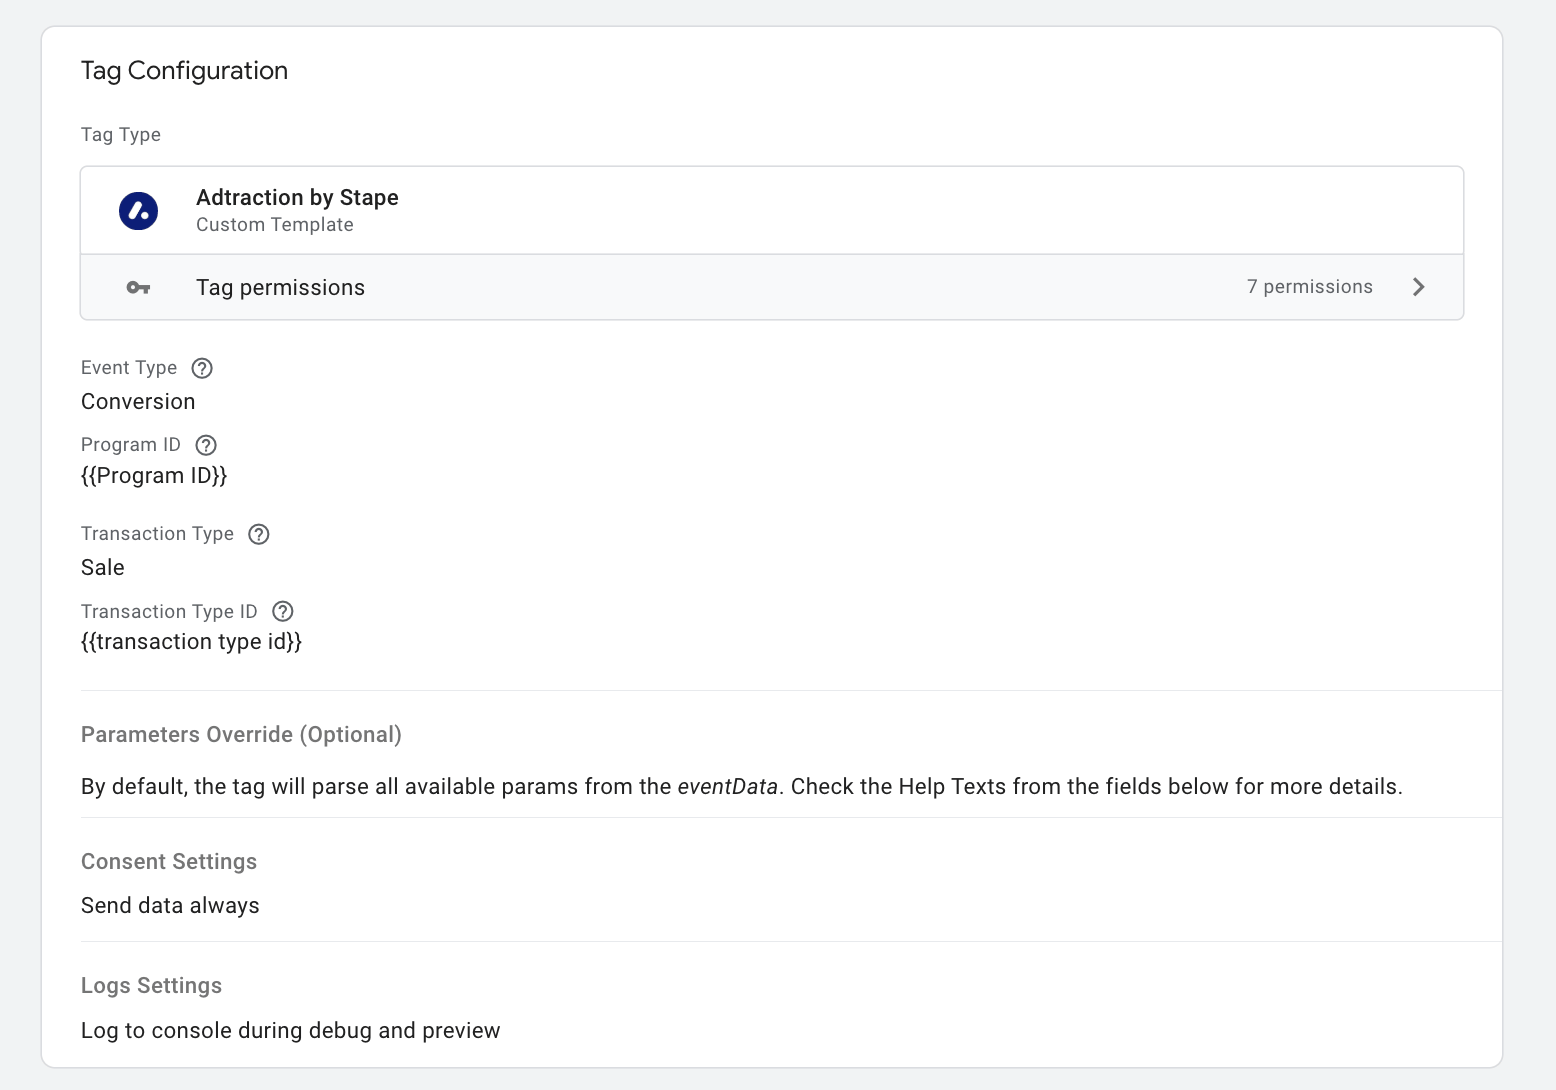
2. In the “Tags” section, click “New” and select the Tag Configuration “Adtraction by Stape.”
3. Configure the tag.
3.1 Select event type:
- Page View – it stores the at_gd URL parameter, which contains the Click ID, inside the at_gd cookie.
- Conversion – it sends a tracking request to Adtraction when a conversion happens.
With the Page View option, the basic setup is completed as the URL parameter name for the Click ID is "at_gd" by default. You only need to change it if you have a custom implementation.
For conversion events tracking, add the following configurations:
a. Program ID - add the Program ID provided by Adtraction here. If you have questions, contact your account manager.
b. Transaction type - choose the transaction you are going to track: sale or lead.
c. Transaction Type ID - add here the Transaction Type ID provided by Adtraction. If you have questions, contact your account manager.
d. (Optional) Parameters Override - by default, the tag will parse all available parameters from the eventData, but in this section, you can select the parameters to override; choose from the following:
- Currency
- Order reference
- Discount code
- Click ID value
- MD5 Hashed Email
- Last paid click referring channel
- New customer
Here is an example of a configured Adtraction tag:
4. Add a trigger for a tag.
Test the tag configuration
Trigger the event and check whether it works correctly in the server GTM containers. If any issues arise with the tag setup, check out our detailed guide on debugging and monitoring.
Summary
Setting up Adtraction conversion tracking with server GTM is a straightforward process. With its help, you can create an integration with the Adtraction platform, and thanks to server-side tracking, you will get accurate and reliable data collection. By following the steps in this guide, you can start tracking conversions. With this setup, you can optimize your tracking strategy and maximize the effectiveness of your Adtraction campaigns.
Want to start using server-side tags?
Stape has lots of options! Click on Try for free to register and check all the benefits.

Comments