How to use Setup Wizard
Updated Sep 22, 2026
The guide shows how to generate and automatically import templates for web and server GTM containers using the Setup Wizard.
Where to find the Setup Wizard?
If you don’t have a sGTM container in your Stape account, you can create one with Setup Wizard.
To do it, go to the sGTM tab in your account → click “Create sGTM container” → select the option “With Setup Wizard”.
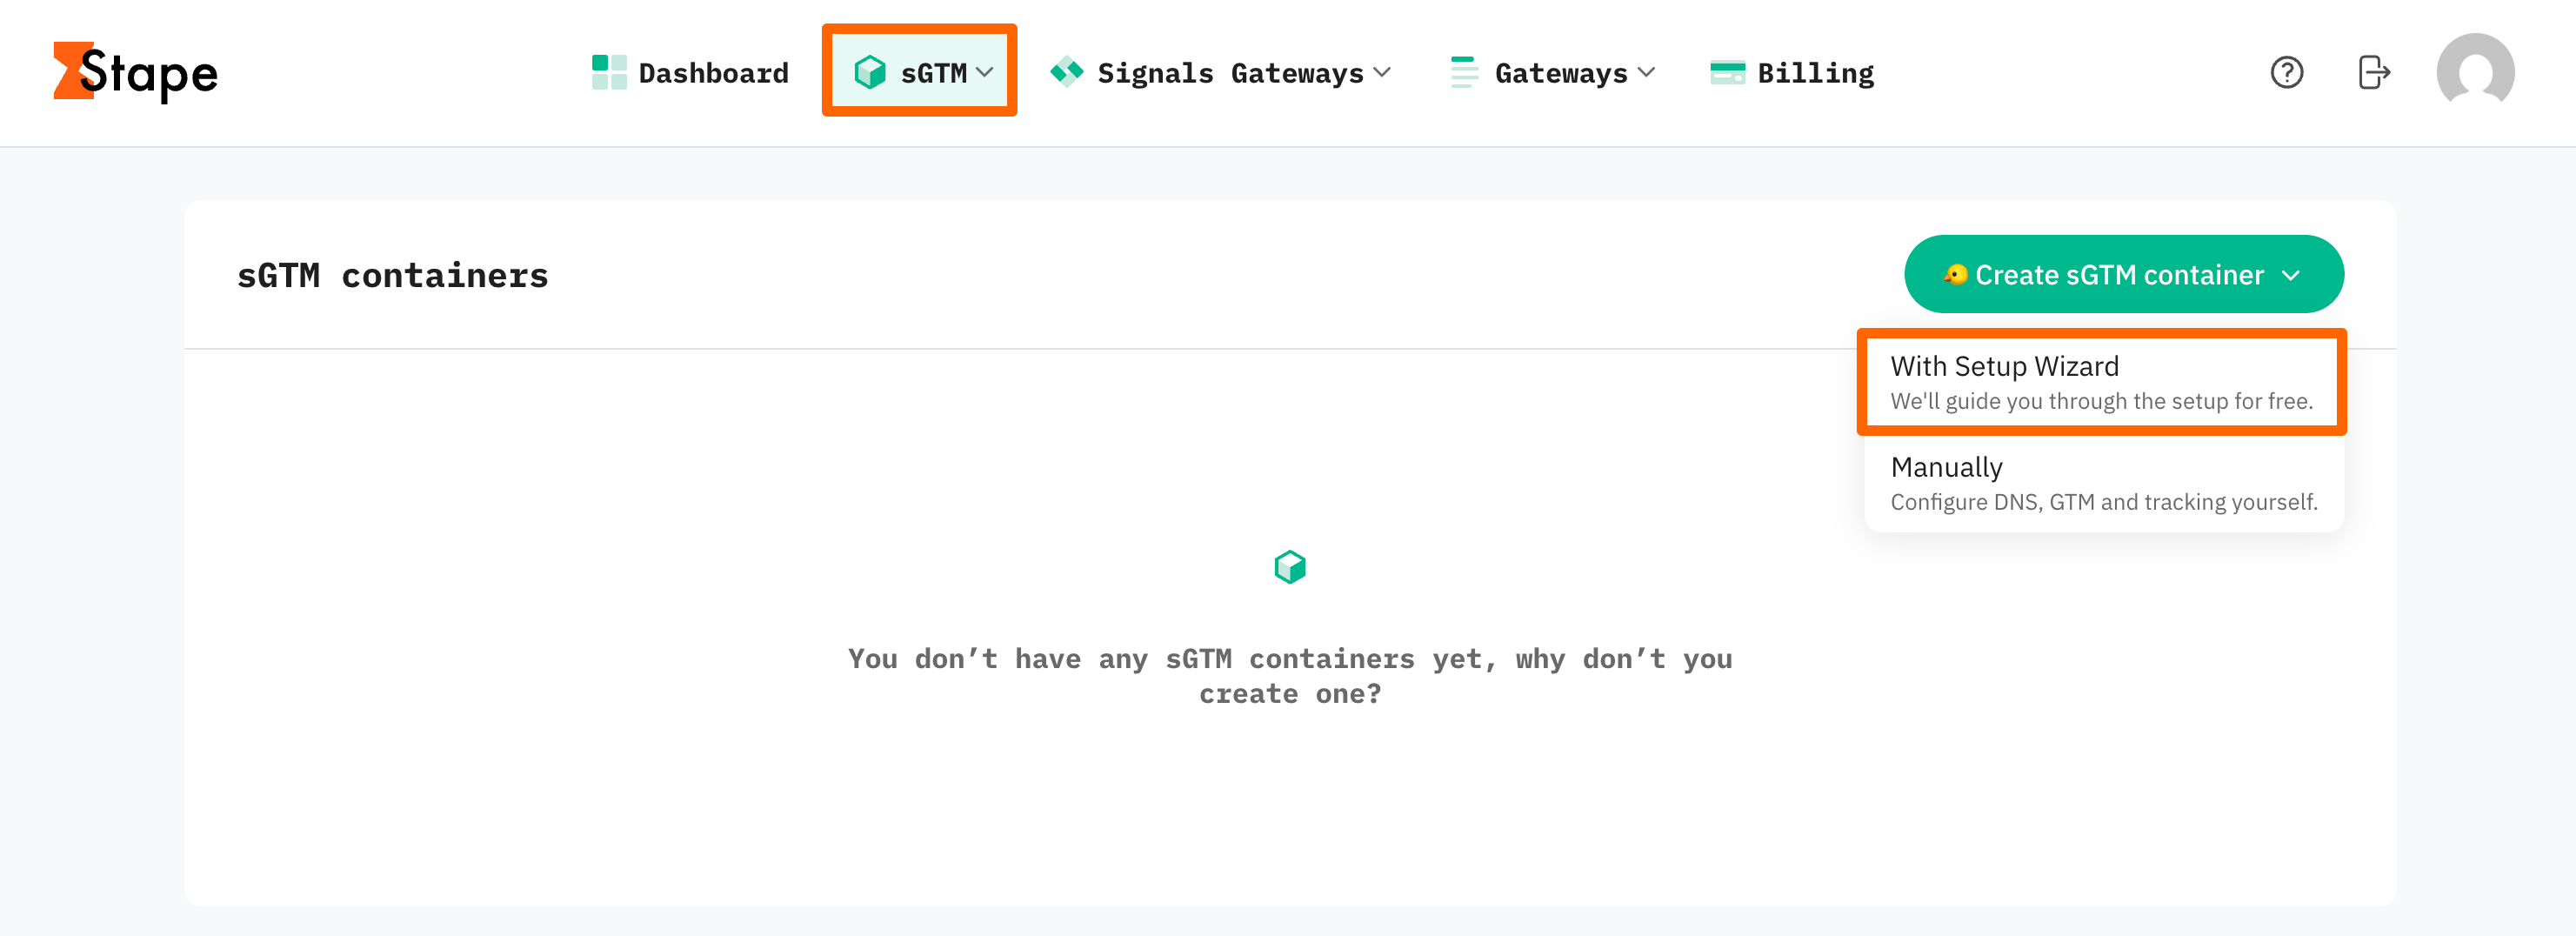
On the text screen, you need to specify the typical configurations related to sGTM container creation:
- Container name – give your container a name (for convenience, we recommend using the same name you gave to the server container in GTM).
- Container configuration – here you can connect to your GTM account, select your container, and the container will be connected automatically. Or you can copy the configuration in GTM and paste it manually. If you didn’t create a container yet, Setup Wizard will walk you through the process, so at this point you can skip this field.
- Server location – for best performance, choose the server location that’s closest to where most of your clients are. See the list of available server locations here. Also, you can opt for the Global multi-zone server location option if you have traffic from different regions. It will automatically route incoming requests to the nearest available zone based on the user’s IP address.
Then click Create Container.
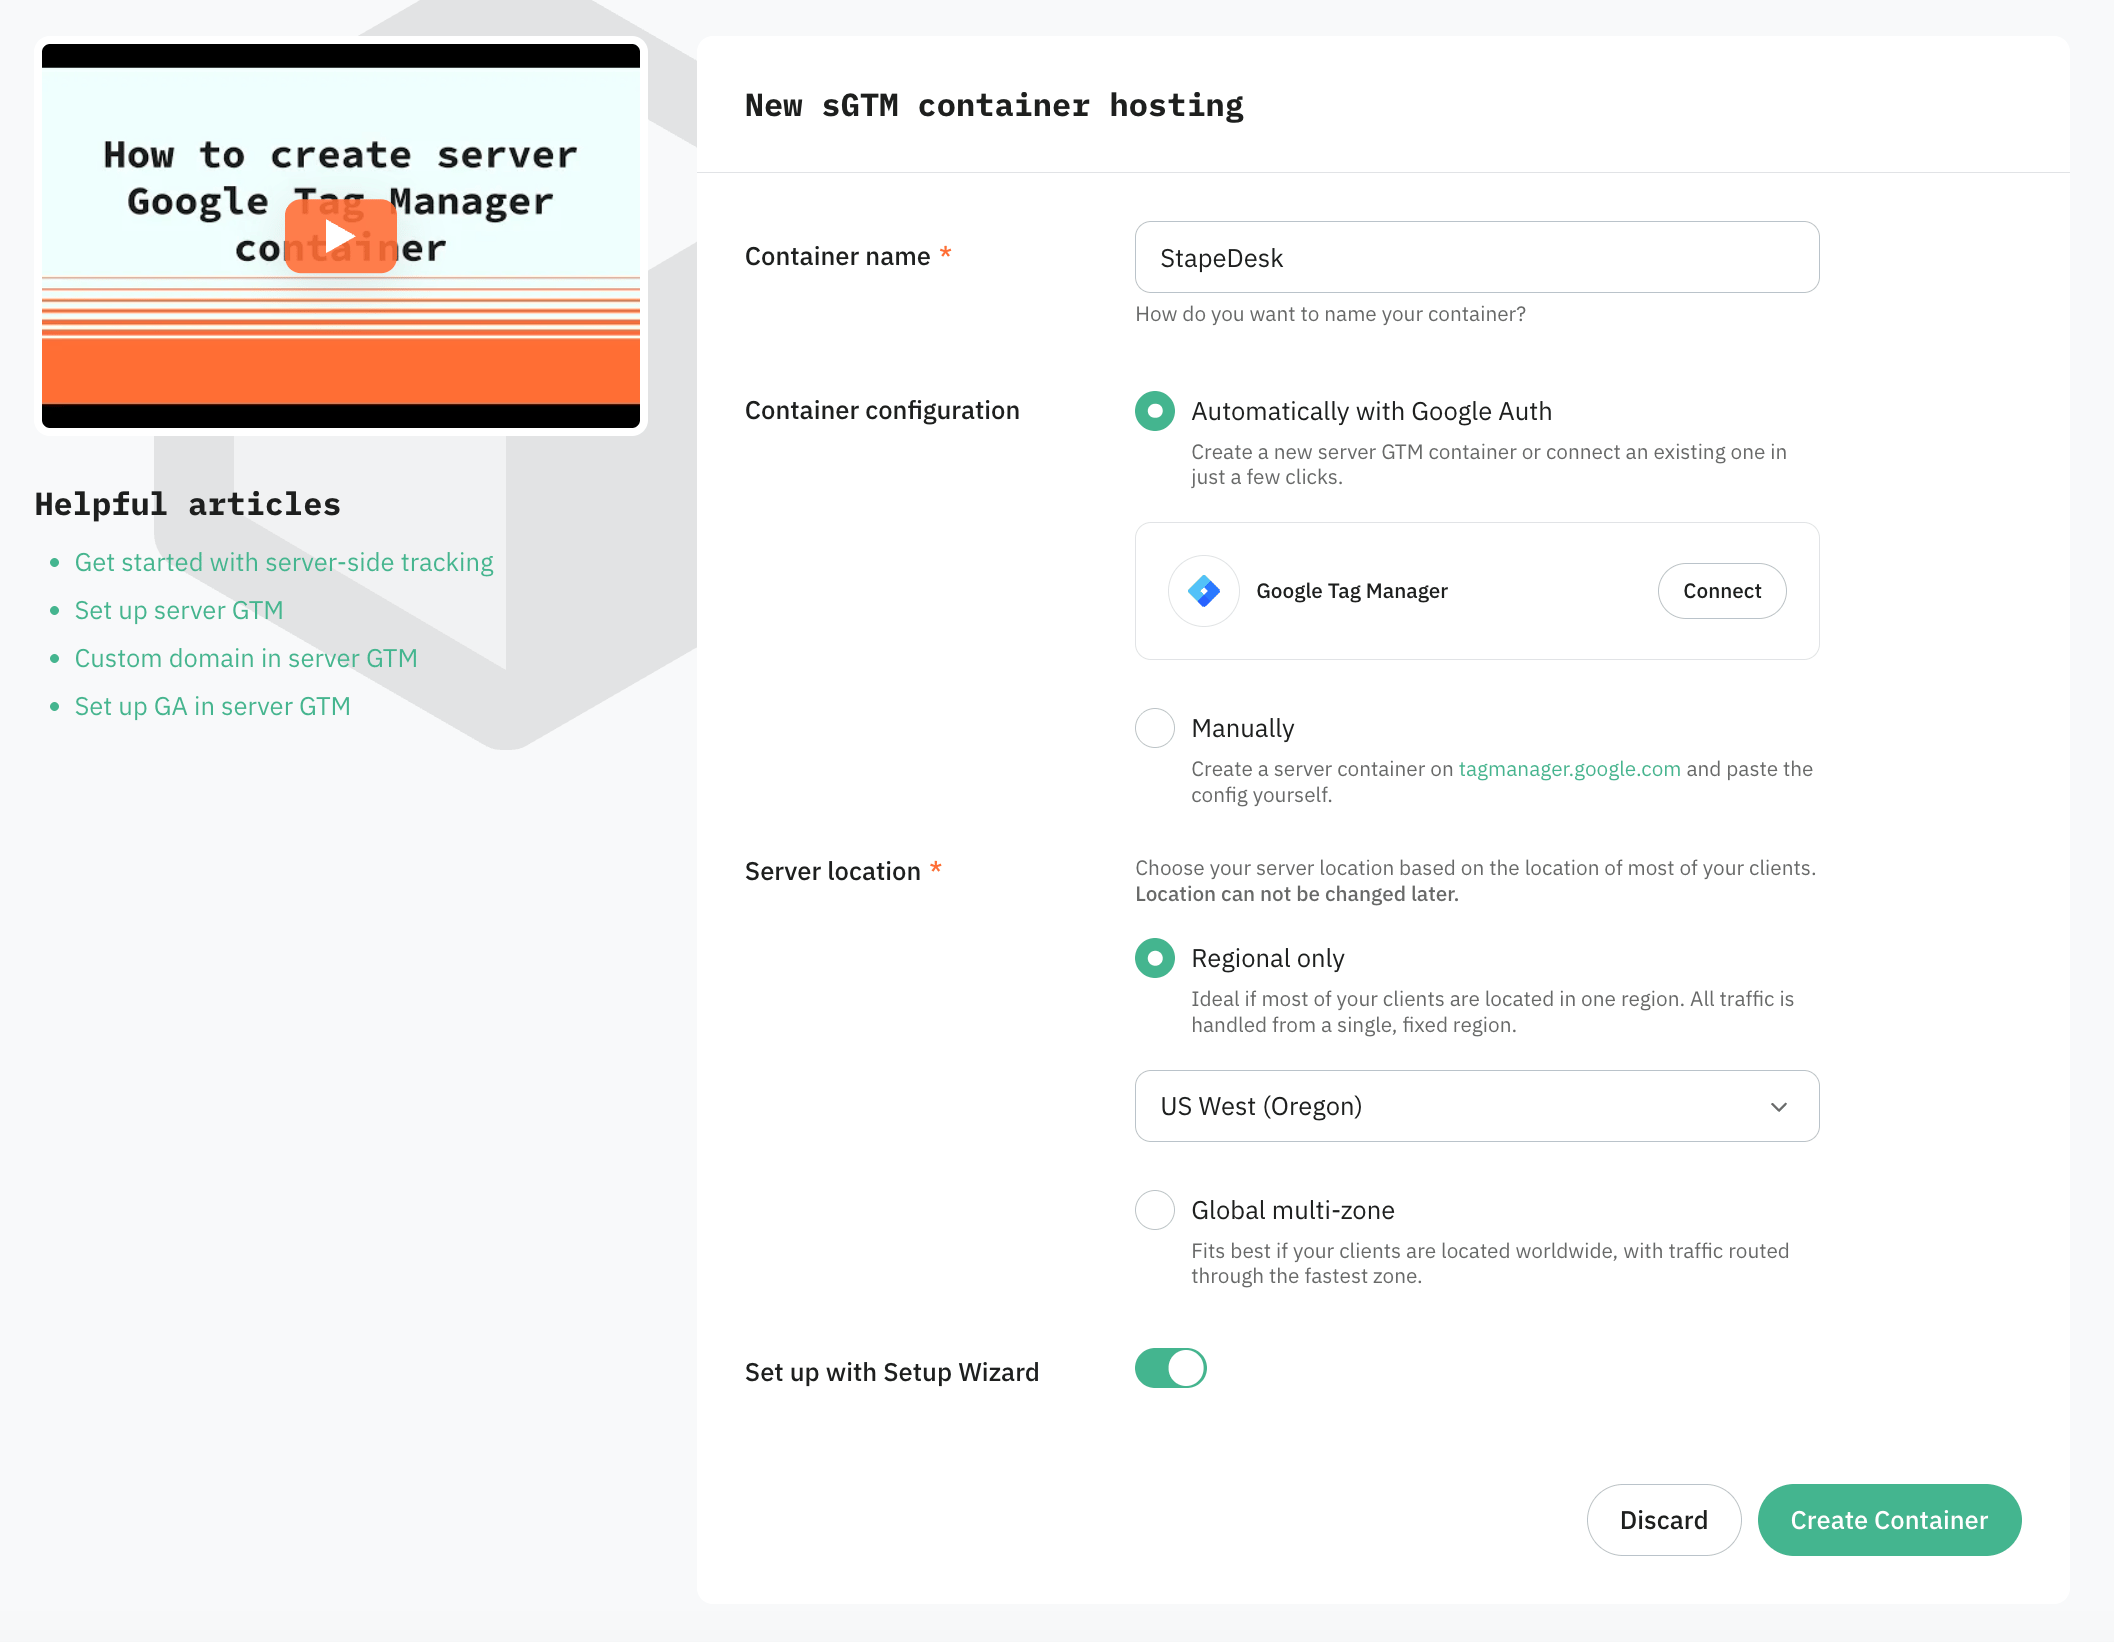
If you already have the sGTM container on Stape, click on the Setup Wizard icon next to your “Container settings”.
To find it, go to your Stape account → within the sGTM section, click on the required container → locate the Setup Wizard icon next to “Container settings”.
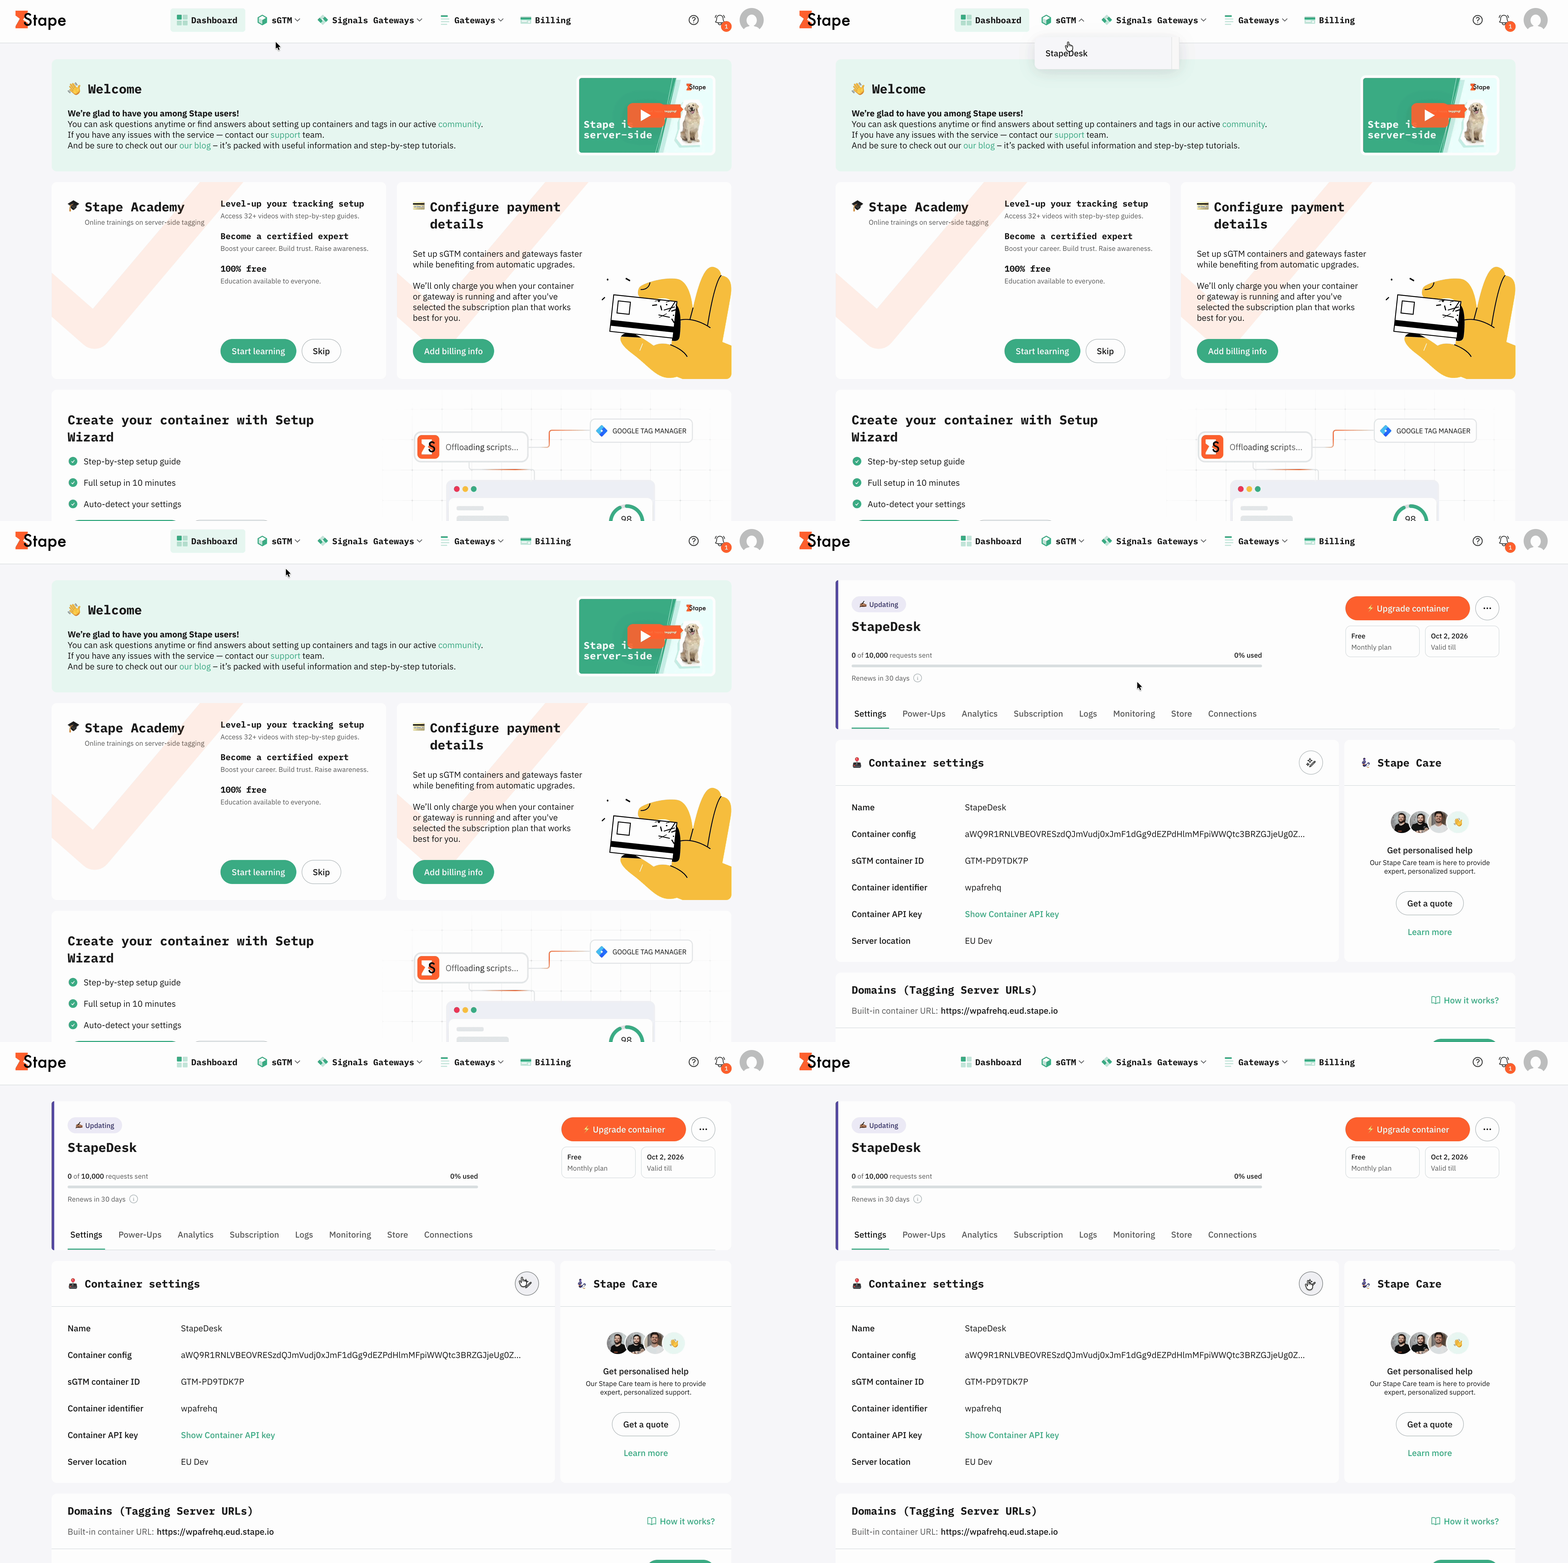
Step 1. Set up basics
1.1 Paste your domain in the format https://youdomain.com and click Scan domain.
On this step, the CMS platform and current tracking setup are detected.
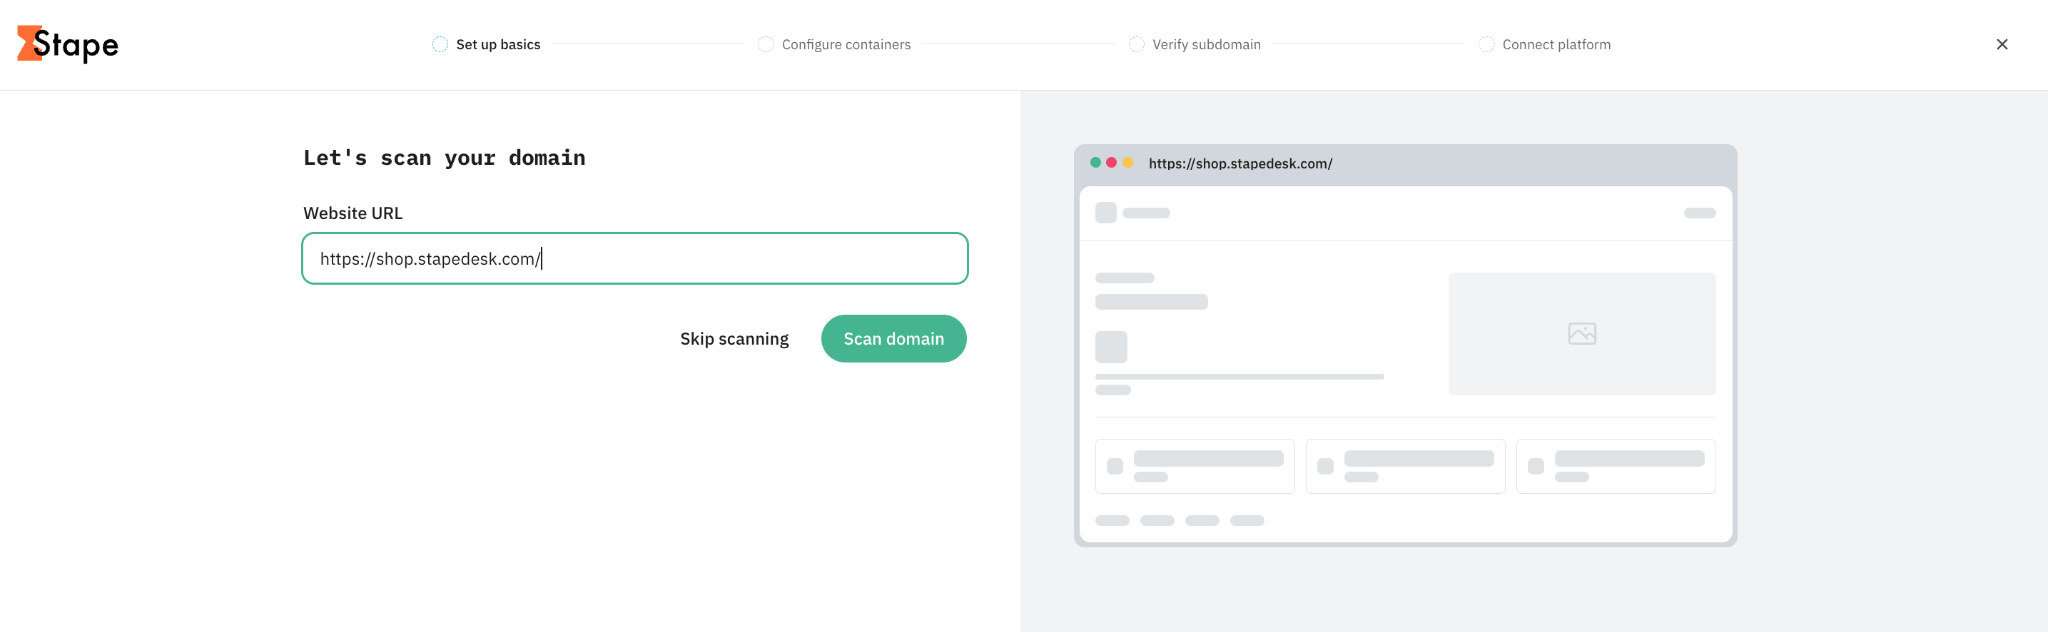
If you skipped scanning, please expand the collapsed element below by clicking on it for further guidelines.
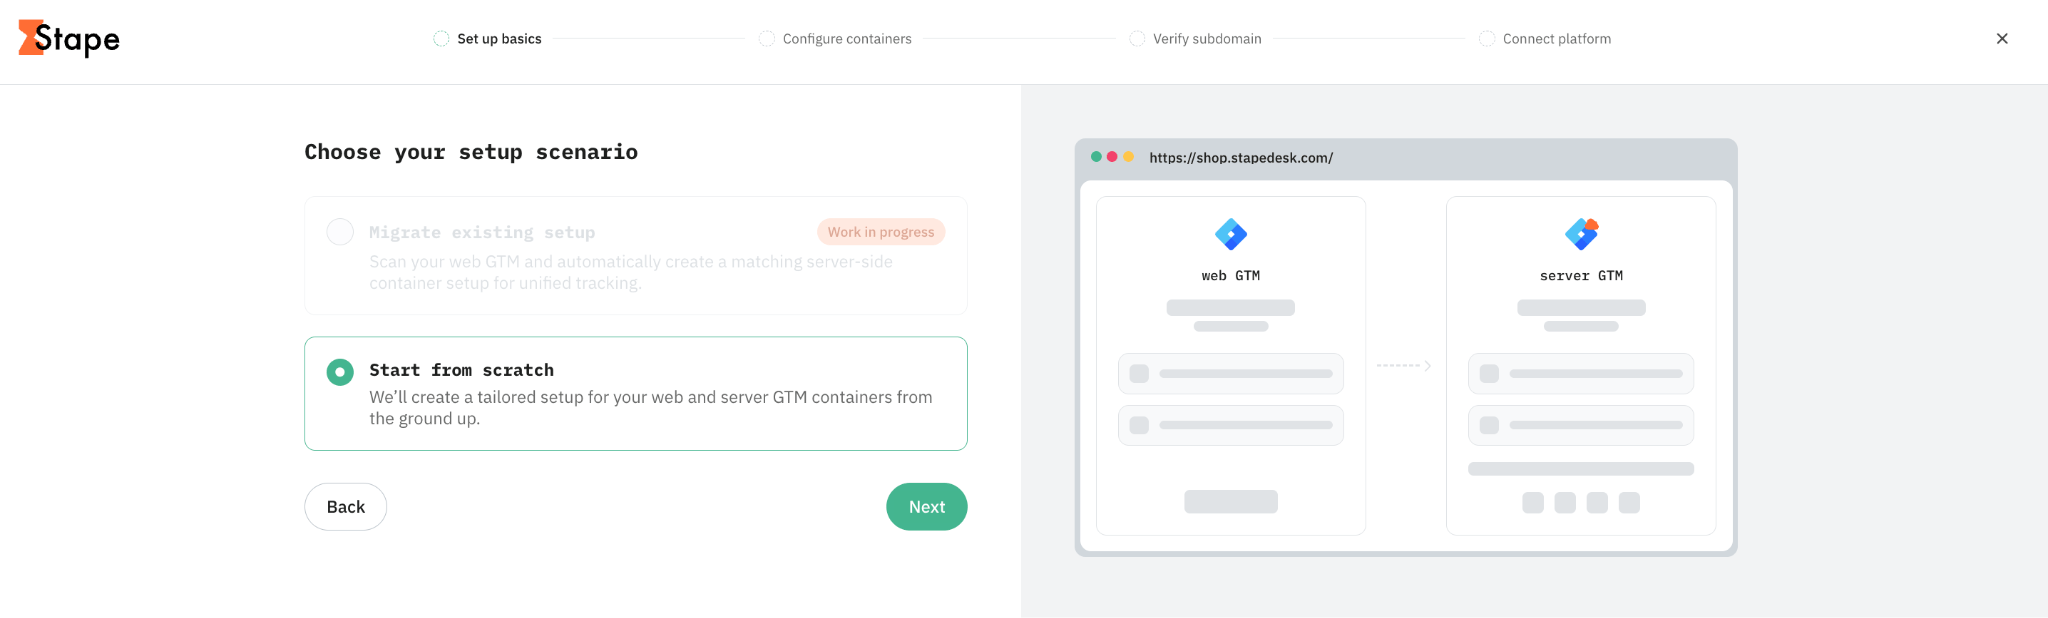
1.2 Choose your setup scenario.
At the moment, only the option “Start from scratch” is available. In future releases, we plan to add an option “Migrate existing setup”.
Click “Next”.
Step 2. Configure containers
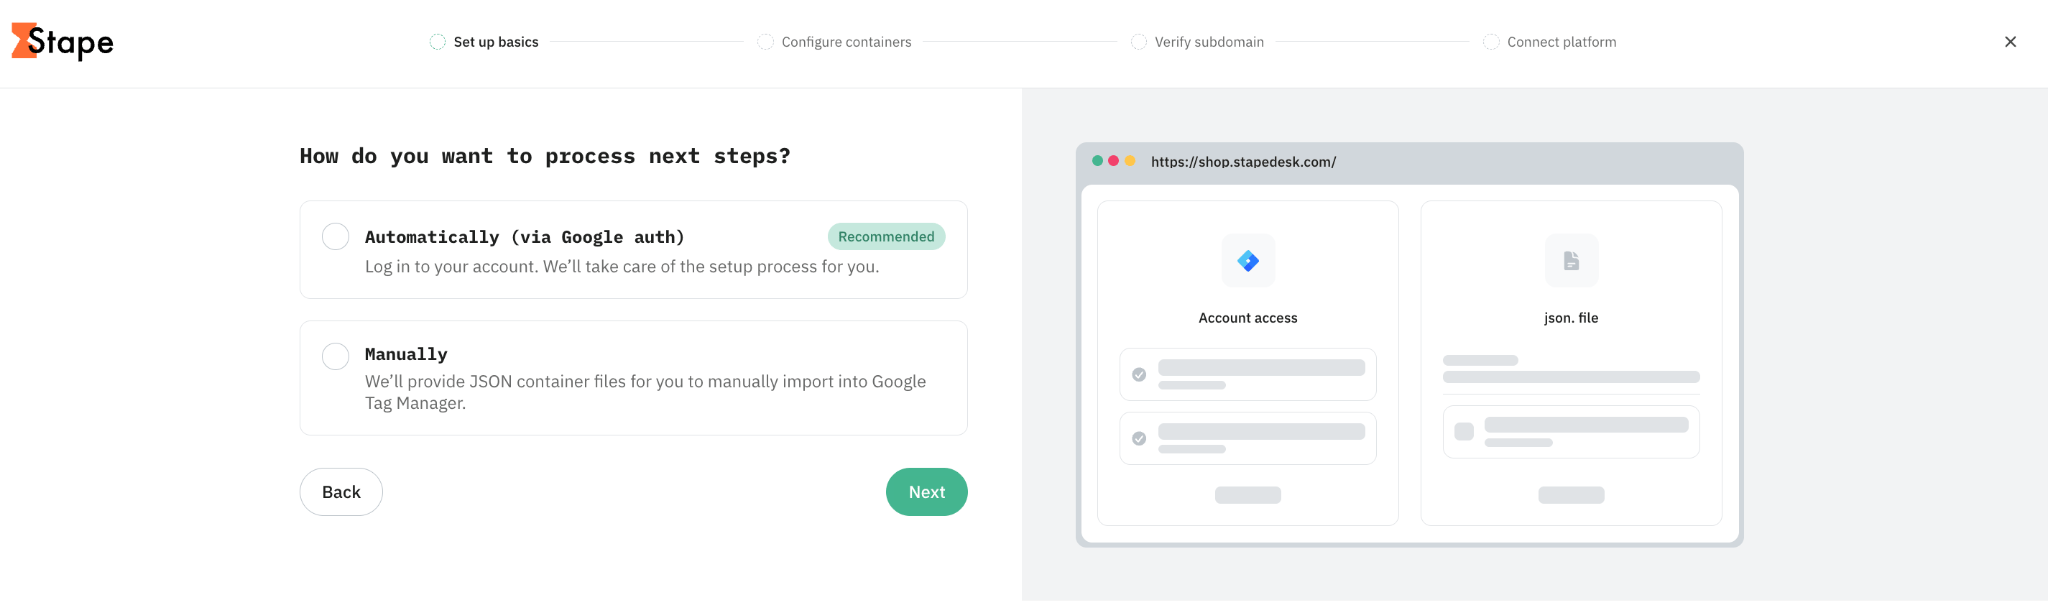
2.1 Select the way you want to import templates into web and server GTM containers.
The Setup Wizard provides two options:
- Automatically (via Google auth) – choose this option to let the Setup Wizard import the required templates directly into your web and server GTM containers. This is the recommended option if you have access to the Google account with the necessary container permissions (Editor permission at least) and want to complete the setup faster.
- Manually – choose this option if you prefer to import the templates yourself or can’t use Google authentication. You’ll download the templates and import them into the corresponding GTM containers manually (we show how to do it below).
👉If you stick with Manual setup, go directly to step 2.4.
If you chose Automatic setup via Google auth, follow the next steps.
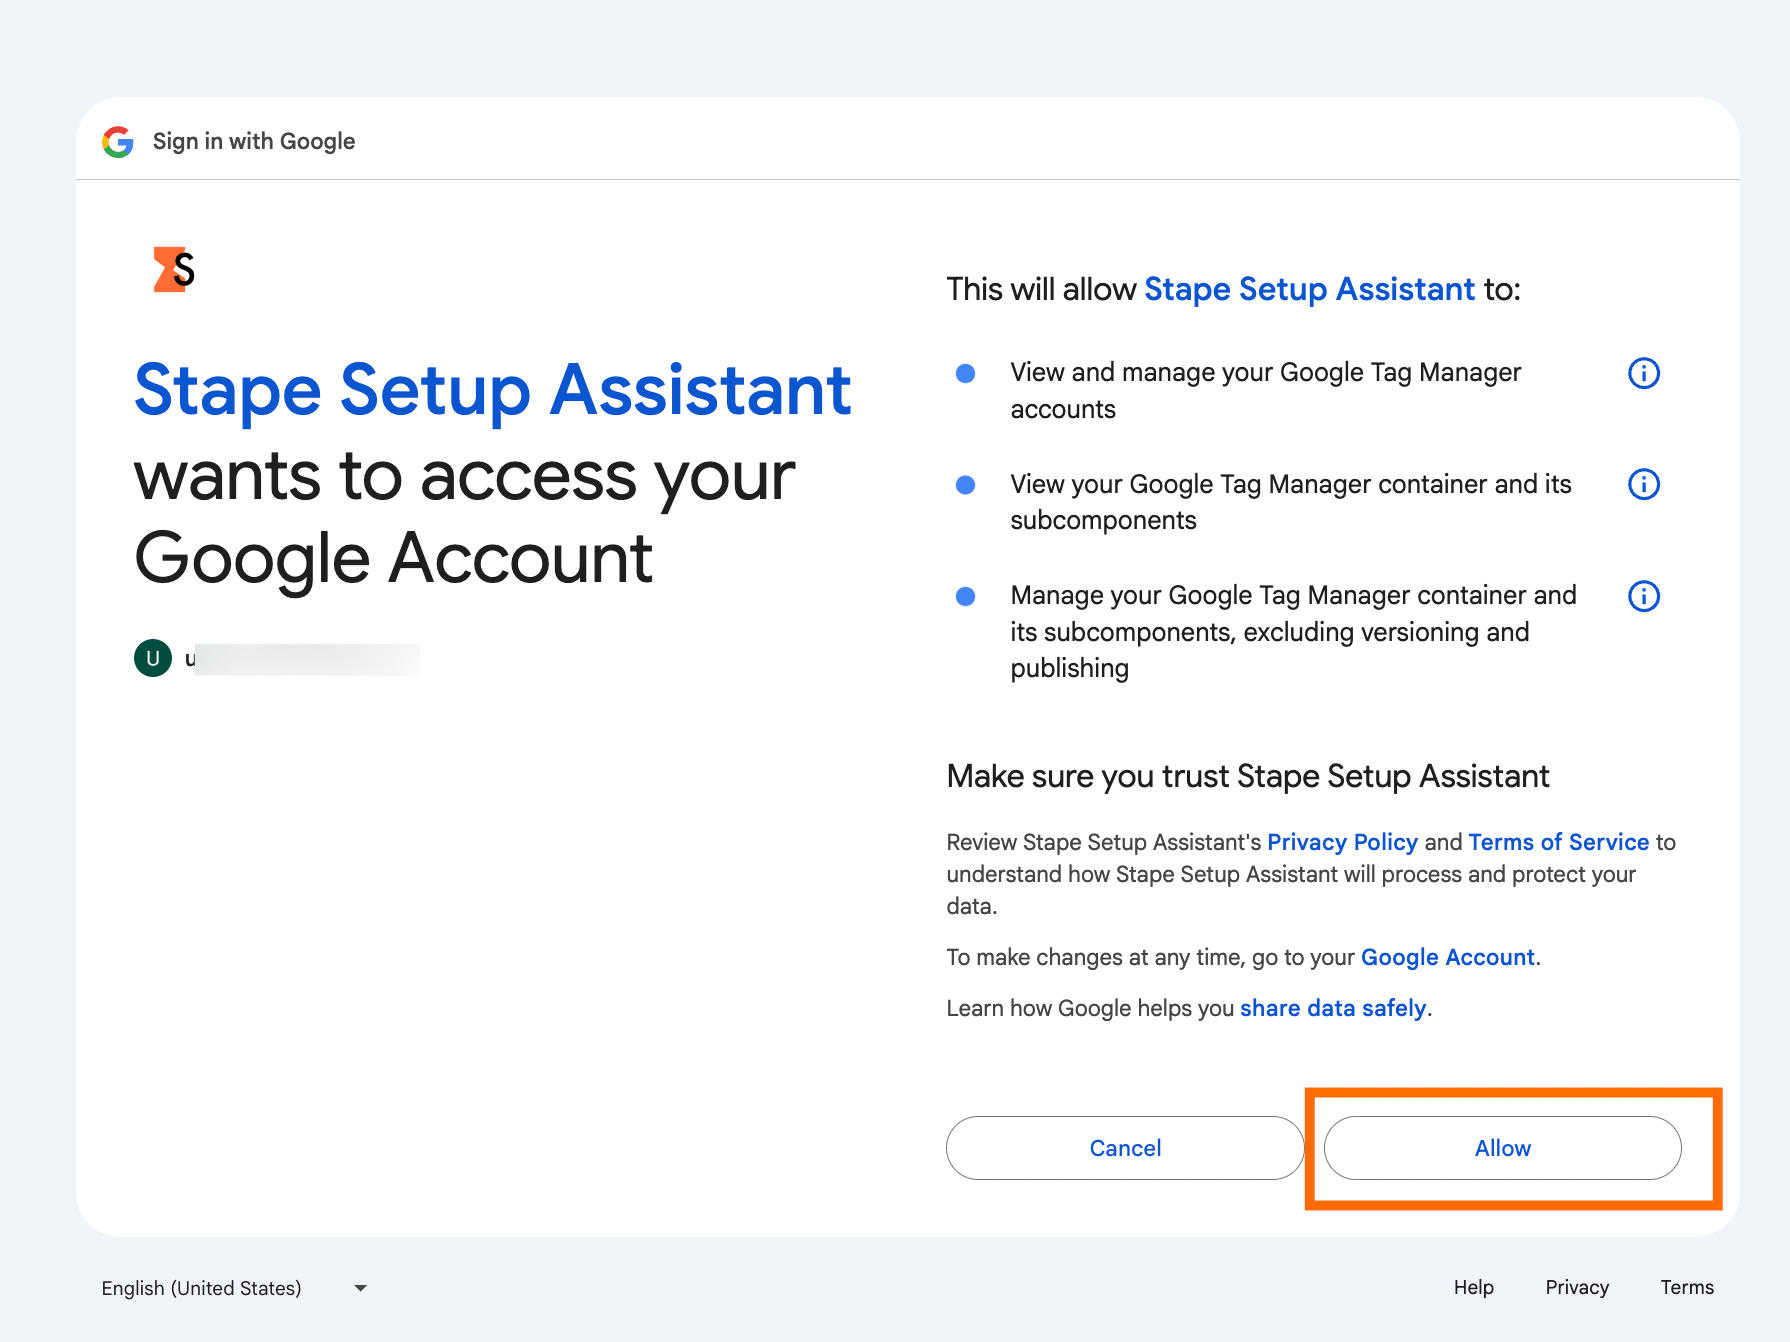
2.2 Select the account that has access to the GTM container you need to do tracking configurations for (you need to have at least Editor permission).
Provide all the permissions required for Setup Wizard to add the templates into GTM containers by clicking “Allow”.
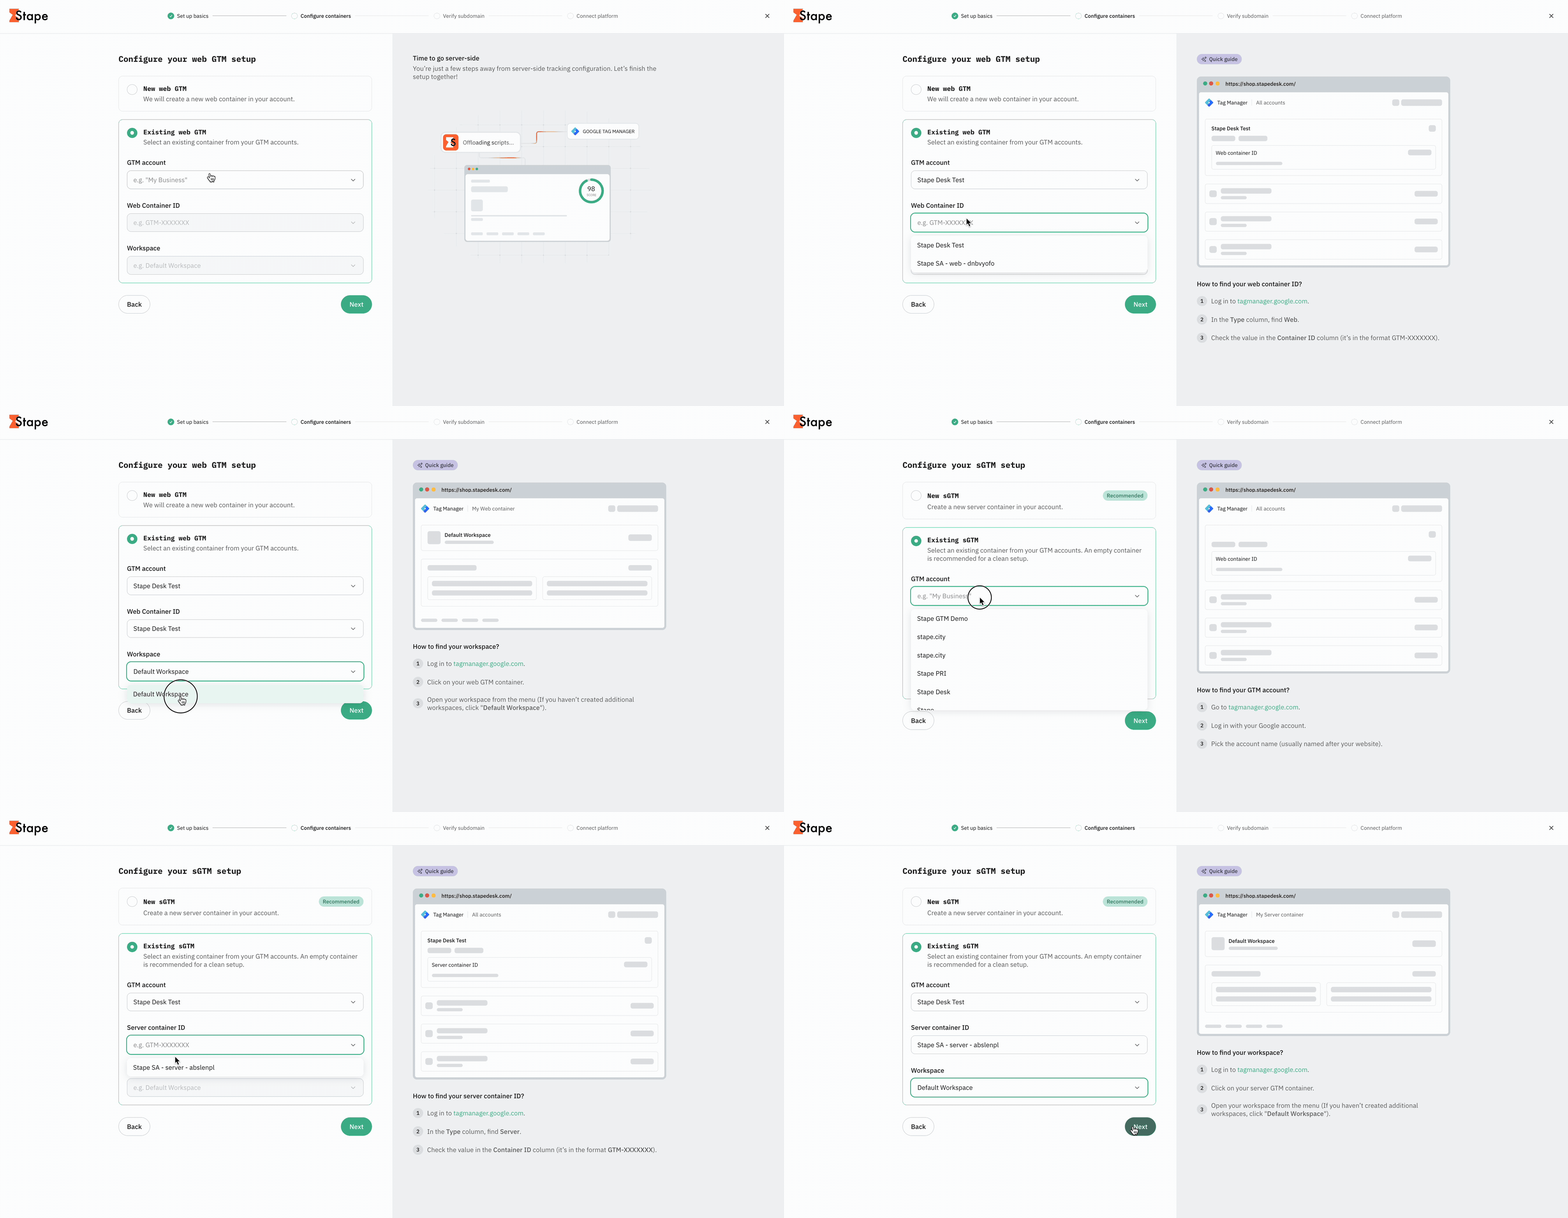
2.3 Configure your web and server GTM setup.
Select creating a new web/server GTM container or use an existing one.
- New web/server GTM container – choose this option if you don’t have a web or server GTM container for this setup yet. The Setup Wizard will guide you through creating the required container.
- Existing container – choose this option if you already have a web and/or server GTM container you want to use for the setup. Select the container and workspace you want to configure from your existing GTM containers.
When clicking on the fields, you can see a detailed guide on how to find the required values on the right part of the screen.
2.4 If you use the website for lead generation, you will be asked to add some extra values. Please click on the collapsed element below to see the detailed instructions on how to get the data required for completing the setup on this step.
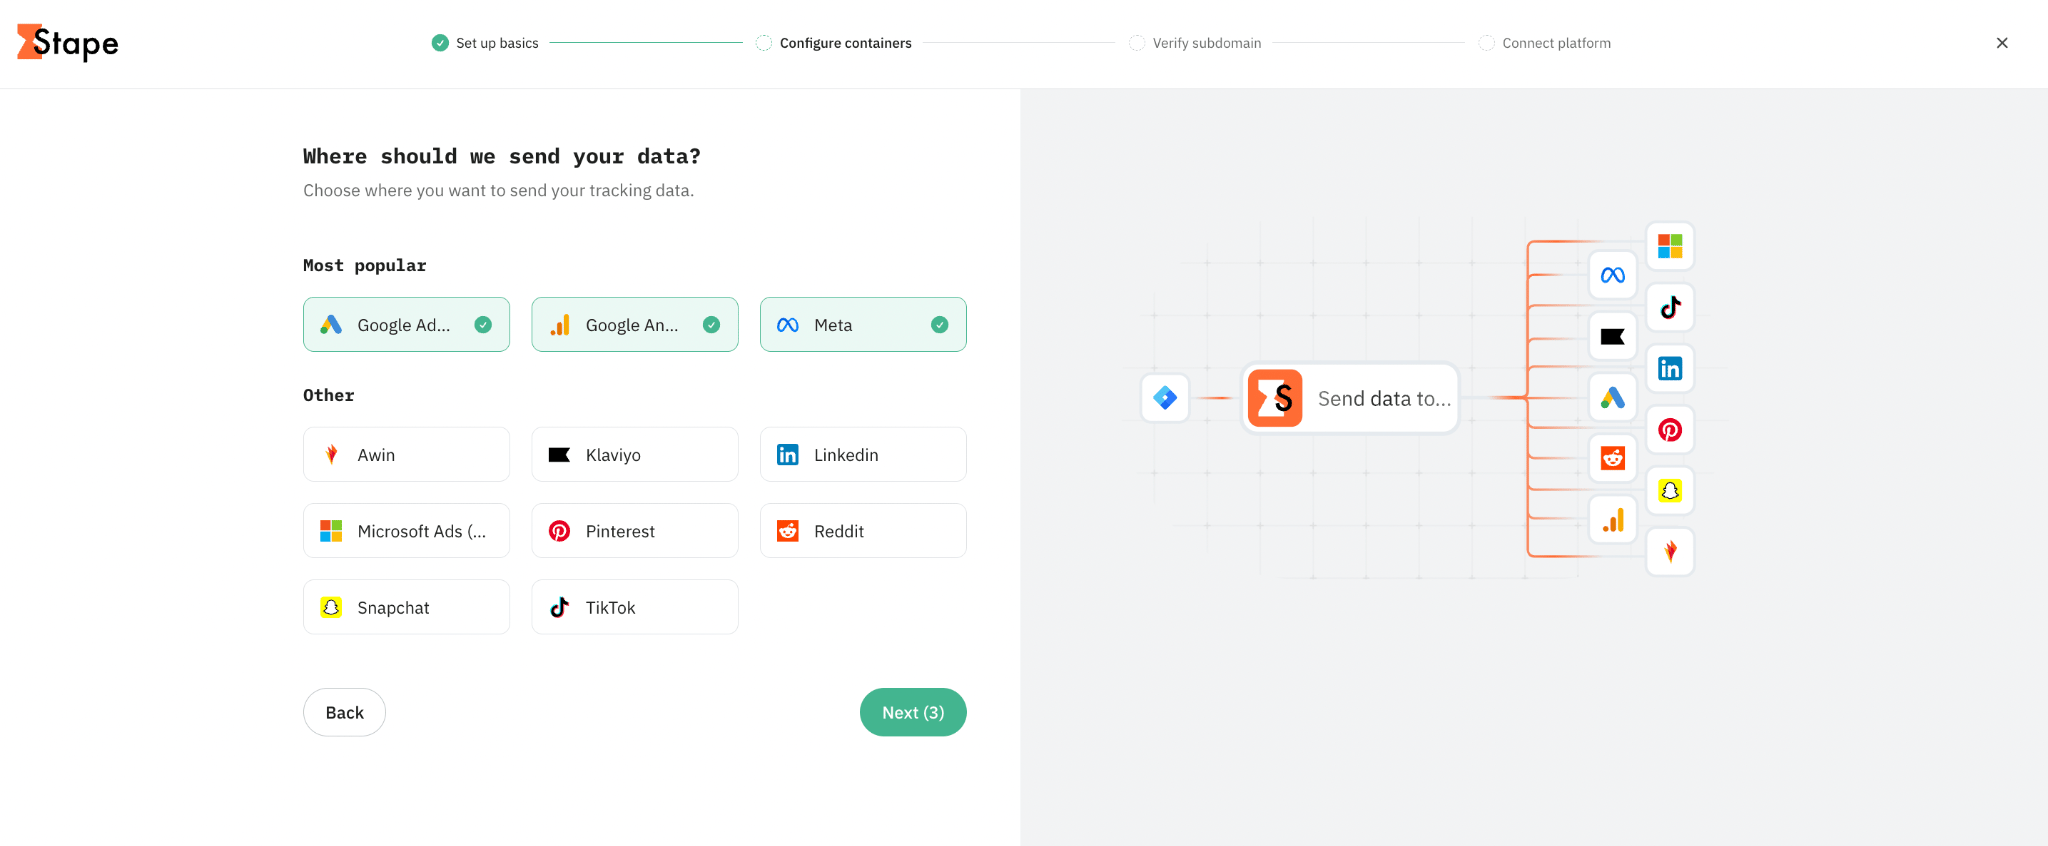
2.5 Select the platforms you need to configure server-side tracking for.
Based on the list of platforms you’ve selected, Setup Wizard will generate the templates (tags, triggers, variables, clients) to track the users’ interactions with the website.
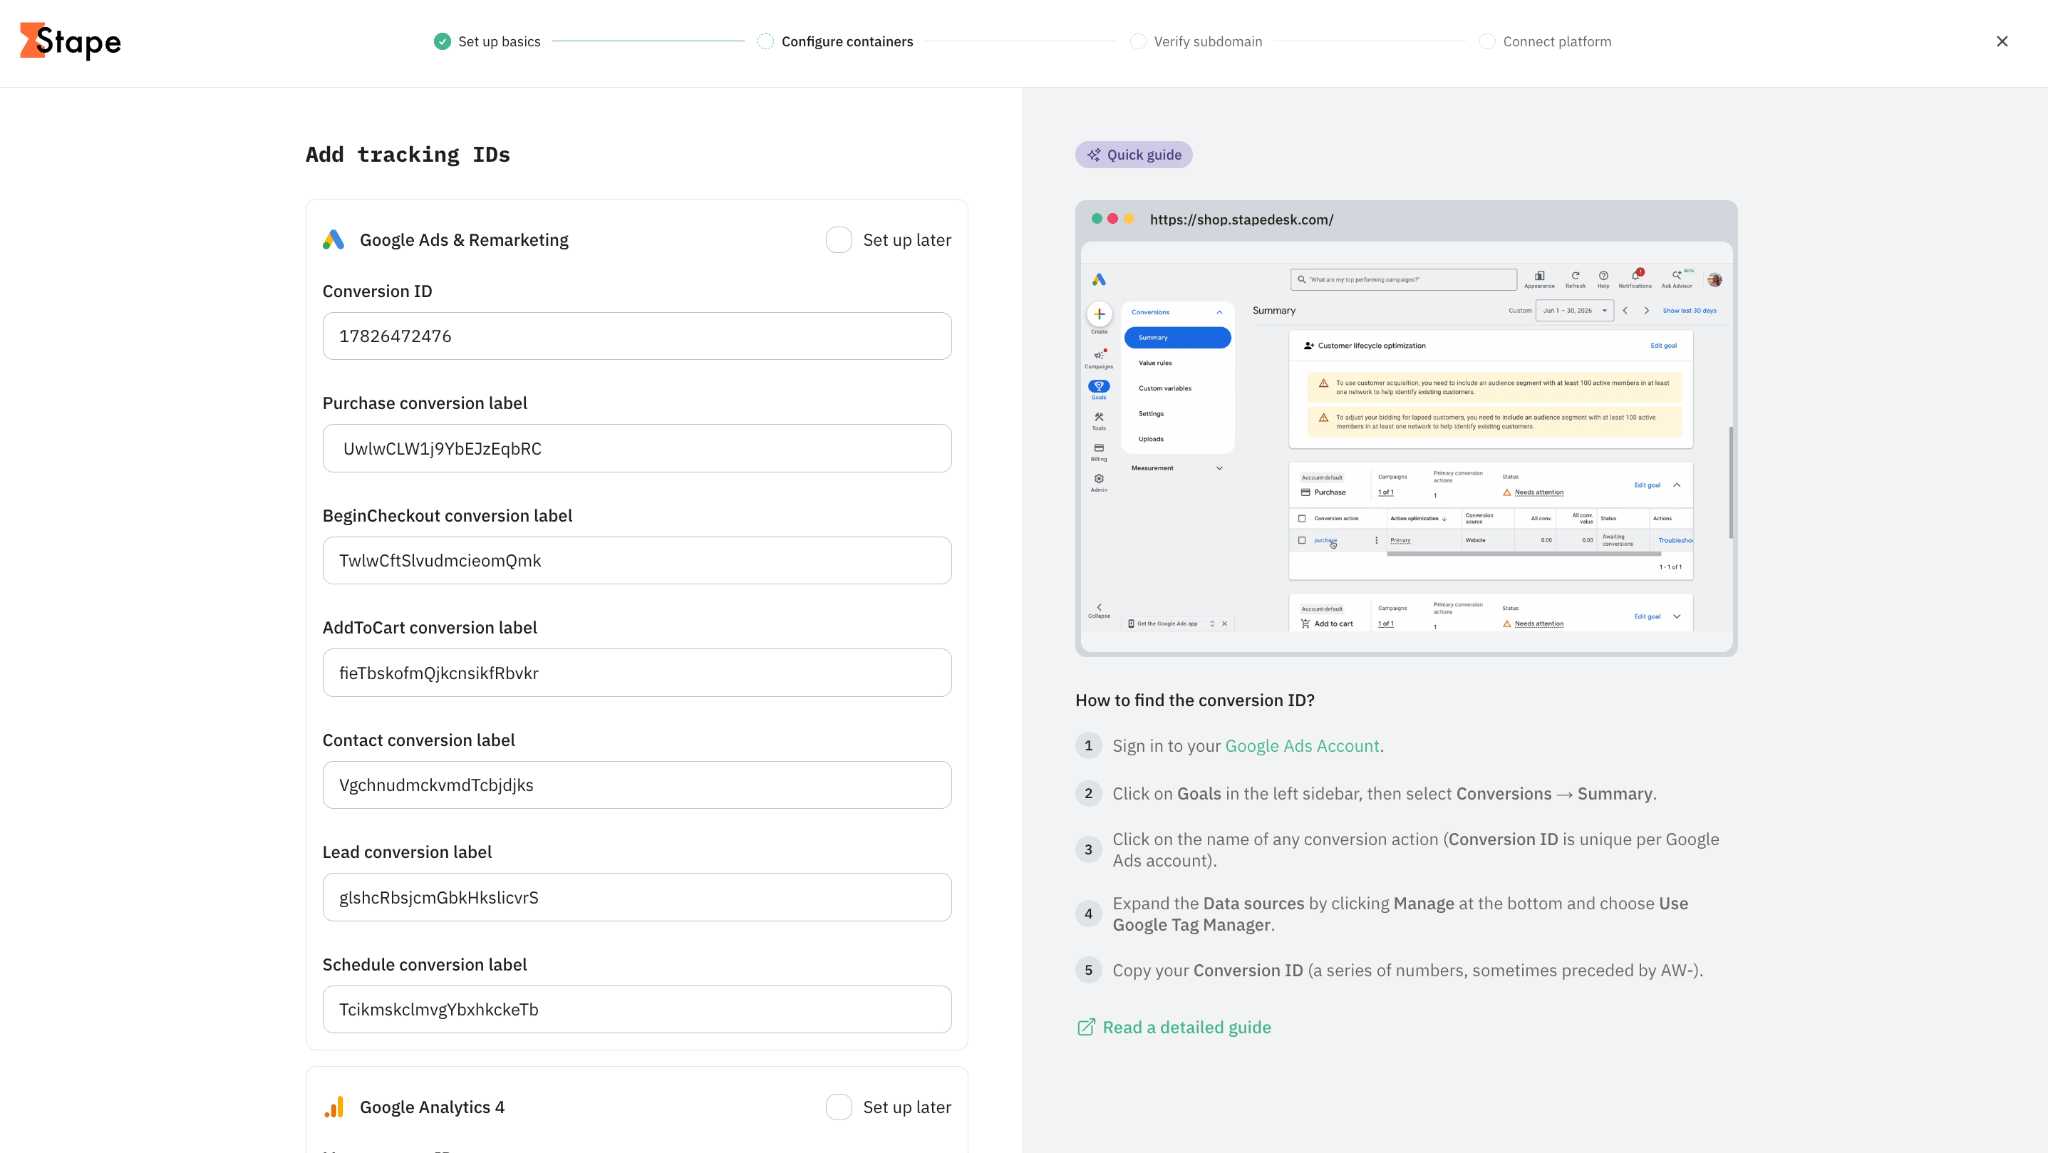
2.6 Specify the IDs for the platforms you’ve selected.
These values are required for the Setup Wizard to connect your GTM tracking setup with third-party platforms and send data about user interactions to the correct destinations.
You can safely add these values through the Setup Wizard. Stape uses secure cloud infrastructure and security controls to protect customer data and restrict unauthorized access.
For more information about how Stape protects customer data, see the Stape GDPR Statement.
We have prepared detailed guides for you on how to find the values for each platform. They are also available within the Setup Wizard interface on the right part of the screen when you click on the field.
To see the guidelines within this documentation, click on the corresponding platform name below:
Once the values are added, click “Next”.
Step 3. Verify subdomain
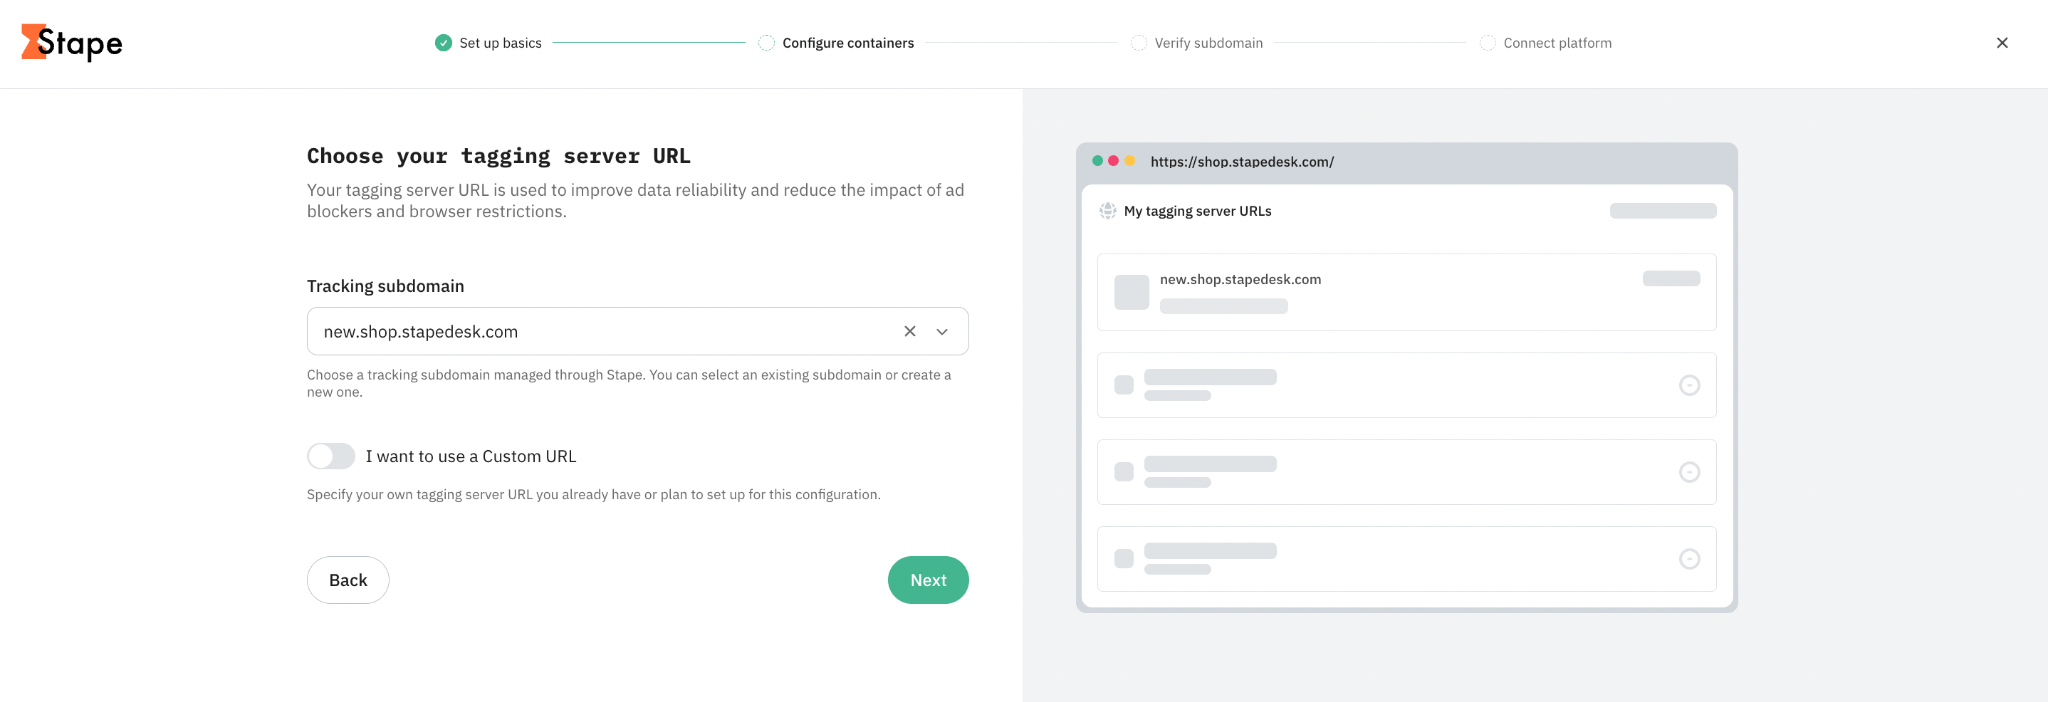
3.1 Choose your tagging server URL.
The tagging server URL (tracking subdomain) is used to improve data reliability and reduce the impact of ad blockers and browser restrictions on your data. You have two options:
- Tracking subdomain – choose a tracking subdomain managed through Stape. You can select an existing subdomain or create a new one. That’s an easier option to configure. If you already have a custom subdomain on Stape, no further actions are required. If you need a new one, we’ll guide you through the process in the next steps.
- Custom URL – enable the toggle and specify your own tagging server URL you already have or plan to set up for this configuration. That’s a more complex option, since it requires manual configuration of such a custom URL on your end.
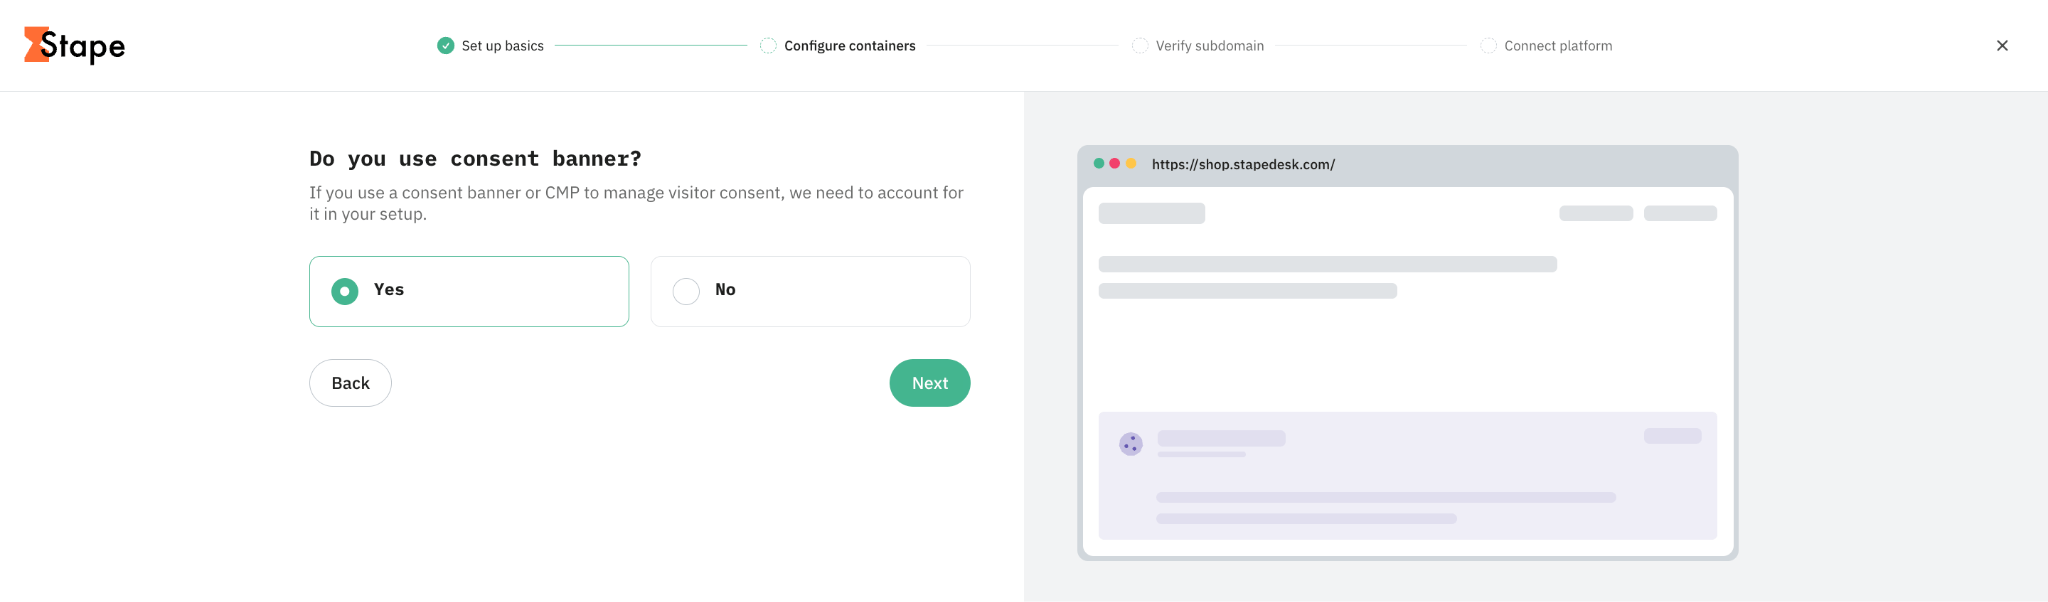
3.2 Specify whether you have a consent banner.
You must have one if you target users in European countries under GDPR, or some other regions or states that have data regulations implemented.
Note:
Stape will add a Consent Listener tag to your container; it’ll listen to the consent status and push a custom event “stape_consent_update”, so no need from your end to do any extra configuration. Everything that’s required is having a properly configured cookie banner and enabled Consent Mode v2.
👉If you go with automatic setup, proceed with step 3.4.
👉If you opted for manual setup earlier, follow step 3.3; otherwise, skip it.
3.3 With the manual setup option, you’ll see the screen with a ready-to-download template for web and server GTM containers.
Click “Download .zip”.
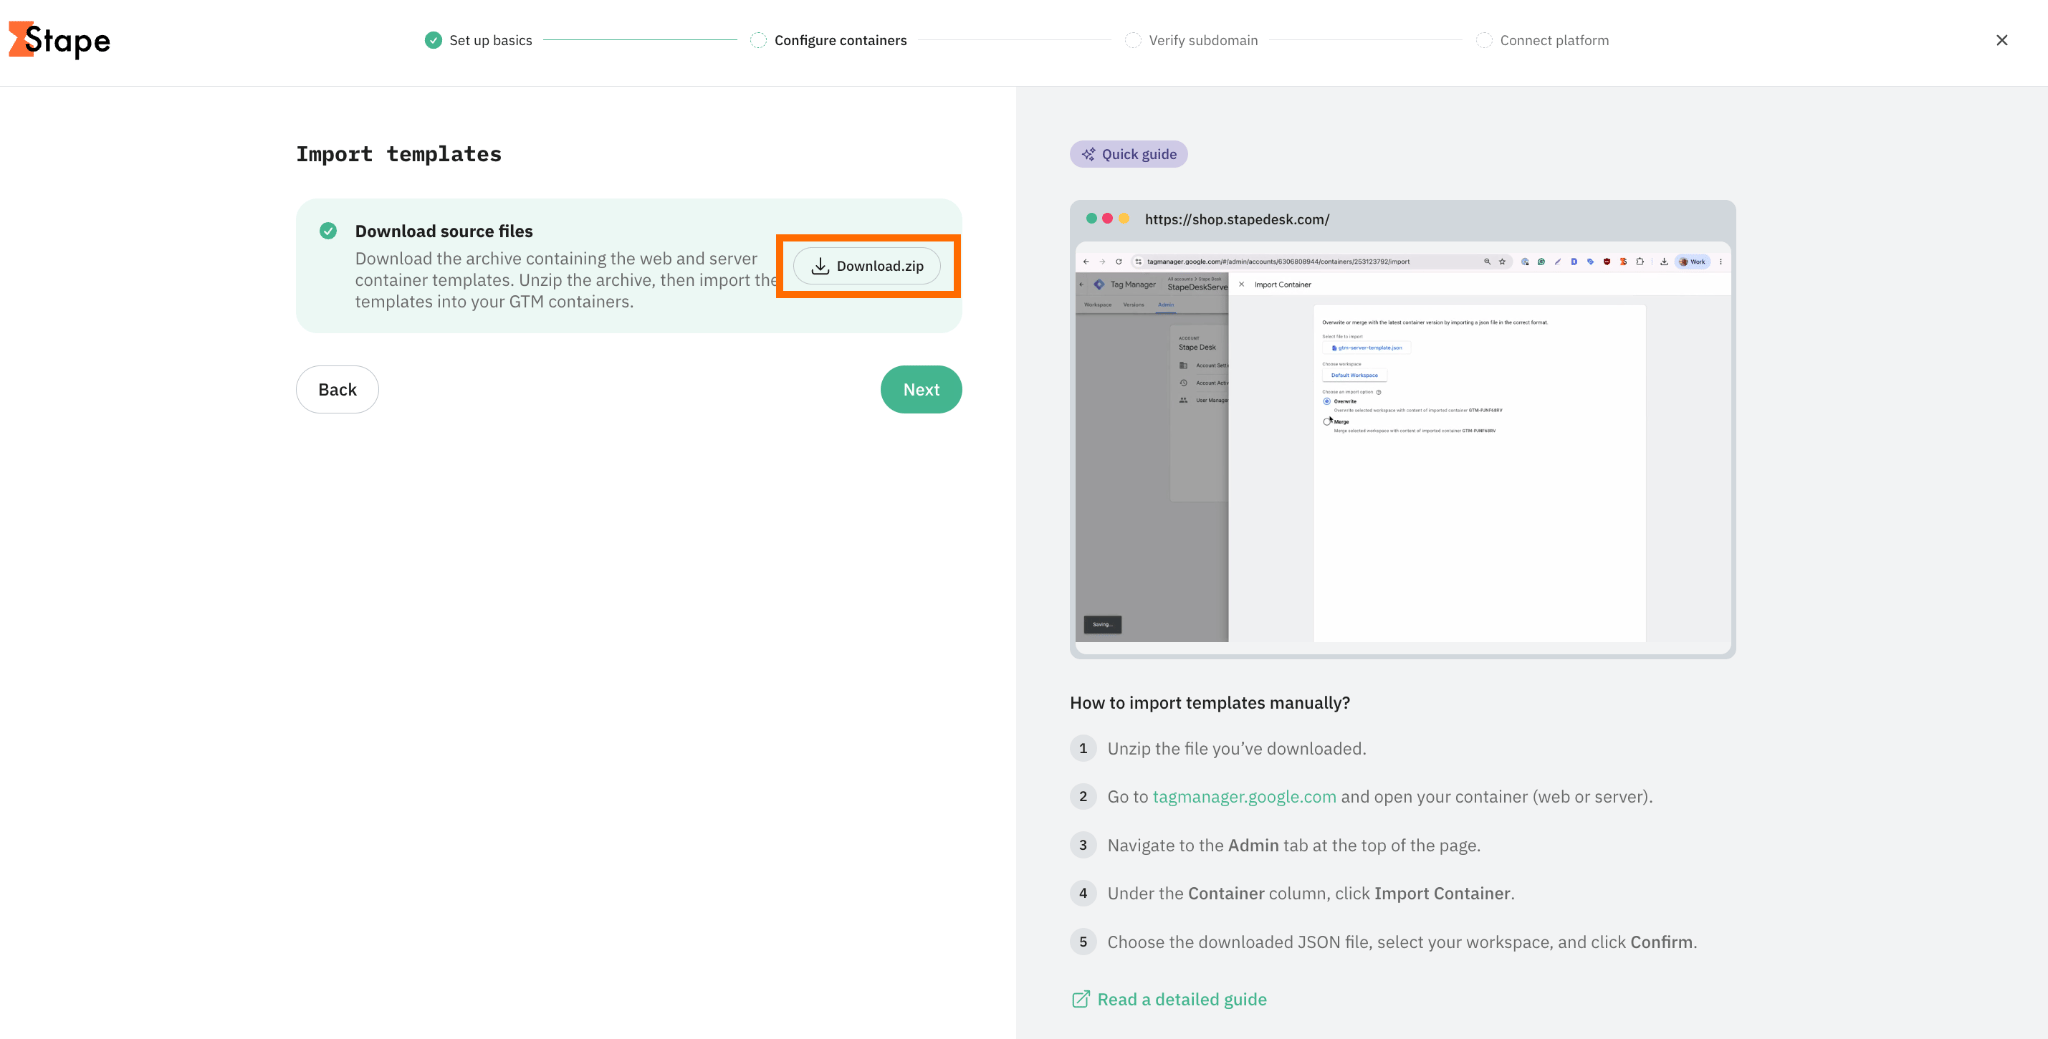
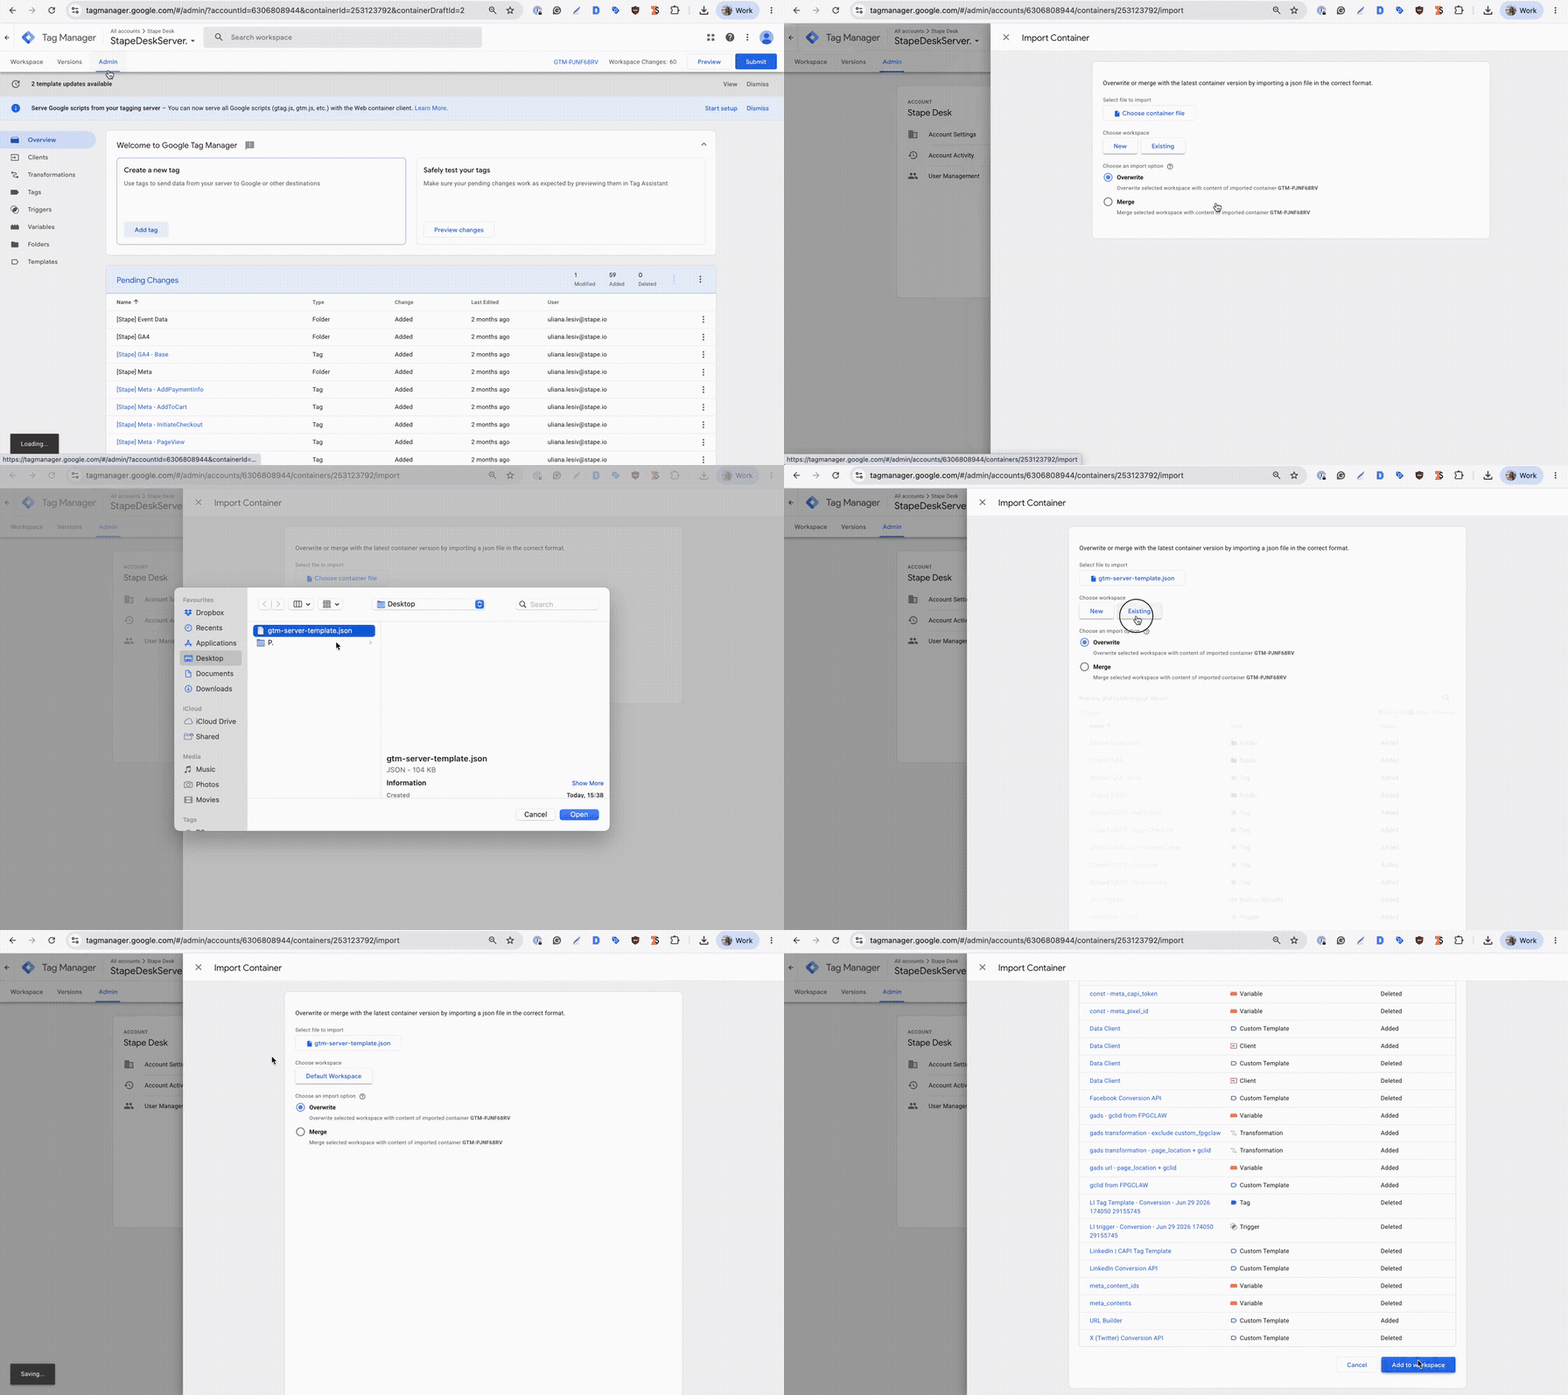
And import the templates manually into the containers you need:
- Unzip the file you’ve downloaded.
- Go to tagmanager.google.com and open your container (web or server).
- Navigate to the Admin tab at the top of the page.
- Under the Container column, click Import Container.
- Choose the downloaded JSON file, select your workspace, and click Confirm.
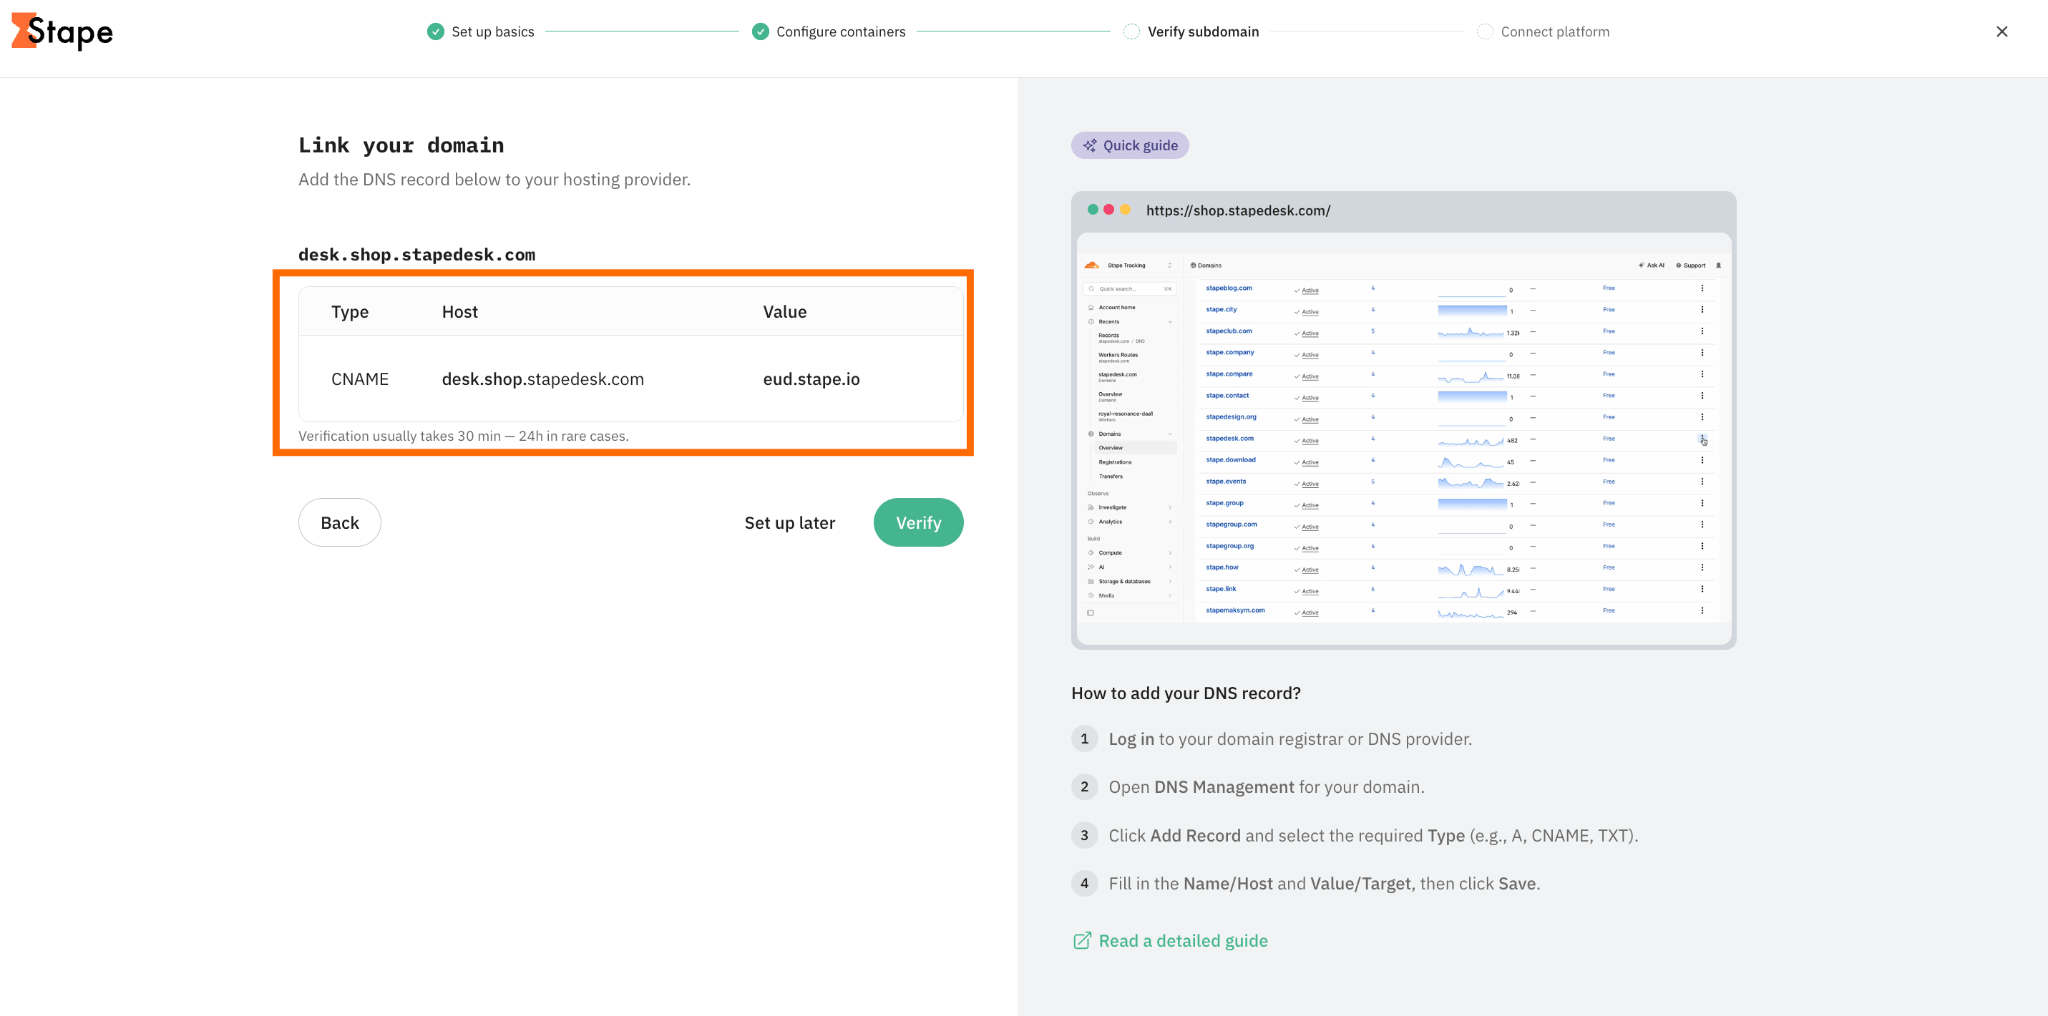
3.4 If you opt for creating a new custom domain in the previous steps, link the domain by adding a DNS record to your hosting provider. The steps may differ due to the specific interface and flow of each provider, but basically you need to copy and paste the values we’ve generated for your custom domain.
We have detailed guides on how to add the DNS records for the most popular platforms. Follow the guides below:
Once done, click “Verify”.
Note that verification usually takes 30 min - 24 h in rare cases.
Step 4. Connect platform
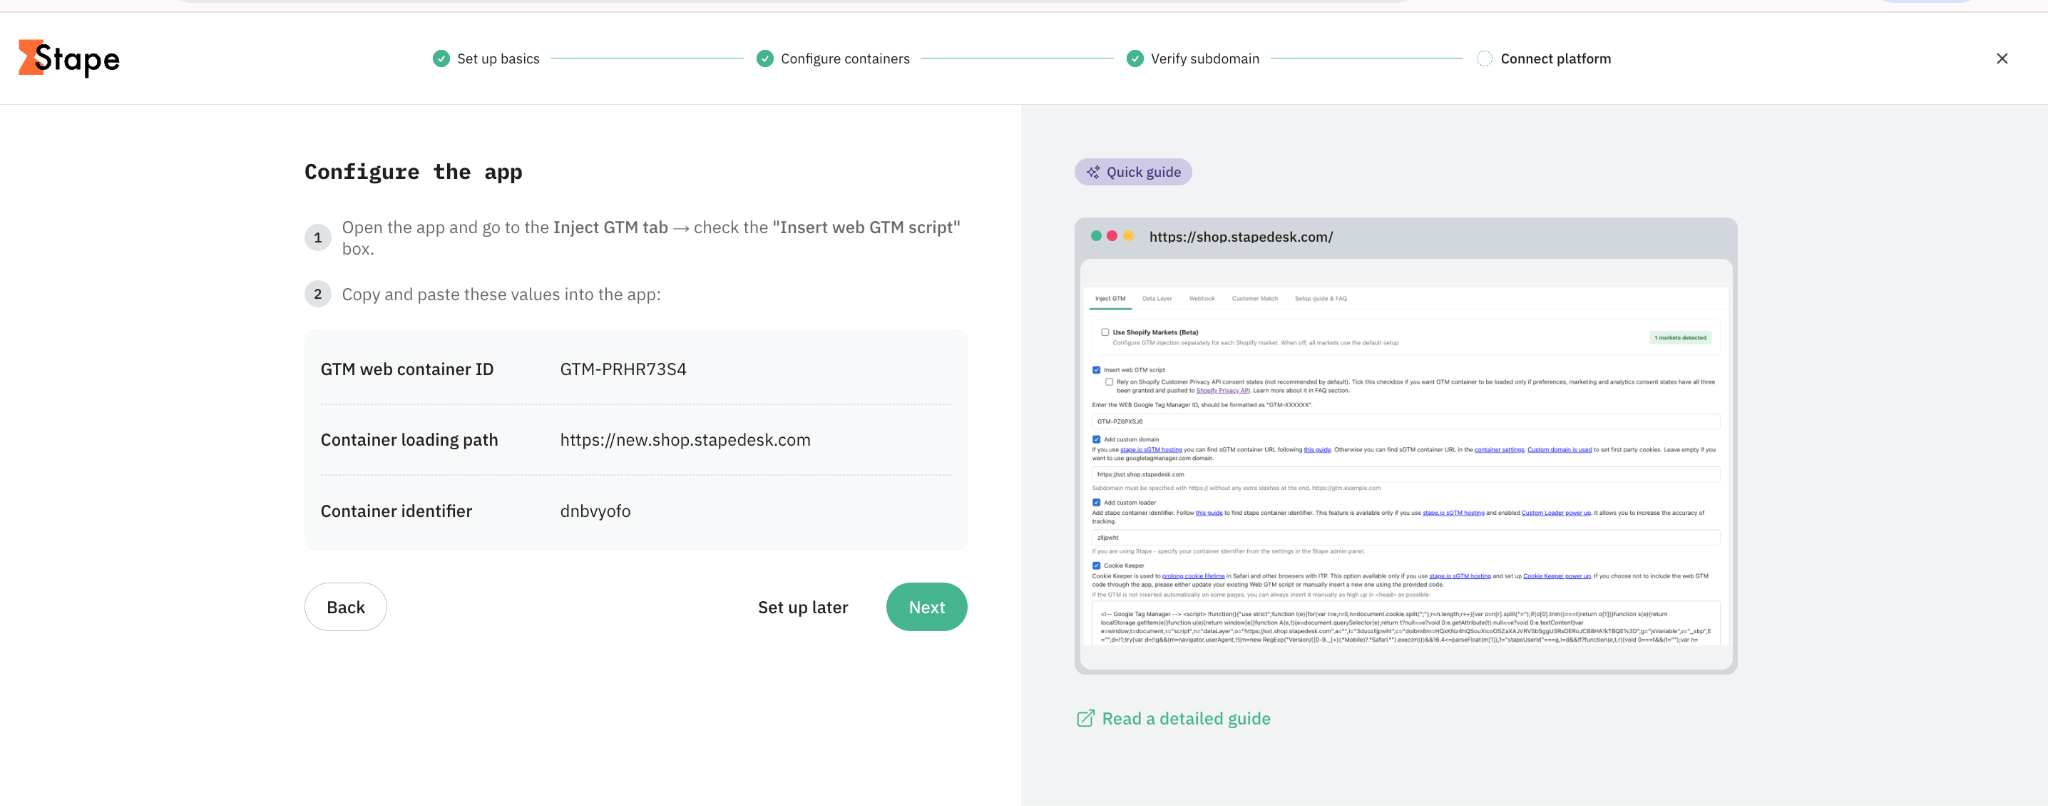
4.1 Based on the CMS platform you use for your website, the Setup Wizard will suggest the app. The app configuration allows you to add the server container and set up the data layer on the website.
To proceed with app configuration, click “Next”.
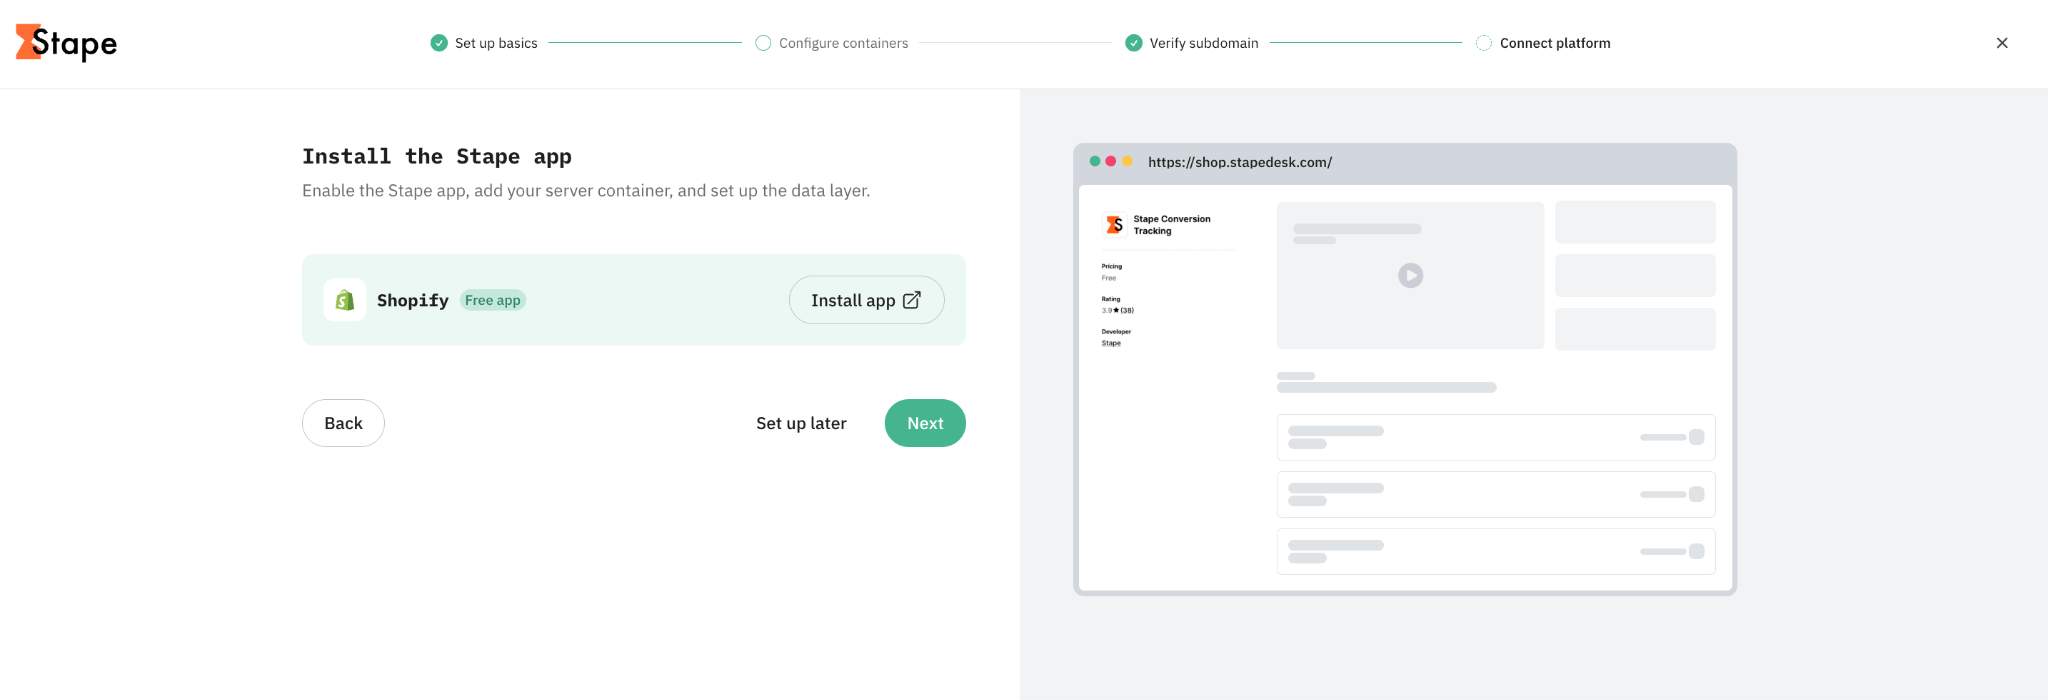
4.2 On the next screen, you will be provided with the values that need to be added to your app to complete app configuration.
Follow the instructions below to configure the app based on the platform you use:
4.3 Once the Setup Wizard has done its part, you will see the success screen.
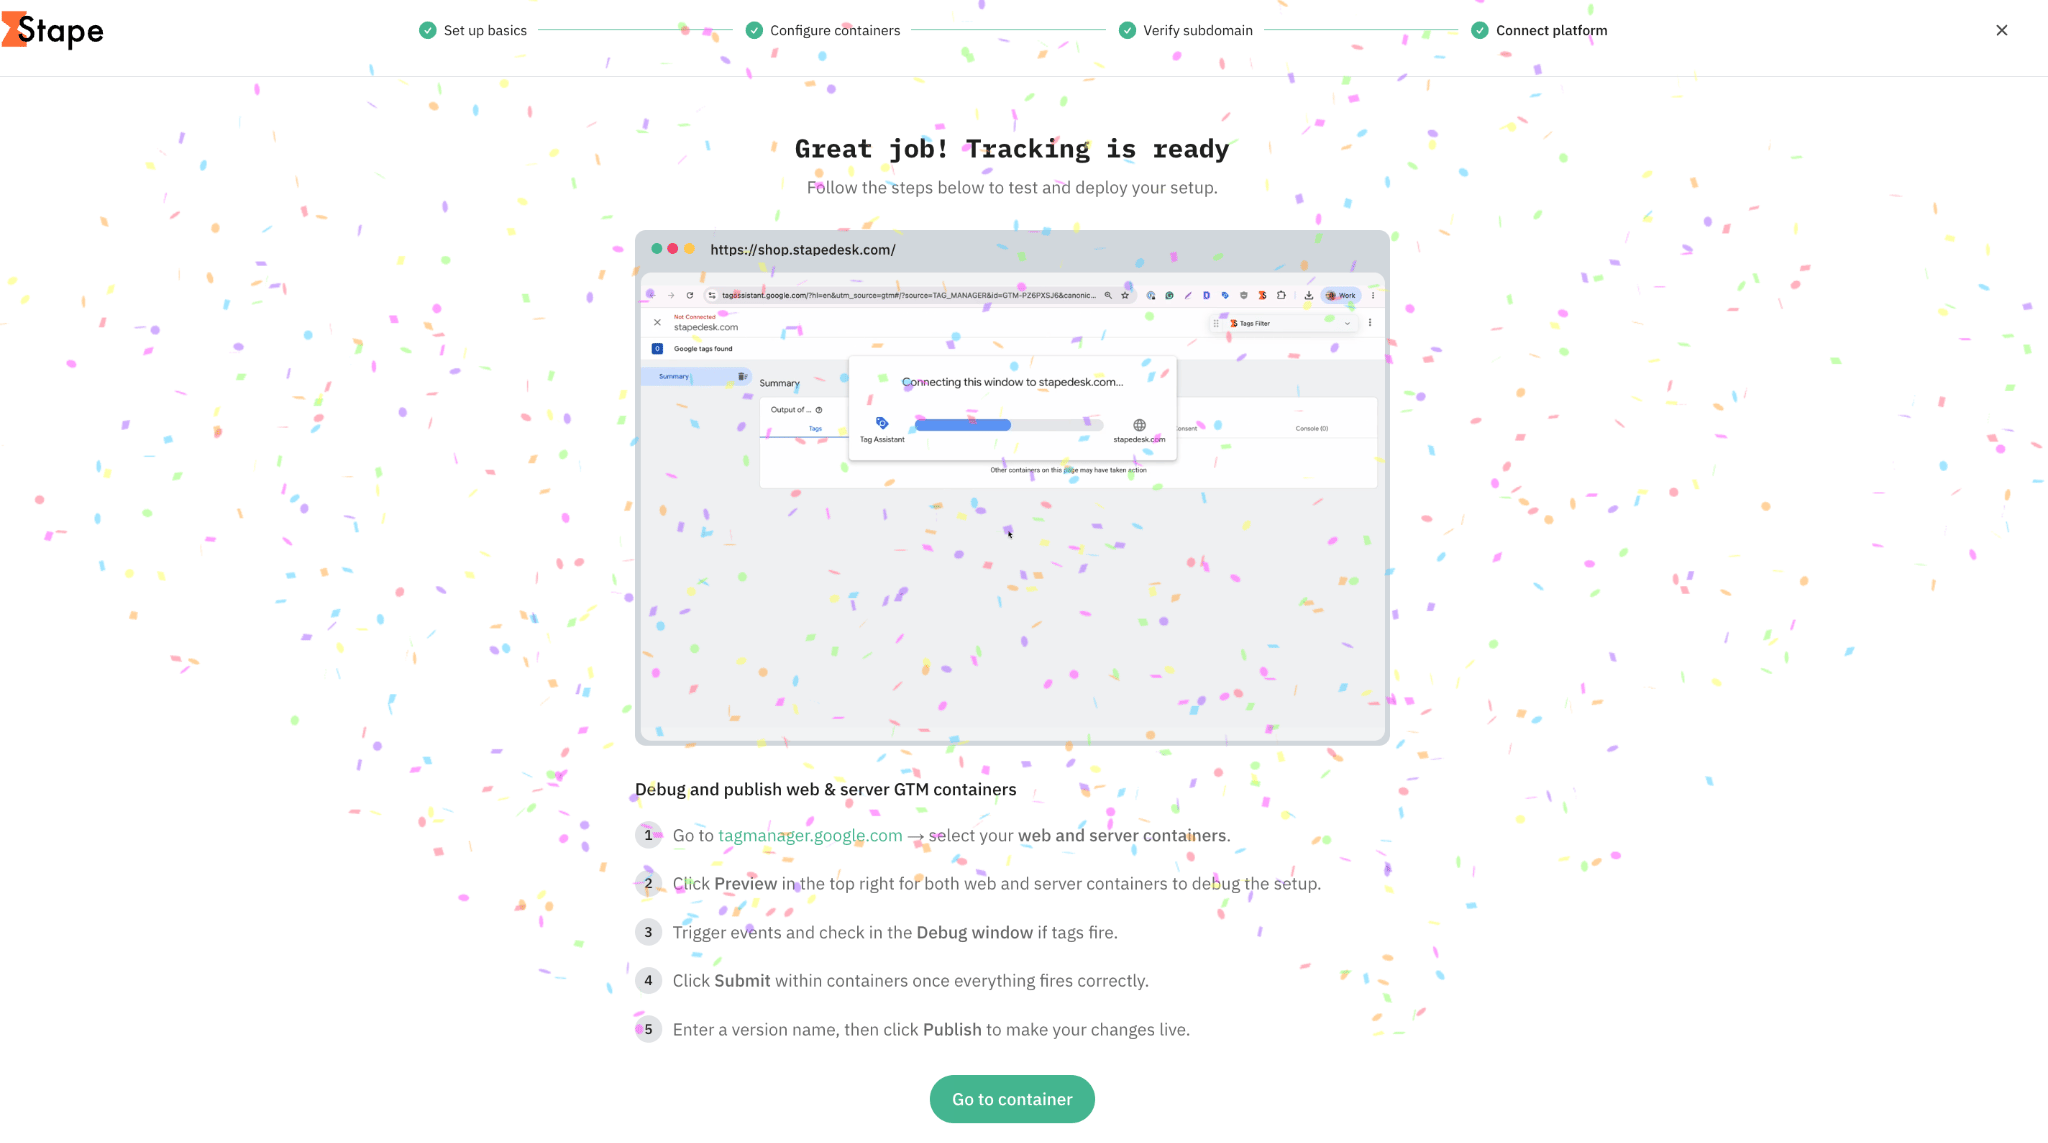
At this point, you need to go to your web and server GTM containers, debug the setup, and publish the changes if everything works properly.
Note:
If you missed some steps during the configuration (such as verifying the custom subdomain, adding IDs for the platforms you need server-side tracking for, or skipping app configuration), your final screen will differ. Before testing the configuration, please complete skipped steps.
How to test and publish the setup configured with Setup Wizard
Step 1. Run debug for both containers (web and server)
Go to Google Tag Manager and open the web and server containers you configured with the Setup Wizard.
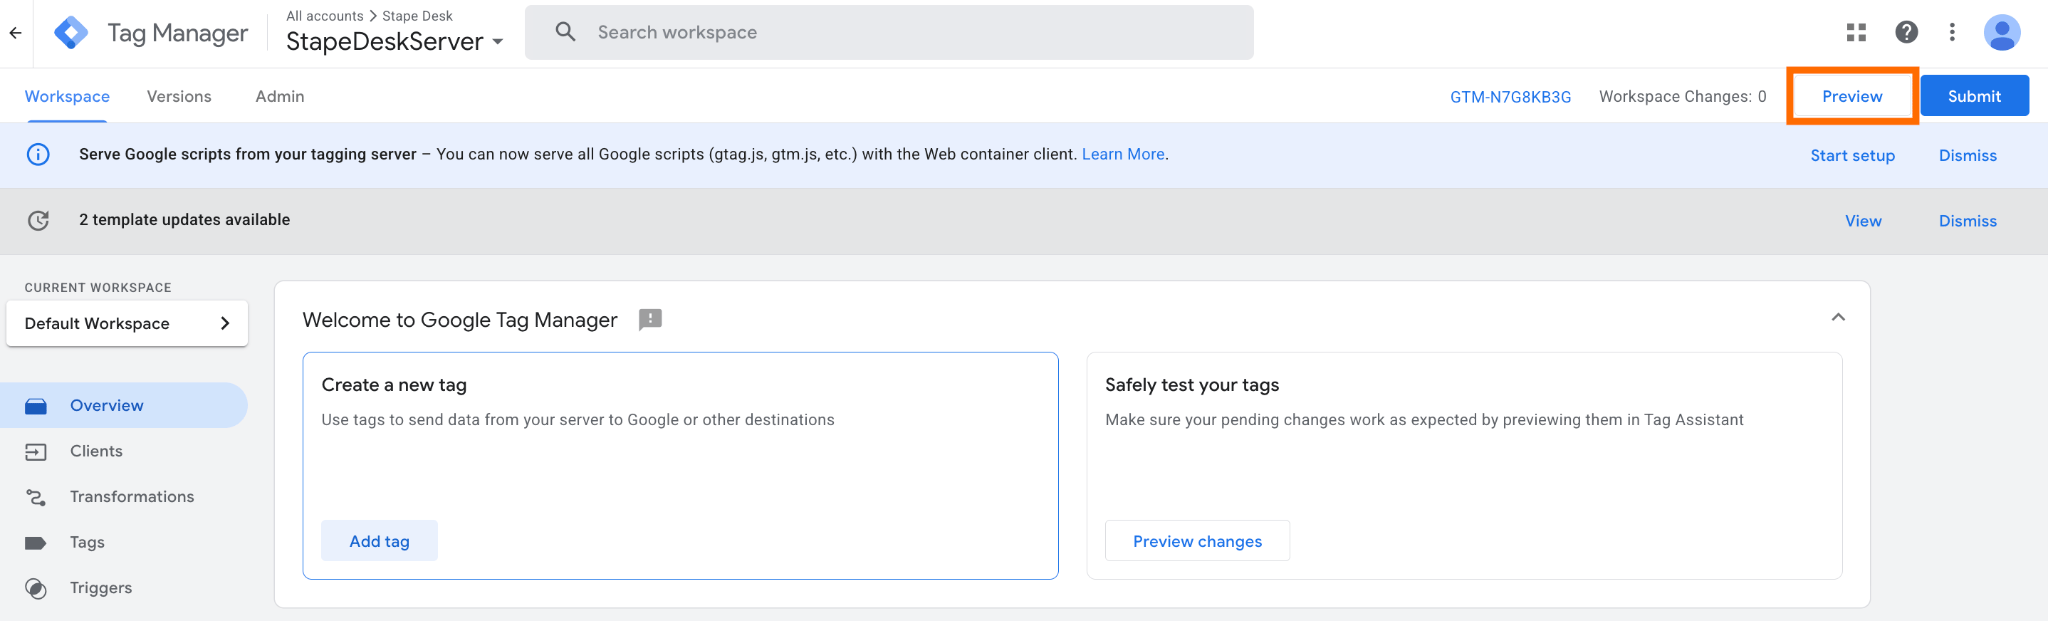
In the web container, click Preview in the top-right corner to open the GTM preview and debugging interface. Repeat the same process for your server container. Keep both preview windows available so you can check how events are sent from the web container and processed by the server container.
Step 2. Trigger events and check the Debug windows
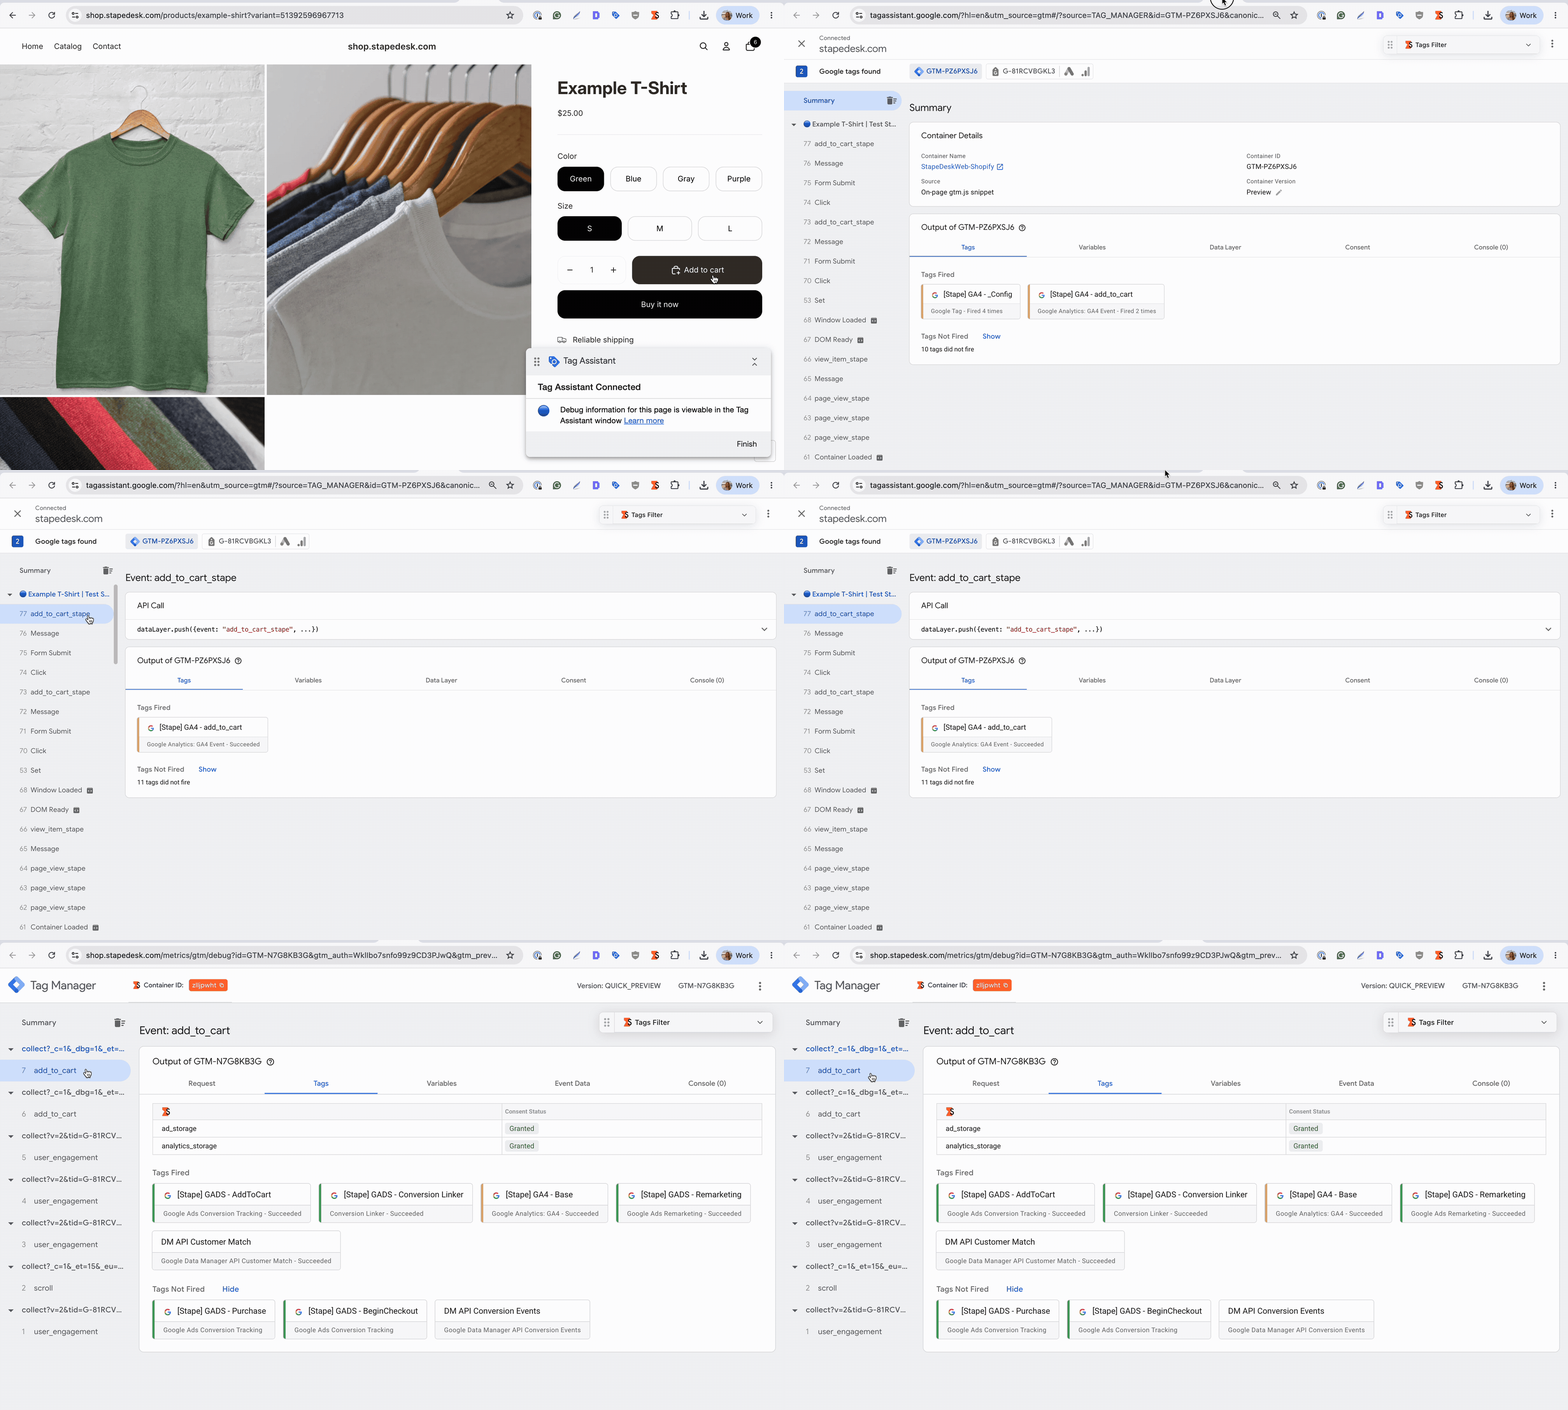
Open your website and perform the actions that should trigger your tracking events, such as viewing a page, submitting a form, or completing a purchase.
Check the Debug window for both containers:
- Verify that the expected events appear.
- Check that the relevant tags are triggered.
- Review the tag details to make sure the requests are sent to the expected platforms.
- Check for errors or tags that failed to fire.
If a tag doesn't fire as expected, review its trigger conditions and configuration before publishing the container.
For more details on debugging and monitoring your server-side tracking setup, refer to our guide.
⚠️Prevent over-reporting from other integrations
Check whether you have any additional plugins or integrations that also send events to the same platforms that are currently configured in GTM. Sending duplicate events can lead to over-reporting. For example, Shopify has Google and Meta apps that may have active integrations for sending events. If any such integrations exist, disable this functionality in the apps.
Similarly, consider what you may already have in your GTM containers or site codebase, and ensure there are no conflicts or double-firing tags.
Step 3. Submit your changes
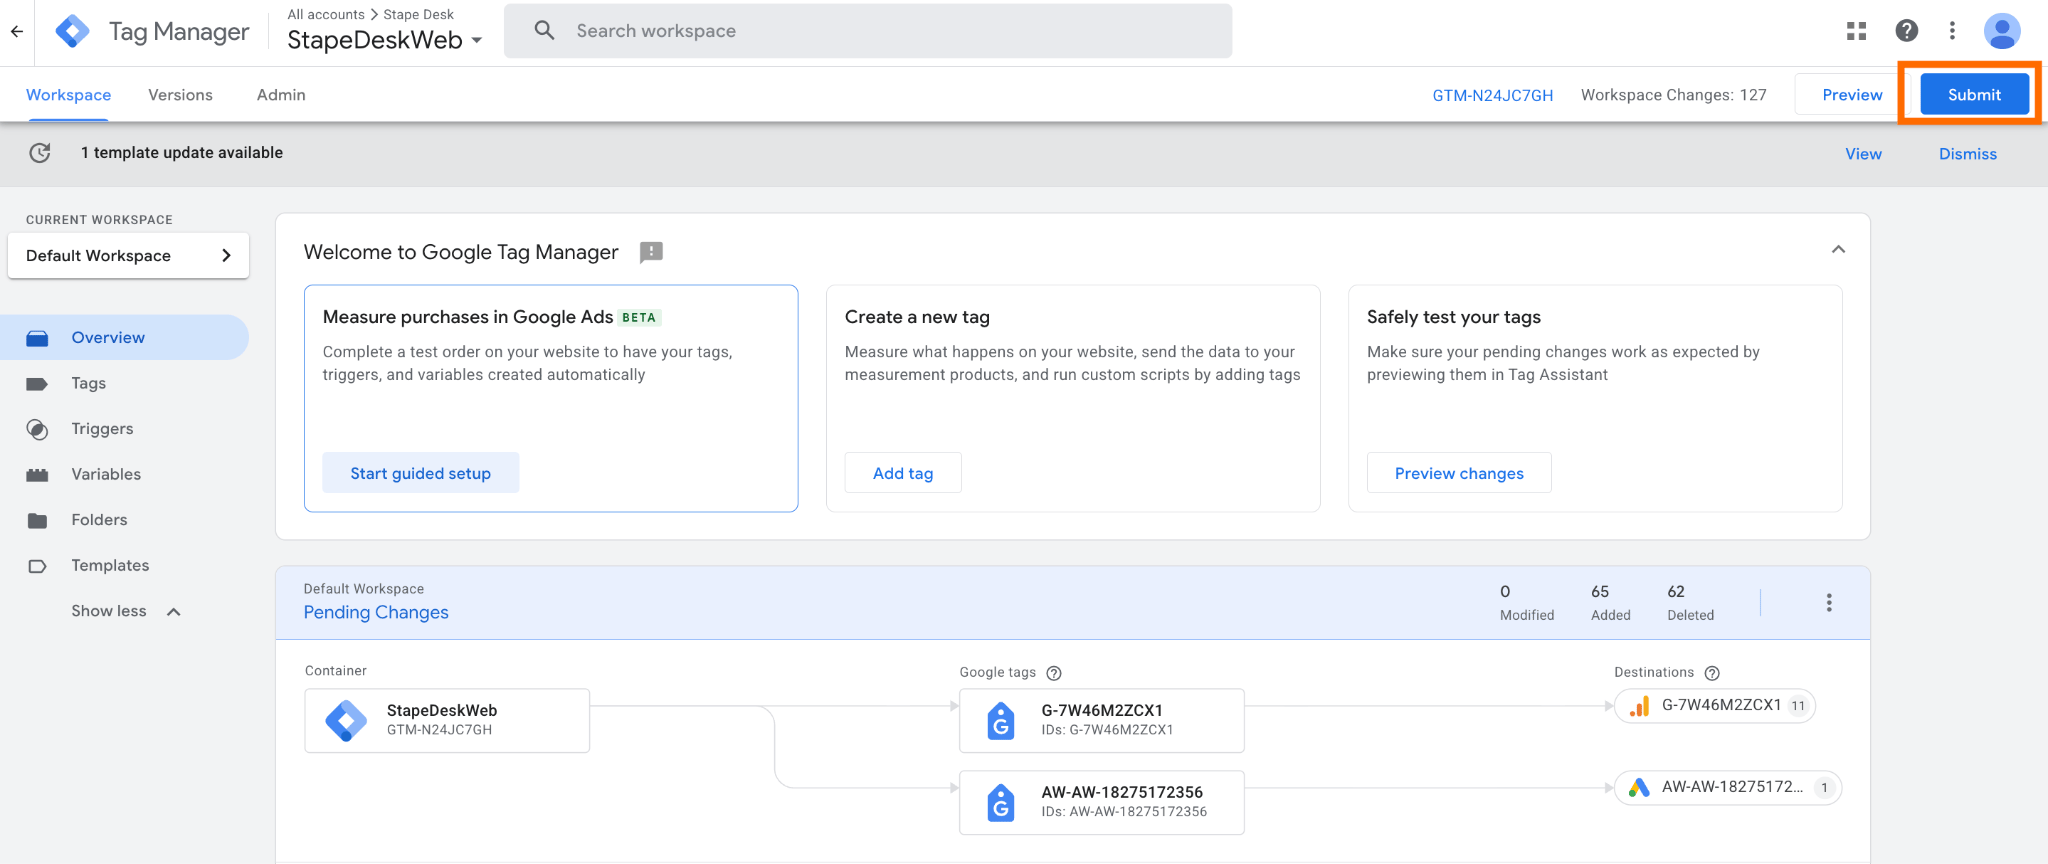
Once you've verified that the setup works correctly, return to each GTM container and click Submit in the top-right corner.
You need to submit the changes for both the web and server containers.
Step 4. Publish the changes
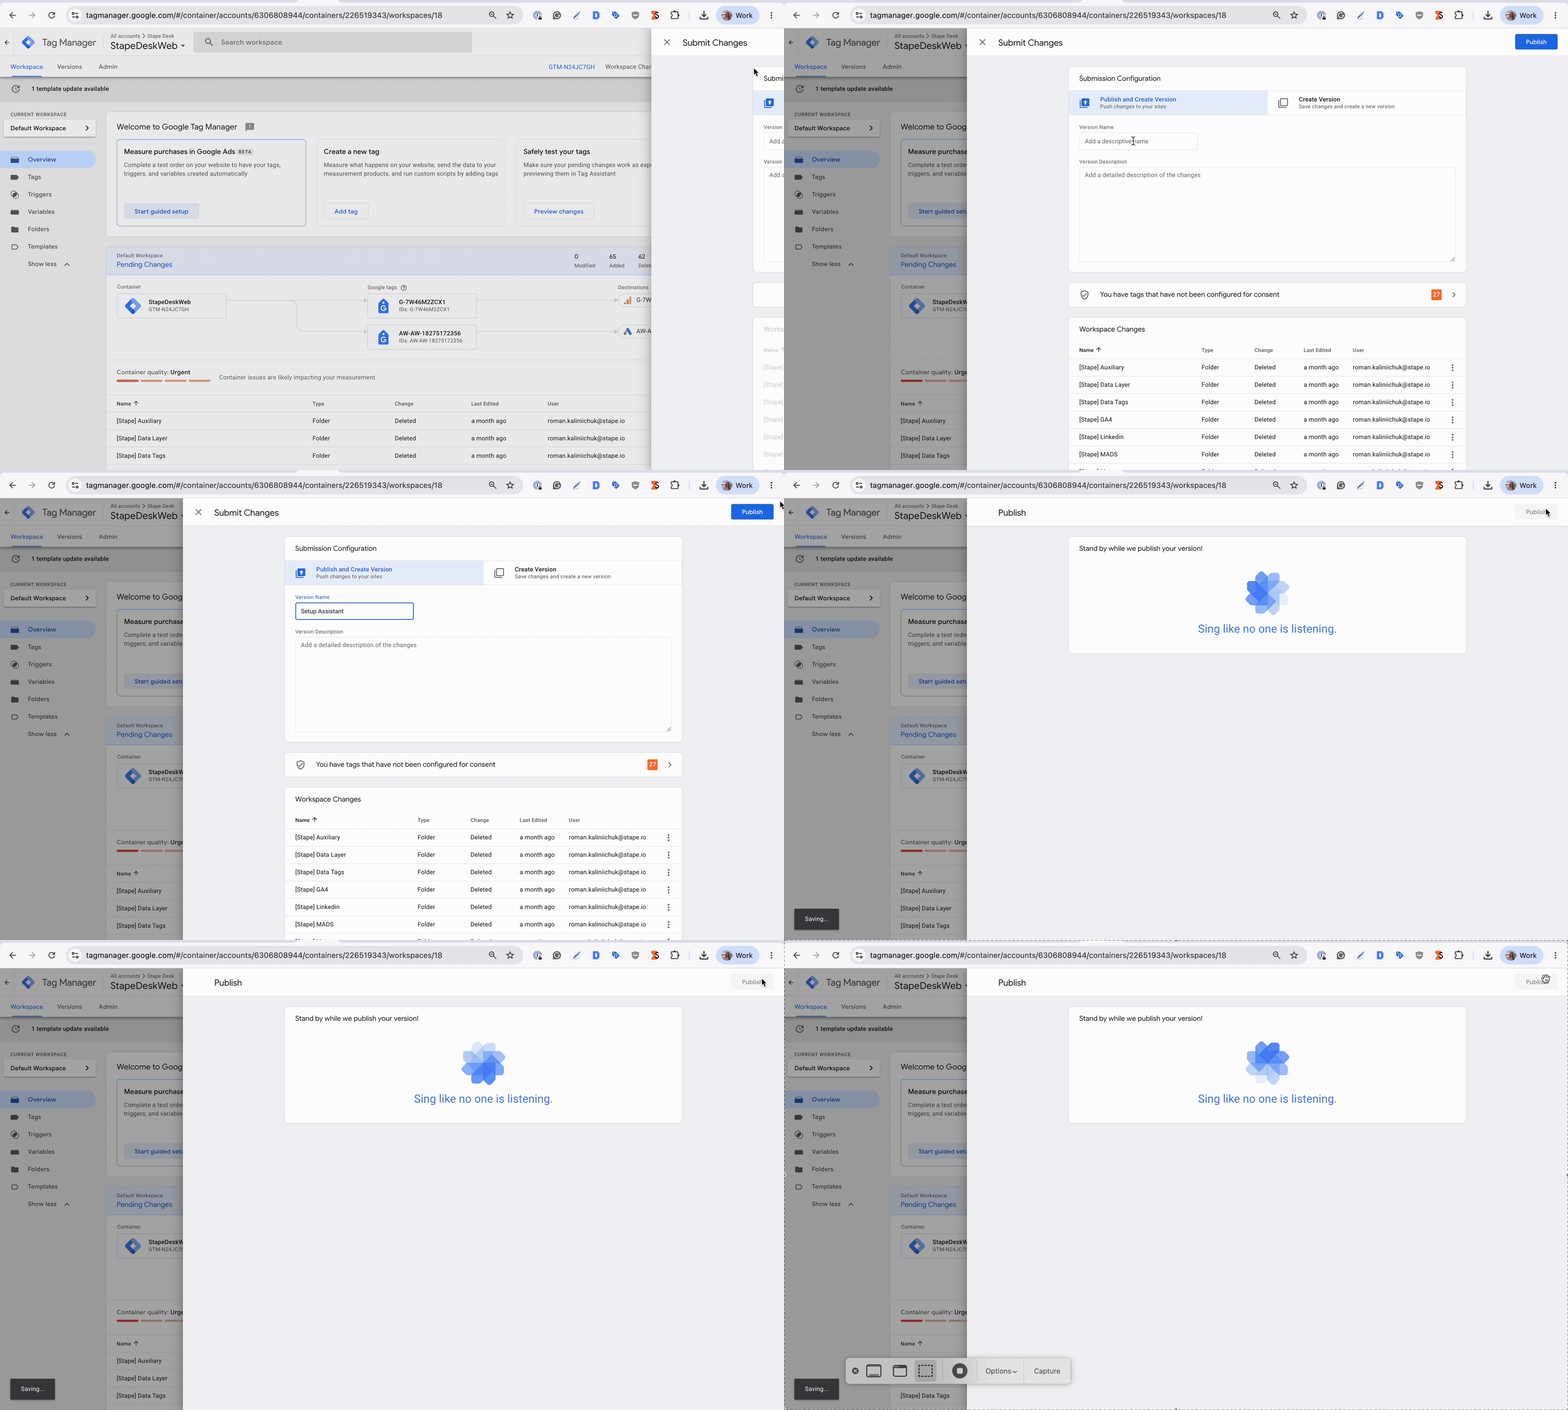
Enter a descriptive Version name to help you identify the changes later.
Click Publish to make the changes live.
After publishing, you can use your website and the connected platforms' debugging or testing tools to verify that data is being received as expected.
In case of any questions, feel free to ask in our Stape Community.
Was this article helpful?
🍽 Table of content:
Comments