How to set up Shopware extension
Updated Jul 6, 2026
The guide explains how to configure the Stape Conversion Tracking extension for Shopware. The extension helps embed a web GTM snippet on every page of the site and is a significant part of server-side configuration for Shopware websites.
How to configure the Stape Conversion Tracking extension for Shopware
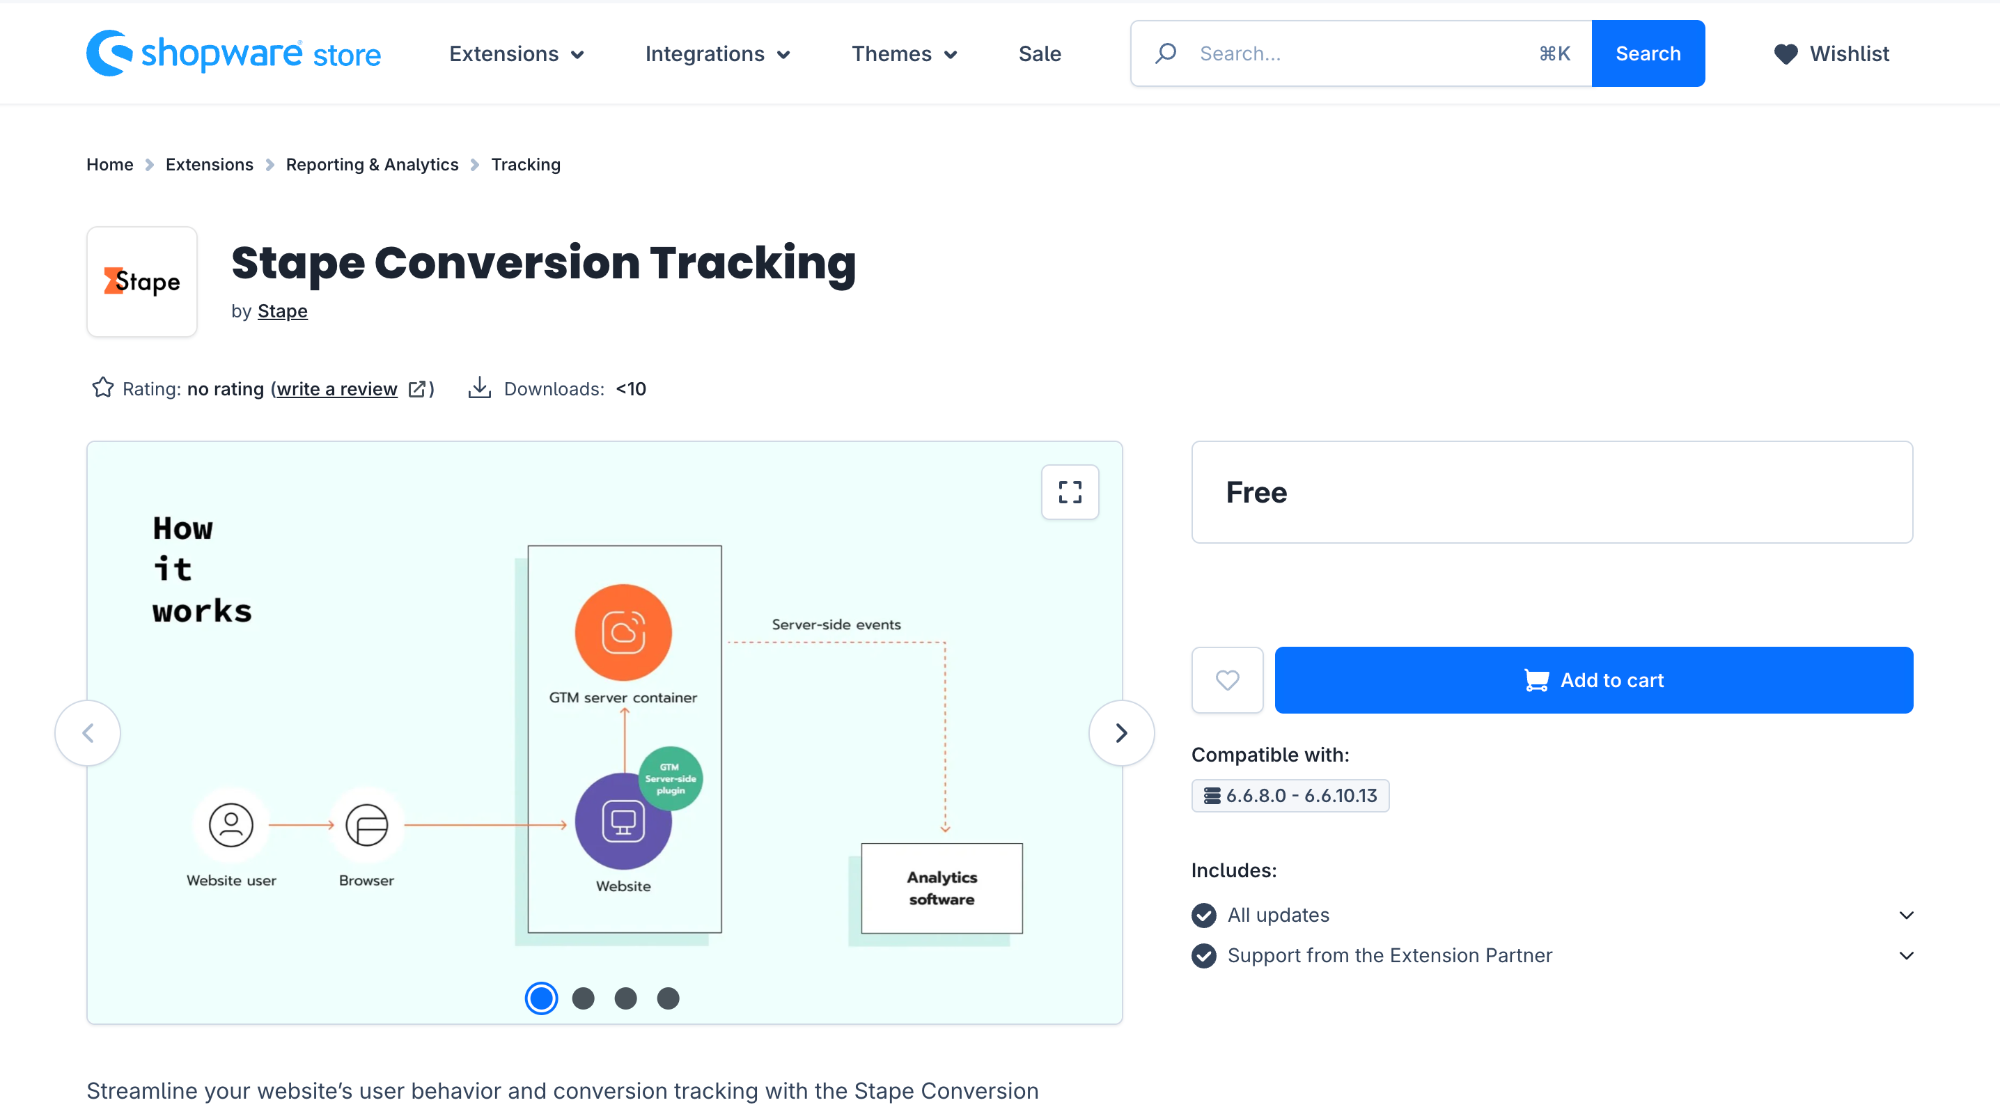
1. Install the Stape Conversion Tracking extension for Shopware from the Shopware store.
Click “Add to cart” → log in to your Shopware account and download the app for free.
Note: the extension is currently compatible with 6.6.8.0 - 6.6.10.13 Shopware versions.
2. Configure the extension's settings.
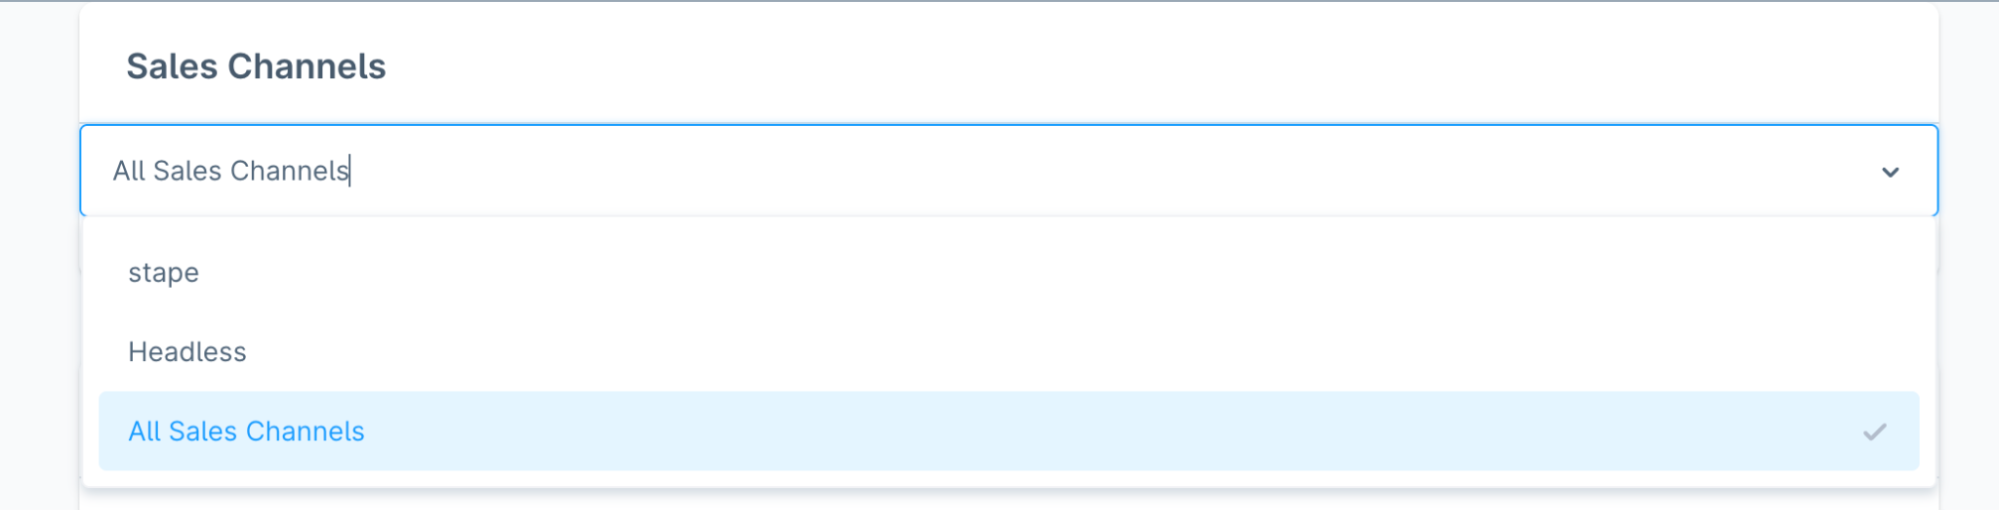
2.1 Select the “Sales Channels” you need to configure the extension for from the drop-down list. By default, the extension will be configured for all the sales channels.
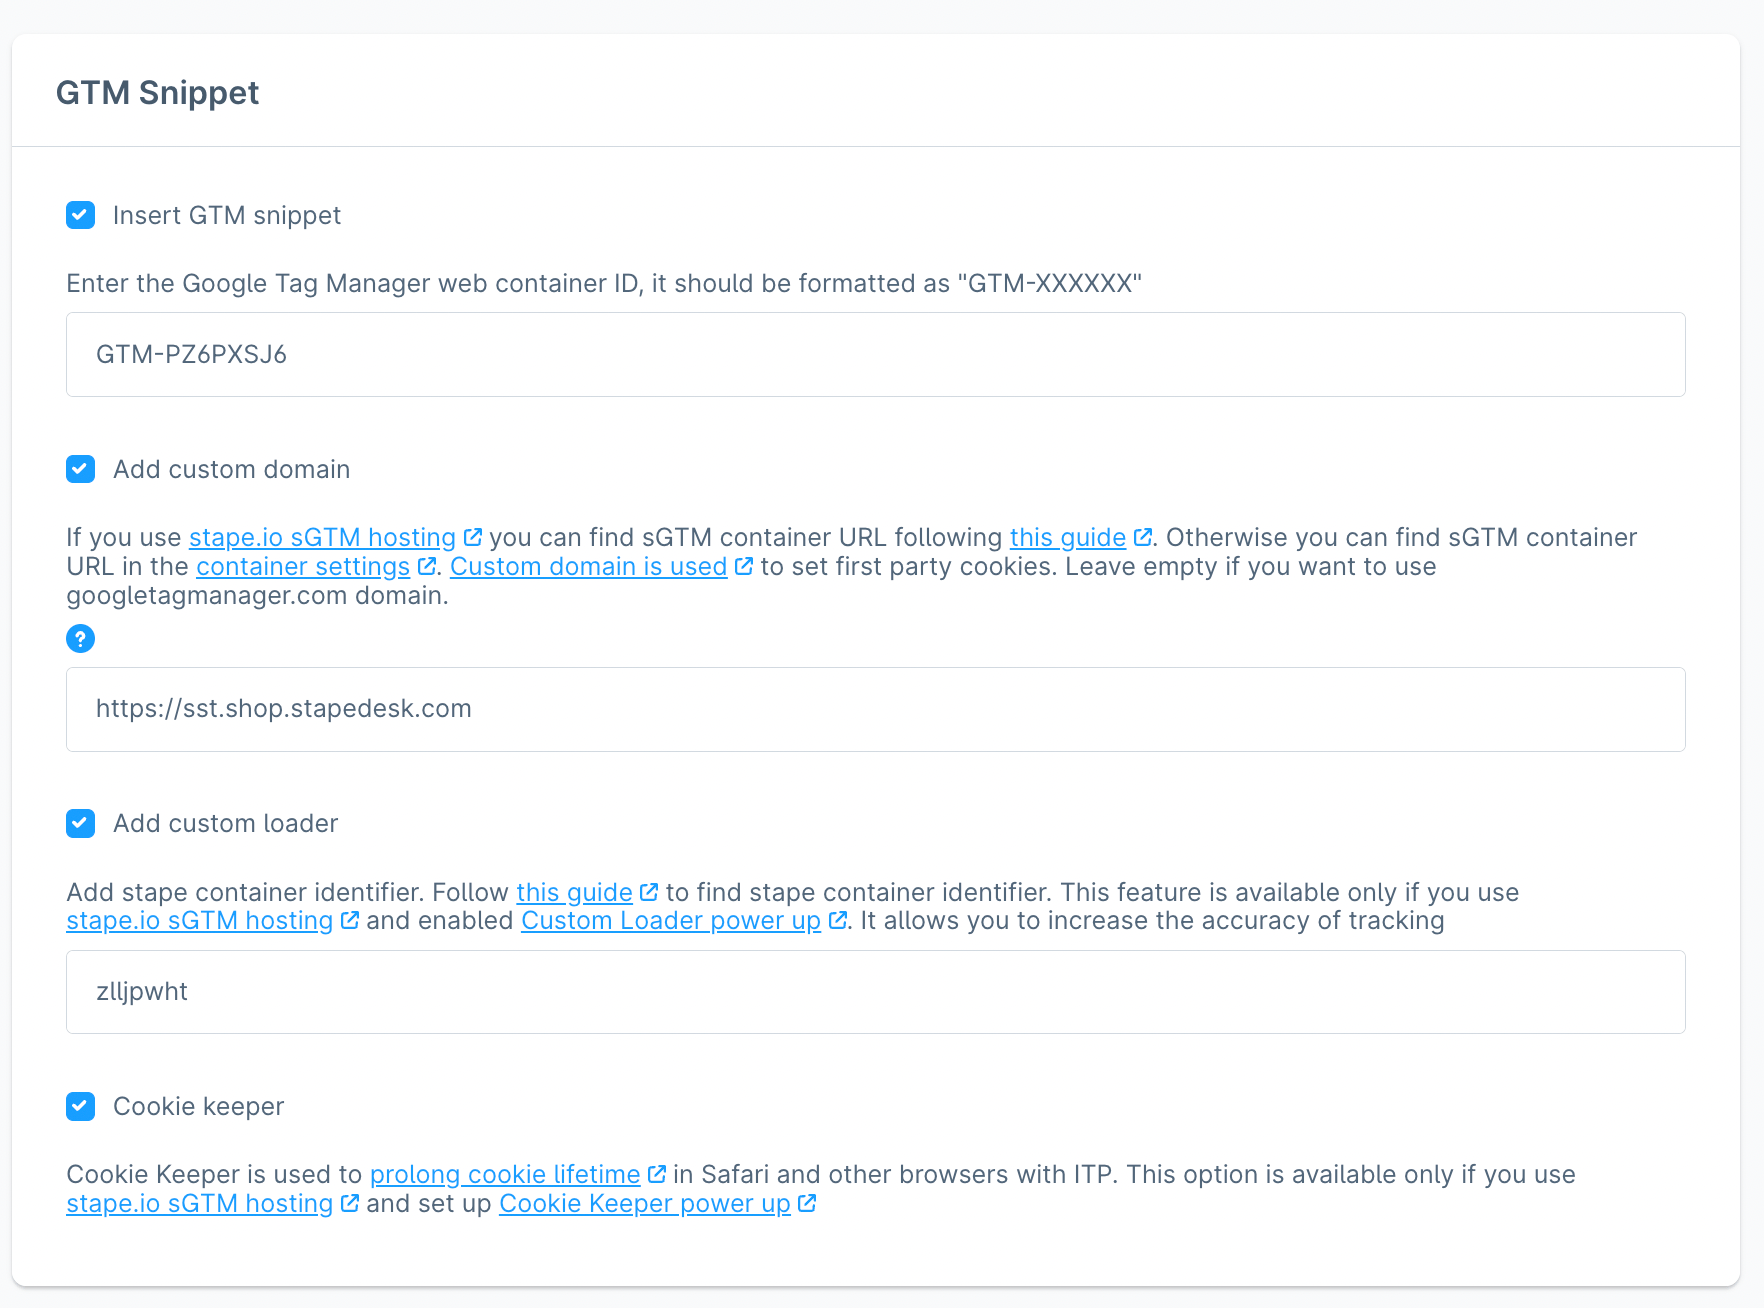
2.2 GTM Snippet section.
- Insert GTM snippet - check the box to automatically add the GTM tracking snippet on all pages of the Shopware shop.
Add the GTM web container ID. The format should be the following: GTM-XXXXXXX. Here’s how to find the web Google Tag Manager (GTM) ID.
- Add custom domain - check the box if you have a custom domain configured for enhanced data protection against ad blockers and browser restrictions. If you don’t have a subdomain, follow the instructions to
Add the domain URL - follow the detailed instructions on how to find the server container URL for sGTM container in our guide. The custom domain must be specified in the following format: https://gtm.example.com
- Add Custom Loader - check the box to increase protection against ad blockers. And add the identifier of your Stape container. For more detailed instructions, follow Stape’s guide on how to find the Stape container identifier.
- Cookie Keeper - check the box to prolong cookie lifetime in Safari and other browsers with ITP. The option is available if you have Cookie power-up configured.
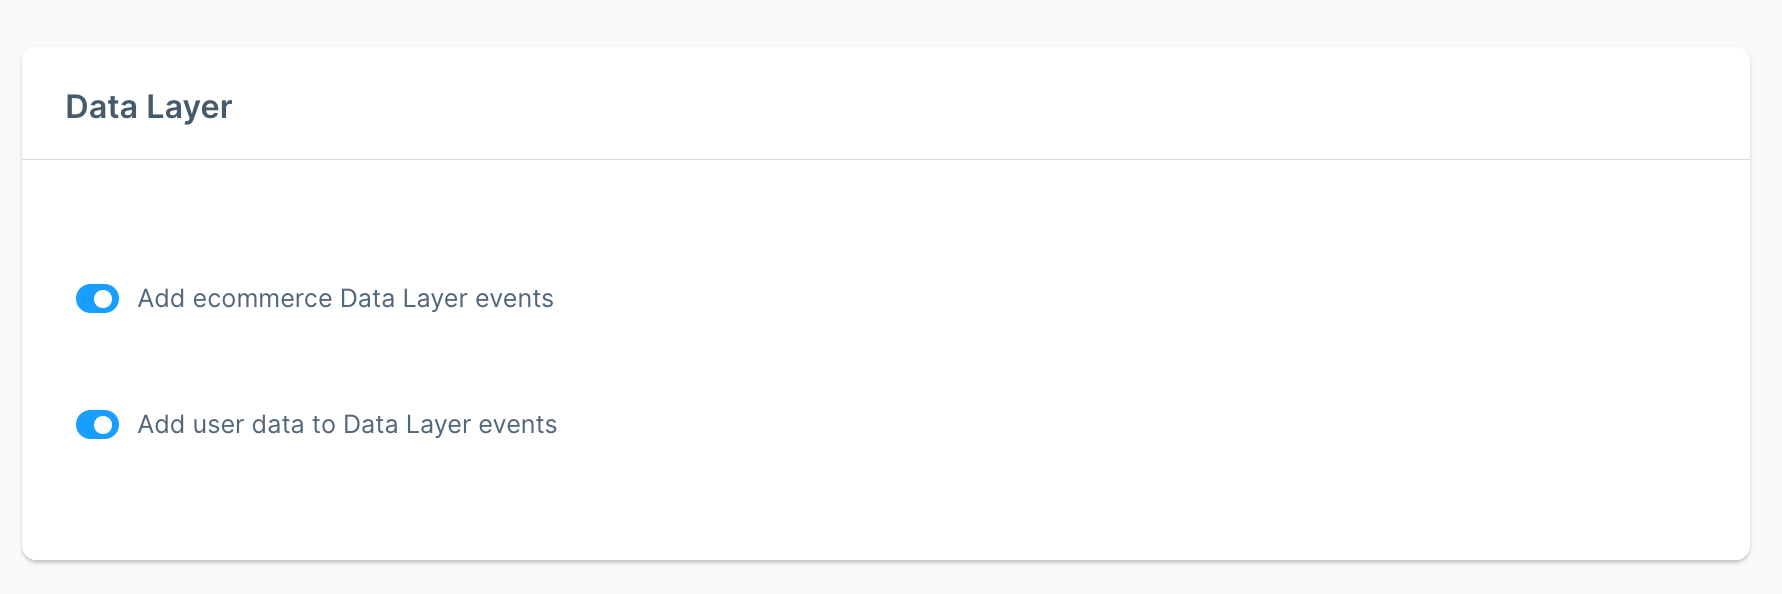
2.3 Data Layer section.
Use the toggles in this section to activate Data Layer events. These events help you capture additional product and user details for more complete data.
Find a list of Data Layer events and their payload that the Stape’s Conversion Tracking extension generates here.
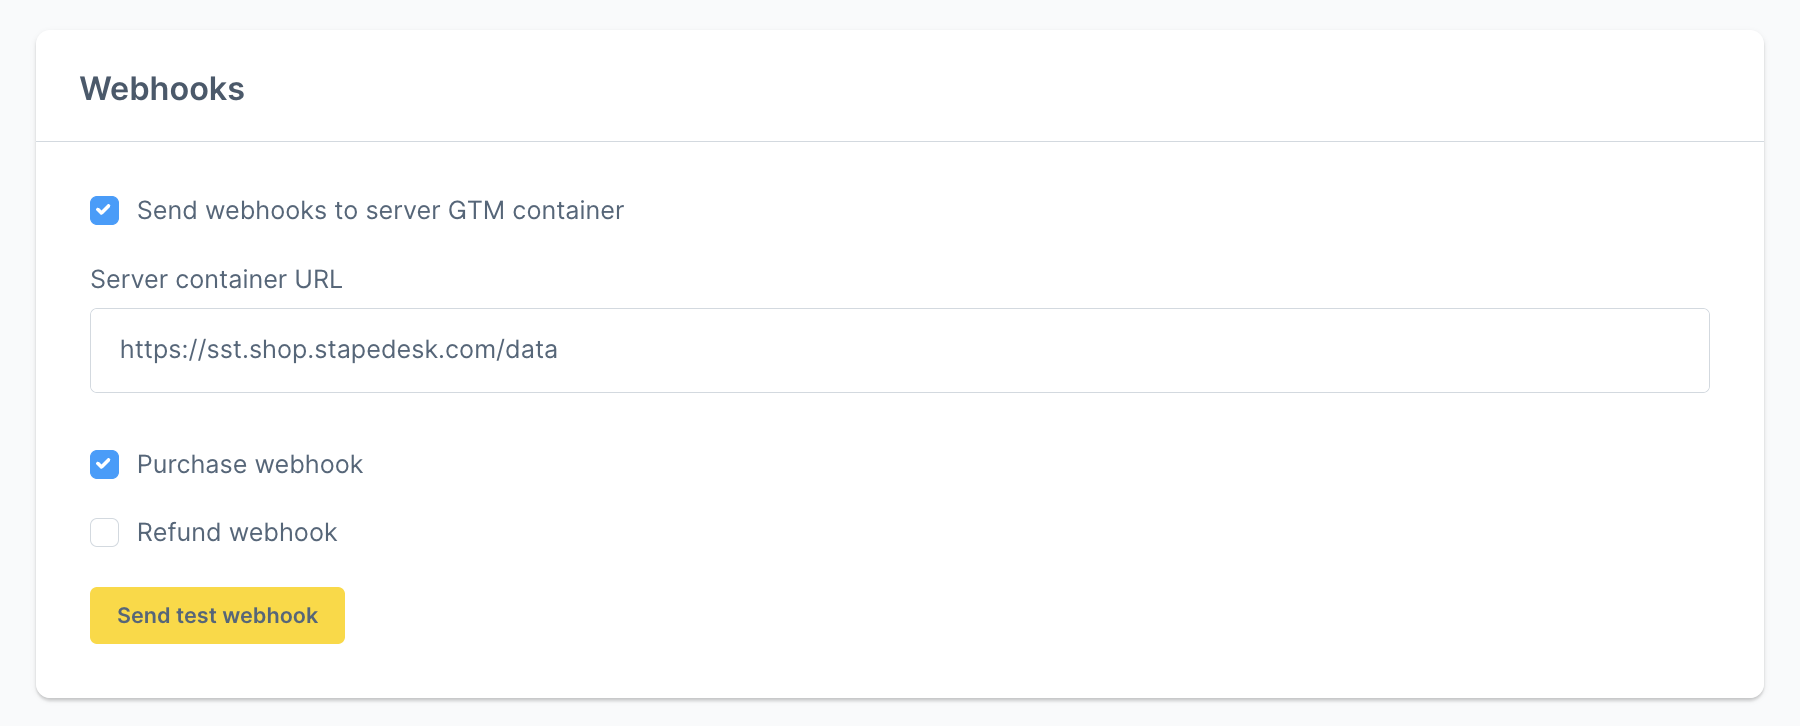
2.4 Webhooks section.
Configure webhooks to send data to a specific URL for events like purchases and refunds.
Enter your server container URL and add the path for your sGTM custom domain (e.g., https://sst.example.com/data). Toggle the fields for the events you need to track.
For more details, check our guides on using and debugging webhooks below:
Click “Save”.
3. Configure sending data to the server Google Tag Manager container.
Select one of the two popular ways to do it:
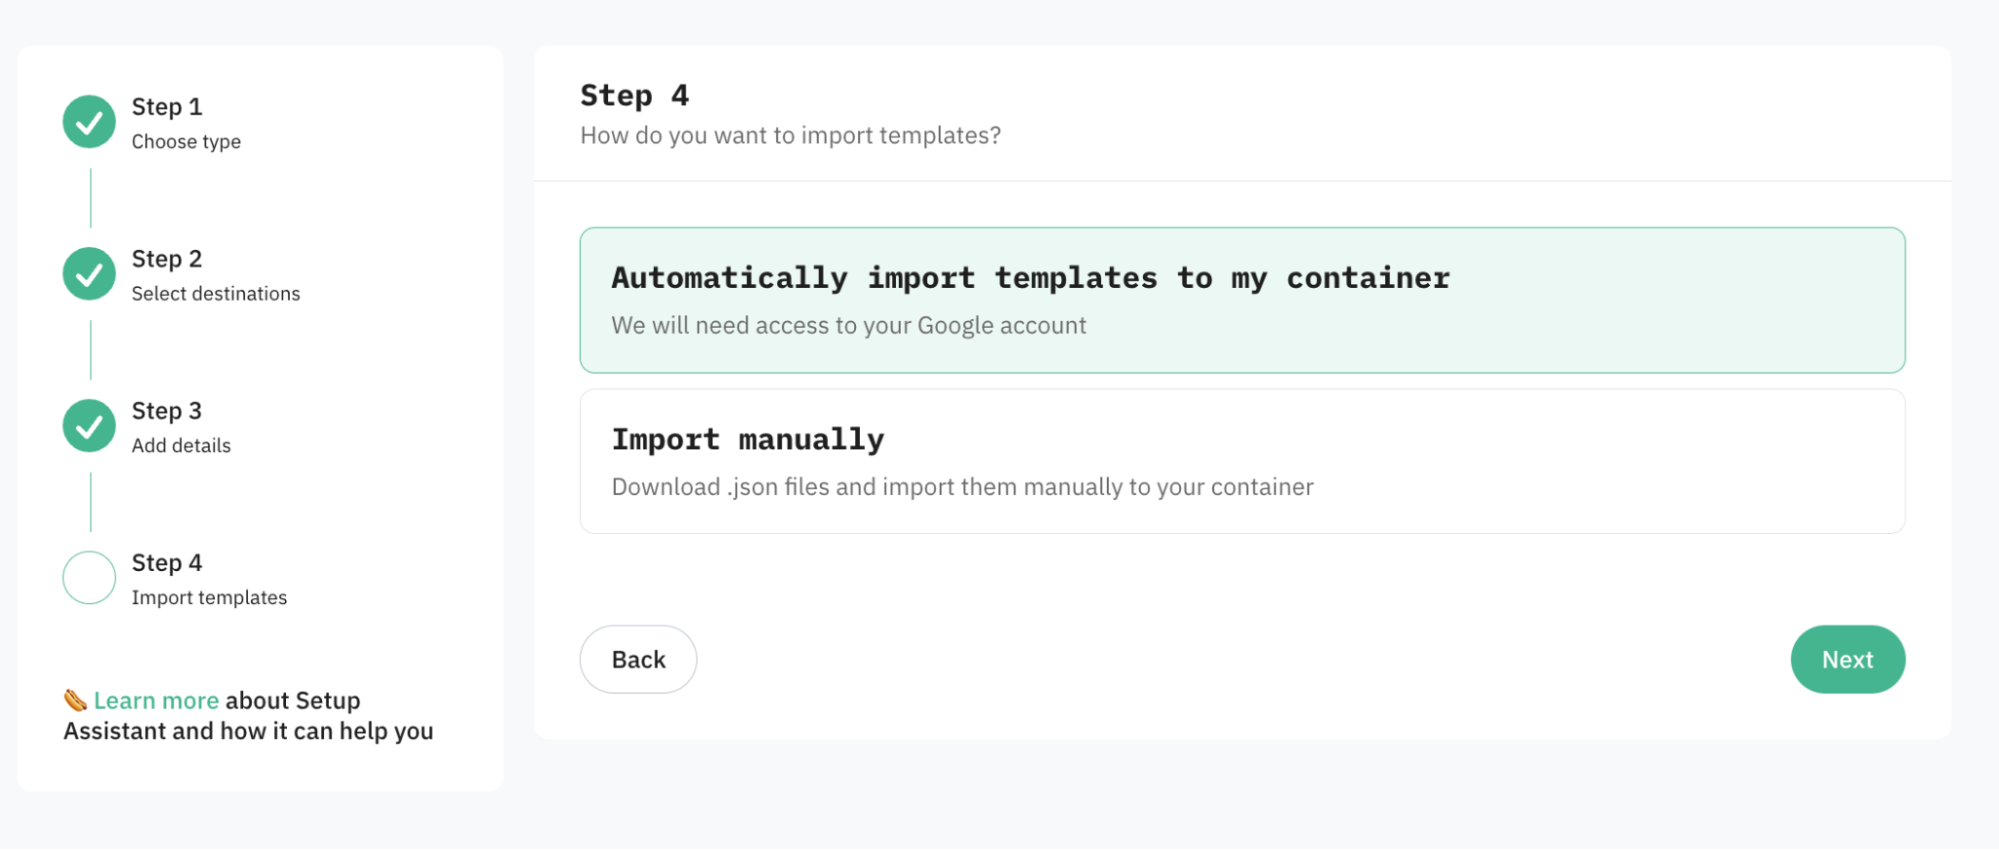
4. Set up server-side tracking for the platforms you use.
Configure server-side tracking for the platforms you need. We have prepared a list of platforms that support server-side tracking. You can configure them manually or use Setup Assistant to automatically add all the required tags/triggers/variables/clients in your GTM containers.
5. Debug the configuration.
Verify that your container is properly loaded on the site.
To do this, open any page on your website, launch the browser console, and go to the Network tab. Then filter requests by your subdomain or tagging server URL. You should see a request similar to the one in the screenshot, with a 200 status code, confirming it loaded successfully.

Was this article helpful?
Comments