How to set up PipeDrive tag using server GTM
Uliana Lesiv
AuthorTo set up PipeDrive tag for server GTM, you will need to:
- Configure a server GTM container.
- Set up sending data from the web to the server GTM container.
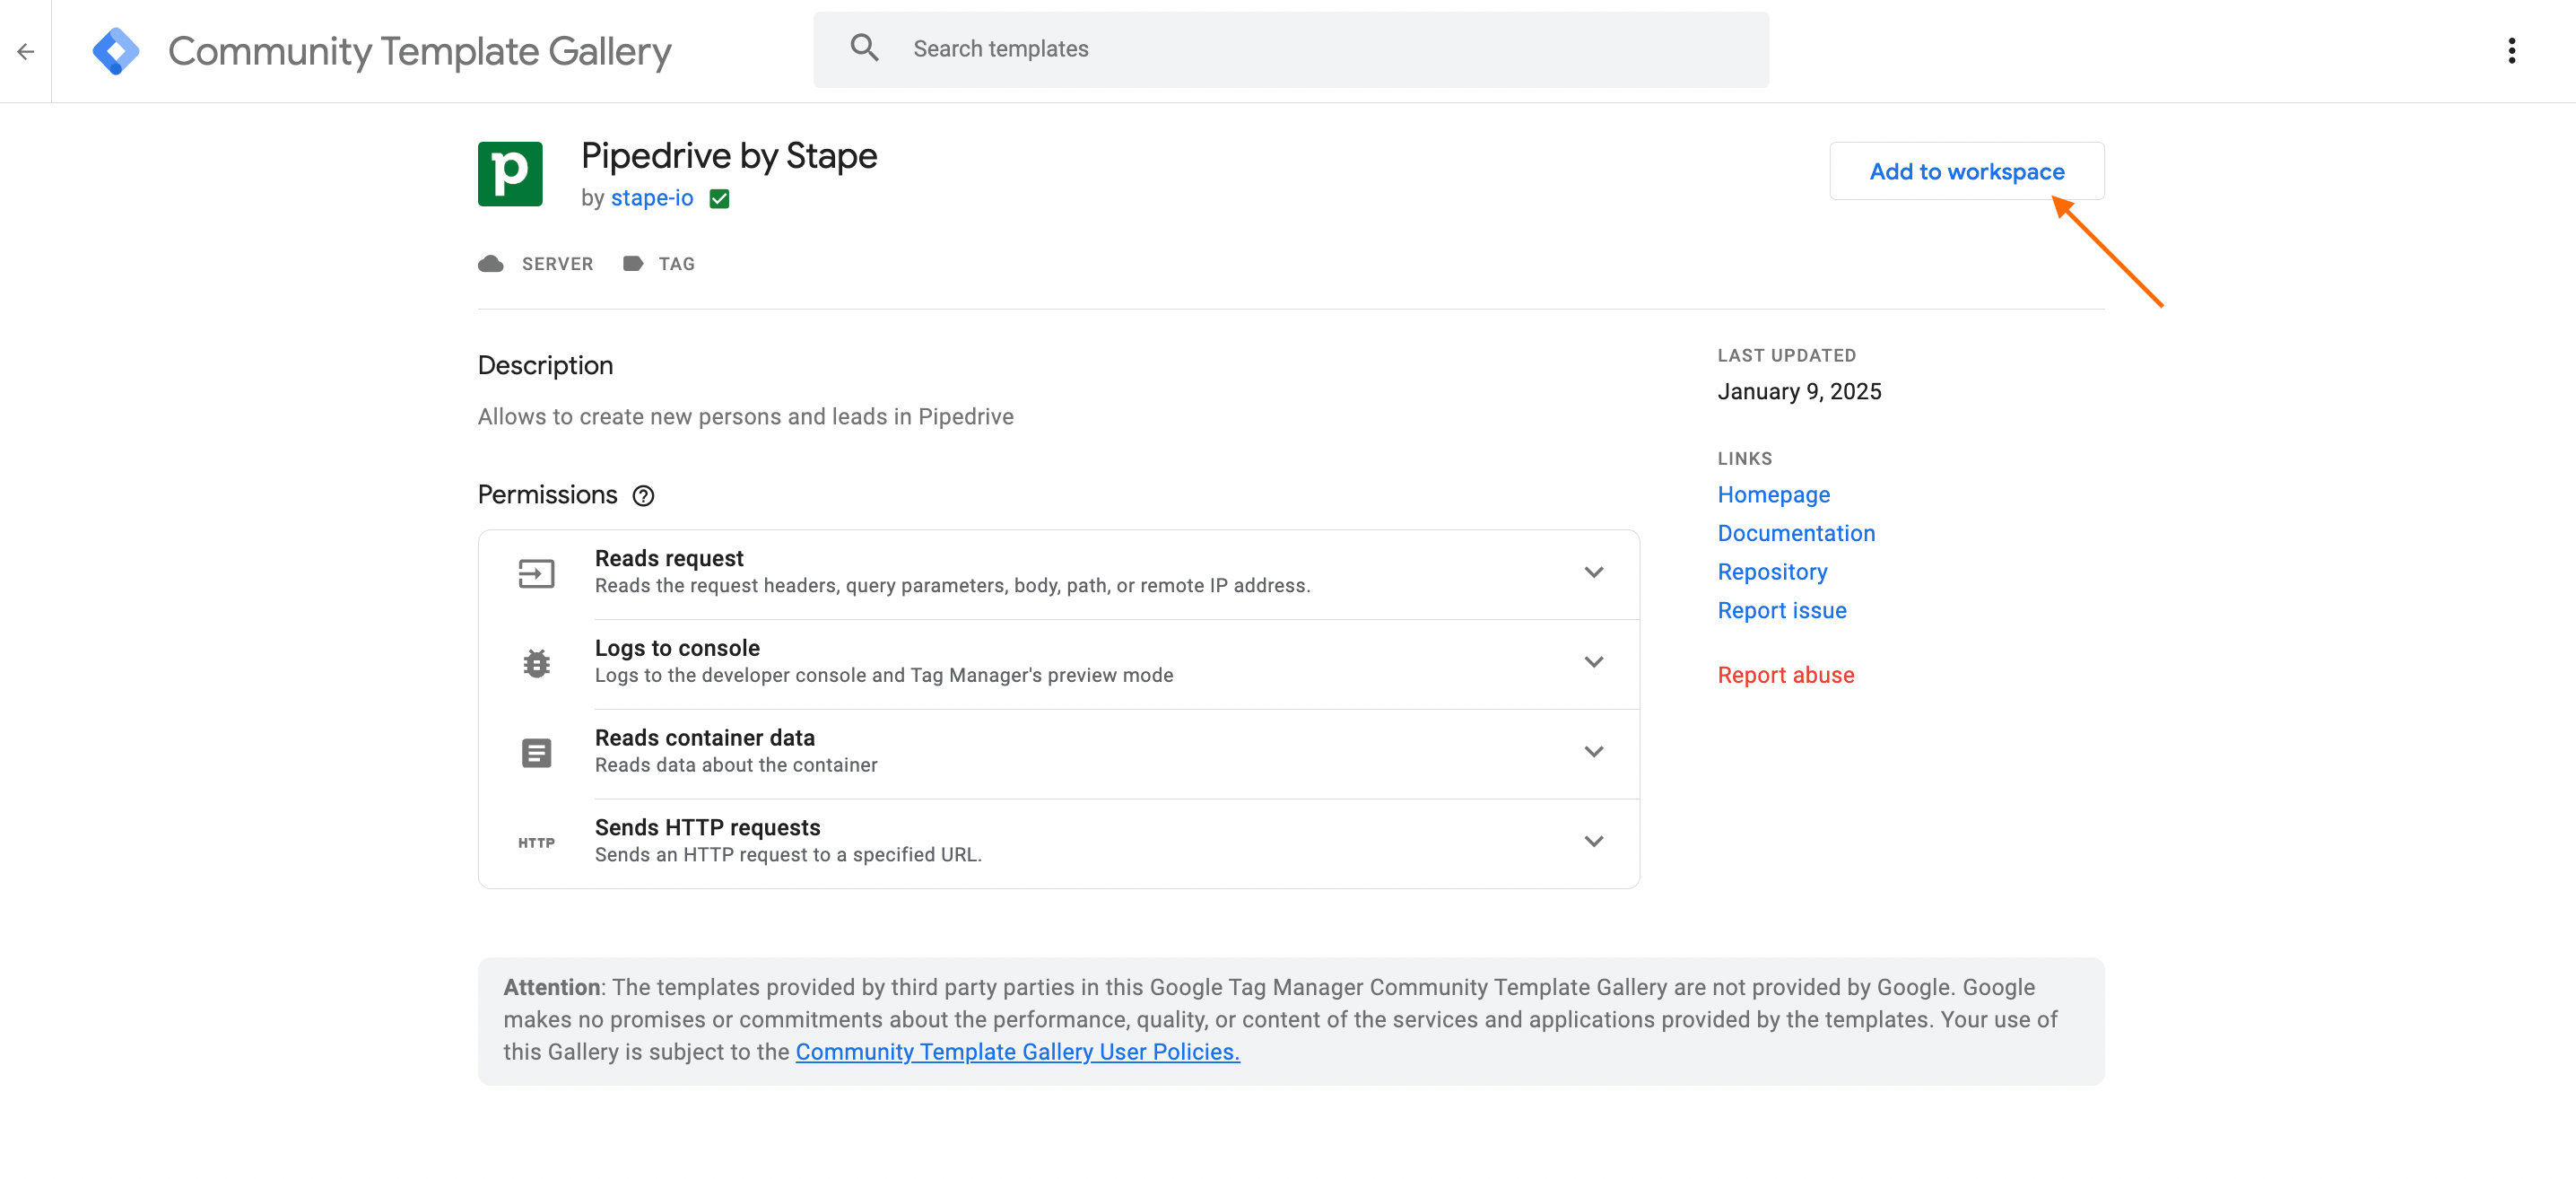
- Add the PipeDrive tag from the GTM template gallery.
- Configure the tag. You can track new contacts or new leads.
- Add the trigger to a tag.
- Test the setup.
Below, we will show you the configuration process in more detail.
What is PipeDrive tag for GTM?
The PipeDrive tag, developed by Stape, communicates with the PipeDrive API. It works on a server GTM container, and to configure it, you need to set up server-side tracking. Thanks to server-side tracking, you can benefit from more precise data tracking, higher data quality that is less affected by ad blockers and browser restrictions. You can find more benefits of server-side tracking in our other blog post.
Before starting
To set up the PipeDrive tag, you will need to:
- Configure data flow from the web to the server GTM container. Use Google Analytics 4 server-side configuration or Data Tag/Data Client for the purpose
How to set up PipeDrive tag
1. Add PipeDrive tag from GTM template gallery.
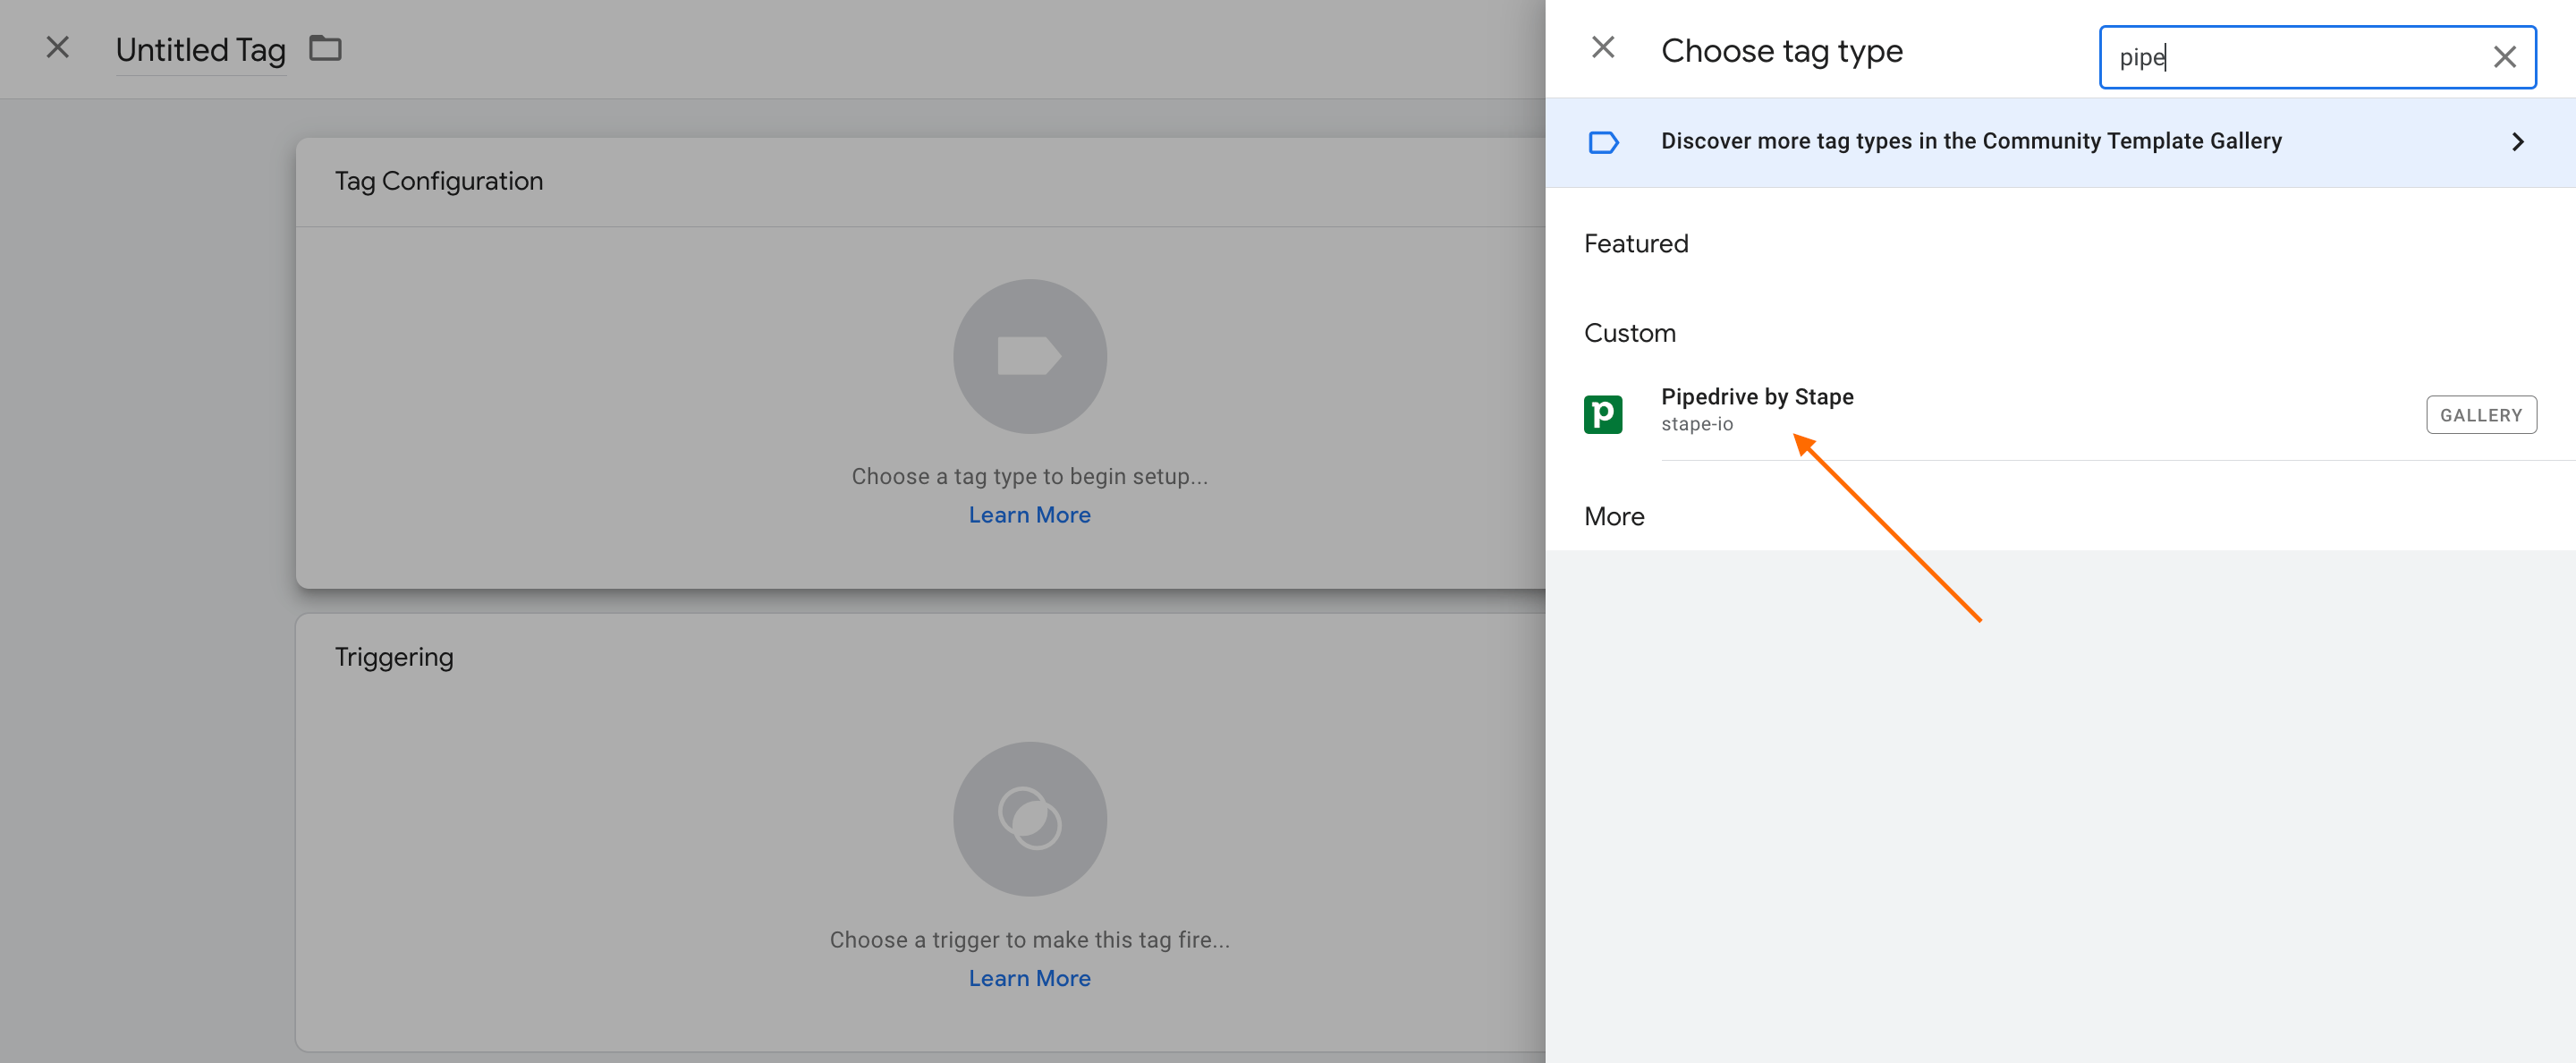
2. Create a new tag and choose "PipeDrive by Stape" as the tag type.
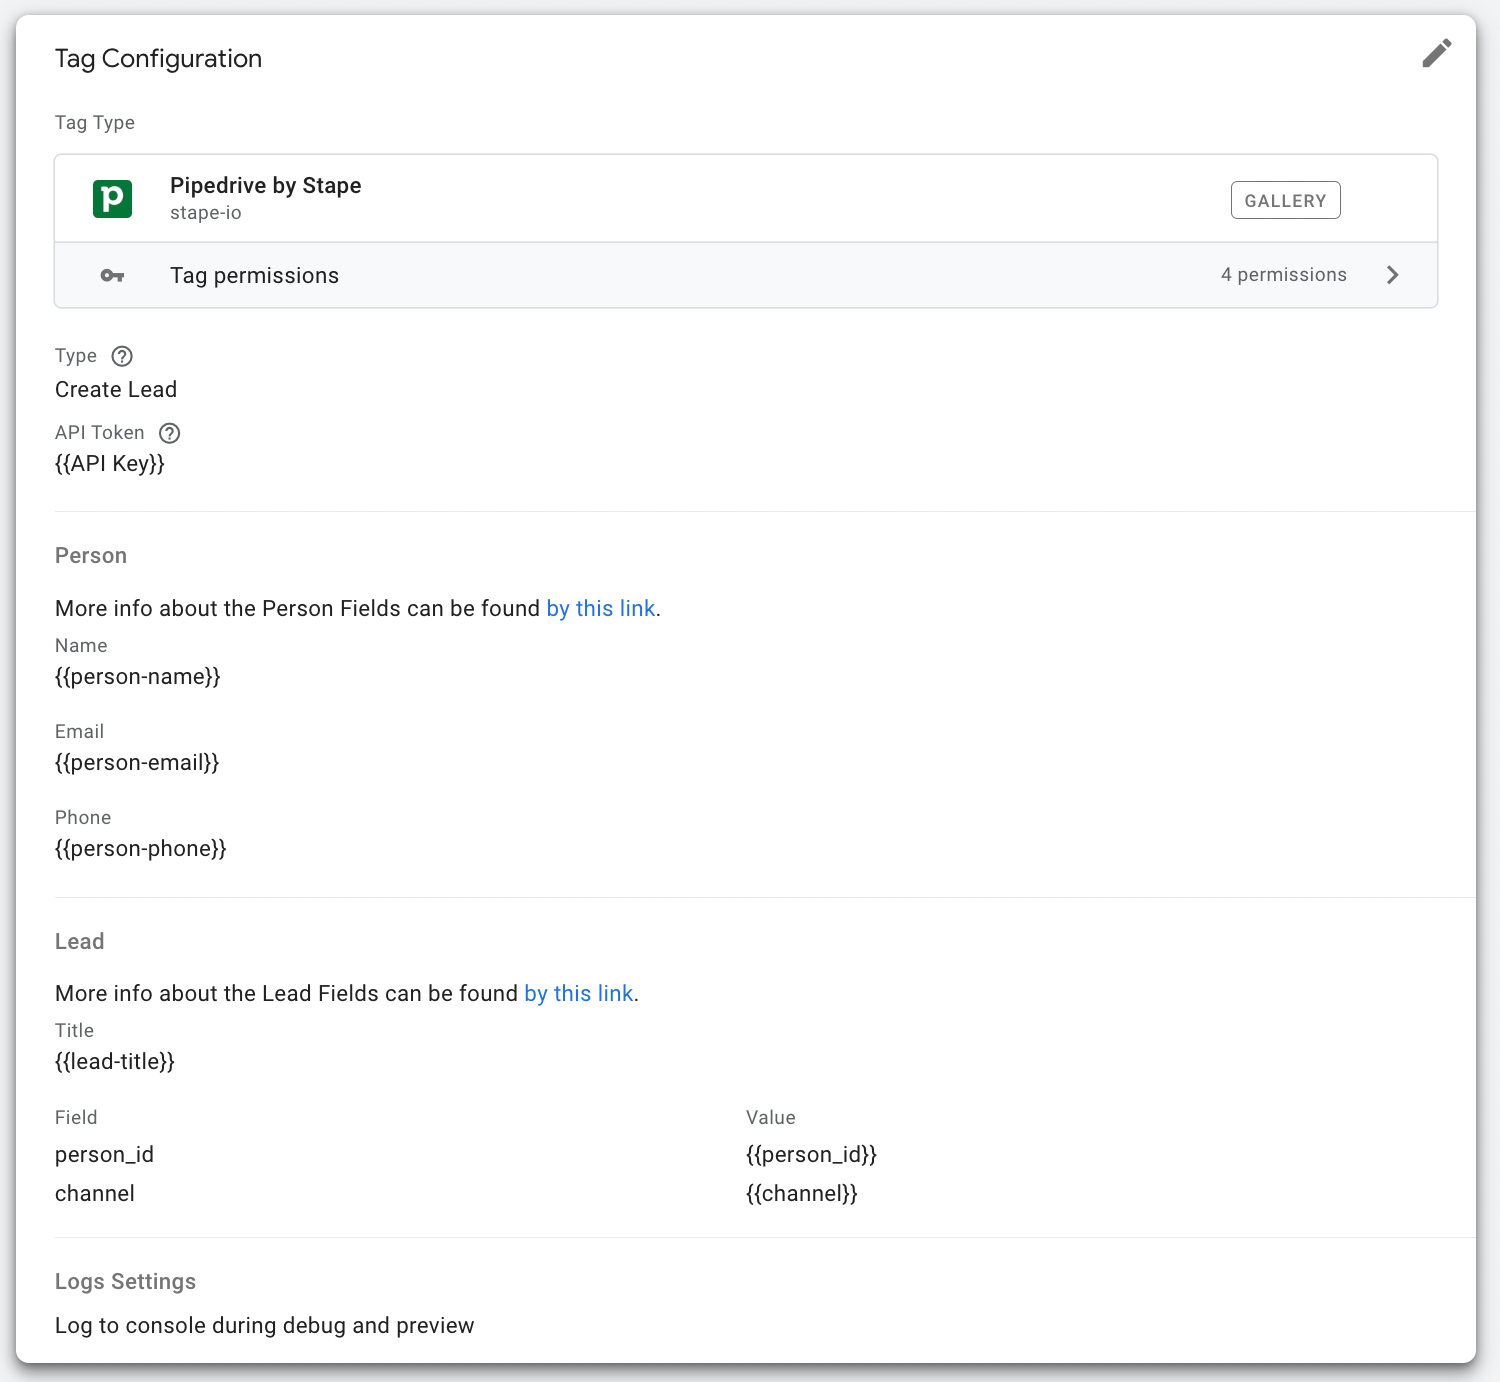
3. Configure a tag.
3.1 Select a type: Create Person or Create Lead.
"Person" is the list of contacts of the customers you plan to deal with.
"Lead" stands for potential deals, which are stored in the Leads Inbox before you achieve them or convert them to Deals.
Note: If you choose a Lead, it will also create a person automatically, as the Lead requires a person to associate with.
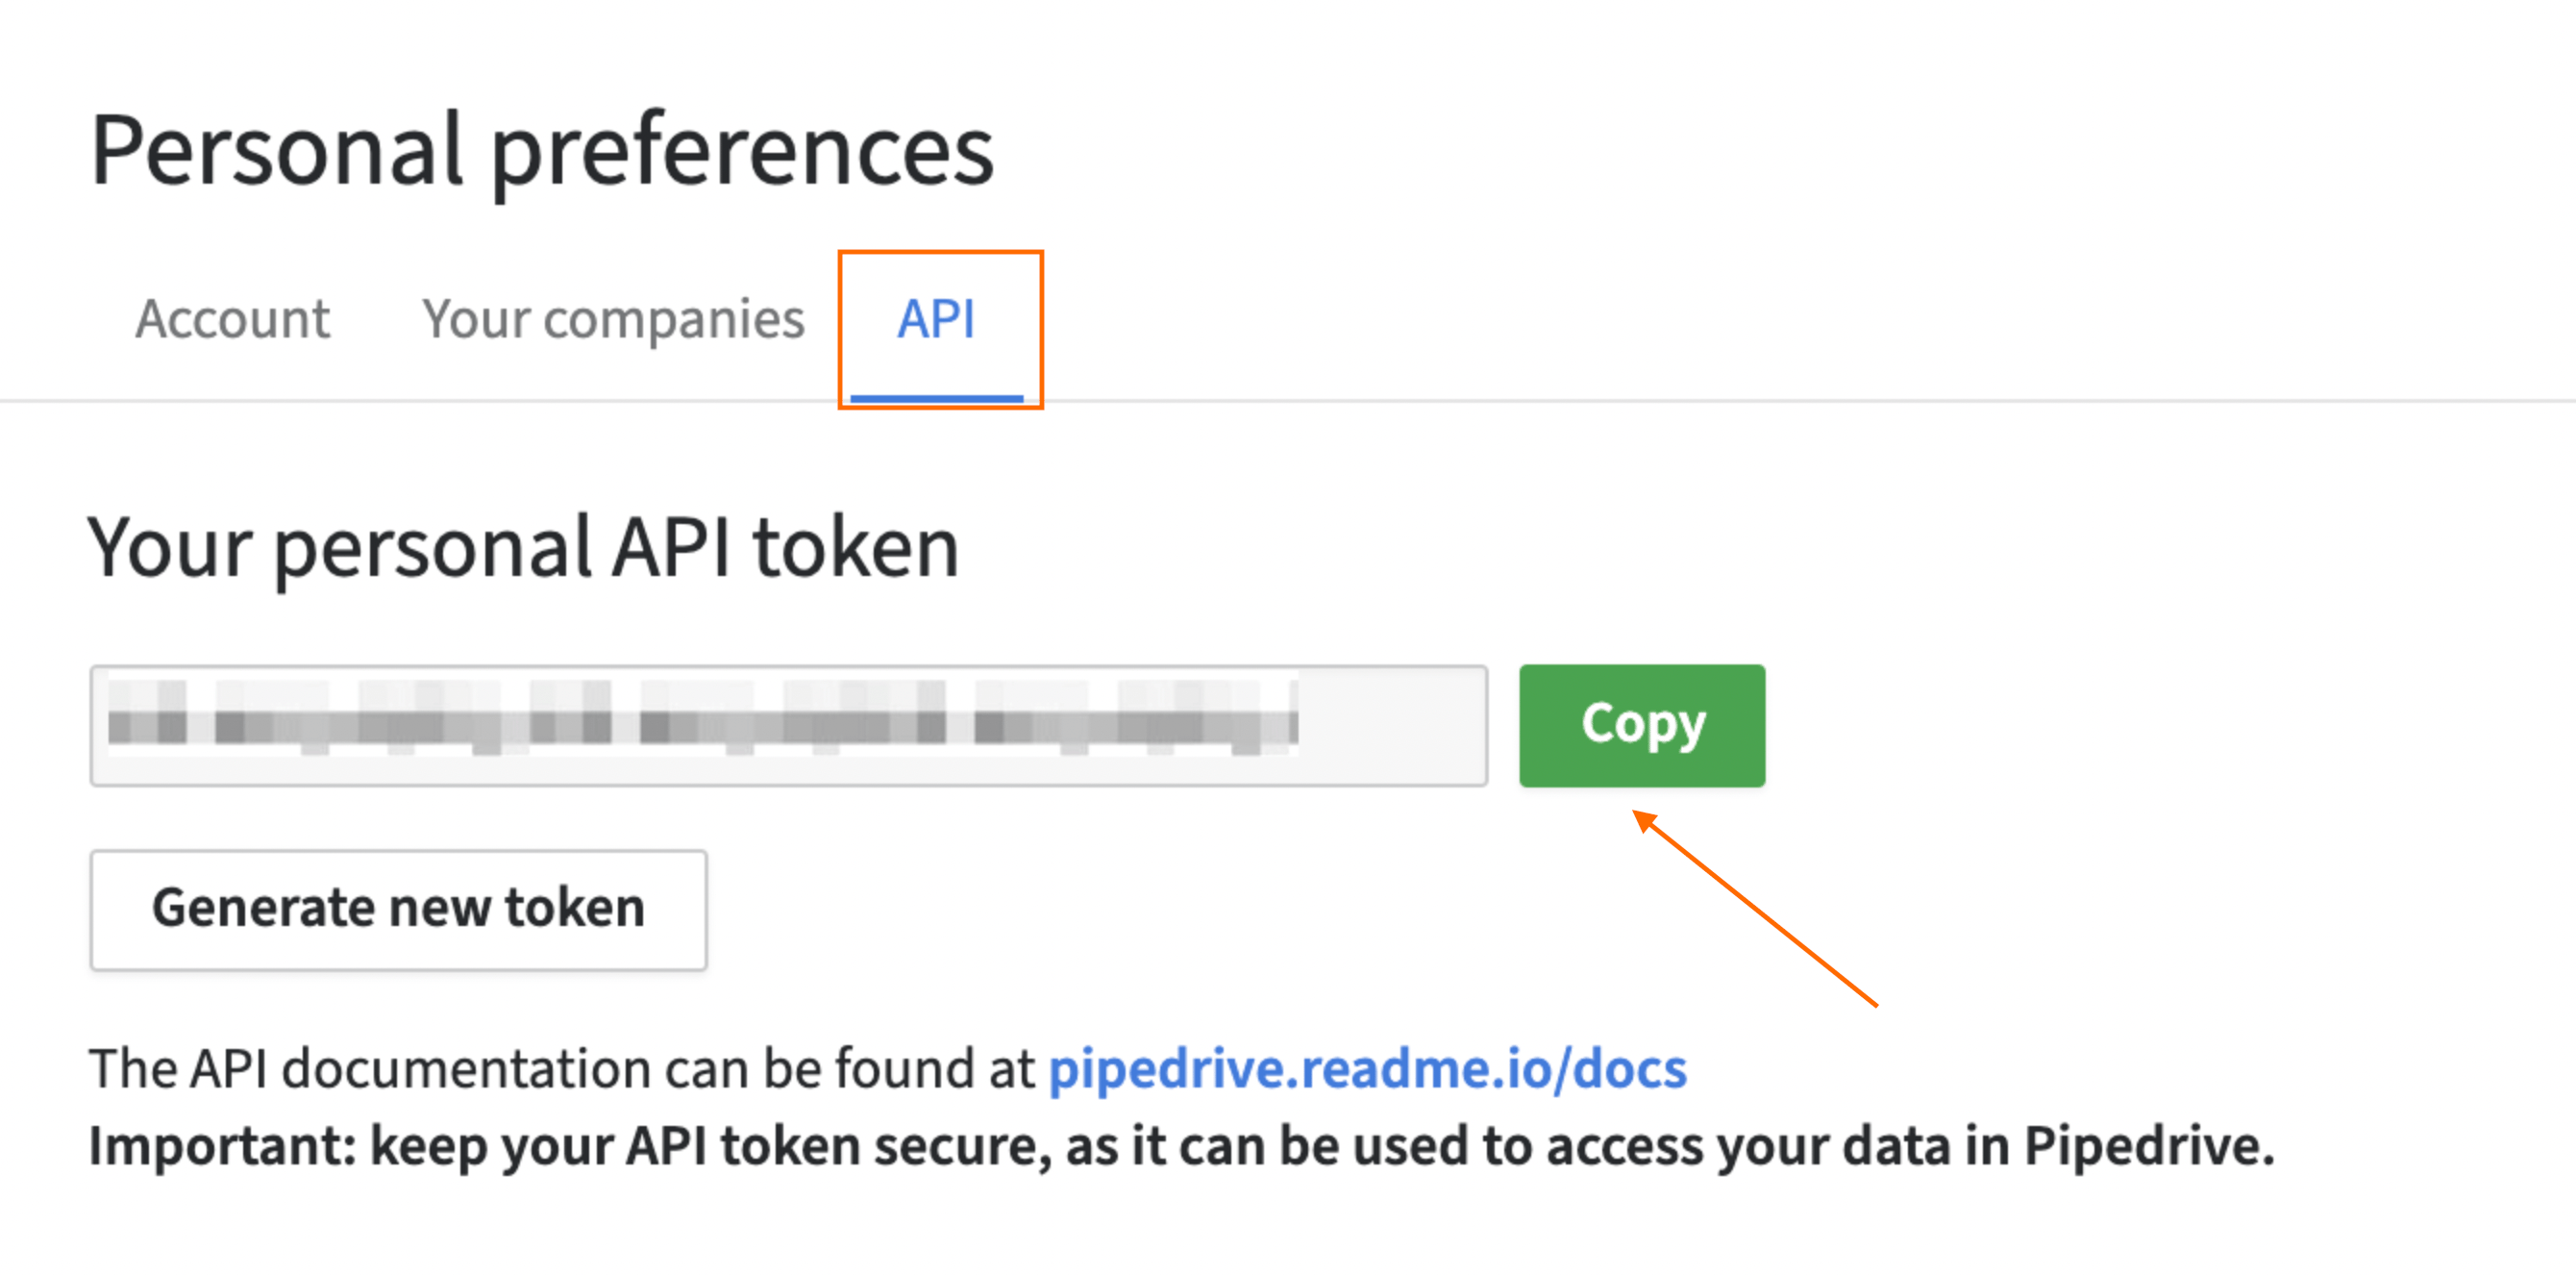
3.2 Add API Token. It can be found in the PipeDrive account → Settings → Personal preferences → API. You can find more details on the API key in the PipeDrive documentation.
3.3 Configure the "Person" section. By default, you can add a person's name, email, and phone number. You can also set additional custom fields. The custom fields are different for each Pipedrive account, and they are recognized by long hashes as keys. Check the details in the Person section, including body parameters in PipeDrive documentation.
3.4 (If you have chosen "Create Lead" as a type). Configure the "Lead" section. The title (the lead's name) is required; the rest of the fields can be set manually according to your needs. See body parameters in PipeDeive documentation.
Here is an example of a configured tag:
4. Add a trigger for a tag.
Test PipeDrive tag
To test whether the tag works correctly, use web and server GTM preview mode. If you encounter any difficulties, see the detailed guide on debugging and monitoring.
Summary
Configuration of the PipeDrive tag for the server GTM container provides many benefits, including precise data tracking and data control. With the help of a tag, you track your contacts (persons) and new leads. The configuration process is easy and shouldn’t take much time to start benefiting from server-side tracking!
Want to start using server-side tagging?
Happy to hear that! Just click Try for free button and see all the options!

Comments