How to set up Mixpanel tag for server Google Tag Manager
Setting up a Mixpanel tag for server GTM provides a lot of benefits among which are bypassing ad blockers and browser restrictions, high tag customization, and other benefits that we consider in detail on the Mixpanel tag solution page.
Below, we will show you how you can easily set up Mixpanel tag for you server GTM. We explain each step in details:
1. How the tag works.
2. What you need before starting tag configuration.
3. How to configure Mixpanel tag.
How Mixpanel tag for server GTM container works
Using the Mixpanel tag for server GTM, you can efficiently track user interactions.
Mixpanel tag for sGTM can help you with these action types:
- Track - tracks events in Mixpanel.
- Alias - adds an alias to existing Mixpanel contact. Useful if you need to add a new identifier to the existing user.
- Reset - resets identification of Mixpanel contact. You can use reset to manage multiple identities on the same device. When a user logs out, you can trigger a reset tag. It will reset the distinct_id and remove existing super properties. Mixpanel will treat subsequent events on the same device as performed by a new user.
Each action type of the Mixpanel tag has its own set of additional settings.
Route data to Mixpanel's EU servers - select if you want to route data to the EU data centers.
Automatically handle customer distinct_id - Mixpanel server API optimized for stateless shared usage; e.g., in a web application, the same Mixpanel instance is used across requests for all users. Rather than setting a distinct_id through identity calls like Mixpanel client-side libraries (where a single Mixpanel instance is tied to a single user), this API requires you to pass the distinct_id with every tracking call.
Send common data with request - Adds to track request user_agent, path, $current_url, $screen_width, $screen_height, $referrer, user ip, etc.
Get parameters from the variable - select if you want to extract any parameters from the sGTM variable.
Additional Parameters - select what other parameters you want to send and add Parameter Name and value.
Remove parameters from the request - add parameters that you want to remove from the requests. Helpful in eliminating standard parameters like $current_url or IP.
Logs Settings - select if you want to use stape logs to troubleshoot your setup.
How to set up the server GTM Mixpanel tag
2. Add a tag to your server GTM using Template Gallery.
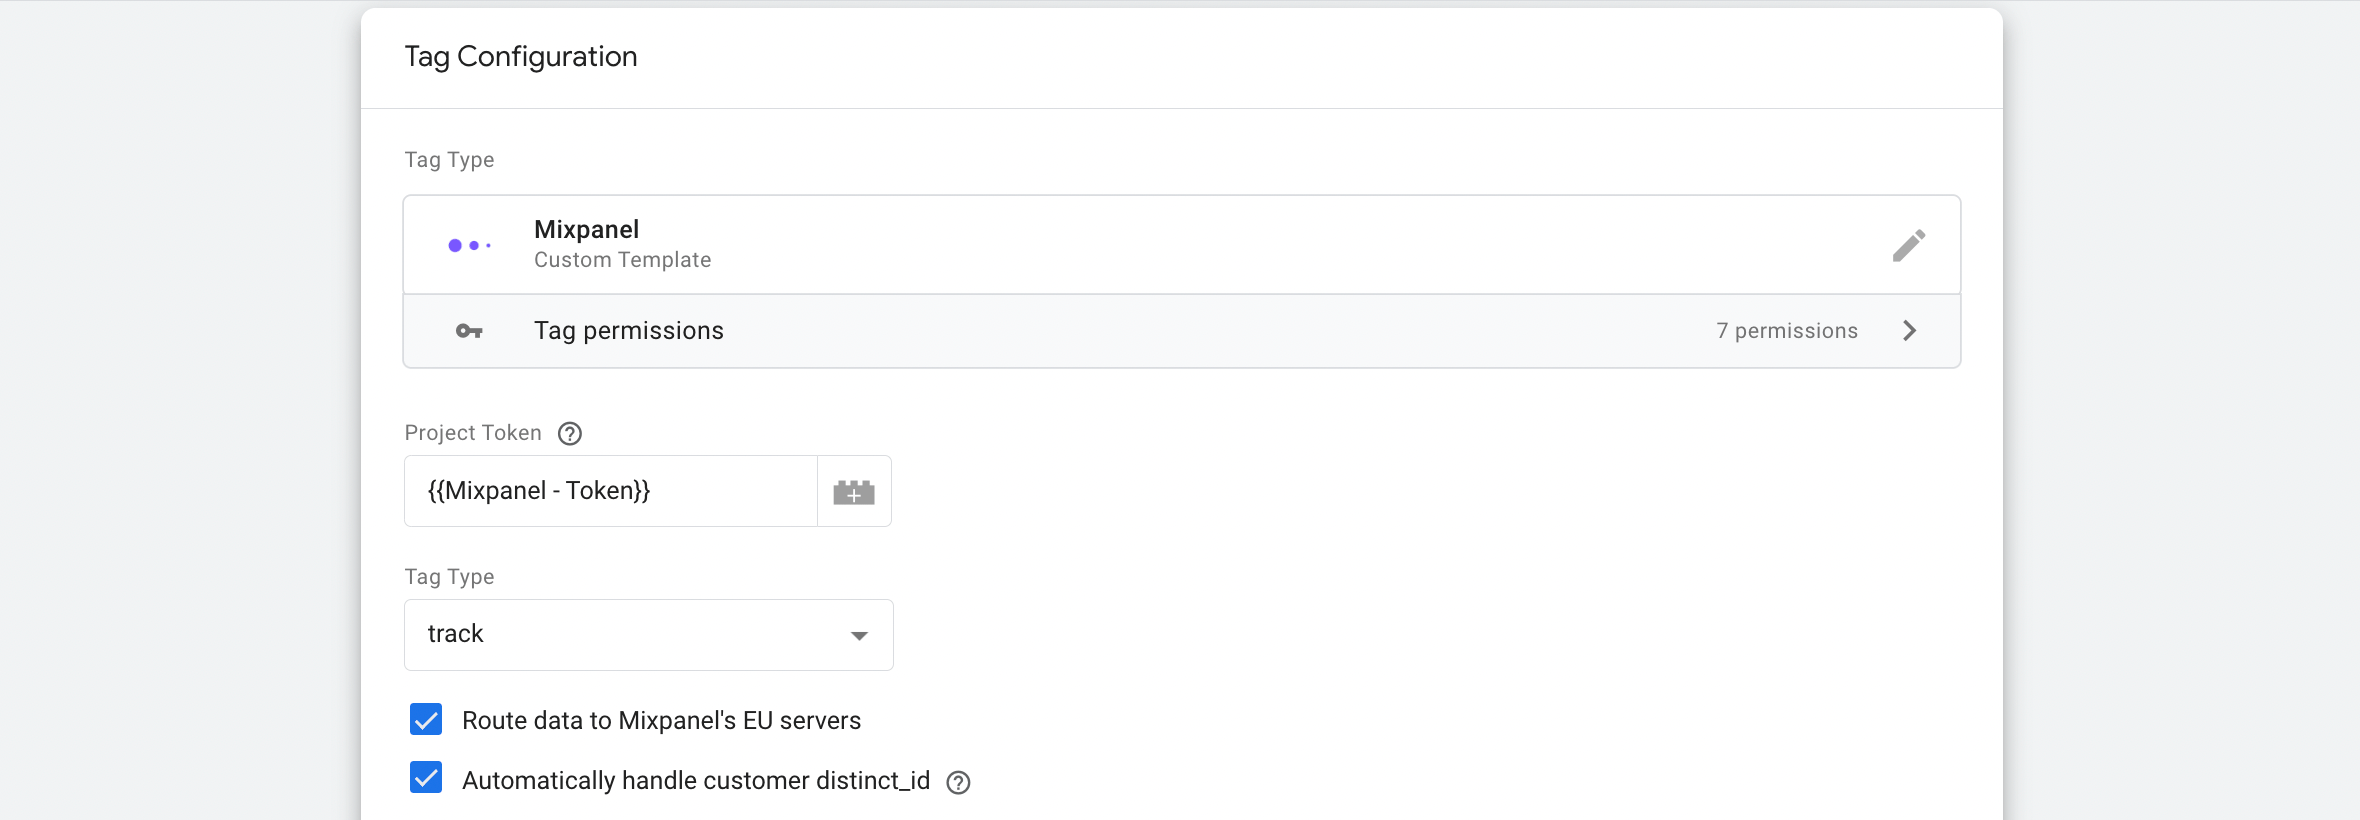
3. Create a new tag. Select Tag Type (In this example, I will set up a tag type track since this one requires more configuration). Add your Mixpanel project ID (You can get the Project Token from project settings).
Select if you need to route data to EU servers and Automatically handle customer distinct_id.
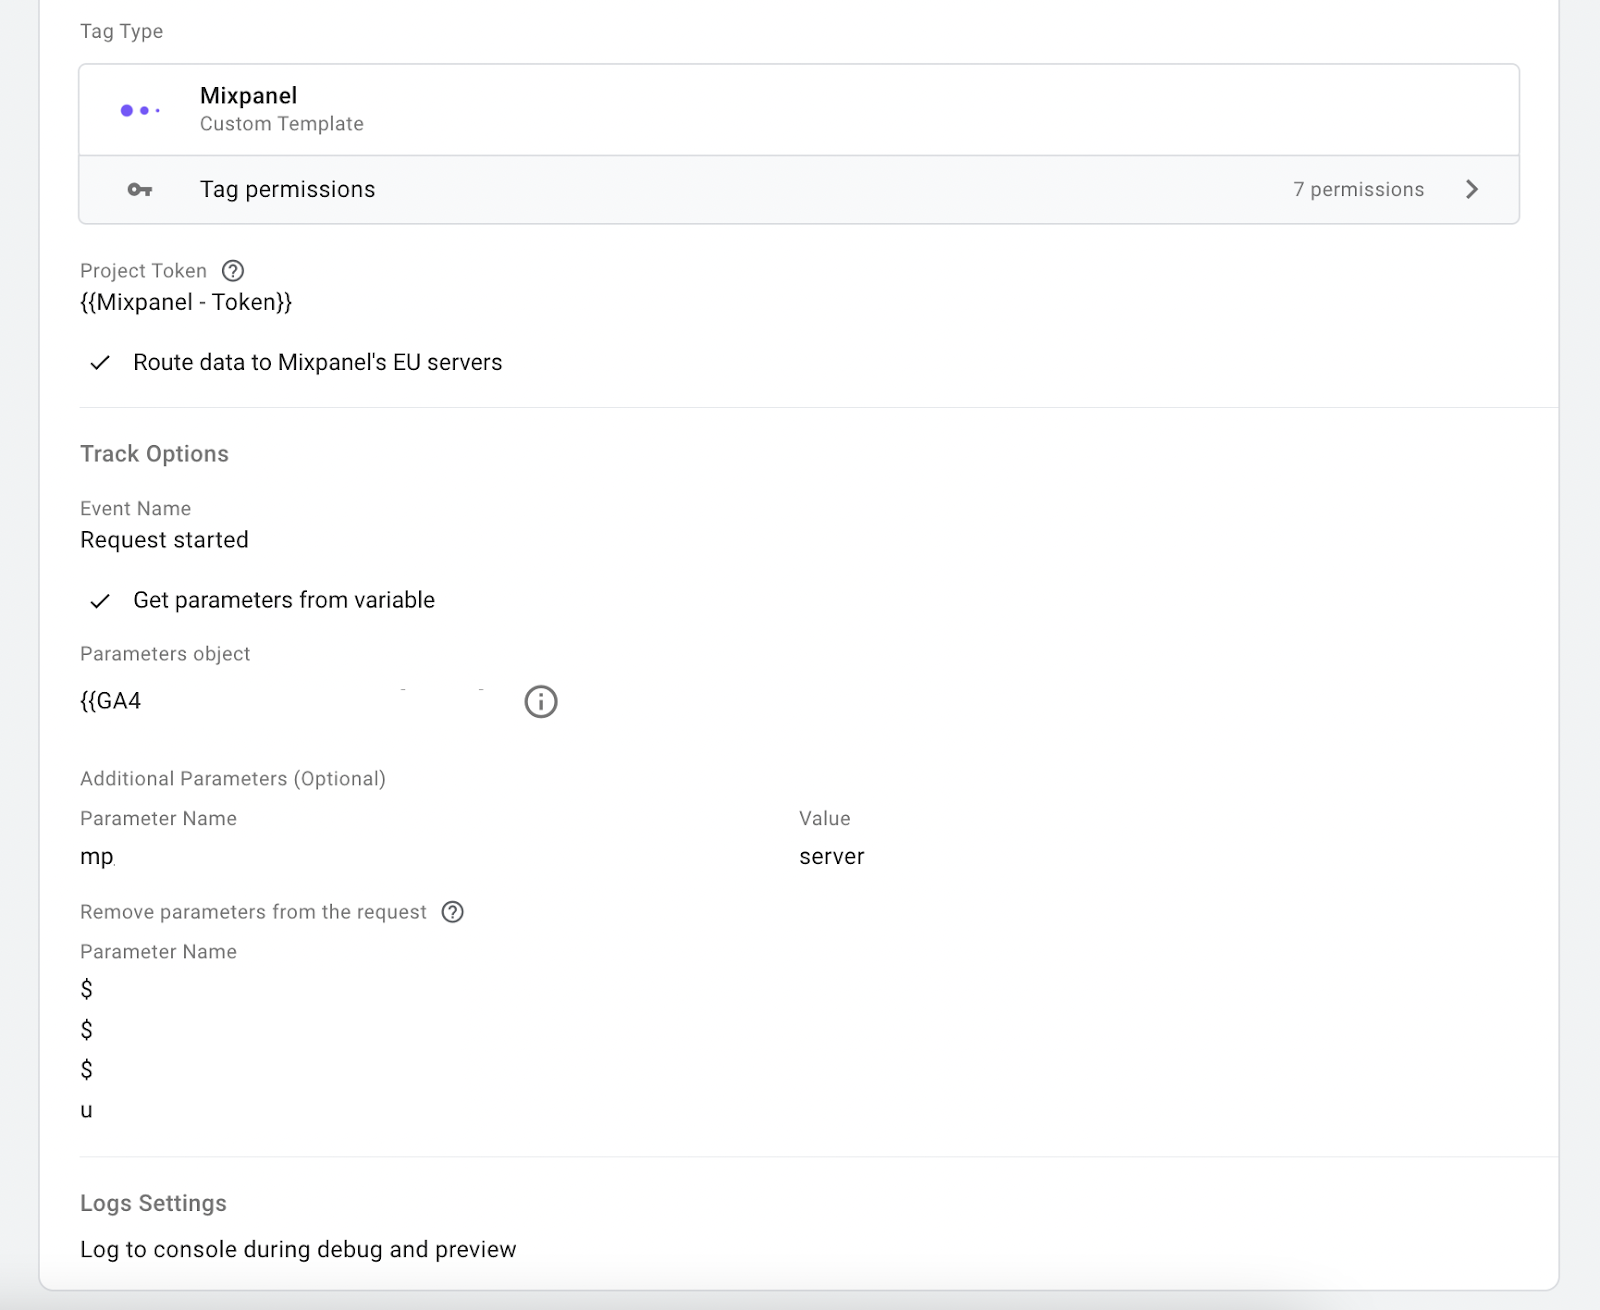
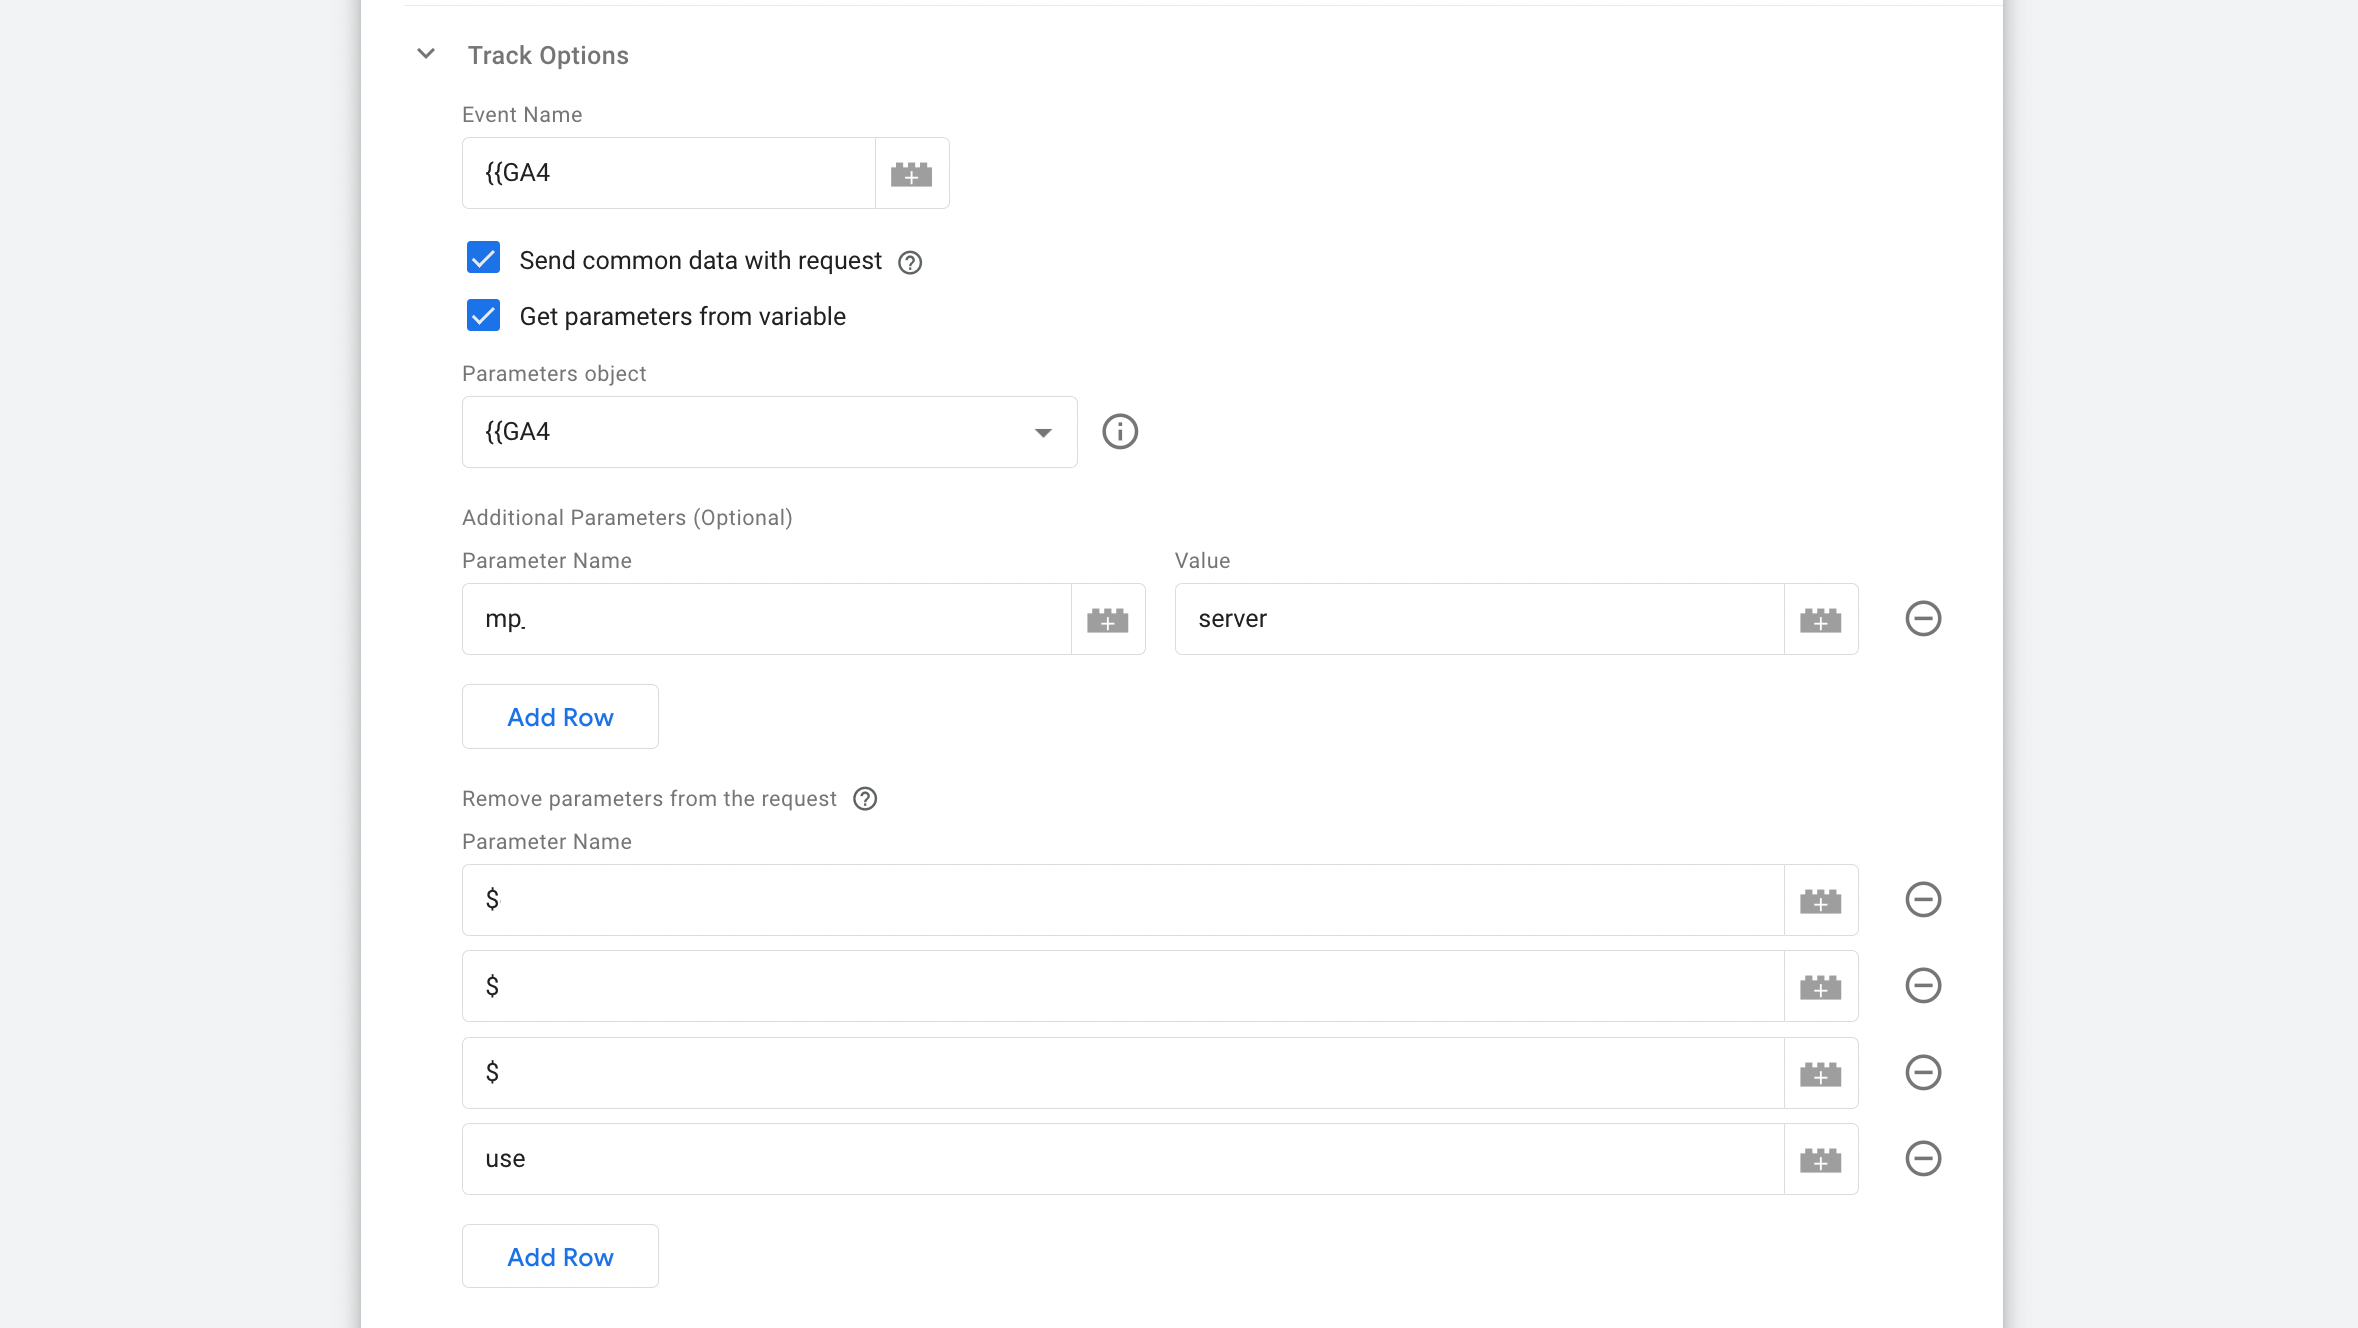
4. Add event name. If you want to add common sGTM data to the Mixpanel request, you can also choose to parse parameters from variables.
There is also an option to add or remove parameters from the request. Remove parameters is helpful when you select to add common data and need to remove some of the event data.
5. Add triggers and test your event.
Conclusion
Setting up Mixpanel server-side tracking with Google Tag Manager is a great way to get detailed insights into how users interact with your site or app. Following the steps outlined in this post, you can quickly get started with sGTM and measure users correctly with long-lived cookies.

Comments