Set up web and server-side tracking in minutesso fast
Tracking setup shouldn’t be complicated or time-consuming. GTM Setup Assistant generates pre-made Google Tag Manager container templates based on the tech stack and ad platforms you specify. It’s the fastest way to launch reliable tracking and start collecting better data without the manual work.
How it works
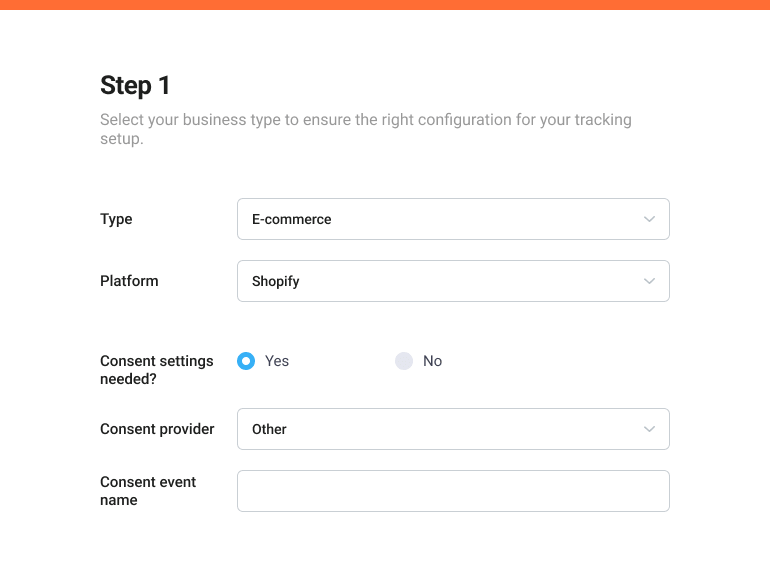
Configure your environment
Specify your CMS and tracking goals by completing a short setup form.
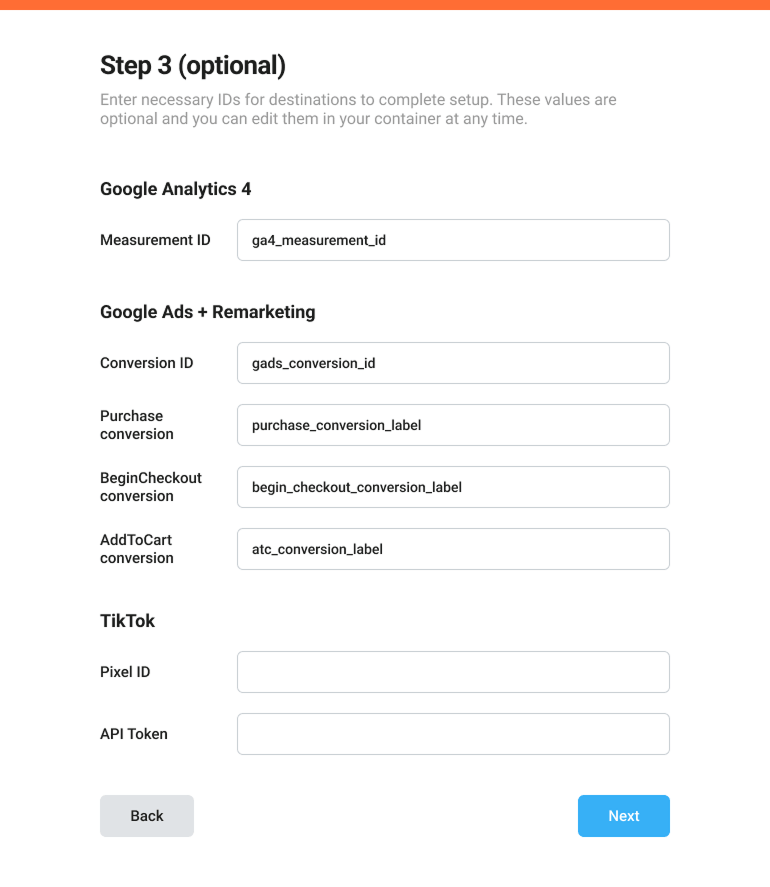
Input tracking IDs
Add pixel IDs for platforms like Meta, Google Ads, TikTok, and others.
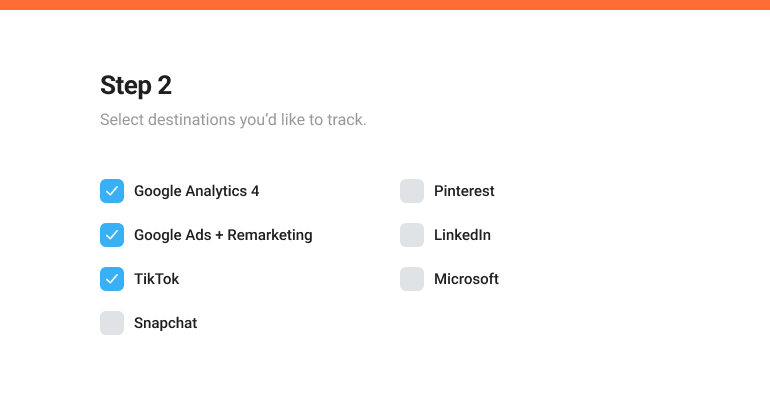
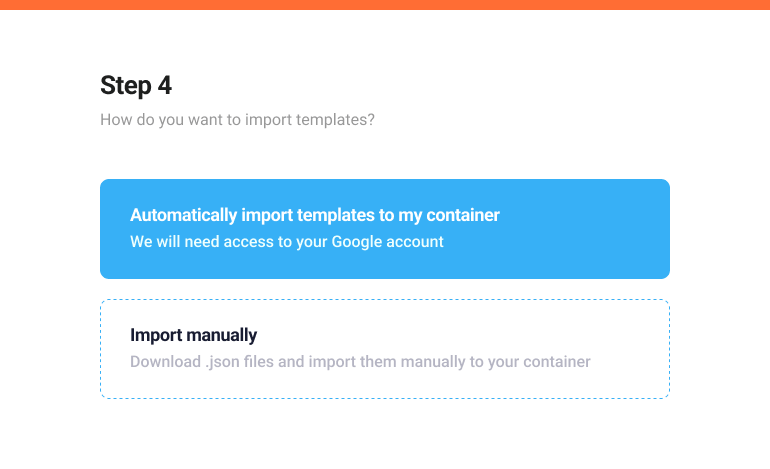
Deploy GTM containers
Import prebuilt web and server-side Google Tag Manager containers via auto-setup or manual upload.


We have more than 200 000 happy clients
GTM Setup Assistant generates free and personalized Google Tag Manager templates
Whether you're using Shopify, WordPress, Magento, BigCommerce, Wix, PrestaShop, Salla or a custom website, get free pre-built Google Tag Manager templates for web and server-side containers for most popular advertising platforms: Meta, Google Analytics, Google Ads, TikTok, Snapchat and much more! These templates simplify your GTM configuration and improve website tracking for better ad performance and data accuracy.
Benefits of Stape’s Setup Assistant for Google Tag Manager implementation
- Everything is customized and pre-configured to your specific needs, ensuring you receive exactly what you require for your GTM setup and smooth GTM implementation.
- GTM Setup Assistant uses the best practices for setting up tracking via Google Tag Manager container, showing you how to set up Google Tag Manager effectively.
- Set up your Google Tag Manager container much faster: while server-side GTM setup can take hours, this solution gets you up and running in minutes.
- Even if you don't have any technical skills, our experts have developed step-by-step instructions to guide you through the process of GTM tracking setup.
Save hours
on tracking
setup
Not convinced yet?
Check this out:
- Stape is one of the leading contributors to the Google Tag Manager Template Gallery.
- Our team has successfully completed thousands of GTM setups and has extensive experience in ensuring proper Google Tag Manager configuration.
- Over 100,000 businesses trust us for our commitment to compliance, including ISO 27001, HIPAA, SOC 2, and GDPR standards.
- Stape has developed a wide range of apps and features for tracking, and we rigorously ensure everything is running smoothly and correctly.