SendGrid tag for server Google Tag Manager
Ira Holubovska
AuthorSendGrid is an excellent choice for those looking to send large volumes of emails. It started initially as an email SMTP and API service, but recently they began to implement features for email marketing.
SendGrid is also one of the cheapest services for sending emails. They have a free that includes up to 40,000 emails and 100 emails/day.
Stape created a Sendgrid tag for the server Google Tag Manager container that simplifies Sendgrid integration. In this blog post, I want to show how to use the Sendgrid tag for sGTM.
What do you need to send SendGrid emails using sGTM
1. Sendgrid account
Create a SendGrid account if you do not have one yet. A free account also works.
2. Set up Your Domain or Email with SendGrid
You should configure the SendGrid email you want to send emails from. To do that, click "Settings" from the main menu -> select "Sender Authentication" from the dropdown. There are two types of Sender Authentication: Domain Authentication and Single Sender Verification. SendGrid recommends using Domain Authentication. For this type, you should verify your domain. Single Sender Verification requires email ownership verification. Sender identity type depends on email deliverability, so I recommend using Domain Authentication.
3. Sendgrid API Key
Create an API Key. We will need it later when setting up the SendGrid sGTM tag. From the dashboard, click “Settings” -> Click “Create API Key.”
4. Set up server Google Tag Manager container
Create and set up an sGTM container if you do not yet have one. Follow the steps from this blog post on setting up sGTM.
How to set up sGTM SendGrid tag
1. Send data to the server GTM container. You can do it by setting up server-side Google Analytics 4 or Data Tag/Data Client.
2. Download SendGrid tag from GitHub or add it from the sGTM Template Gallery -> Open templates sections in the Google Tag Manager container -> Click New.
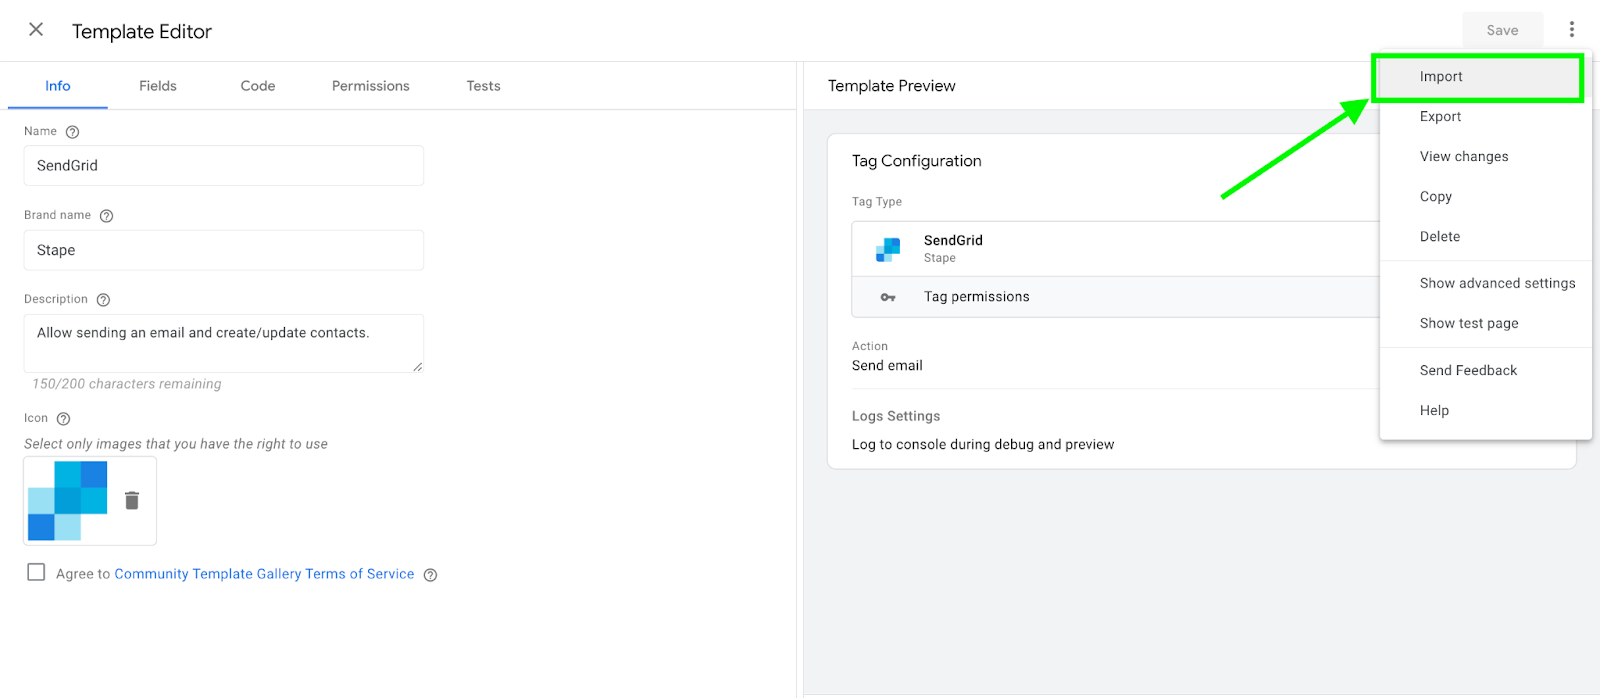
3. Click three dots in the top right corner -> Click Import -> Select SendGrid tag template you’ve recently downloaded from GitHub -> Click save.
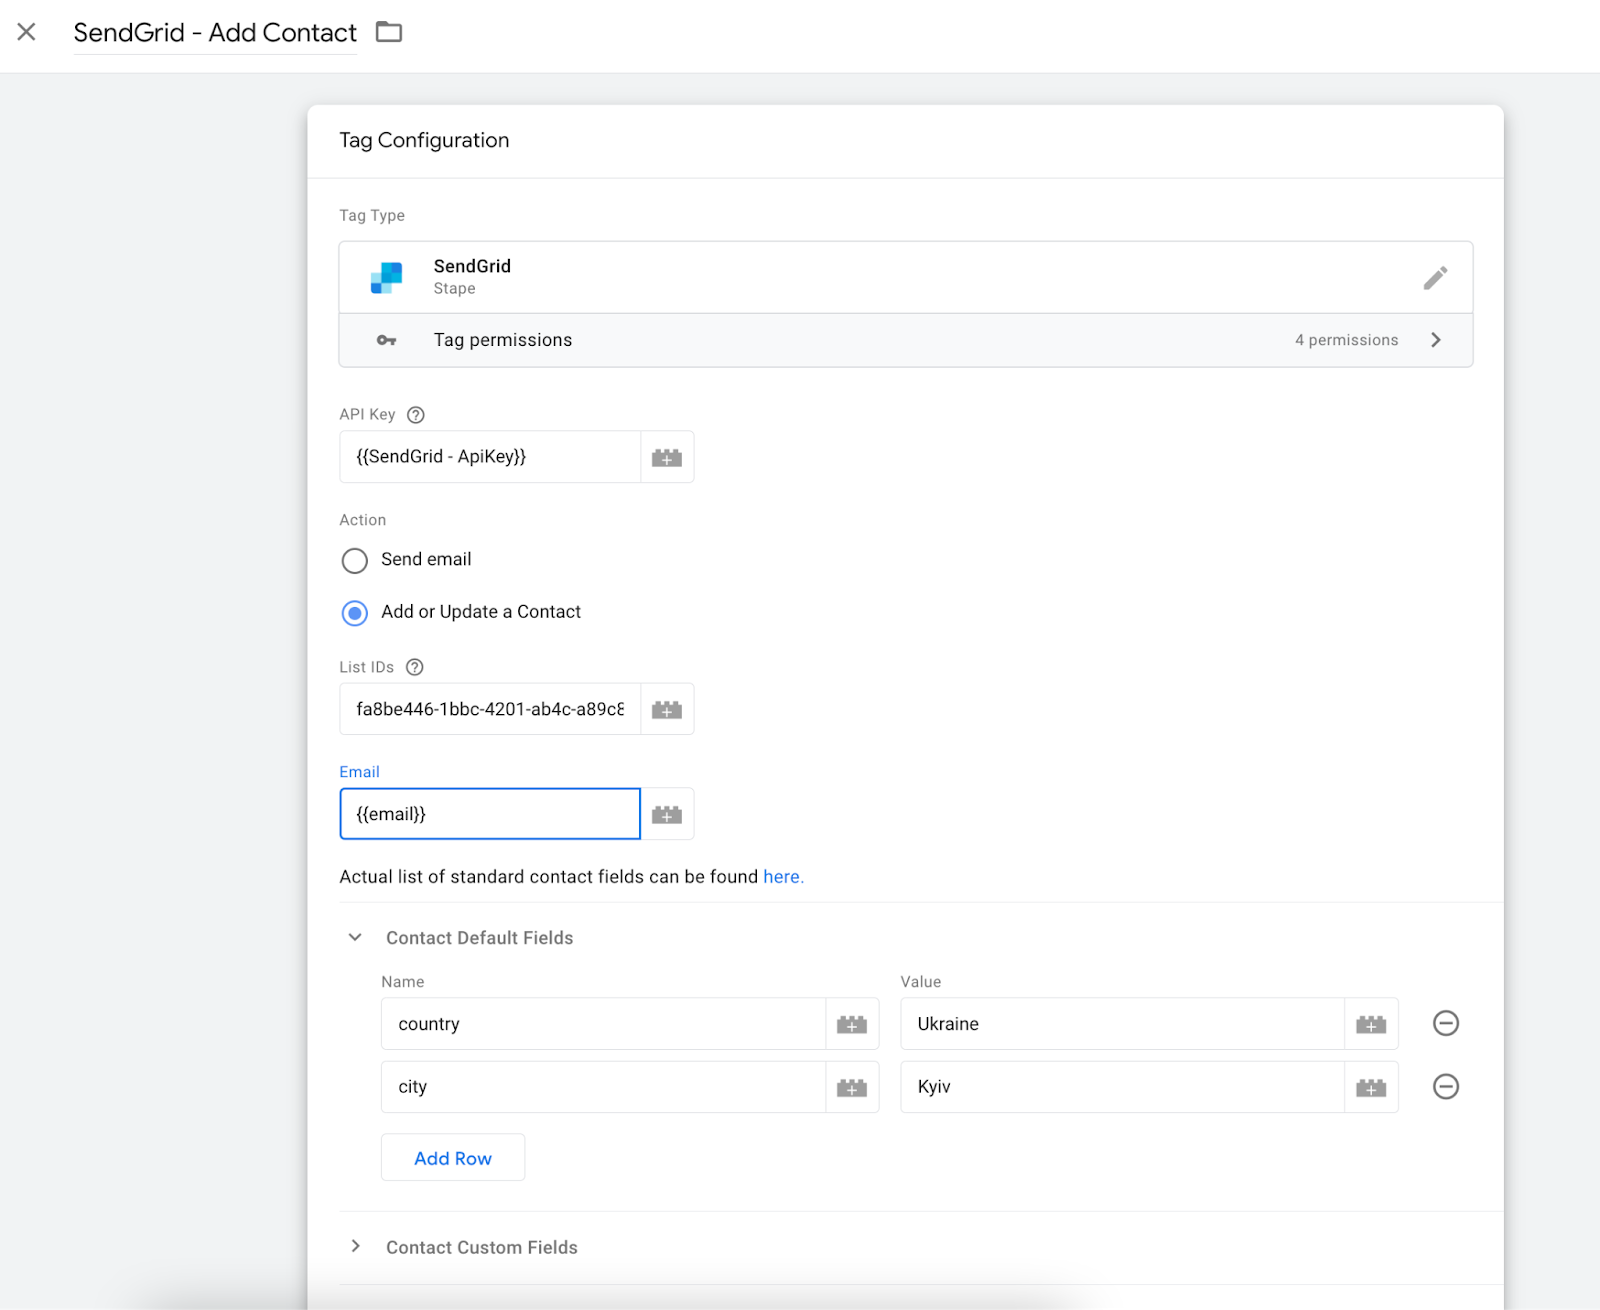
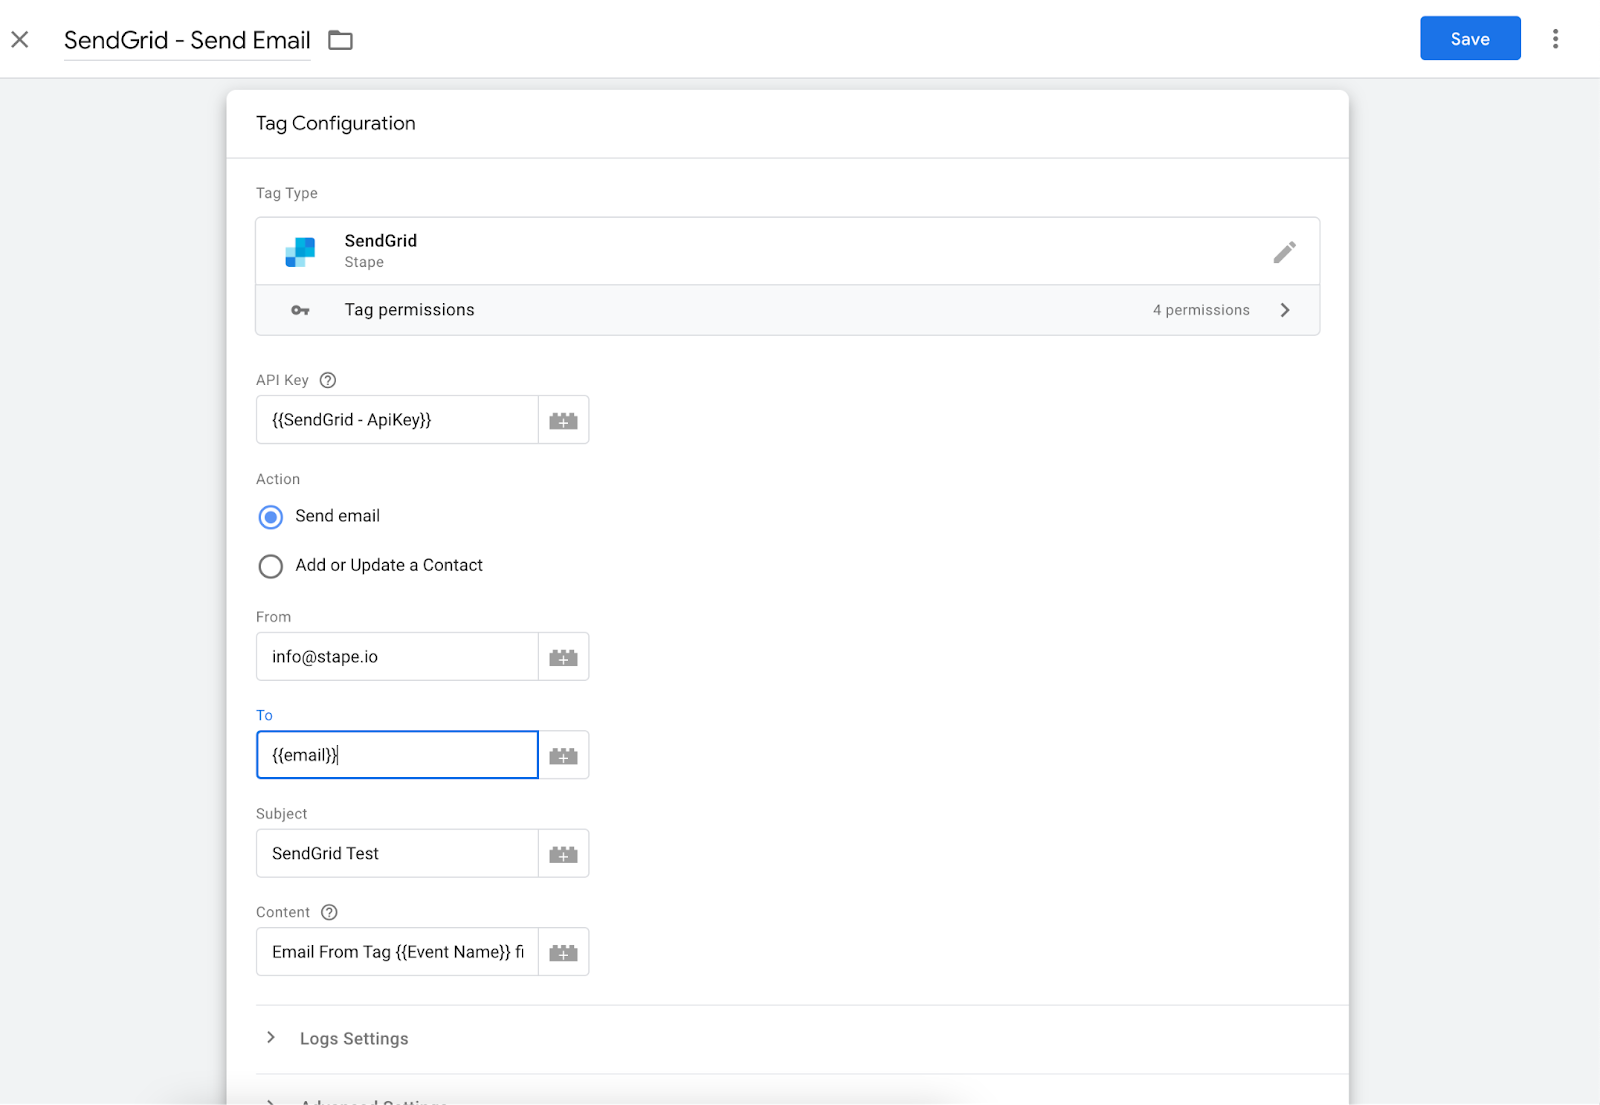
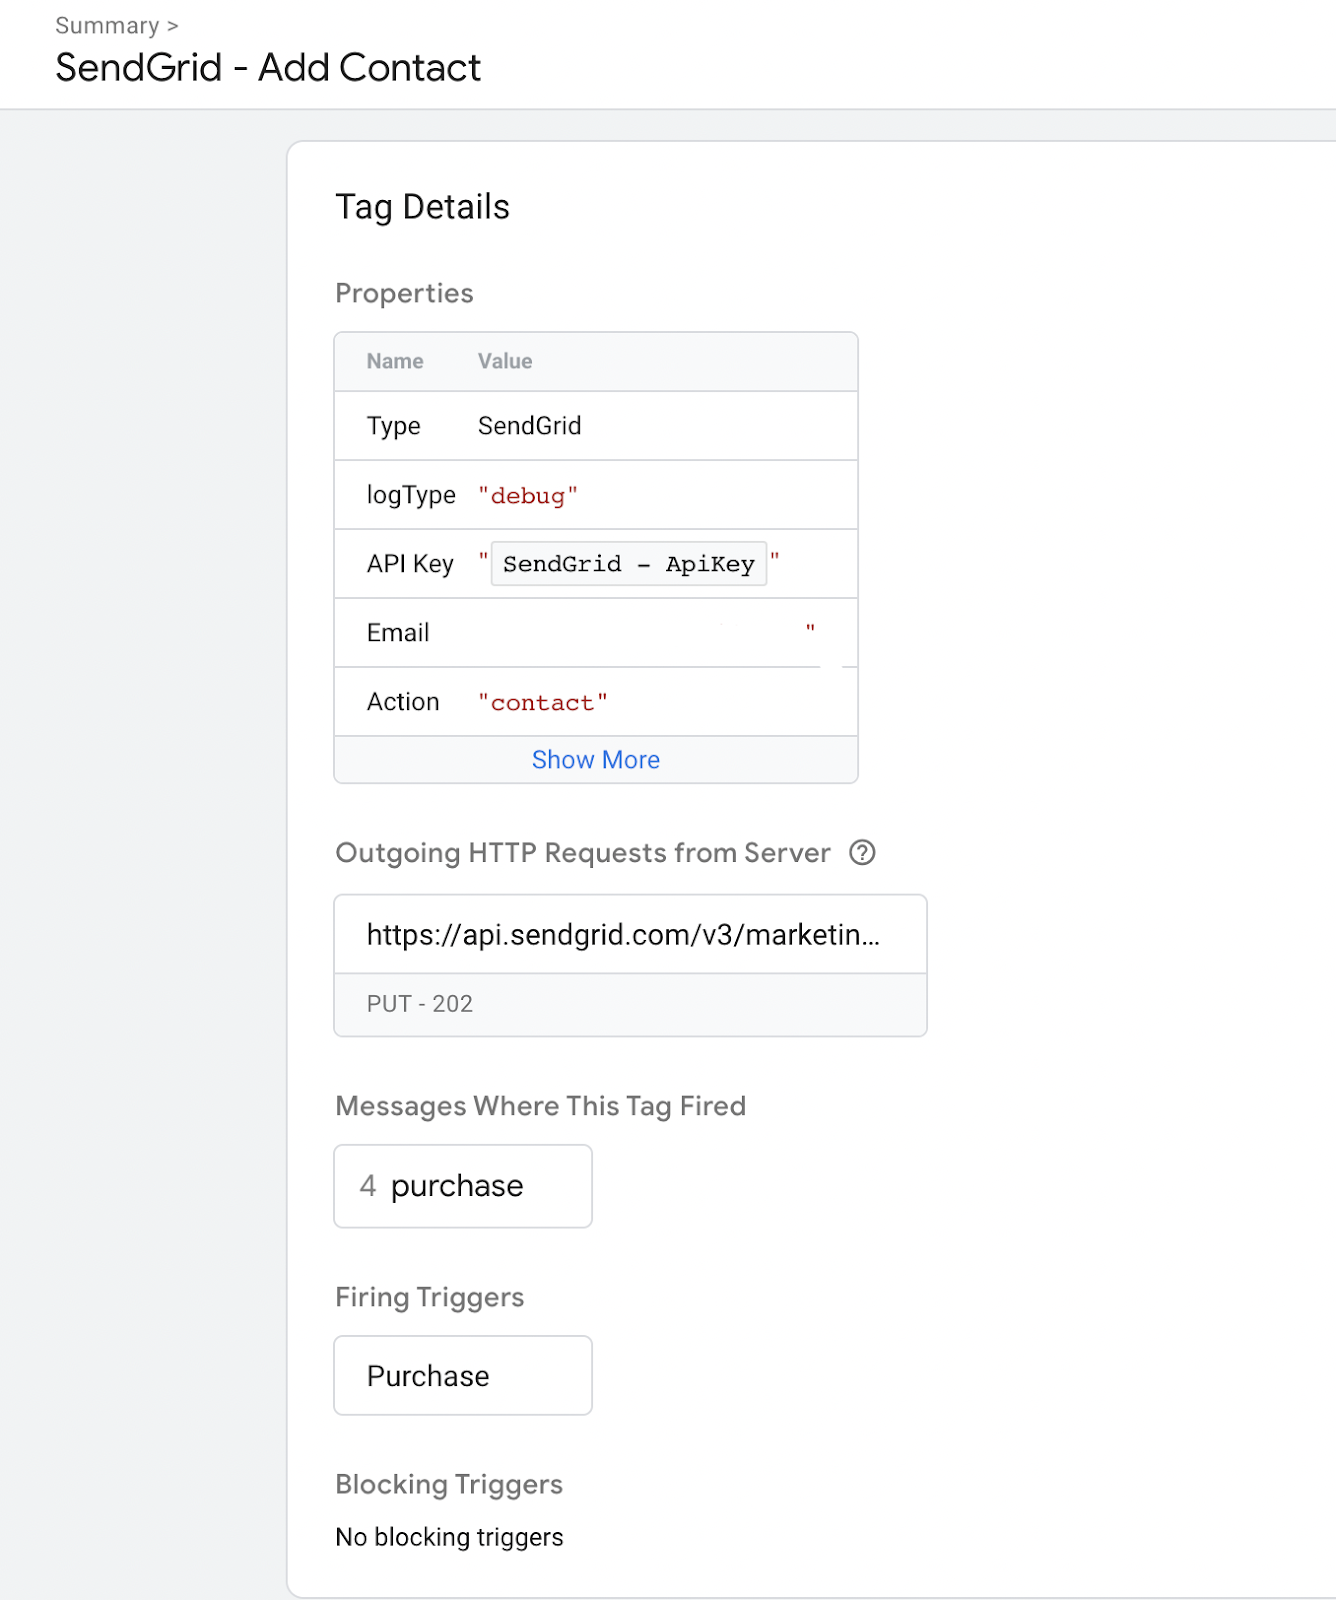
4. Create a new tag -> Select SendGrid tag -> There are two actions that this tag can do: Send an email and Add or Update a Contact. -> Add necessary fields and set up the trigger.
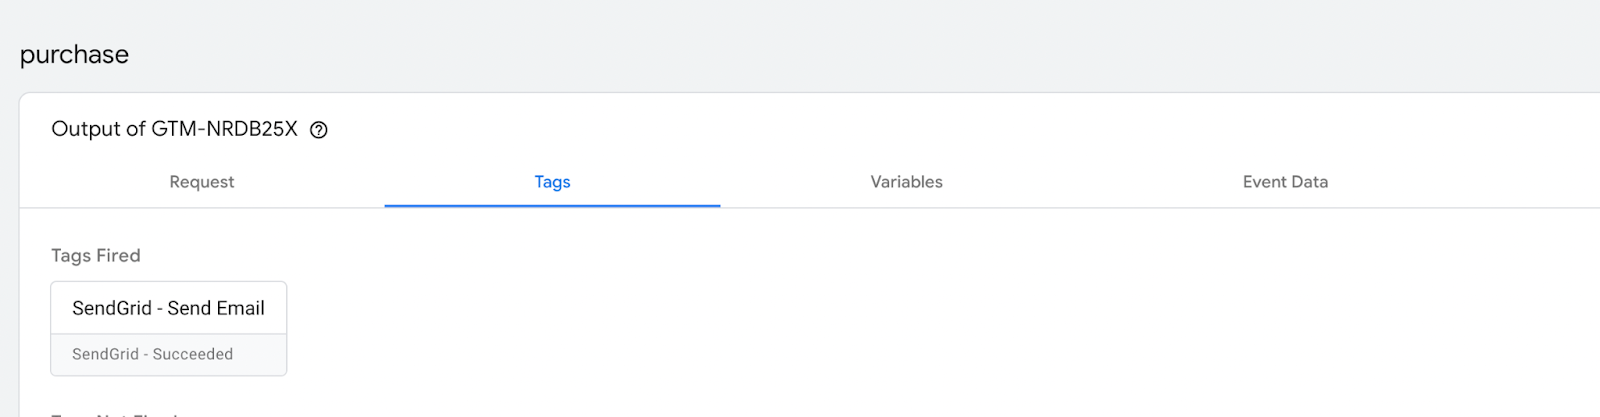
5. Open sGTM preview mode and test that SendGrid tag triggered and email received. You can also check the SendGrid activity feed to ensure that the email was sent.
6. Once done, publish the sGTM container.
Conclusion
Hope stape’s SendGrid tag will help you set up SendGrid integration using sGTM, and this guide made the steps of this integration clearer.
If you need help setting up server-side tagging, feel free to contact us at care@stape.io, we will be happy to assist.

Comments