Signals Gateway Pixel tag
Updated Aug 20, 2026
Signals Gateway Pixel by Stape is a custom Google Tag Manager (GTM) web template designed to route website event data through a first-party domain to Signals Gateway hosted on Stape, which then forwards those events to Meta Events Manager (or other destinations like BigQuery).
With the Signals Gateway tag you can:
- Inherit from Data Layer – the tag automatically maps standard GA4 / DataLayer event names (for example,
purchase,add_to_cart,sign_up) to Meta event equivalents. - Do the advanced matching – the tag securely passes user parameters (email, phone, address, name, external ID) and automatically hashes unhashed PII before sending. User data can then be sourced from individual GTM variables, Data Layer, or User-Provided Data variables.
- Enhance events – there’s an option to store and reuse user data via browser’s local storage across pages and sessions to increase attribution and match quality for returning visitors.
- Do the server-side deduplication – the tag supports sending a unique Event ID and optional event push to Data Layer synchronization to deduplicate client-side pixel events with server-side events in Signals Gateway.
Before you begin
To complete this setup, you will need to:
How to set up Signals Gateway tag
- 1.Go to the Google Tag Manager and open your Web container.
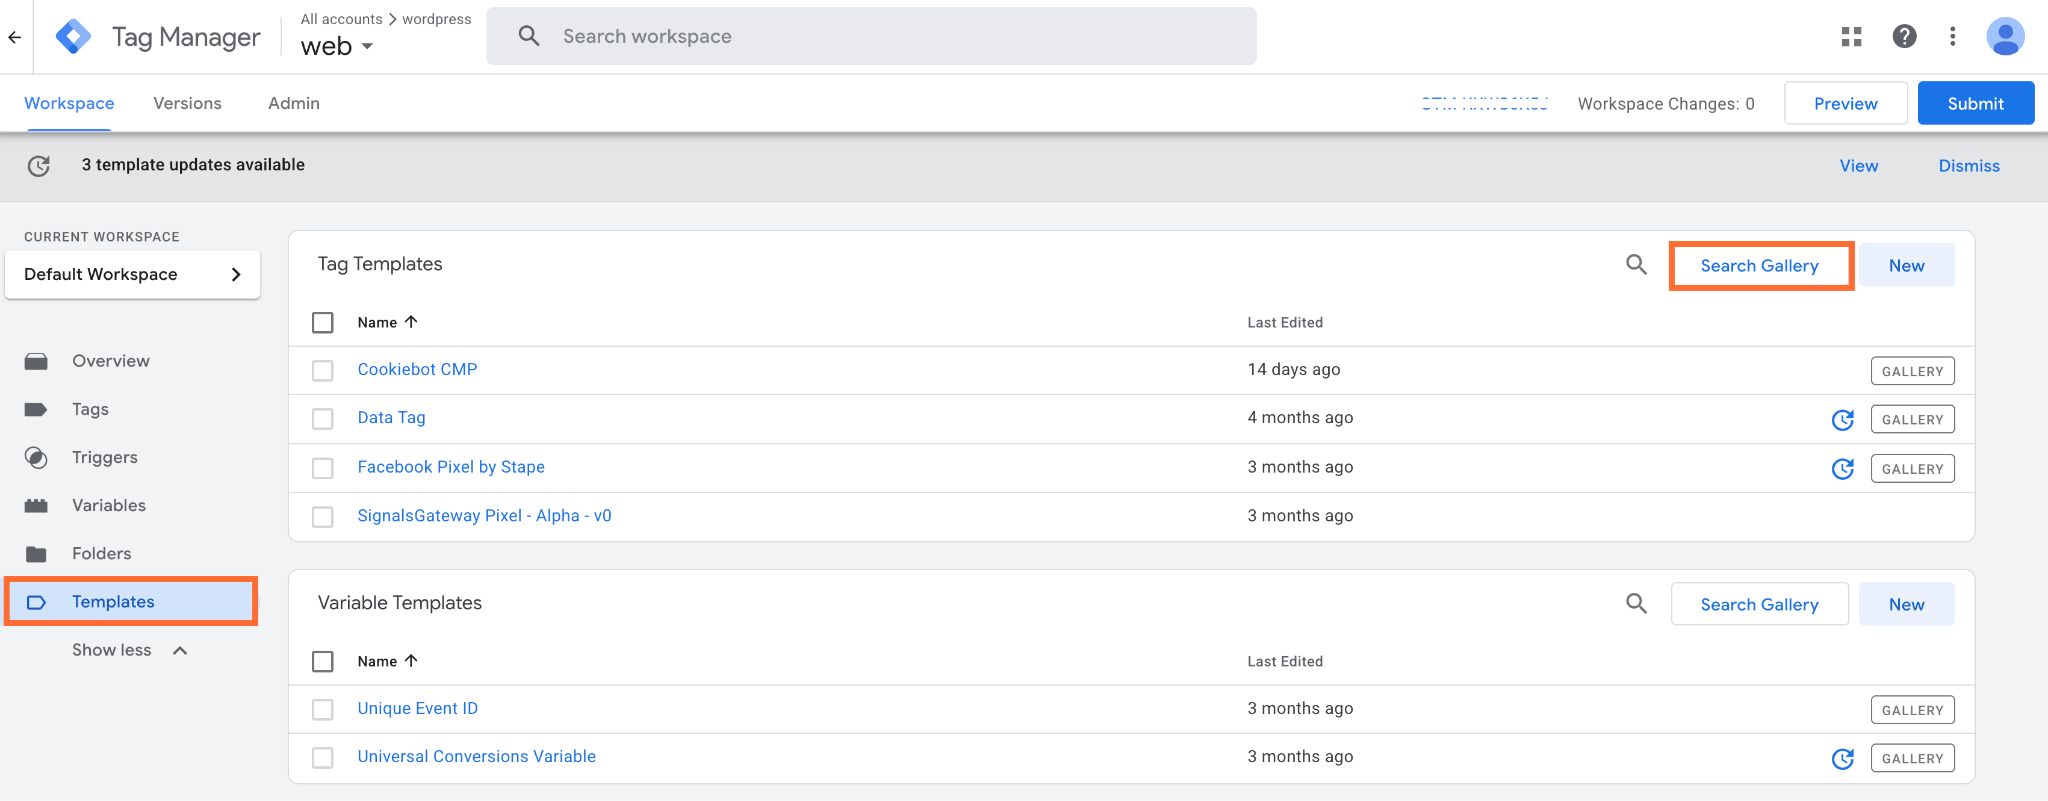
- 2.Go to Templates, and under Tag Templates, click Search Gallery.
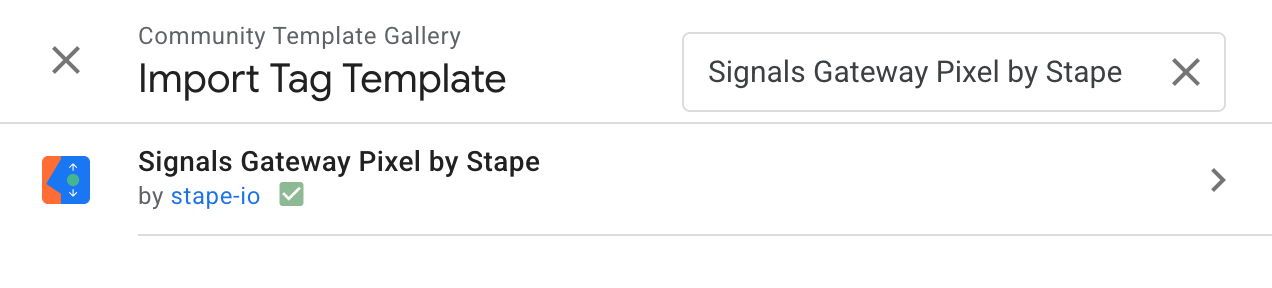
3. Search for Signals Gateway Pixel by Stape.
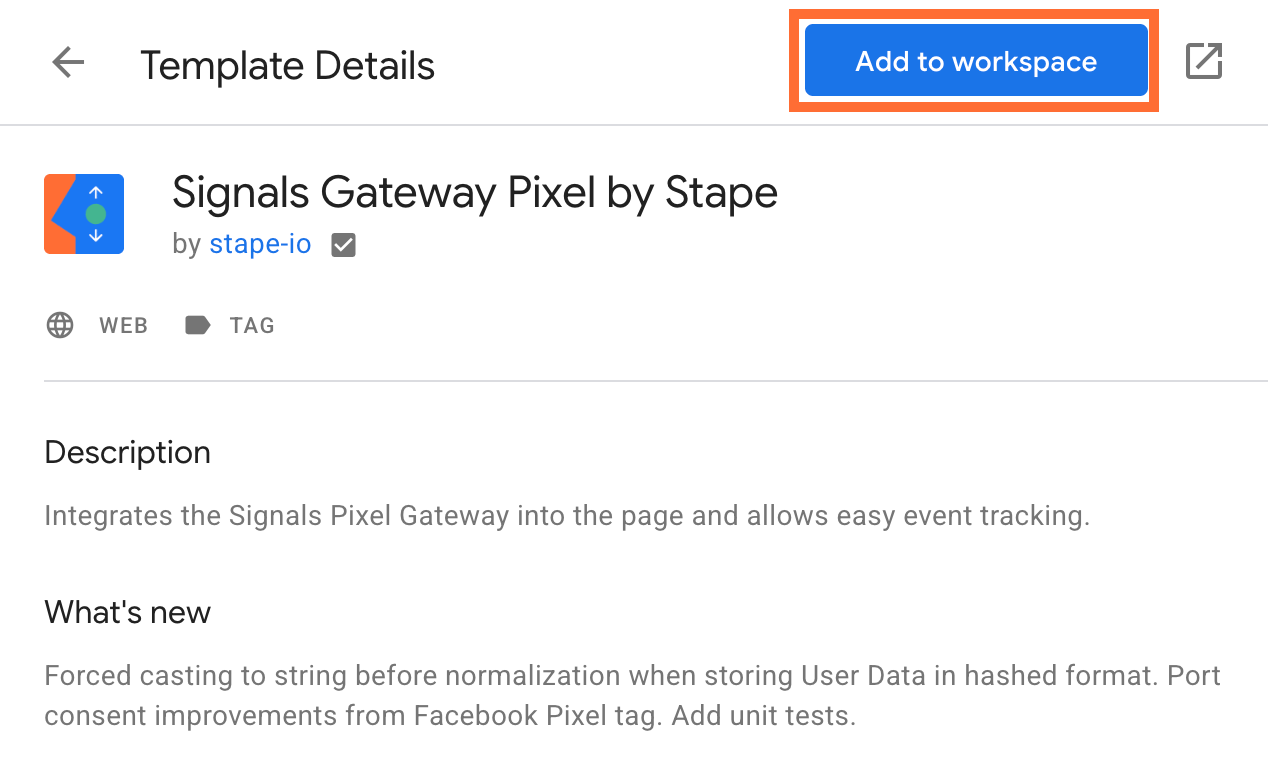
4. Click Add to workspace and confirm.
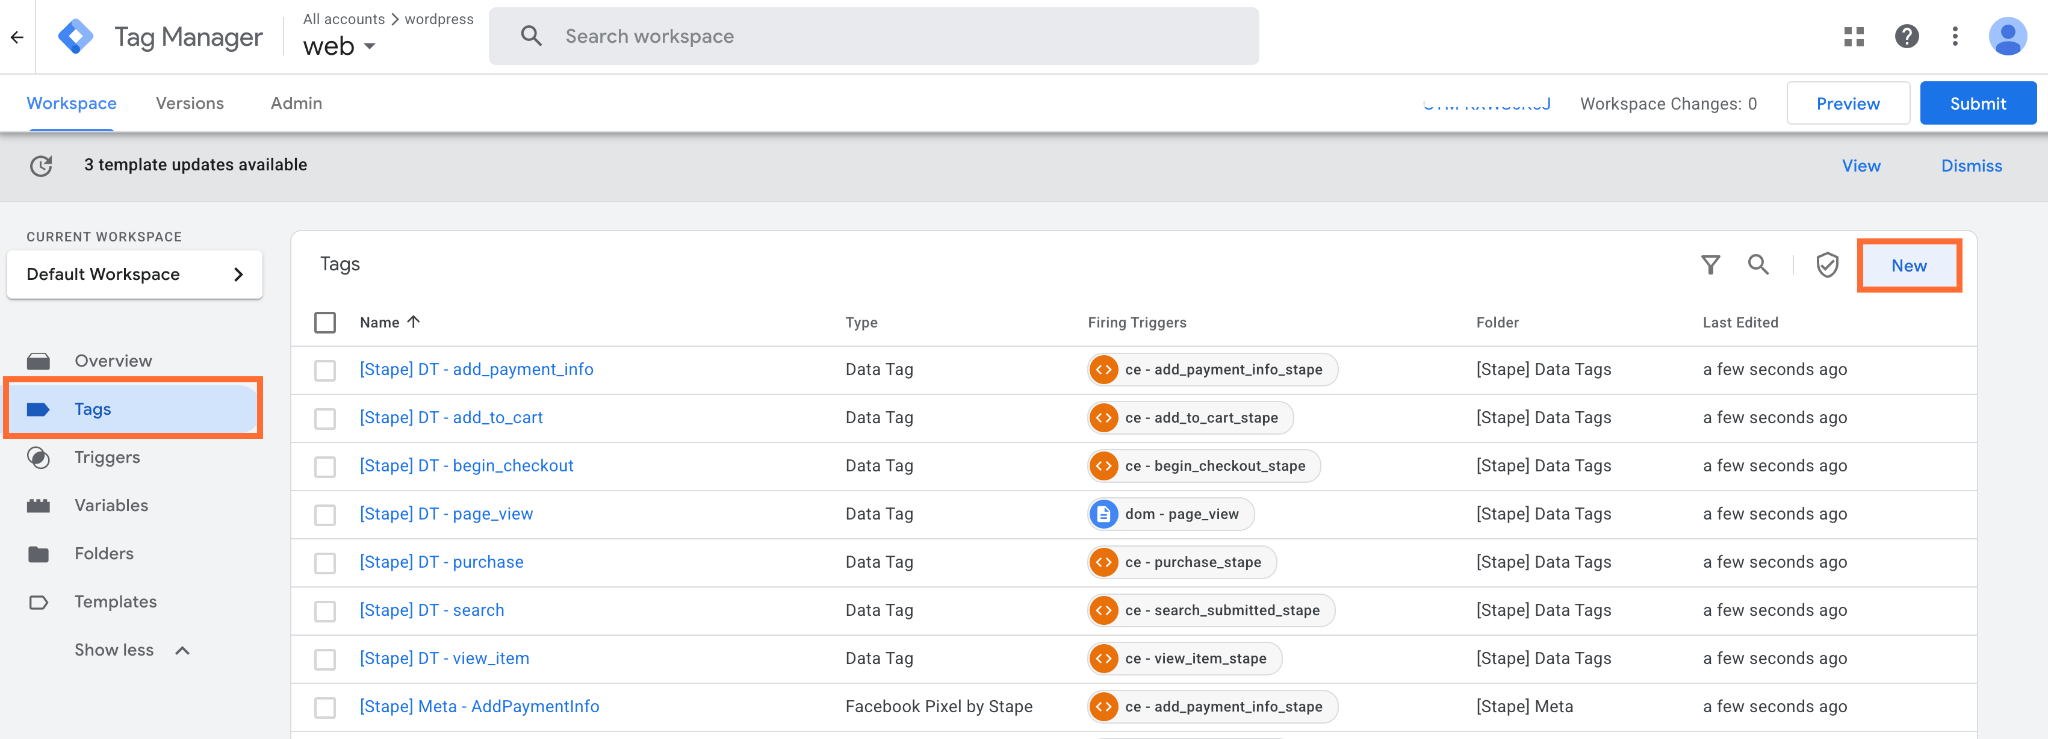
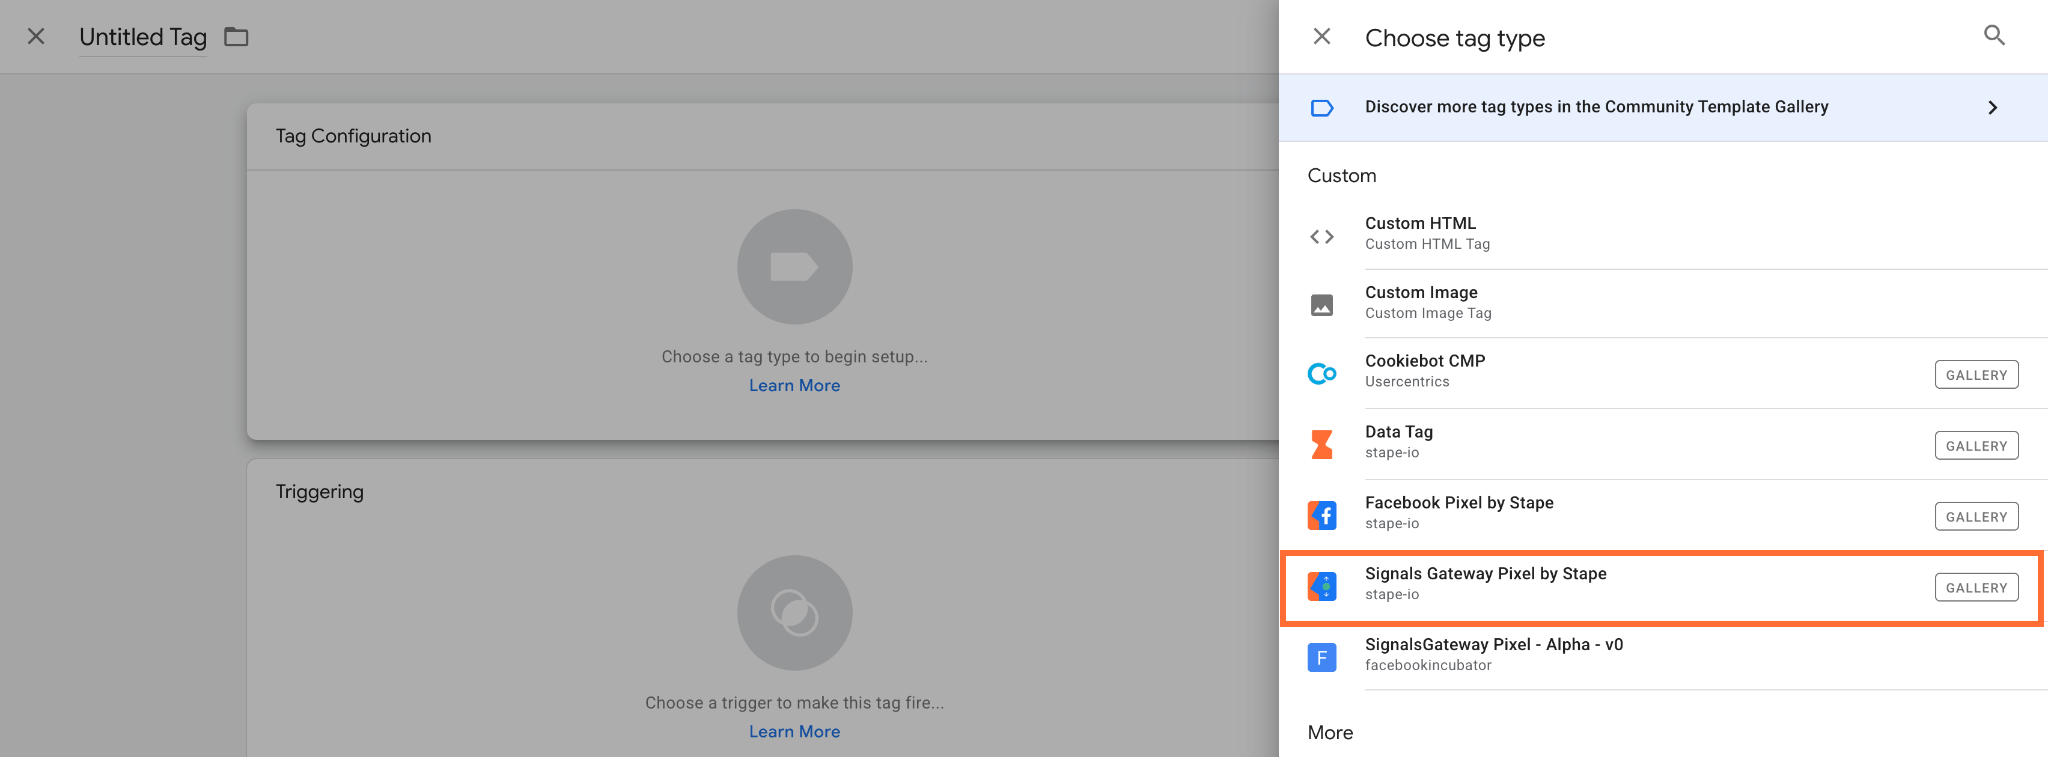
5. Go to Tags and click New.
6. Click Tag Configuration and select Signals Gateway Pixel by Stape.
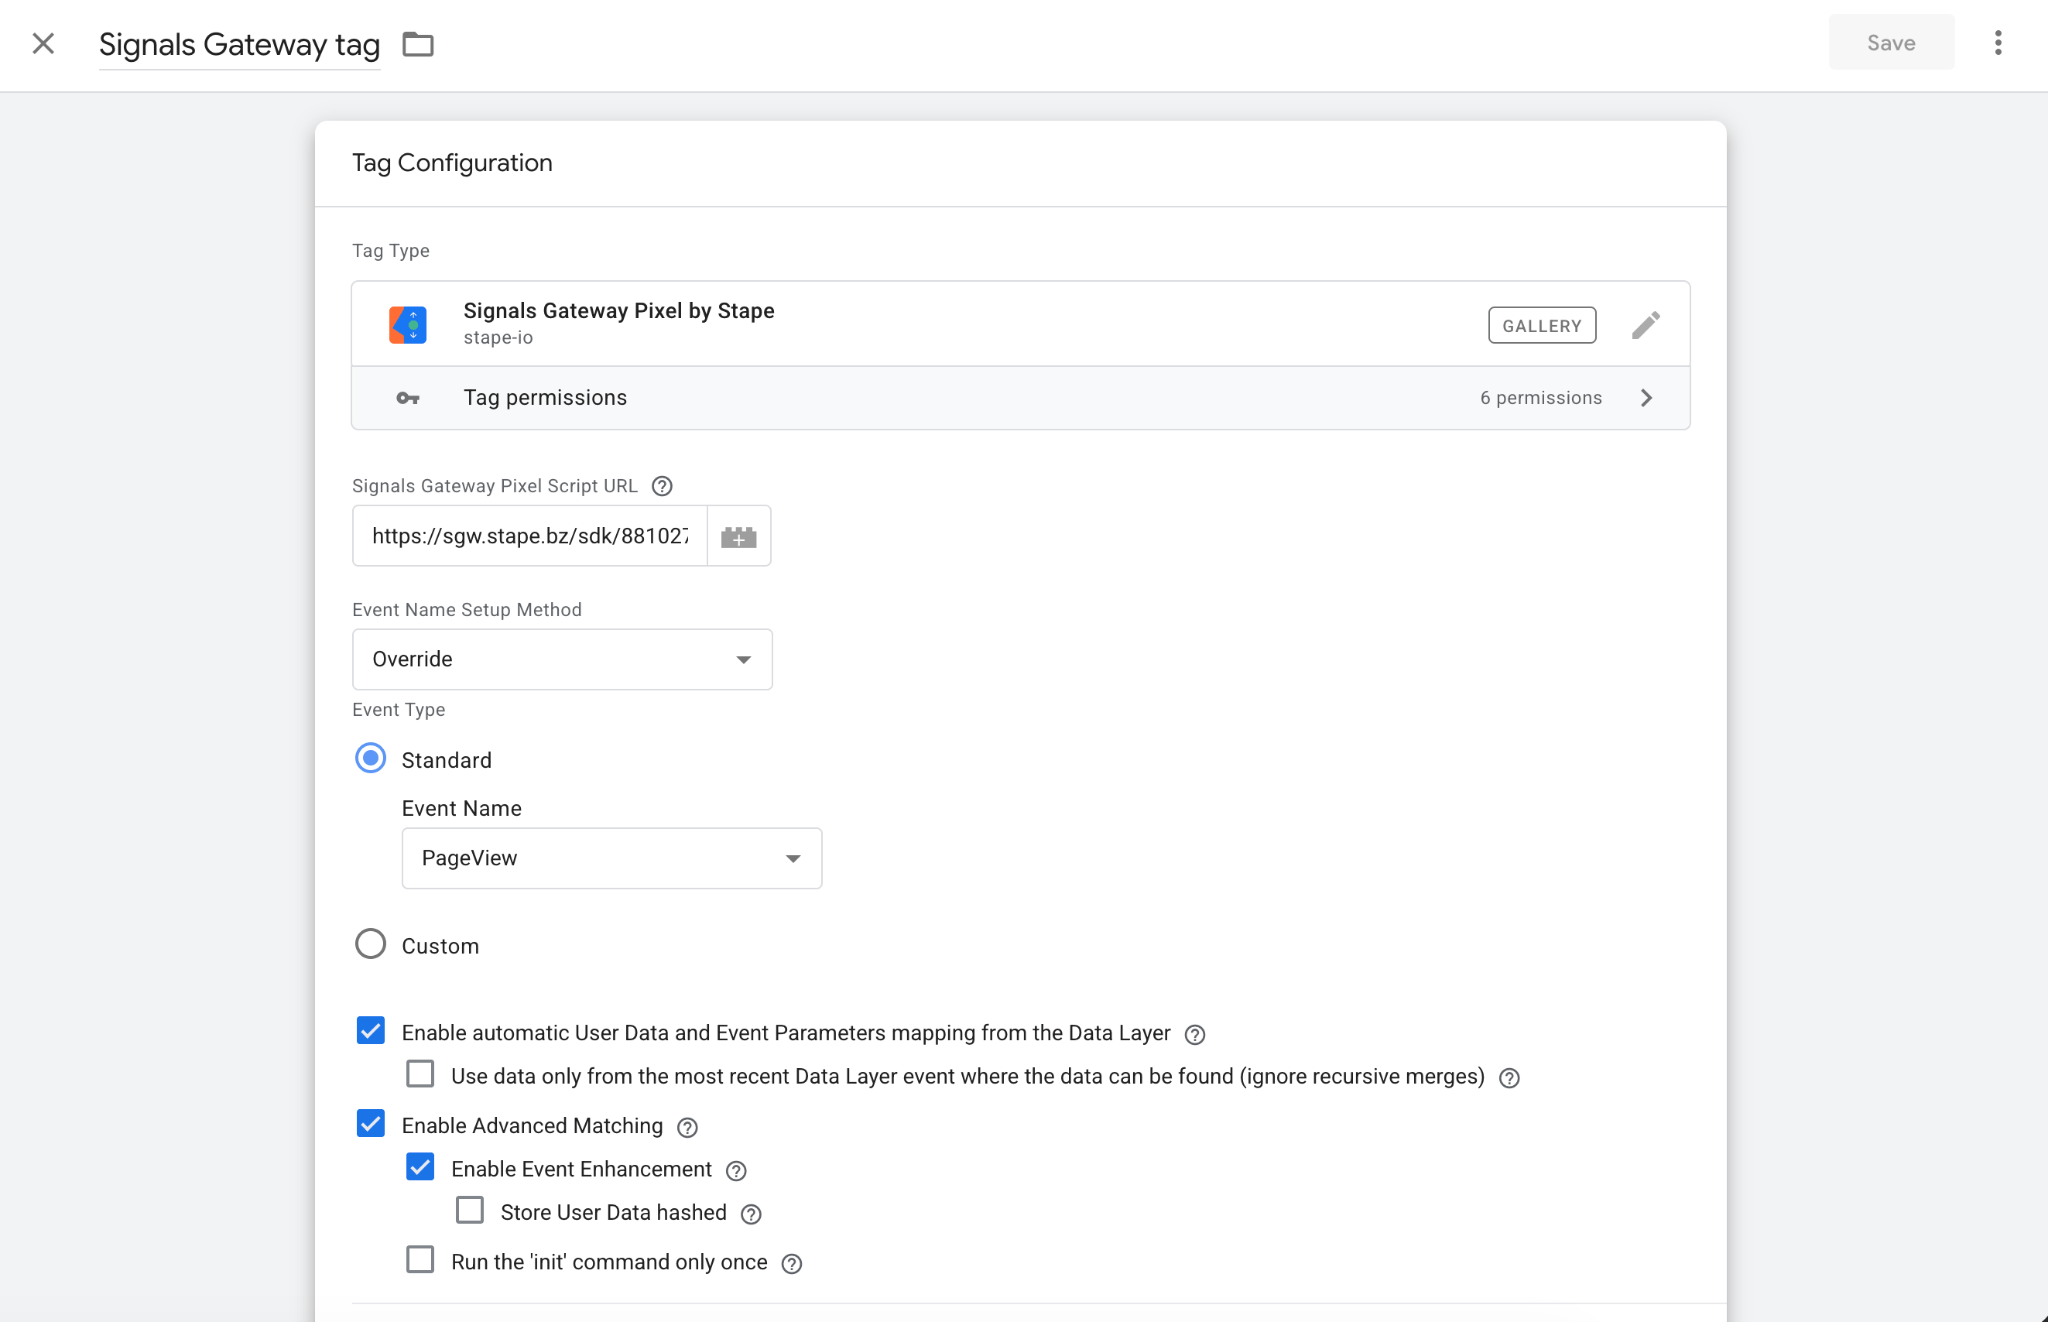
7. In Signals Gateway Pixel Script URL paste your saved script URL.
8. In Event Name Setup Method you can select the following:
- Inherit from DataLayer – automatically maps standard GA4 / DataLayer event names (
purchase,add_to_cart,page_view,sign_up, etc.) to Meta event equivalents. Use this for various user action events pushed directly into the Data Layer. - Override – select a specific standard Meta event name (
PageView,Purchase,AddToCart,Lead,ViewContent)or enter a custom event name. This way you manually control which Meta event name is sent by the tag, bypassing automatic event name detection from the Data Layer. Use this when your Data Layer event names don’t match standard GA4 naming conventions or for the tag triggered on page load / initialization. - Enable automatic User Data and Event Parameters mapping from the Data Layer – when checked, the tag automatically scans the GTM Data Layer and extracts event parameters and user details. It saves time by removing the need to manually create individual GTM variables and map every single event parameter or user data field in tag settings.
- Use data only from the most recent Data Layer event where the data can be found (ignore recursive merges) – when checked, it forces the tag to look strictly at the payload sent in the latest/current
dataLayer.push()trigger, ignoring historical data from previous pushes. It prevents data contamination between sequential events on the same page view (for example, ensuring apurchaseevent doesn't accidentally carry over parameter values from a prioradd_to_cartpush).
- Enable Advanced Matching – when checked, enables passing user-identifying parameters (such as email, phone number, first/last name, address, and external ID). This increases your Event Match Quality (EMQ) score, improves ad attribution, and enhances retargeting audience accuracy.
- Enable Event Enhancement – when checked, saves captured user data into the browser's persistent storage (such as local storage or cookies) after it is first captured (for example, during login or checkout). This ensures high match quality across the entire user journey without requiring user details on every single page load.
- Store User Data hashed – when checked, ensures that all PII is stored as SHA-256 hashes instead of plain text.
- Run the 'init' command only once – when checked, ensures the underlying SDK initialization command is executed only a single time per browser page load. This prevents duplicate initialization calls if multiple tags trigger on the same page, avoiding script errors or unwanted resets of the pixel state.
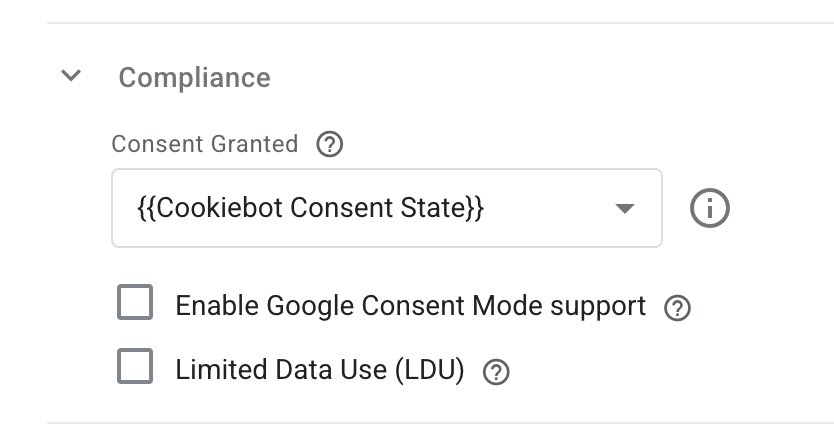
9. In Compliance you can set your variable for Consent Granted. Pass a variable into this field so the value dynamically resolves to true or false based on user interaction with your cookie banner. Additional settings include:
- Enable Google Consent Mode support – when checked, integrates the tag with Google Consent Mode framework.
- Limited Data Use (LDU) – Meta's compliance setting designed for US state privacy laws (such as California's CCPA/CPRA). You can configure LDU to let Meta automatically detect user location based on IP address or explicitly pass state and country codes.
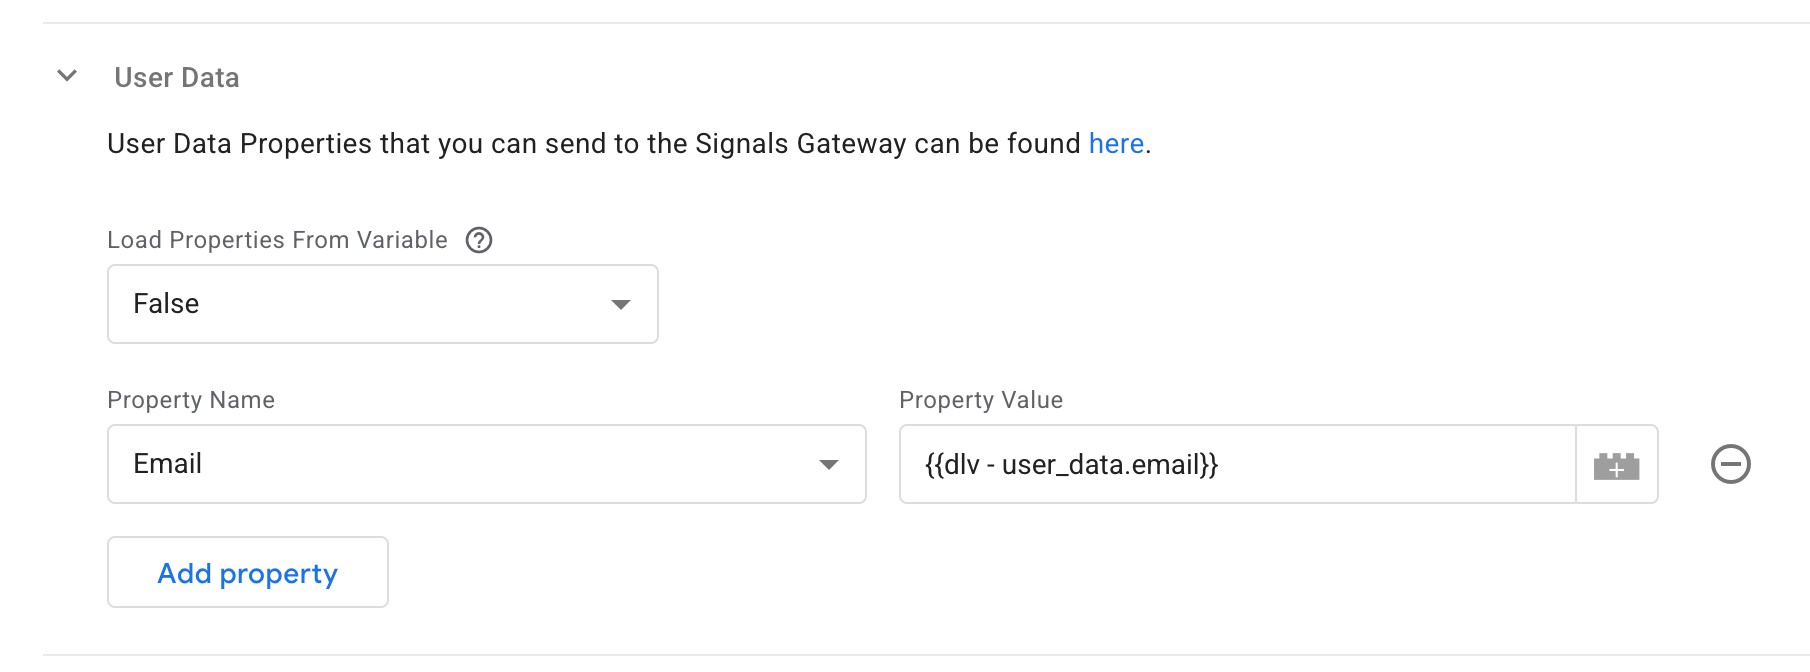
10. In User Data you can define customer identifiers used for advanced matching:
- Load Properties From Variable – instead of filling out individual row-by-row key-value pairs manually, you can pass a single GTM object variable (like a Javascript Variable or Data Layer Variable returning an object of key-value pairs), and the tag automatically merges all properties from that variable object into the user data payload.
- Property Name and Value – the identifier used to manually map specific user data attributes (for example,
Email,Phone,First Name,External ID). Each property name corresponds to a specific standard field required by Meta.
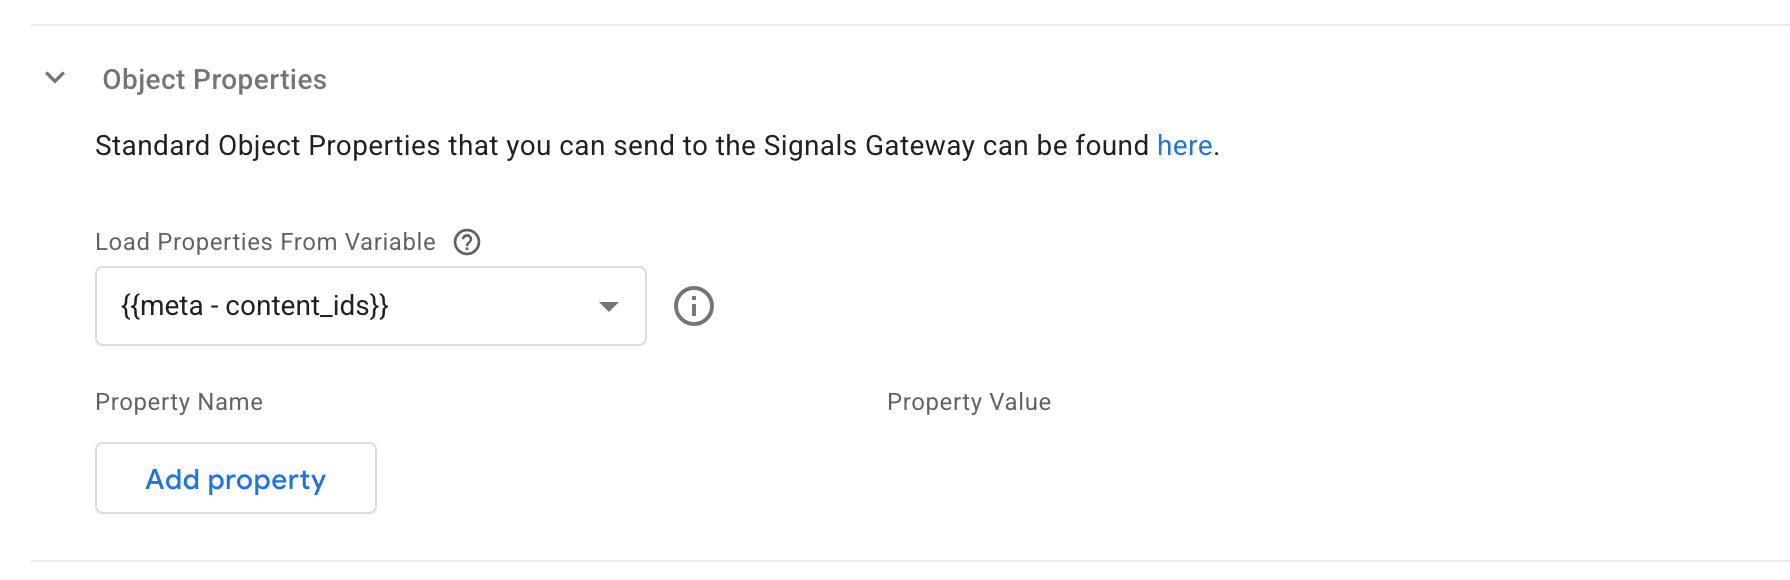
11. In Object Properties you can define what properties will be grouped into an object before being sent in the event payload:
- Load Properties From Variable – instead of filling out individual row-by-row key-value pairs manually, you can pass a single GTM object variable (like a Javascript Variable or Data Layer Variable returning an object of key-value pairs), and the tag automatically merges all properties from that variable object into the request payload.
- Property Name and Value – the identifier used to manually map specific data attributes (for example,
content_name,currency). The property name must accurately match the expected field identifier so the tag and destination API can correctly identify and process the data.
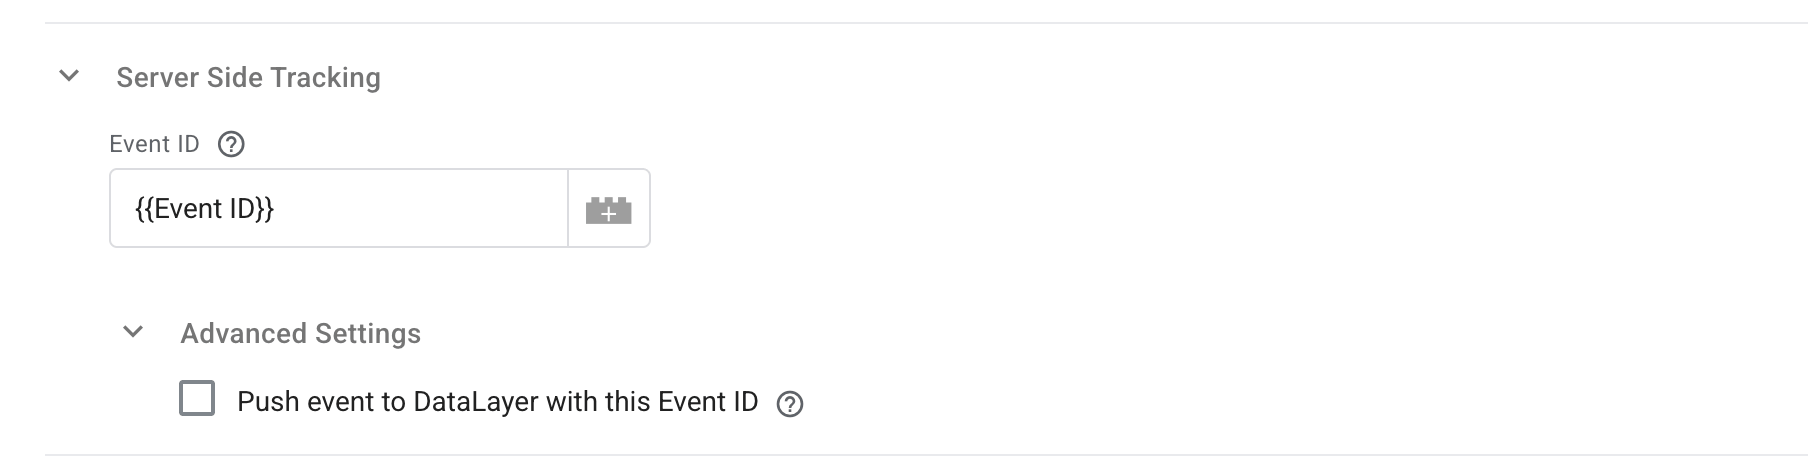
12. In Server Side Tracking you can set the Event ID in case you are tracking the same event through server-side using the Meta Conversions API or Signals Gateway Pixel. When setting up hybrid tracking (browser pixel + server CAPI), both the browser and server send the same event to Meta or other platforms. The Event ID tells Meta that both requests represent the exact same action so Meta can deduplicate them and count the conversion only once.
- Under the Advanced Settings you can check Push event to DataLayer with this Event ID to push the tag's generated Event ID directly into the GTM Data Layer. This ensures all other tags firing on the exact same trigger (such as GA4, Stape Data Tag, or custom HTML tags) use the exact same Event ID. It also resolves tag sequencing issues where different tags might otherwise generate different unique IDs for the same user event, breaking server-side deduplication.
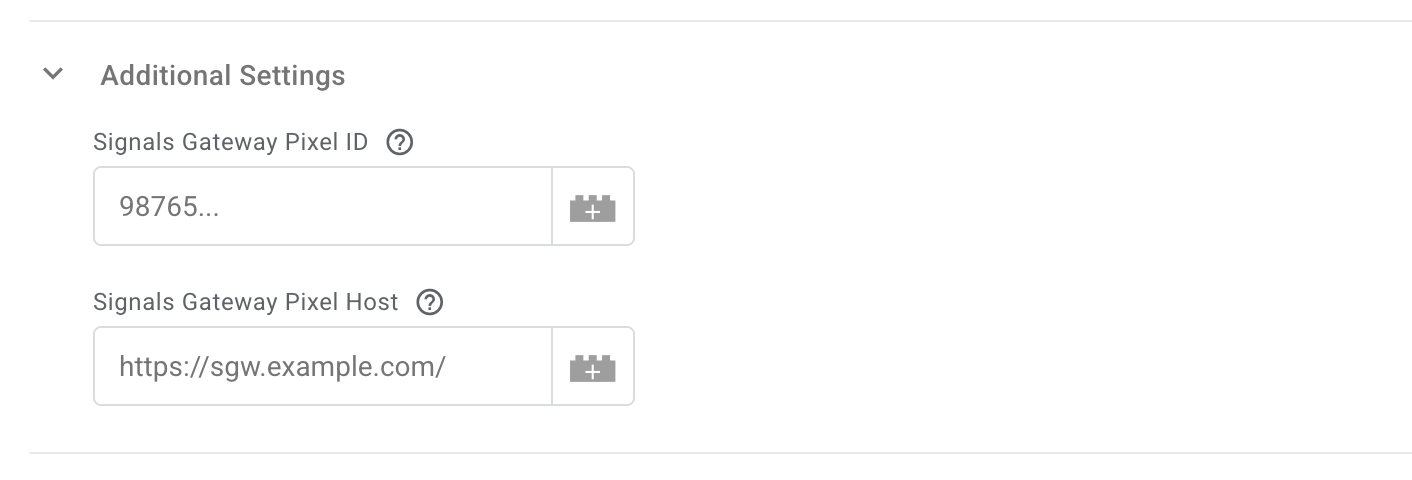
13. Under Additional Settings you can define:
- Signals Gateway Pixel ID – if it isn’t already present in the Signals Pixel Script URL, add it in the field.
- Signals Gateway Pixel Host – if it isn’t already present in the Signals Pixel Script URL, add it in the field.
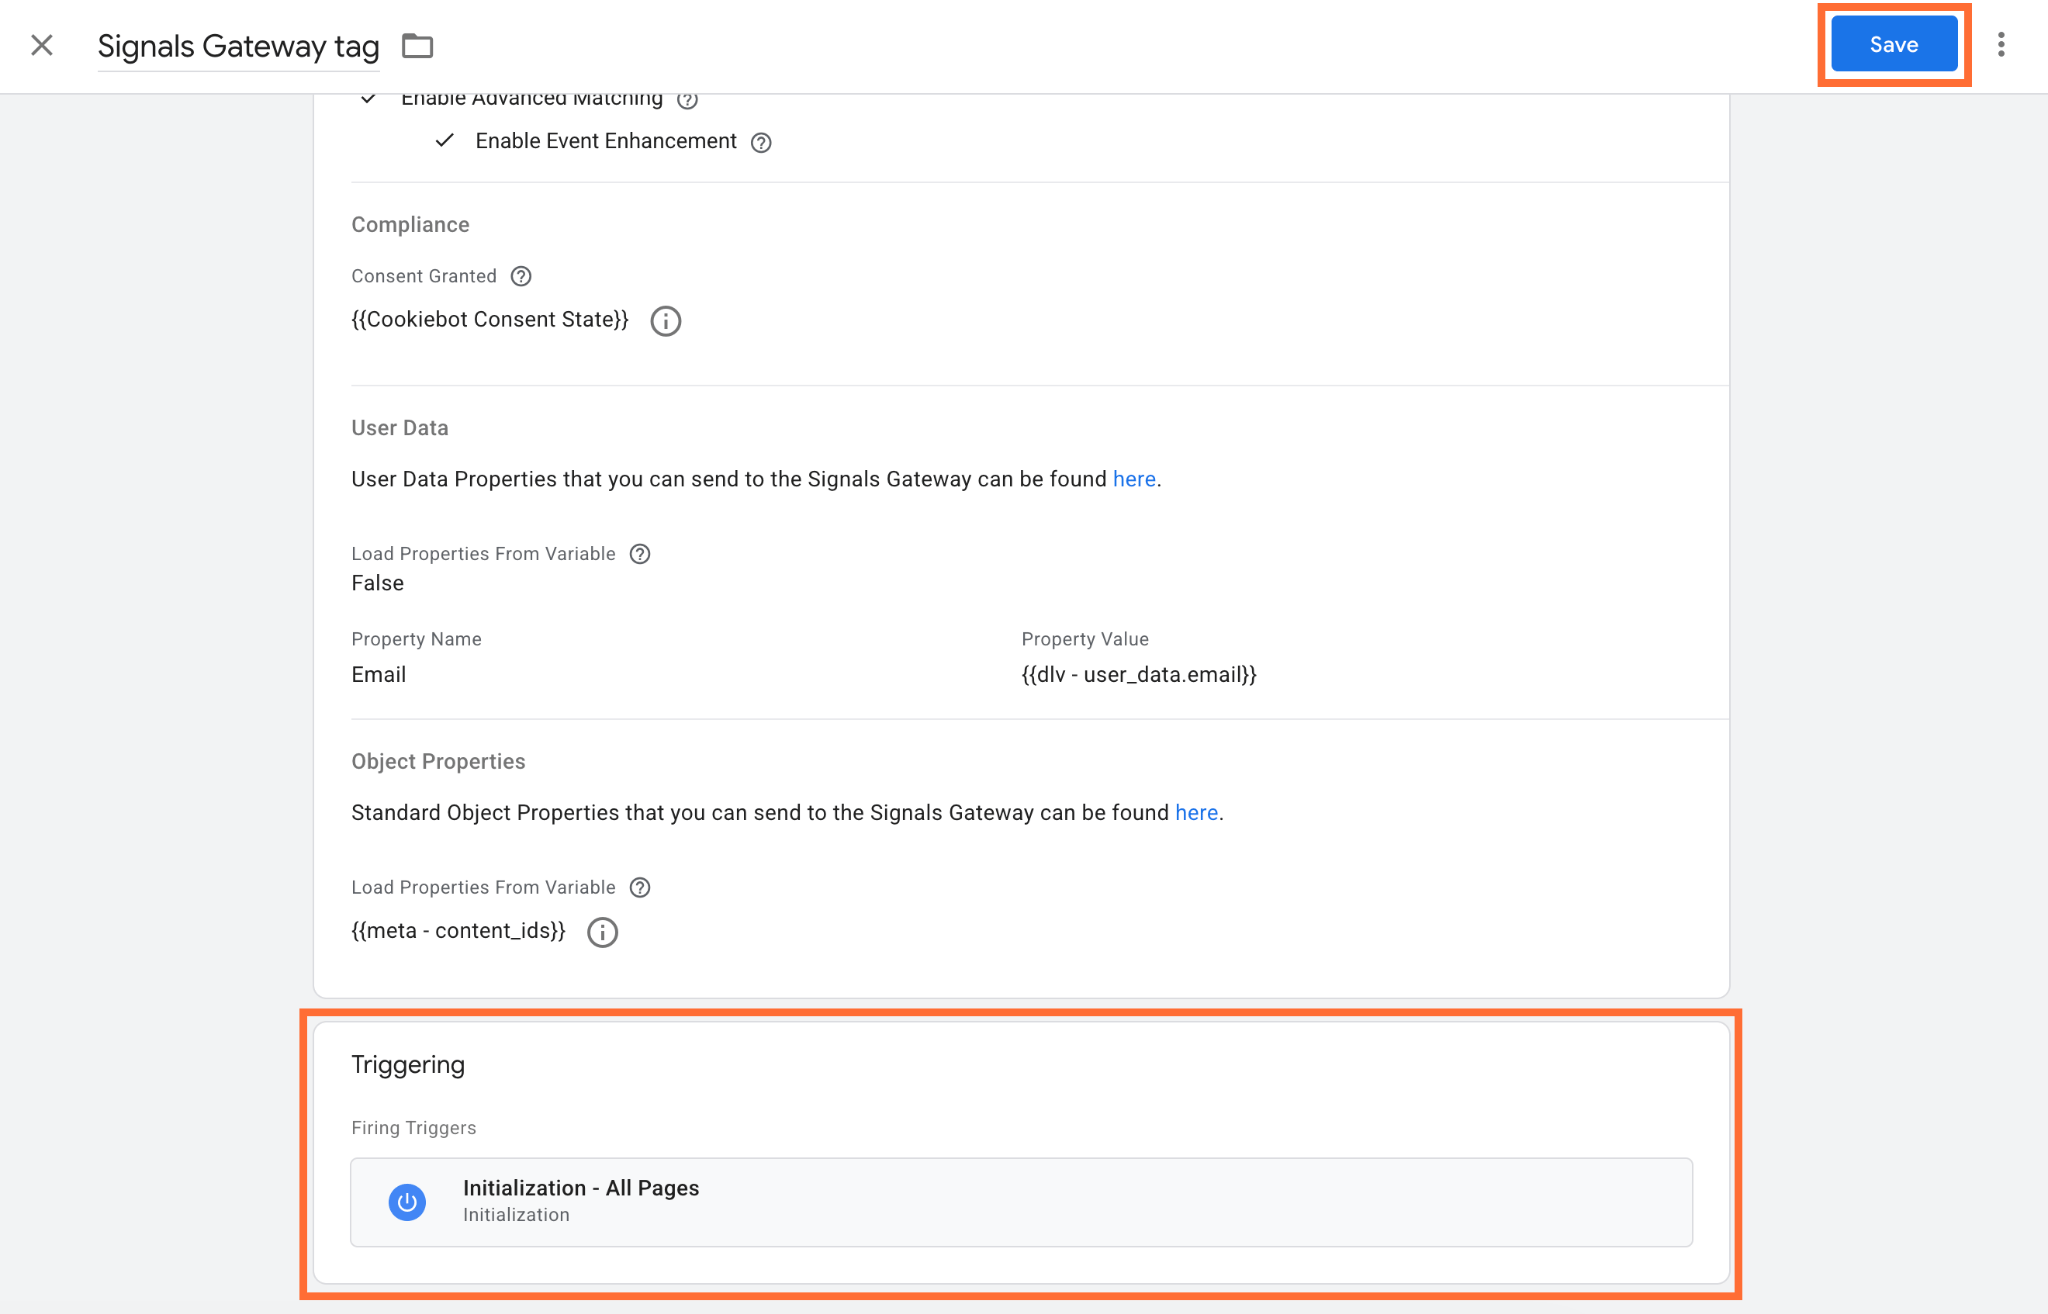
14. Select a trigger. We recommend setting up one tag triggered on Initialization - All Pages to track page views, and other tags with custom event triggers matching your Data Layer event name (for example, purchase, add_to_cart).
15. Click Save.
Testing
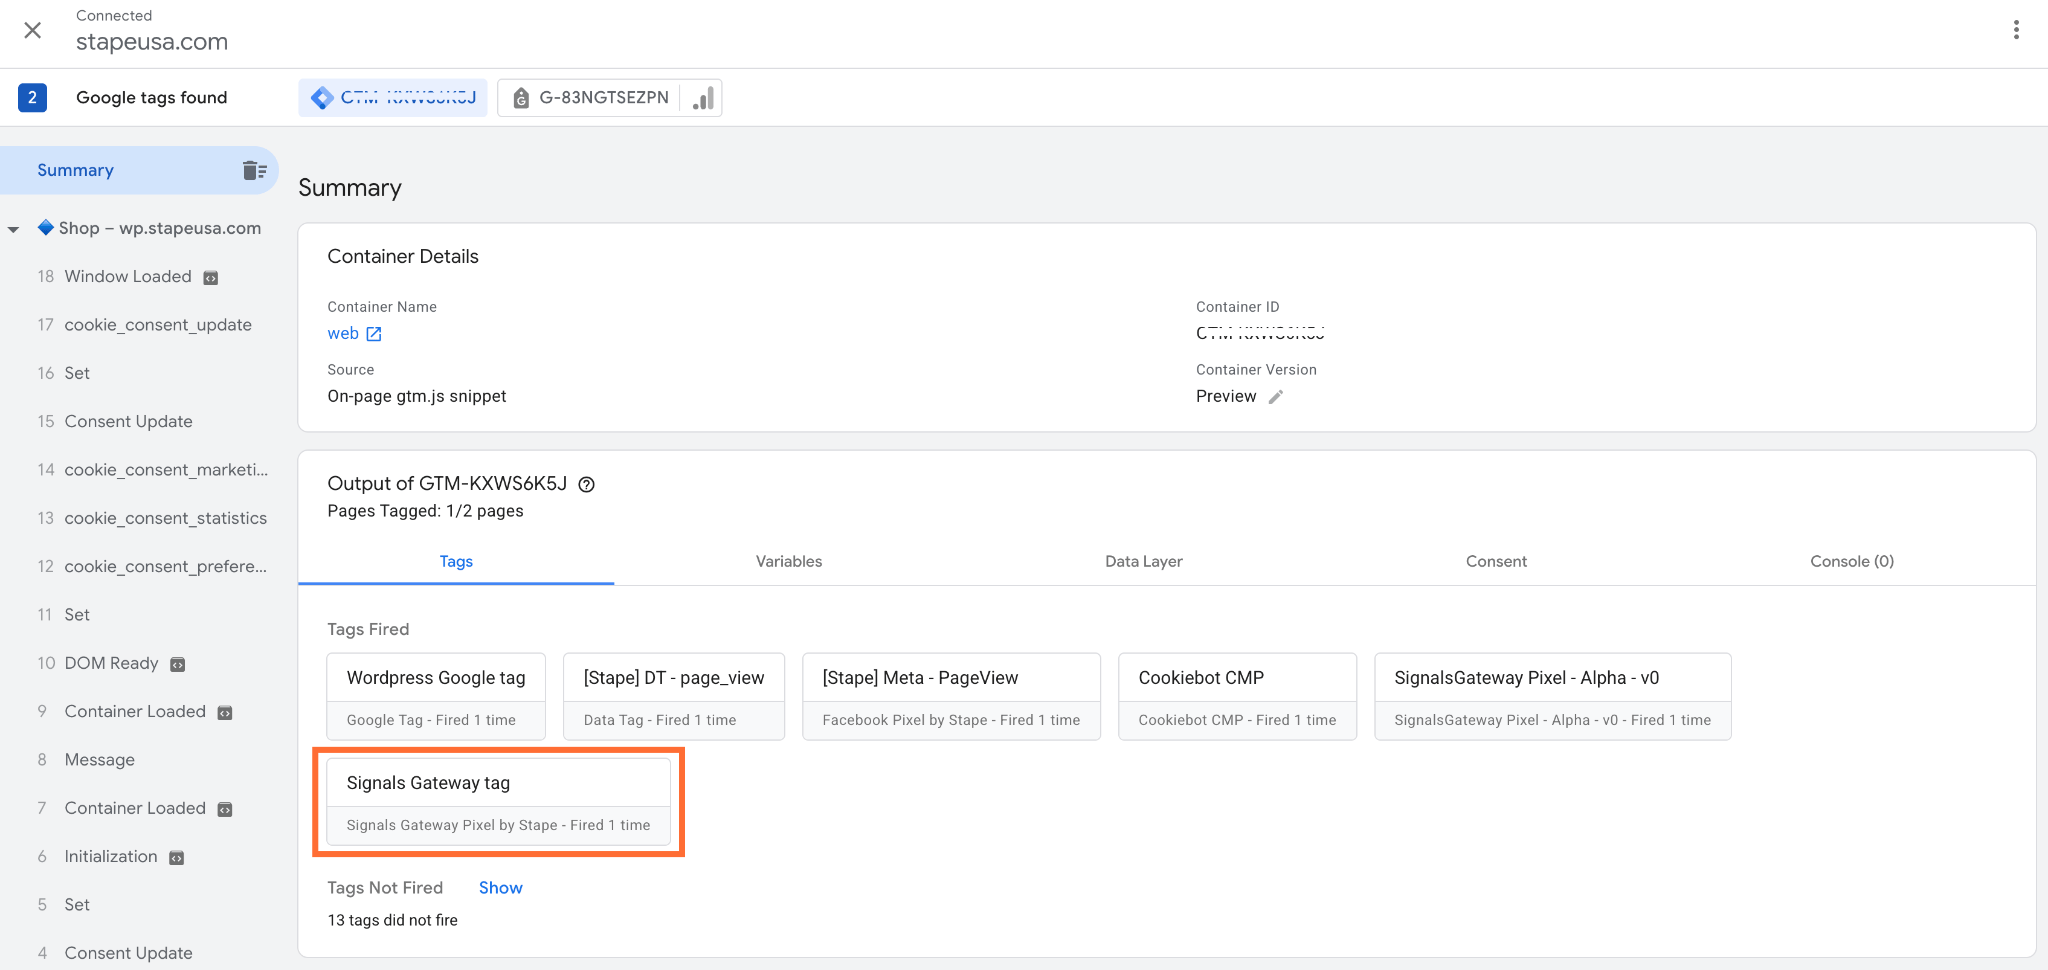
- 1.Open the Preview mode and do some actions on your site to trigger the events. Confirm that the tag is firing.
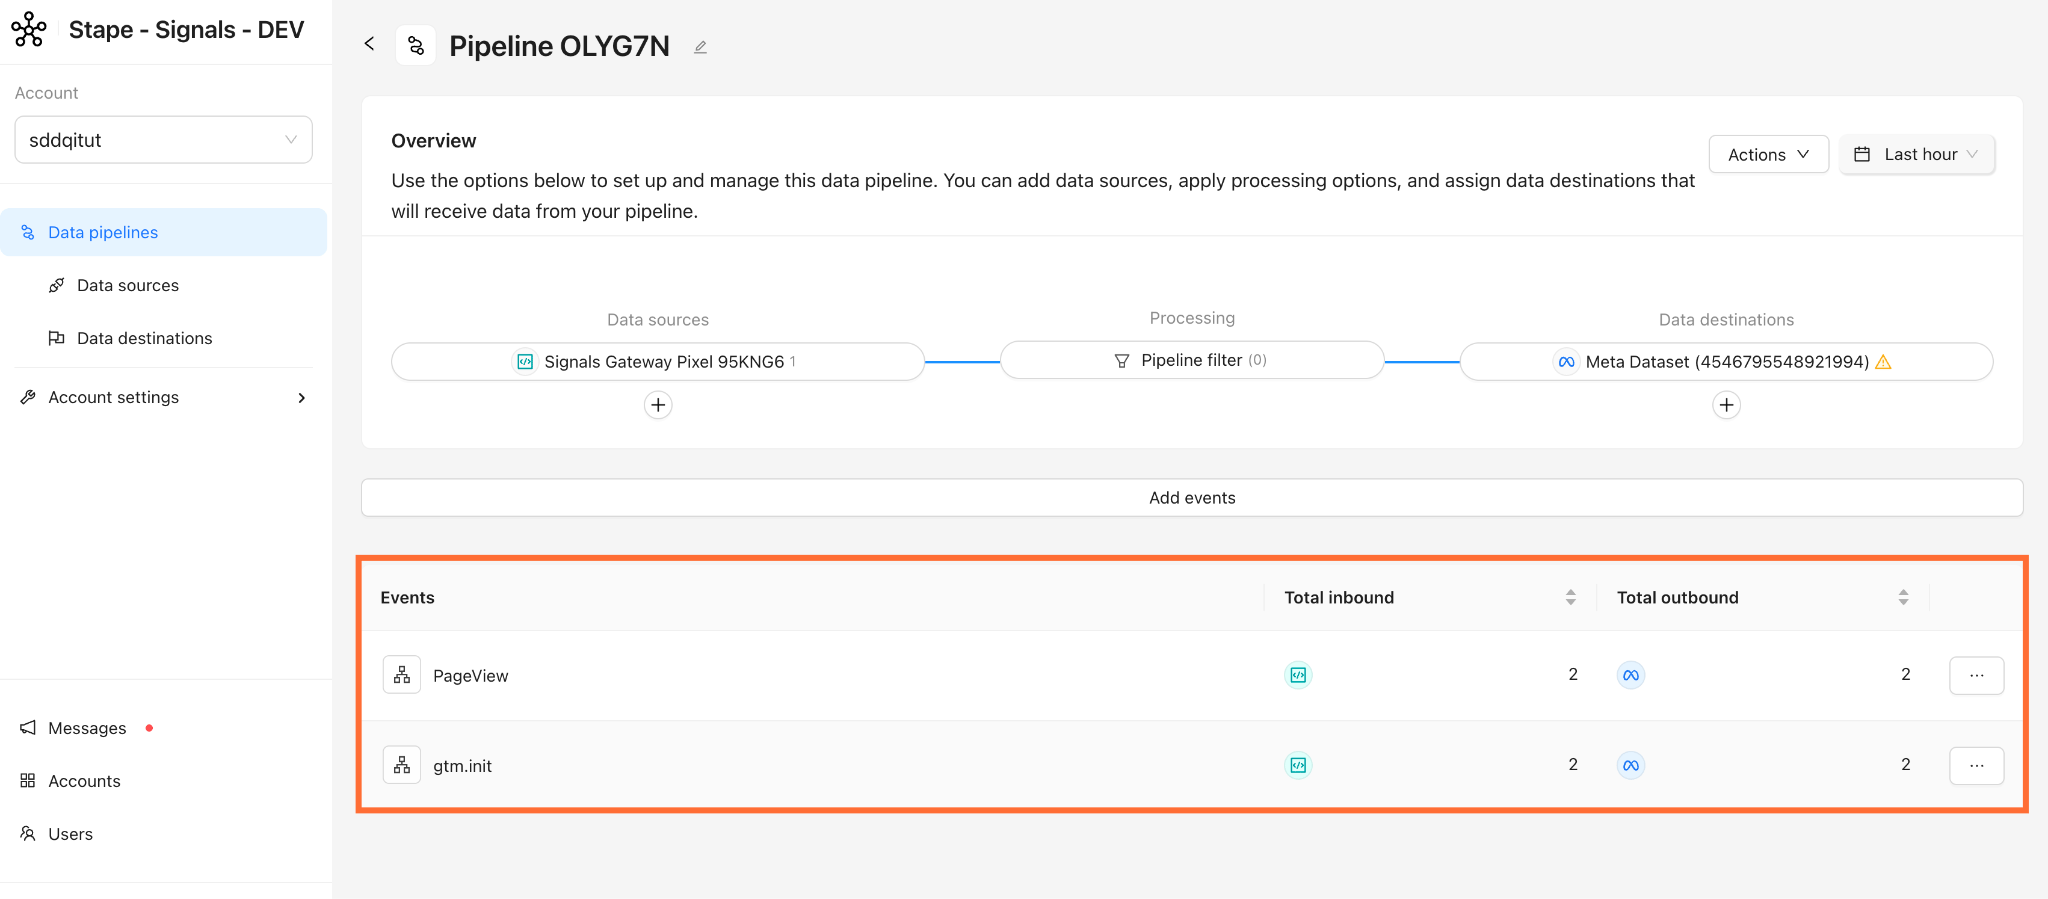
2. Go to Signals Gateway → Data pipelines → your pipeline → check that events are flowing inbound and outbound (it may take up to 30 minutes for them to show up).
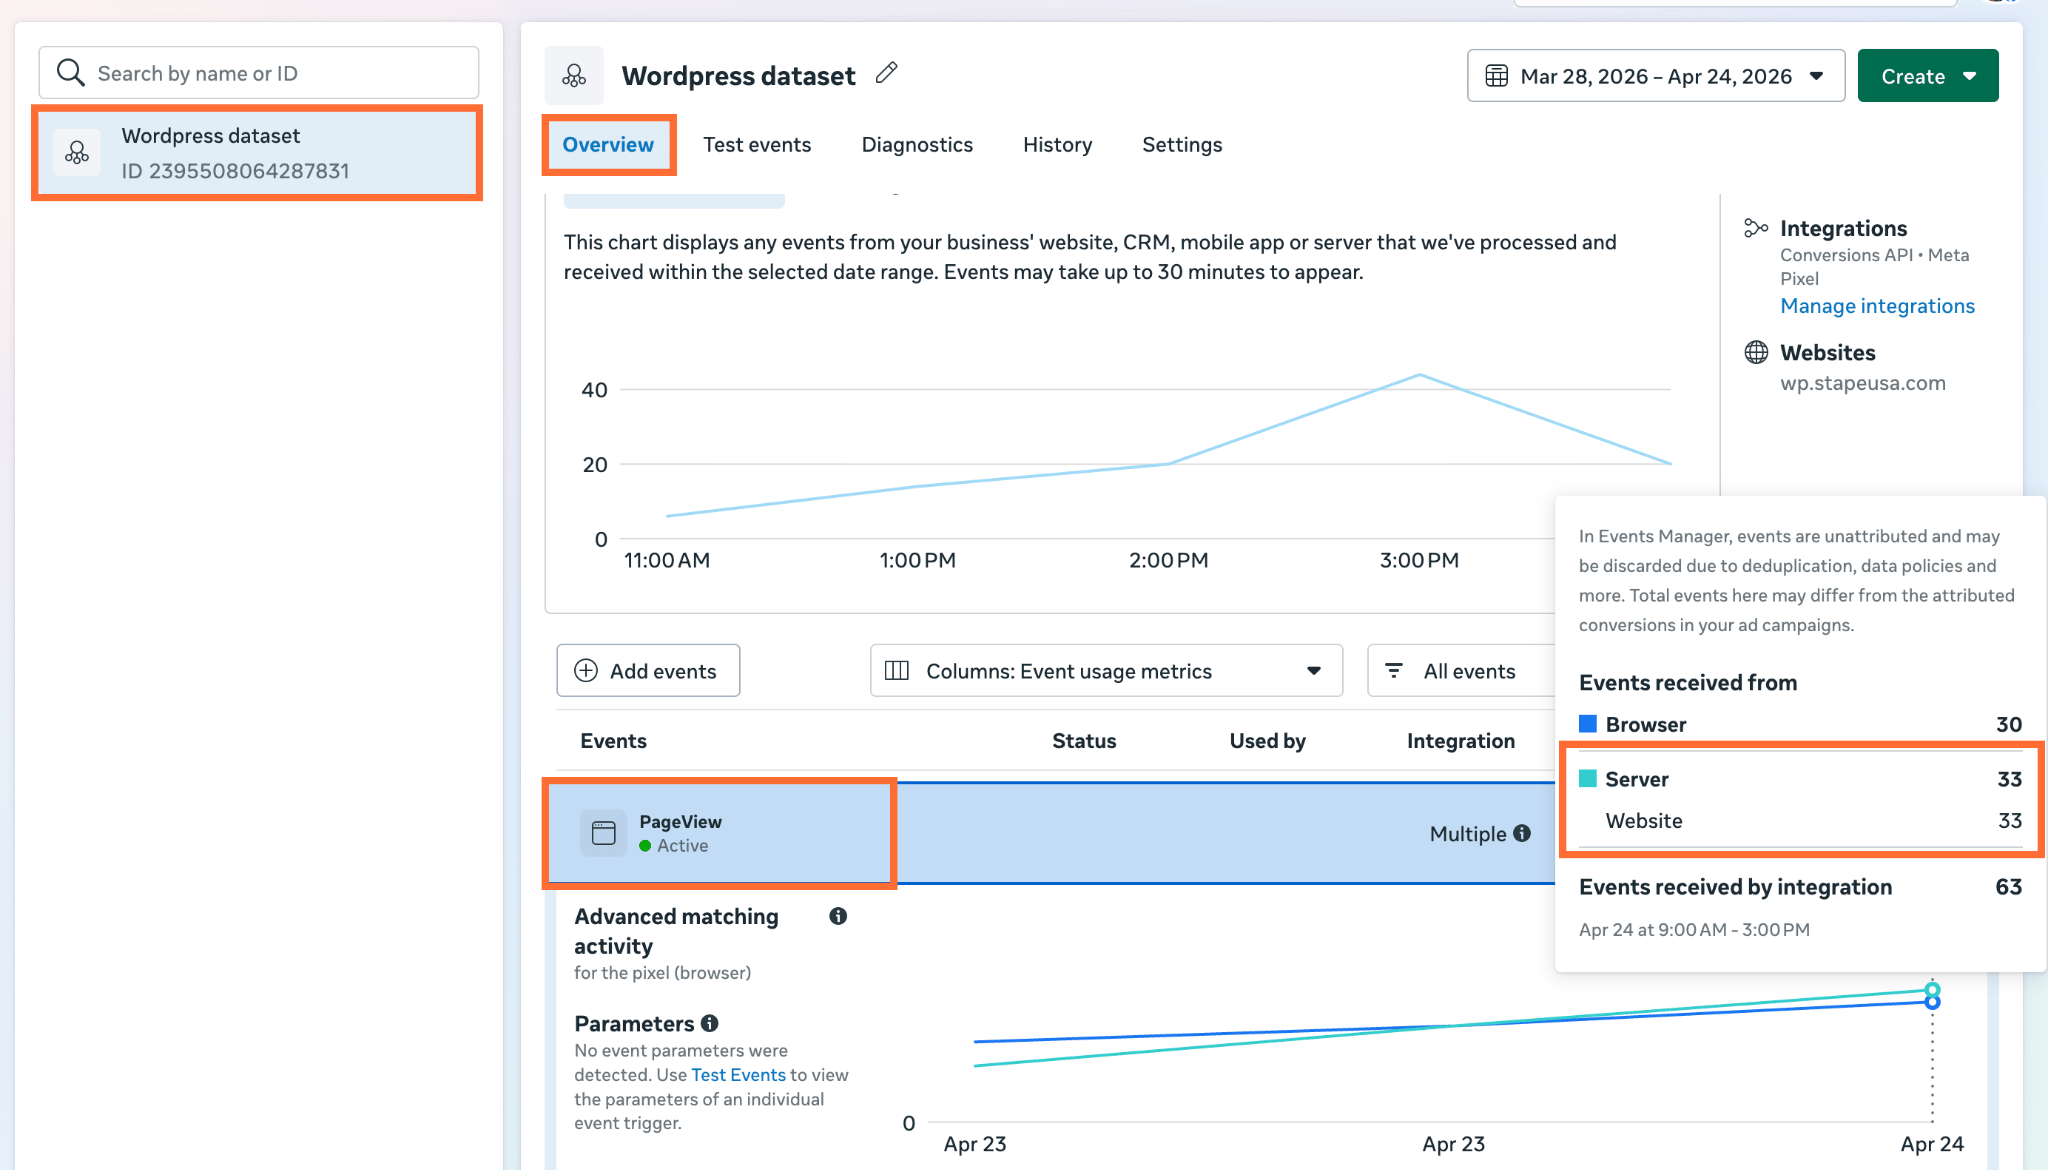
3. Go to Meta Events Manager → Datasets → open your dataset → Overview. You should see events arriving with the server parameter populated.
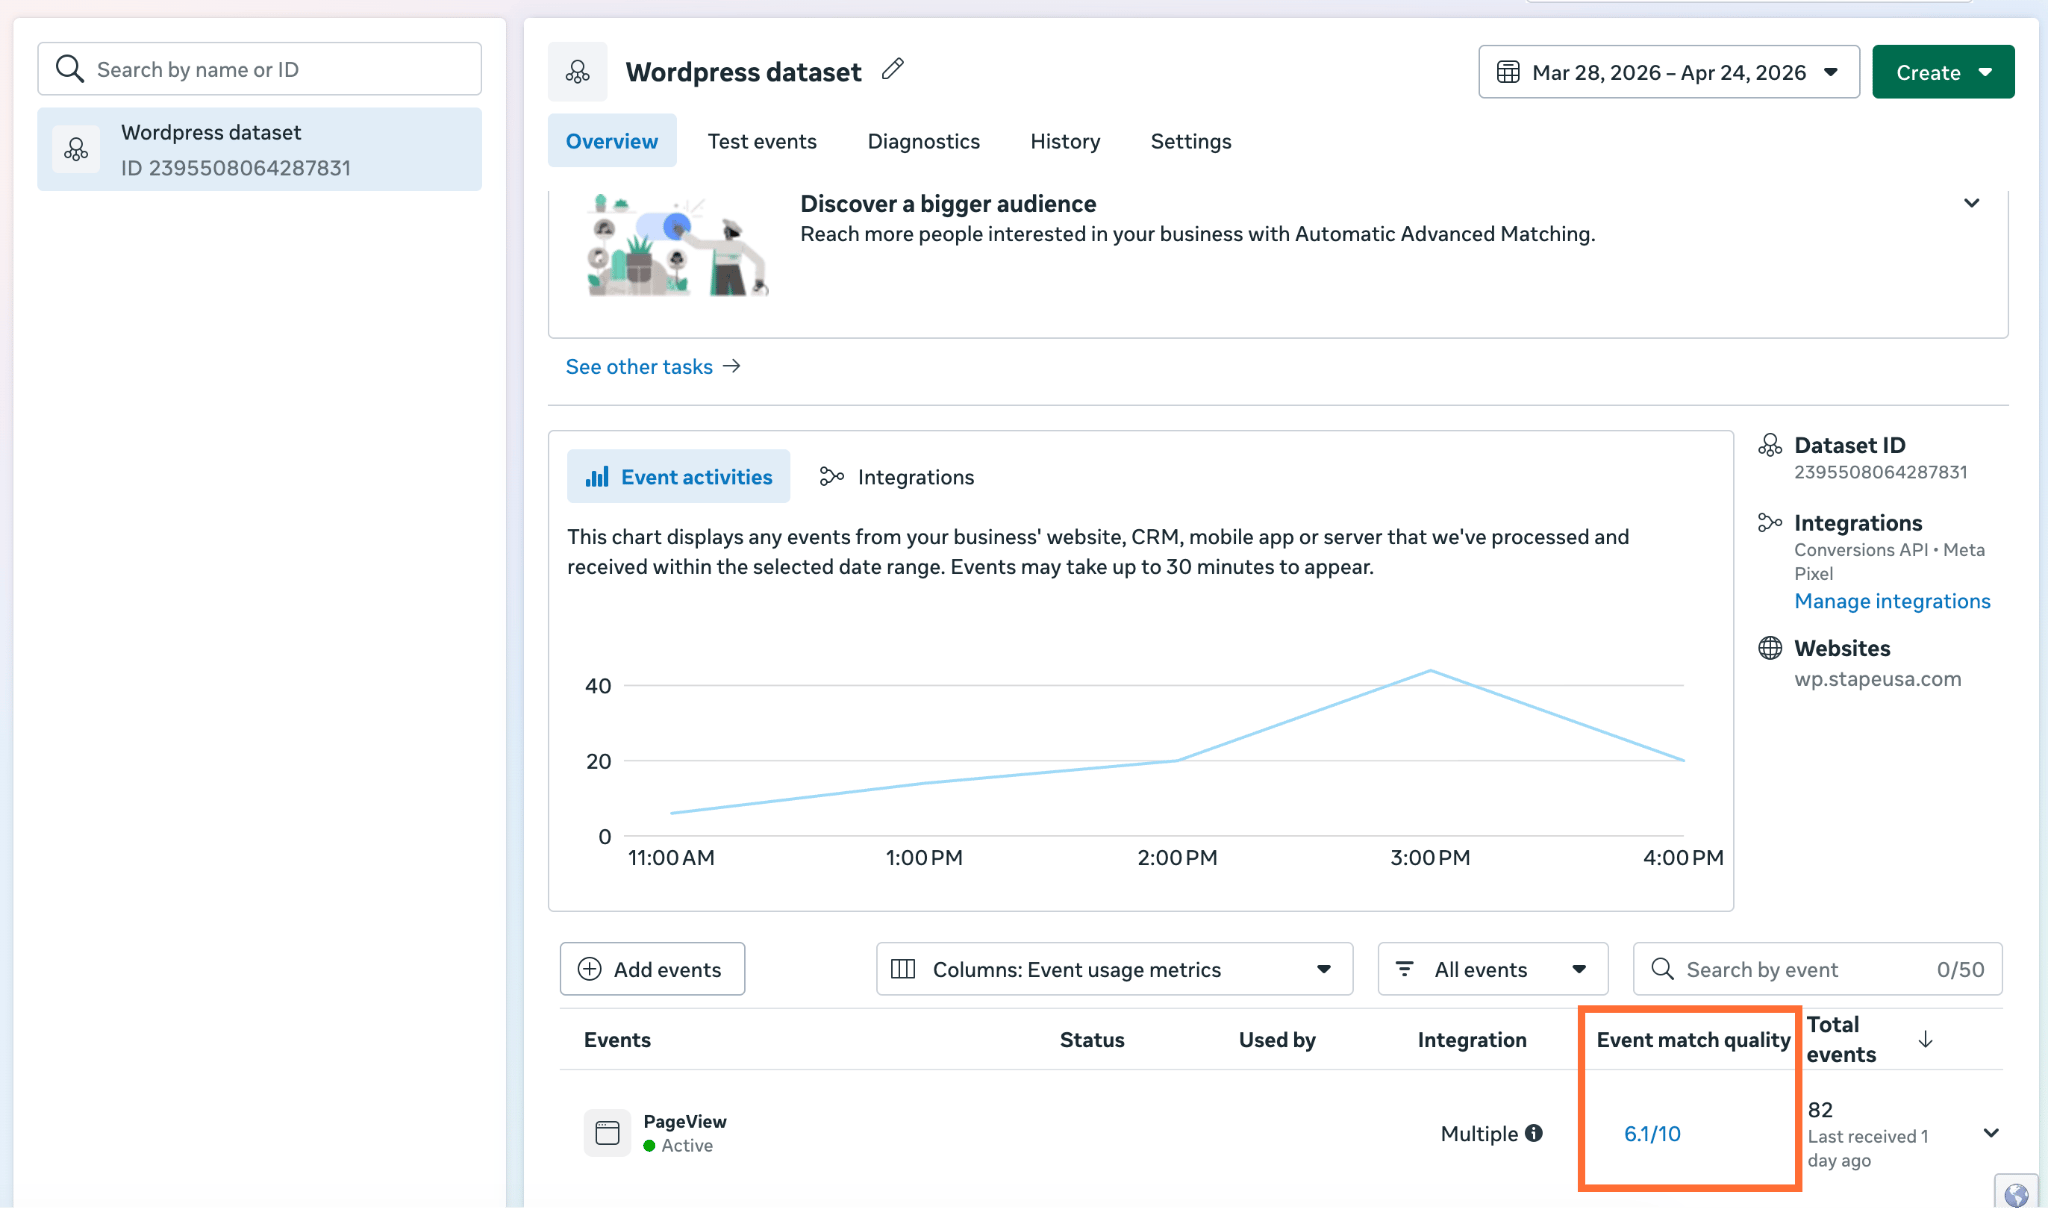
4. In the Events Manager, check EMQ for each key event. Expect ≥ 6.0 once advanced matching data is flowing. If the score is <6.0, read Facebook Event Match Quality – what it is and how to increase it.
Was this article helpful?
🍽 Table of content:
Comments