Shopify Customer Privacy API tag
Updated Jul 2, 2026
Shopify Customer Privacy API tag by Stape is a web GTM tag that lets you synchronize customer consent preferences from your GTM web container directly with Shopify's Customer Privacy API. It is particularly useful when your consent management platform does not natively integrate with Shopify, helping ensure that consent choices for analytics, marketing, and personalization are consistently applied across your store.
The tag supports mapping consent states from Google Consent Mode or configuring them manually. It also allows you to send custom metafields to Shopify and supports headless commerce by configuring the required checkout and storefront domains, along with the Storefront API access token.
Requirements for setting up the Shopify Customer Privacy API tag
To configure the tag, please ensure that you already have a web Google Tag Manager container.
How to set up the Shopify Customer Privacy API tag
1. Add the Shopify Customer Privacy API tag template in the web GTM container by importing it from the Template gallery:
- Search for the Shopify Customer Privacy API tag by Stape in the Google Tag Manager Tag Template gallery.
- Click Add to workspace.

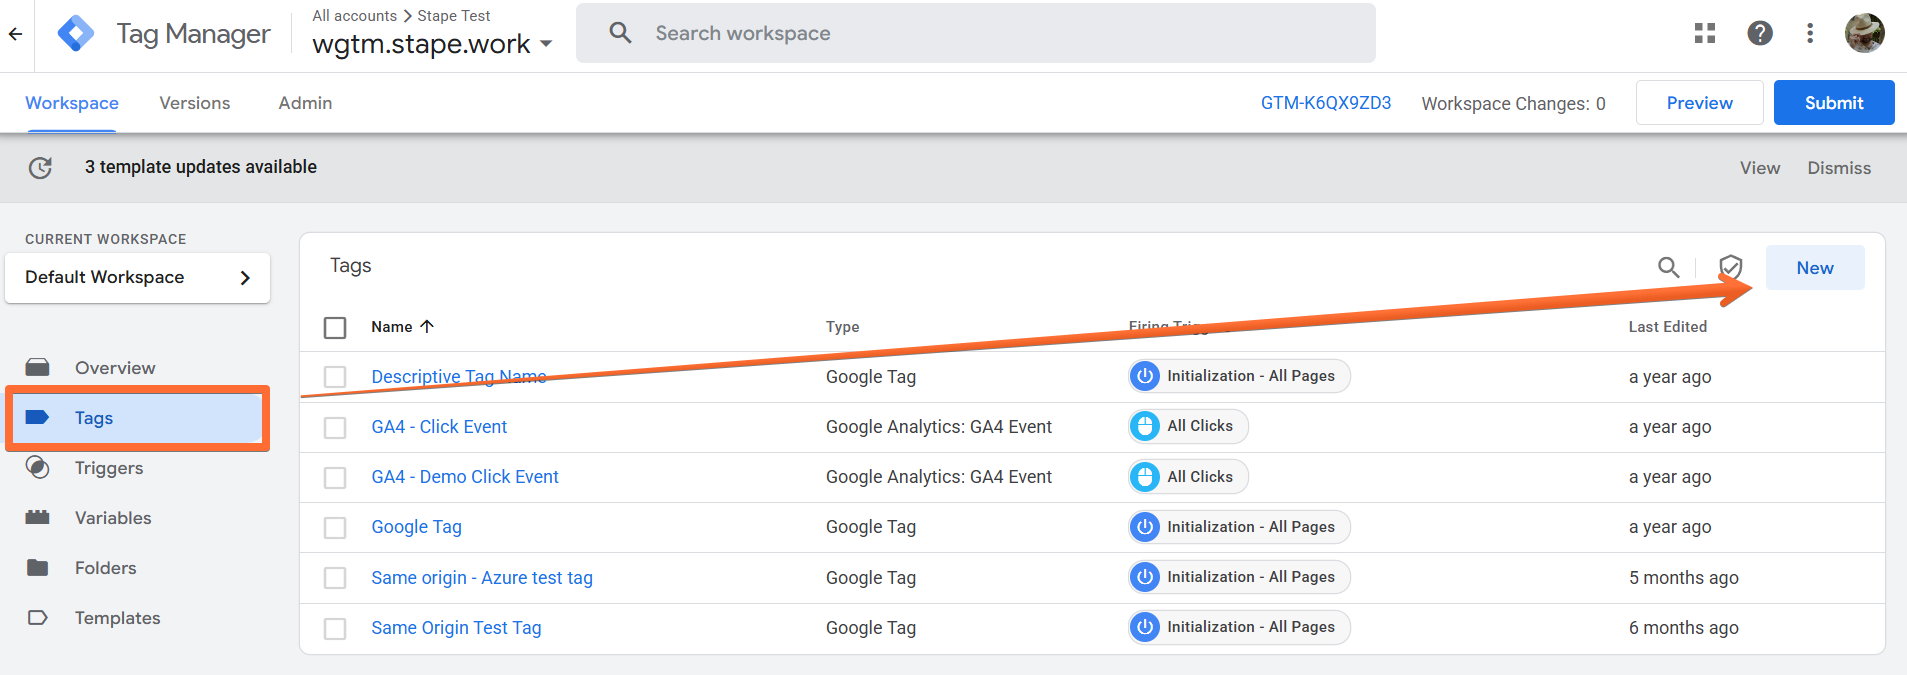
2. Create the Shopify Customer Privacy API tag:
- Go to the Tags menu → click New.
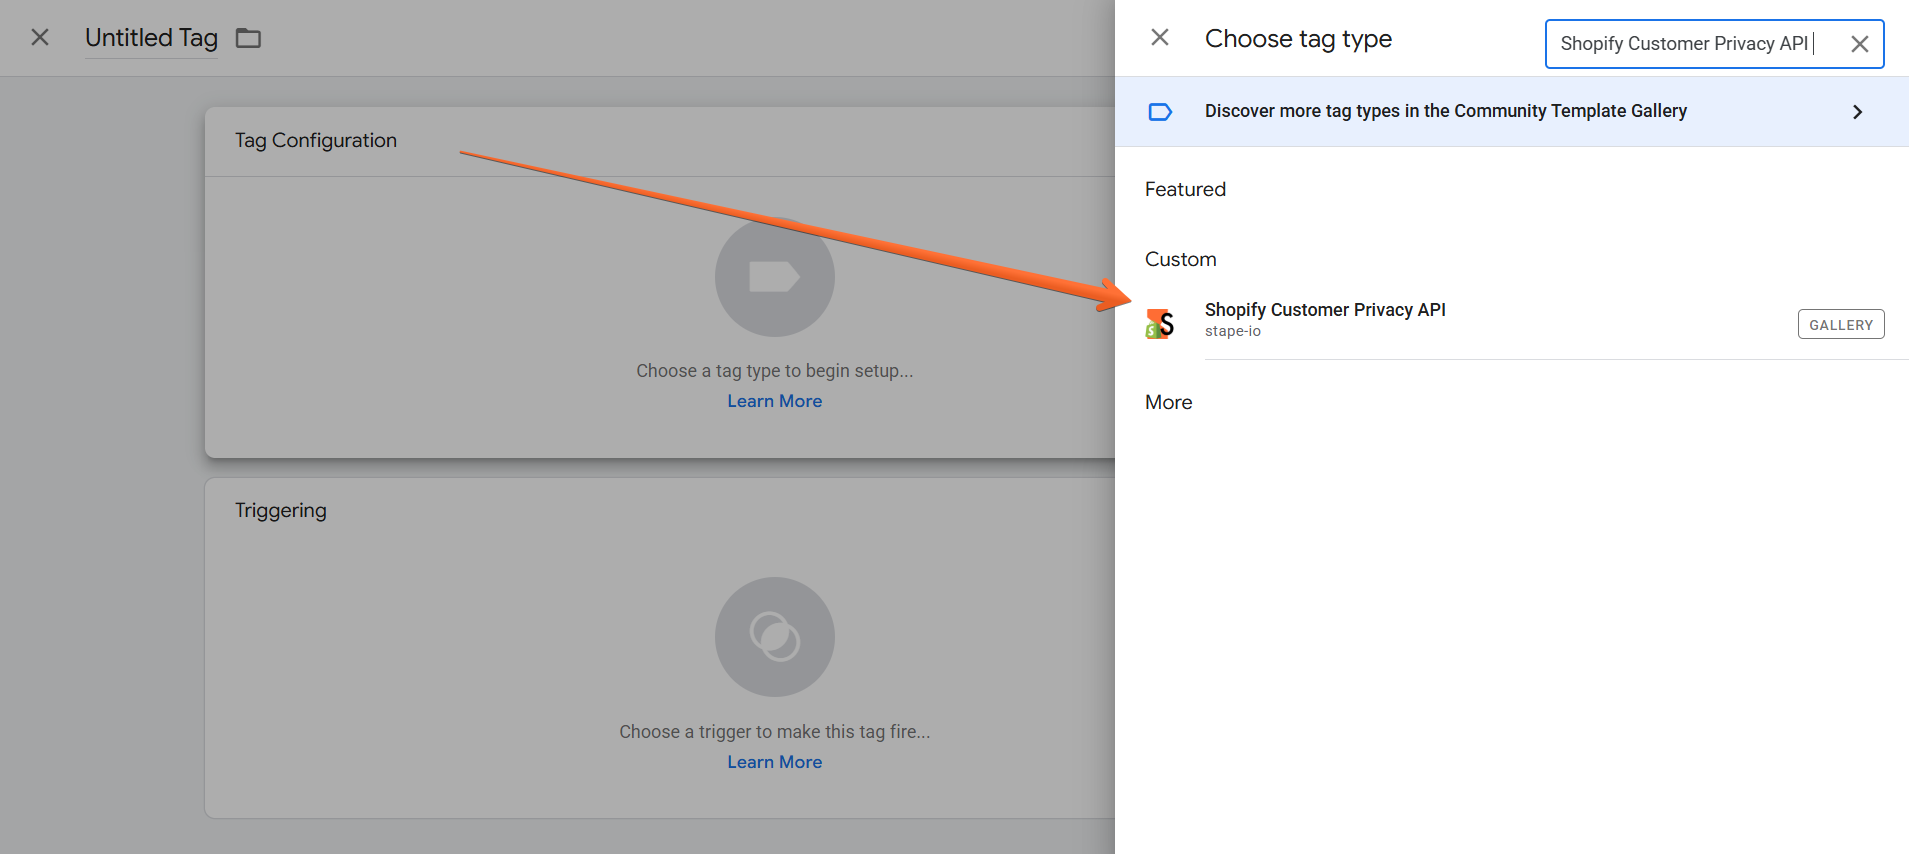
- Click Tag Configuration → select Shopify Customer Privacy API.
3. Configure the Shopify Customer Privacy API tag:
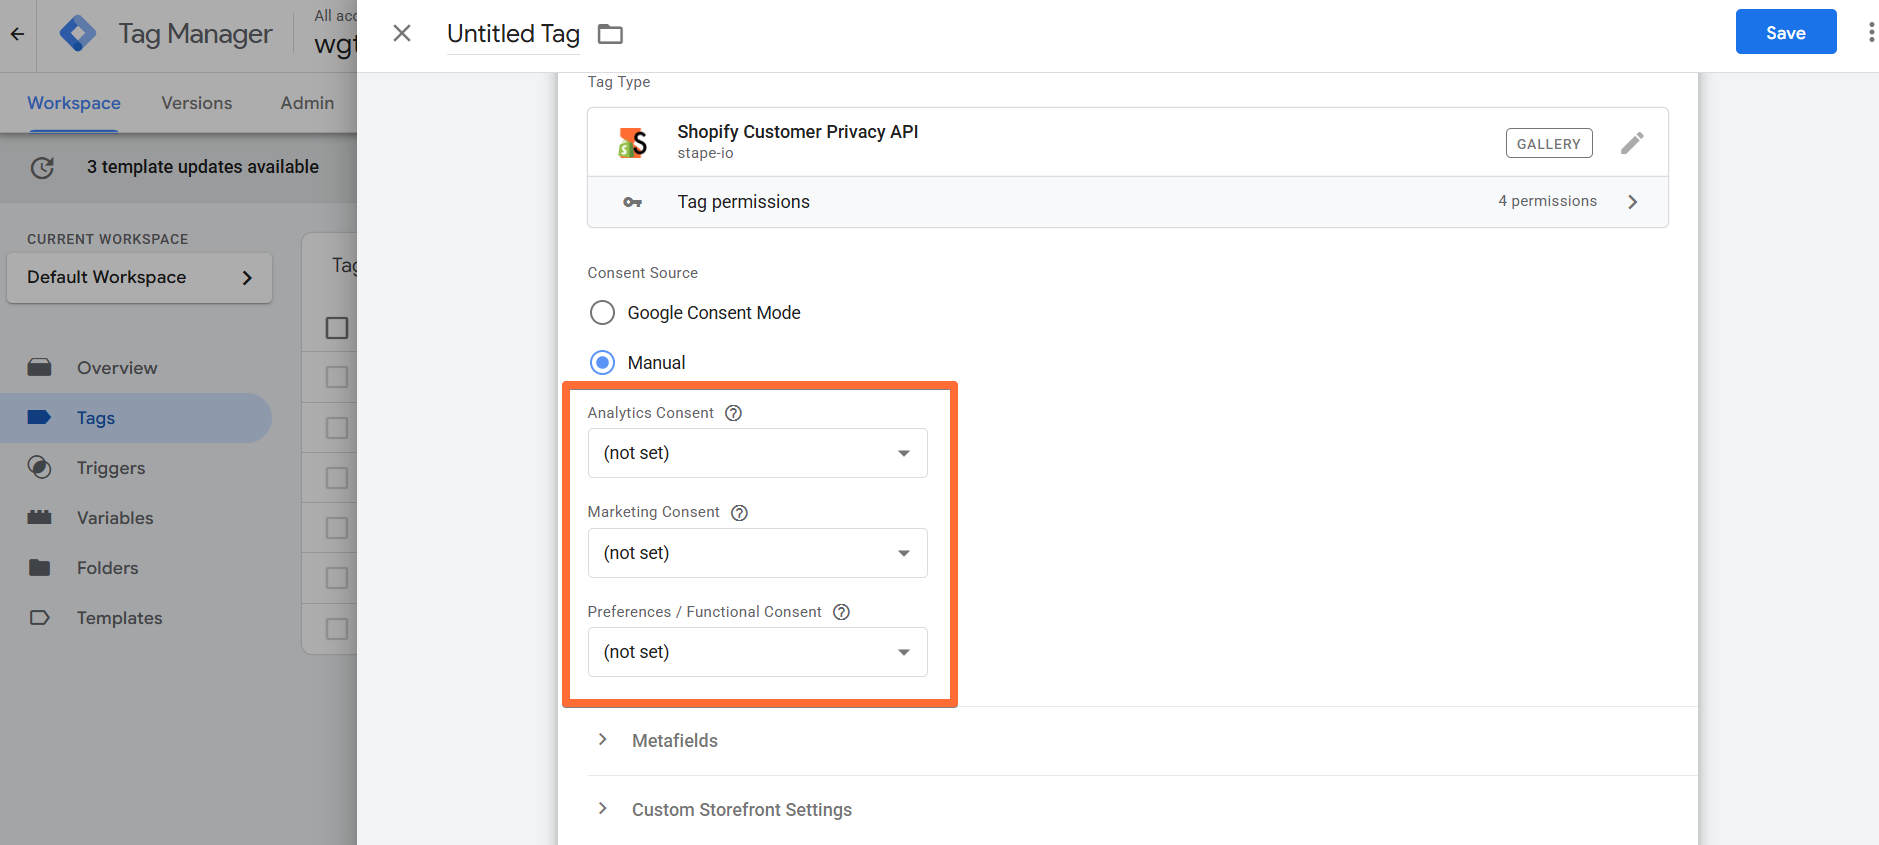
- Consent Source - choose how to define the consent status – either through Google's Consent Mode or Manually.
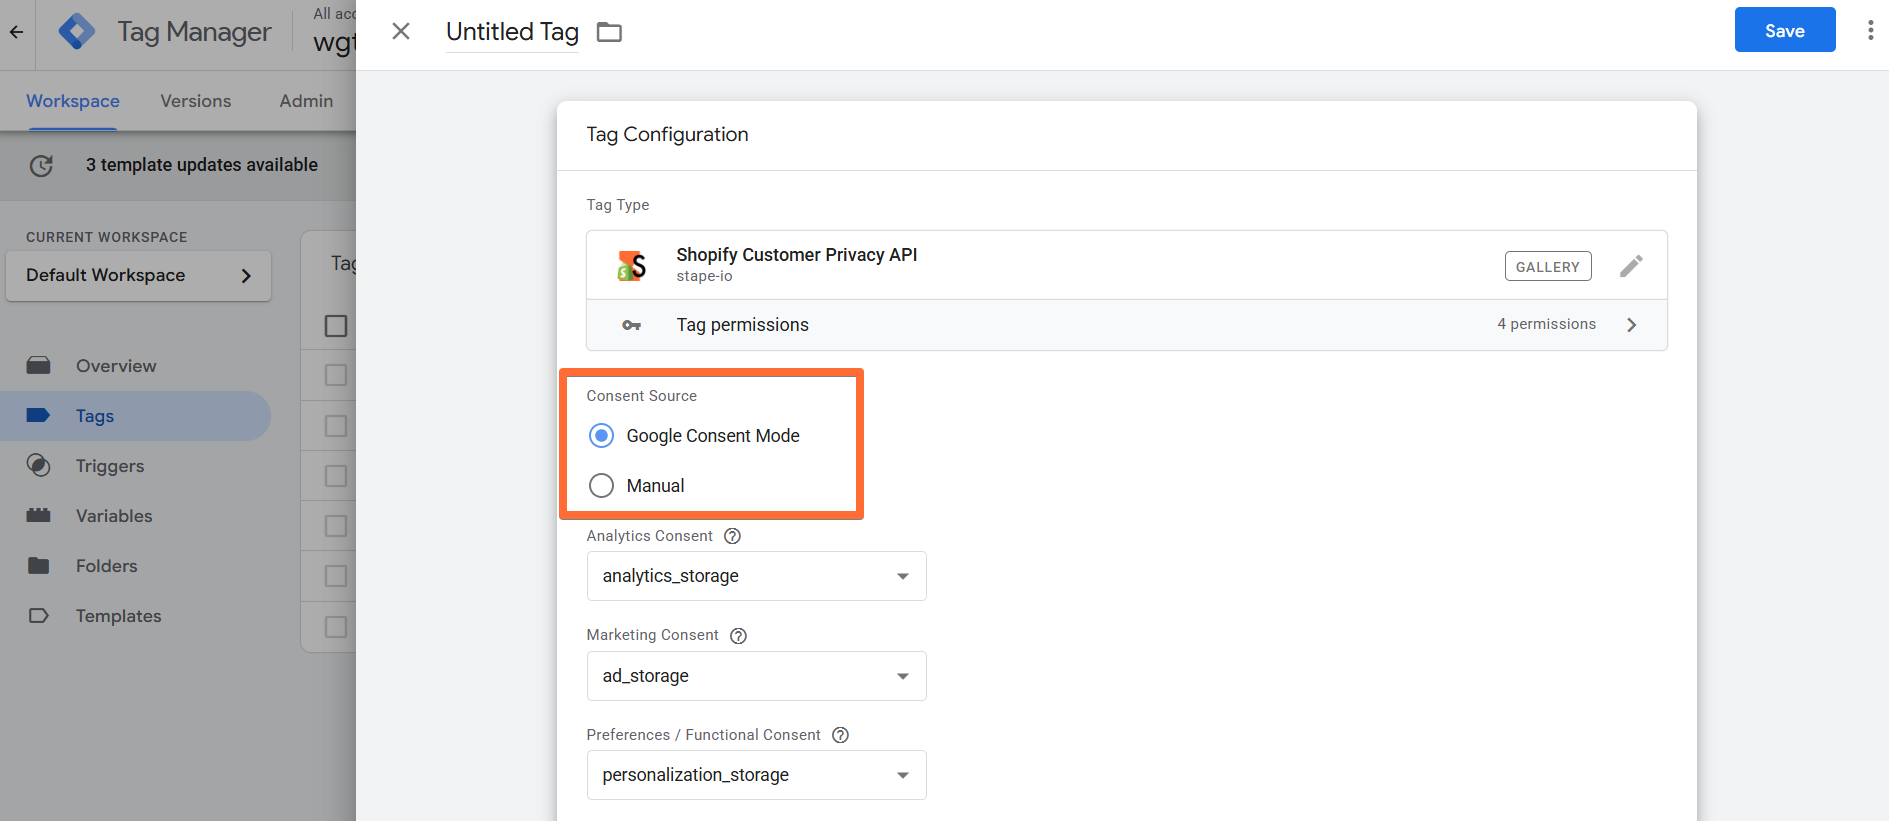
Consent Source - Google Consent Mode
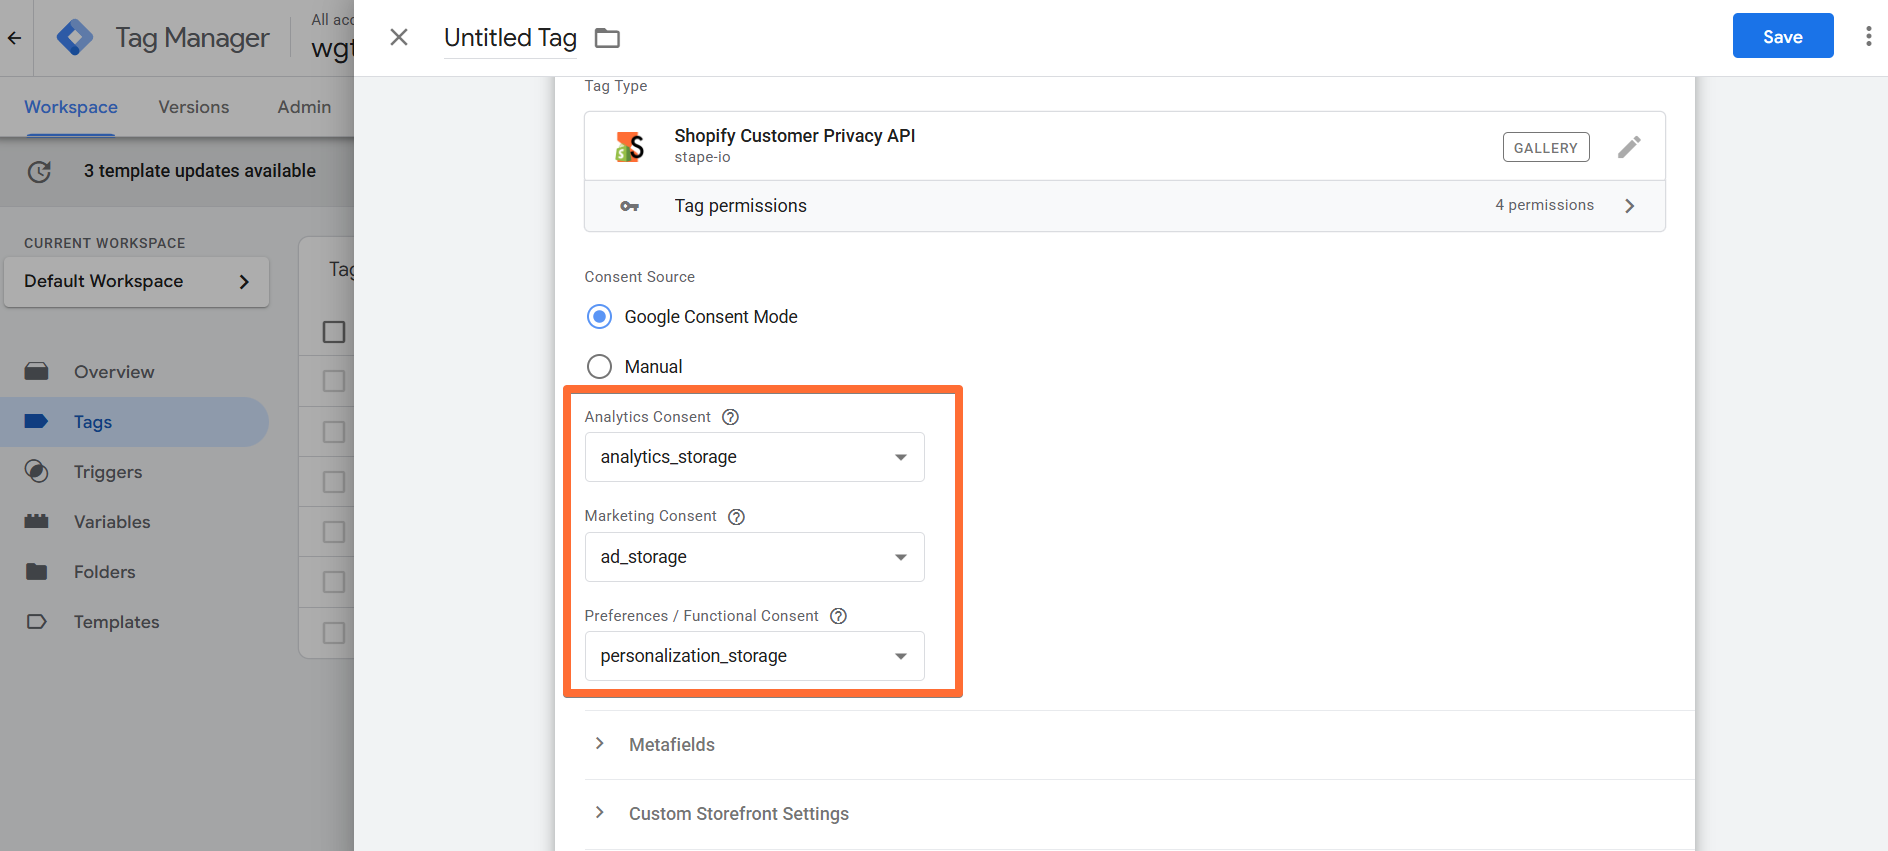
- Analytics Consent - select the Google Consent Mode signal that will be mapped to Shopify's Analytics Consent properties. These are the cookies to understand how customers interact with the site.
- Marketing Consent - select the Google Consent Mode signal that will be mapped to Shopify's Marketing Consent properties. These are the cookies to provide ads and marketing communications based on customer interests.
- Preferences / Functional Consent - select the Google Consent Mode signal that will be mapped to Shopify's Preferences / Functional Consent properties. These are the cookies that remember customer preferences, such as country or language, to personalize visits to the website.
Consent Source - Manual
- Analytics Consent - manually define the consent status for Shopify’s Analytics Consent properties as "granted", "true", or true. Everything else will be considered "denied". These are the cookies to understand how customers interact with the site.
- Marketing Consent - manually define the consent status for Shopify’s Marketing Consent properties as "granted", "true", or true. Everything else will be considered "denied". These are the cookies to provide ads and marketing communications based on customer interests.
- Preferences / Functional Consent - manually define the consent status for Shopify’s Preferences / Functional Consent properties as "granted", "true", or true. Everything else will be considered "denied". These are the cookies that remember customer preferences, such as country or language, to personalize visits to the website.
Other parameters:
- Metafields - allows you to save custom data to the Shopify Customer Privacy API using metafields, available through checkout UI extensions.
- Custom Storefront Settings - when using a custom storefront (headless commerce), you need to provide certain details required for the Shopify Customer Privacy API to function correctly:
- Checkout Root Domain - the domain of your checkout page.
- Storefront Root Domain - the domain of your custom storefront.
- Storefront API Access Token - your public Storefront API access token.
- Logs Settings - choose if you want to log requests to your account. This feature is handy when setting up server-side tagging since it allows seeing incoming and outgoing requests and network responses.

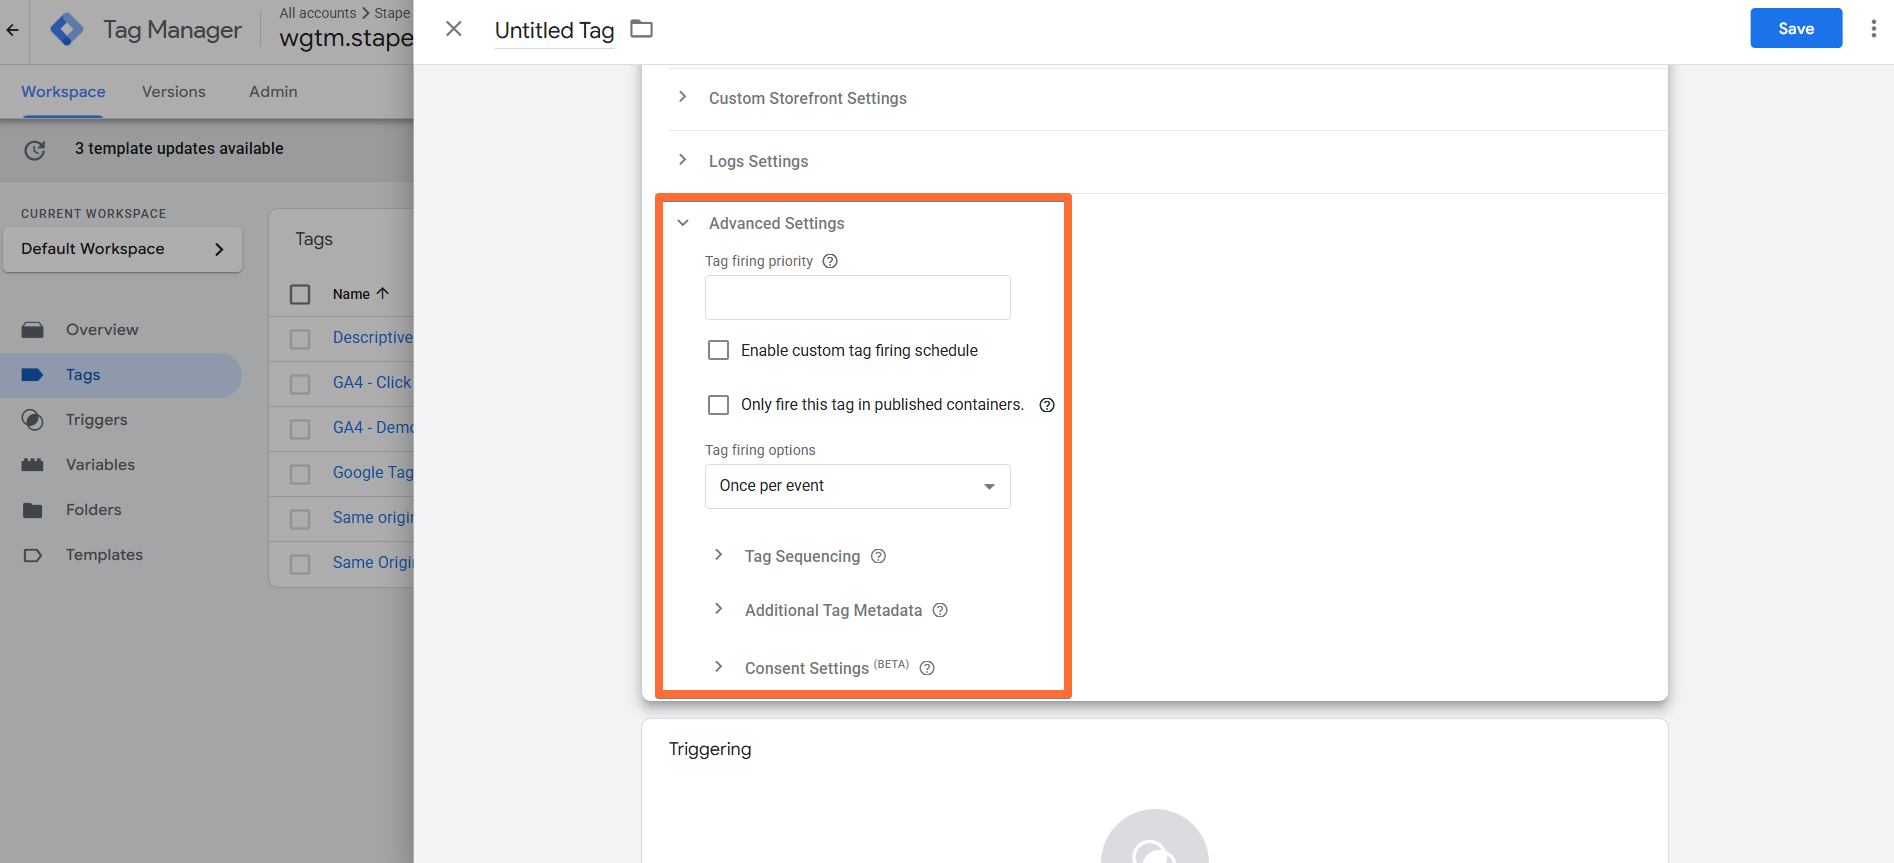
Advanced Settings:
- Tag firing priority - enter a number to assign the tag a priority (defaults to 0 if none is specified). Tags with higher numbers have a higher priority and will be fired first.
- Enable custom tag firing schedule - allows you to define a specific date and time to fire the tag.
- Only fire this tag in published containers - allows you to avoid firing the tag in testing environments (if, for instance, firing this tag results in a fee being charged).
- Tag firing options - choose whether you wish the tag to fire once per event, once per page, or every time it’s triggered.
- Tag Sequencing - you can assign specific tags to fire immediately before and after the current tag.
- Additional Tag Metadata - specify additional tag metadata to be included in the event data when the tag is fired.
- Consent Settings - choose if you wish for the tag to wait for marketing consent from the user before firing.
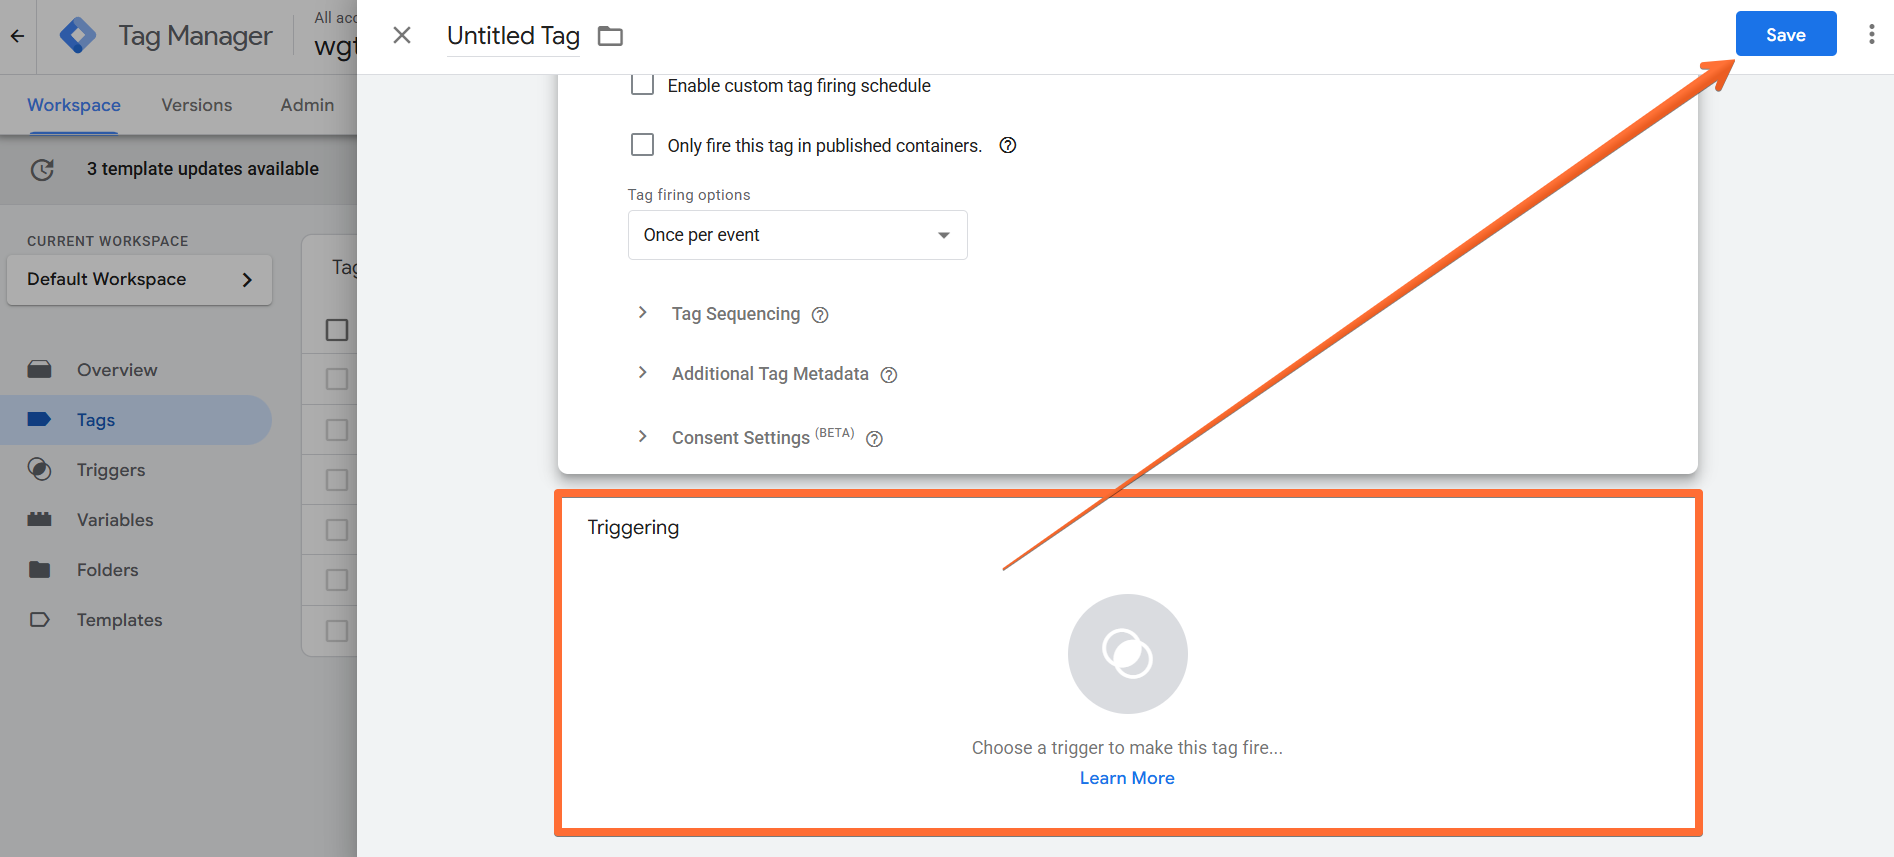
4. Add the Trigger for the tag, give it a descriptive name, and click Save.
How to test and troubleshoot the Shopify Customer Privacy API tag setup
You can test the configurations in Google Tag Manager. Click on Preview, trigger the event, and check whether the tag has fired.

Find out more about debugging and monitoring server-side tracking configuration in our guide.
Was this article helpful?
Comments