User Data Collector tag
Updated Jul 22, 2026
User Data Collector is a web GTM tag that automatically scans your webpage to identify and extract user data from forms and supported HTML elements, including email addresses, phone numbers, first and last names, cities, countries, and postal codes. The extracted information can be pushed to the dataLayer through a customizable event or stored in Session Storage or Local Storage for use across multiple pages.
You can configure the tag to run automatically when users interact with specific elements, such as submit buttons, or limit the scan to a selected section of the page instead of the entire DOM. It also includes built-in debugging options with configurable console logging to make setup and troubleshooting easier.
Requirements for setting up the User Data Collector tag
To configure the tag, please ensure that you already have a web Google Tag Manager container.
How to set up the User Data Collector tag
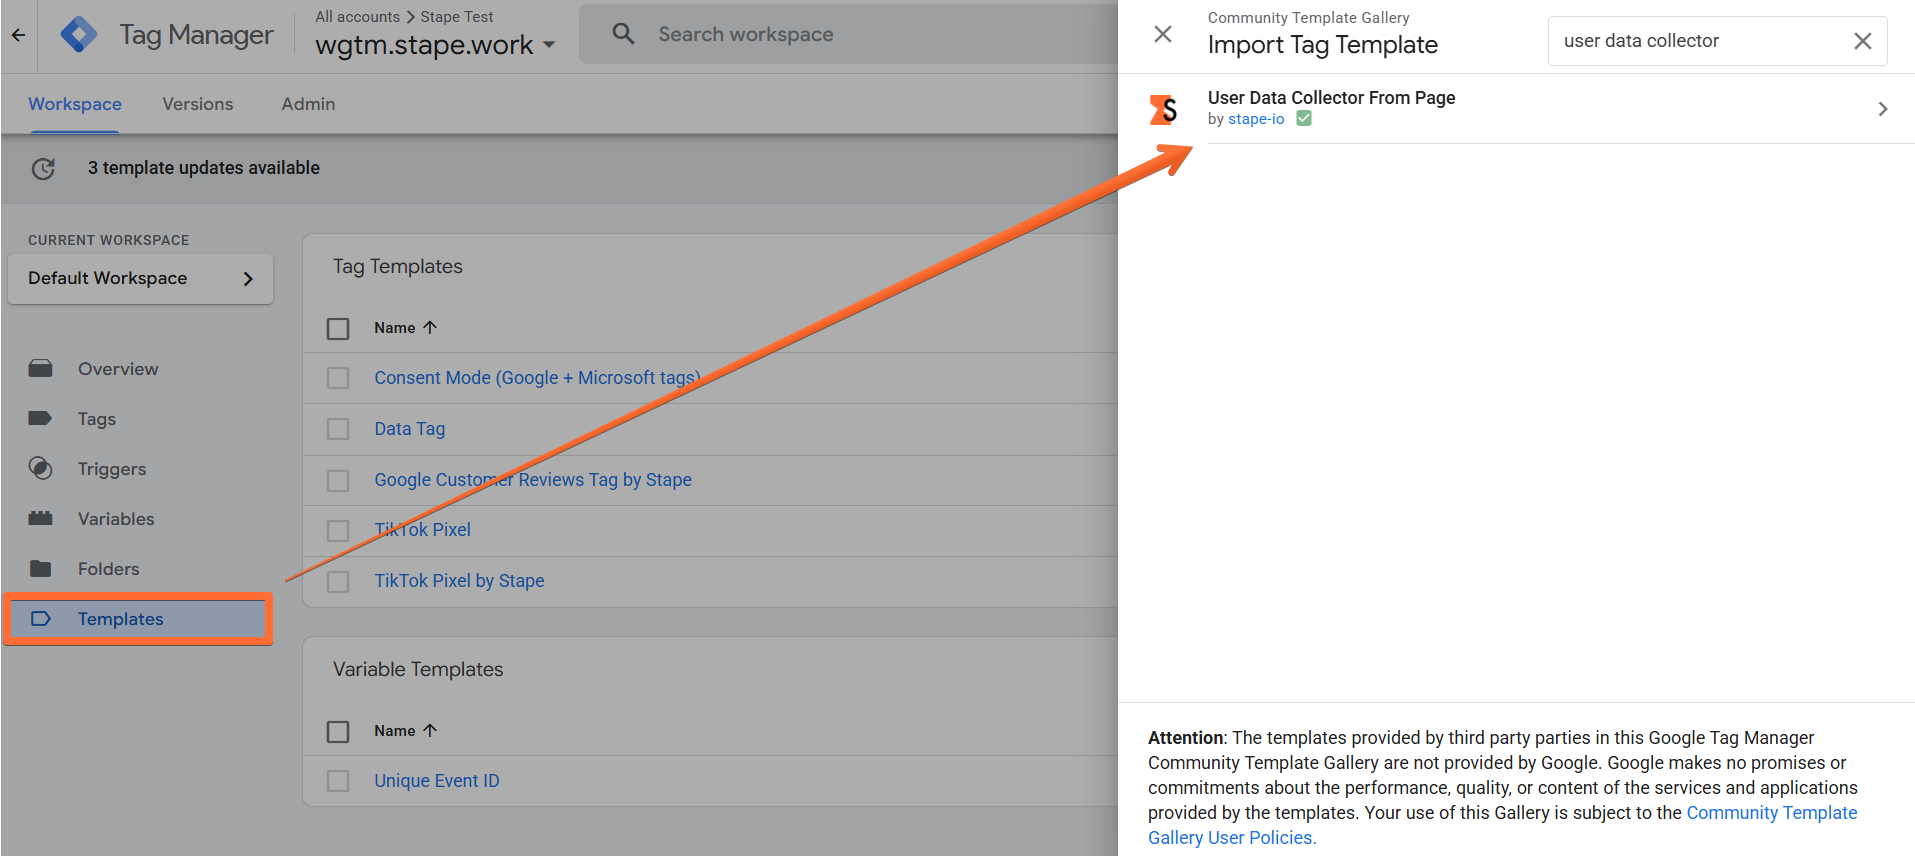
1. Add the User Data Collector tag template in the web GTM container by importing it from the Template gallery:
- Search for the User Data Collector tag by Stape in the Google Tag Manager Tag Template gallery.
- Click Add to workspace.
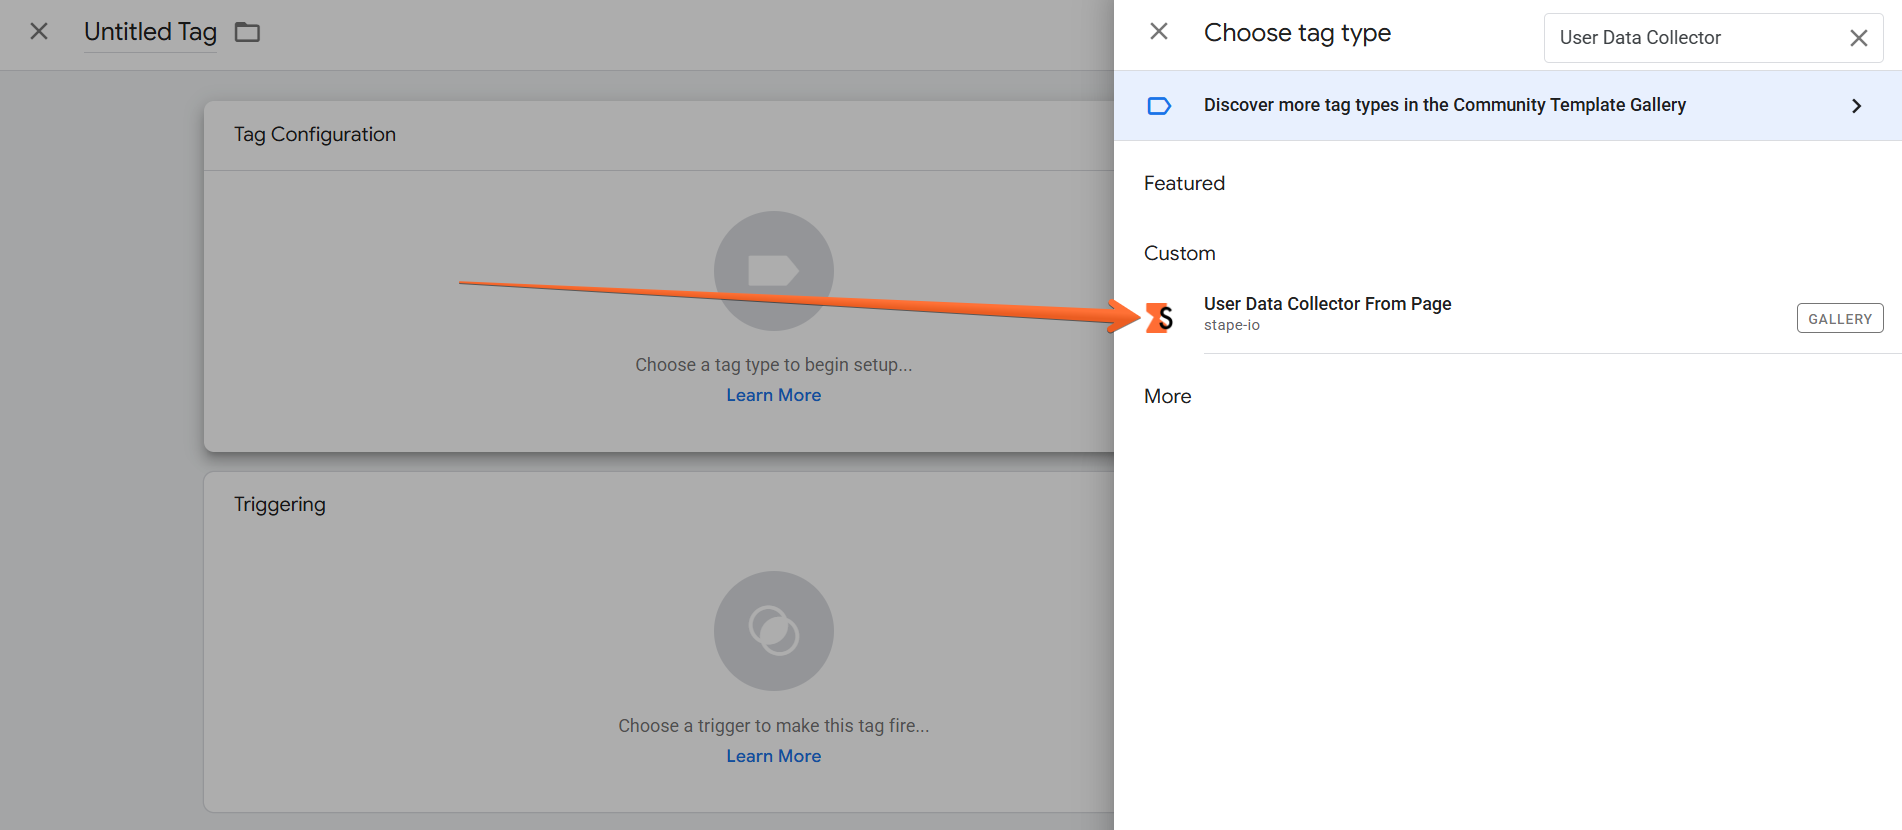
2. Create the User Data Collector tag:
- Go to the Tags menu → click New.

- Click Tag Configuration → select User Data Collector.
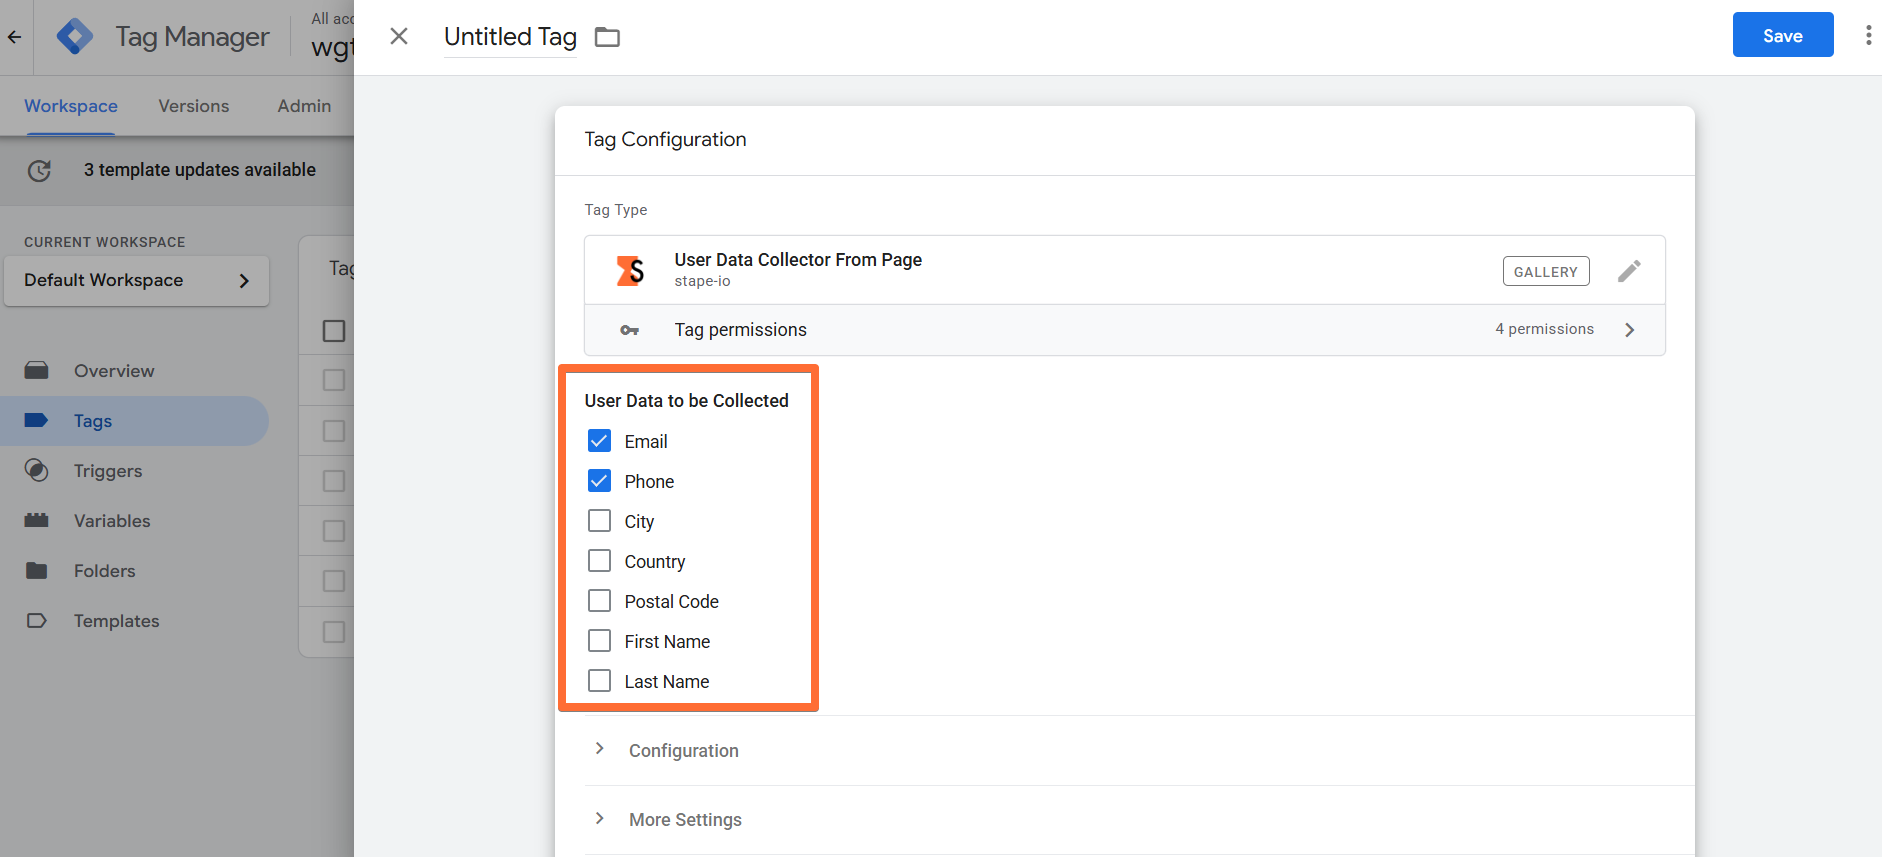
3. Configure the User Data Collector tag:
- User Data to be Collected - choose all types of user data you wish to extract from the page.
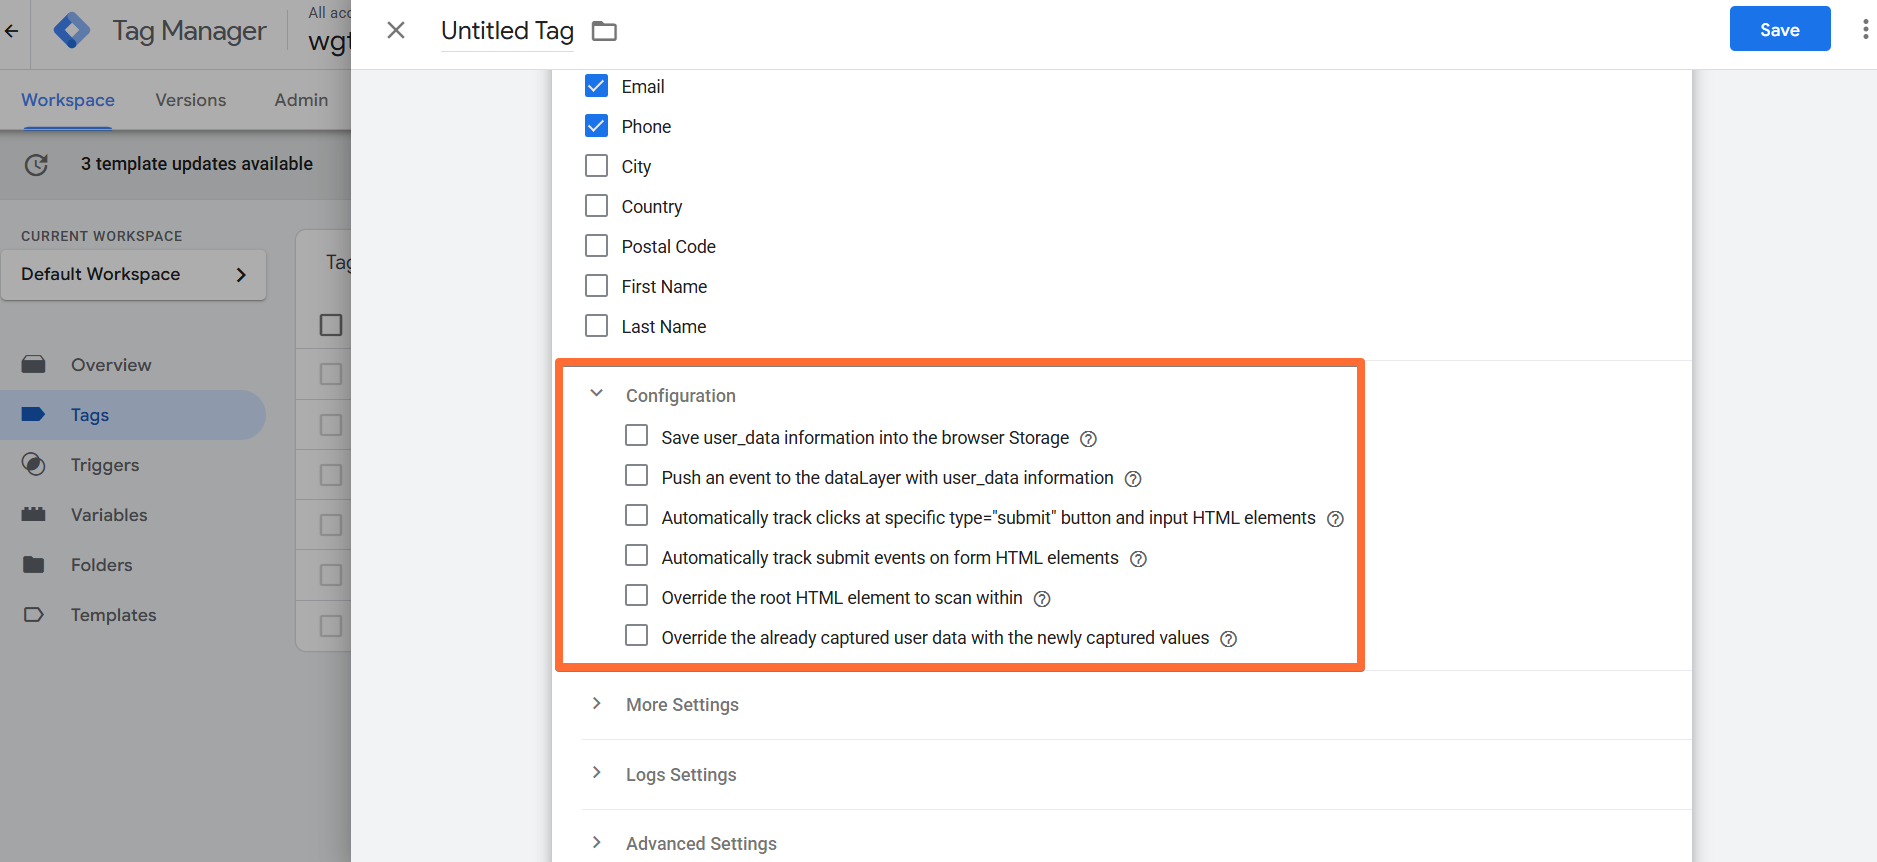
- Configuration:
- Save user_data information into the browser Storage - allows you to save the captured user information to Session or Local Storage. If you enable it, select a Storage Type and Storage Key (if not set, gtm_user_data will be used).
- Push an event to the dataLayer with user_data information - allows you to send an event to dataLayer, for example, to capture user_data information after a specific dataLayer event occurs. If enabled, enter a Data Layer Event Name and Data Layer Array Name.
- Automatically track clicks at specific type="submit" button and input HTML elements - tracks submit events at all <form> HTML elements by default and tries to detect user_data information. If enabled, specify a CSS selector for elements that should trigger data extraction on click (defaults to button[type="submit"] and input[type="submit"] if left blank).
- Automatically track submit events on form HTML elements - tracks submit events at all <form> HTML elements by default and tries to detect user_data information. If enabled, specify a CSS selector for elements that should trigger data extraction on the submit event (defaults to form If left blank).
- Override the root HTML element to scan within - instead of the root HTML element, the tag will only scan the GTM variable. If enabled, provide a GTM variable that returns an HTML element. By default, it scans the entire document.
- Override the already captured user data with the newly captured values - existing user_data will be overridden with the newly captured data, instead of the default way of merging it with the already existing one.
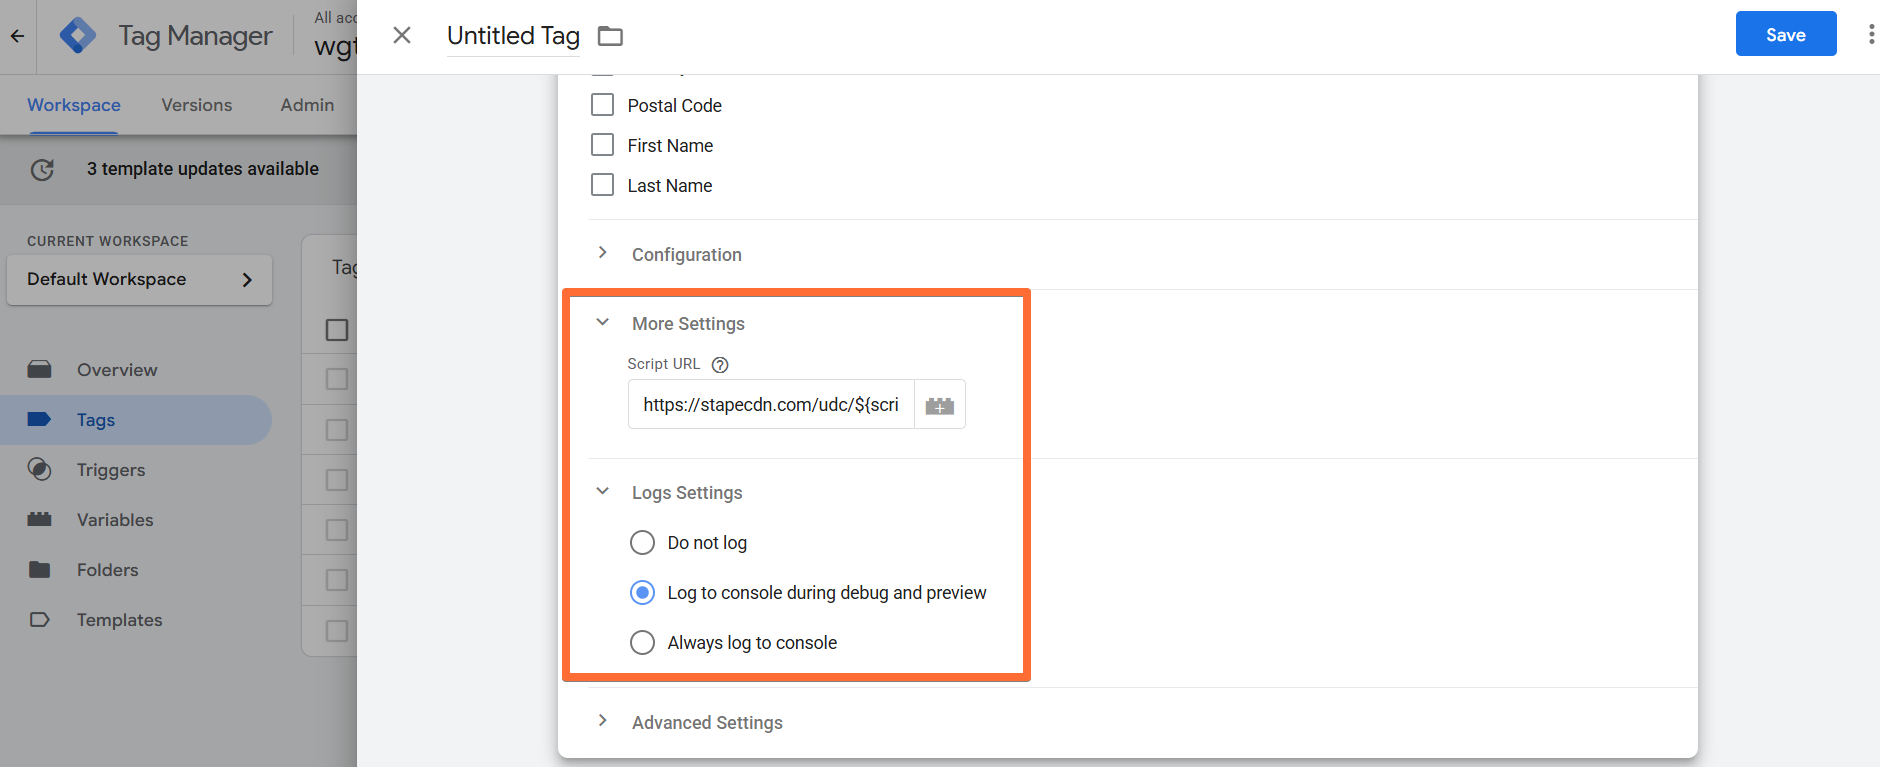
- More Settings - enter a Script URL to load the collector script from. Default URL is https://stapecdn.com/udc/${script-version}.js, which loads the latest script version. You can lock a specific version instead by replacing the placeholder
${script-version}with the version number (e.g.,v1). - Logs Settings - choose if you want to log requests to your account. This feature is handy when setting up server-side tagging since it allows seeing incoming and outgoing requests and network responses.
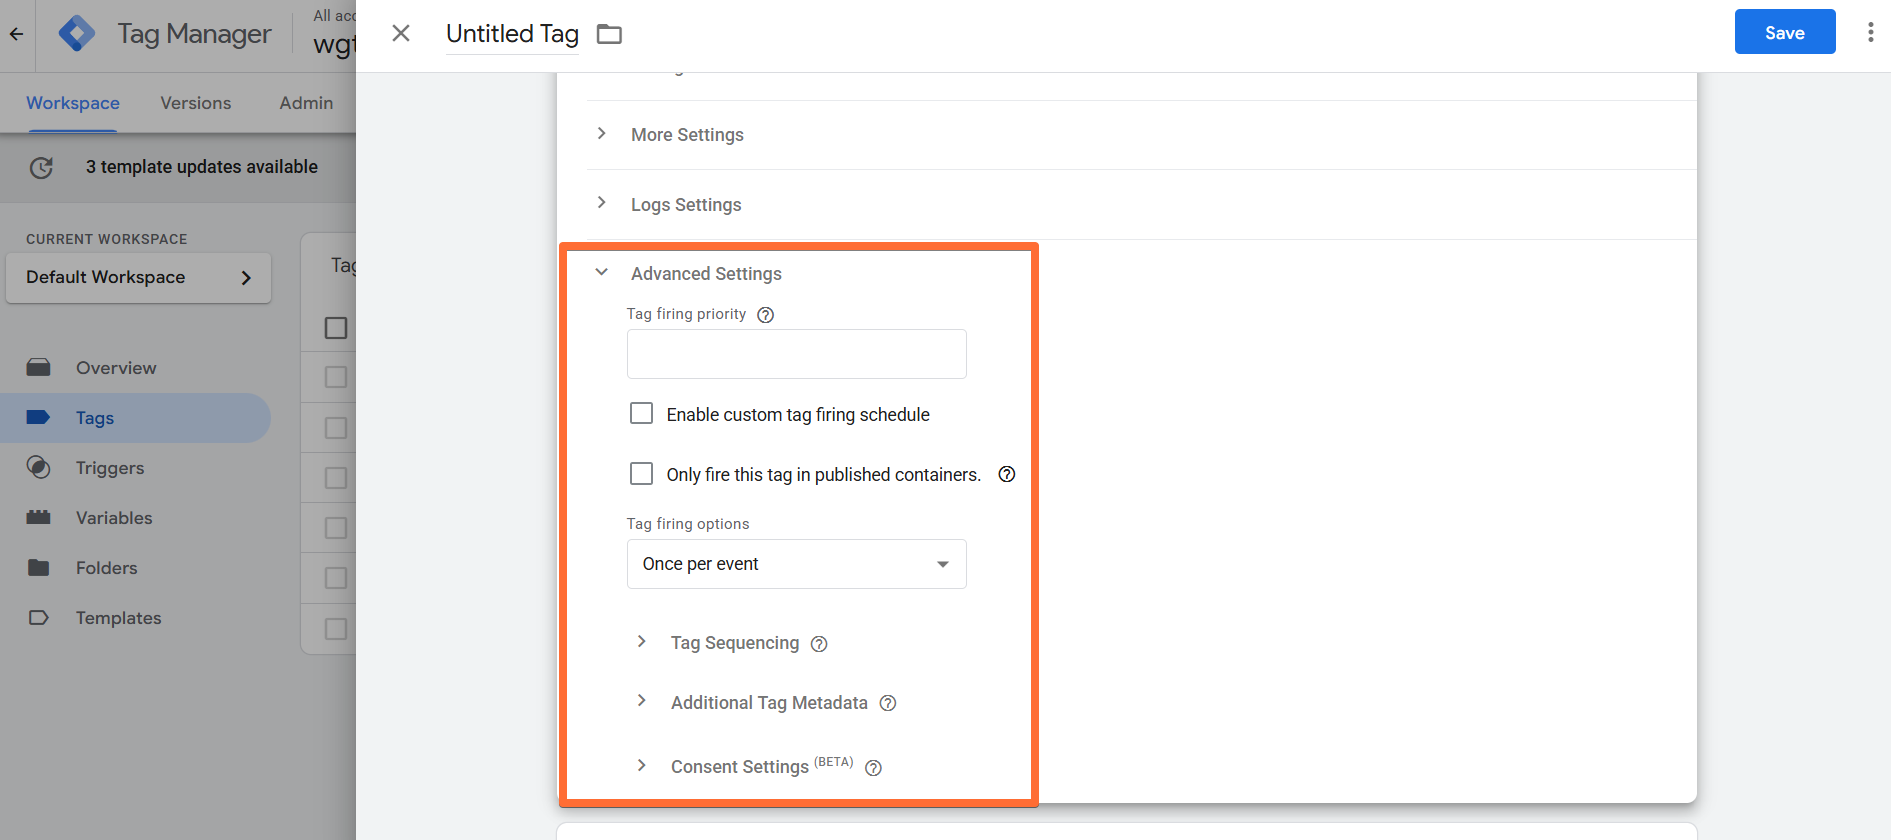
- Advanced Settings:
- Tag firing priority - enter a number to assign the tag a priority (defaults to 0 if none is specified). Tags with higher numbers have a higher priority and will be fired first.
- Enable custom tag firing schedule - allows you to define a specific date and time to fire the tag.
- Only fire this tag in published containers - allows you to avoid firing the tag in testing environments (if, for instance, firing this tag results in a fee being charged).
- Tag firing options - choose whether you wish the tag to fire once per event, once per page, or every time it’s triggered.
- Tag Sequencing - you can assign specific tags to fire immediately before and after the current tag.
- Additional Tag Metadata - specify additional tag metadata to be included in the event data when the tag is fired.
- Consent Settings - choose if you wish for the tag to wait for marketing consent from the user before firing.
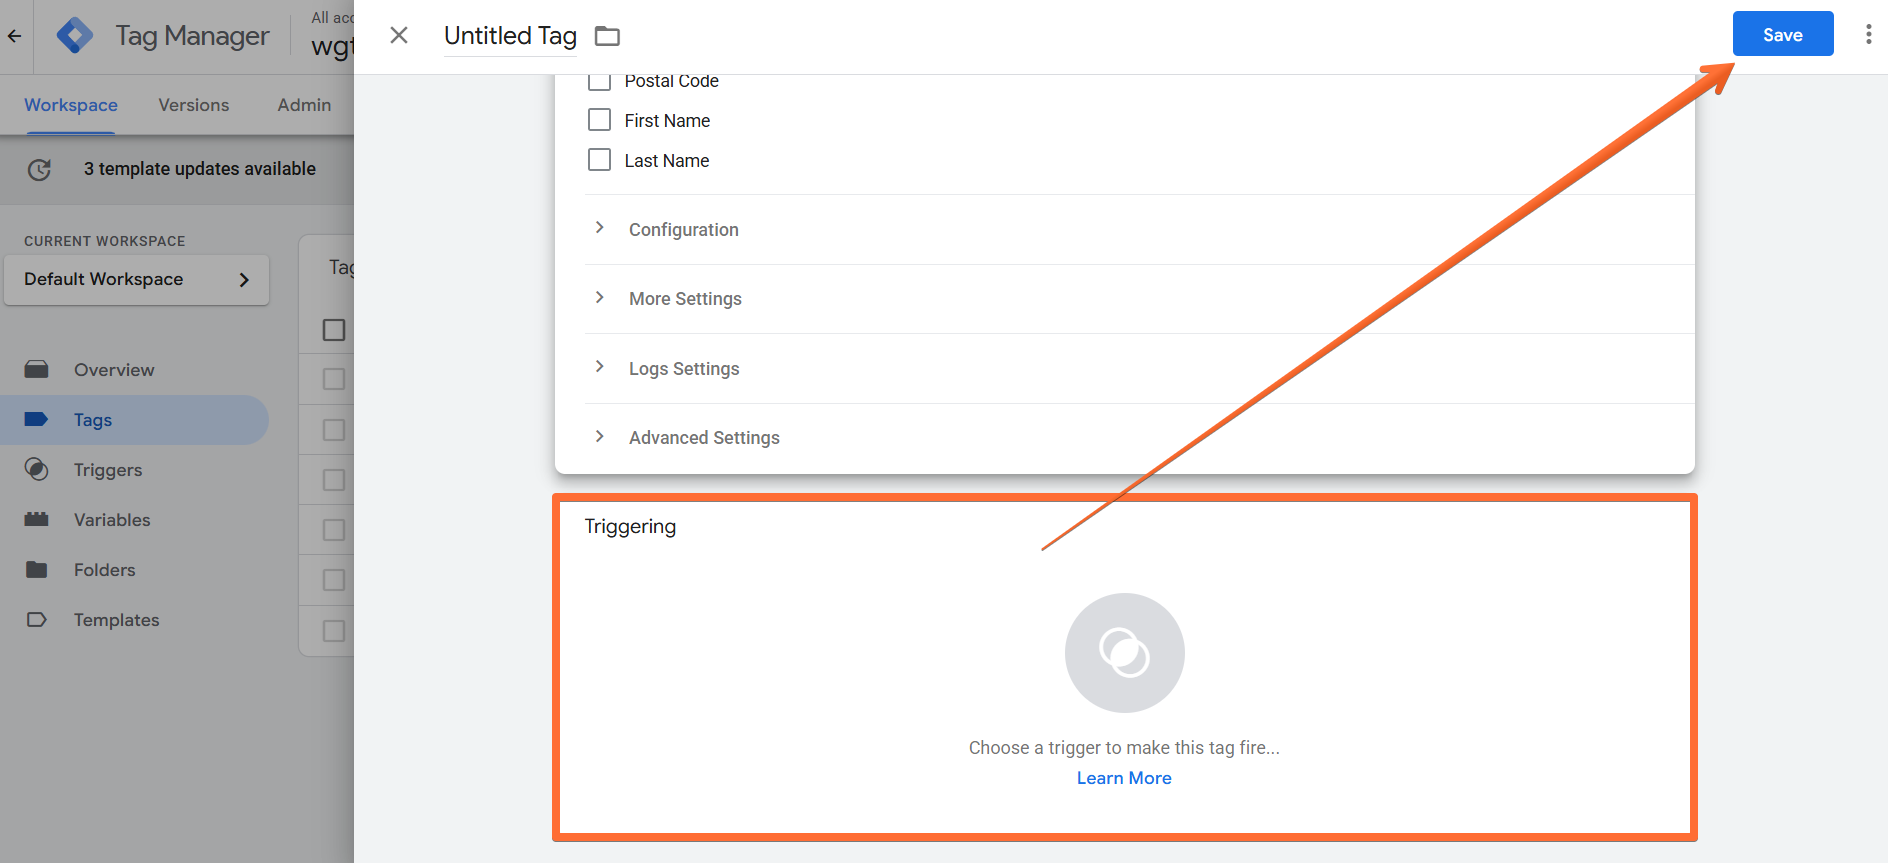
4. Add a Trigger for the tag, give it a descriptive name, and click Save.
How to test and troubleshoot the User Data Collector tag setup
You can test the configurations in Google Tag Manager. Click on Preview, trigger the event, and check whether the tag has fired.

Find out more about debugging and monitoring server-side tracking configuration in our guide.
Was this article helpful?
Comments