Meta CAPI for Salla via server GTM
Updated Nov 12, 2025
Step 1. Create a server Google Tag Manager container
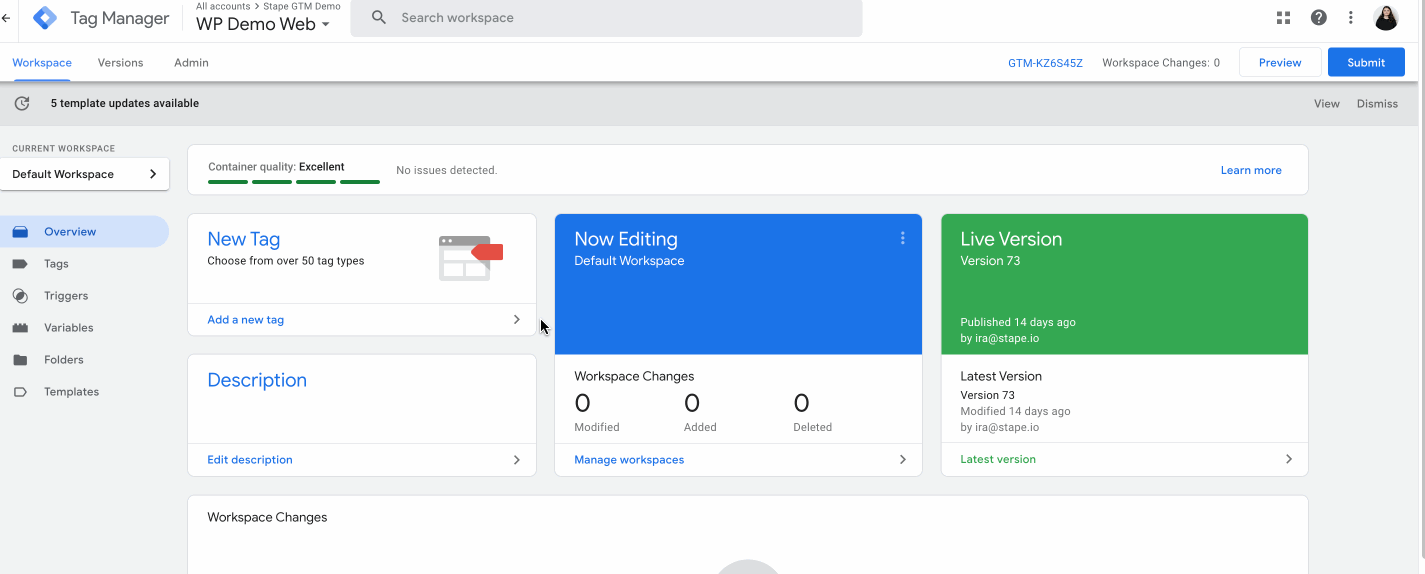
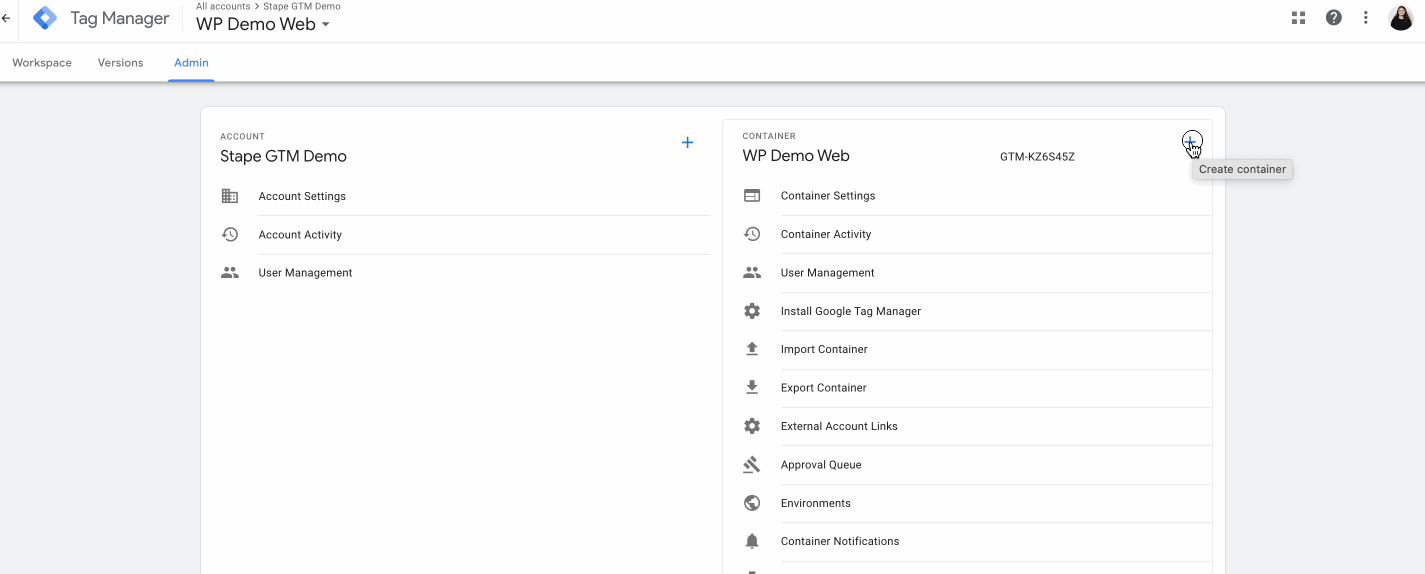
1.1. Open your web Google Tag Manager container.
Click Admin. In the container section , click +
1.2. Enter the container name, select Server as the target platform, and click Create.
1.3. Choose Manually provision tagging server, copy the container configuration, and paste it into a text editor. You’ll need this later.

1.4. Log in or create an account at Stape.

1.5. In the Stape dashboard, click Create sGTM container.

1.6. Fill in the container details:
- Container name: any name, doesn’t have to match the GTM one.
- Container configuration: paste the Container Config you copied earlier.
- Server location - for best performance, pick the closest region to most of your site visitors (cannot be changed later). See the list of available server locations here. Also, you can opt for the Global multi-zone server location option if you have traffic from different regions. It will automatically route incoming requests to the nearest available zone based on the user’s IP address.
Then click Create Container.

1.7. Pick a plan for your container (a Free plan is available).

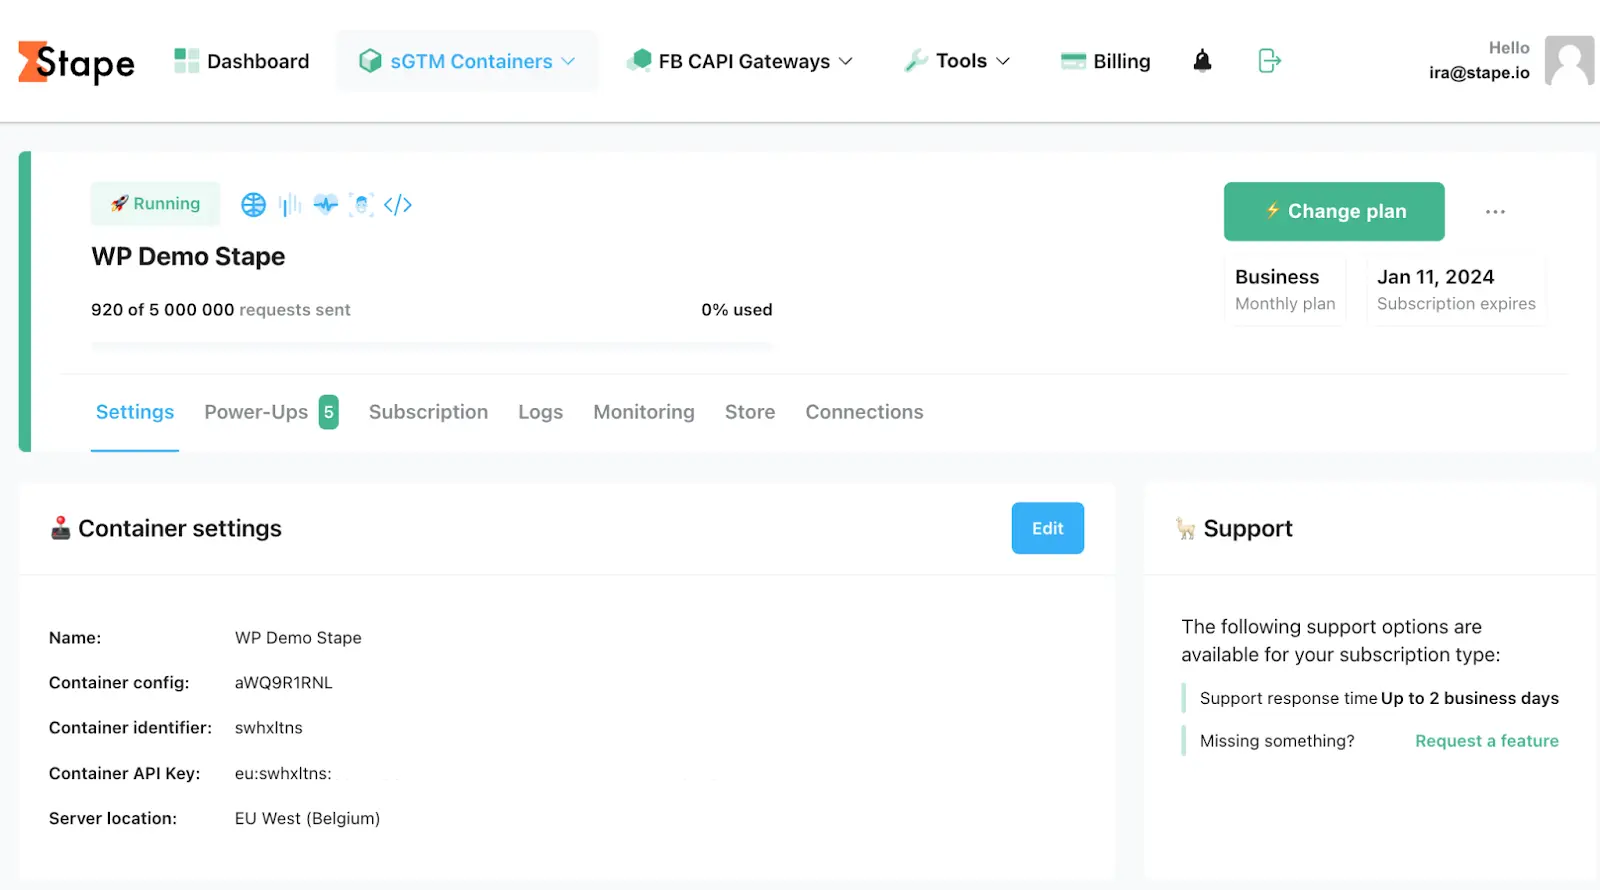
1.8. You will see the status of your container, container config, and plan name. Wait until your container status updates to Running (usually ~5 minutes).
Step 2. Configure Stape’s Custom Loader power-up
| Custom Loader modifies how gtag.js and gtm.js are loaded to bypass ad blockers, boosting data collection by up to 40%. |
2.1. Find and copy your web GTM container ID in Google Tag Manager.
To find your GTM container ID, log in to your Google Tag Manager account and open your web GTM container. In the upper-right corner (next to Submit and Preview), you’ll see a string of characters that starts with "GTM-". That's your web GTM container ID.

2.2. Open your sGTM container on Stape → click Power-Ups.
Find the Custom Loader powwer-up and click Use / Configure.

2.3. Configure Custom Loader:
- Domain - from the list of domains connected to your container, select the necessary ones that will load gtm.js and gtag.js..
- Web GTM ID - enter your web GTM ID here. Not sure where to find it? Check out how to find web GTM ID in our guide.
- GA4 ad block bypass (optional) - enables bypassing adblockers' impact on the GA4 tracking code. Note that this setting will affect all container domains. Be sure to debug both the web and server GTM containers after enabling this option.
- Same Origin Path - set proxy path for requests if using same-origin custom domain. Learn more.
- Platform - the custom loader code differs for each platform. Select Salla.
- User identifier type - select a user identification method, either choose cookie, local storage, DOM element, JS variable, or Stape User ID. Learn more about the user identifier type.
Click Generate and follow the setup guide shown on the right.

Step 3. Install and configure the Stape Conversion Tracking app for Salla
3.1. Log in to your Salla account. To install the app, buy it from the Salla App Store (7-day free trial available).

3.2. Configure the app's three sections: General, Data Layer, and Webhooks.
3.2.1. General section - configures the GTM snippet installation on your Salla site's pages.
- Insert GTM snippet - enable this option (adds the GTM snippet).
- Specify WEB container ID - paste your GTM Web container ID (found in the Accounts tab of your GTM account) in the format GTM-XXXXXXX.
- Add custom domain - enter your tracking subdomain (should start with https://, e.g., https://gtm.example.com). Haven’t configured a custom domain yet? See Stape’s guide on subdomain setup.
- Add Custom Loader - if using Stape, paste your Stape container identifier (see image below).

- Cookie Keeper - optional Stape power-up to extend cookie lifetime. Only available if you use Stape's sGTM hosting, configured Cookie Keeper, and enabled Stape User ID.

3.2.2. Data Layer section - options that enable Data Layer events and allow you to enrich the data with user and product details.

3.2.3 Webhooks section - allows you to set up sending webhooks to a selected URL for events like refunds or purchases.
- Check Send webhooks to server GTM container.
- Provide your server container URL and /path for webhooks (e.g., https://gtm.example.com/data).
- Choose which events to send (purchase/refund).
- Click Save.
Learn more about webhooks:

Step 4. Download and import container templates from GitHub
4.1. Download the Salla app GTM templates from GitHub and unzip them.

4.2. Import templates into both web and server GTM containers.
Note that the .json files include templates for GA4 and Google Ads, in addition to Meta templates.

To import the templates, perform the following steps for both GTM containers:
- Go to Admin → Import Container.

- Choose the correct template file from the file you downloaded (either web or server).
- Select or create a workspace for importing.
- Select if you want to Overwrite (only for new and empty containers, or if you really want to replace the existing config) or Merge (the preferred option - we'll use it and select Rename conflicting tags, triggers, and variables).

Step 5. Сonfigure GTM templates
5.1. Templates are pre-built and include triggers, payloads, and events out of the box. You just need to check the folder [Stape]_Settings in both web and server containers to update your own details (URLs, IDs, API keys, etc.)
In web container:

In server container:

All these variables are already referenced in the relevant tags, so just assign them proper values. Example:

5.2. Add your Meta Pixel ID and API token from Meta’s Pixel settings:


Step 6. Testing the setup
Meta lets you test both browser and server events, useful for setting up Facebook Pixel with GTM server for the first time.
6.1. In Facebook Business Manager → Data Source → Test Events, copy your test_event_code (e.g., TEST1234).

Note: TEST ID changes regularly (once in a few hours), so check that the value you’re using is still valid while debugging.
6.2. Fill the LT - Map | Debug Mode → FB Test ID variable in your server container using the test event code from the previous step.

This variable comes referenced in all Meta tags. The variable only fill the tag in preview mode, so you don’t have to remove it afterwards.
6.3. Enable Preview mode in both web and server containers. If set up correctly, test events will appear in the Meta Test Events page.

Comments