Standard account overview
Updated Sep 17, 2026
With the Standard account you can:
- Create sGTM containers. For more information read Get started with sGTM hosting.
- Create gateways. For more information read Dedicated Gateways.
- Manage billing. For more information read Billing.
EU vs Global
When signing-up, you have to choose your location, and it can't be changed later. Location affects where billing is handled, so make sure to pick the one that fits your client base.
- EU (Stape Europe) – invoicing in EUR, GDPR-aligned data handling. Select if you have clients based in the EU, or if you have clients that require the GDPR-aligned data handling. For more information see Payment country restrictions on Stape Europe.
- Global – invoicing in USD or EUR (depending on your billing country). Select if your clients are spread across the rest of the world.
Your email address can be registered both in EU and Global regions. When creating an account in another region, your existing containers, data, and configurations don’t carry over automatically. However, you can use the exact same sGTM container configuration, so that you don’t need to build your sGTM setup from scratch. Since your new container is hosted in a different region, it will have a different IP address and routing destination. You will need to configure new DNS records (such as CNAME or A records) for your custom tagging subdomain to point to your new container.
Navigating the account
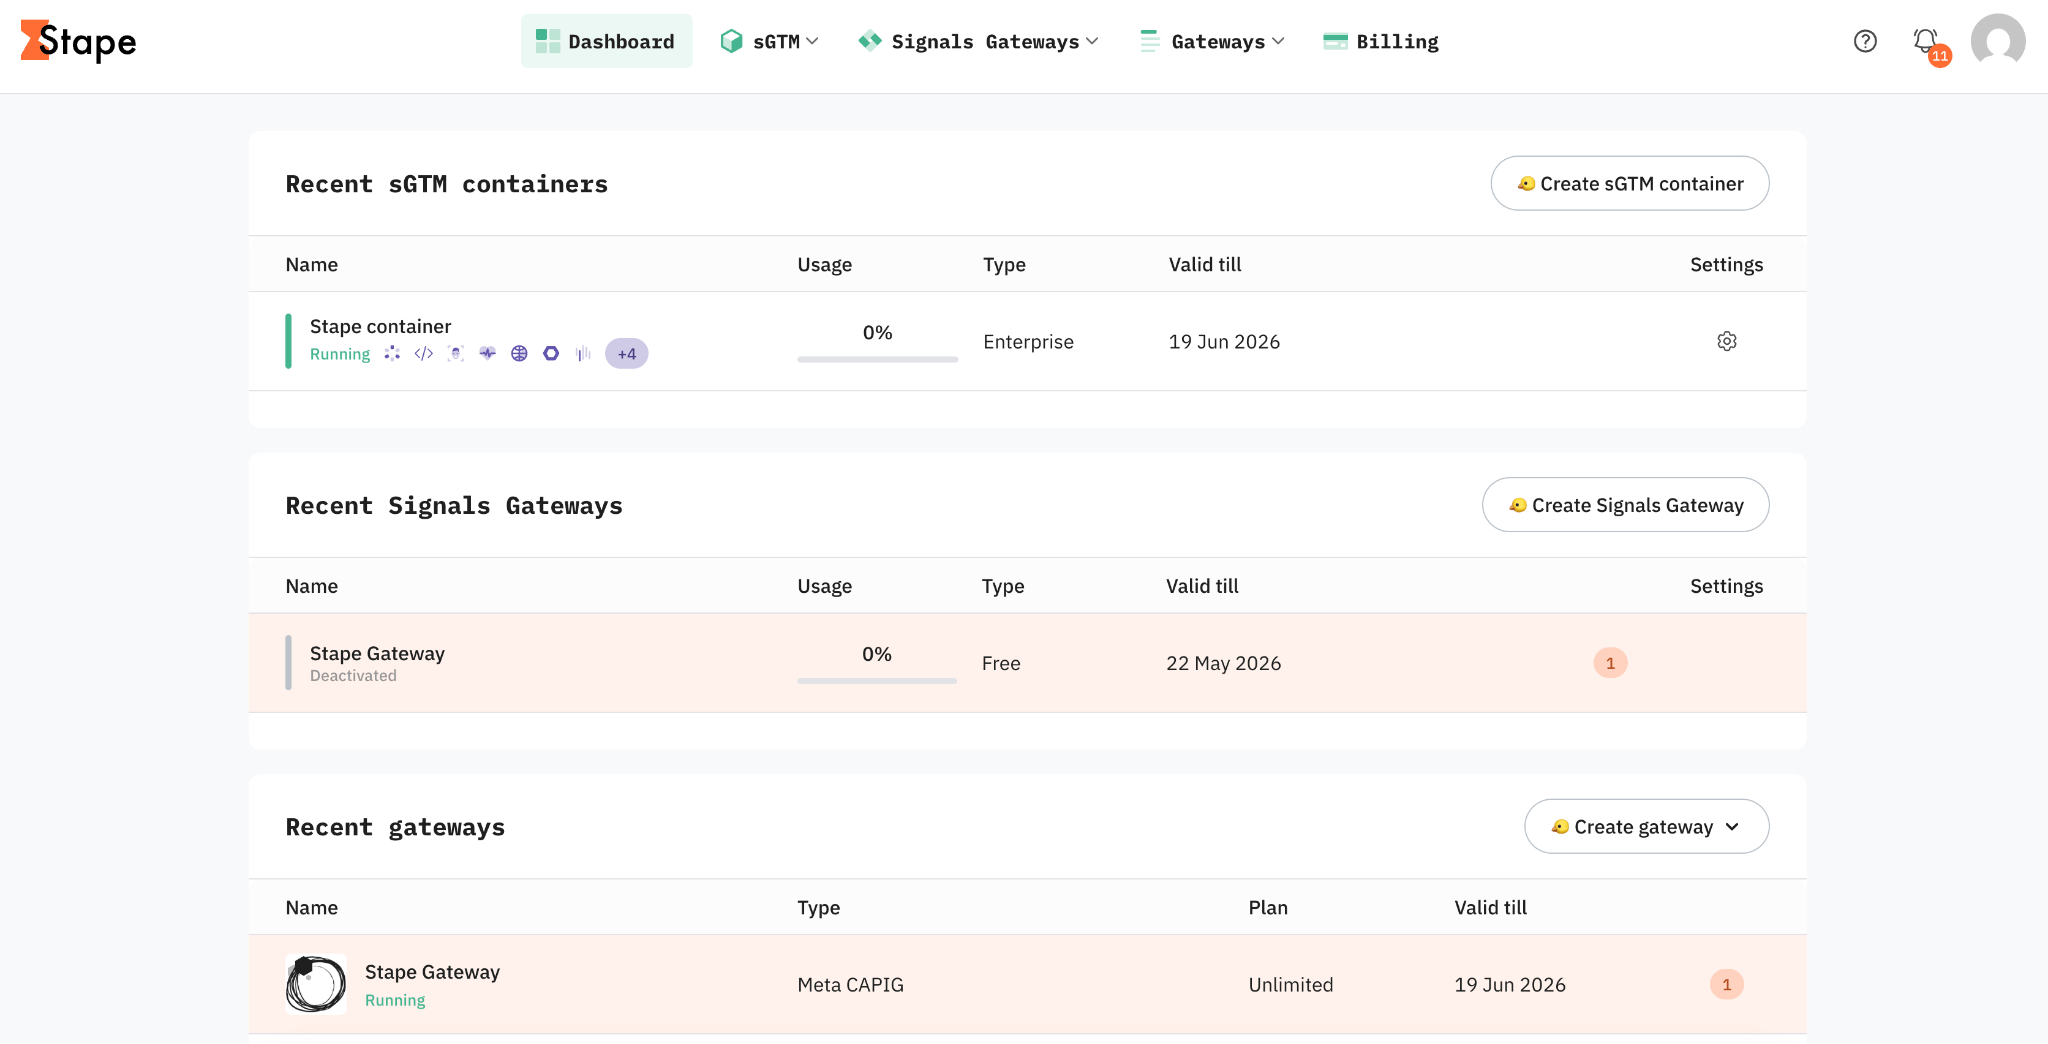
Dashboard
This is your home page. It sums up what's happening across the account:
- Recent sGTM containers – click one to open it, or click Create sGTM container to create a new one.
- Recent gateways – click one to open it, click Create gateway and choose a type to add one.
- Latest articles – fresh how-tos and product news from Stape.
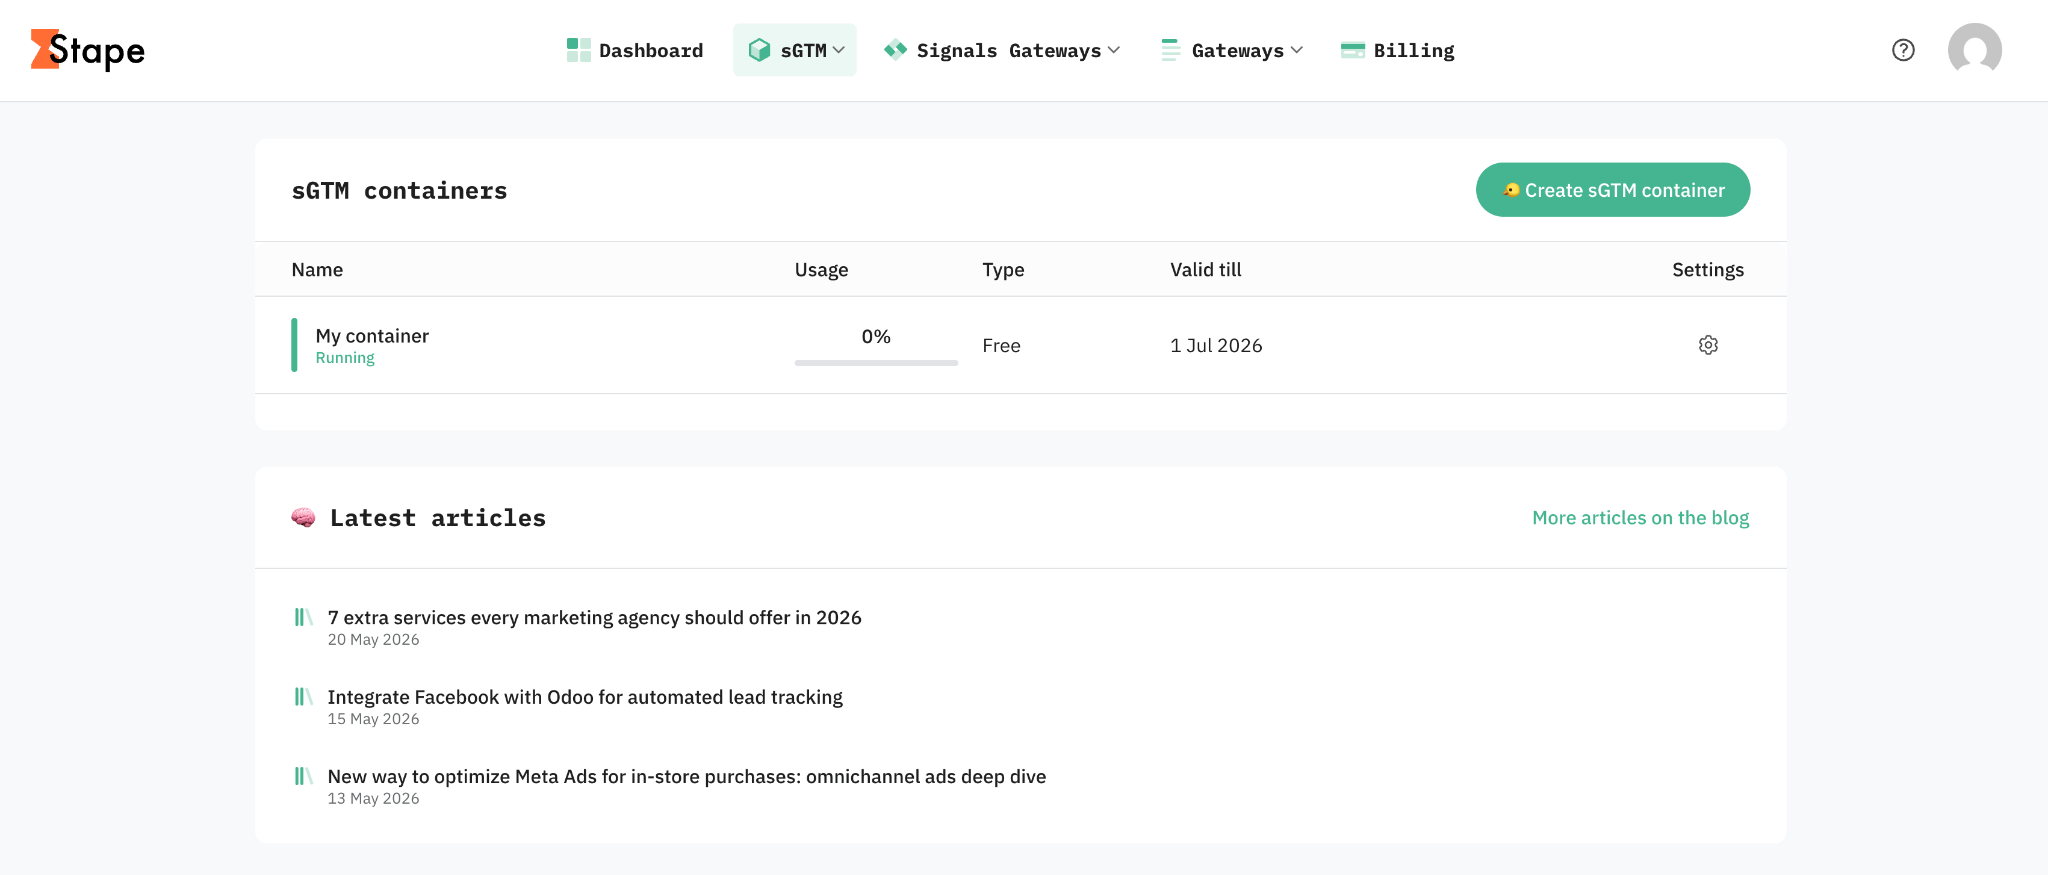
sGTM
This is home for all your sGTM containers. Every container you've created is listed here. You can click a container's name to open its settings, or click Create sGTM container to add a new one.
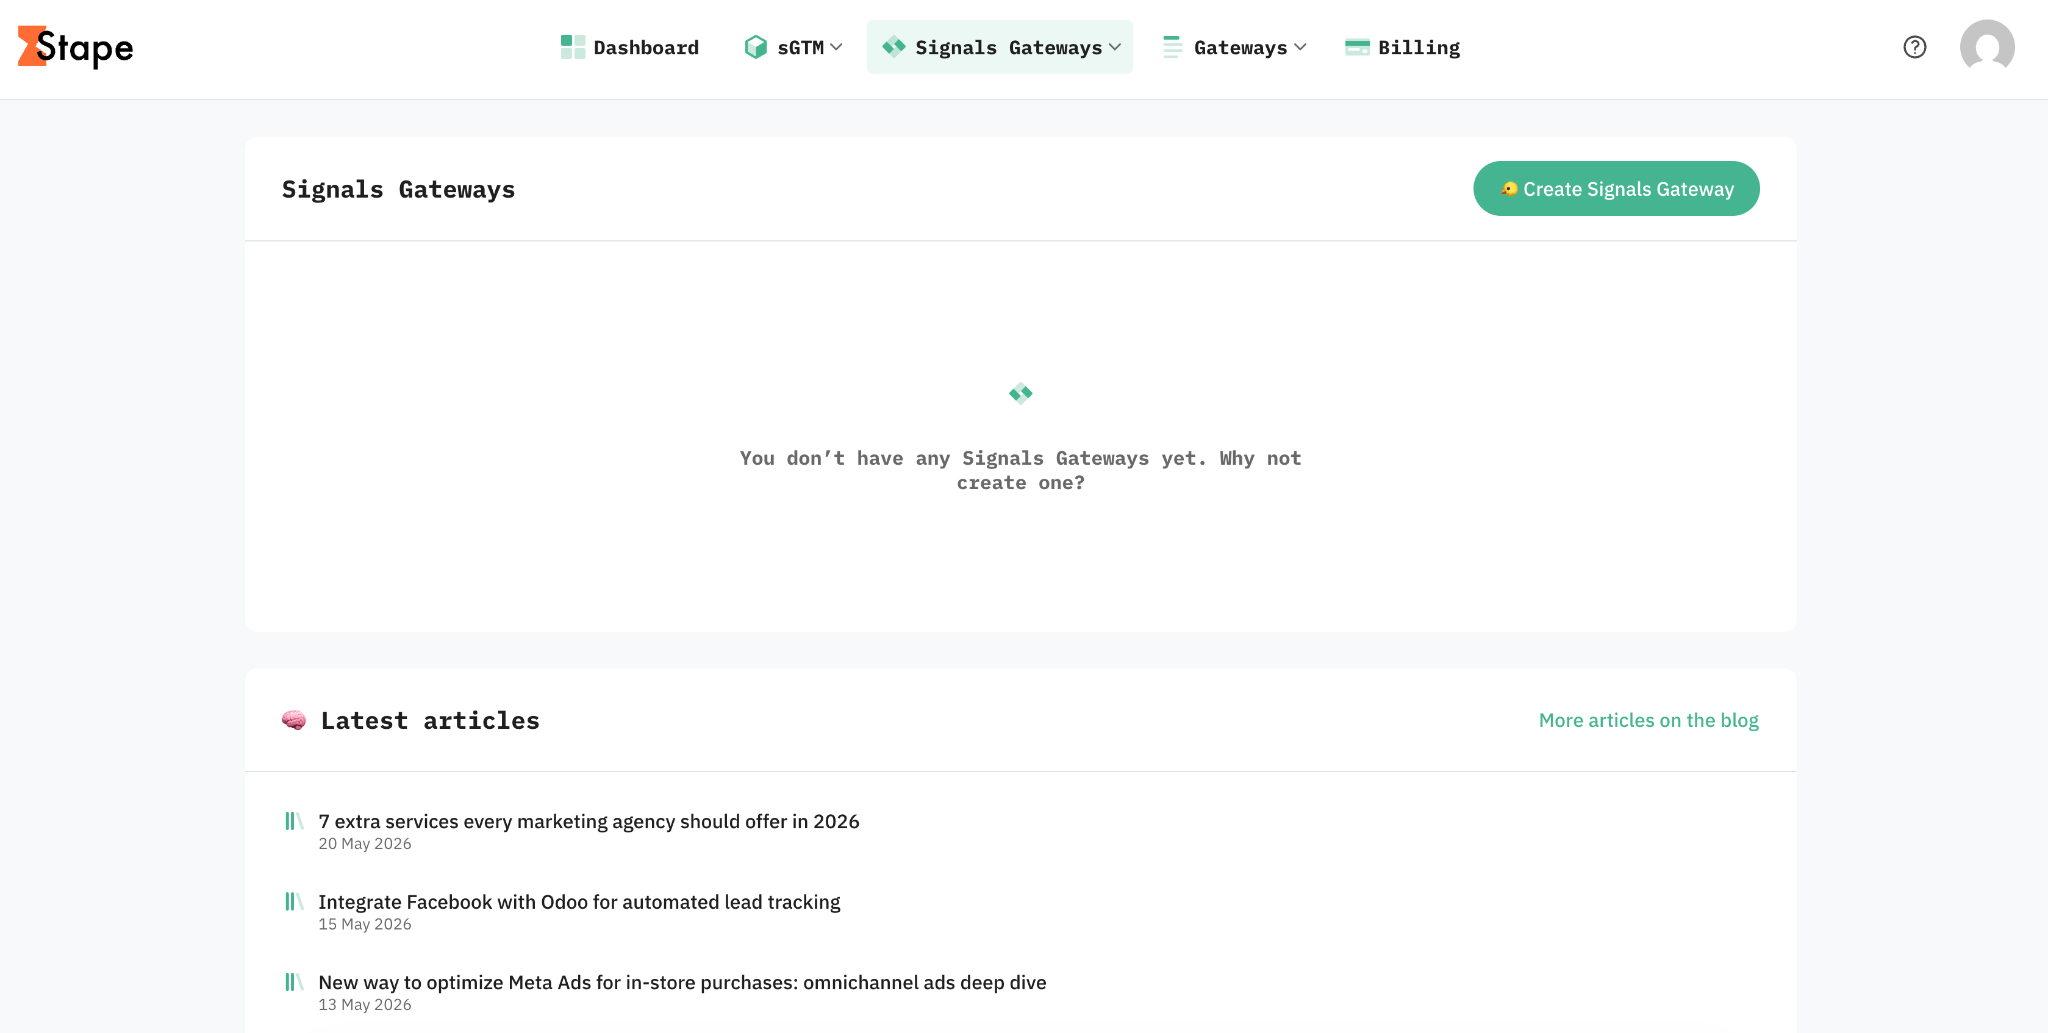
Signals Gateway
This is home for all your Signals Gateways. Every Signals Gateway you've created is listed here. Click a Gateway's name to open its settings, or click Create Signals Gateway to add a new one.
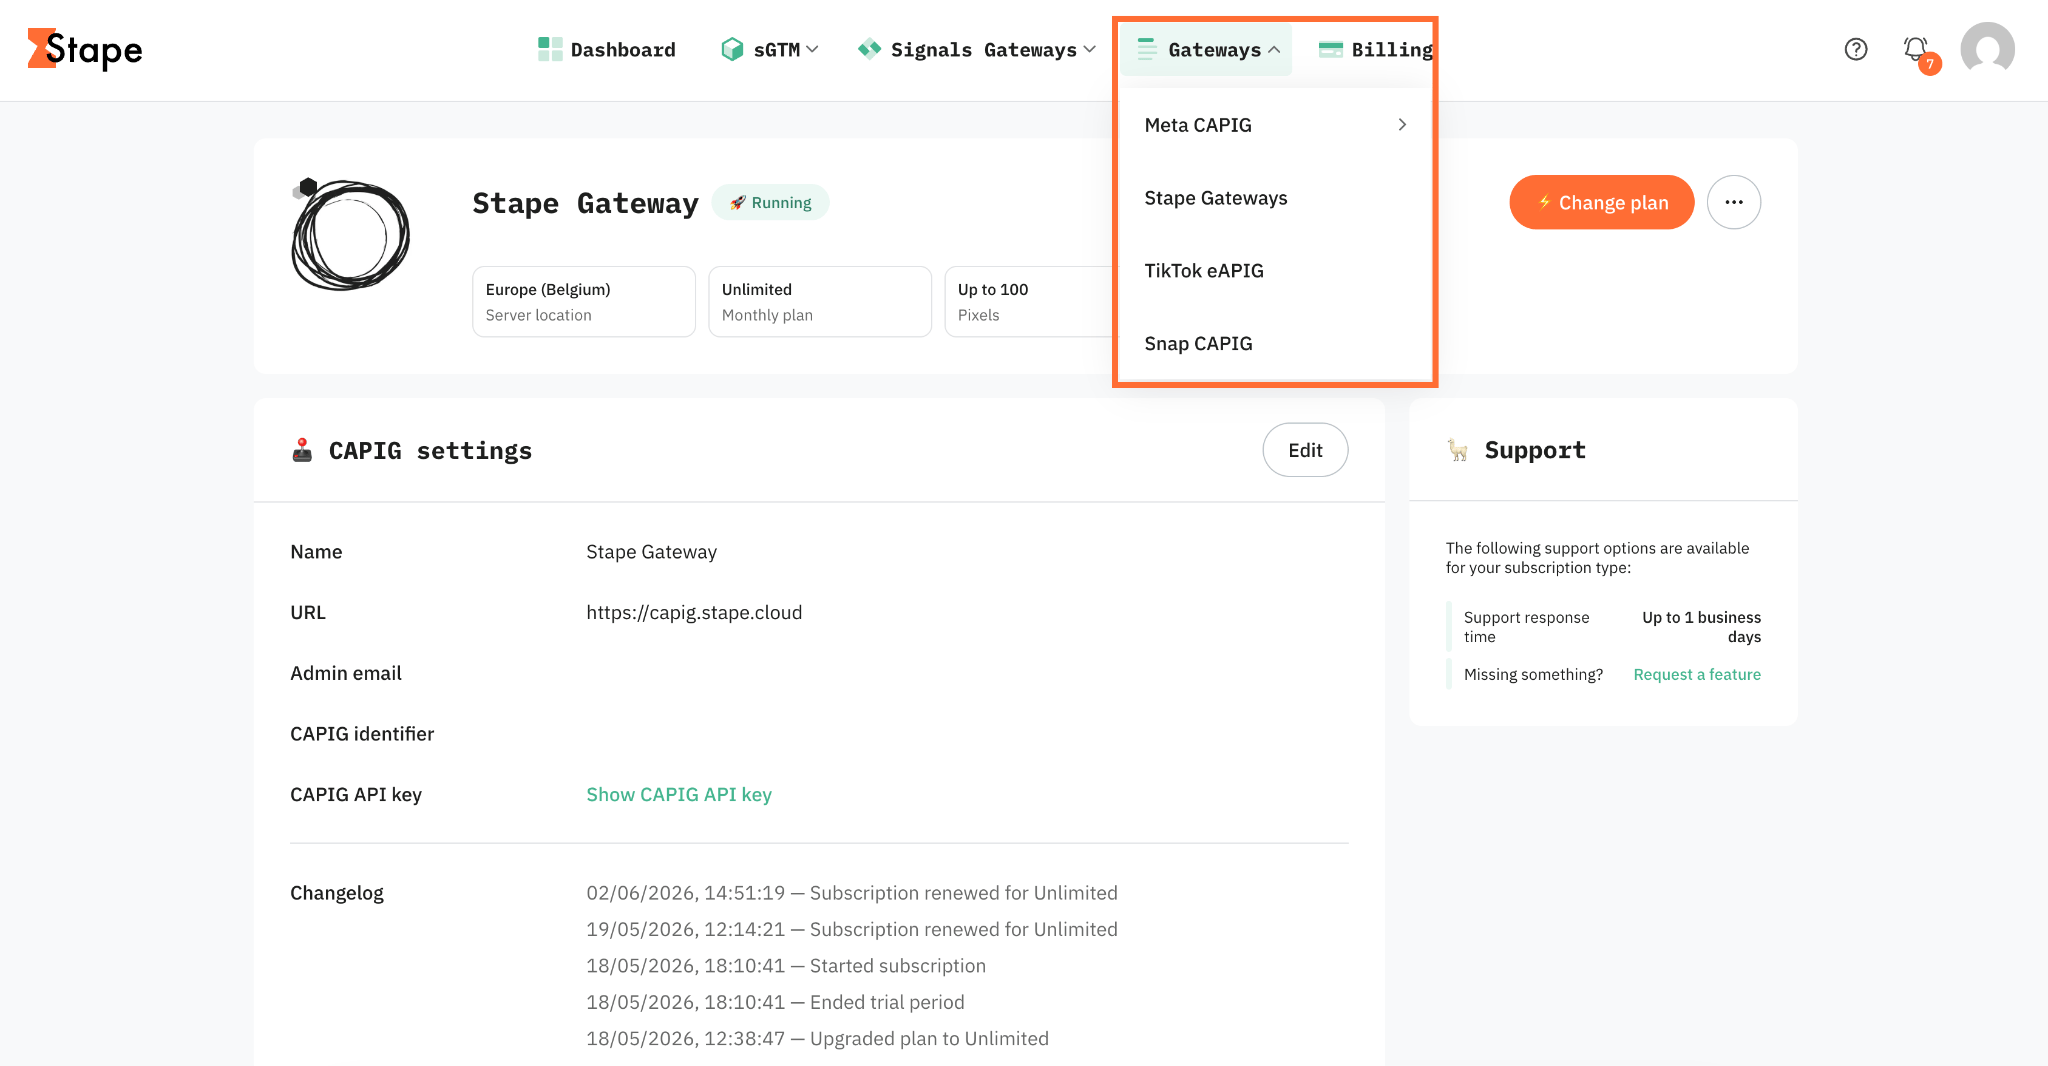
Gateways
This tab groups Stape's gateway types. They all behave the same way: each type has its own page, you click a gateway's name to open its settings, and you add a new one with the Create gateway button. The gateways are:
- Meta CAPIG
- Stape Gateway
- TikTok eAPIG
- Snap CAPIG
Billing
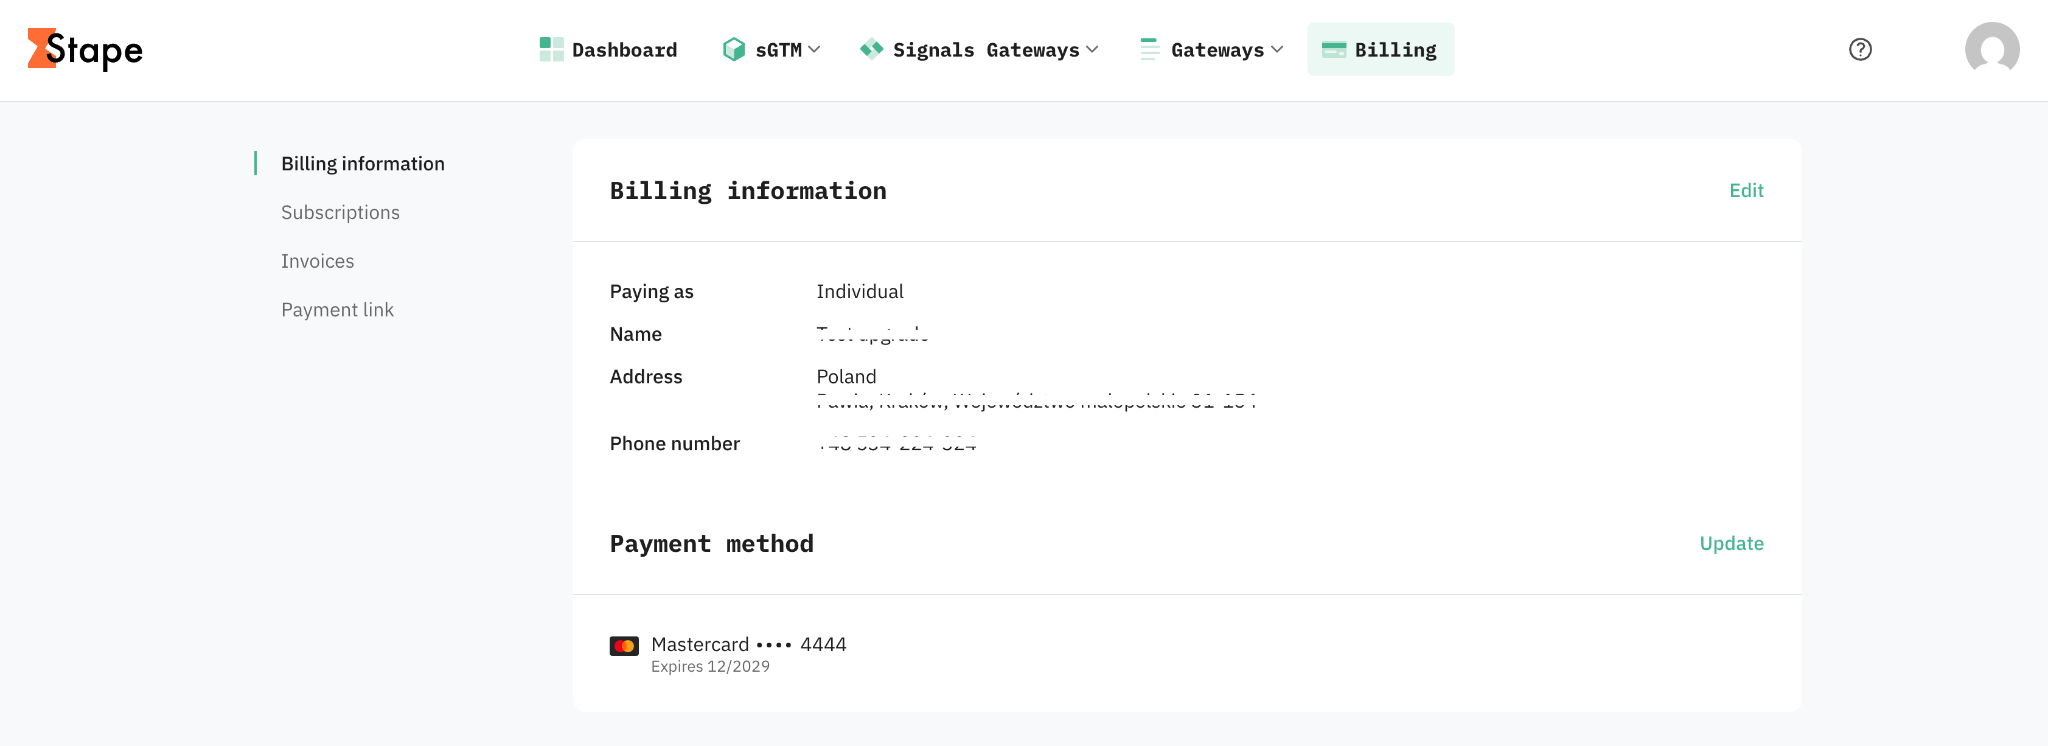
Here you can find everything money-related for the account:
- View and edit your billing details.
- See information about your subscriptions.
- See your invoice history.
- Generate payment link.
- Turn on Consolidated invoicing to get a single invoice across multiple products.
Support center
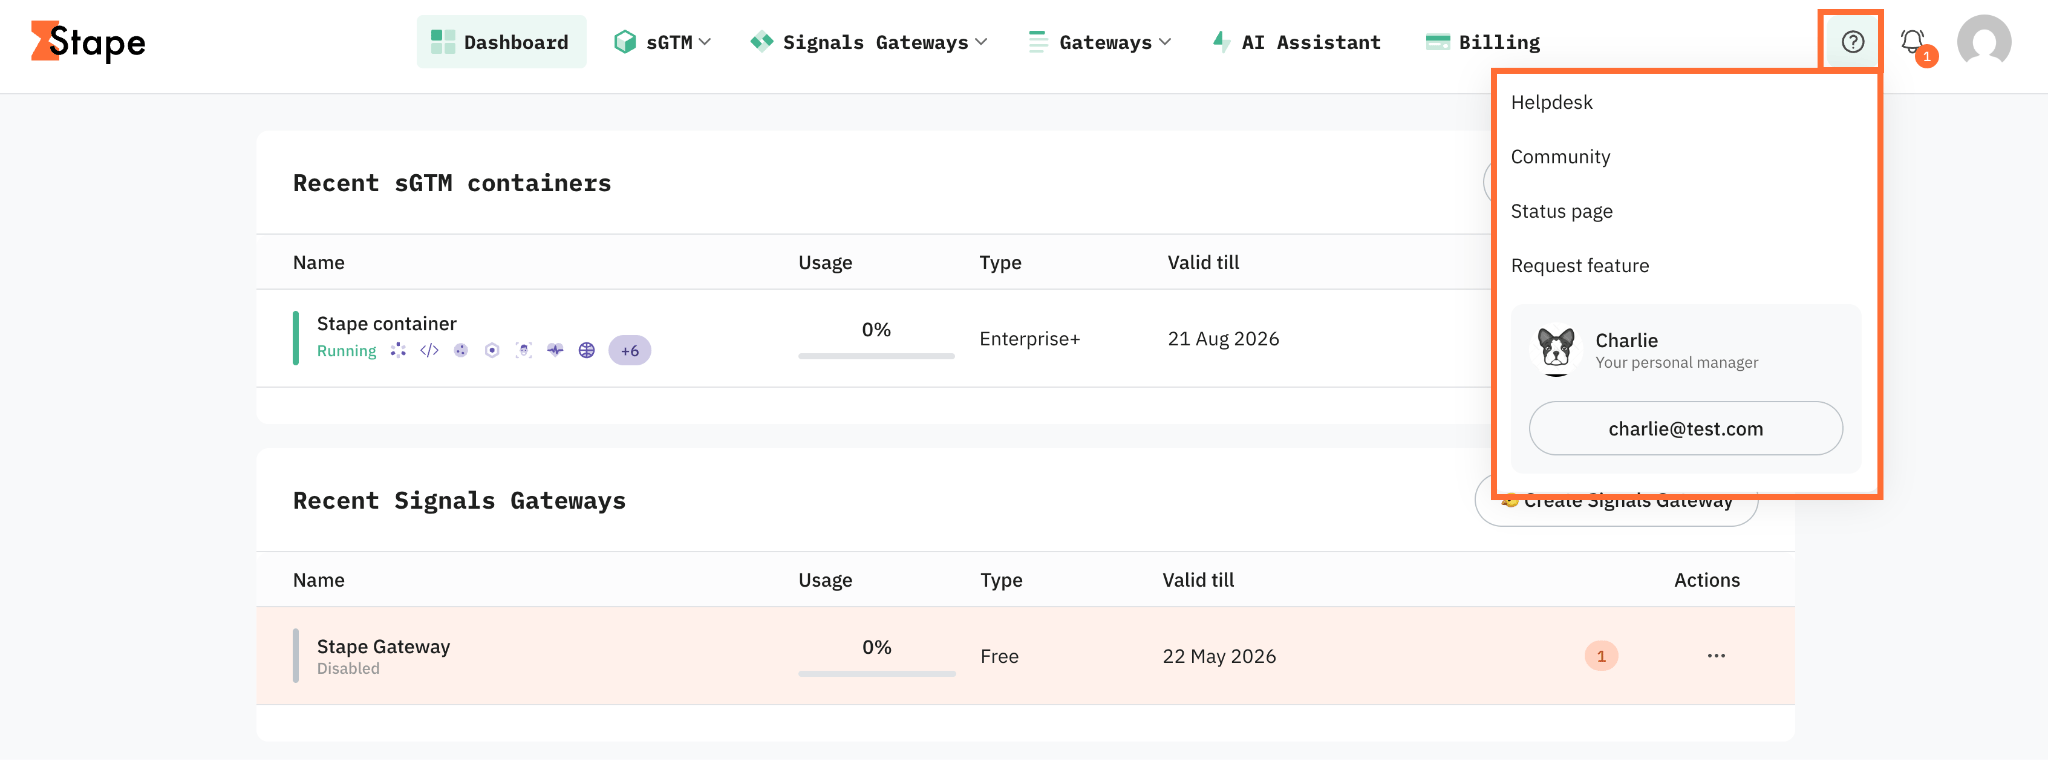
Click the question mark, and it'll open you a menu with:
- Help desk – here you can read the documentation about Stape and its products, also frequently asked questions are answered here.
- Community – a public forum for server-side tracking discussions. Questions are answered by both Stape staff and other server-side tracking experts in the community.
- Status page – shows the health of Stape's services. Check it first if something that was working suddenly stops.
- Request feature – here you can request new features and improvements for Stape.
- Contact support / Personal manager – the button opens the request form to contact support. Personal manager is a dedicated Stape representative assigned to help you set up or troubleshoot complex server-side configurations. Only available if you have at least one product on the Enterprise plan.
Notification center
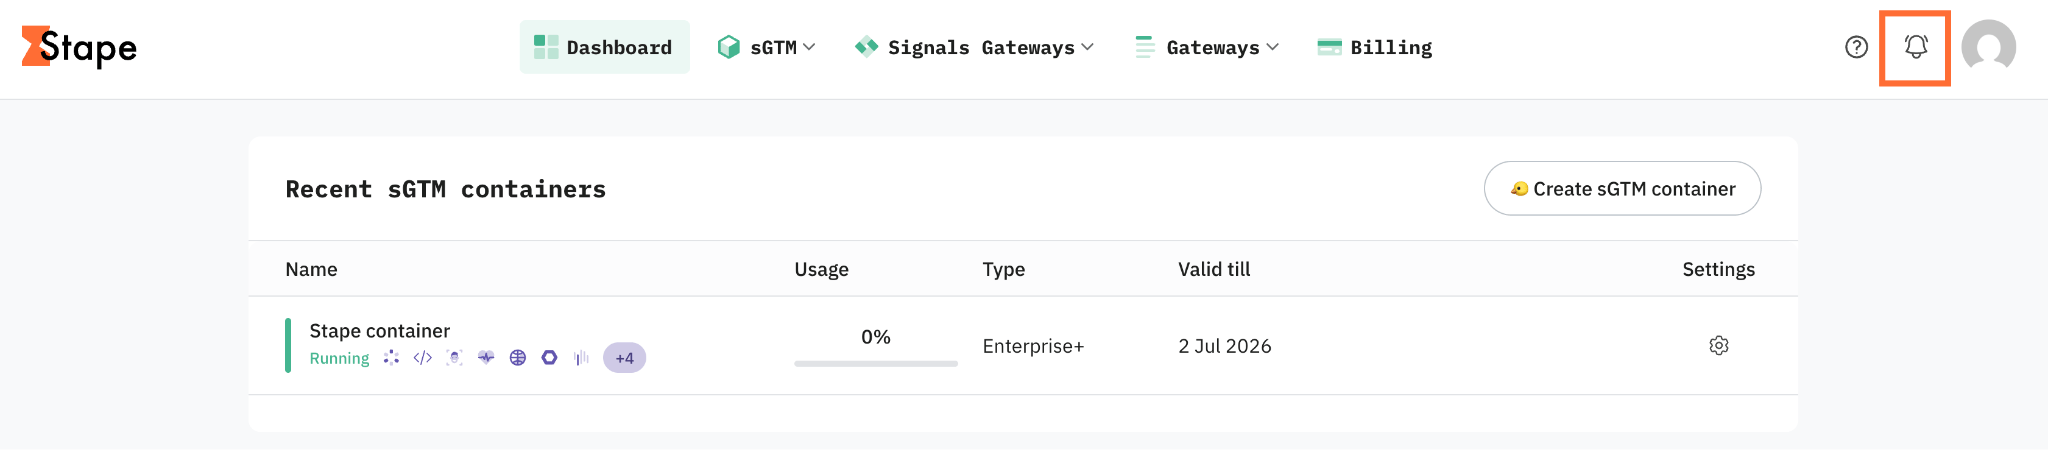
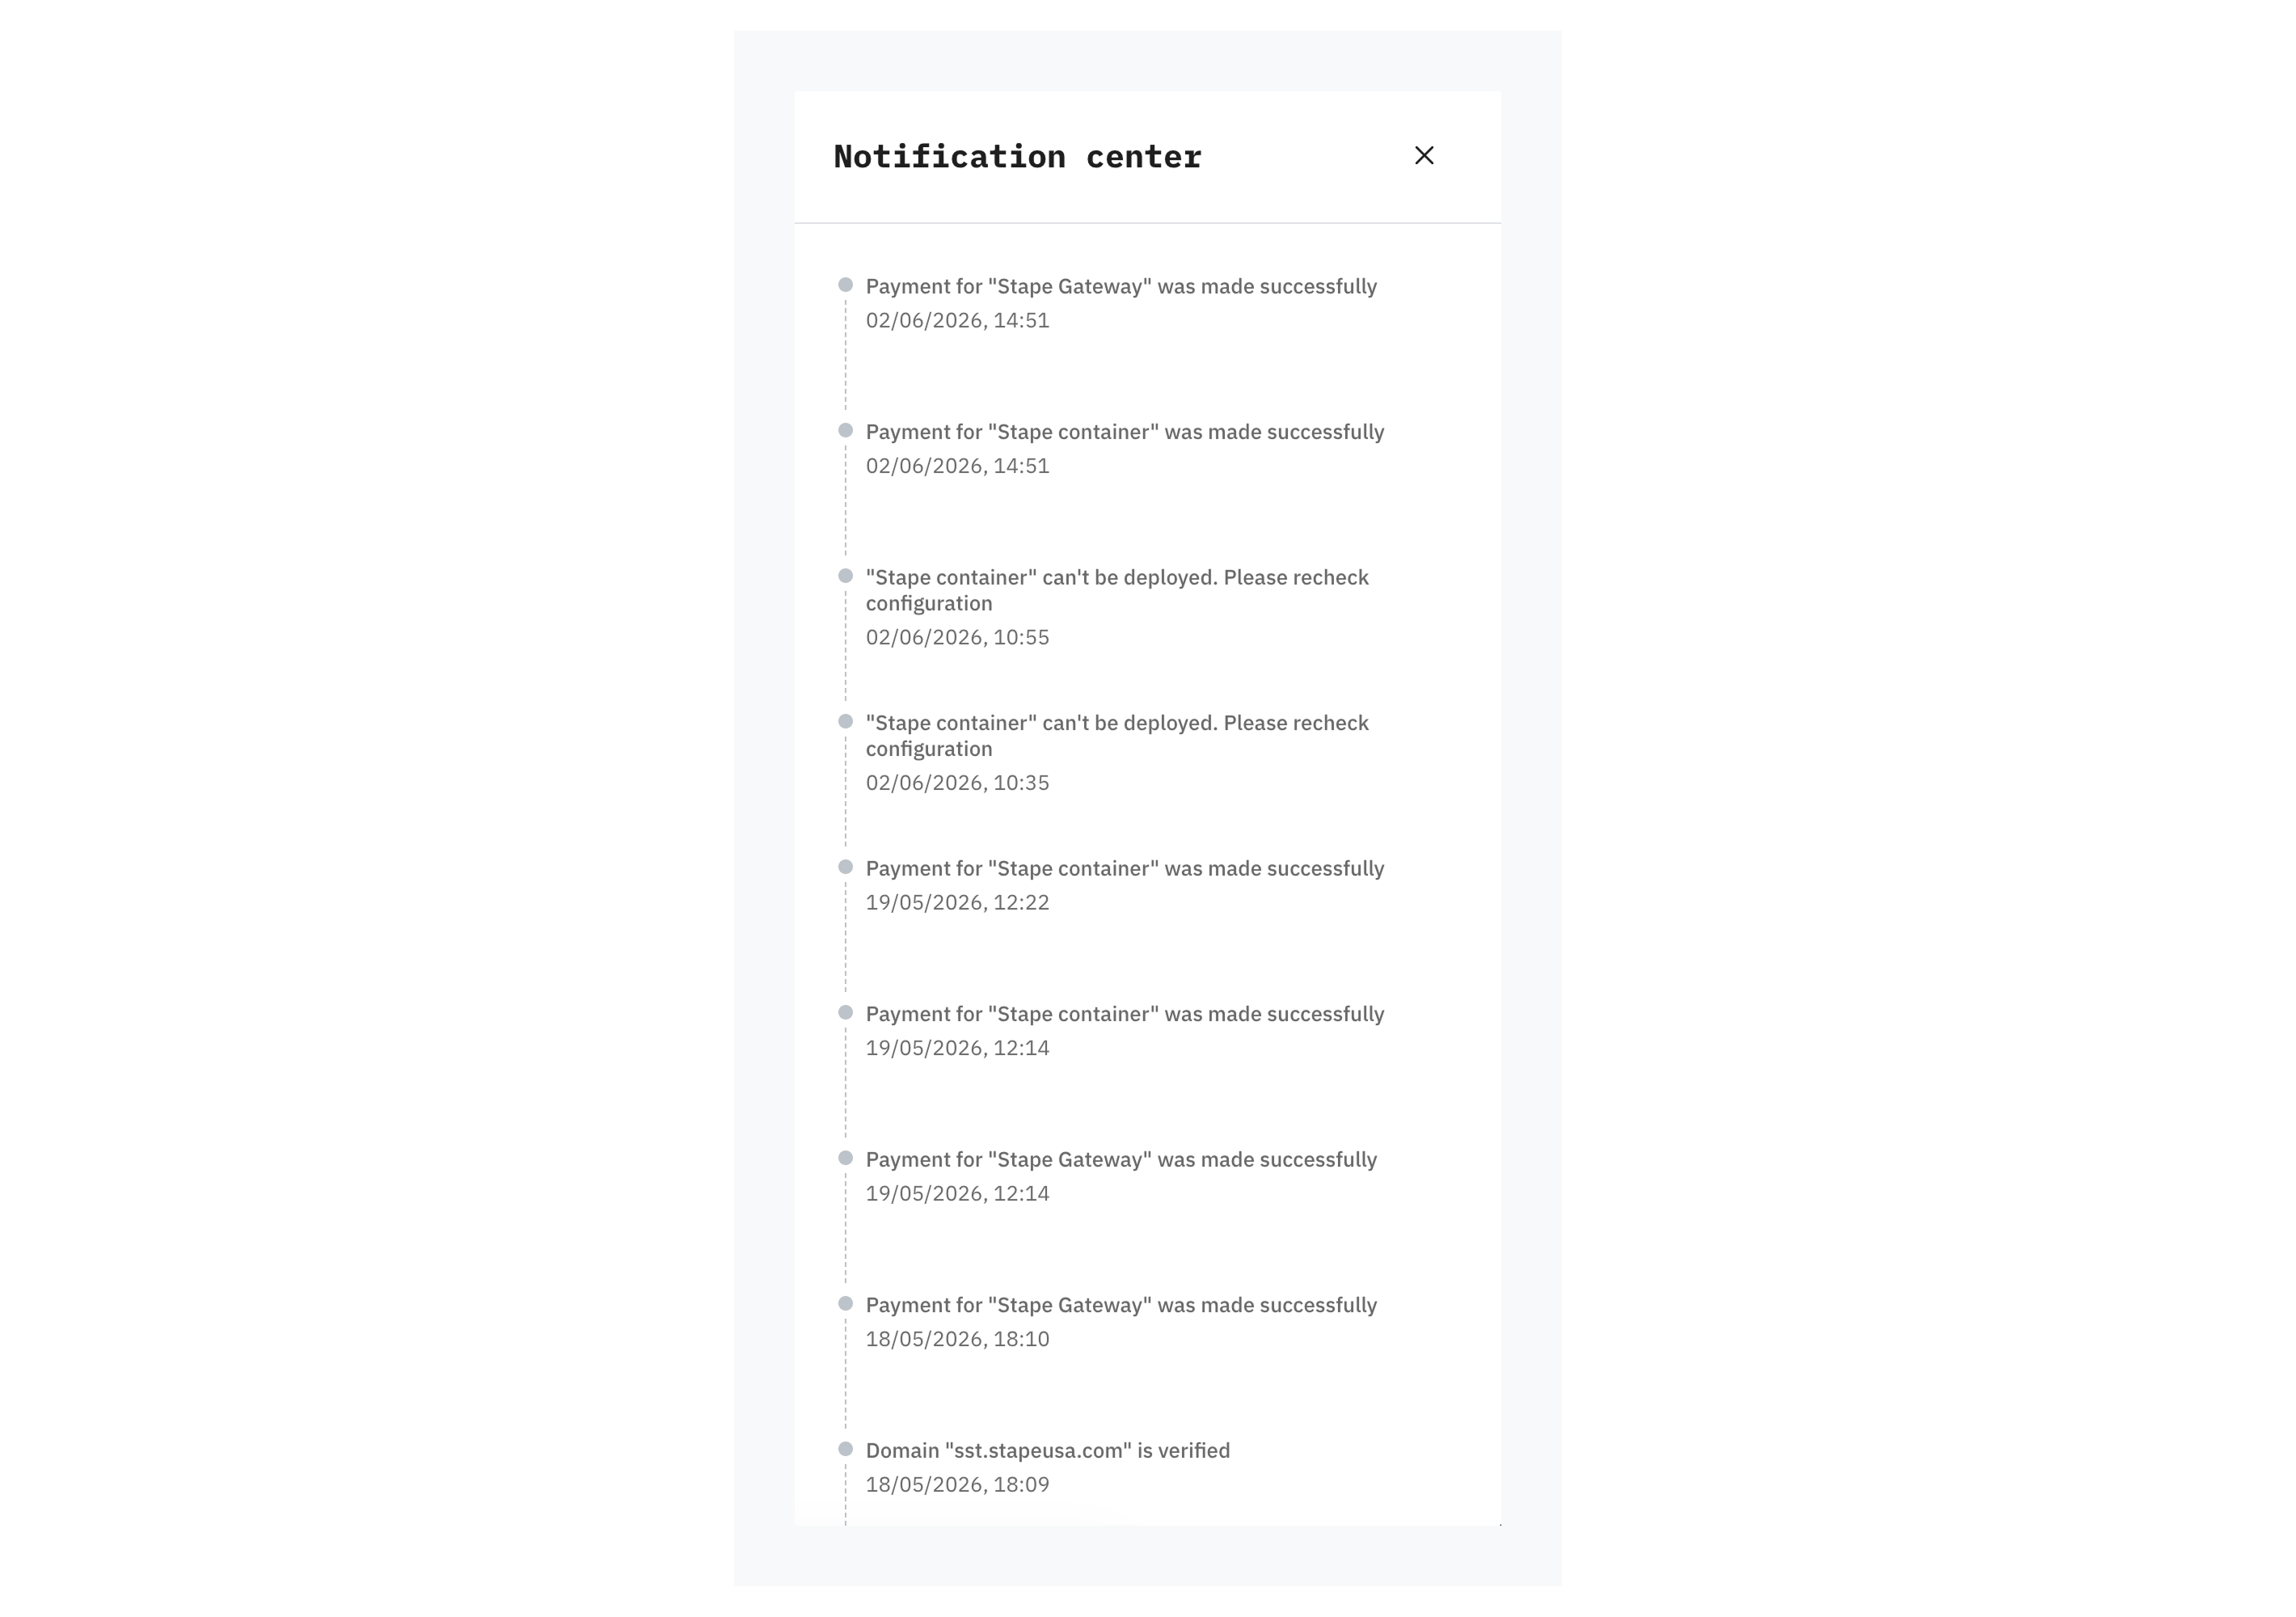
Click the bell icon in the top right corner, and the Notification center panel slides out, listing your most recent product related events, each with a date and time.
You'll see different types of notifications, like payments, deployment issues, domain verification, etc. If you click on the notification, it'll take you to the related container/gateway page.
Account menu
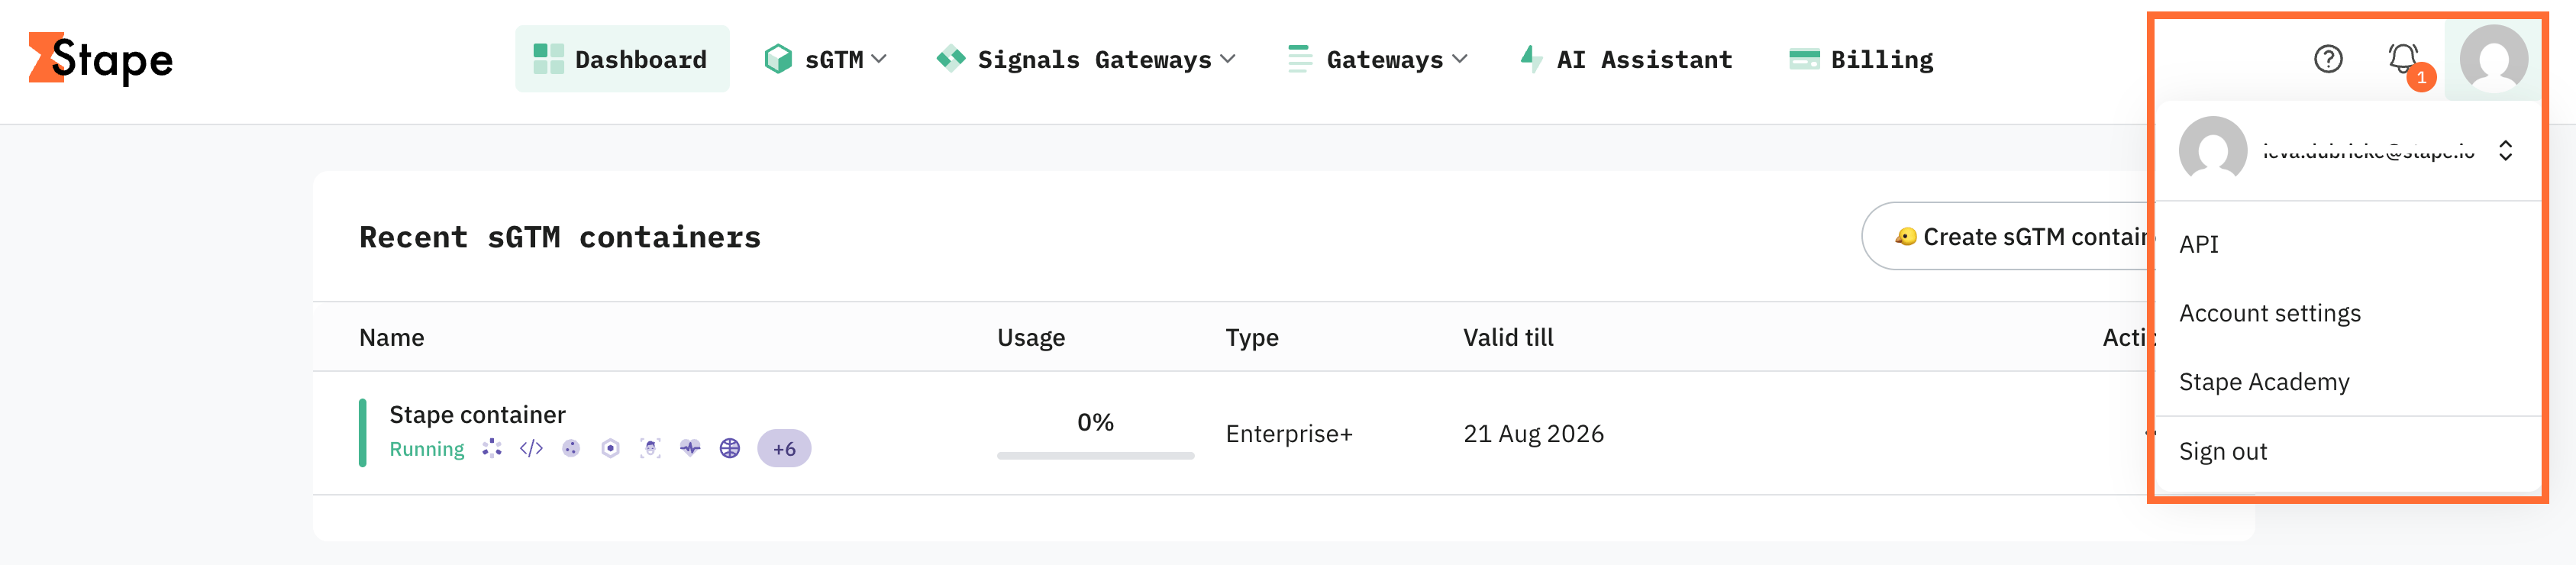
Click your account name in the top right corner to access the account settings:
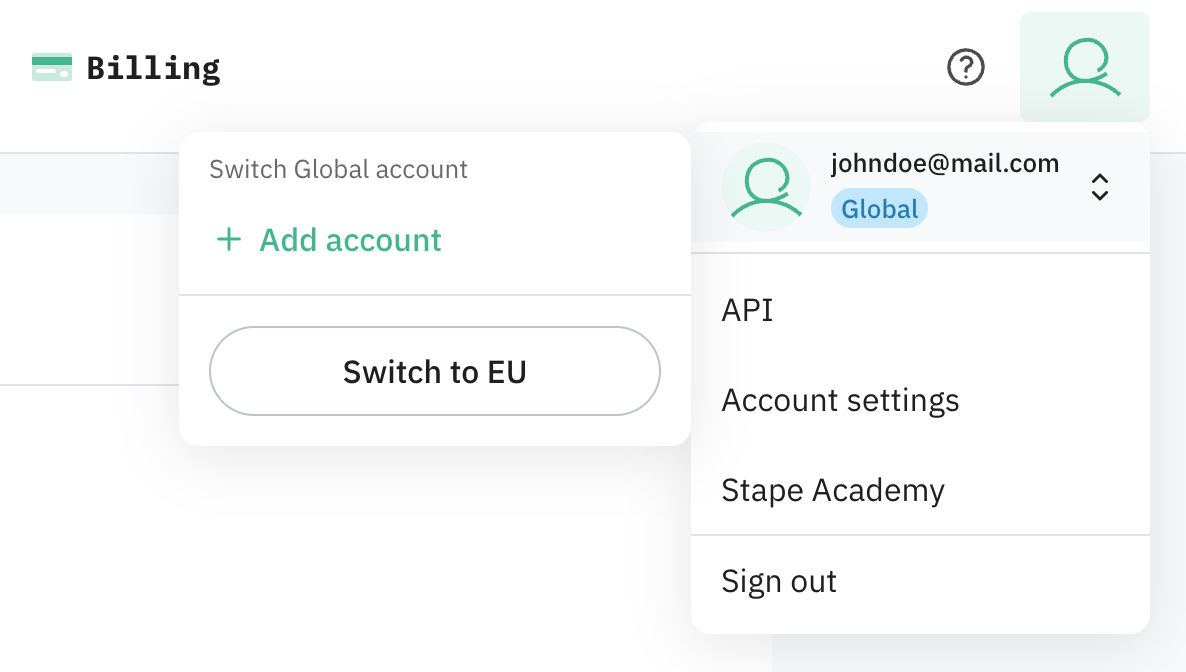
- Your email – shows which account you're currently signed into. Click it to switch to another account you've previously logged into on this device, or add a new one. See How to switch between accounts below.
- API – explains how to use the Stape API tool.
- Account settings – allows you to:
- Edit your password, email, and personal info
- Set up two-factor authentication
- Share access to your containers and gateways
- Review your activity history
- Convert or delete your account
- Stape Academy – a free online training platform dedicated to server-side Google Tag Manager and tracking. It offers video modules and short quizzes designed for marketers and analysts to master tracking setups without touching backend code, and provides an official certification upon completion.
How to switch between accounts
You can stay signed in to more than one Stape account at the same time and switch between them without logging out and back in. This works the same way regardless of location (EU or Global) and how you sign in. Every account you switch between stays fully independent.
Note:
For the account switching, Stape uses a cookie stored in your browser. It doesn’t contain your email, password, or auth token – only whether you've logged in to an account in this browser before. Because it's stored per browser, the accounts you see are specific to this device/browser and to the location (EU or Global) you're currently on.
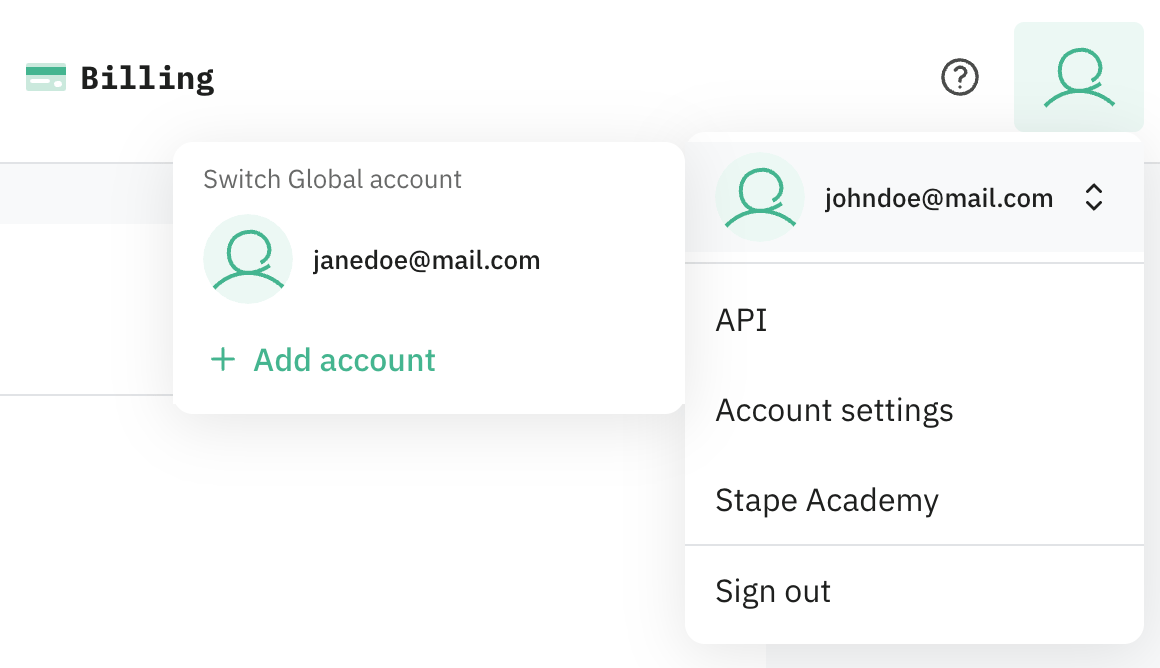
Click your profile picture to see a list of every account you've previously logged into on this device. If you only have one account, you'll see a single Add account button until you add a second one.
Click any account, and you're switched into that account and land on its dashboard immediately – no need to re-enter credentials.
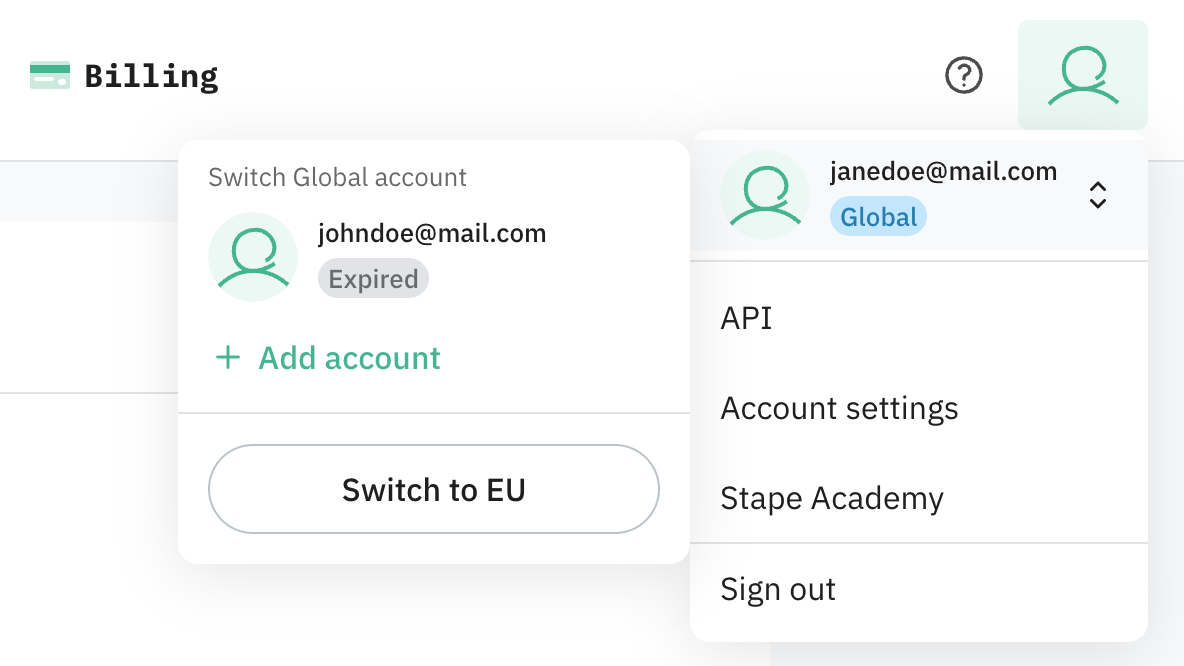
If an account's login session has expired, it's shown in the list with an Expired label. For the label to disappear:
- 1.Click the expired account to be taken to the login page for that account.
- 2.Until you log back in, that account is removed from the list.
- 3.Once you log back in successfully, the account reappears in the same spot.
How to add a new account
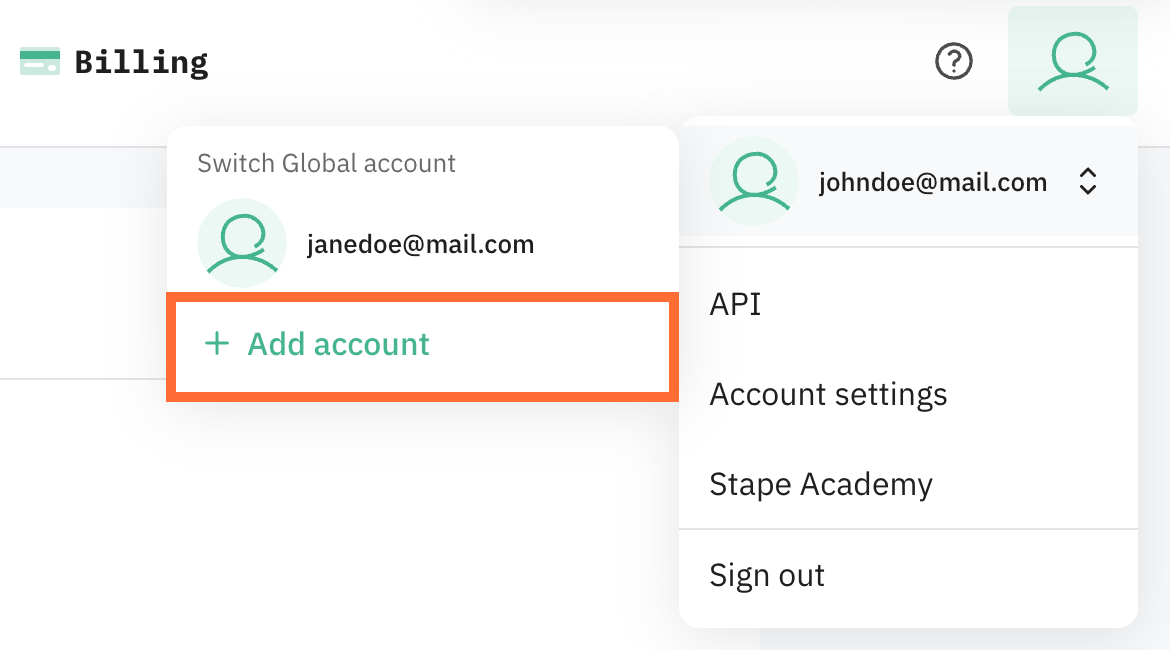
- 1.Click Add account.
- 2.You're redirected to the login page. Enter the credentials for the account you want to add, or click Sign up to create a brand-new account instead.
- 3.Once you log in (or finish signing up), the new account is added to your list and you're switched into it right away.
Switching between EU and Global
If you've previously logged into accounts in both regions, you'll see a region badge (EU or Global) next to your email in the profile header, and a Switch to EU / Switch to Global button in the accounts list. Clicking it takes you to the other region's account.
Was this article helpful?
🍽 Table of content:
Comments