Consolidated invoicing for Standard accounts
Updated Jun 5, 2026
Consolidated invoicing groups all your active subscriptions into a single invoice per billing cycle, so you get one bill for all products instead of one per product.
If you are using an Agency or Partner account, see Consolidated invoicing for Agency and Partner accounts instead.
Before you begin
A few things to know first:
- Your active subscriptions get canceled and immediately reinstalled under a single consolidated invoice. The most recent billing period from your existing subscriptions becomes the new invoice's starting point.
- The leftover balance from your existing subscription payments is used to cover the new consolidated invoice. Some payment providers may block this automatic switch. If you notice anything off, contact support.
- You can't start trial periods on Gateway products (like Meta CAPI Gateway or Signals Gateway) while consolidated invoicing is on.
- If you currently have an active Gateway trial, turning consolidated invoicing on will automatically upgrade them to the lowest paid plan.
- If your subscriptions are a mix of monthly and yearly, you'll see two invoices - one for monthly, one for yearly. That's because each billing cycle is consolidated on its own.
- The upgrade from a free plan to a paid plan will be included in the consolidated invoice and will have the same billing period as all other products on the consolidated invoice.
How to turn on the consolidated invoicing
1. Open the Billing menu.

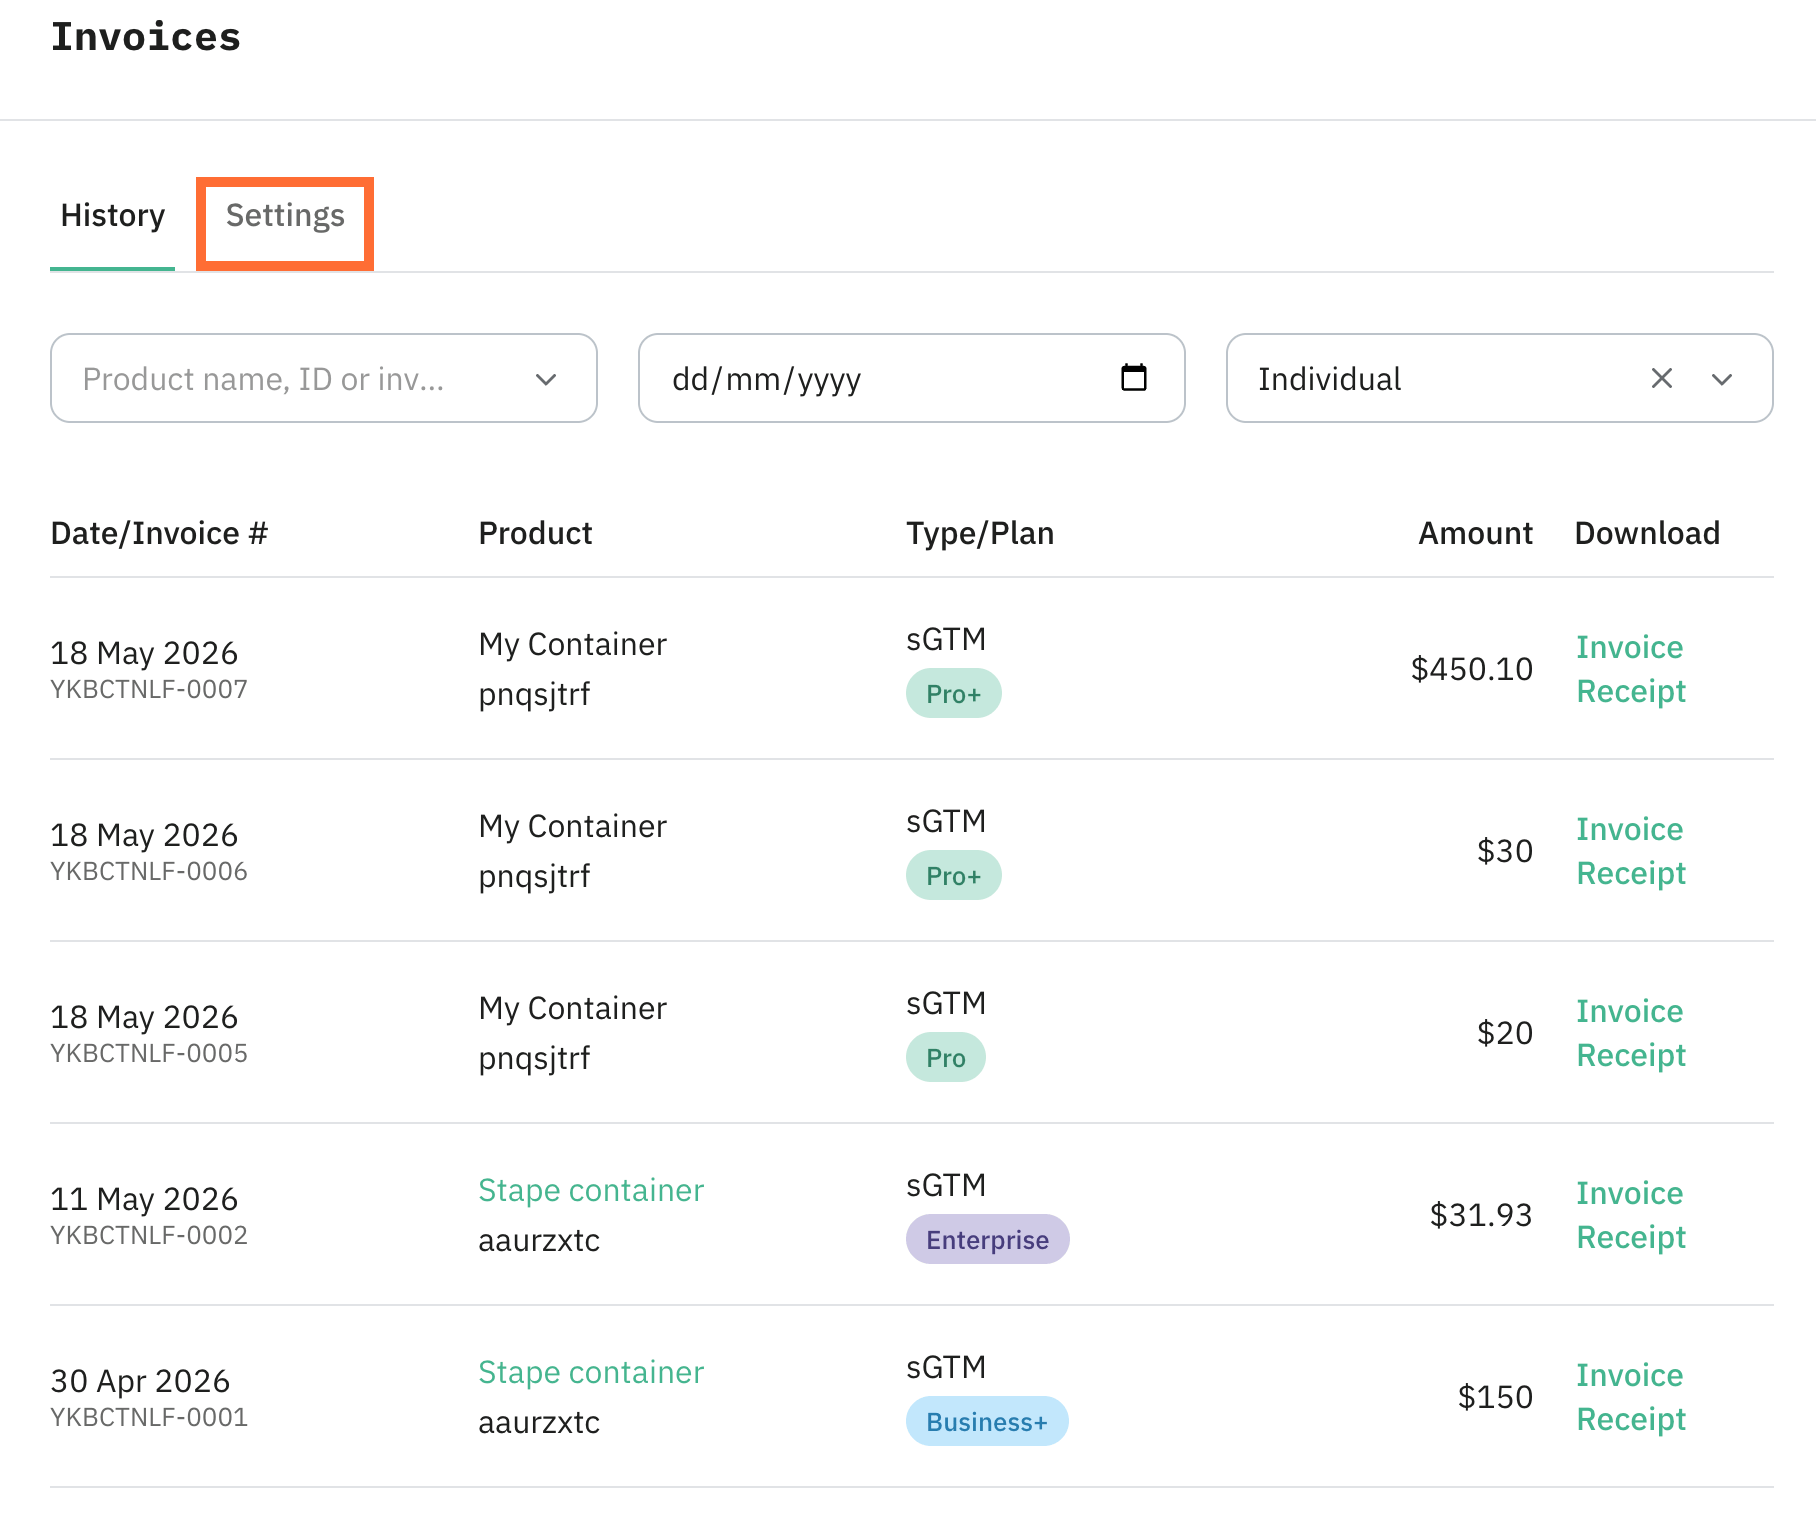
2. Scroll down to the Invoices section and click Settings.
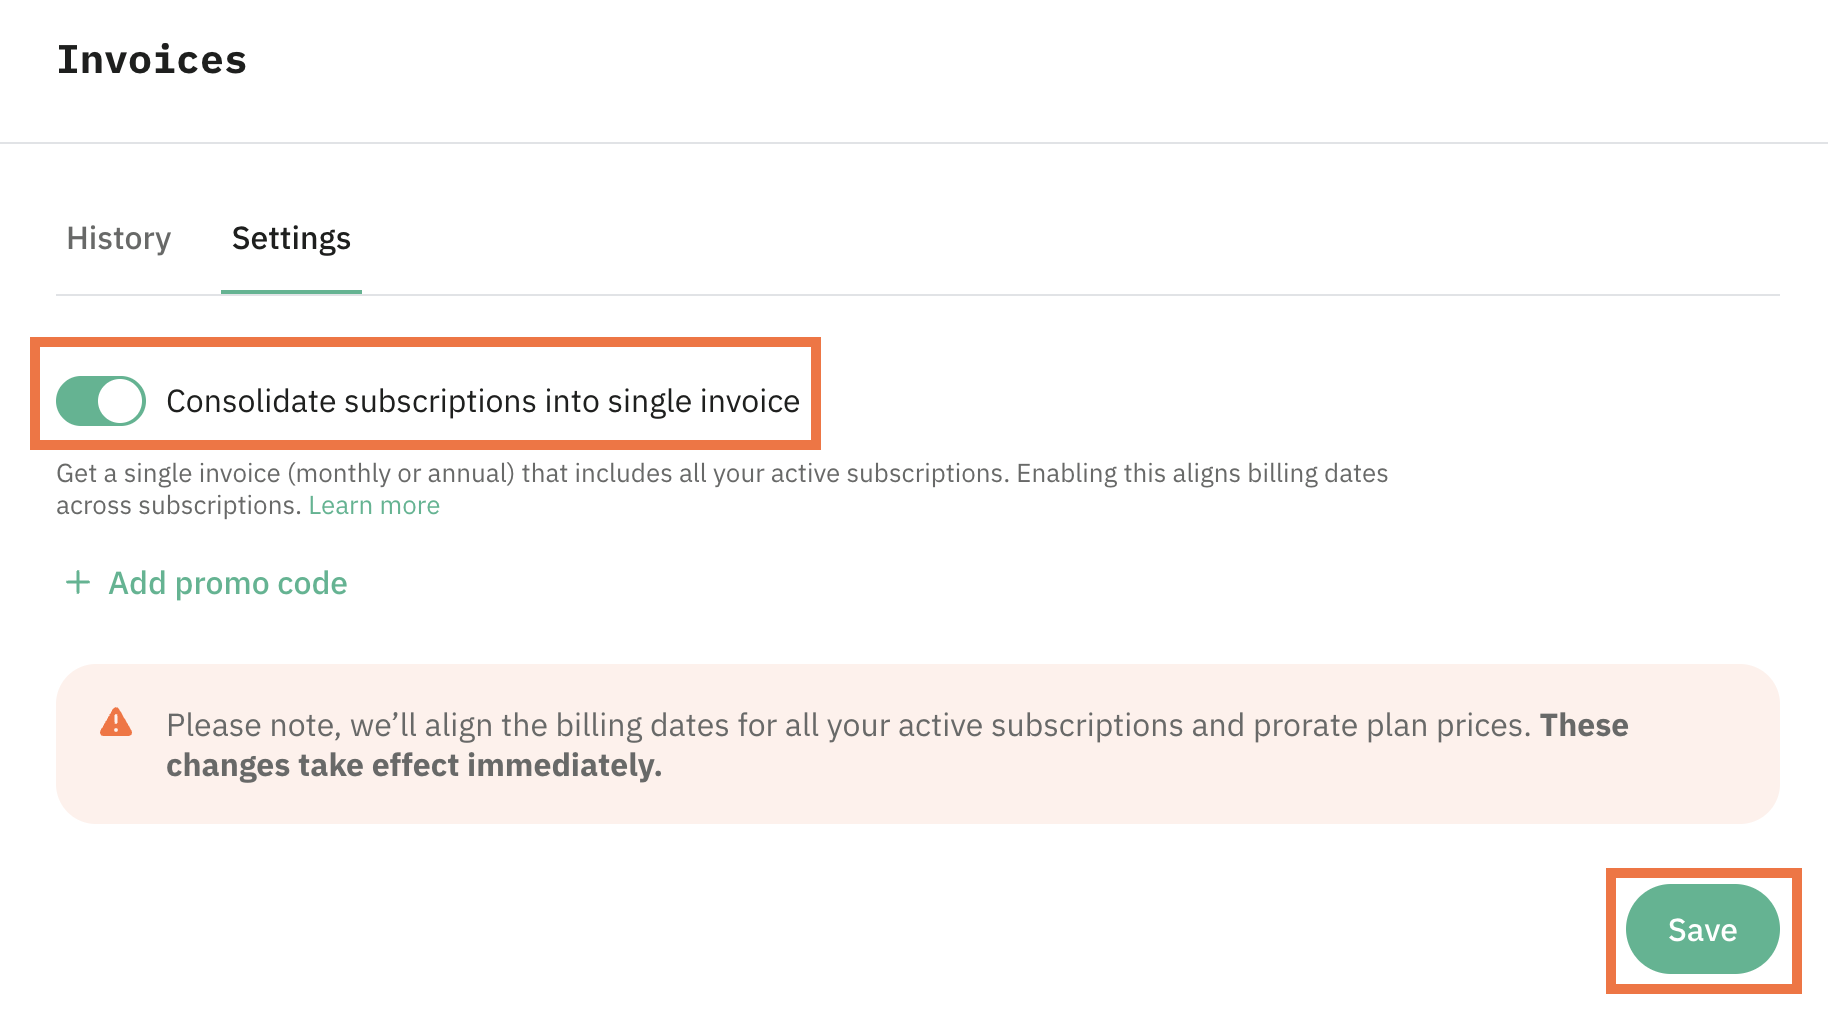
3. Toggle Consolidate subscriptions into single invoice on. The switch only appears after you've added a billing method.
4. Optionally, you can apply promo code. Click Add promo code for this.
5. Click Save.
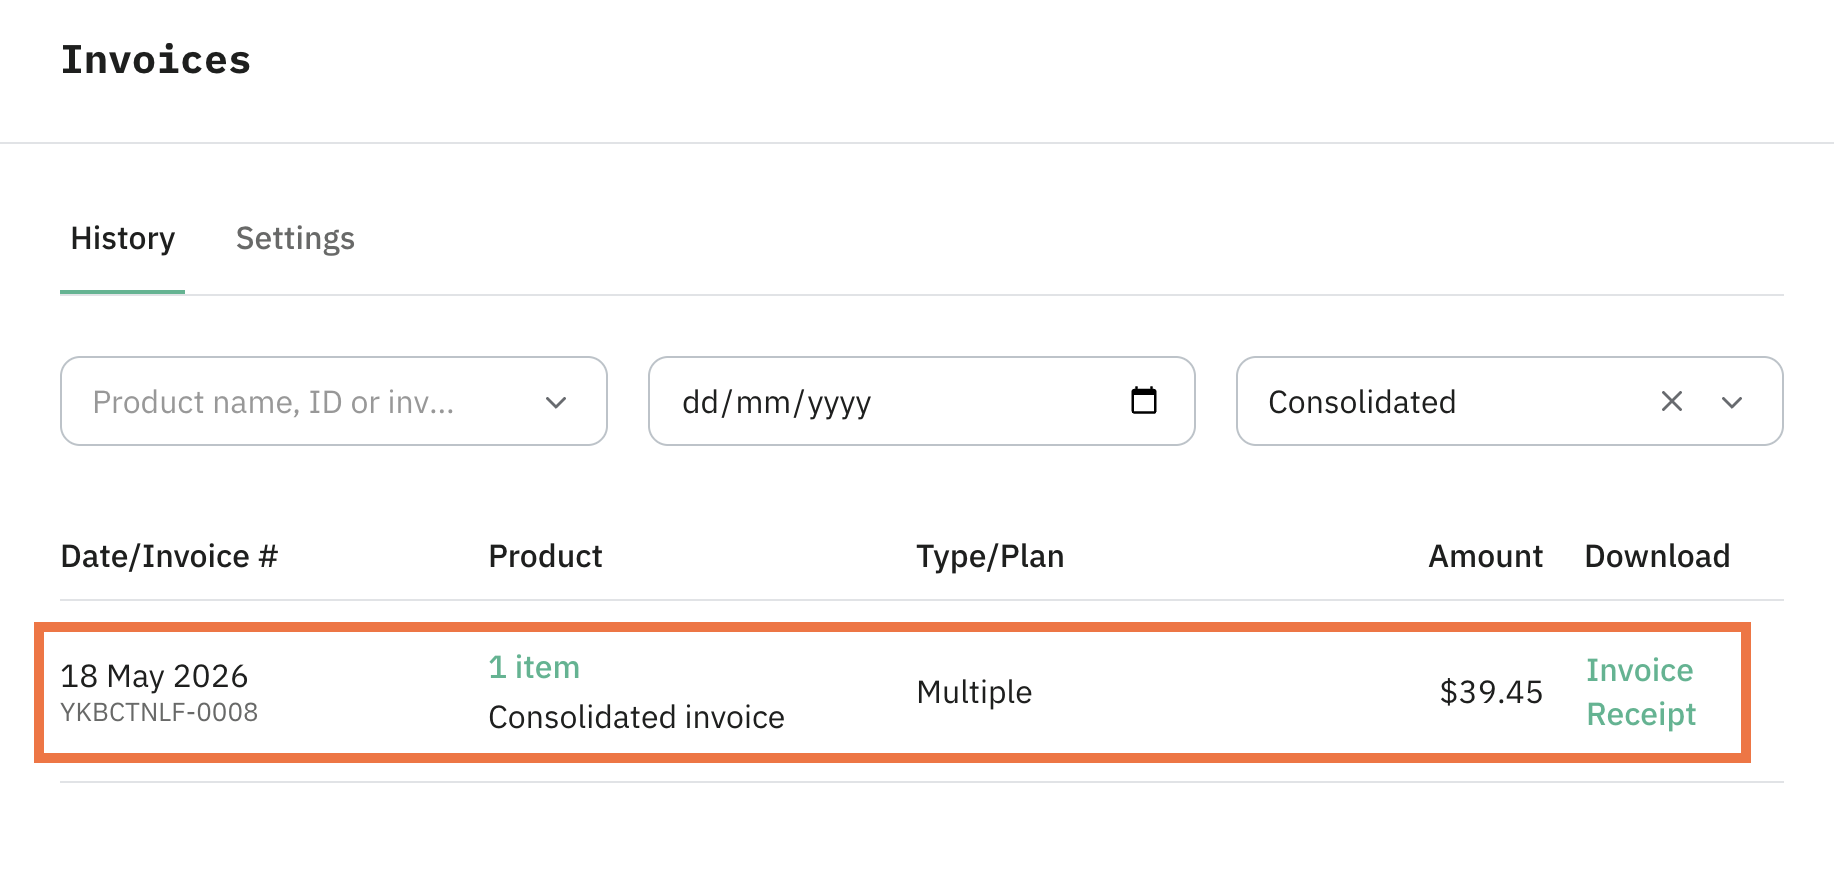
From now on, all your active paid subscriptions in the same billing cycle are processed in one invoice. Any new subscription you add later joins the consolidated invoice automatically.
How new subscriptions are added
Once consolidated invoicing is on, every new subscription joins the consolidated invoice on its own. Monthly subscriptions go on the monthly invoice, yearly subscriptions go on the yearly invoice. The total is recalculated so the new subscription is included on the next renewal.
Example: today is May 1, and you have a yearly consolidated invoice that renews on June 1. You add a new subscription. Stape charges the new subscription for May 1 to June 1, then includes it in the consolidated invoice from June 1 onward at the new combined total.
How to turn off the consolidated invoicing
You can turn consolidated invoicing off any time:
1. Open the Billing menu.

2. Scroll down to the Invoices section and click Settings.

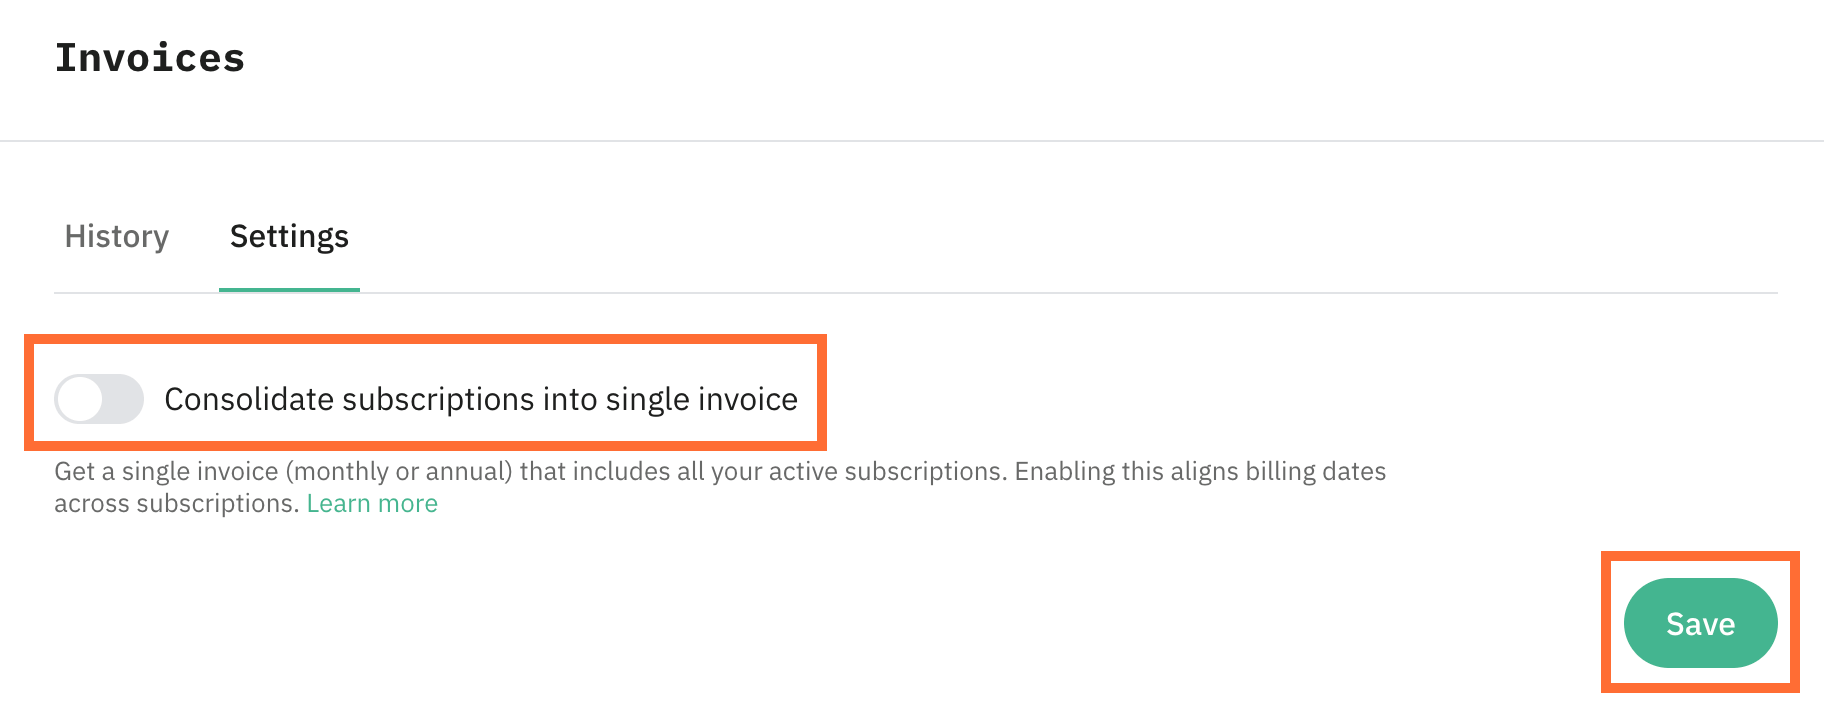
3. Toggle Consolidate subscriptions into single invoice off.
4. Click Save.
Note:
If an Agency or Partner manages your billing
If your Standard account is paid through an Agency or Partner account, you'll see a note in your Billing menu that says so. While that's the case, your subscriptions appear in the Agency or Partner's invoices, not yours, so you won't see them in your own invoice list.
To take over your own billing again:
1. Open the Billing menu.
2. In the Billing information section, click Change.
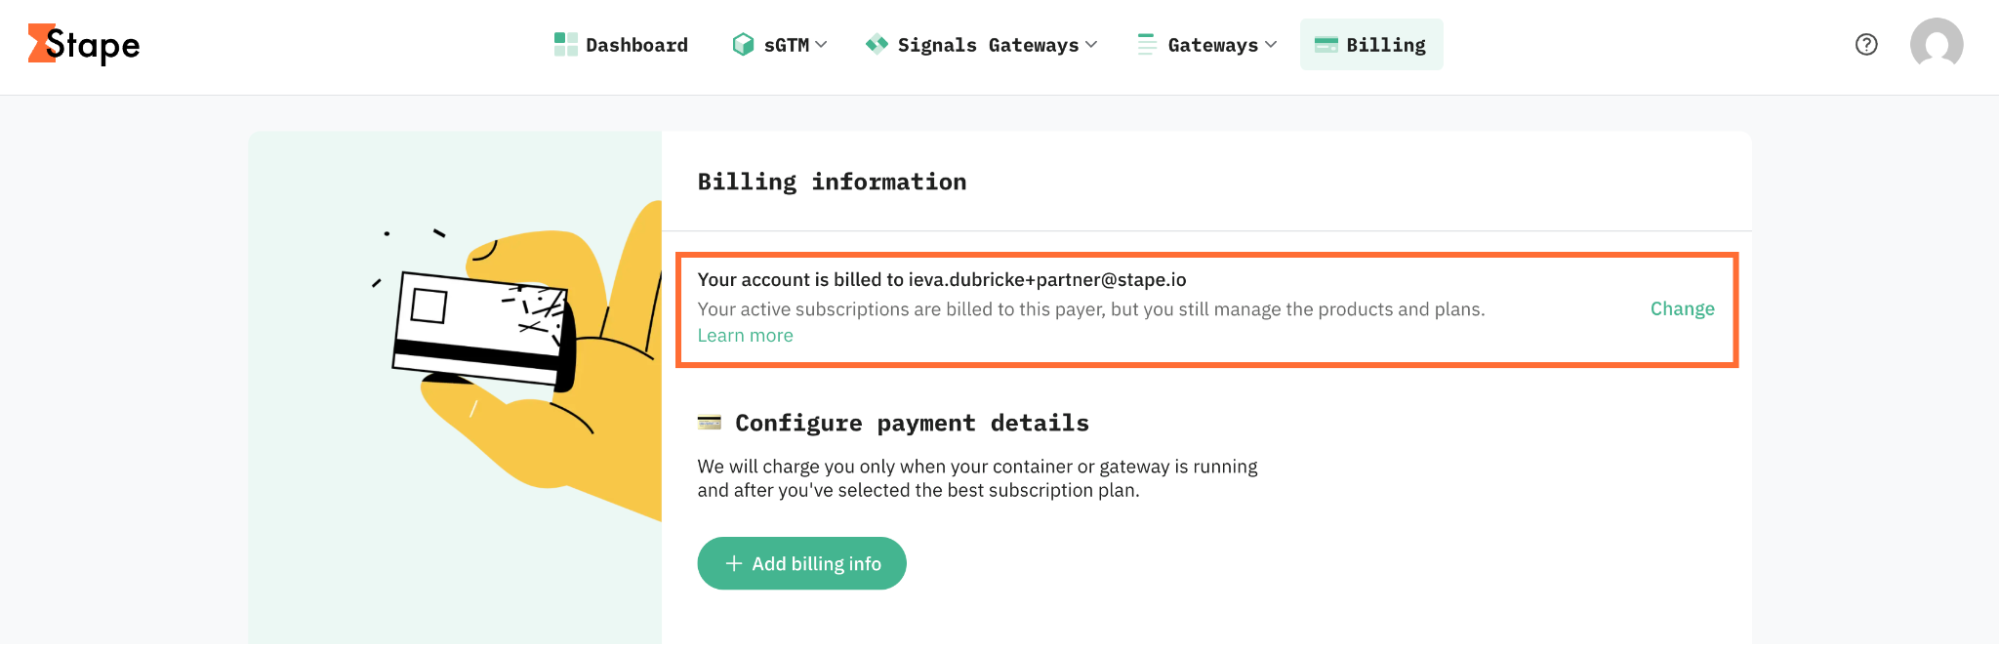
3. Click Switch to self-billing.

After switching, check that:
- Your billing information is accurate.
- Your subscriptions for the products you use are still active.
- If anything is missing, add it back right away.
Was this article helpful?
Comments