How to configure Meta CAPI Gateway
Updated Jul 6, 2026
Important! Before you begin, ensure that Meta web tracking is already configured on your site, whether it's implemented through a GTM container, embedded directly in the website code, or integrated via a plugin. This setup allows you to use existing web events.
Step-by-step guide to configuring Meta Conversions API Gateway
Create a Meta Conversions API Gateway container on Stape
1. Log in to your stape.io account.
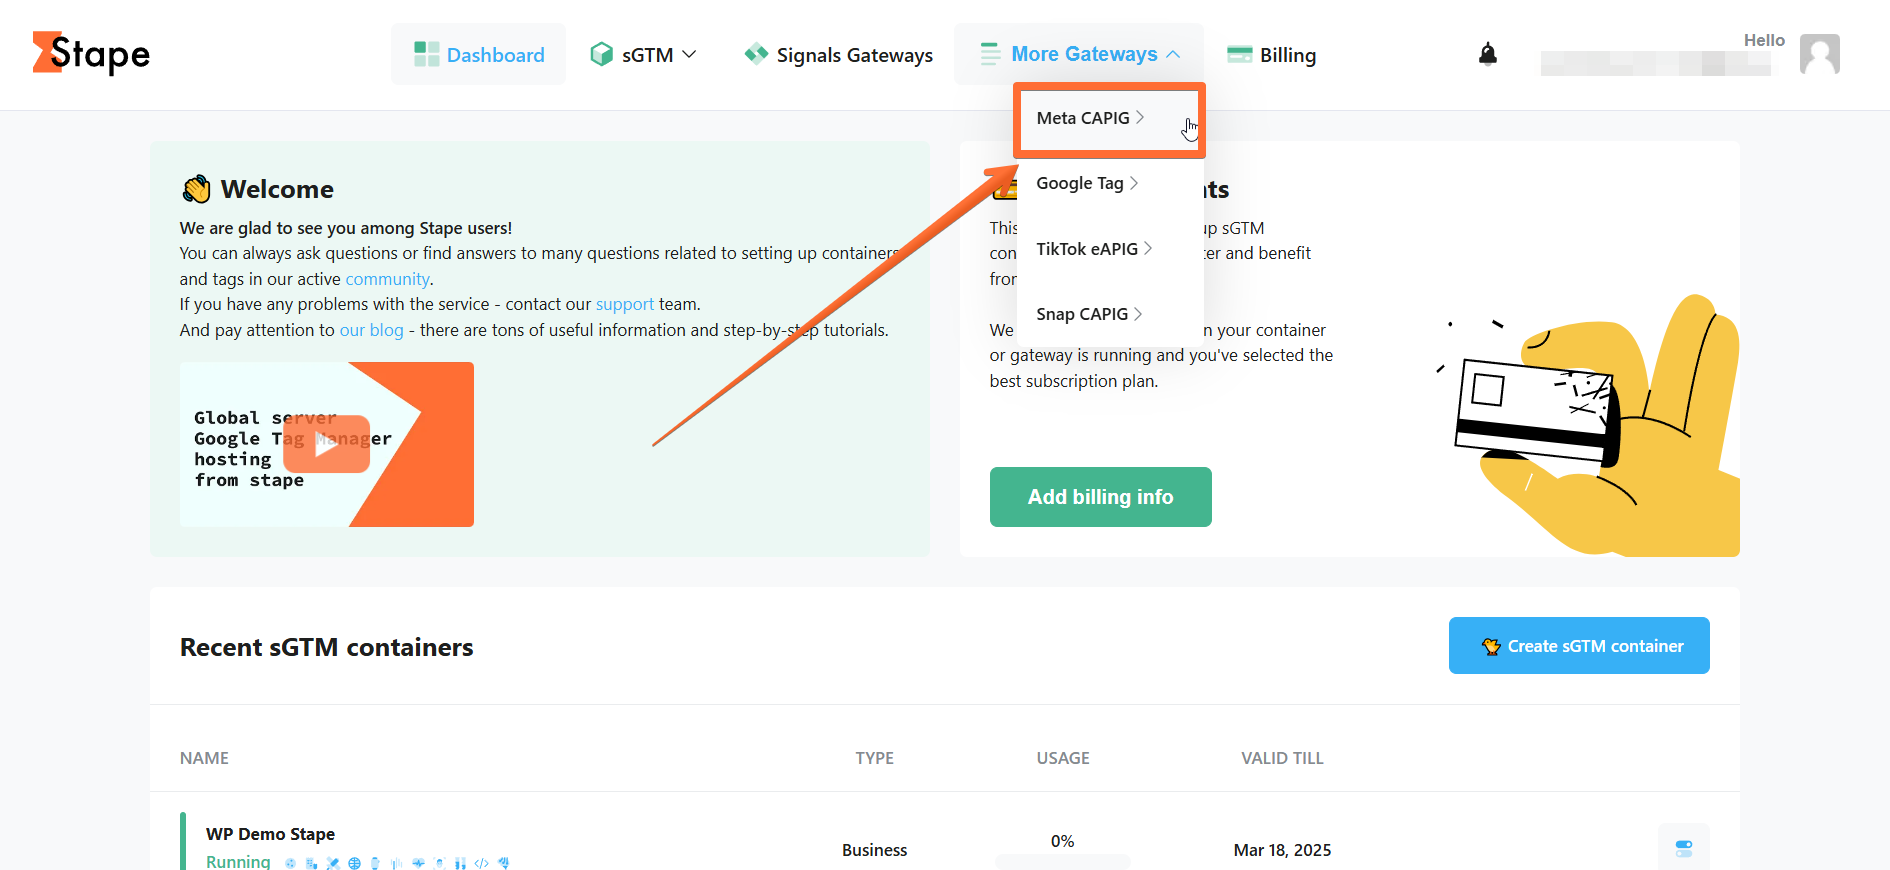
2. Open the Meta Conversions API Gateway page.
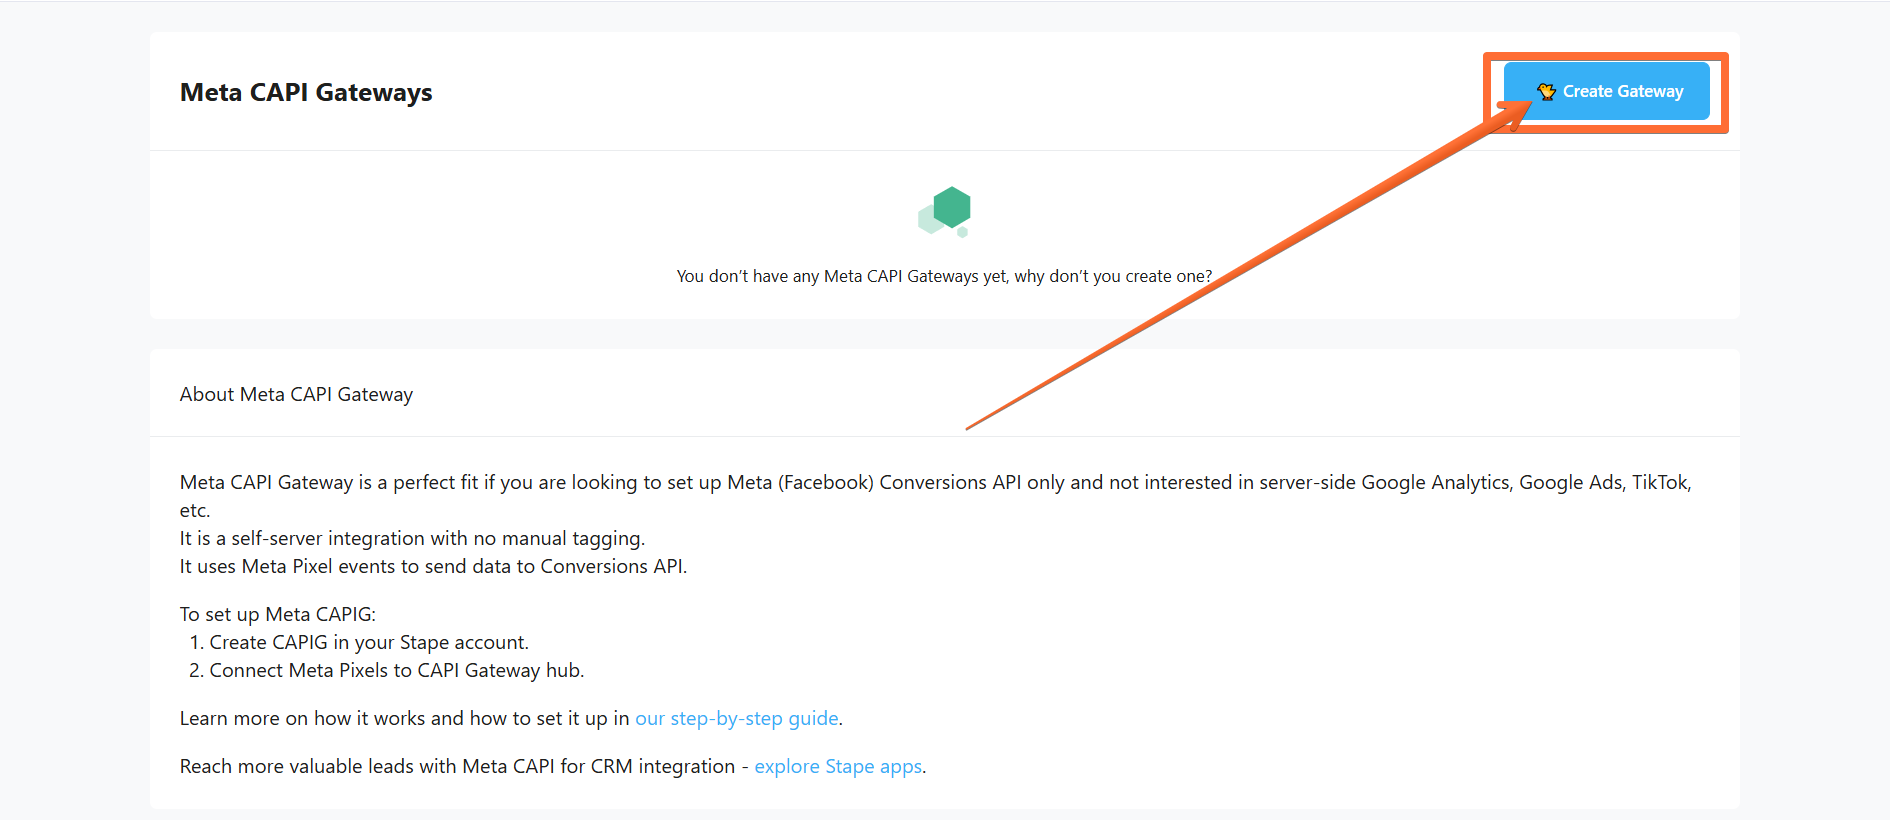
3. Click Create Gateway.
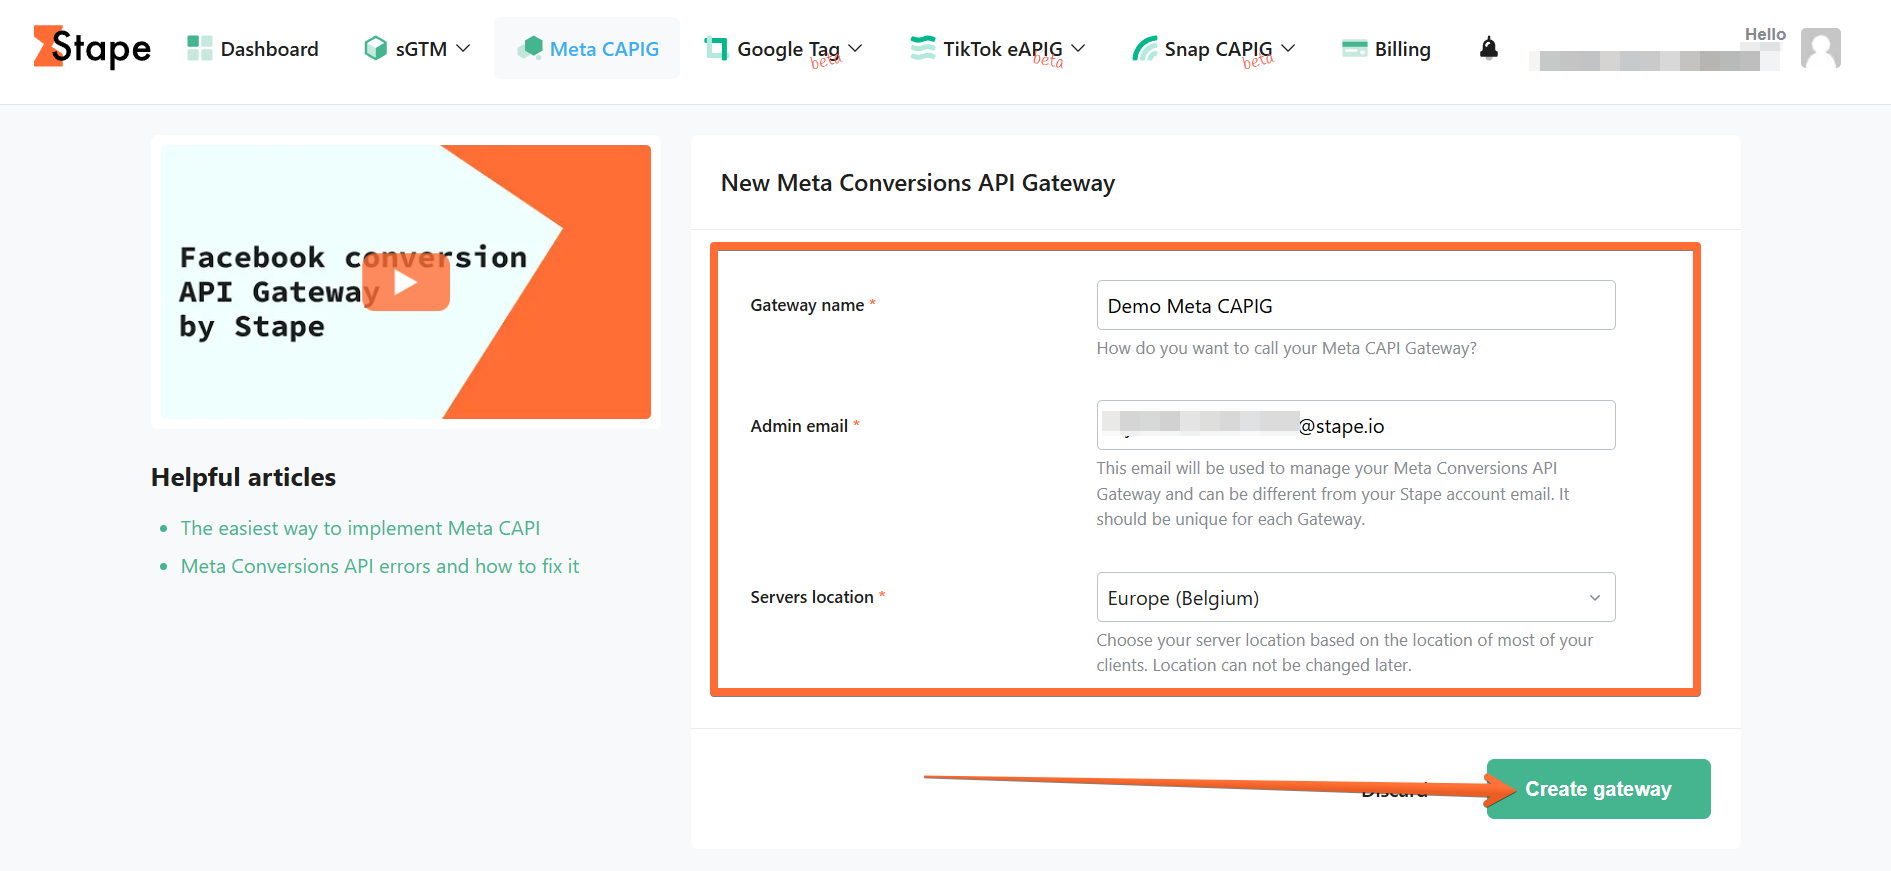
4. Fill in the required fields:
- Gateway name. Enter a descriptive name.
- Admin email. This email will be used to manage your Meta Conversions API Gateway and can be different from your Stape account email. It should be unique for each Gateway.
- Servers location. For better performance, select a location closer to your website’s visitors.
Then click Create gateway.
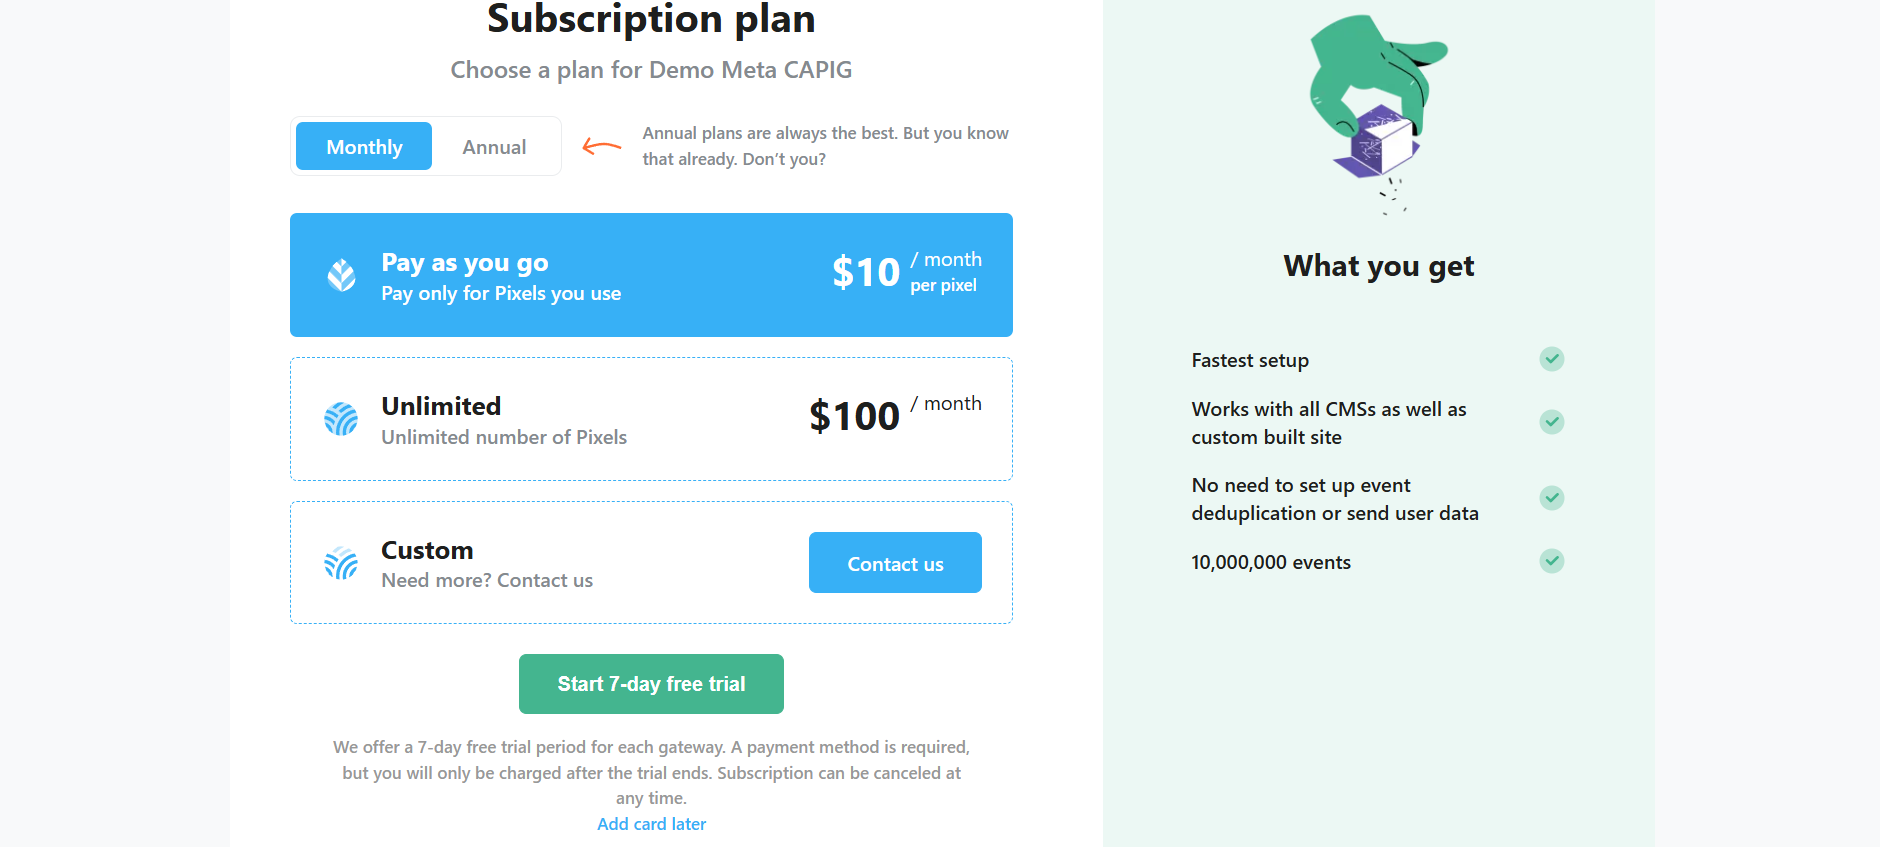
5. Select a subscription plan or click Add card later to activate a 7-day free trial.
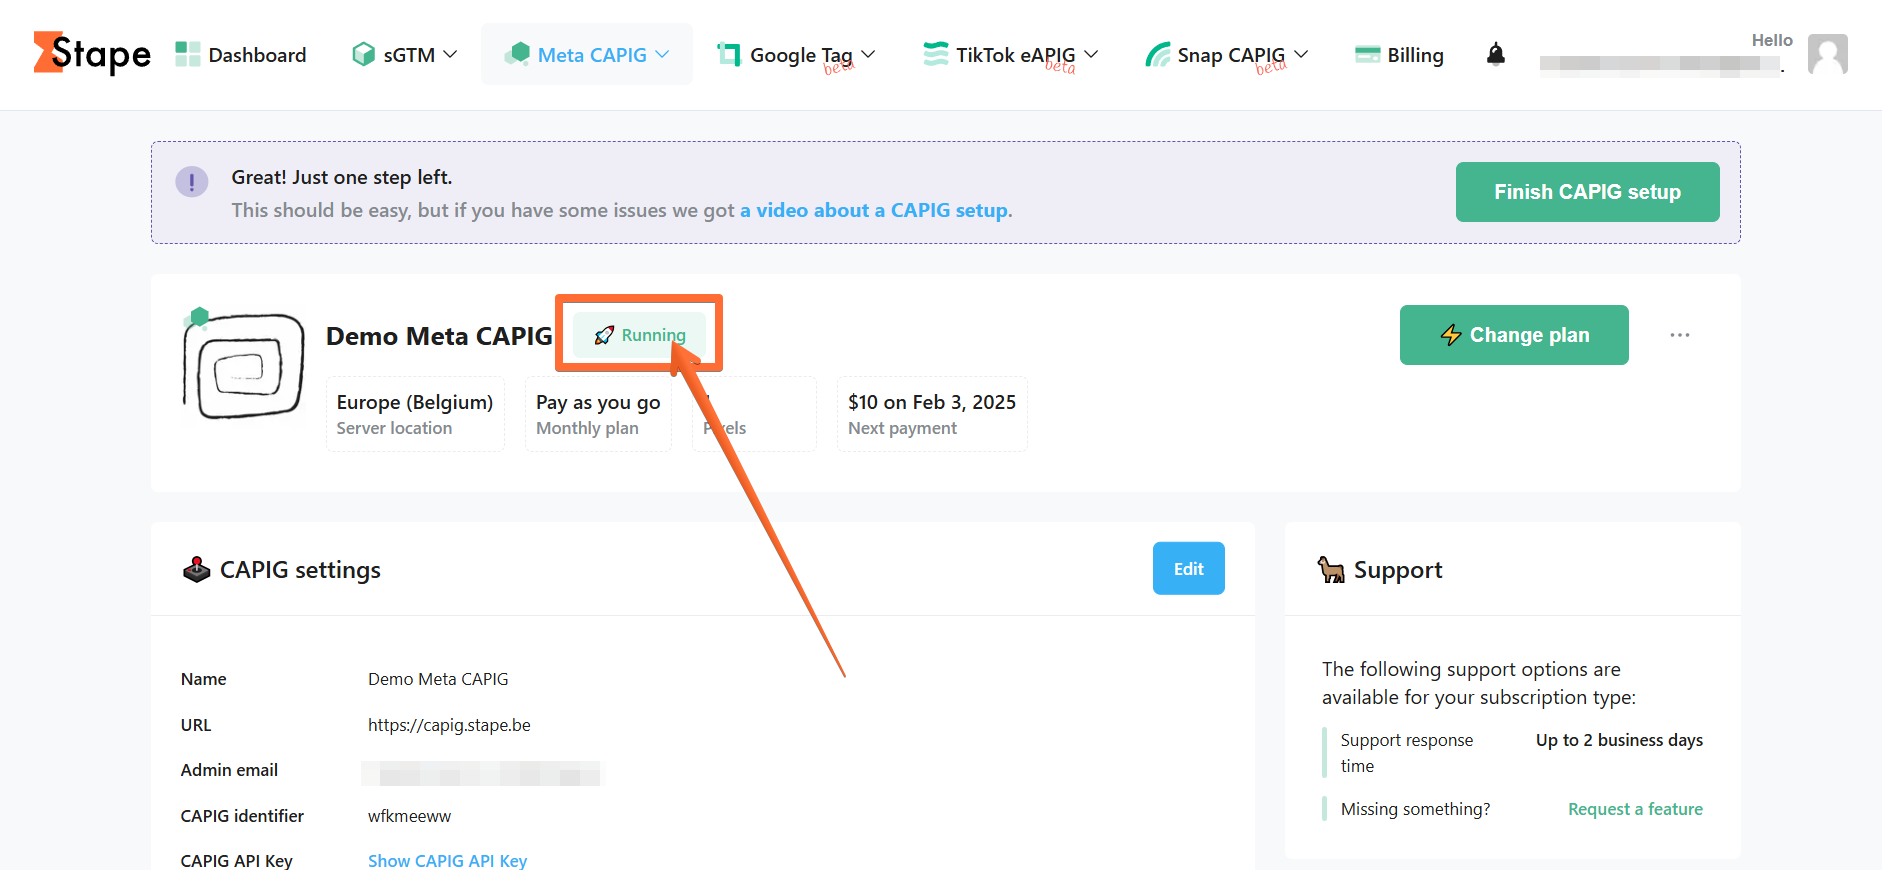
6. Wait until the Gateway is verified (the status changes to Running.)
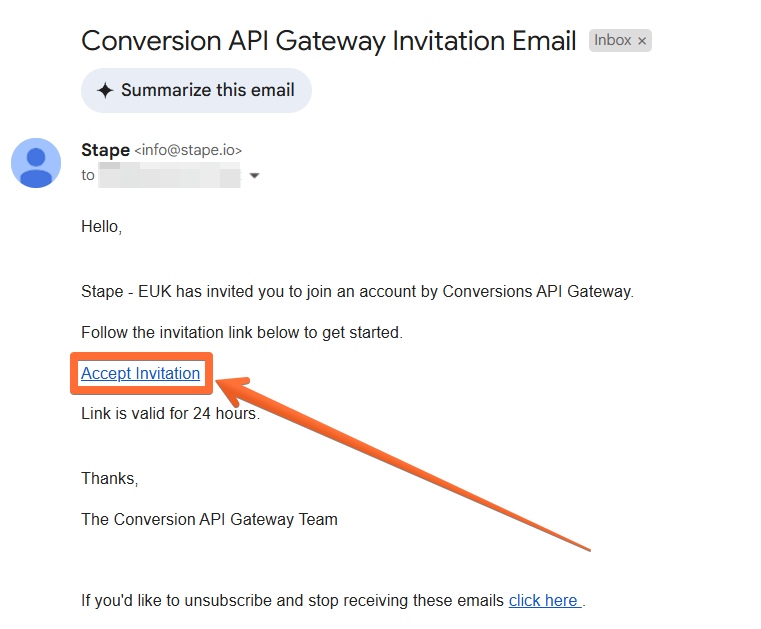
7. Check out your email. You should have been sent an invitation letter to create an account in the Meta Conversions API Gateway hub to the email address you provided during registration.
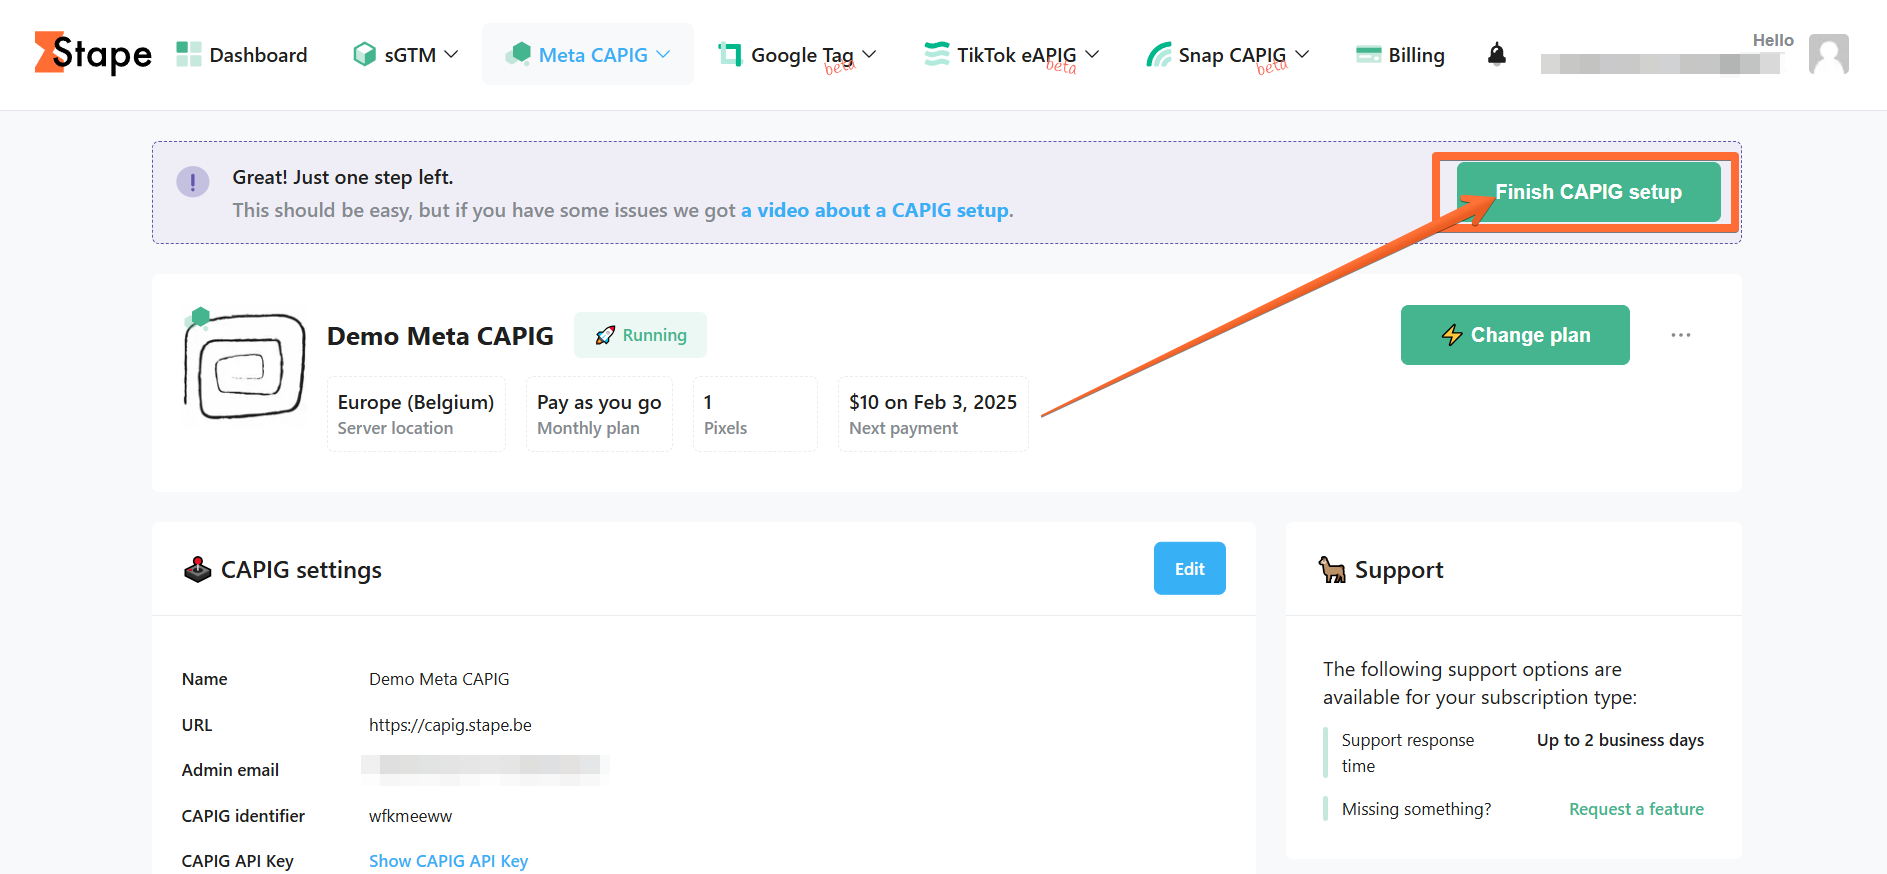
If you haven't received the email, please click Finish CAPIG Setup in the Meta CAPIG menu back on Stape.
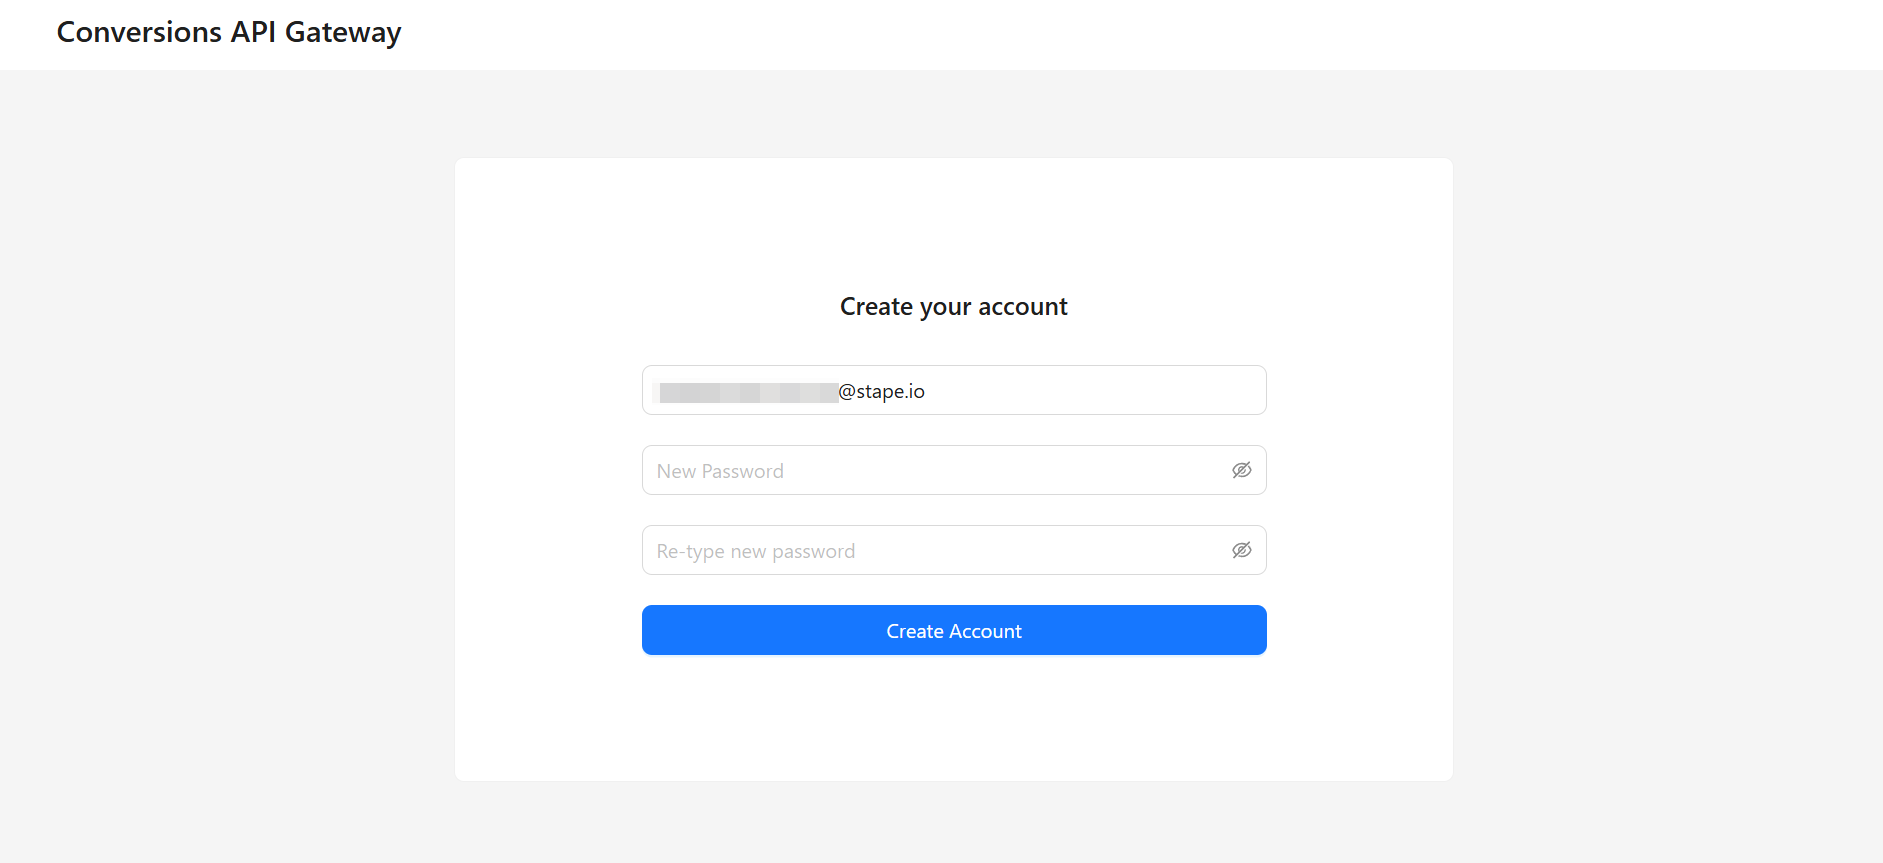
Follow the link in the email and create an account in the Meta Conversions API Gateway hub by adding an email address and password.
Connect your Pixel
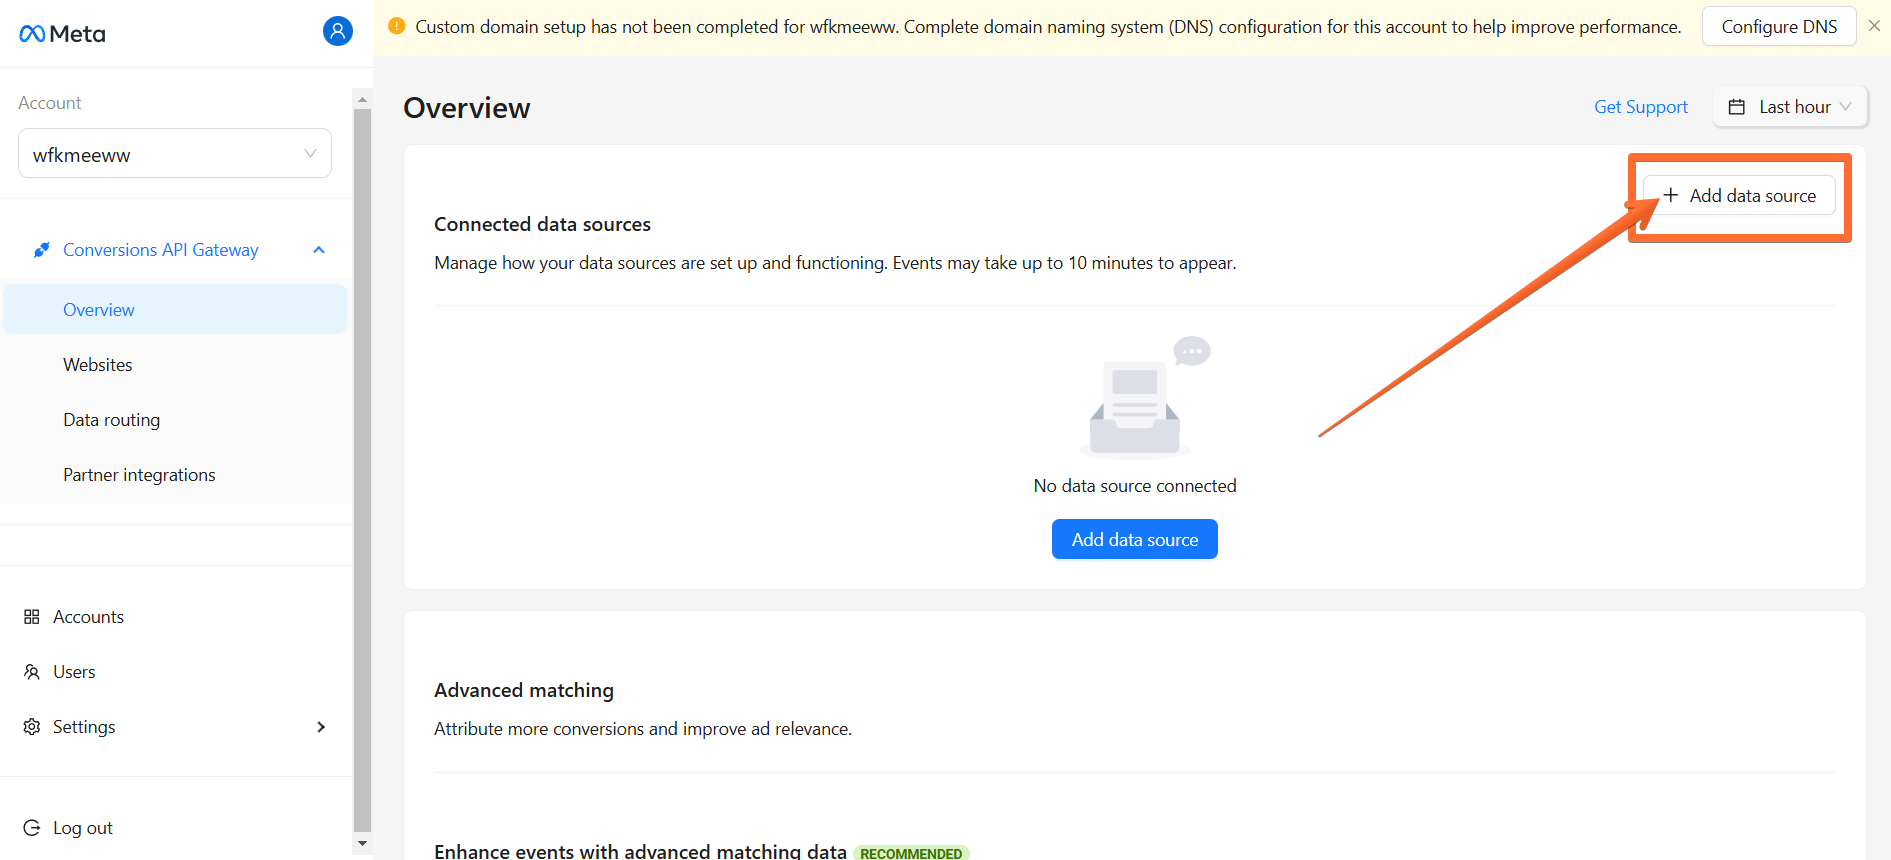
Log in to your Meta Conversions API Gateway hub → click Add data source.
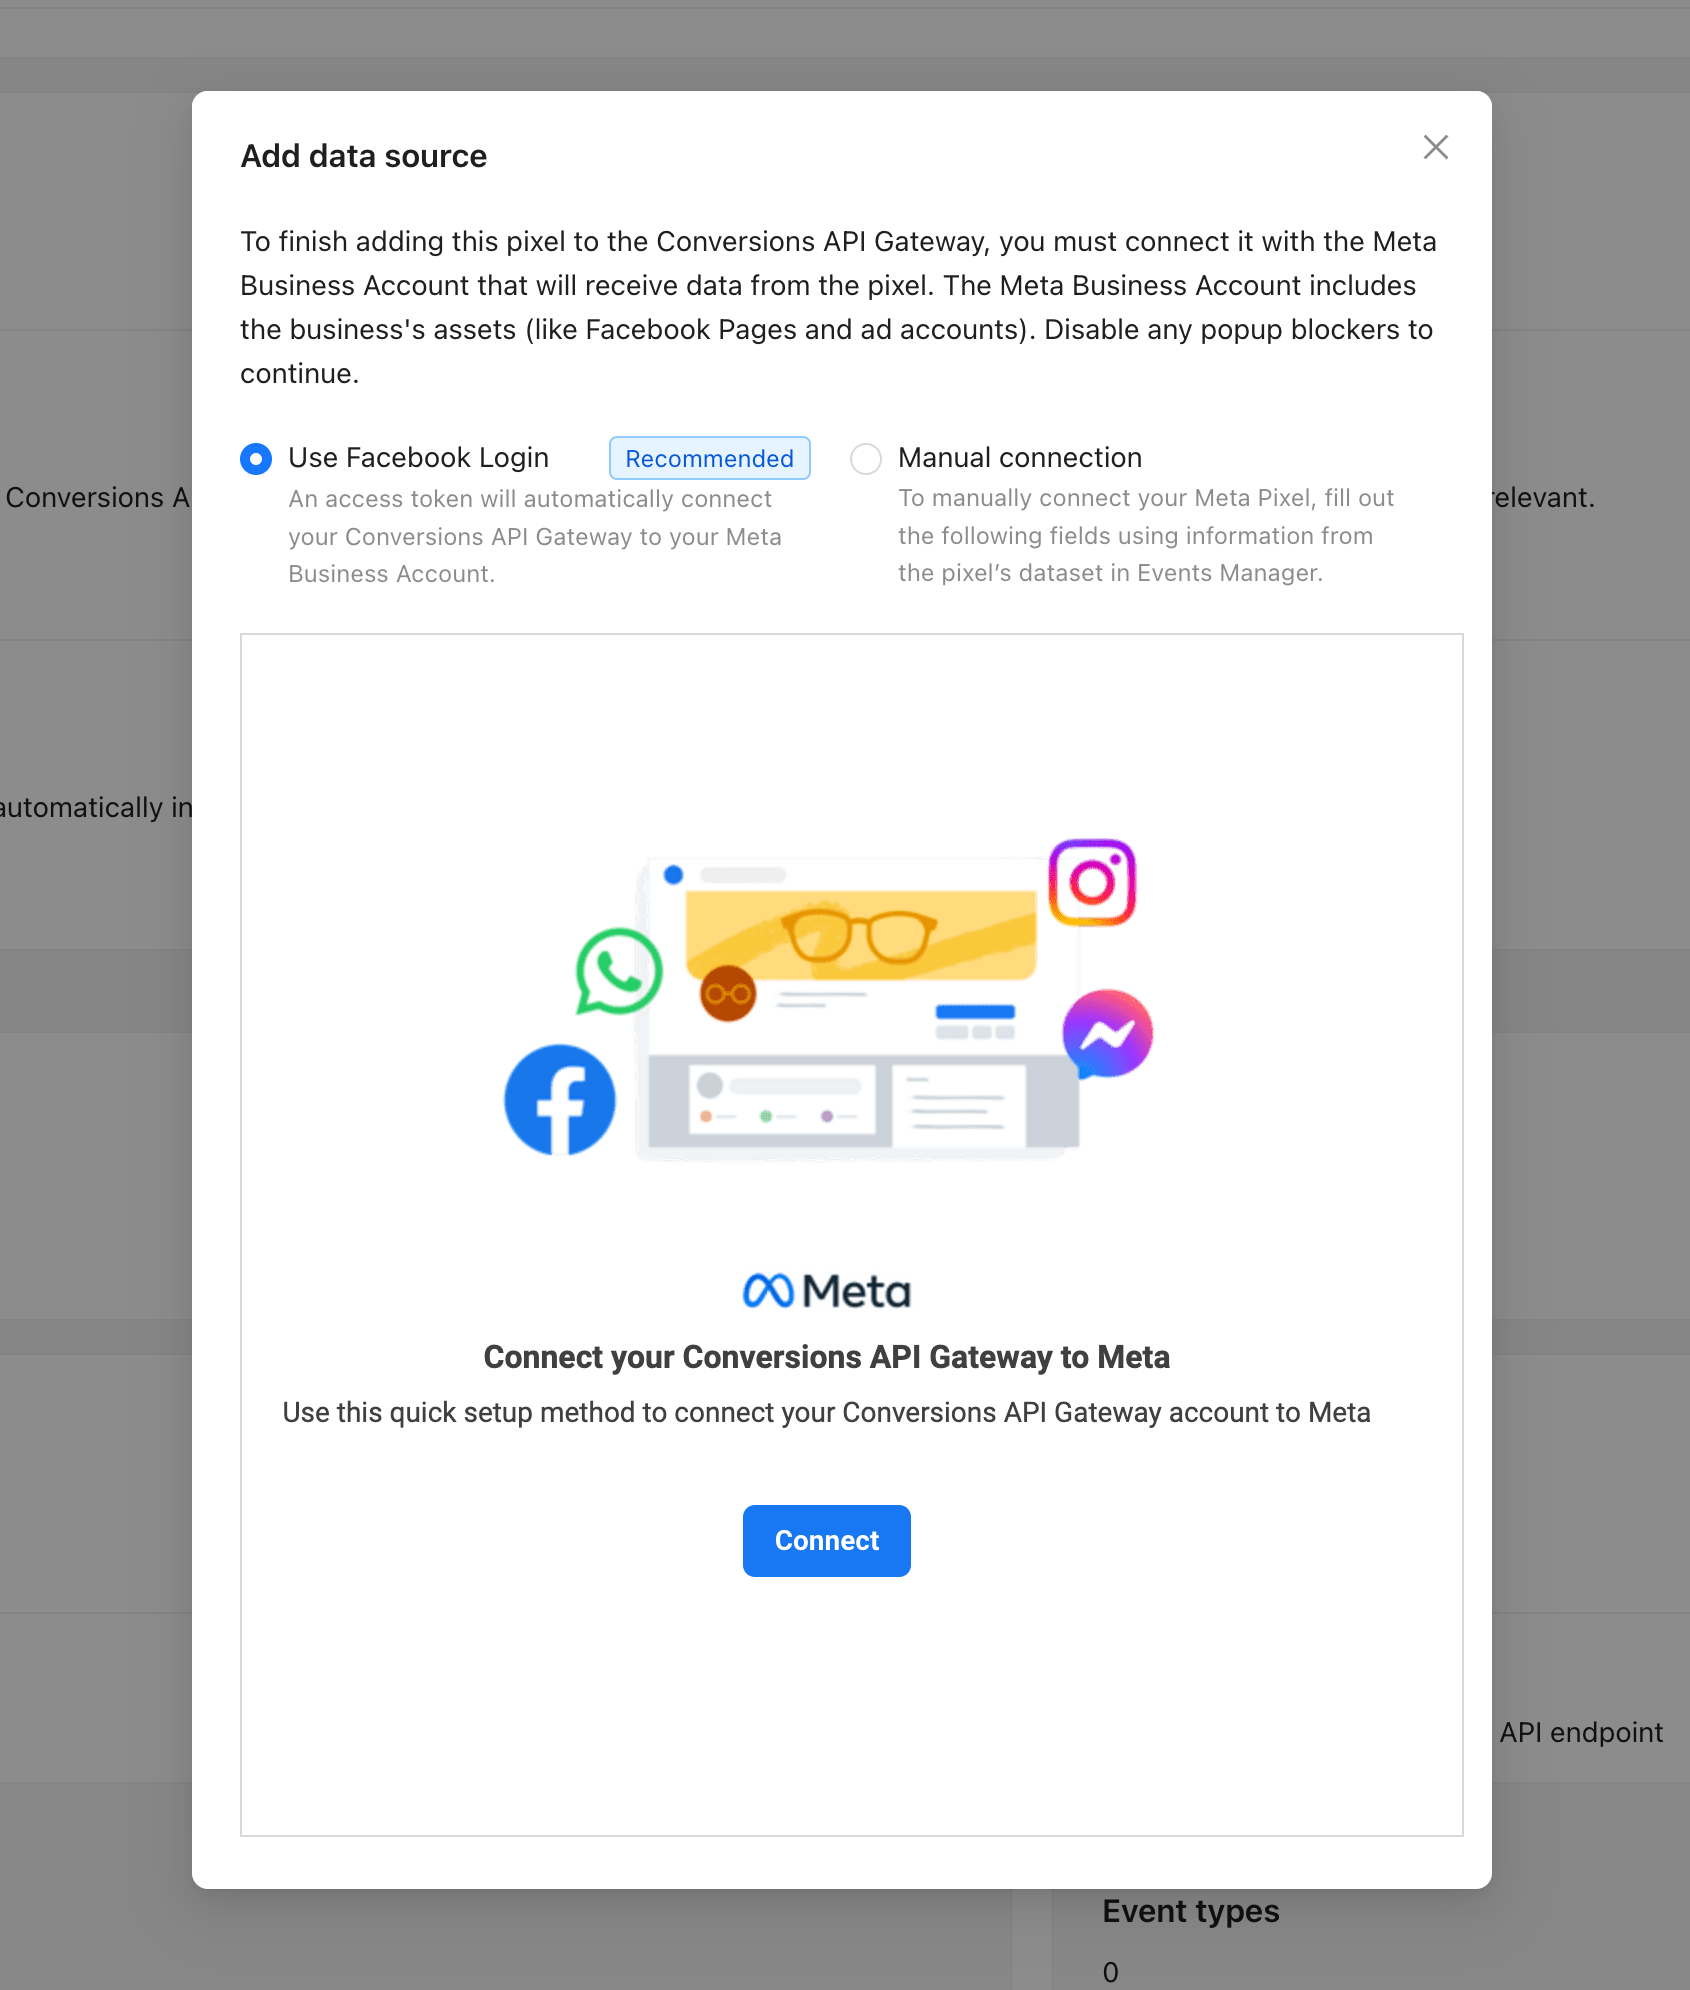
You have two options to add a data source to your Gateway Hub:
- Use Facebook Login.
- Manual connection.
1. Use Facebook Login (more complex option)
1. Log in to your Meta Conversions API Gateway hub → click Connect. There will be a pop-up window where you’ll need to proceed with the connection. Don’t miss it!
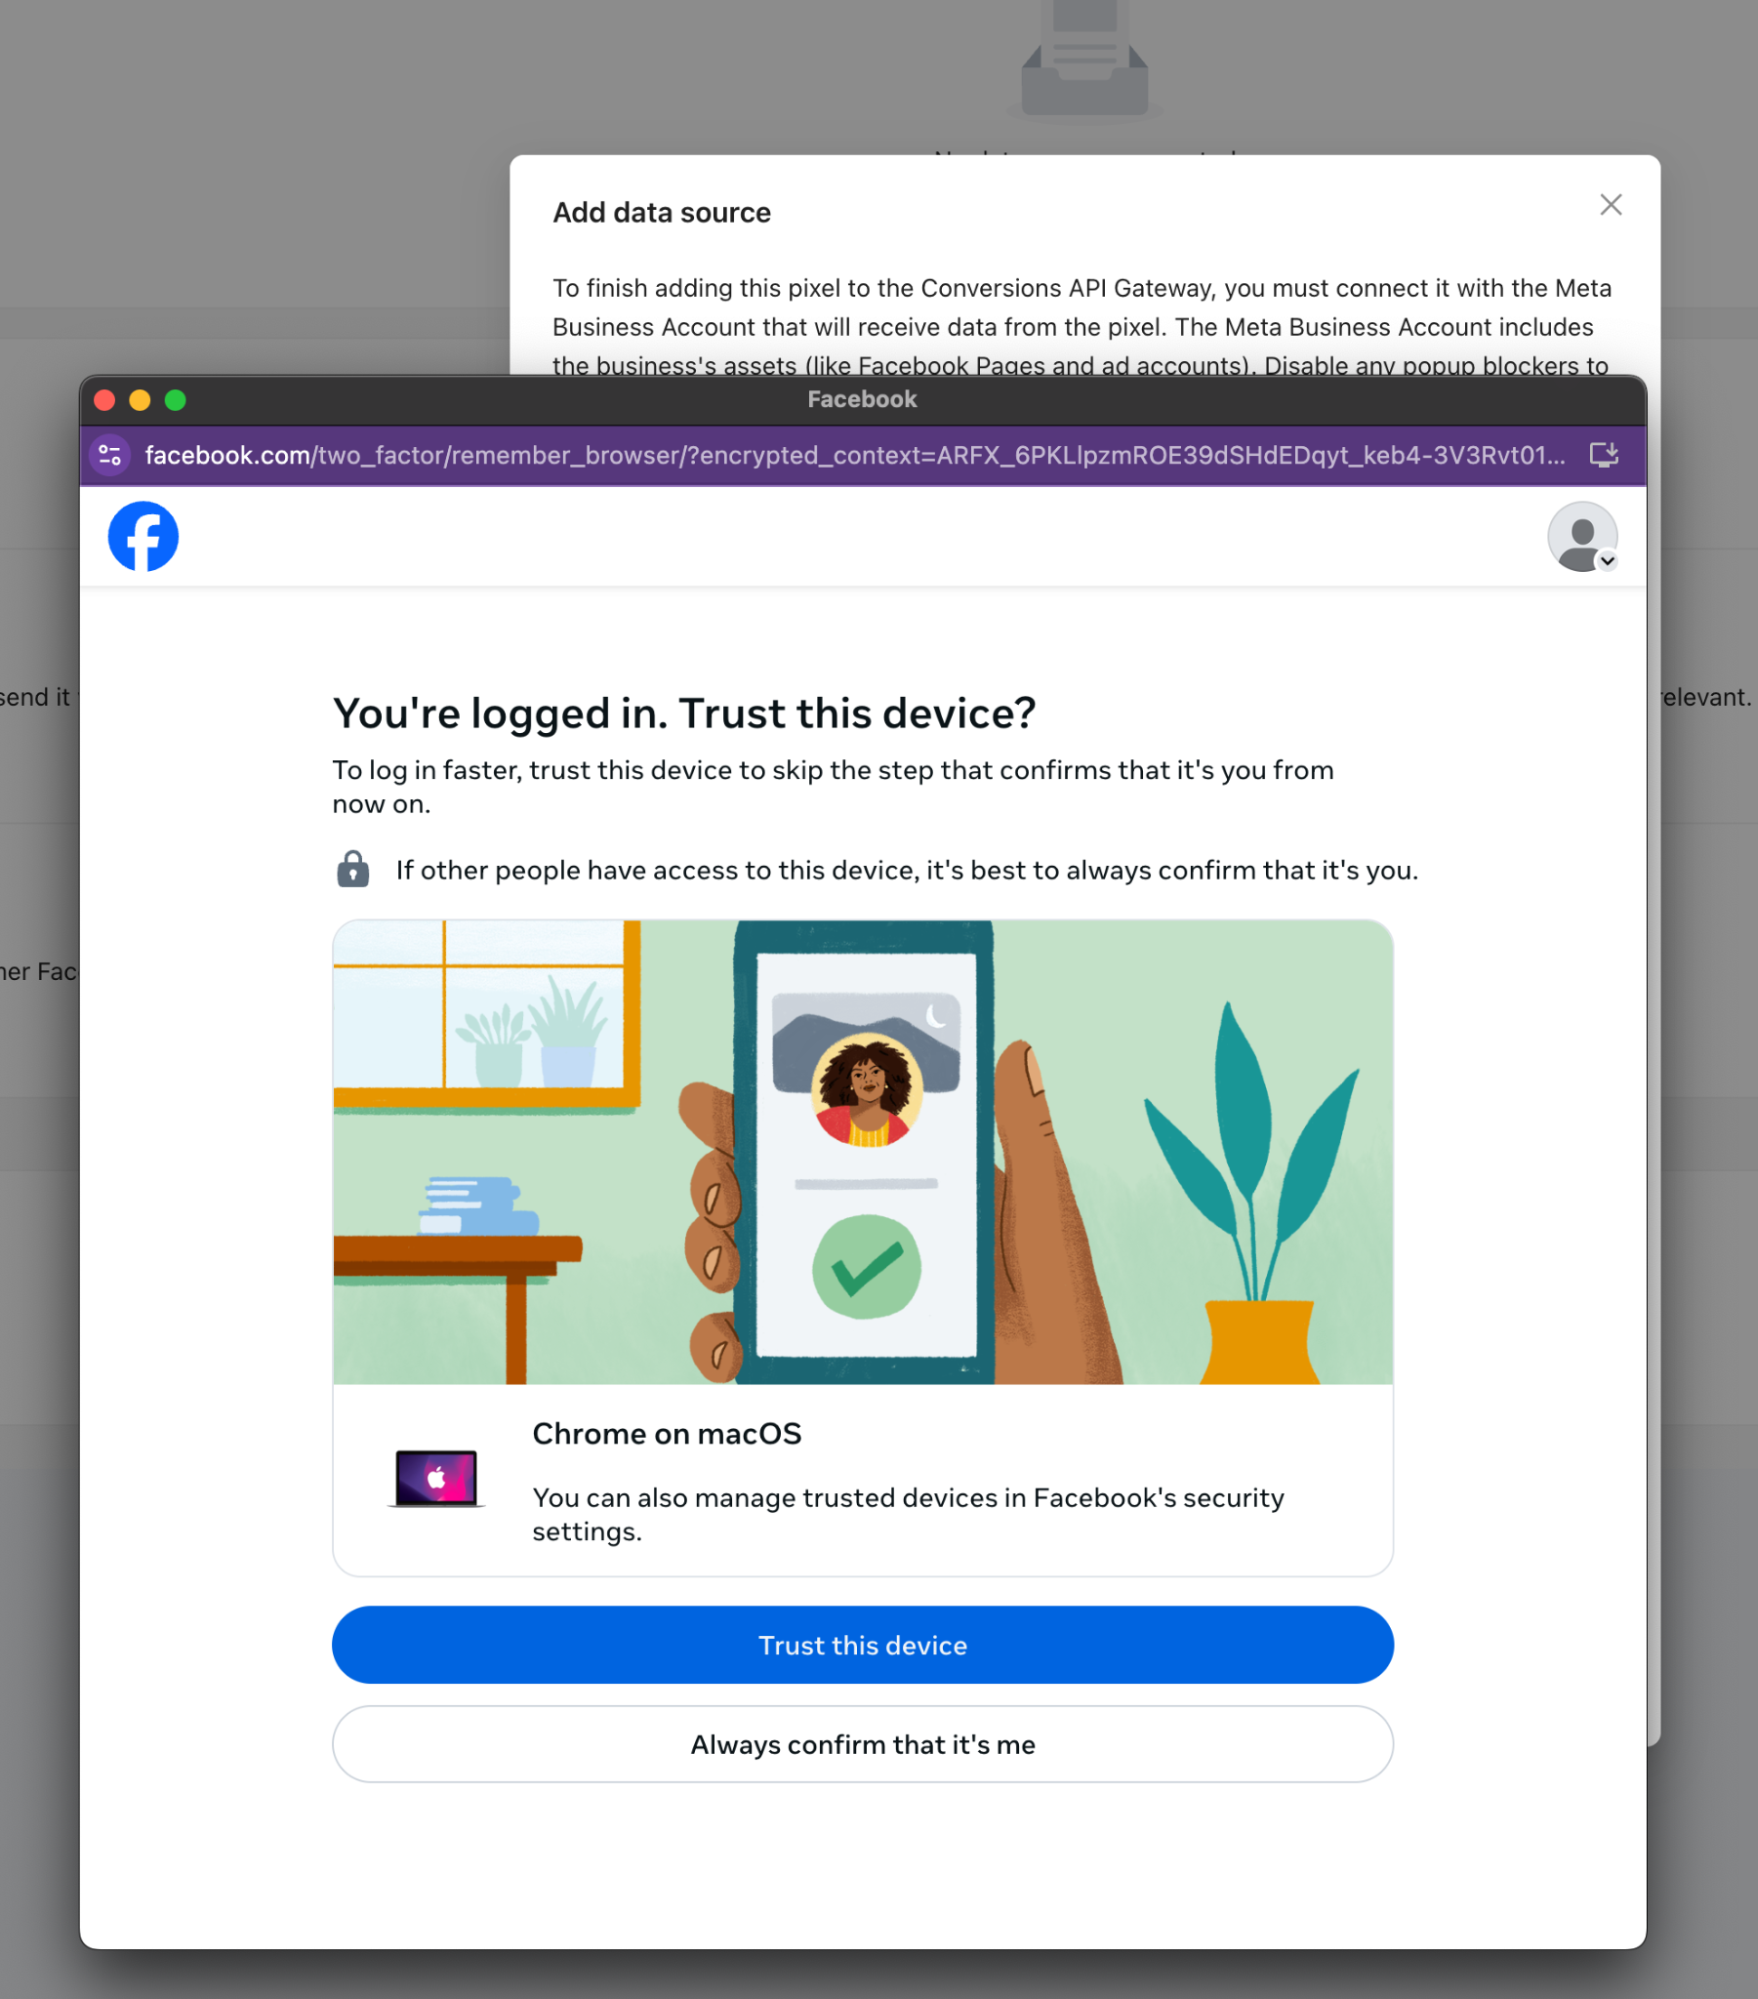
2. Log in to your Facebook account → select Trust this device.
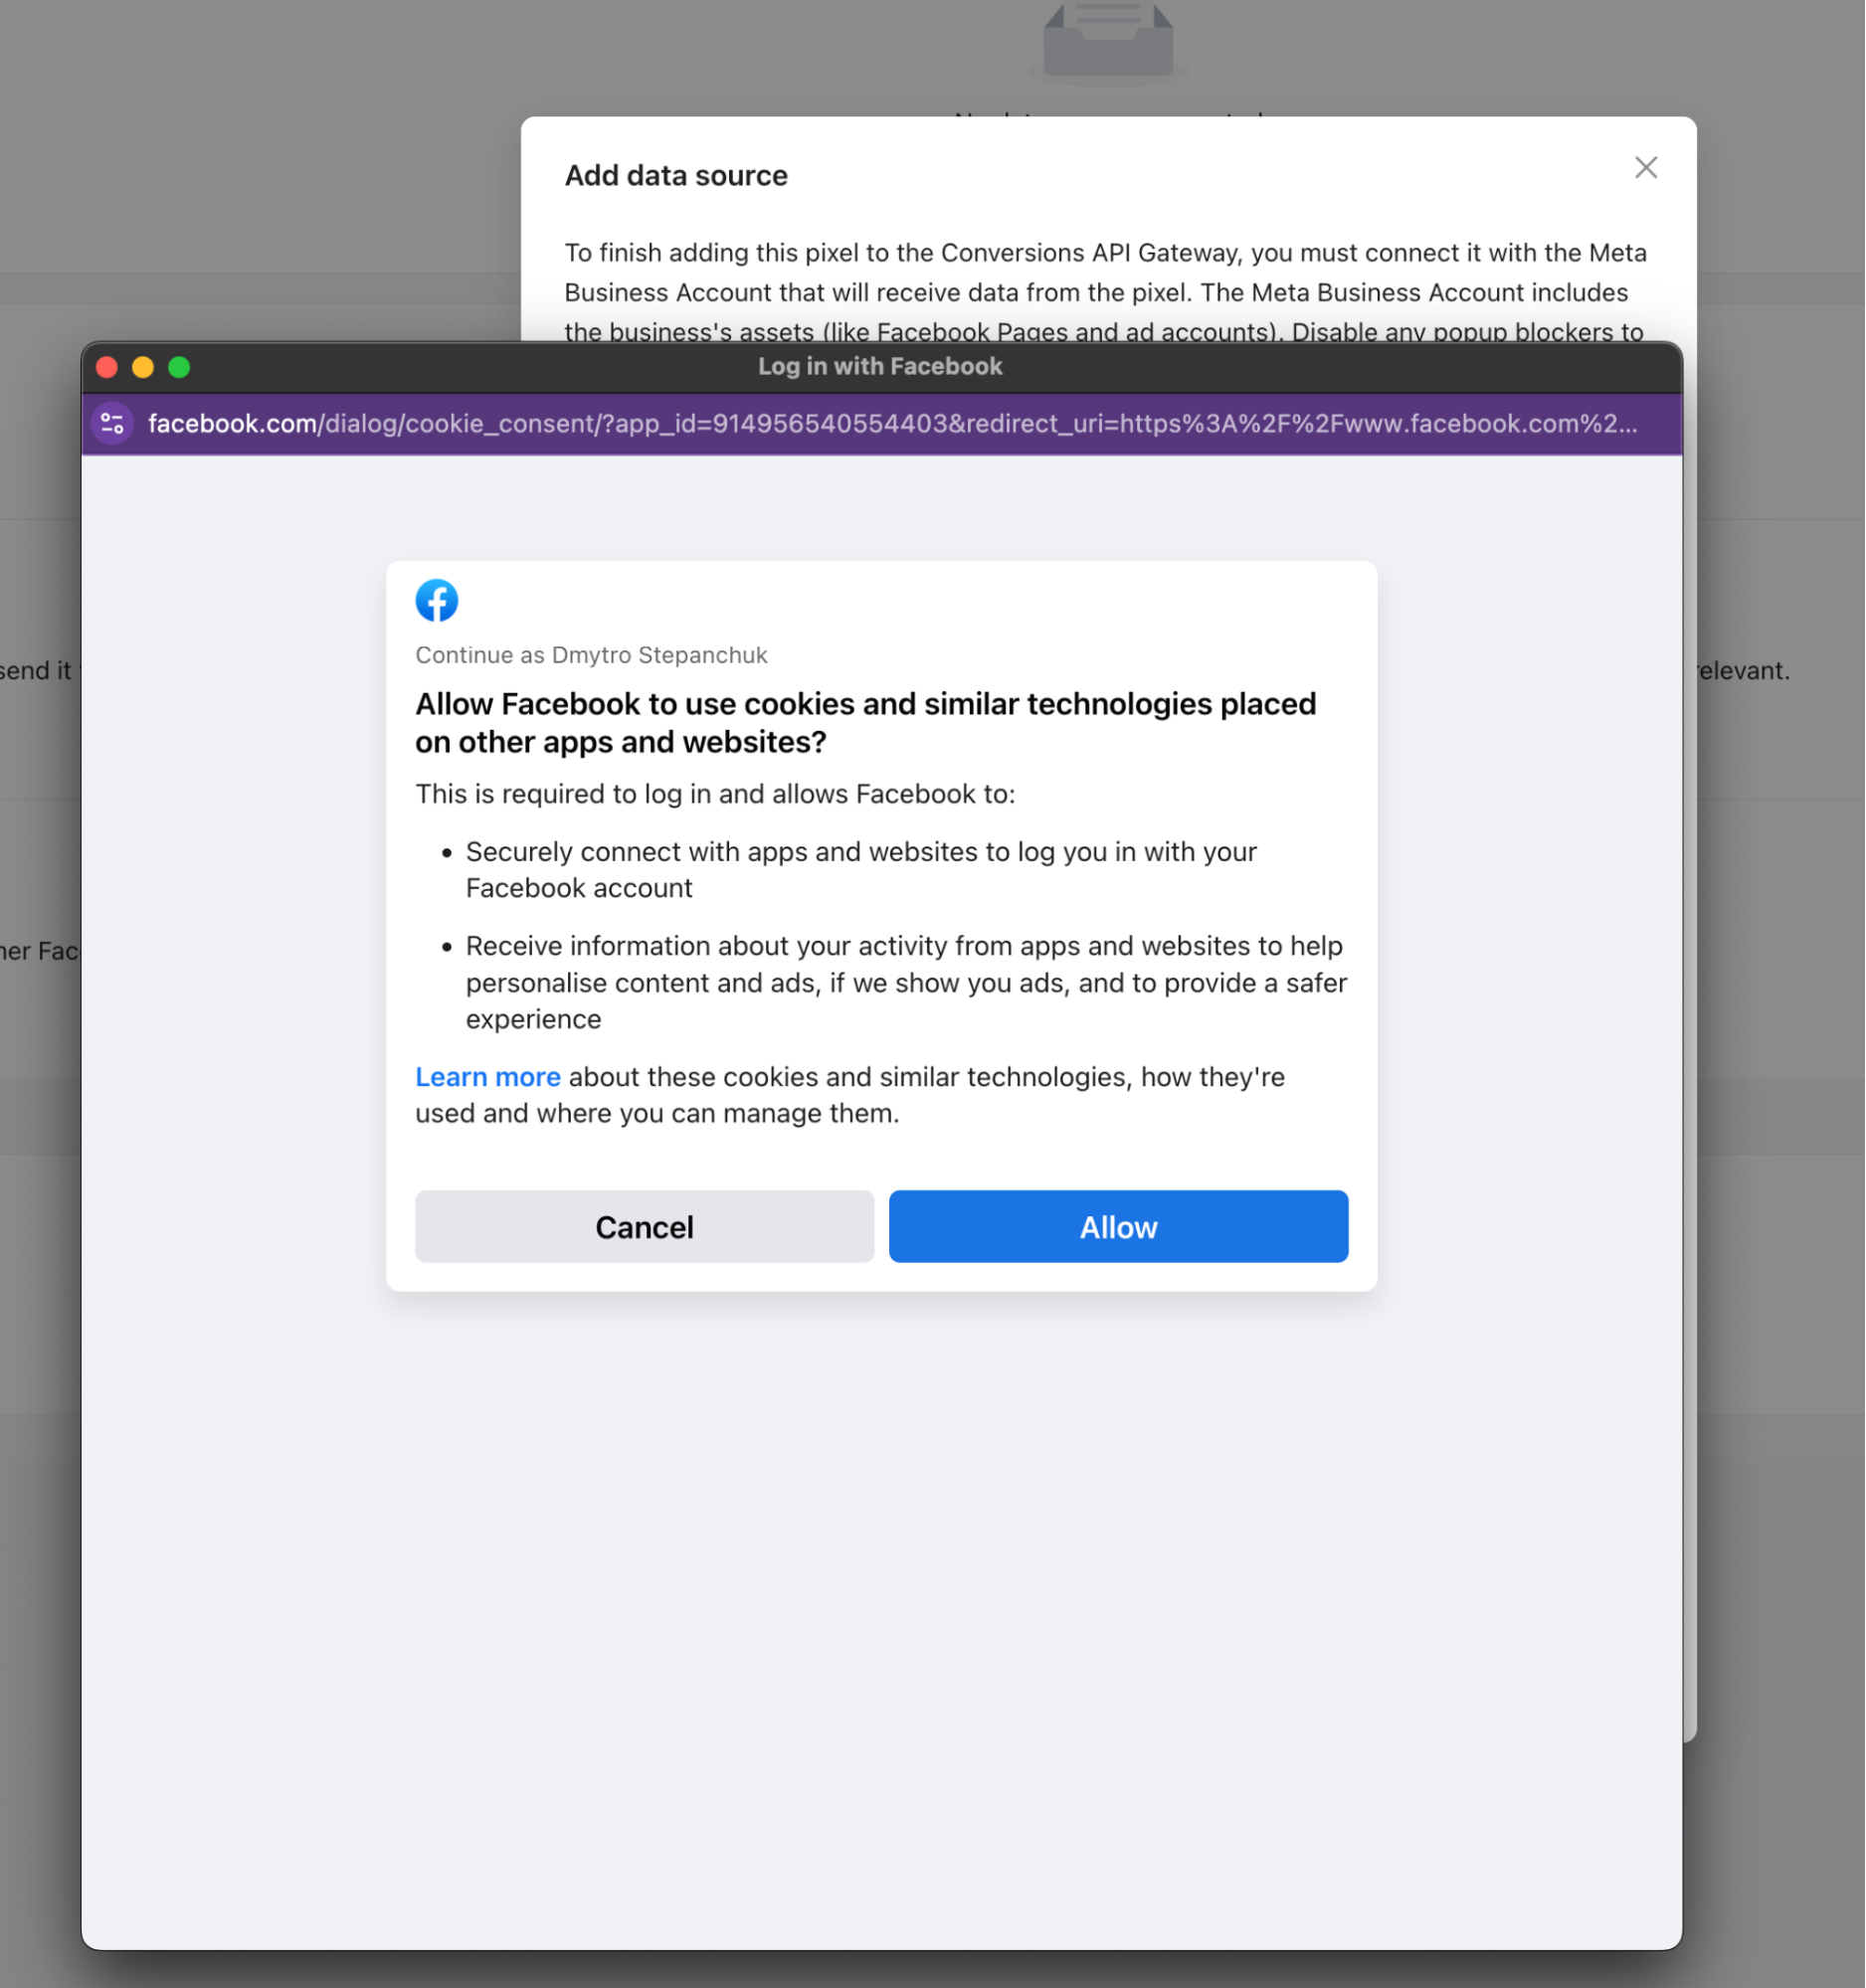
3. Allow Facebook to use cookies and other technologies.
4. Select your business account → select the Pixel you want to add.

5. Data source has been added. Give the integration up to an hour, and you will see the first events that the Gateway Hub will receive.
2. Manual connection (faster option)
1. Fill in all the fields on the Add data source screen (please refer to the hints if you are not sure where to get the values) → click Connect.
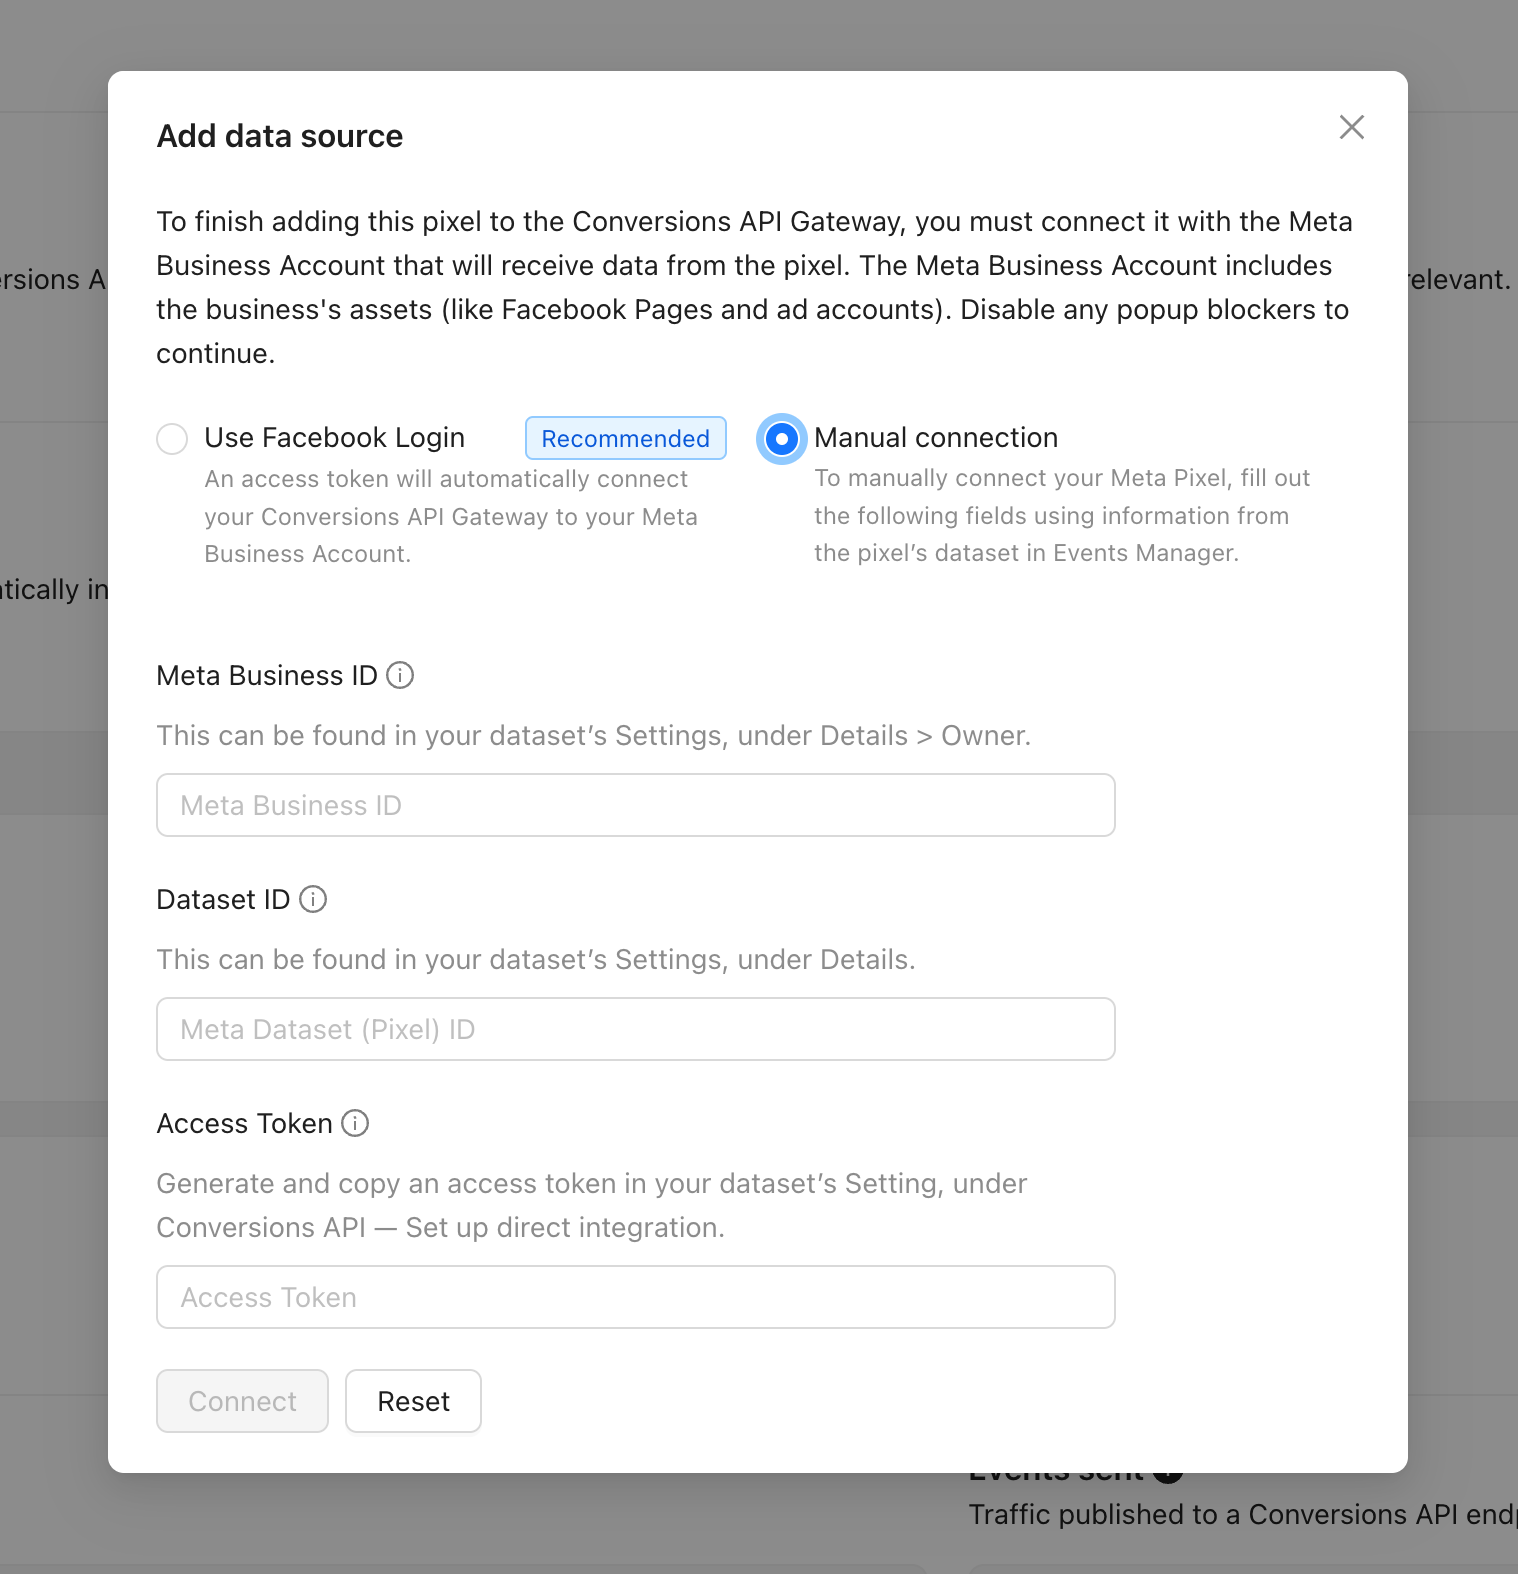
2. Data source has been added. Give the integration up to an hour, and you will see the first events that the Gateway Hub will receive.
Automatic advanced matching
Once you’ve added a data source, please consider enabling Automatic advanced matching. It will increase the match quality of events. If you enable Automatic advanced matching, click Show customer information parameters and select the parameters you want to share.

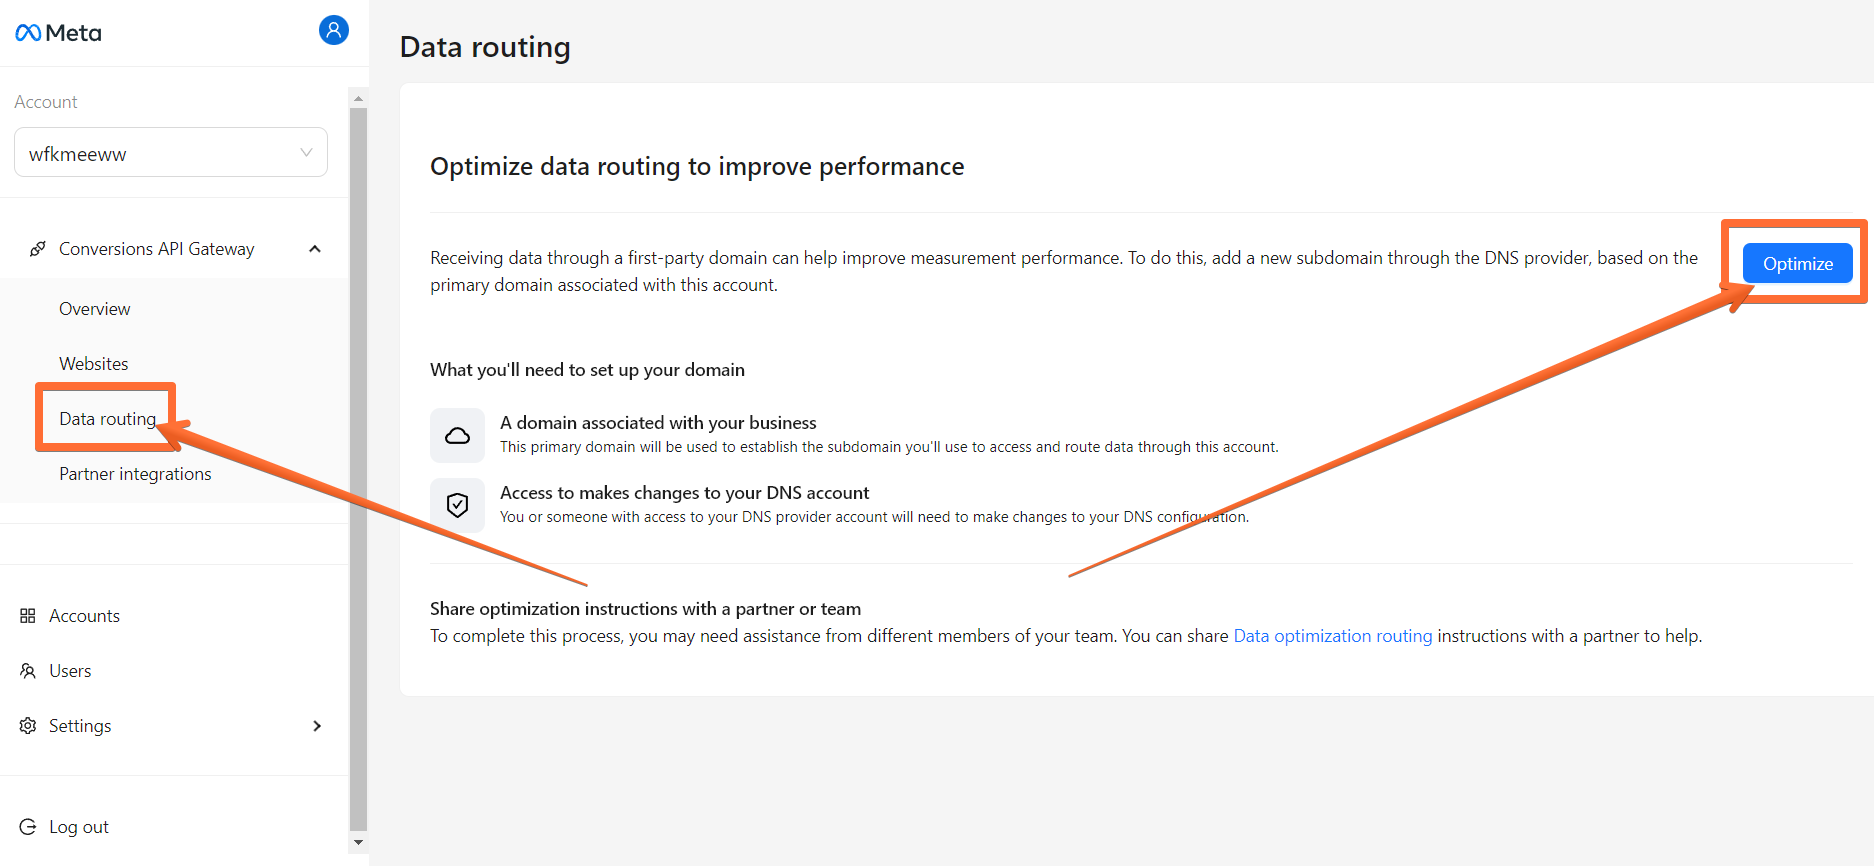
Configure a custom domain
Using a custom domain in your Meta Conversions API Gateway is highly recommended. It can improve measurement performance, allowing you to choose the subdomain for the Pixel's communication with the Events API Gateway. This custom domain should match the subdomain used for firing the Facebook Pixel.
1. In your Meta Conversions API Gateway hub, click Data routing → click Optimize.
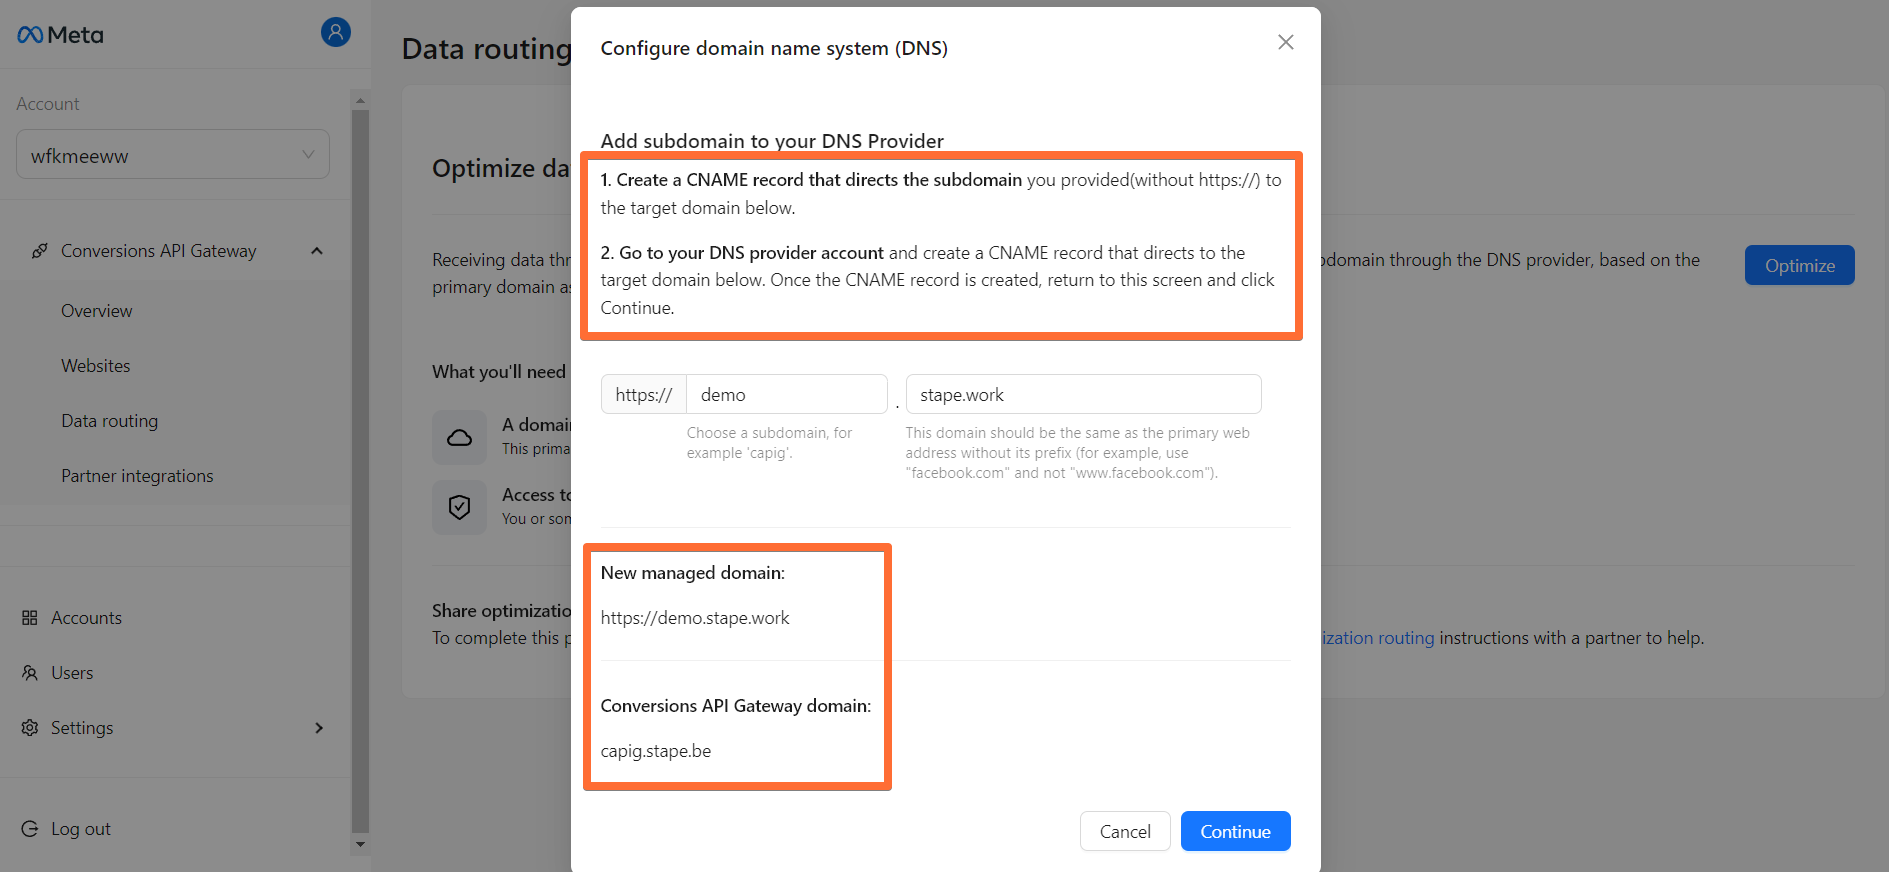
2. On the Configure domain name system (DNS) screen, enter the requested info:
- Subdomain - choose a subdomain signifier.
- Domain - should be the same as the primary web address without its prefix (for example, use "facebook.com" and not "www.facebook.com".)
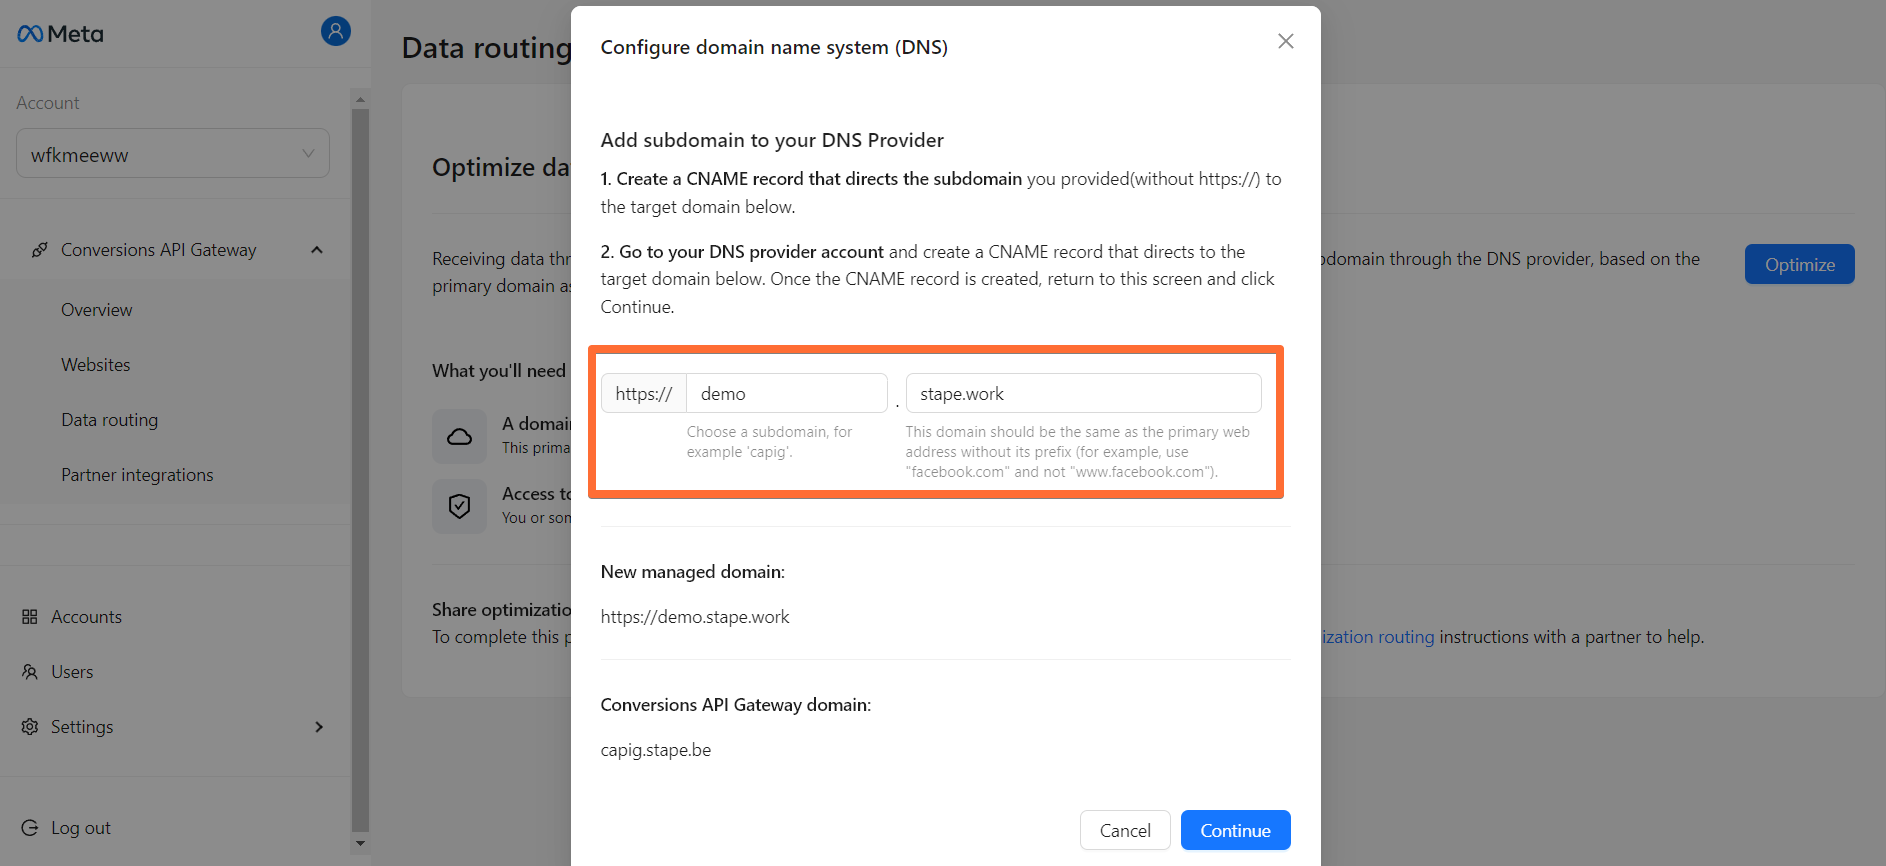
3. Under the info you’ve just entered, you will be provided with DNS records that you should add to your DNS provider. Here’s how to add these records to your DNS provider, using Cloudflare as an example:
3.1. Visit your Cloudflare profile → open the DNS tab in the side menu → open the Records screen → click Add record.
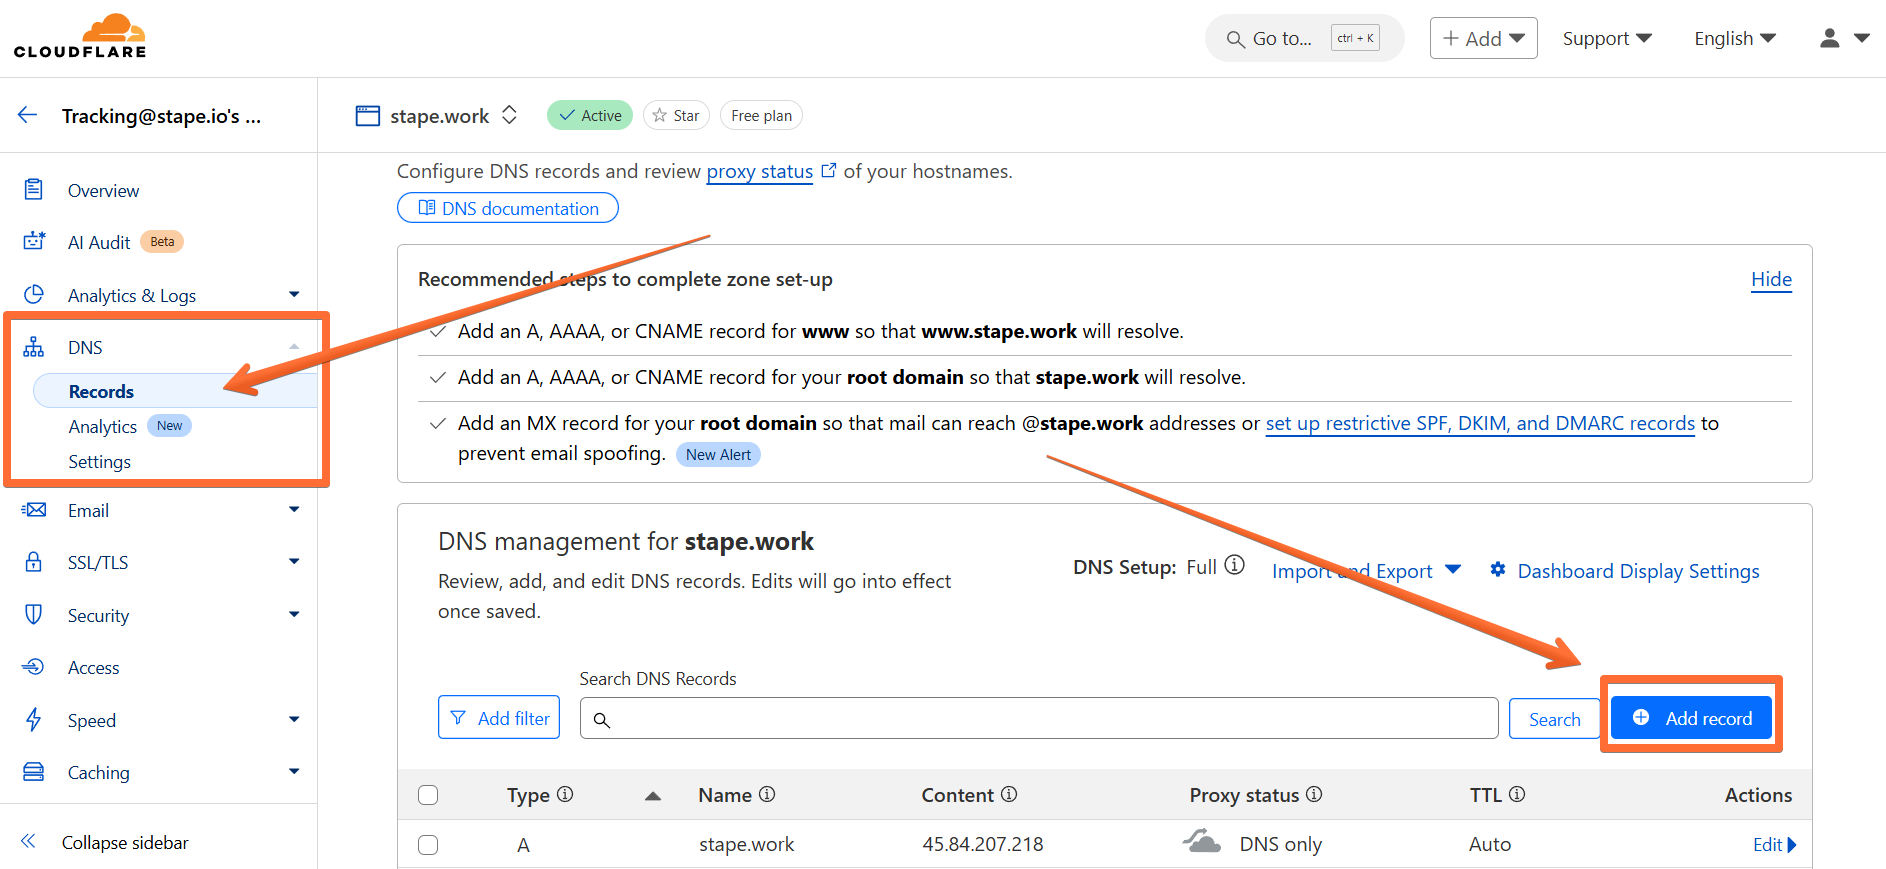
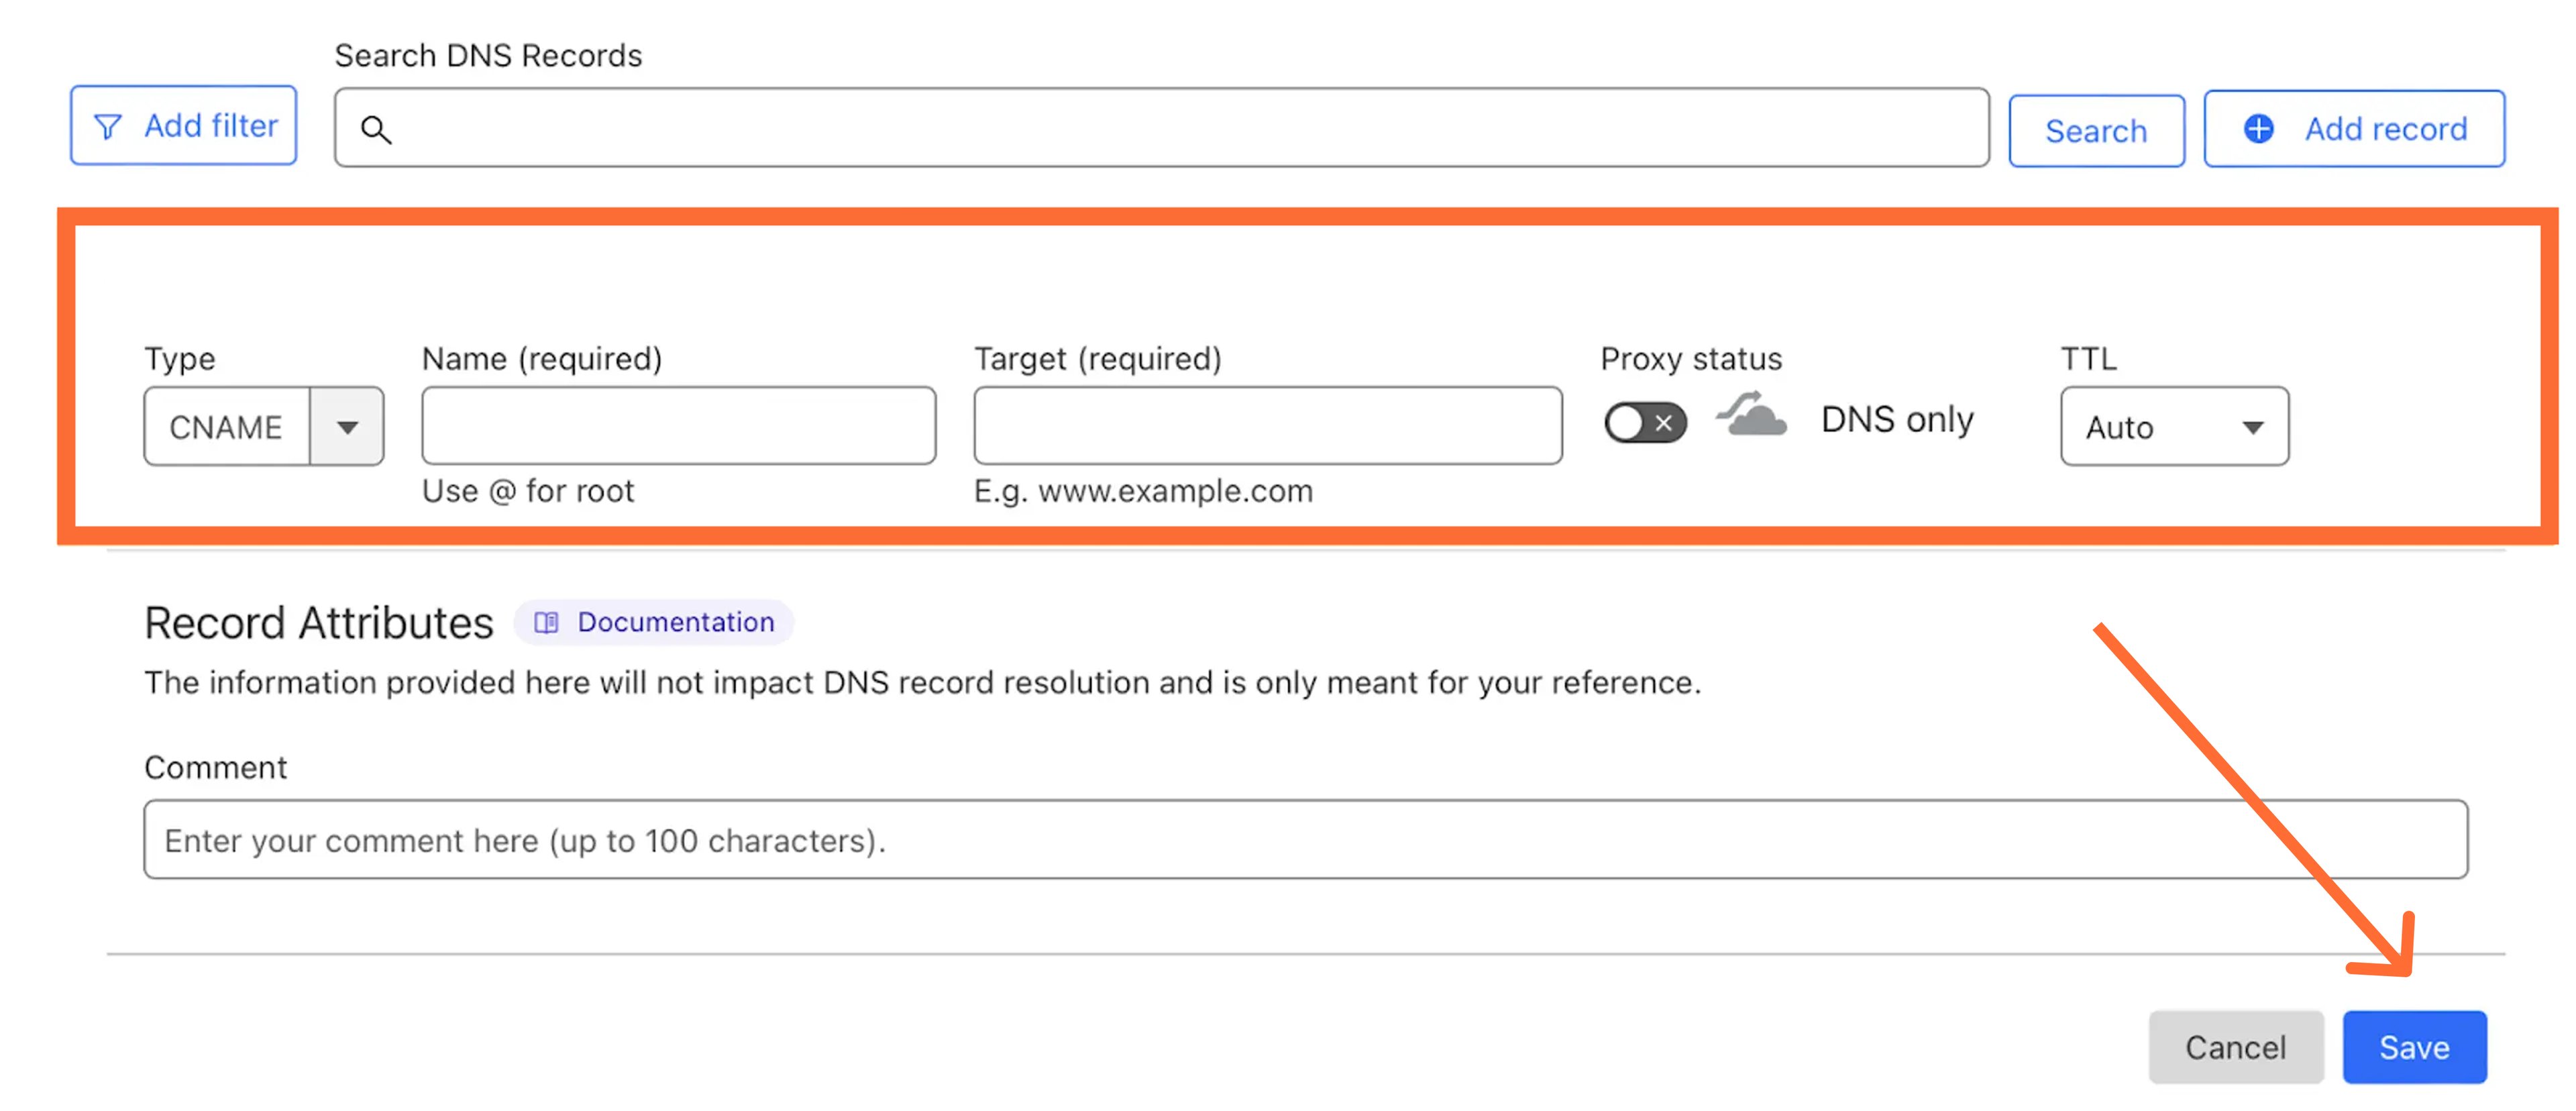
3.2. Enter the DNS records from the Meta Conversions API Gateway hub:
- Type - select CNAME.
- Name - copy the subdomain part that you created from the New managed domain section.
- Target - copy the URL under the Conversions API Gateway domain section.
- Proxy status - make sure to toggle this OFF.
Click Save.
4. Once you’ve created the DNS record for your custom domain, return to the Meta Conversions API Gateway hub page and click Continue.

Custom domain is not verified - what to do
Domain verification can take up to 72 hours, but it usually happens within 30-60 minutes if your DNS records are correct. If it takes more time for you, there may be a problem with your configurations.
1. Open the Google Admin Toolbox service called Dig: https://toolbox.googleapps.com/apps/dig/
2. Enter the custom domain you created for Snapchat Conversions API Gateway (without https:// or any extra characters). Then, select the record type you want to check.
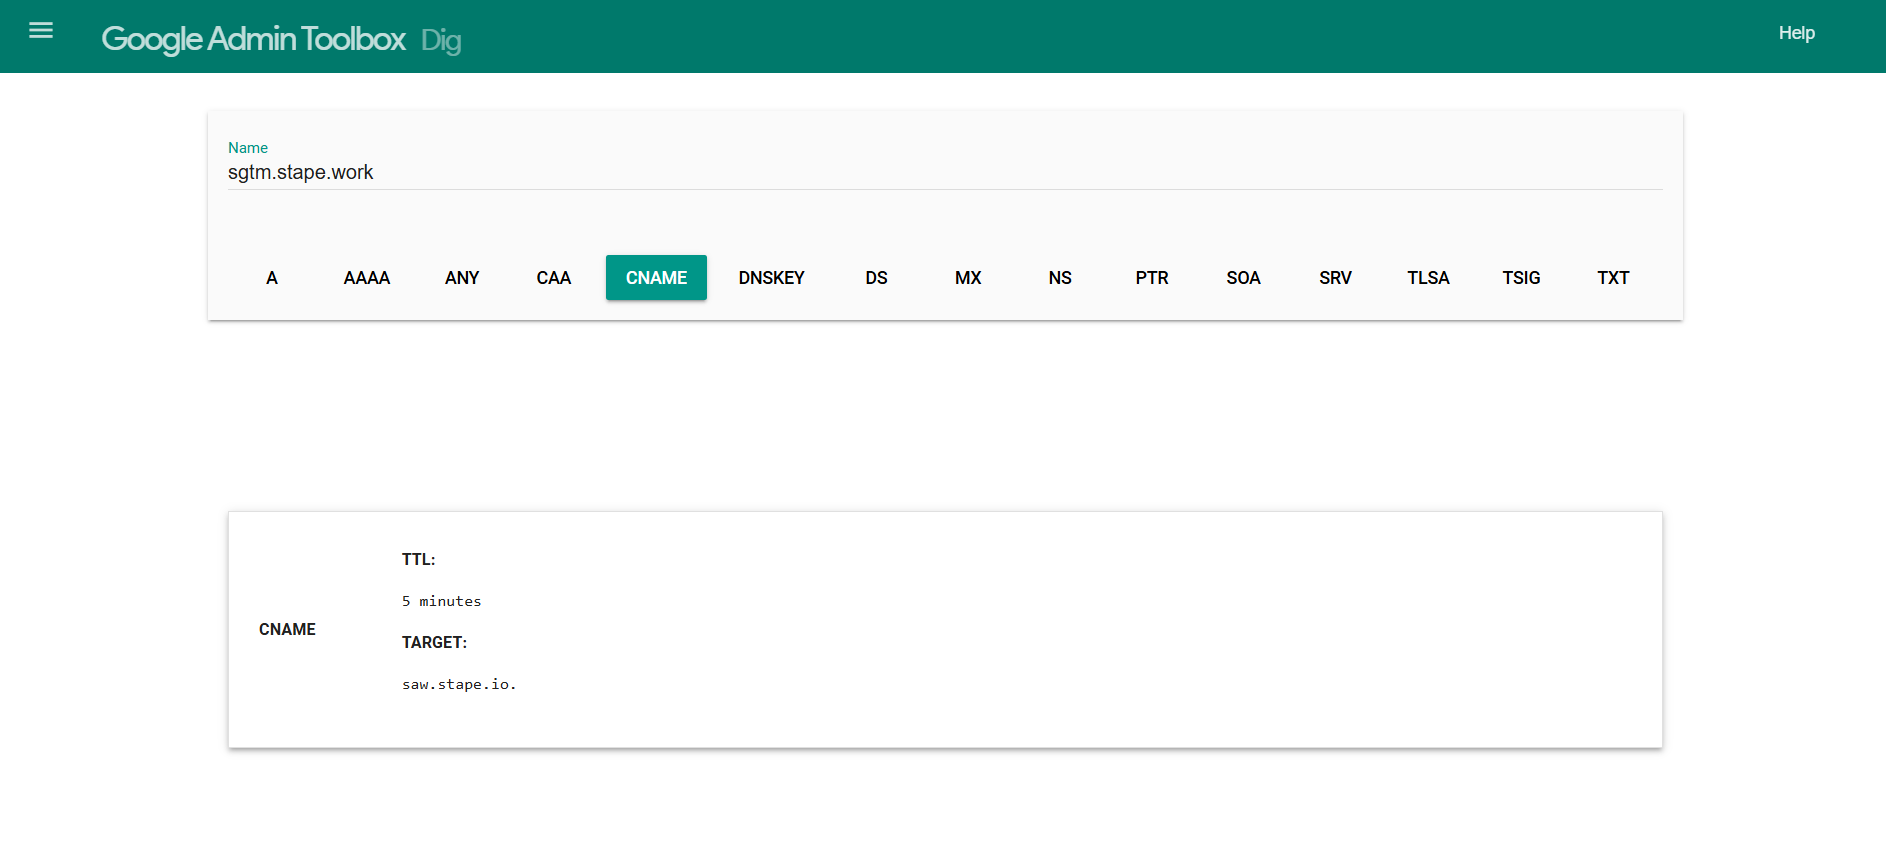
Using this tool, check your DNS records. There are three main reasons why a subdomain may not verified:
- Missing DNS records - make sure that you added all the records specified in your Gateway on Stape.
- Incorrect DNS records - if all records exist, check that their values match those in your Gateway.
- Extra DNS records - see that there are no extra DNS records for your TikTok Events API Gateway subdomain, only those provided by Stape. Extra records can interfere with domain verification, so you should remove them.
Testing Meta Conversions API Gateway
Meta Conversions API Gateway uses web events to route them via the server.
Within 30 minutes of connecting your Pixel to the Meta Conversions API Gateway hub, you should notice that the event count is no longer zero, and you should also see the names of the events that have been received.

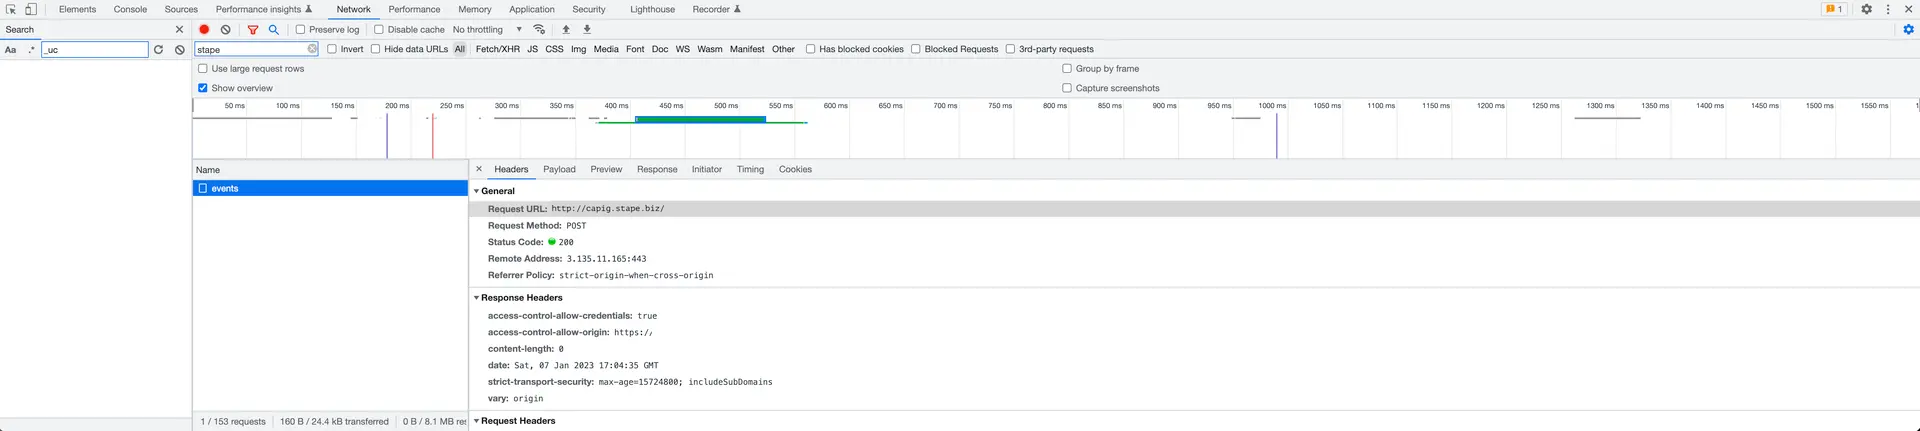
You can also verify that events are sent correctly to the Meta Conversions API Gateway hub by checking the website console:
- Open your browser developer network tab on your site.
- Check that events were sent to your Meta Conversions API Gateway URL.
How to delete Meta CAPI Gateway
1) To delete the Meta CAPI Gateway, open your Gateway, click on three dots in the top right corner, click Delete CAPI GW.
2) On the pop-up, click Confirm.
Was this article helpful?
Comments