How to add offline events to Signals Gateway
Updated May 14, 2026
File upload lets you send events to Meta that never passed through your website Pixel, such as in-store purchases, phone orders, app events, or CRM conversions. You format the data as a CSV and deliver it to Signals or CAPI Gateway, which processes and forwards it to your connected destination (e.g. Meta).
There are two methods: automatic upload via a cloud storage bucket (recommended for recurring data) and manual upload. Both use the same CSV format.
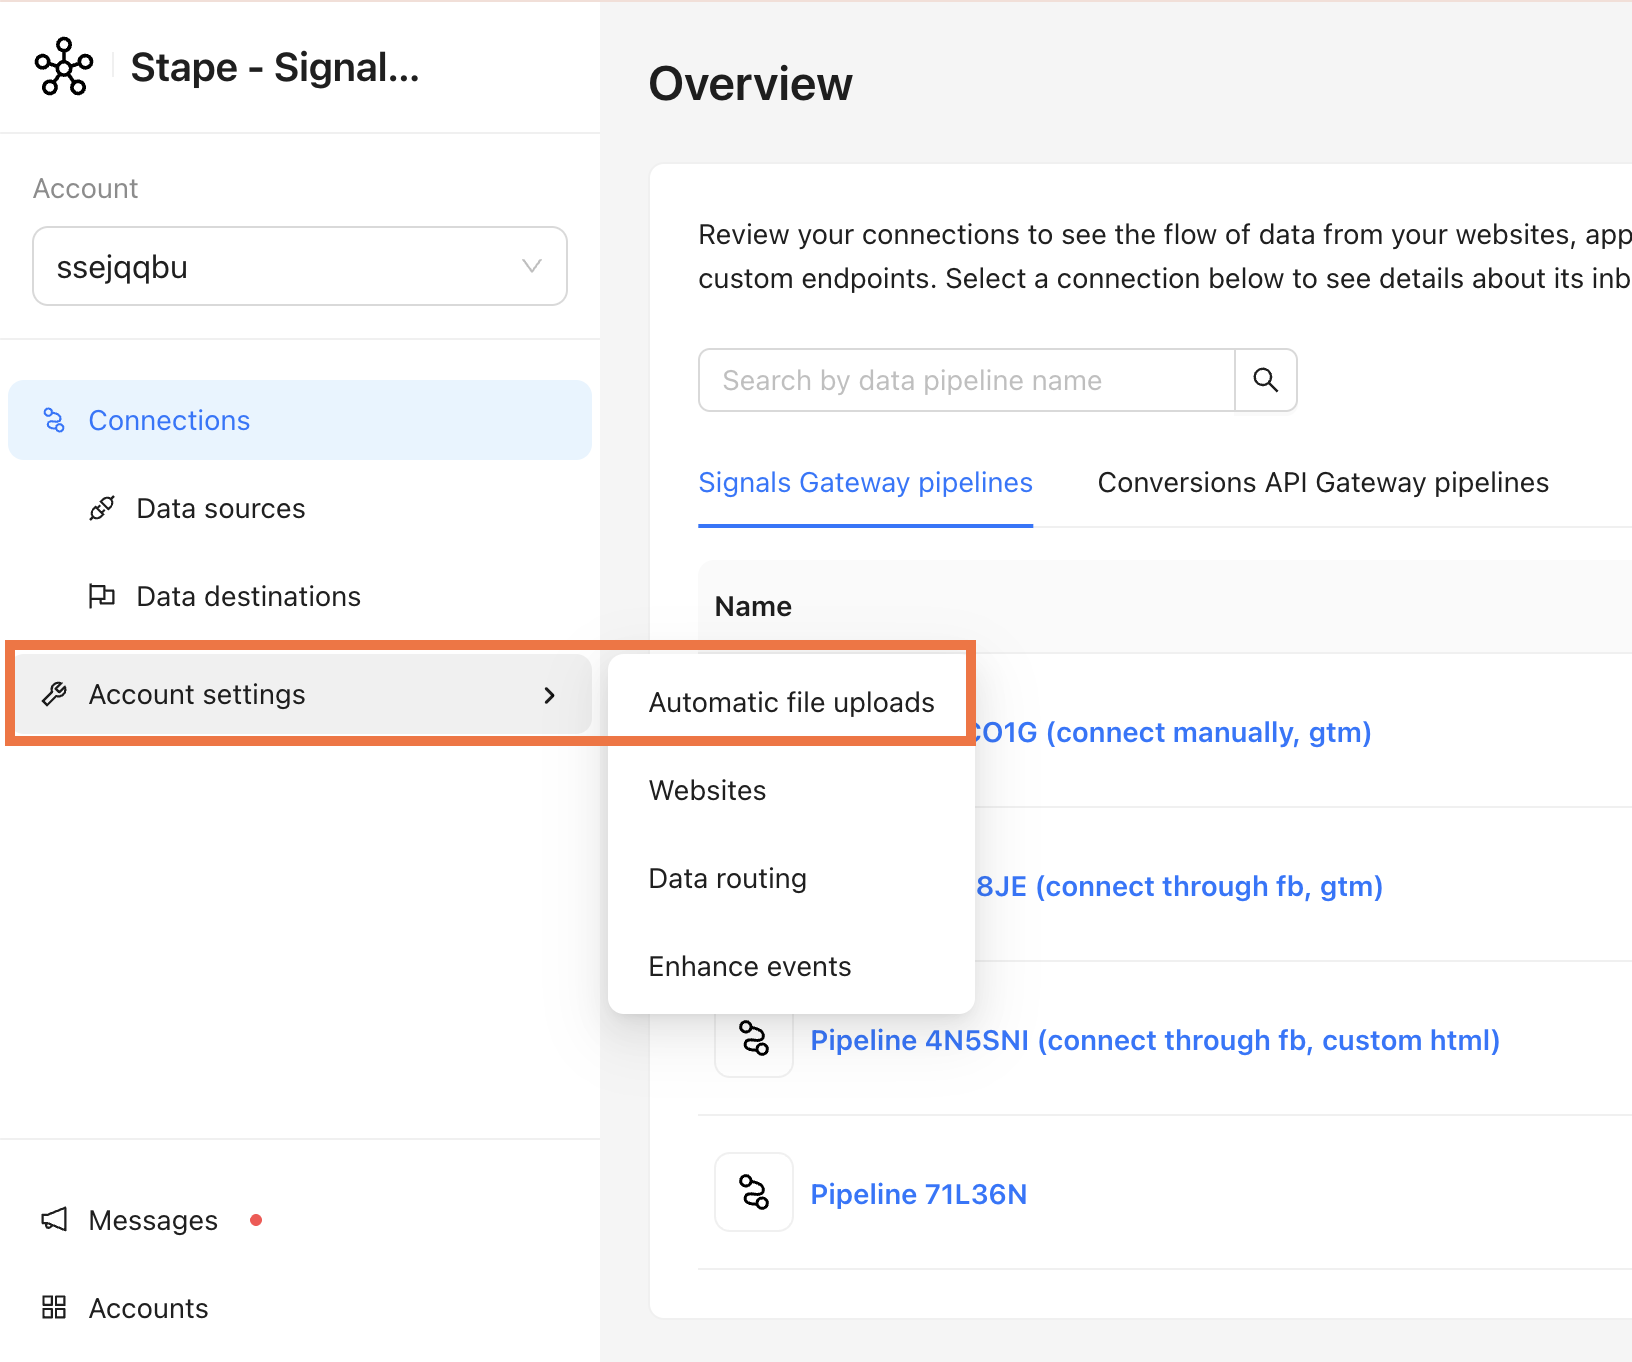
Create a File upload data source
| Note: this section is only applicable for the Signals Gateway data pipeline. |
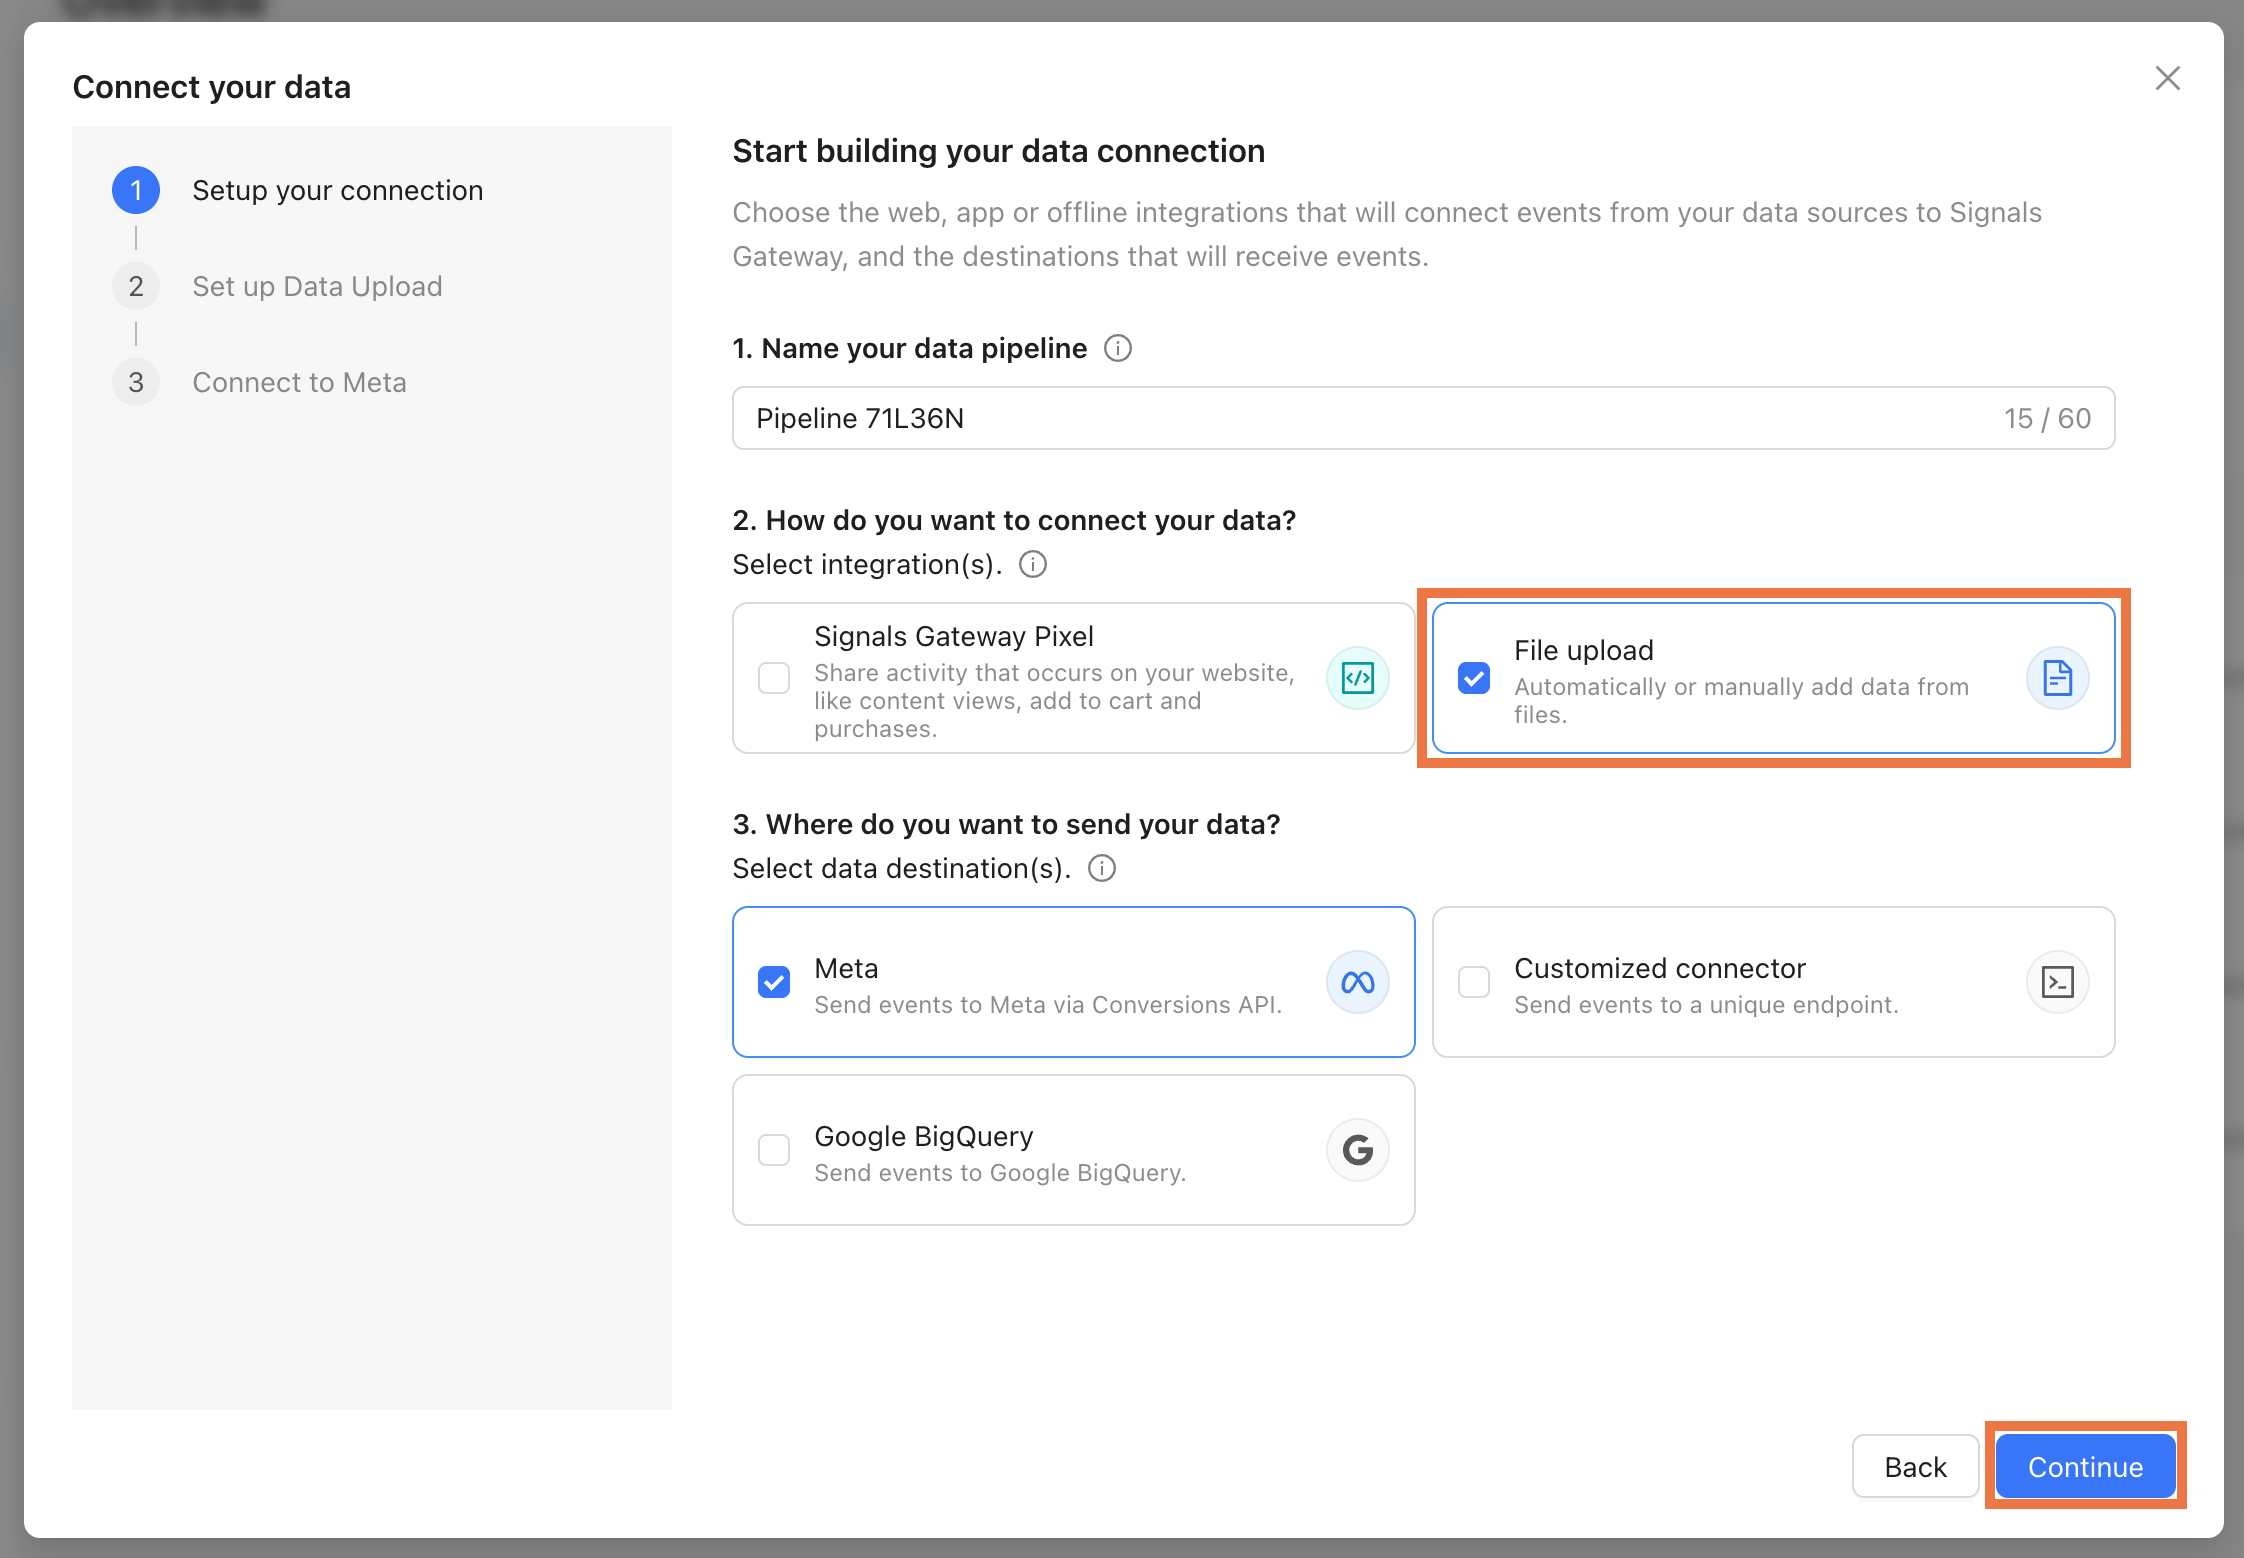
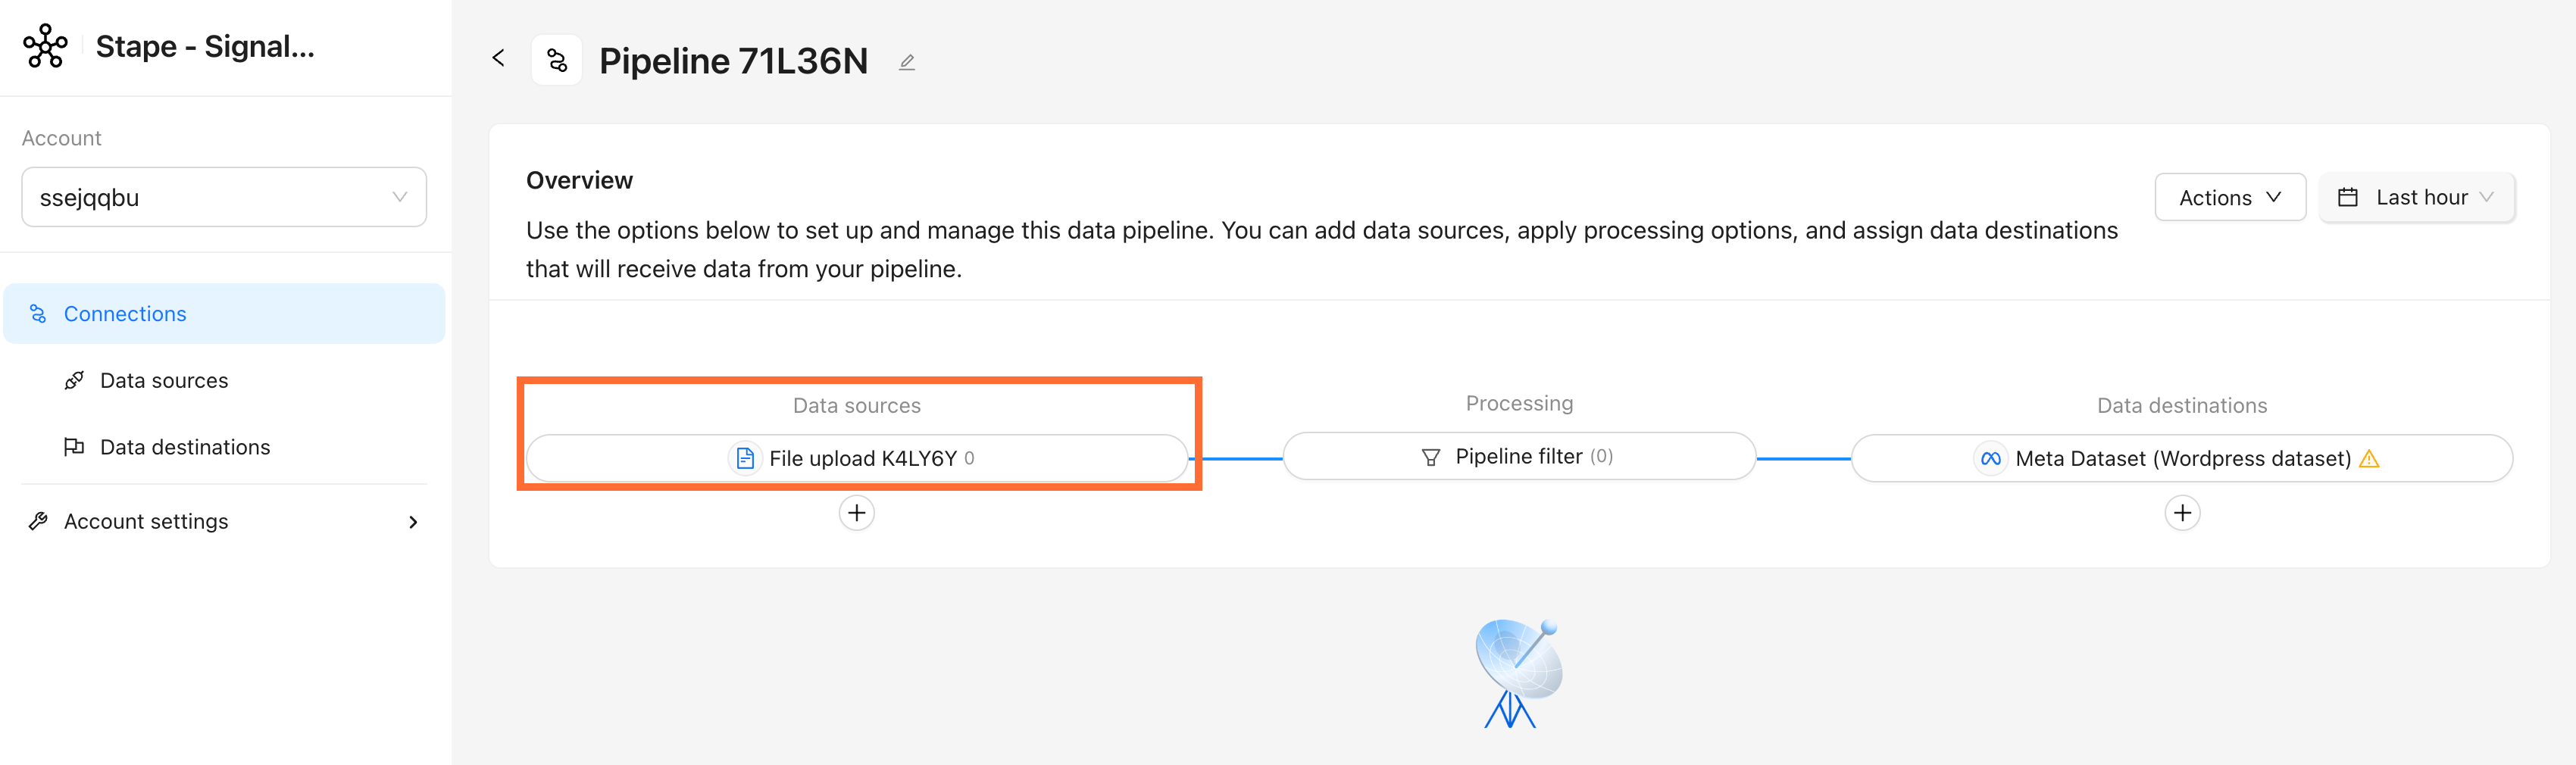
1. Create a Signals Gateway data pipeline (or open an existing one and click the + icon under Data Sources).
2. When prompted to choose a data source, select File upload and click Continue.
3. Give the data source a name and click Continue.
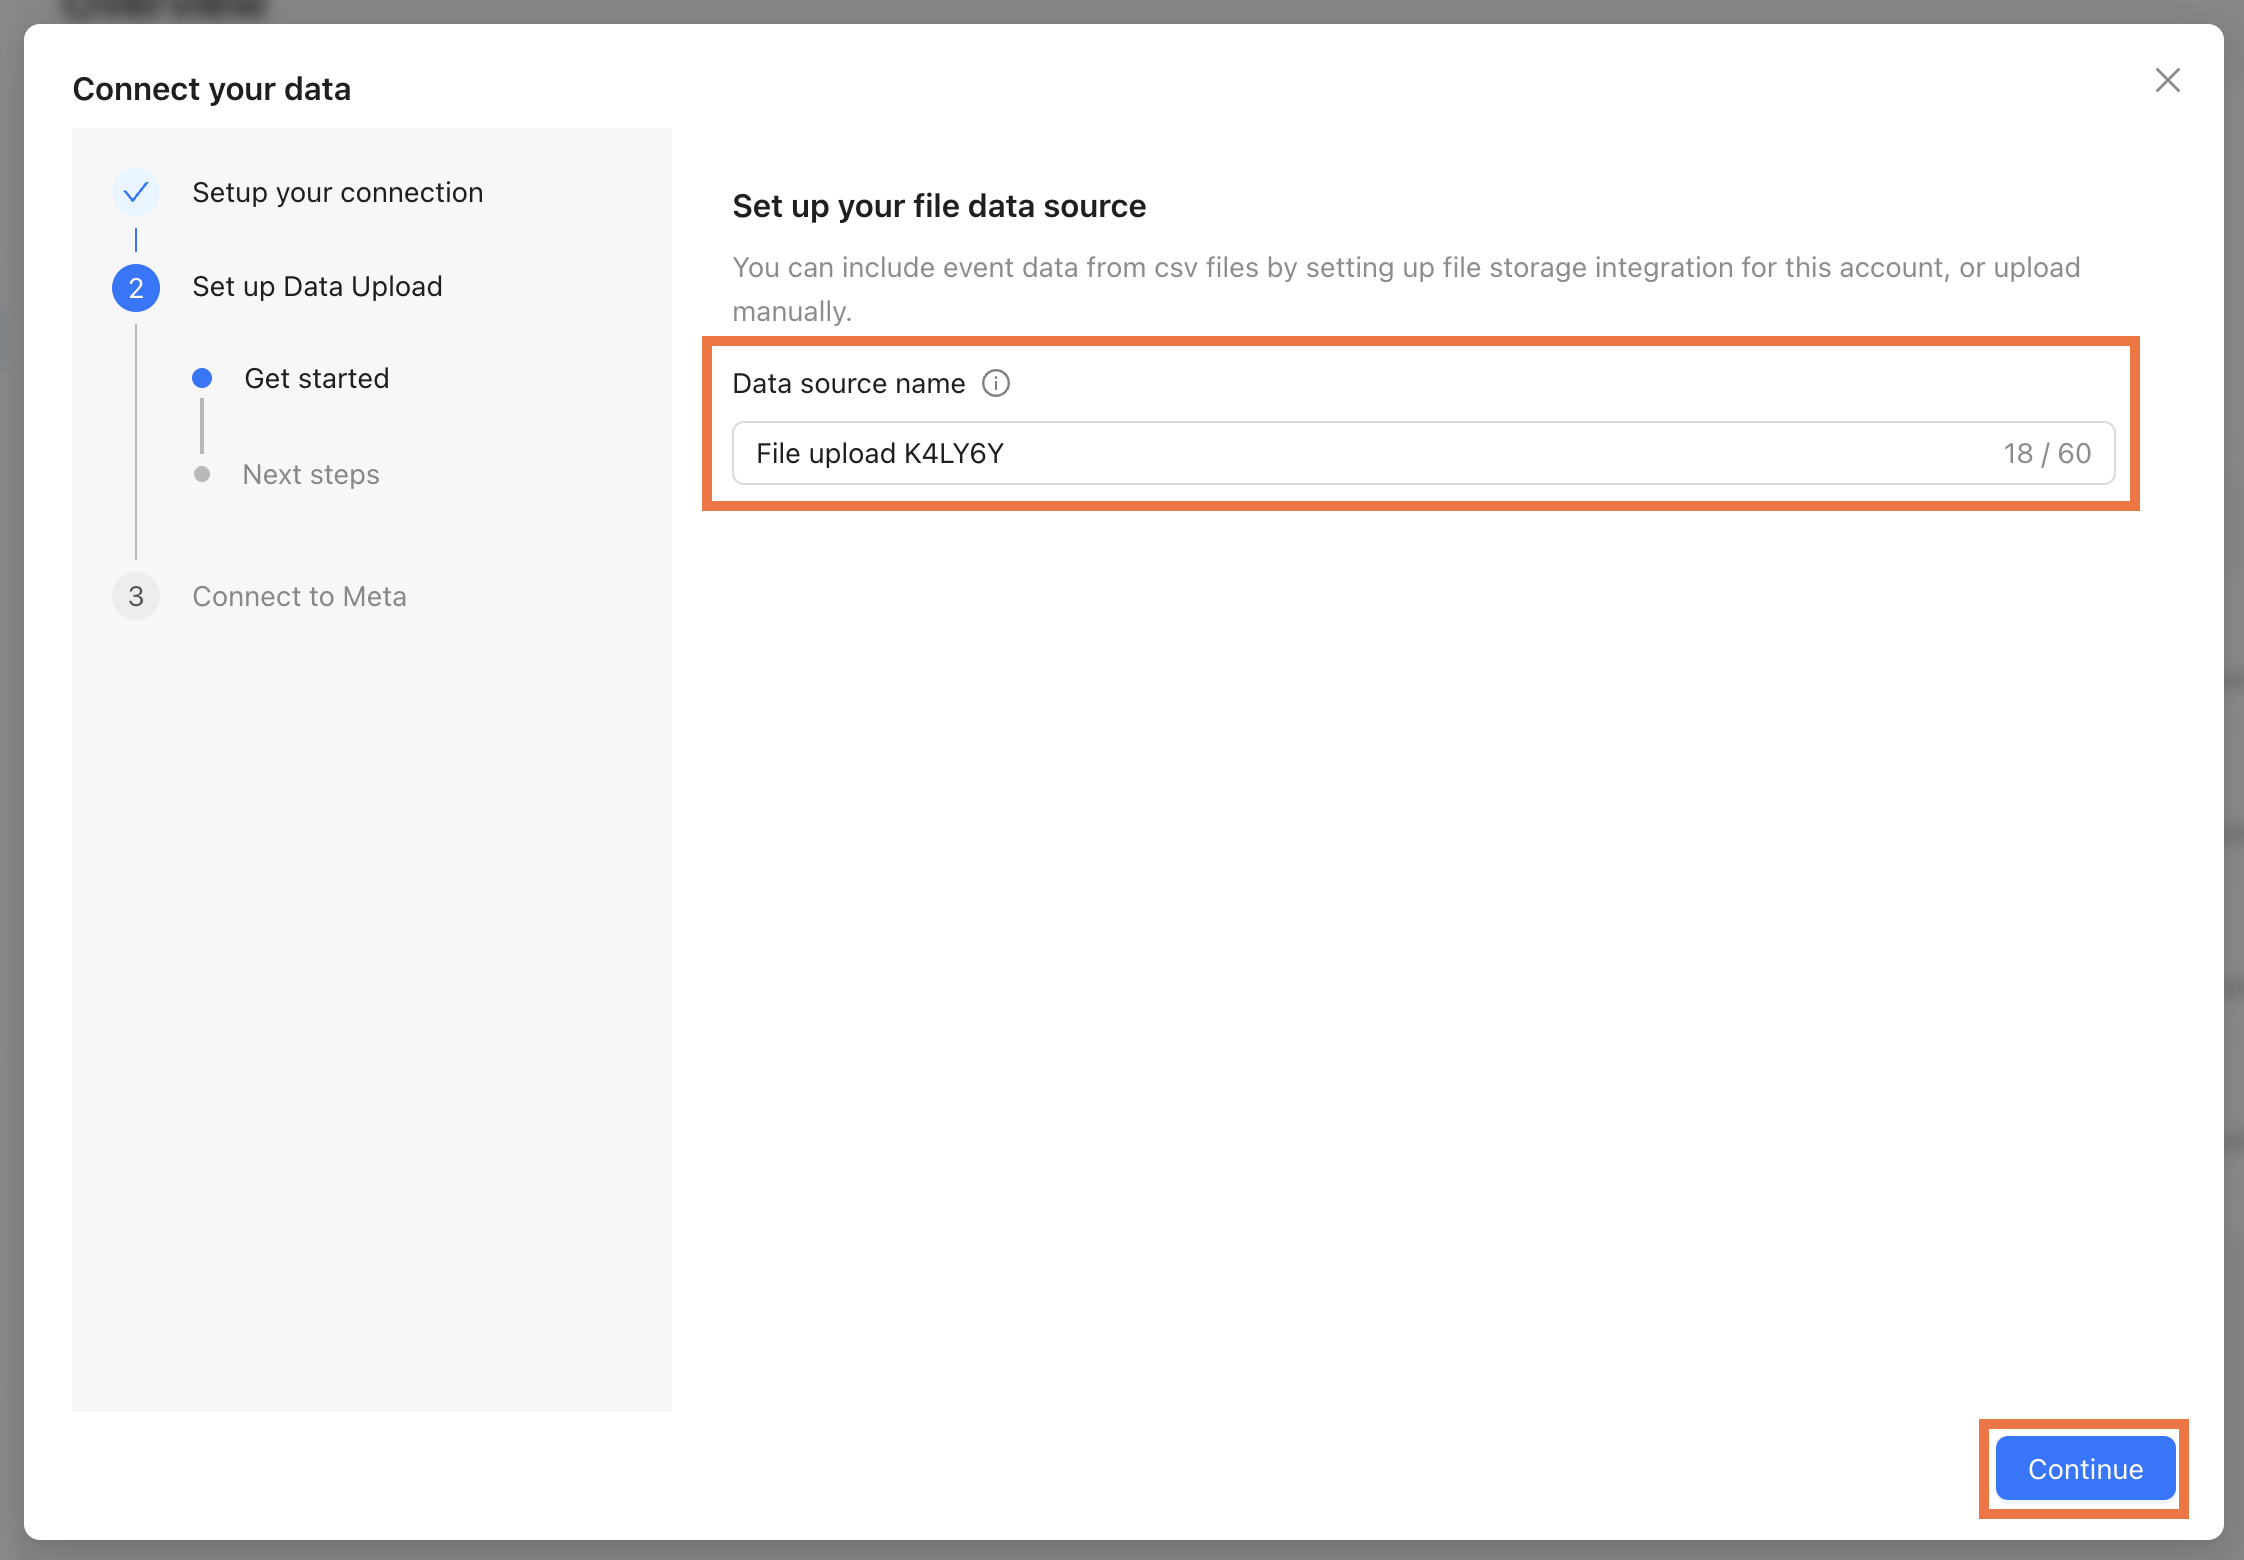
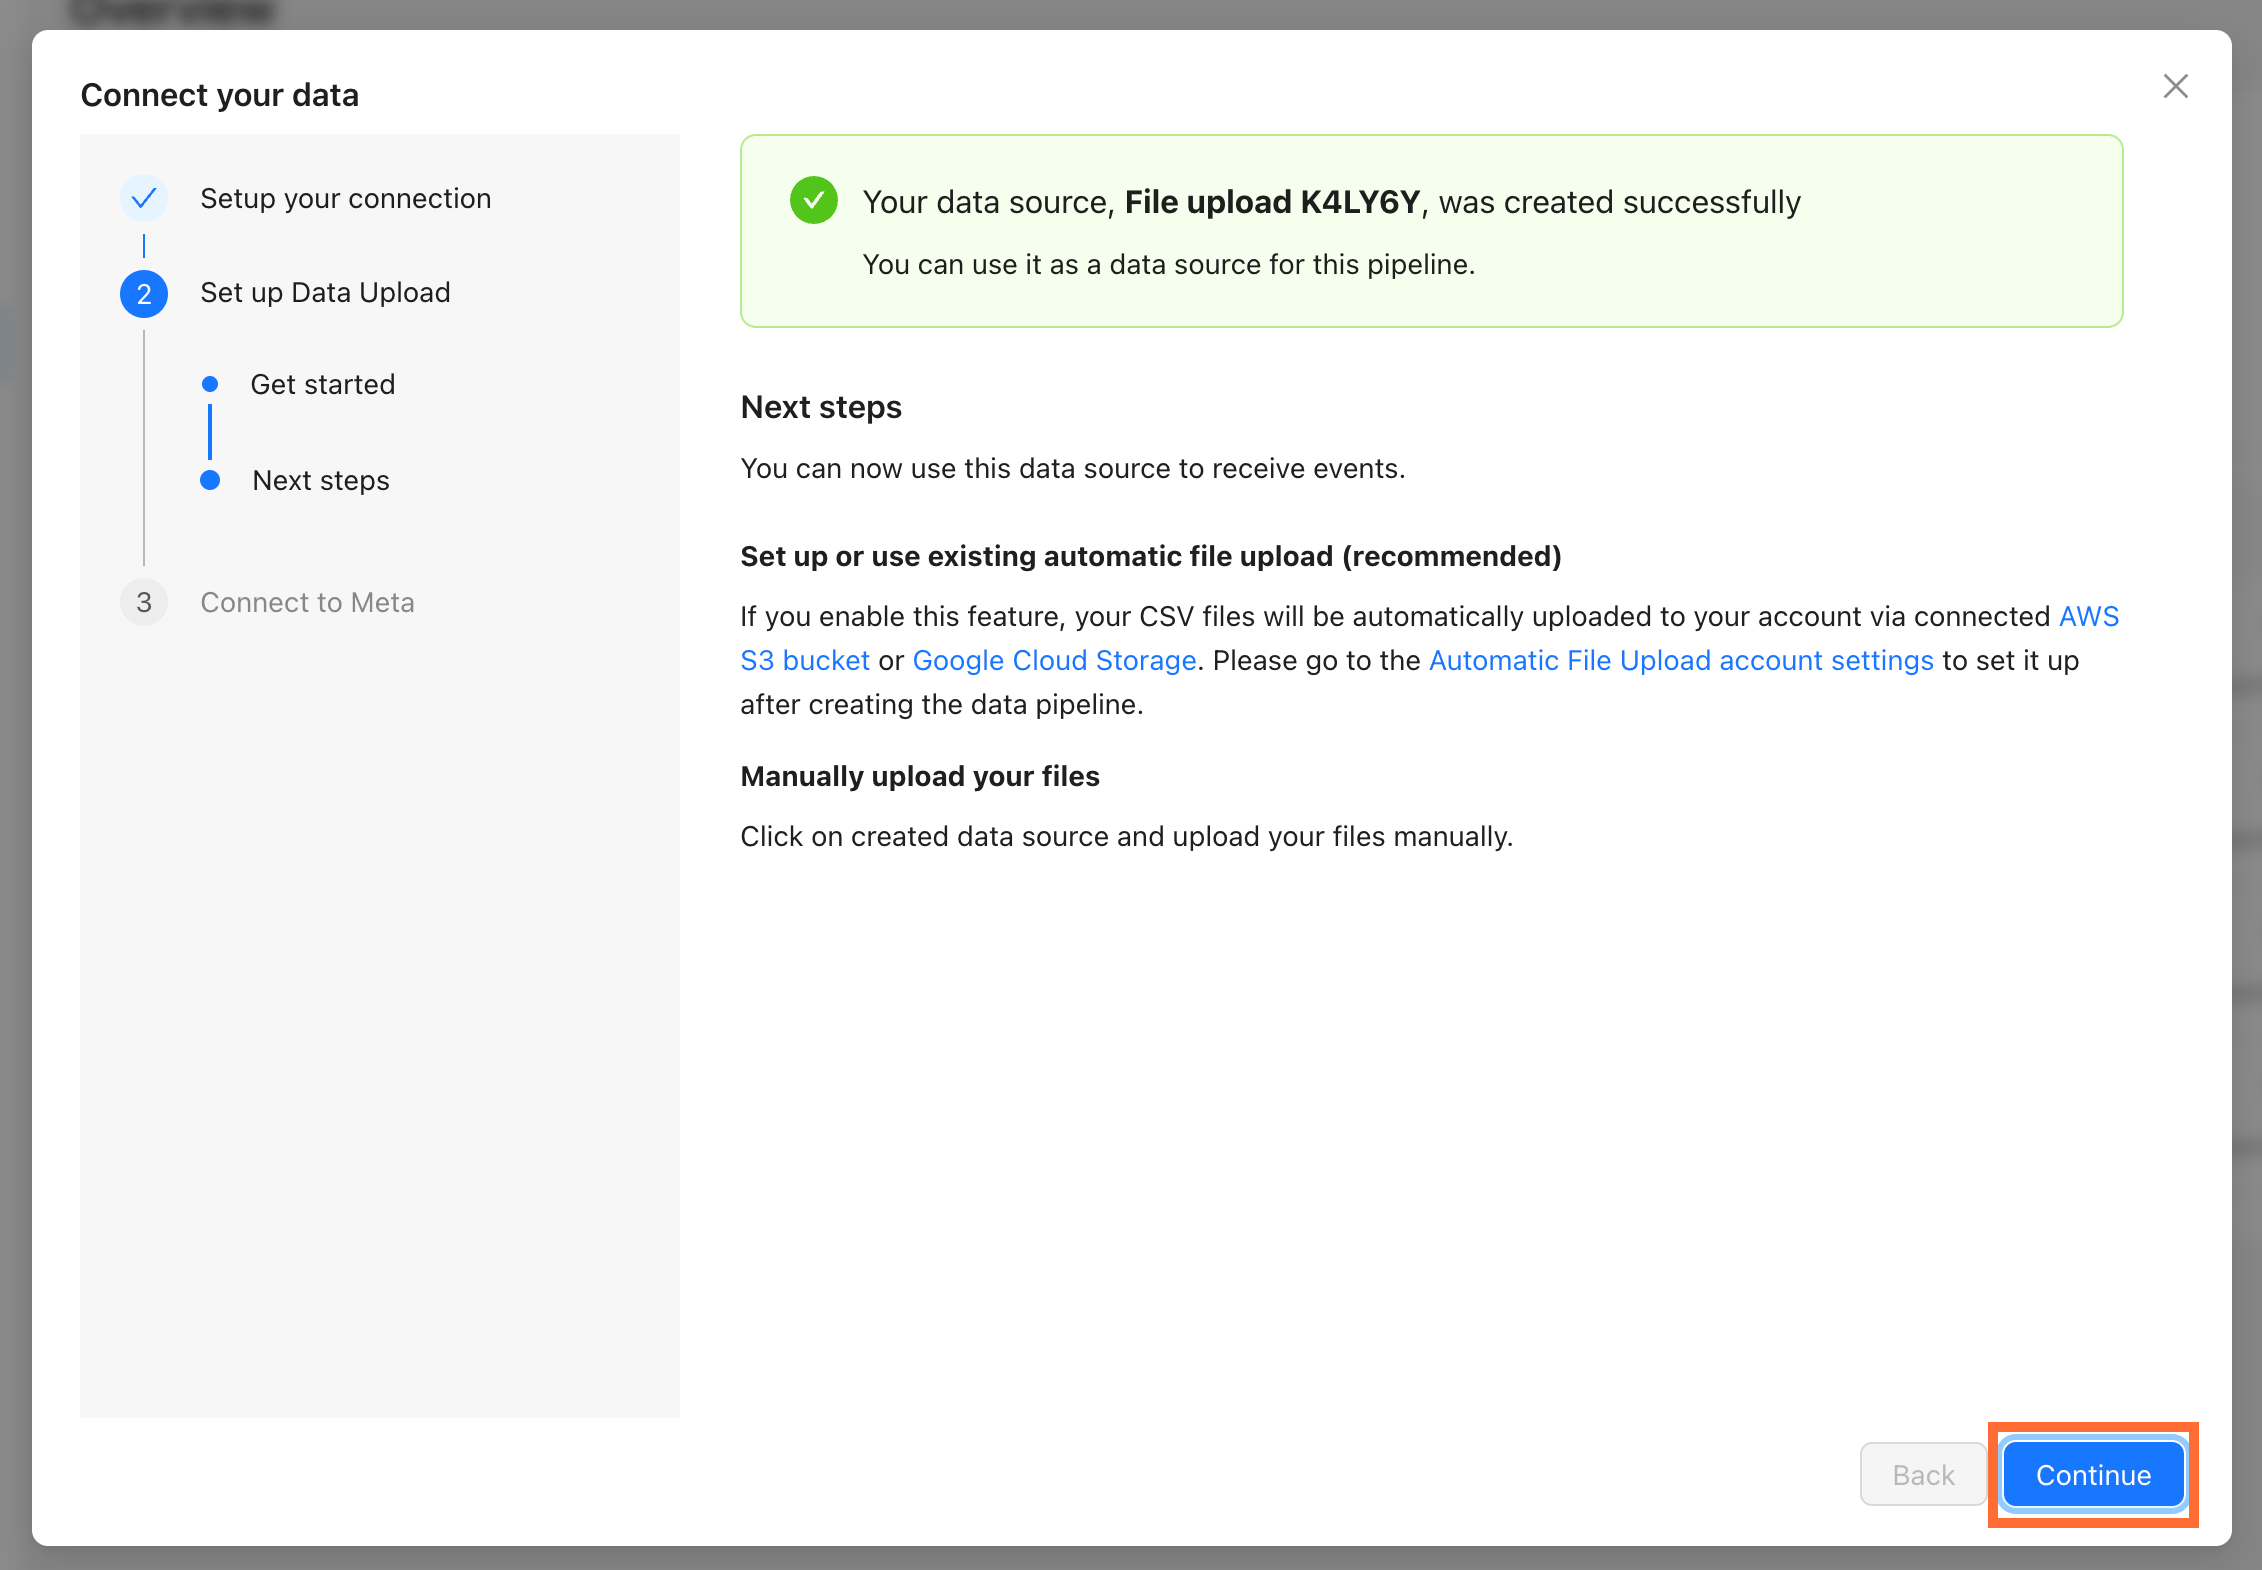
4. You'll see a confirmation screen with two options:
- Set up or use existing automatic file upload (recommended) - you can connect a cloud bucket.
- Manually upload your files - upload CSVs one at a time directly from the pipeline view.
Click Continue.
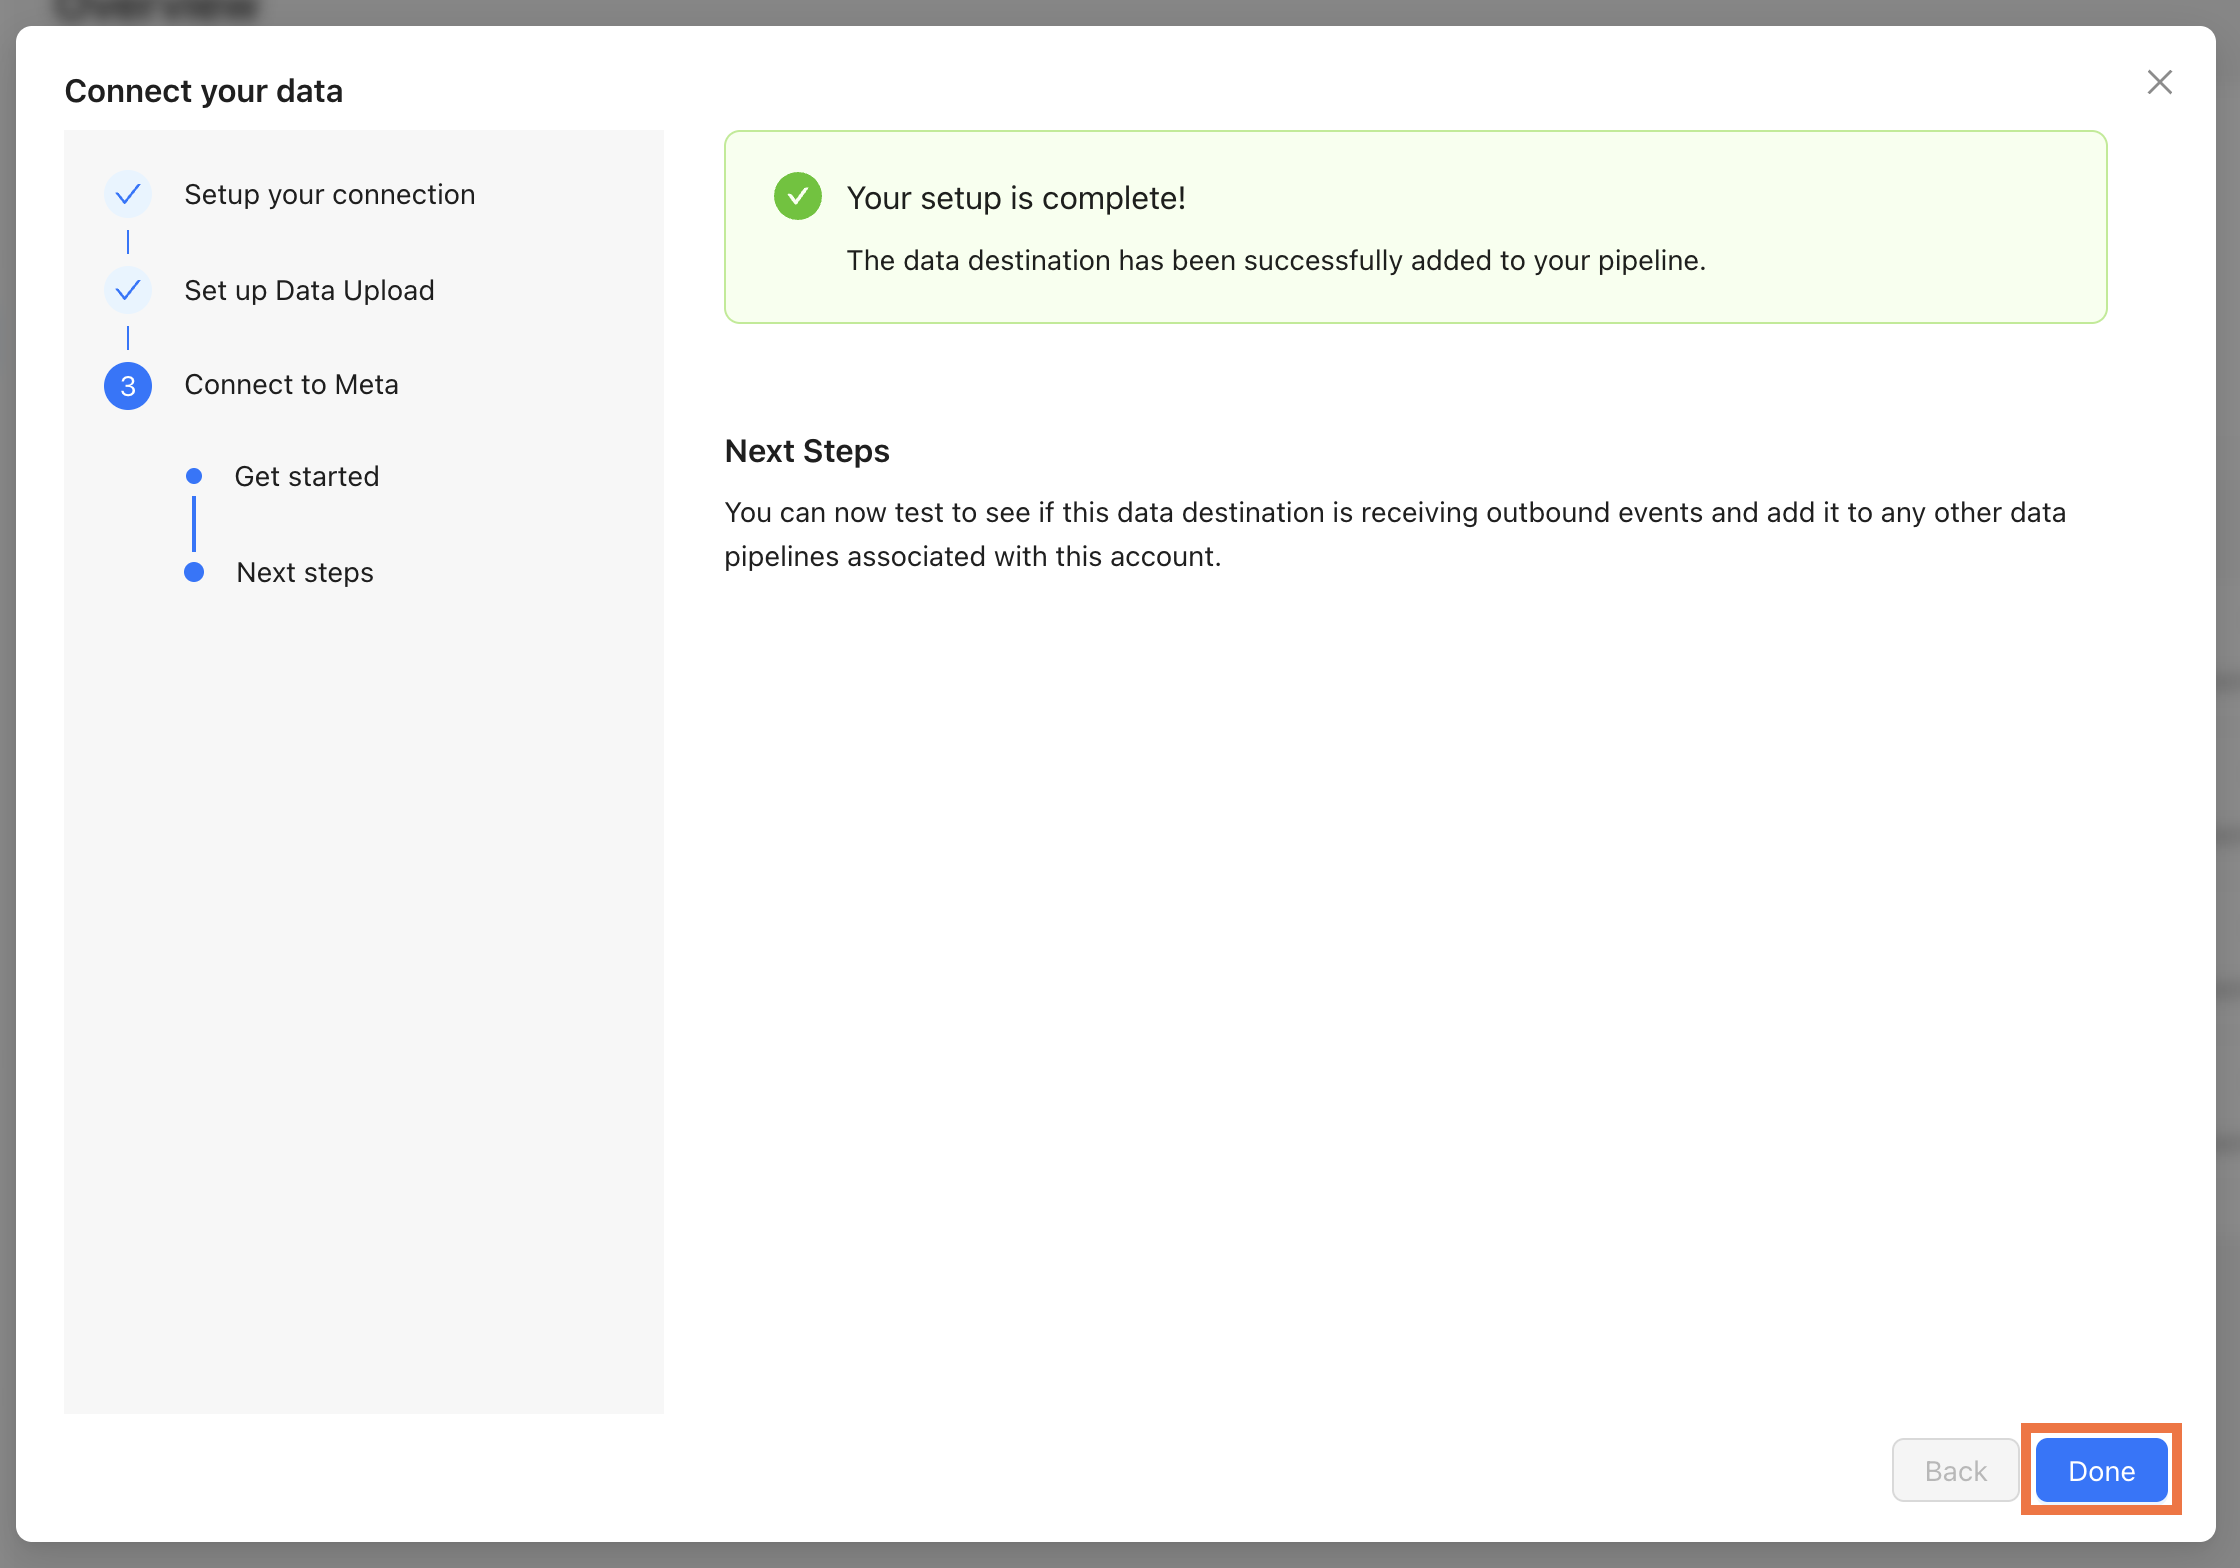
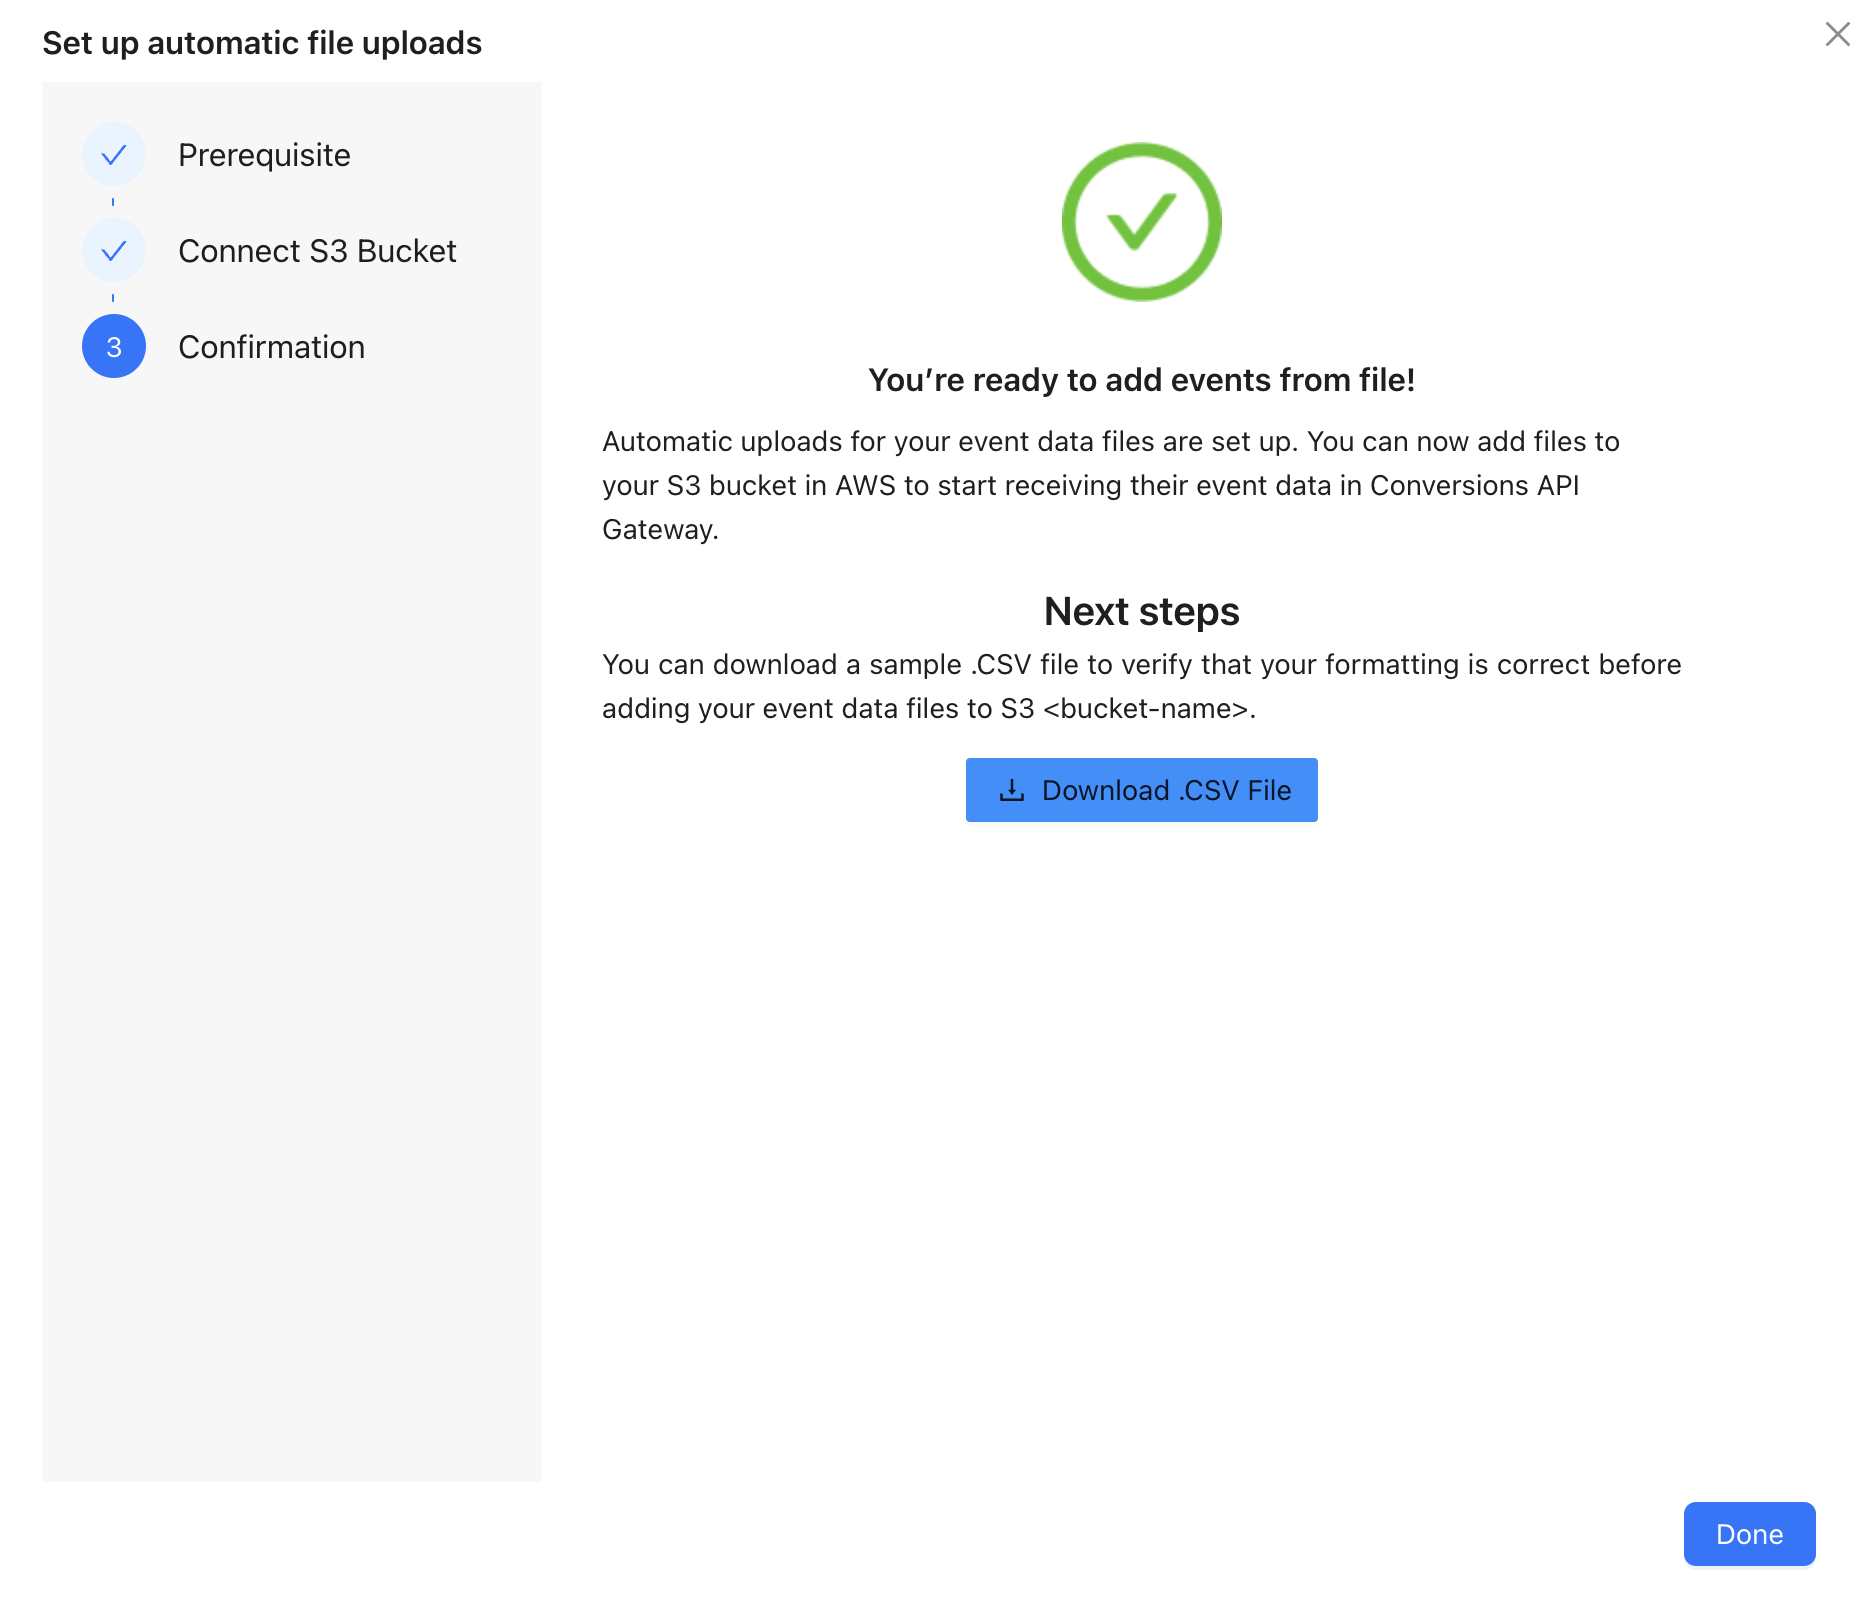
5. Complete the rest of the pipeline wizard. Connect your destination (e.g. Meta dataset), and click Done.
Automatic upload
Automatic upload connects Signals Gateway to a cloud storage bucket. Once set up, your gateway processes any CSV files it finds in the bucket, then deletes them. No manual intervention needed after the initial configuration.
1. Go to Account settings → Automatic file uploads.
2. Select your cloud provider - AWS S3 or Google Cloud Storage.
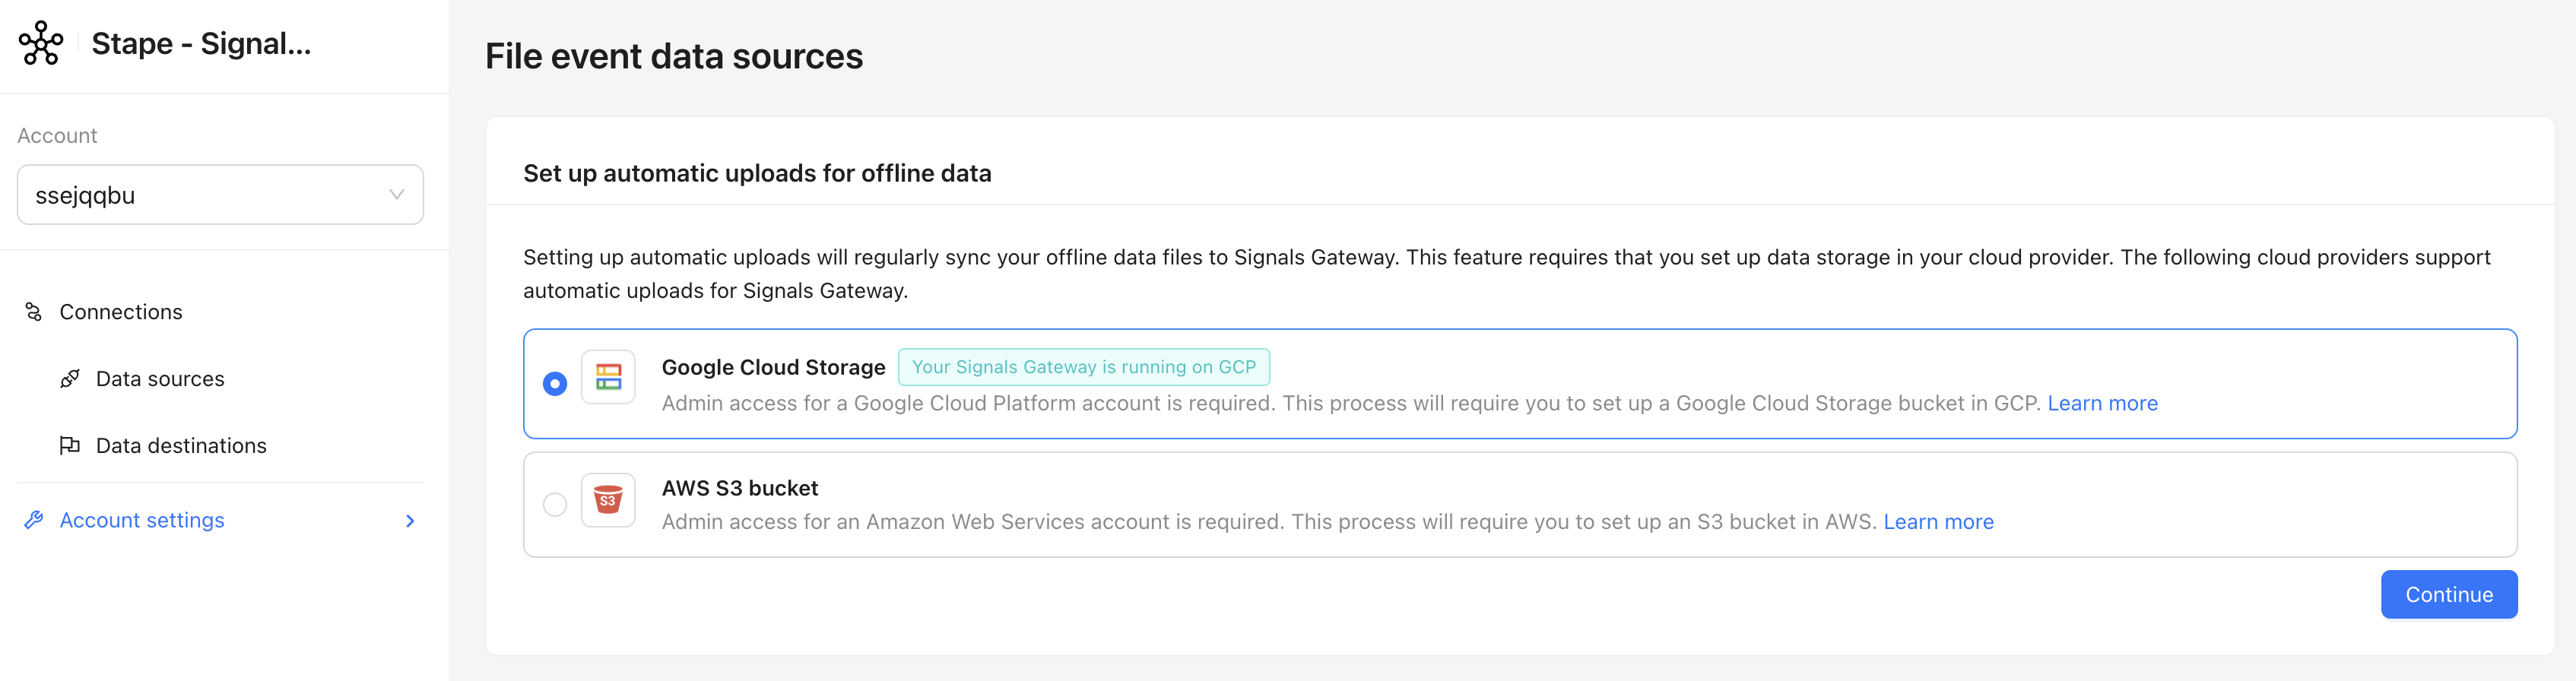
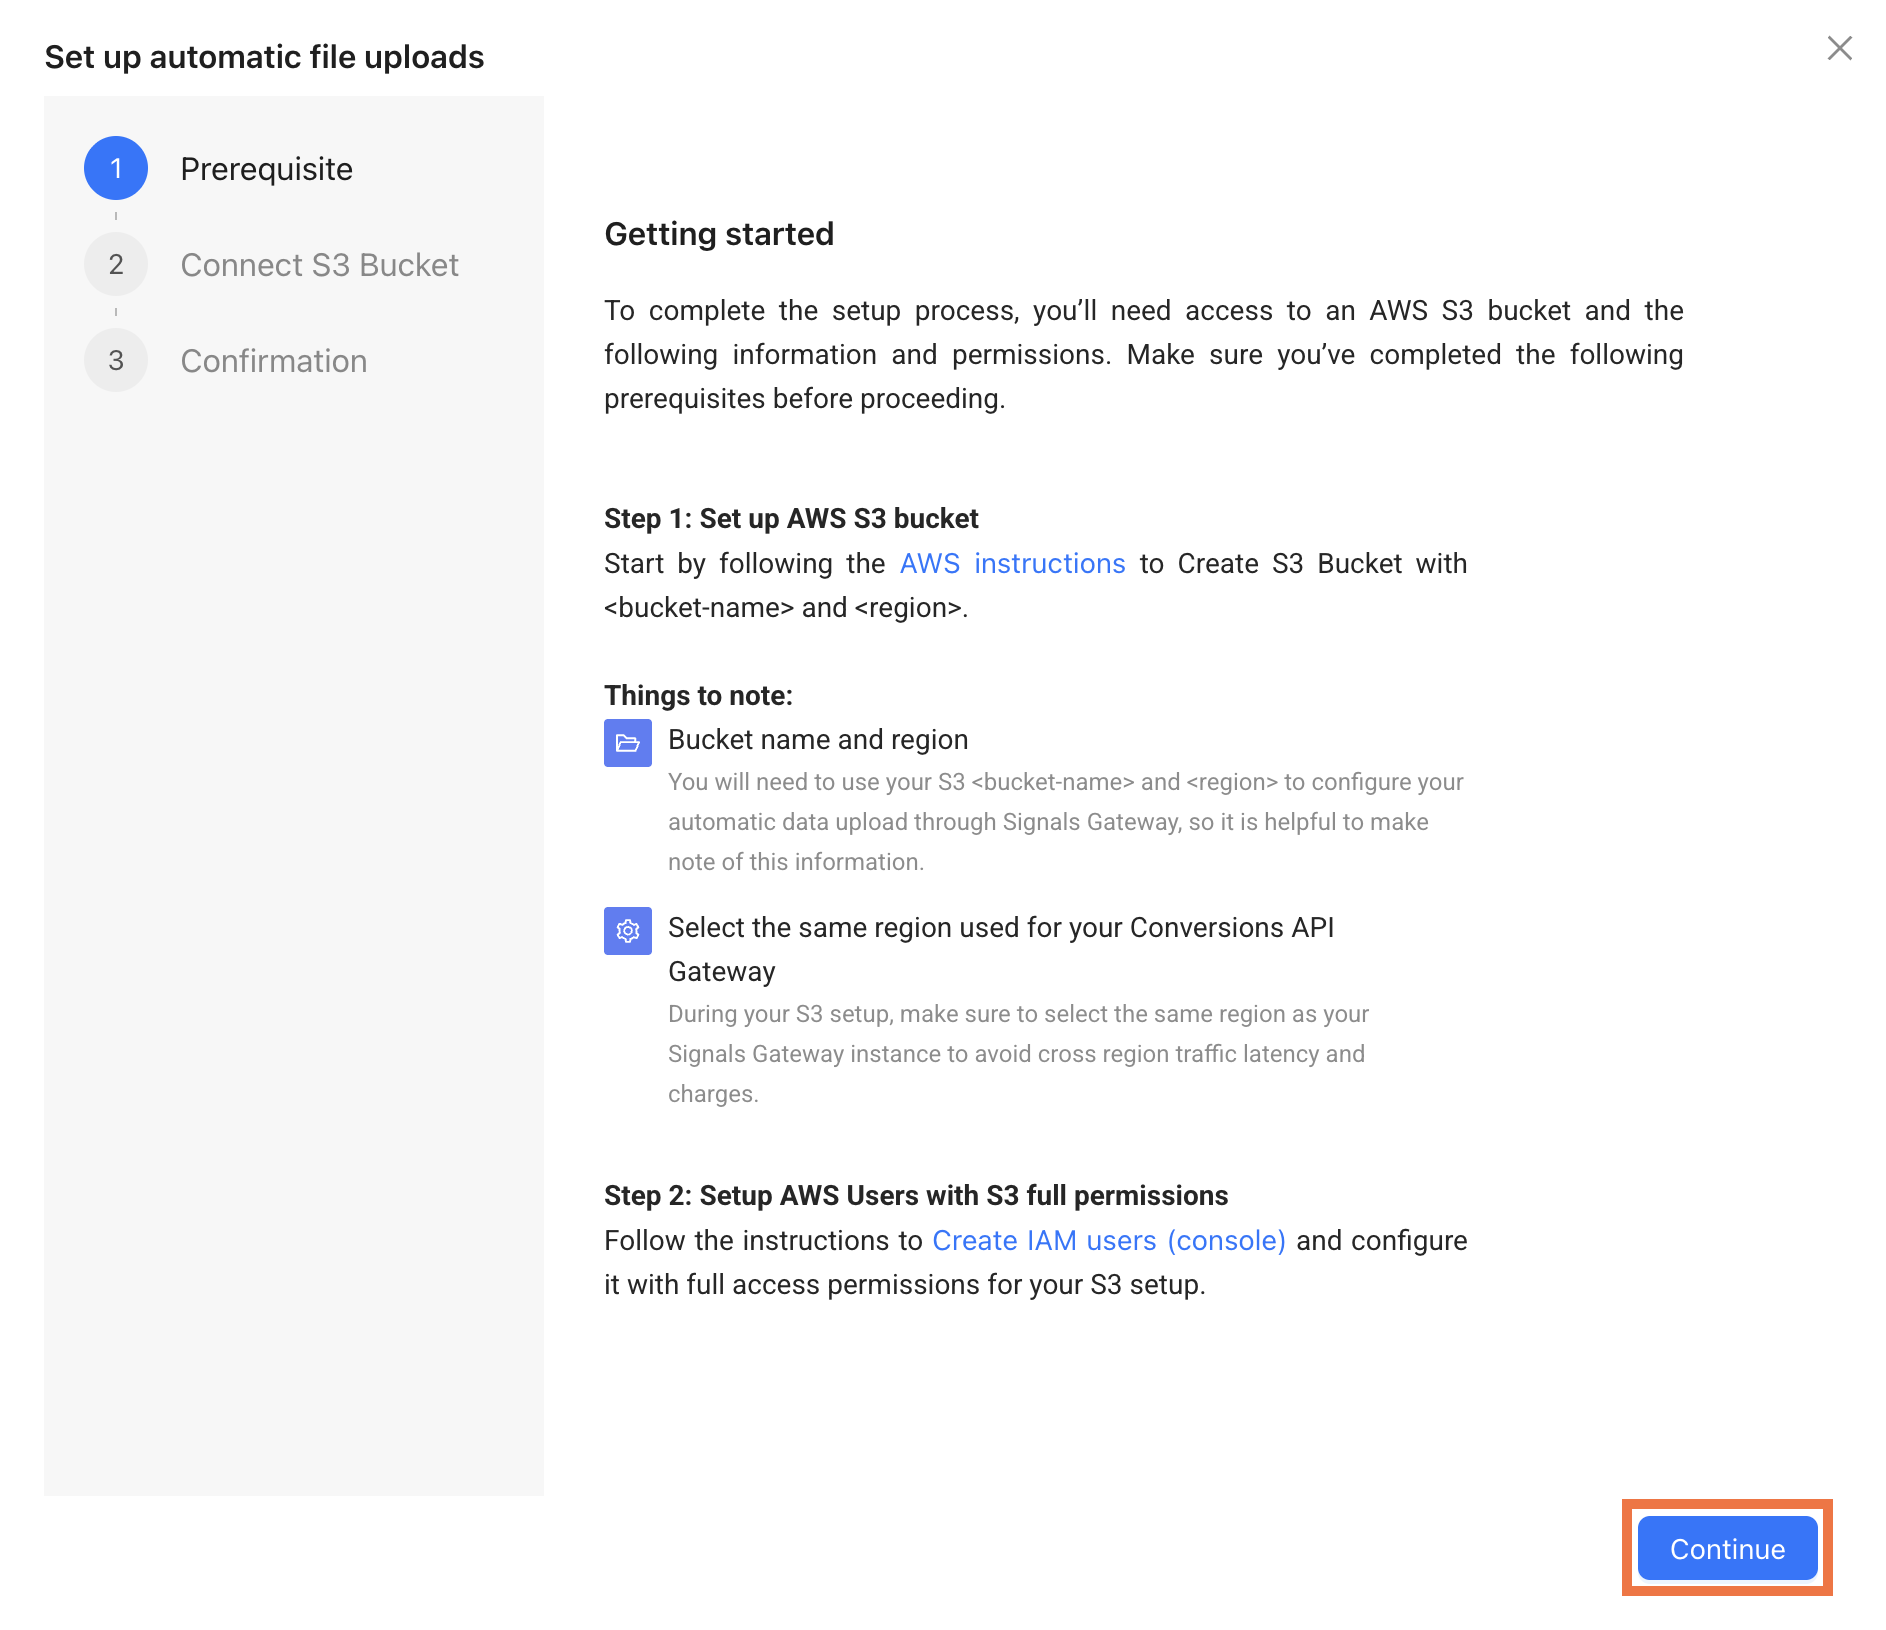
AWS S3
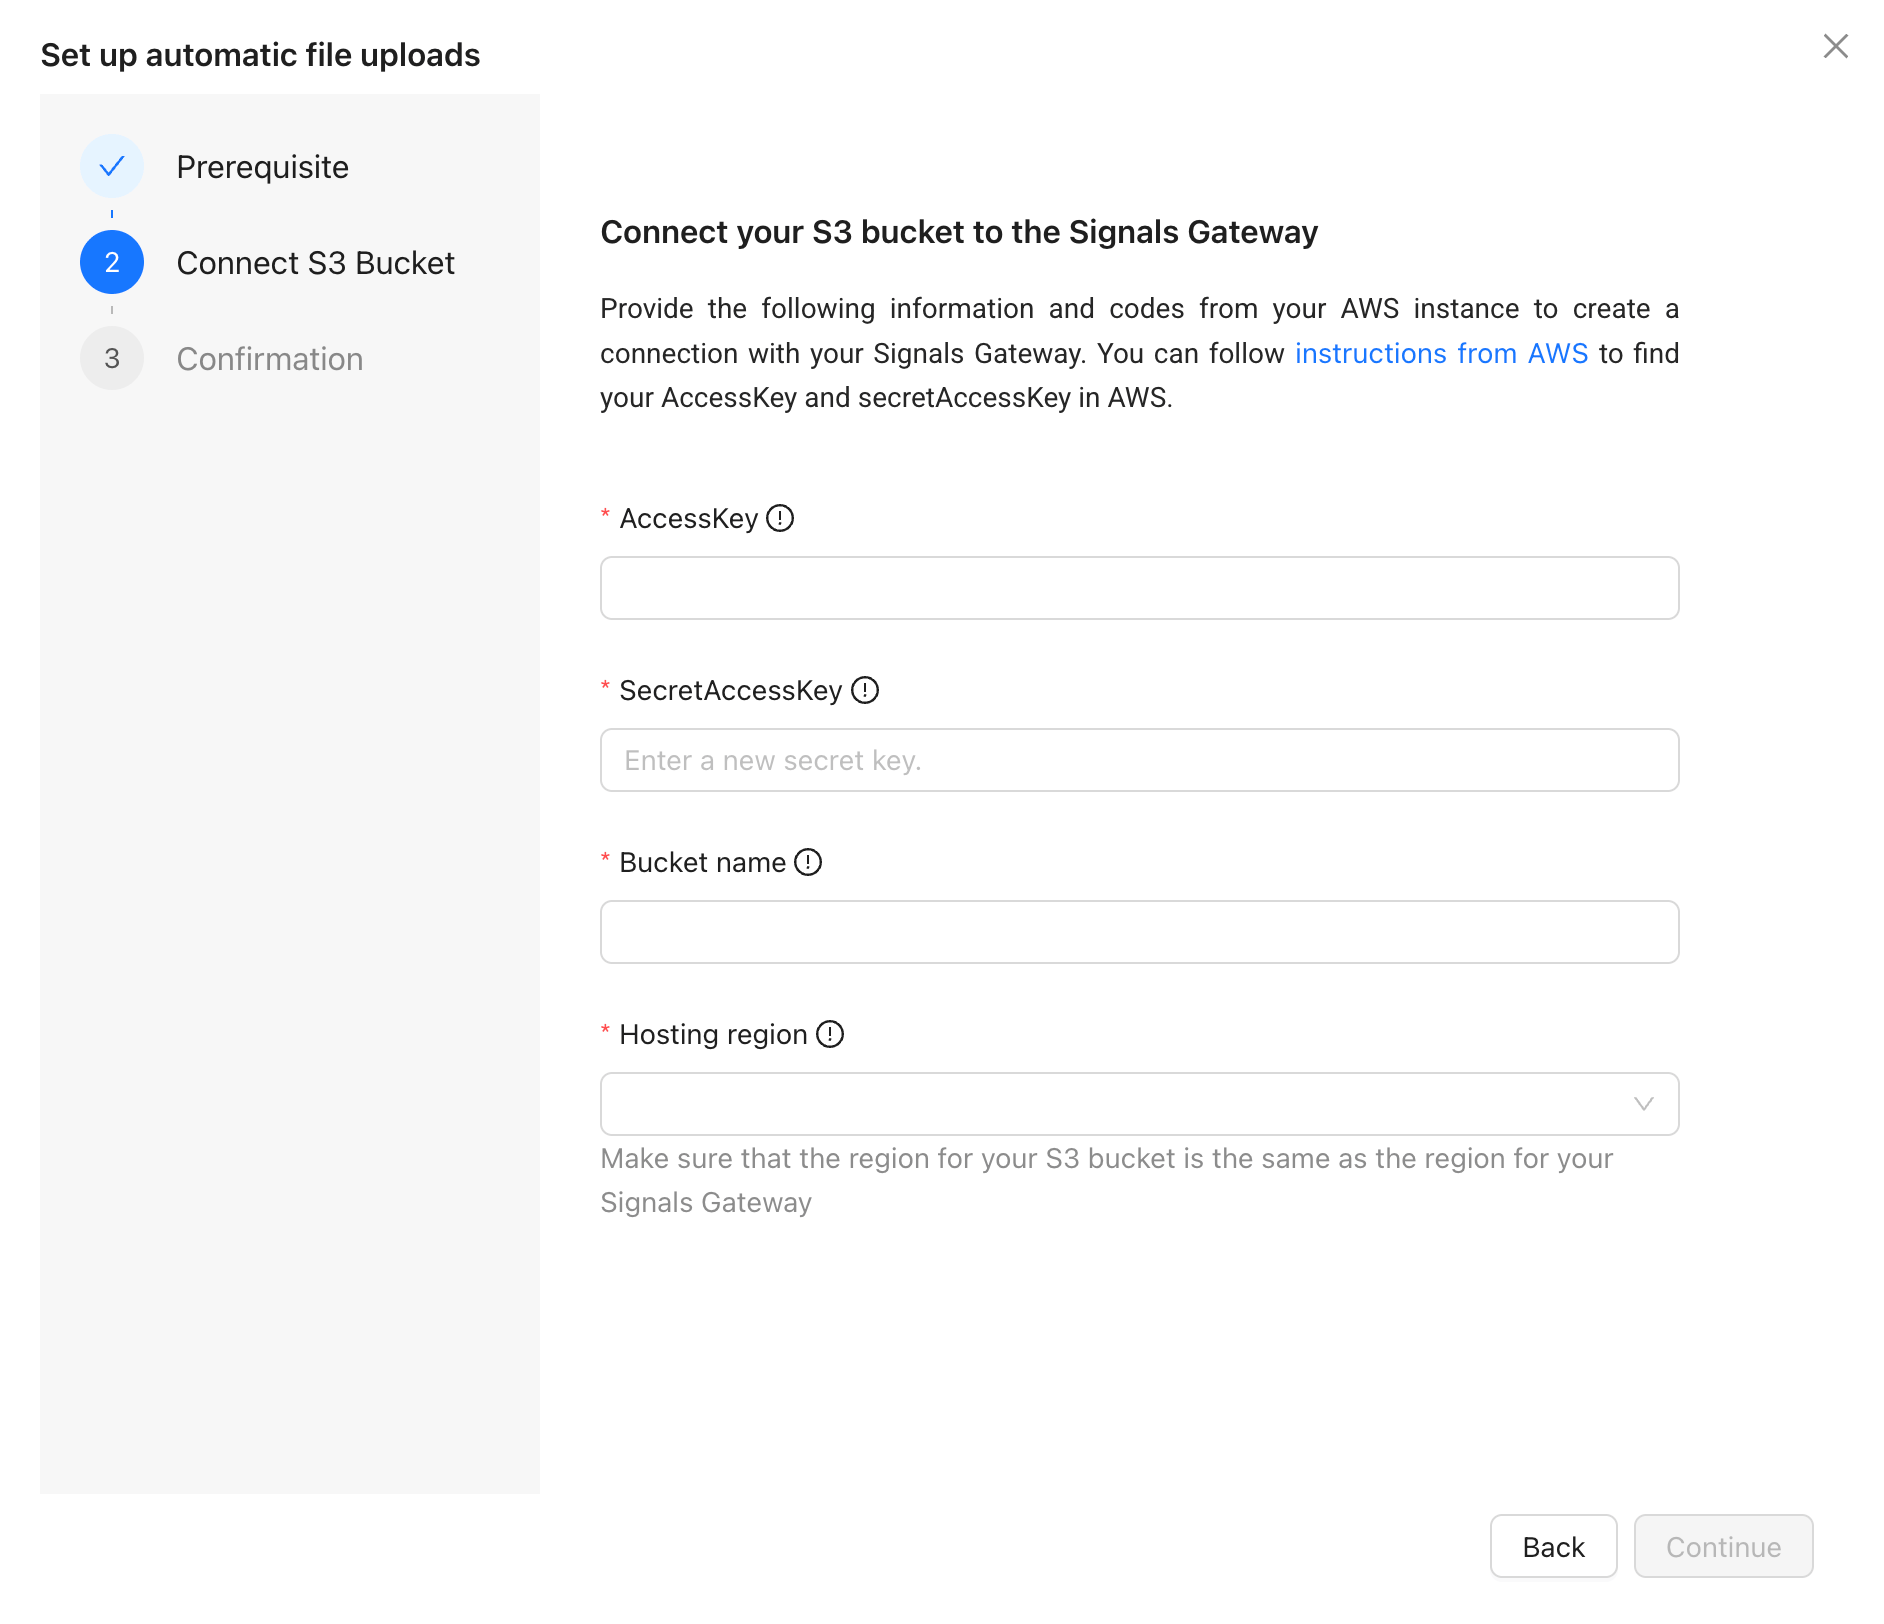
1. A setup modal appears with guidance on creating an S3 bucket. Complete that in AWS, then return and click Continue.
2. Provide:
- IAM Access Key ID
- IAM Secret Access Key
- Bucket name
- Hosting region
Click Continue.
3. A sample CSV file is provided for reference, download it as a formatting template.
Google Cloud Storage
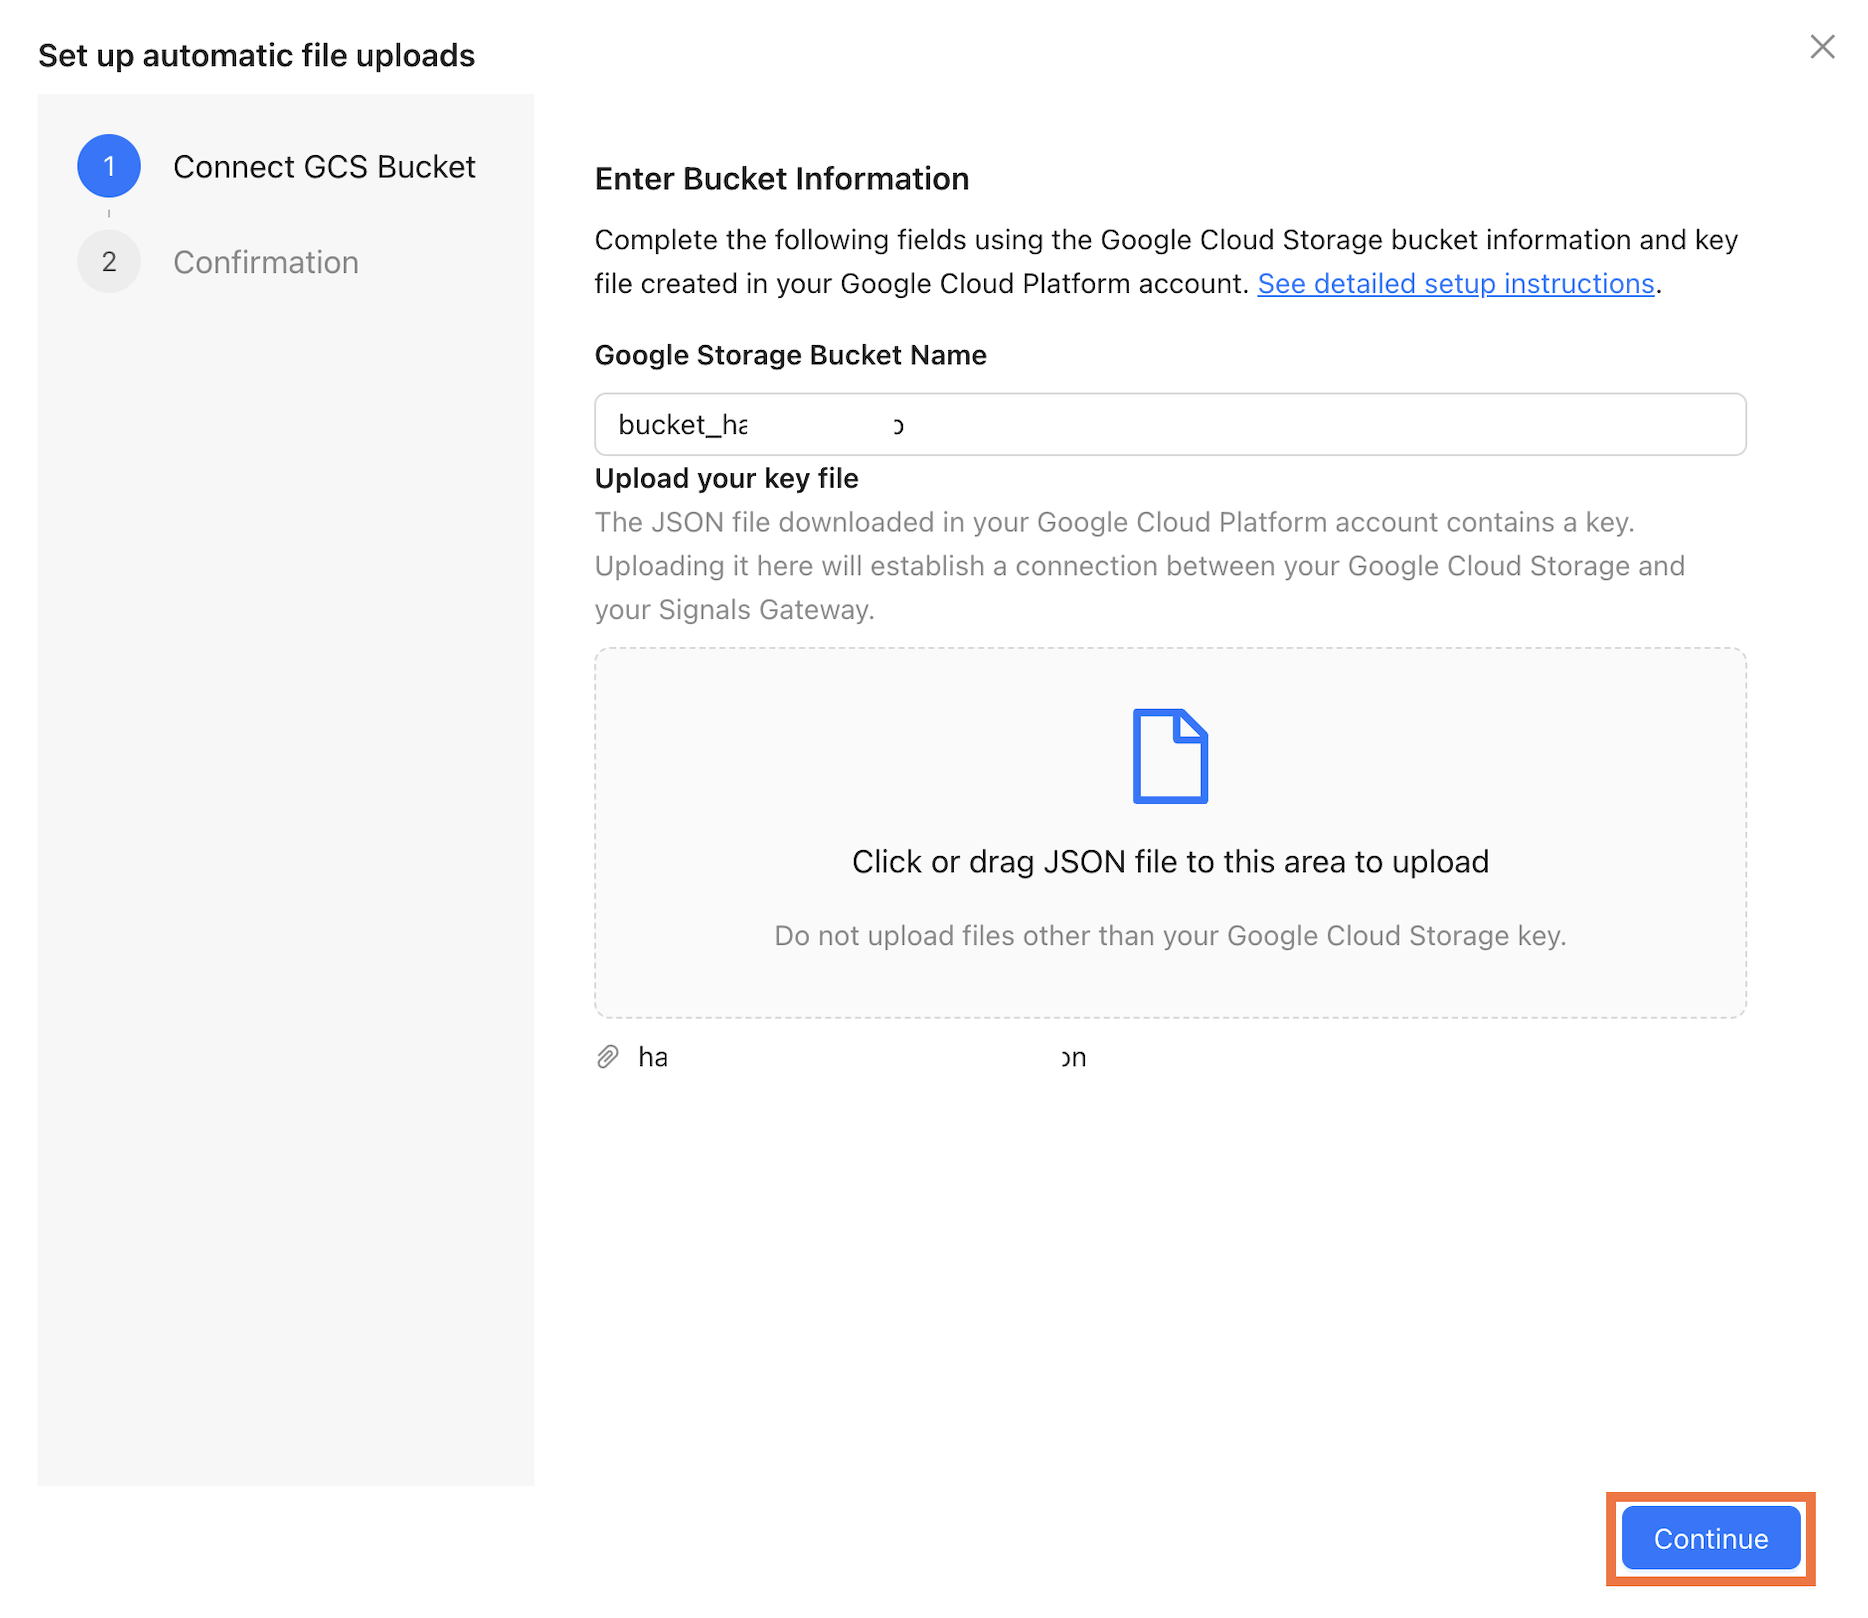
1. In Google Cloud, create a service account and generate a JSON access key. The service account needs permissions to list, read, and delete files in the bucket. Refer to the setup instructions provided in the wizard UI.
2. In Signals Gateway:
- Enter the bucket name.
- Upload the generated JSON key file.
Click Continue.
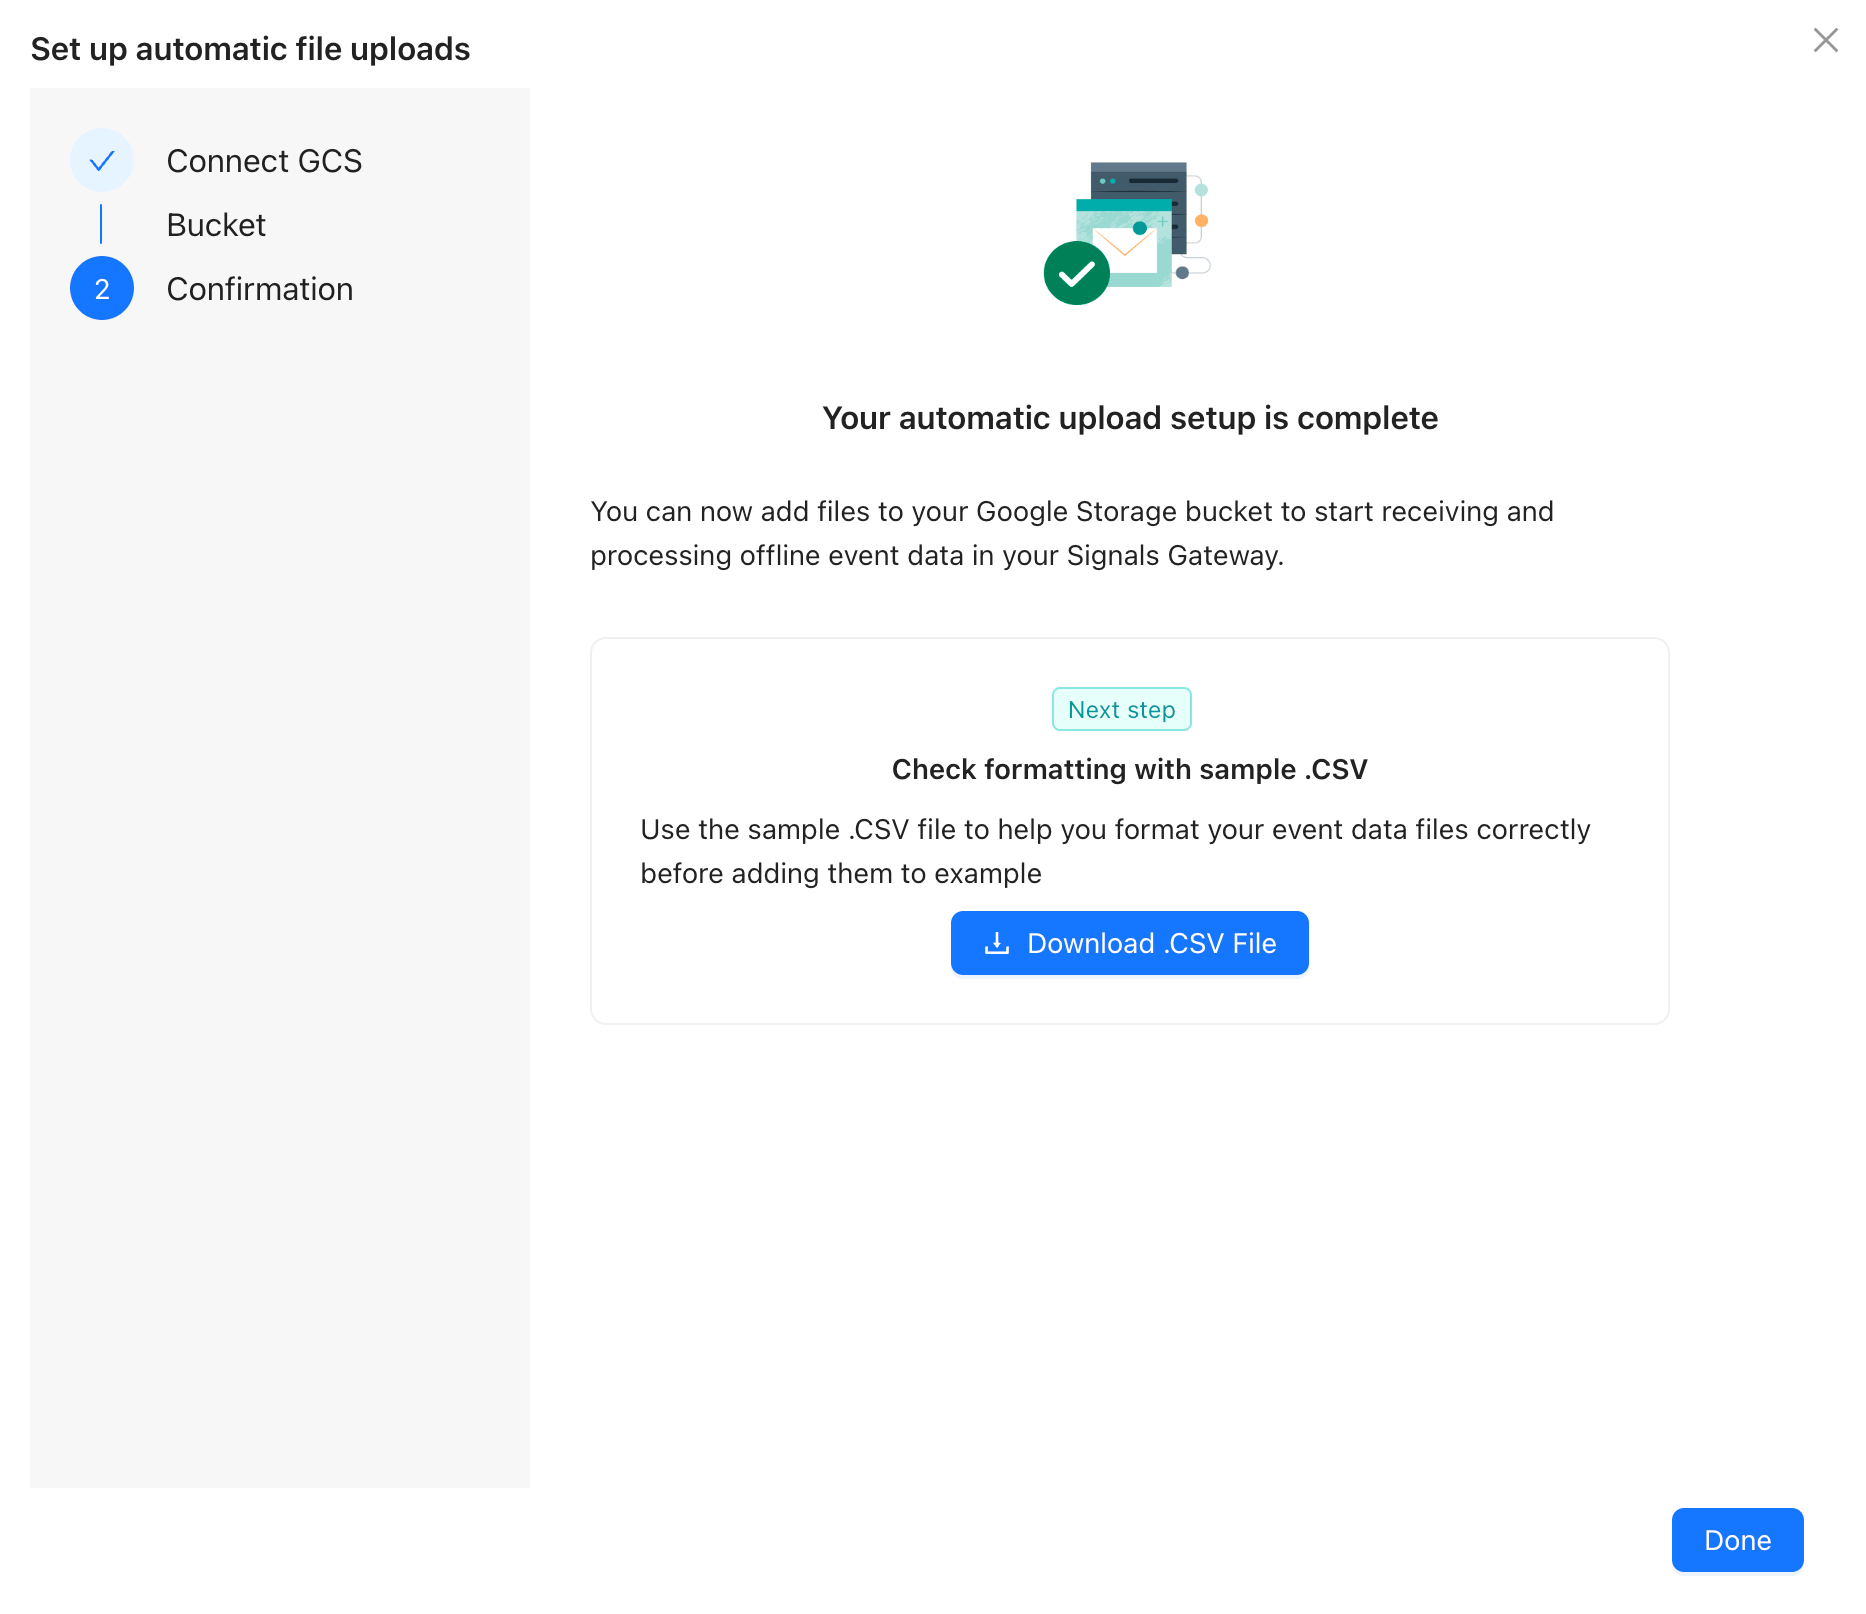
3. A sample CSV file is provided for reference, download it as a formatting template.
Monitor and manage automatic uploads
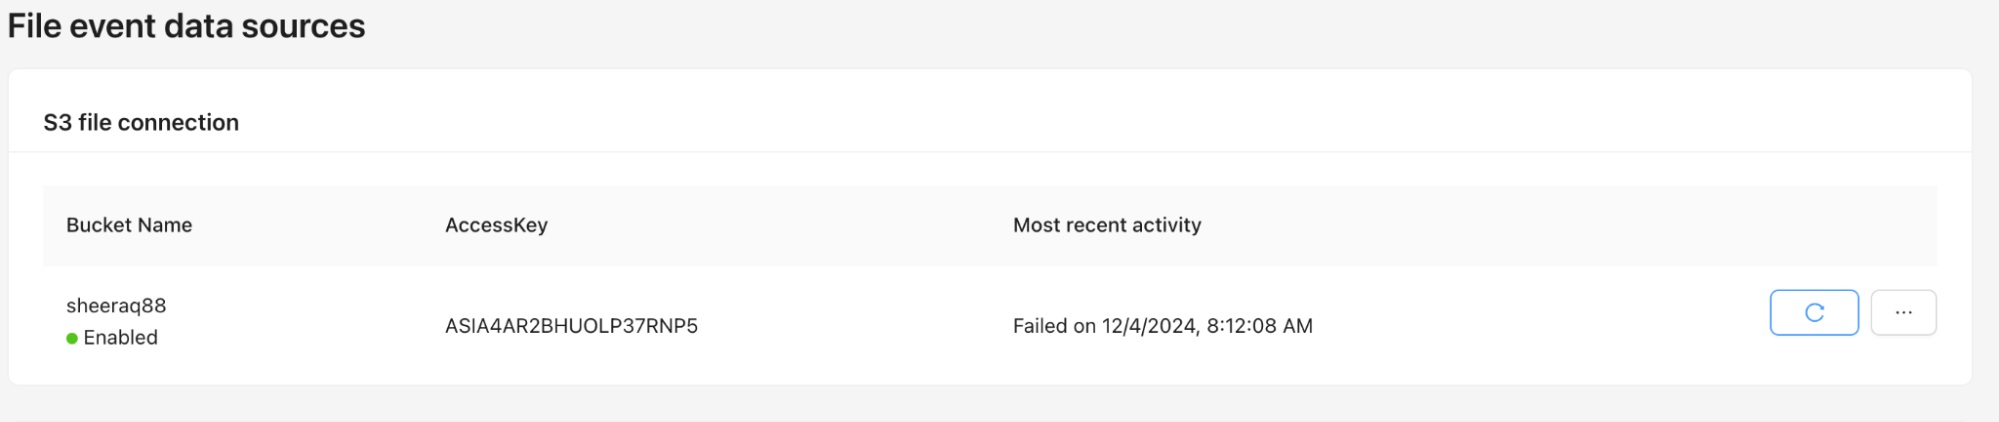
From Account settings → Automatic file uploads you can:
- View the status and timestamp of the most recent job run.
- Modify bucket name or credentials via the ... menu.
To verify the integration, drop a sample CSV into your bucket and confirm the job completes successfully.
In this article, you can find a detailed header definition table to use when formatting your data files. Follow the format closely to help ensure the best results.
Manual upload
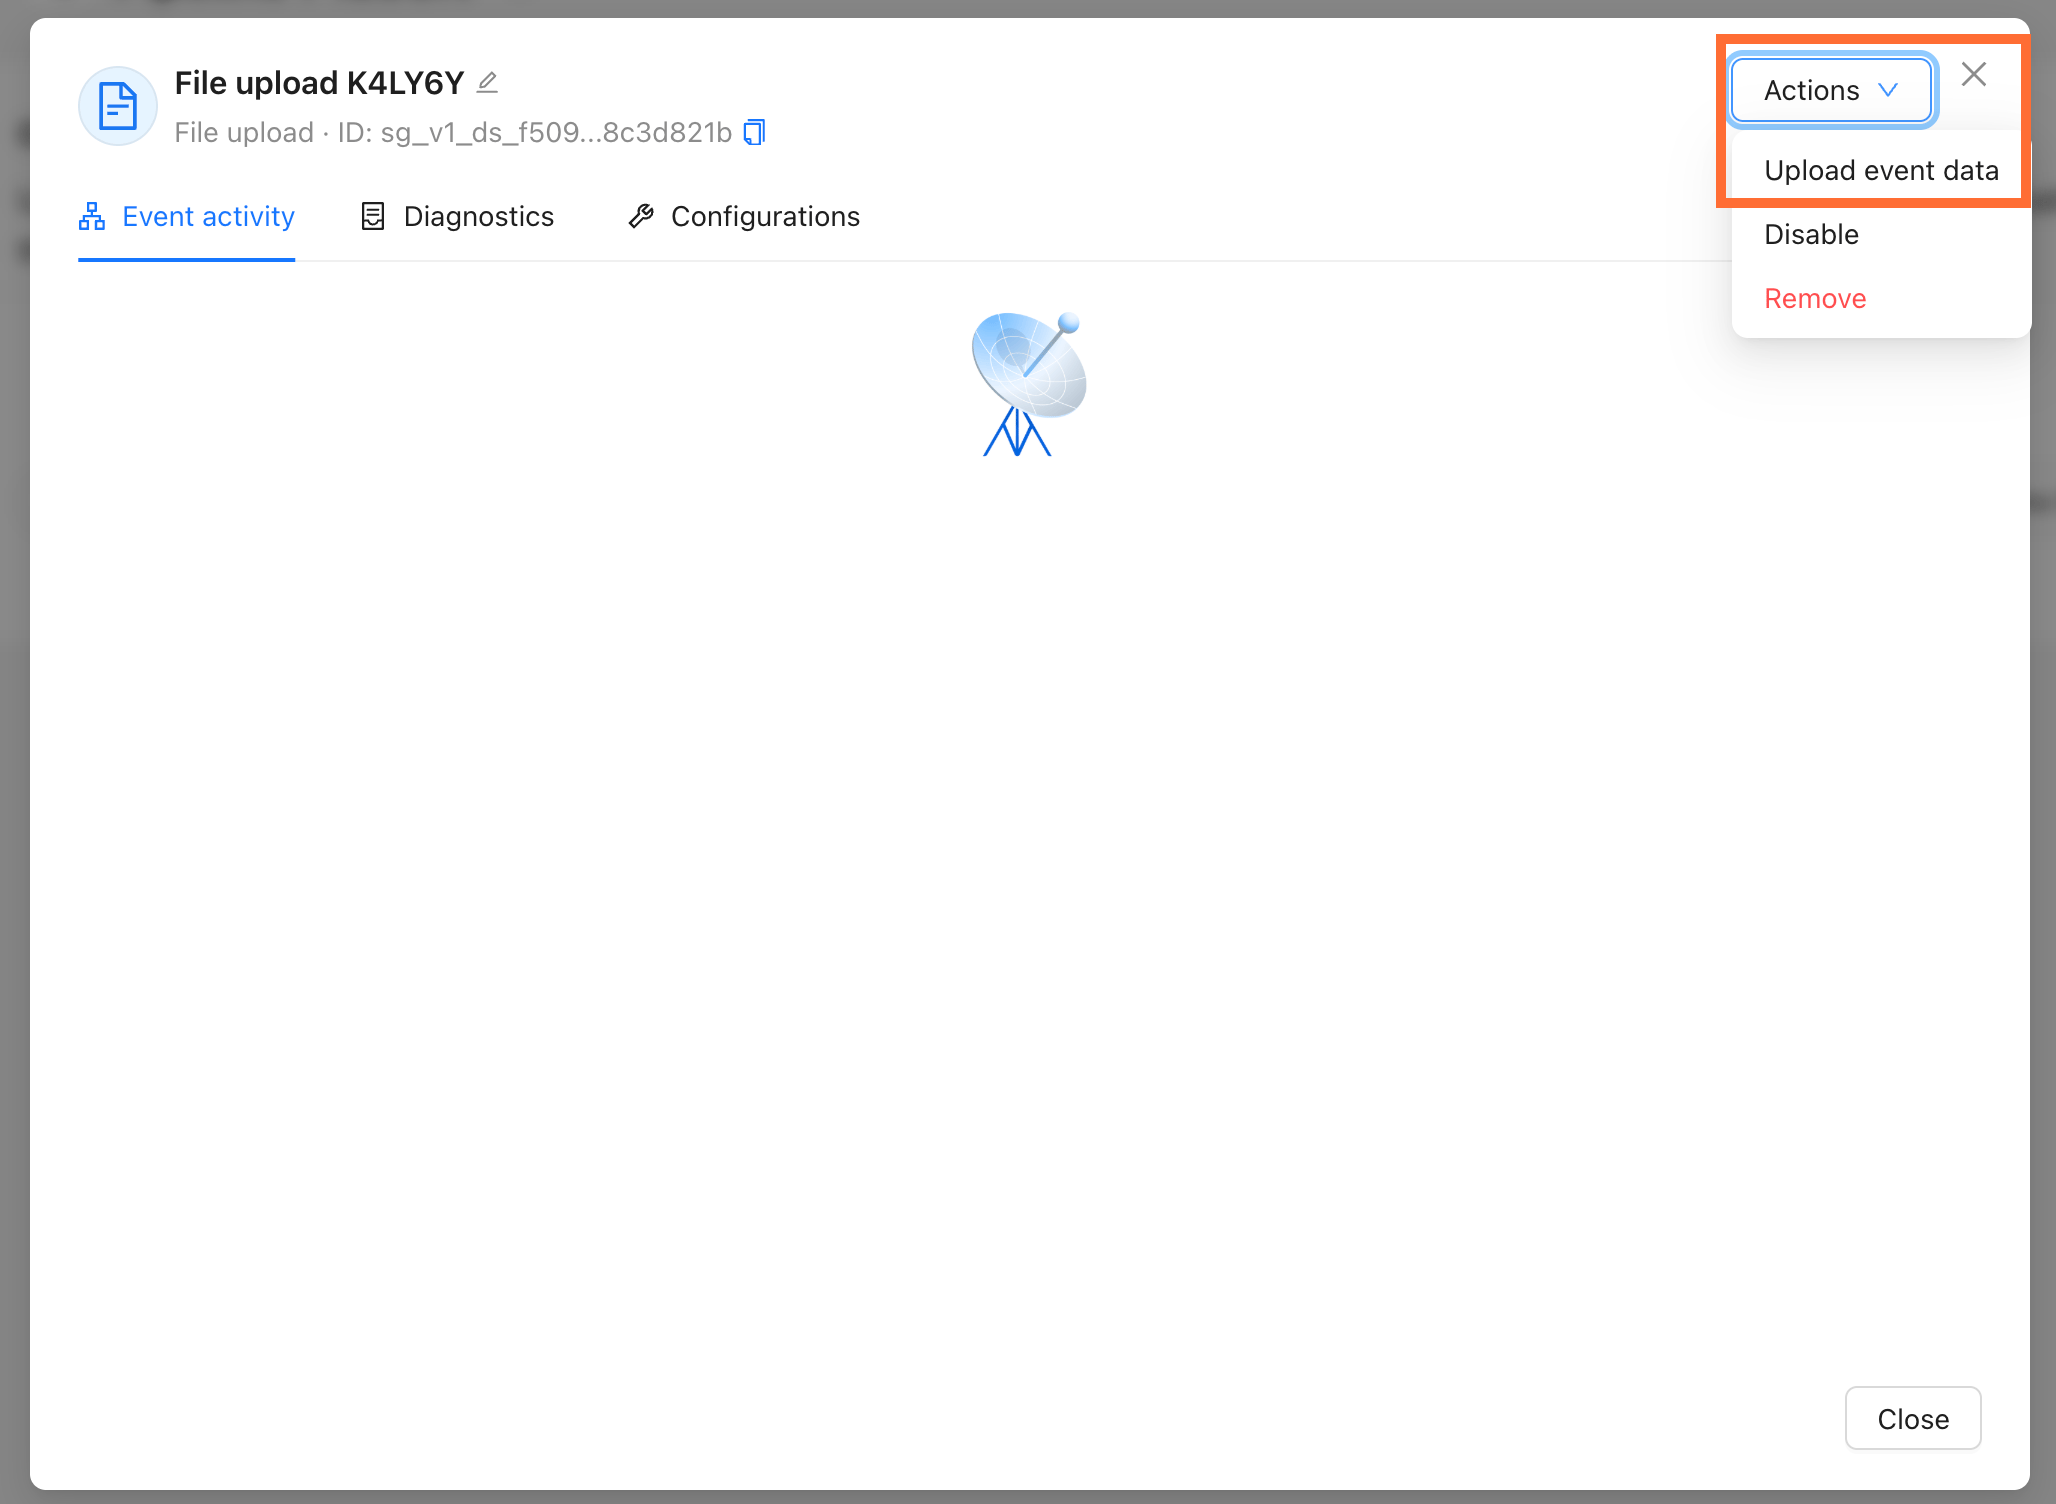
1. From the pipeline, click on your data source.
2. Open the Actions menu and click Upload event data.
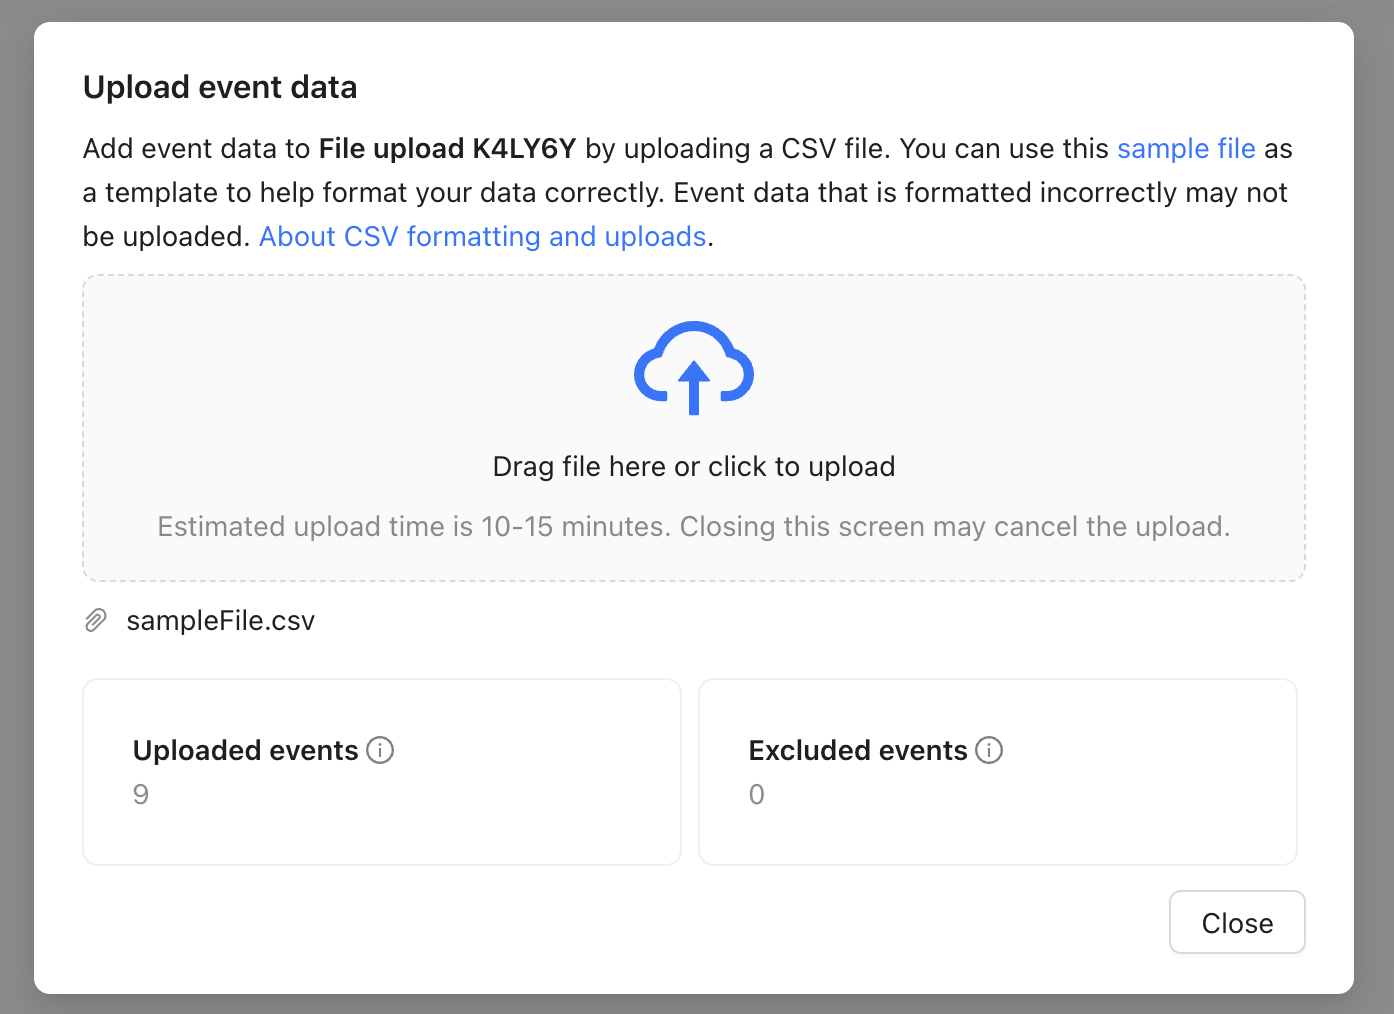
3. Select your CSV file. Headers inside the file must match the field definitions described in this article.
Once uploaded, the filename appears along with the count of Uploaded and Excluded events.
Testing
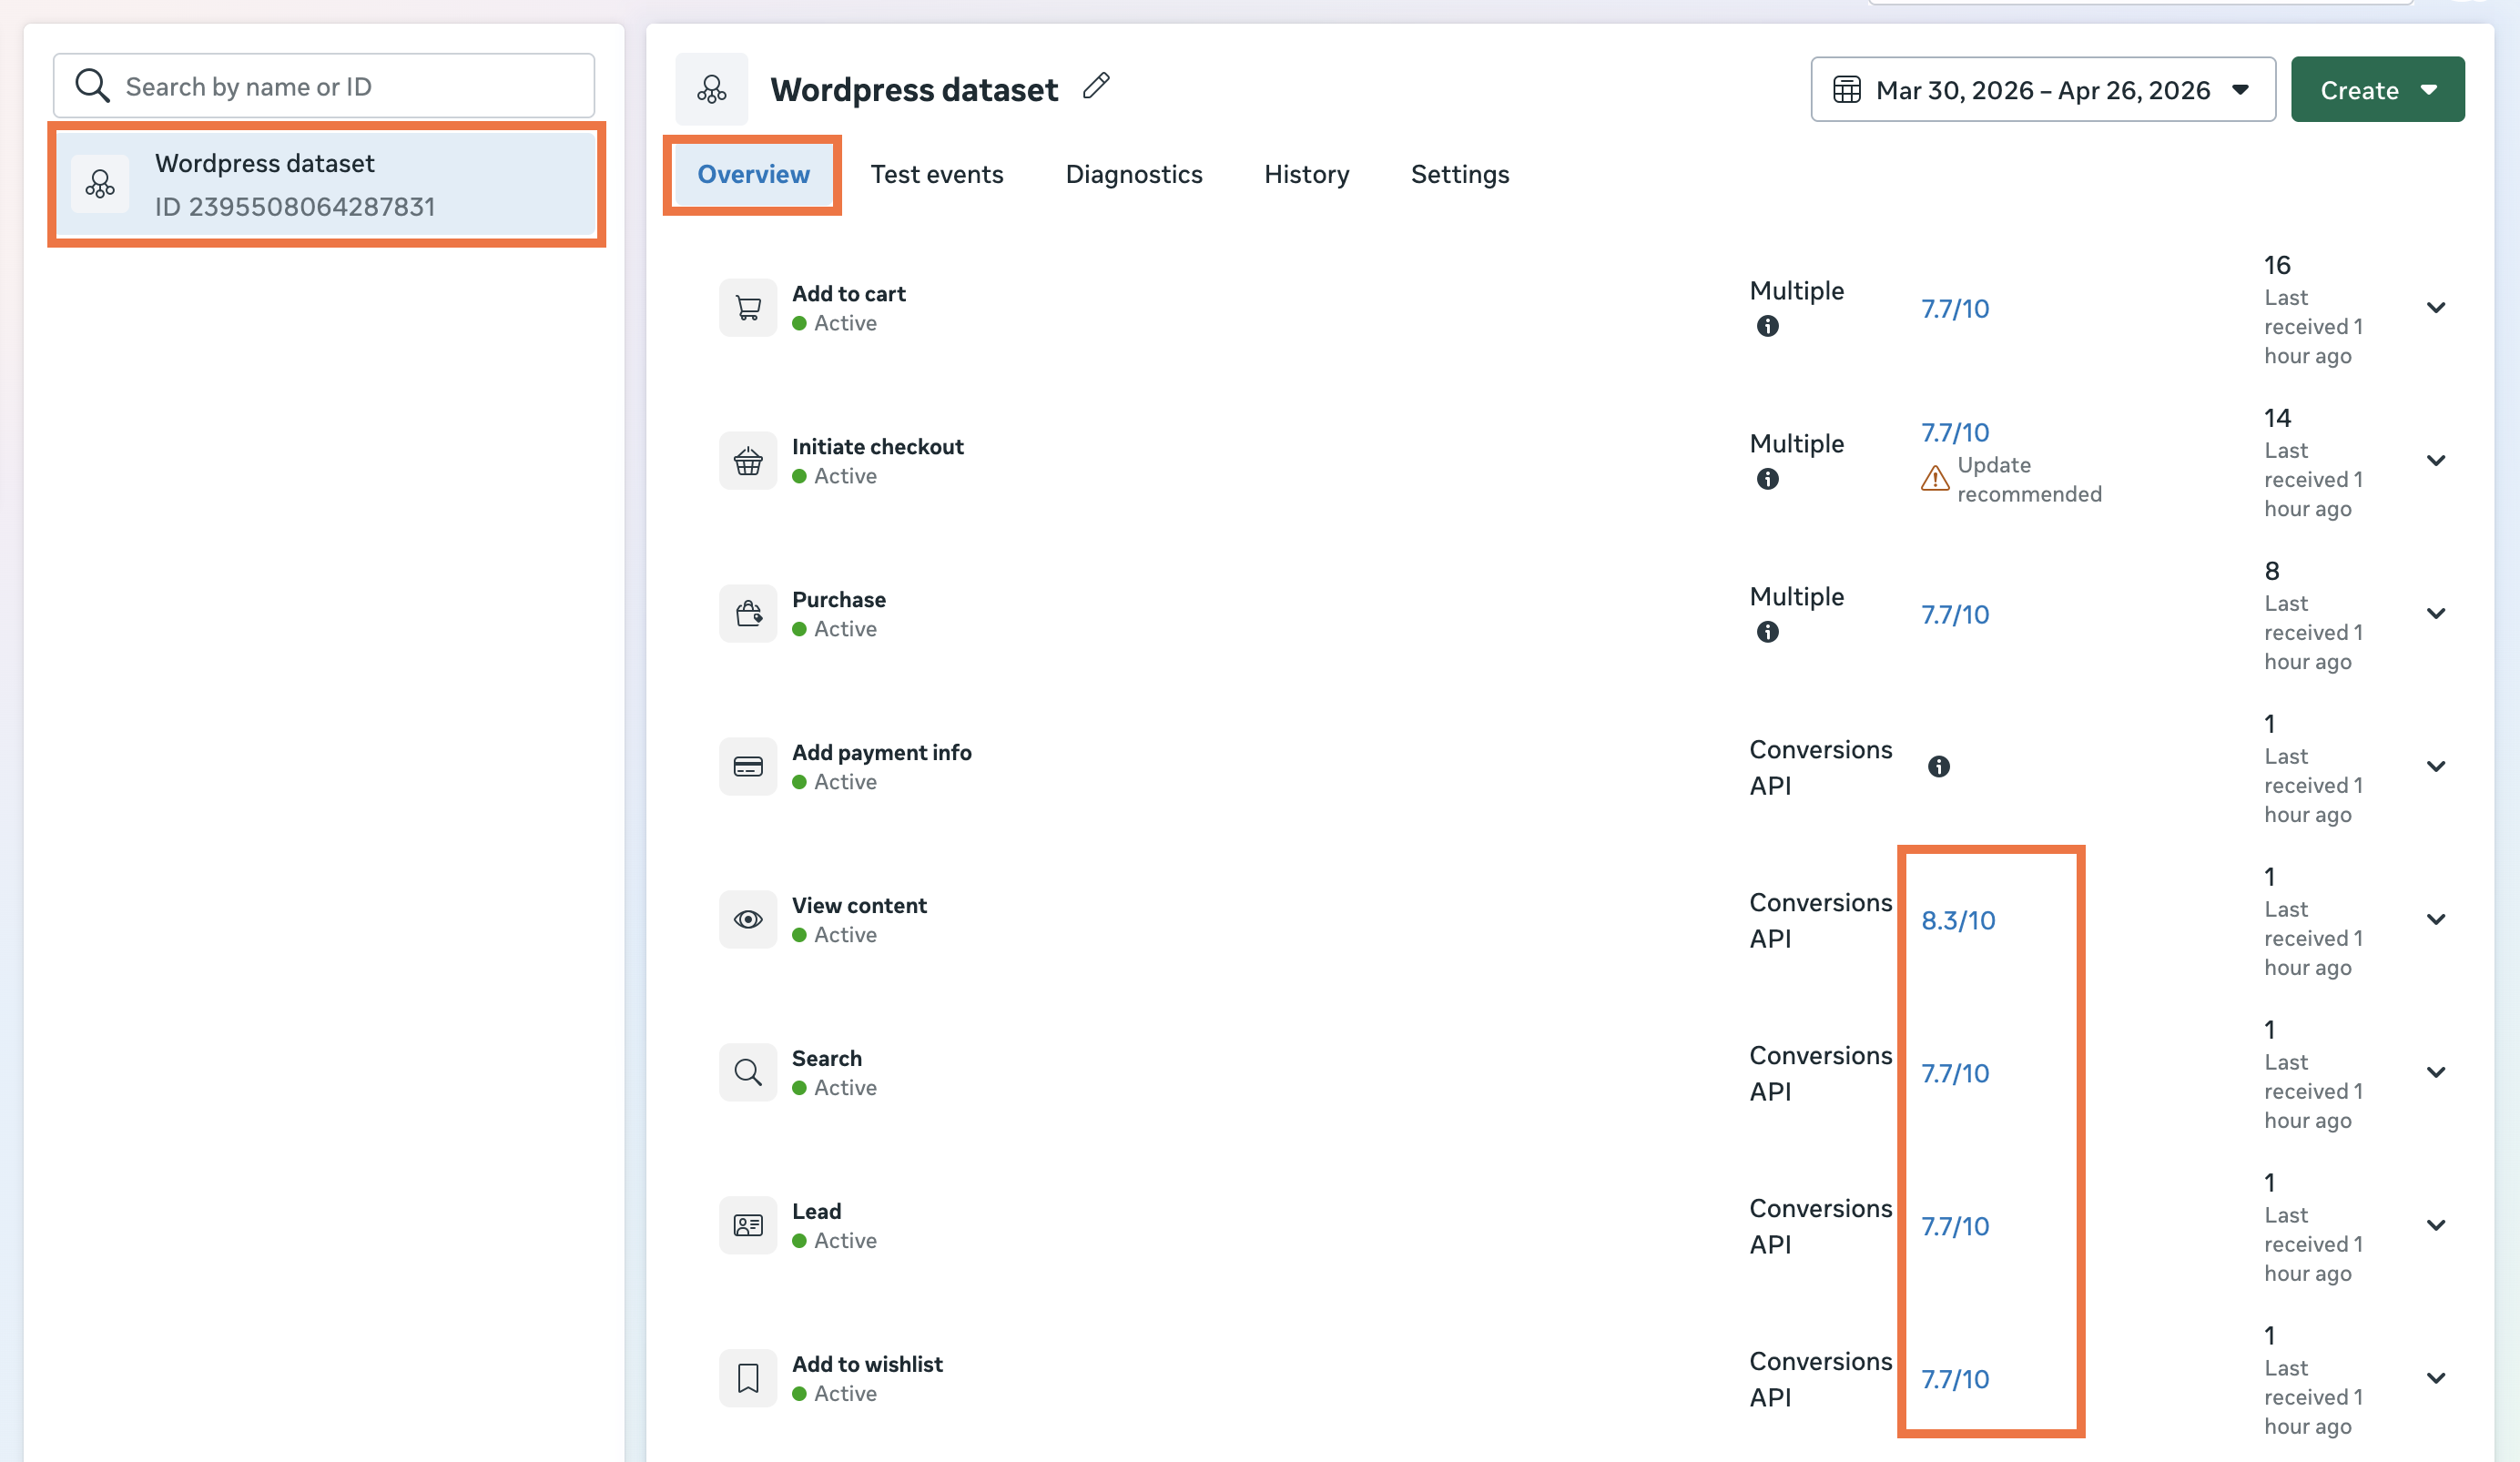
After uploading, confirm events reached Meta:
- Open Events Manager → your dataset → Overview.
- Find your manually uploaded actions.
- Check Event Match Quality for uploaded events. If EMQ is <6.0, add more identity fields to your CSV.
Was this article helpful?
Comments