How to use Stape GTM Helper
Updated Apr 21, 2026
Working with Google Tag Manager (GTM) can be complex, especially when managing containers that include multiple tags, triggers, and variables. Using GTM Preview Mode in such cases often becomes cumbersome and time-consuming.
Stape GTM Helper is a free Chrome browser extension created to make debugging web and server-side GTM containers easy and intuitive. It is a must-have for anyone involved in data tracking setup, from marketing specialists and freelancers to agencies and business owners. It streamlines the debugging process, improves clarity, and helps you work faster.
Requirements for setting up Stape GTM Helper
Stape GTM Helper is a free Chrome extension; you do not need Stape registration or subscriptions to use it. You only need an existing web or server GTM container with any configured tags to preview.
How to use Stape GTM Helper
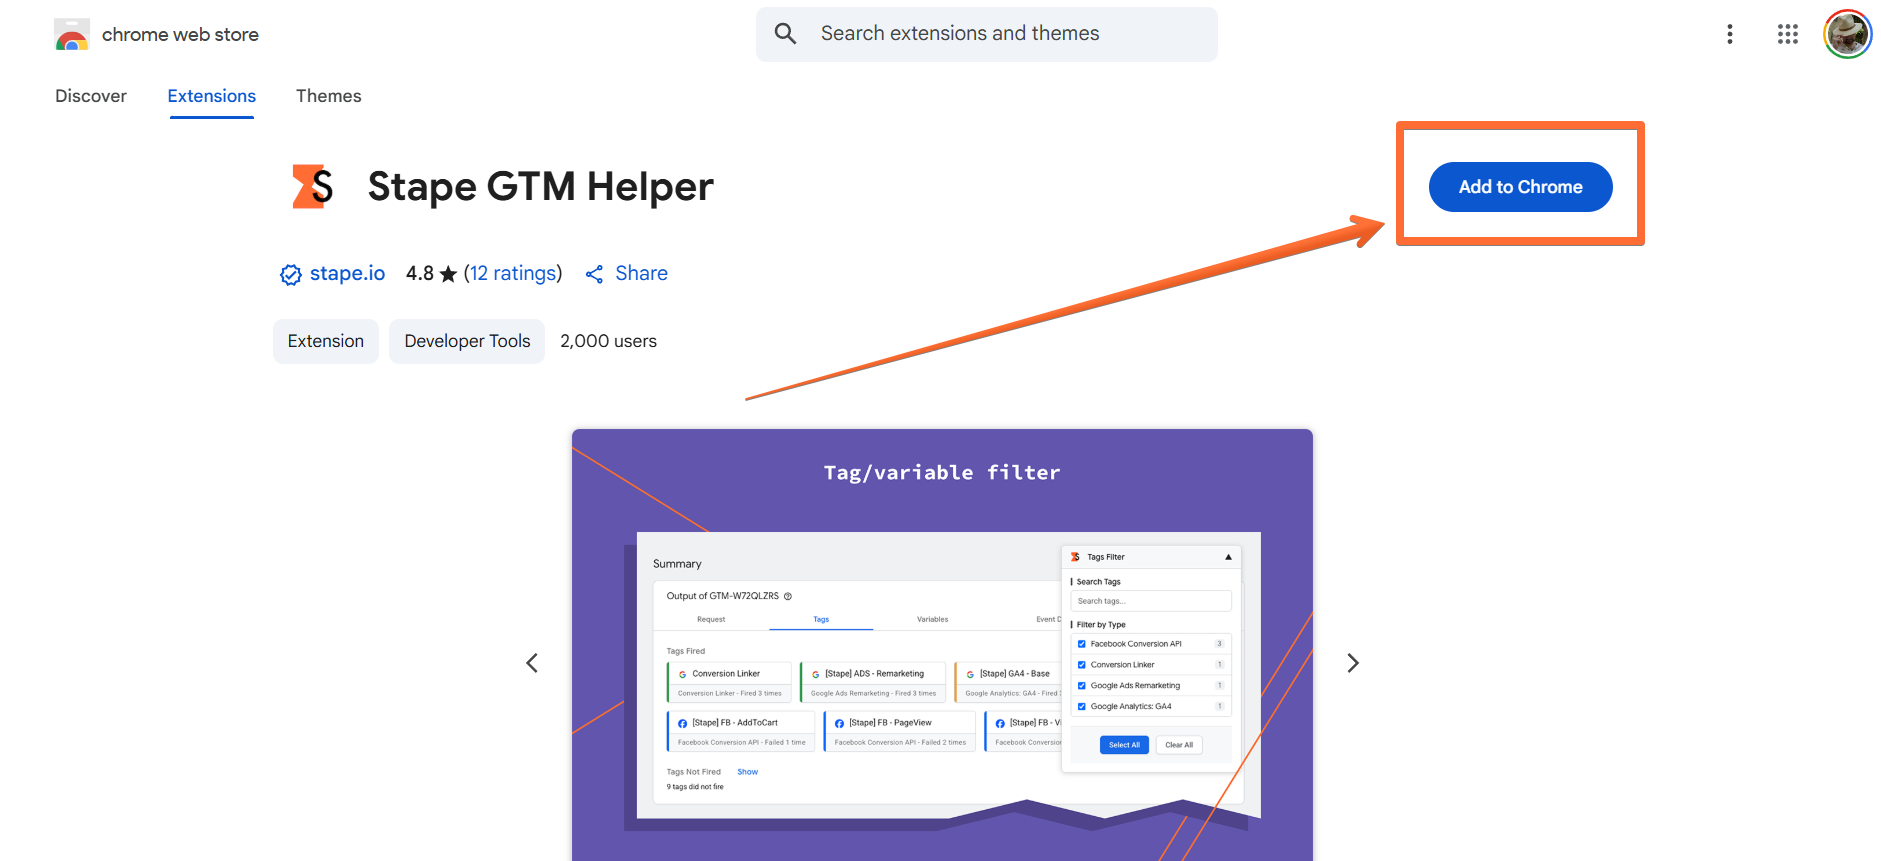
1. Install the Stape GTM Helper Chrome extension.
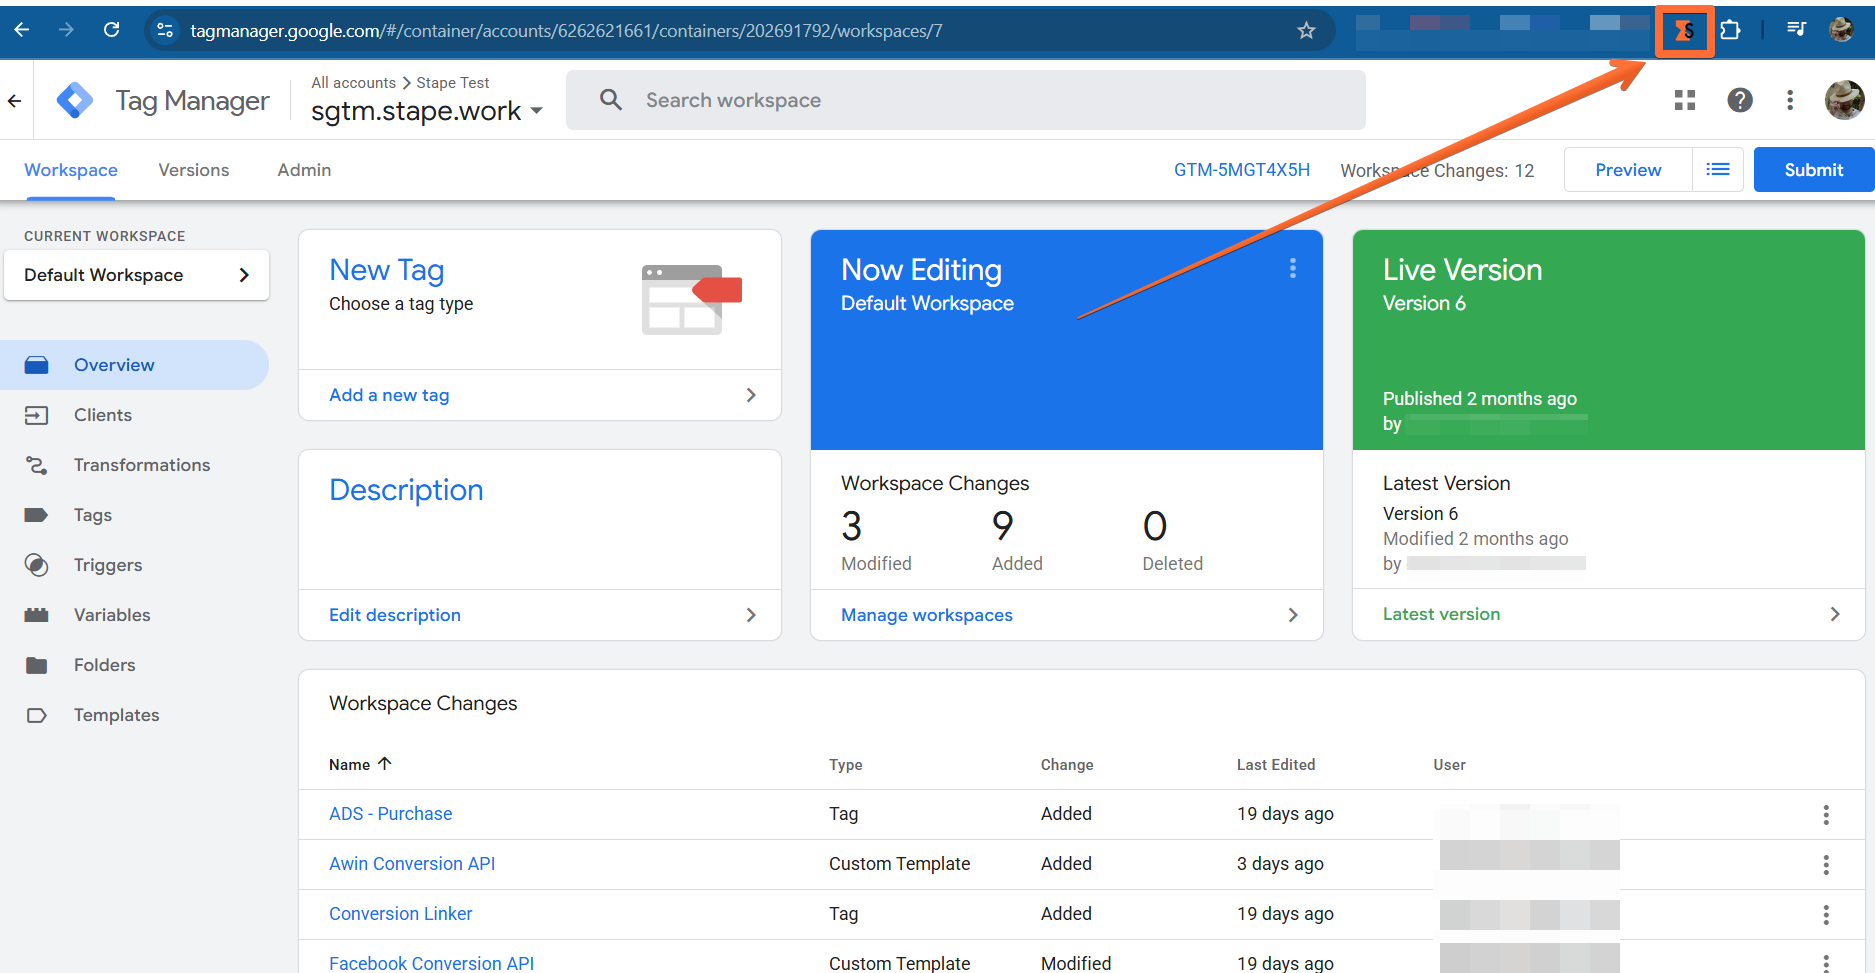
2. To configure the extension, open your GTM container and click on the extension’s icon.
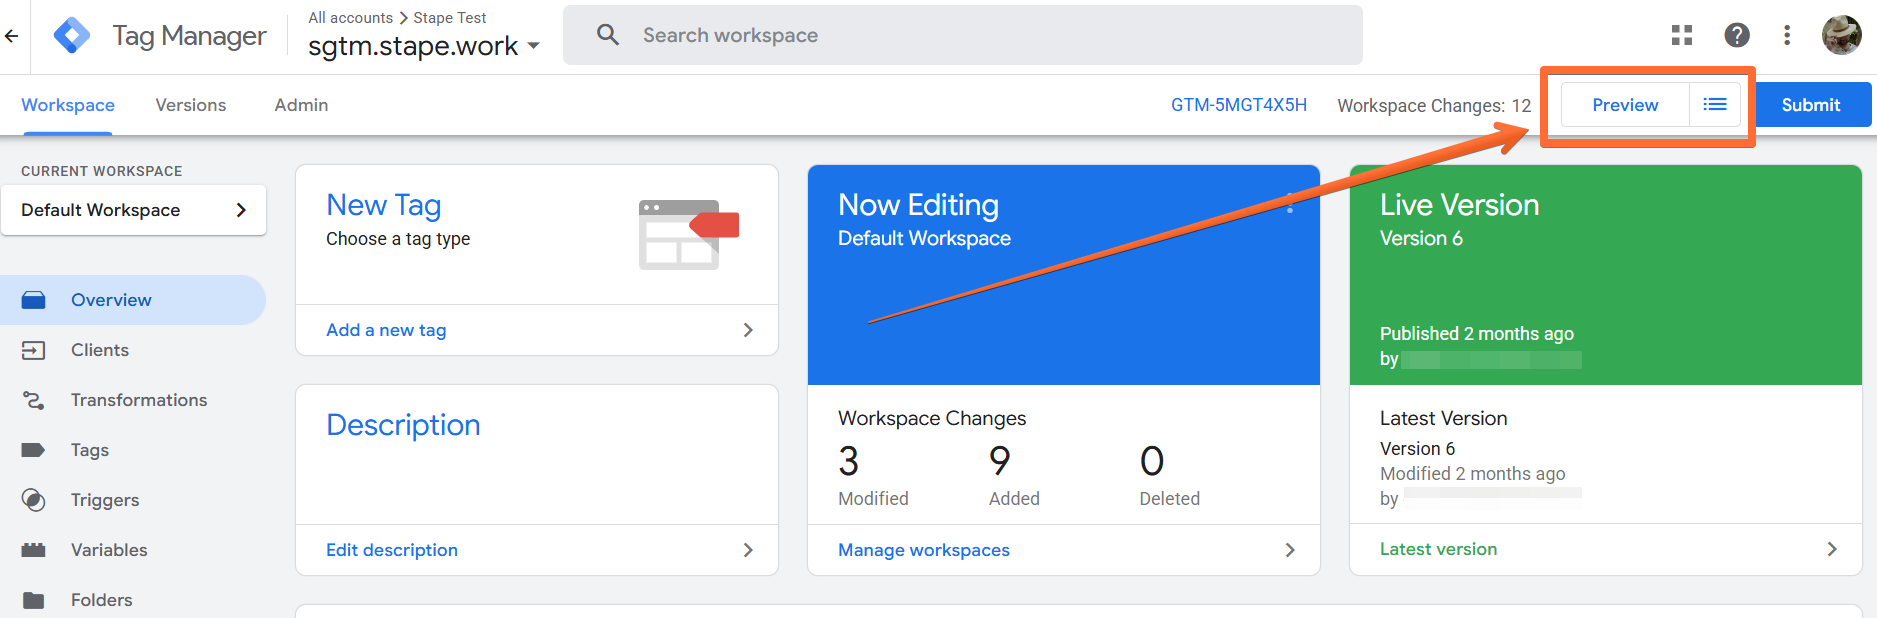
3. To use those features, open GTM Preview Mode.
Depending on the GTM Preview tab you’ve opened, different features become available. Here is a breakdown of what each feature does and where to find it:
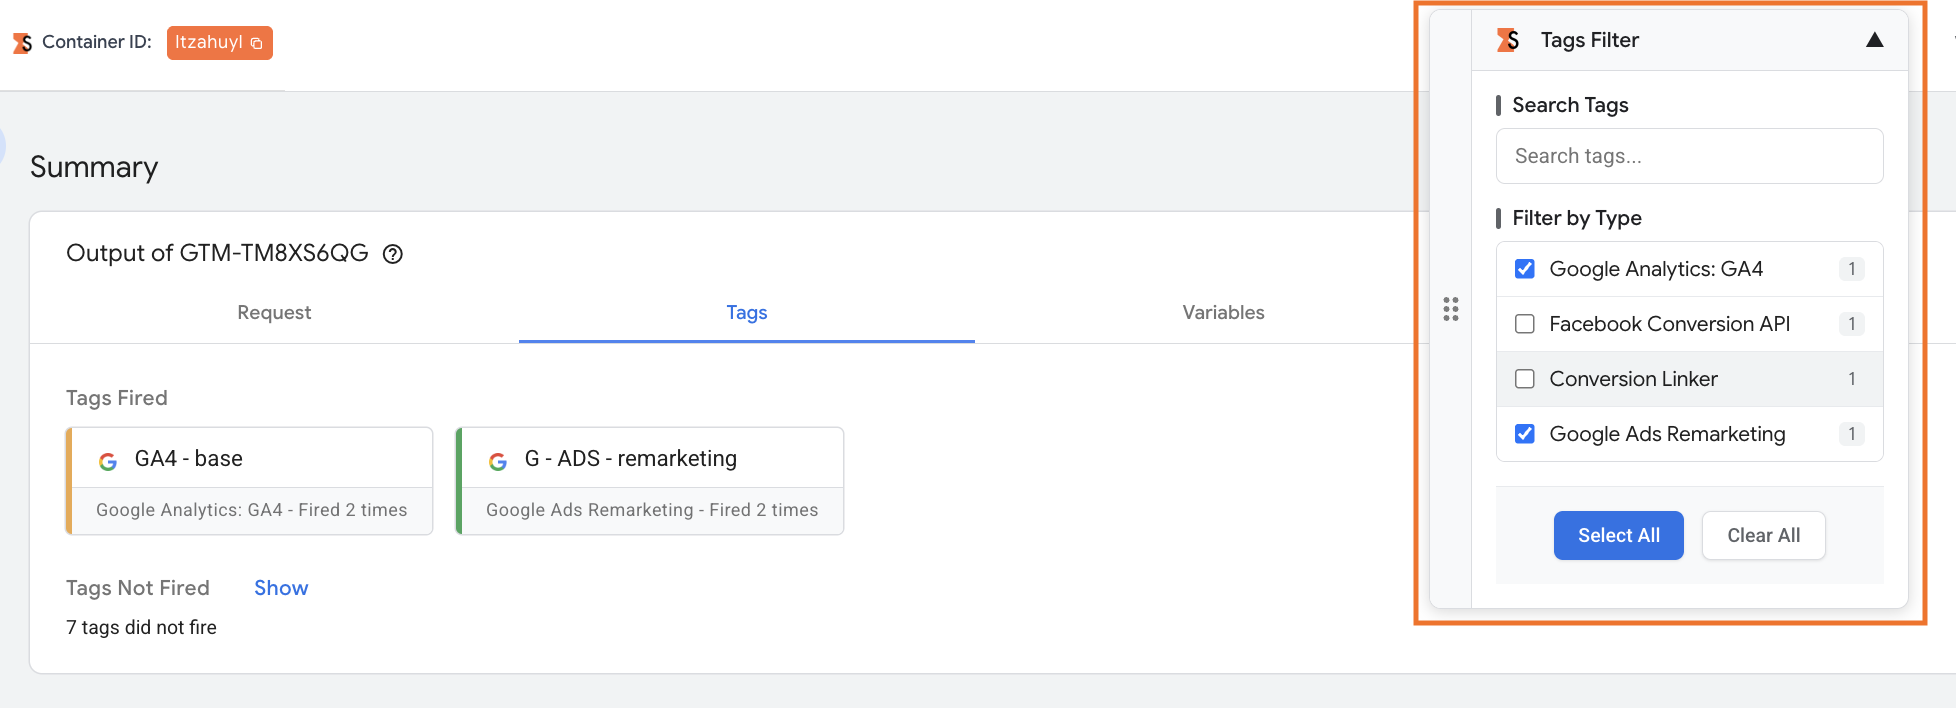
1. Entities filter
If you have multiple entities in your container and would like to test some of them, you can filter out only the necessary ones for convenient debugging.
The feature is available for both web and server GTM containers and can be used in Preview mode.
2. JSON formatter
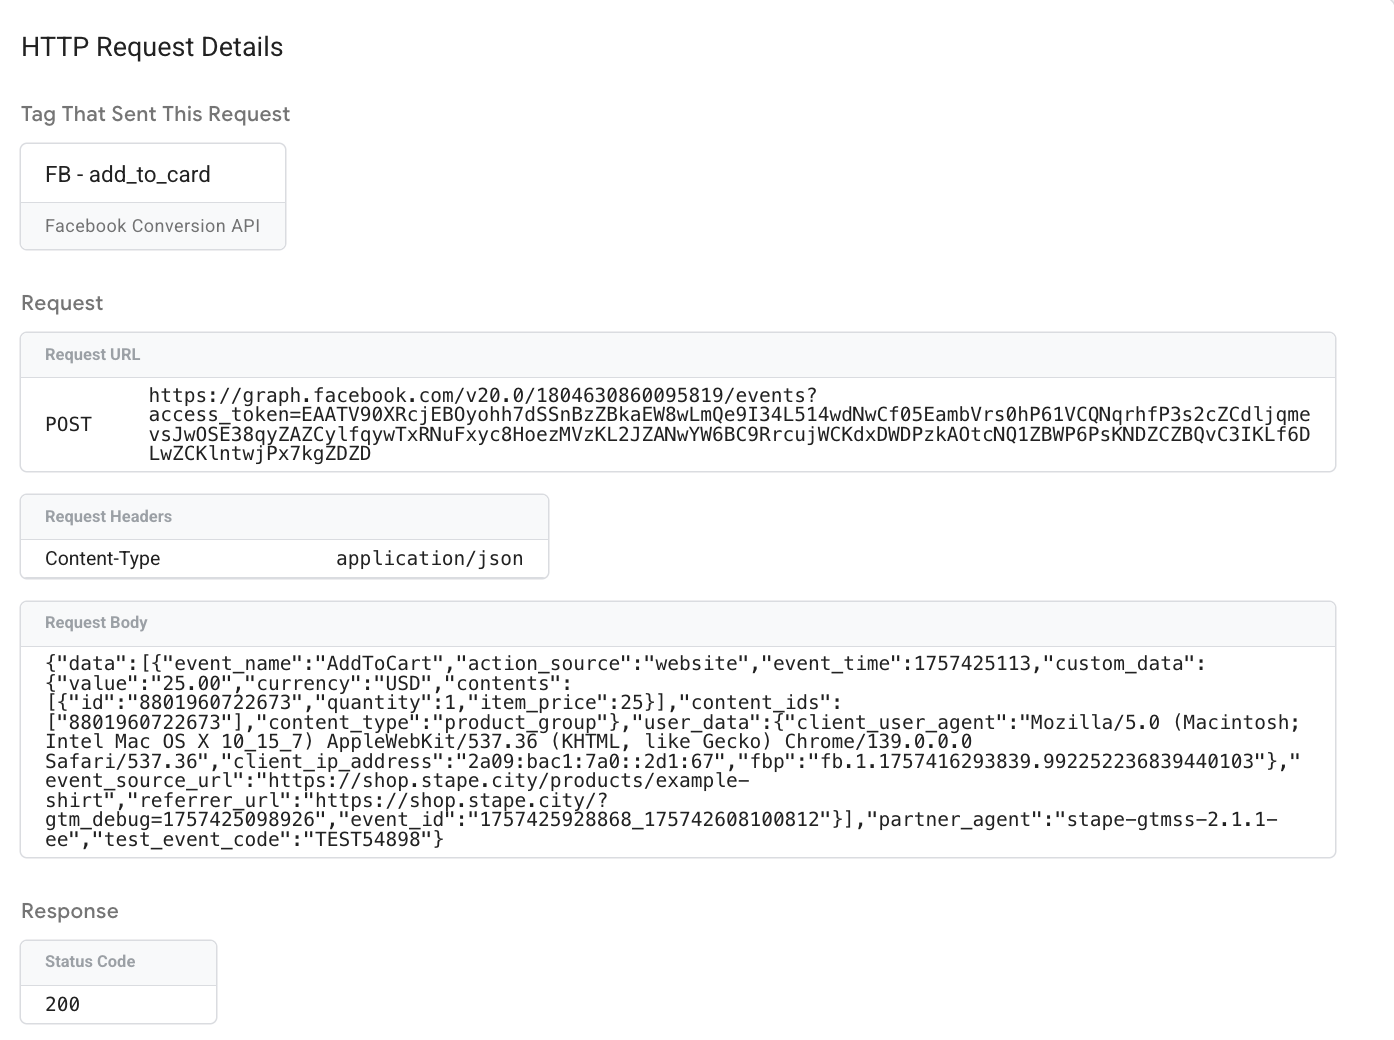
This feature makes JSON incoming and outgoing requests in the sGTM preview easier to read. It's especially useful for webhooks and checking the data that tags send.
Here's an example of what you get without the extension:
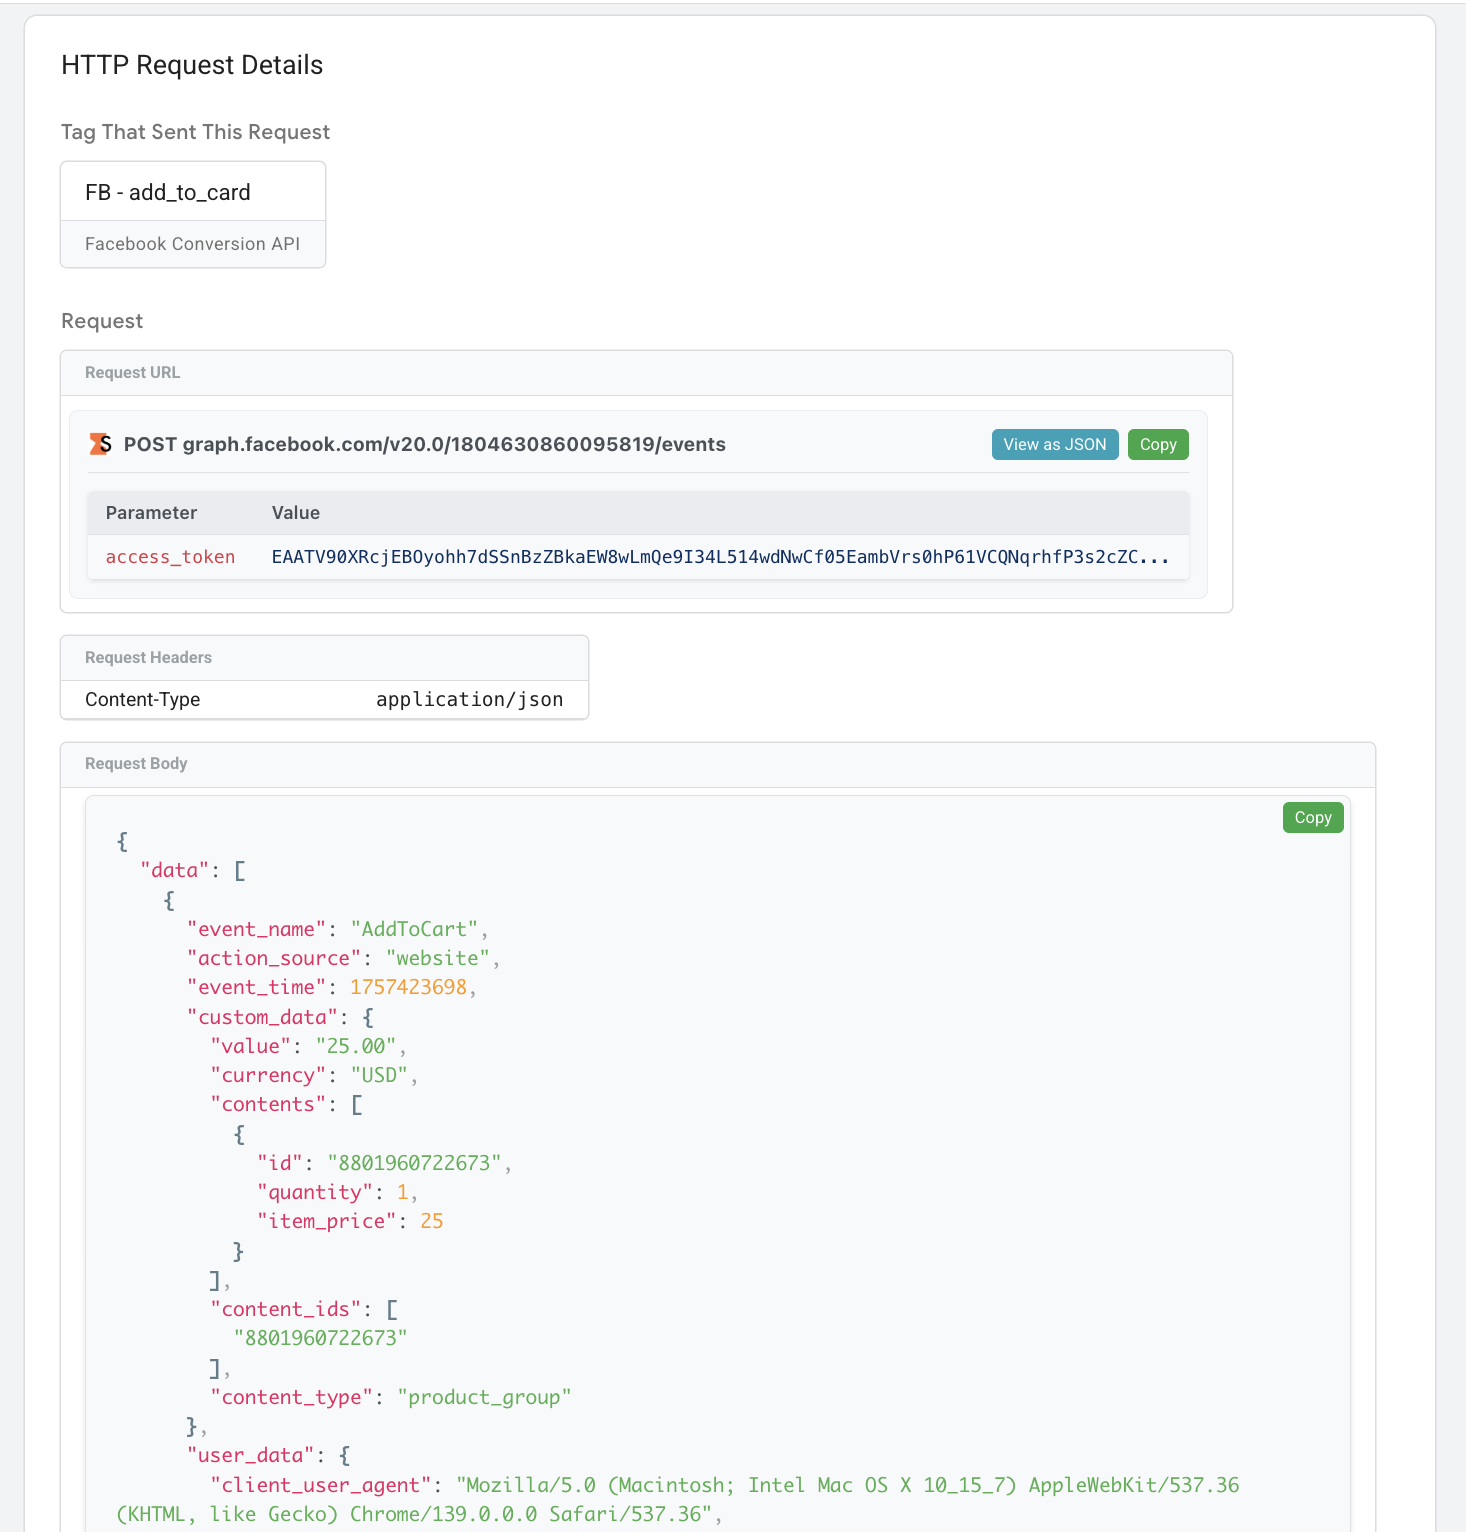
And here's what you get with the extension:
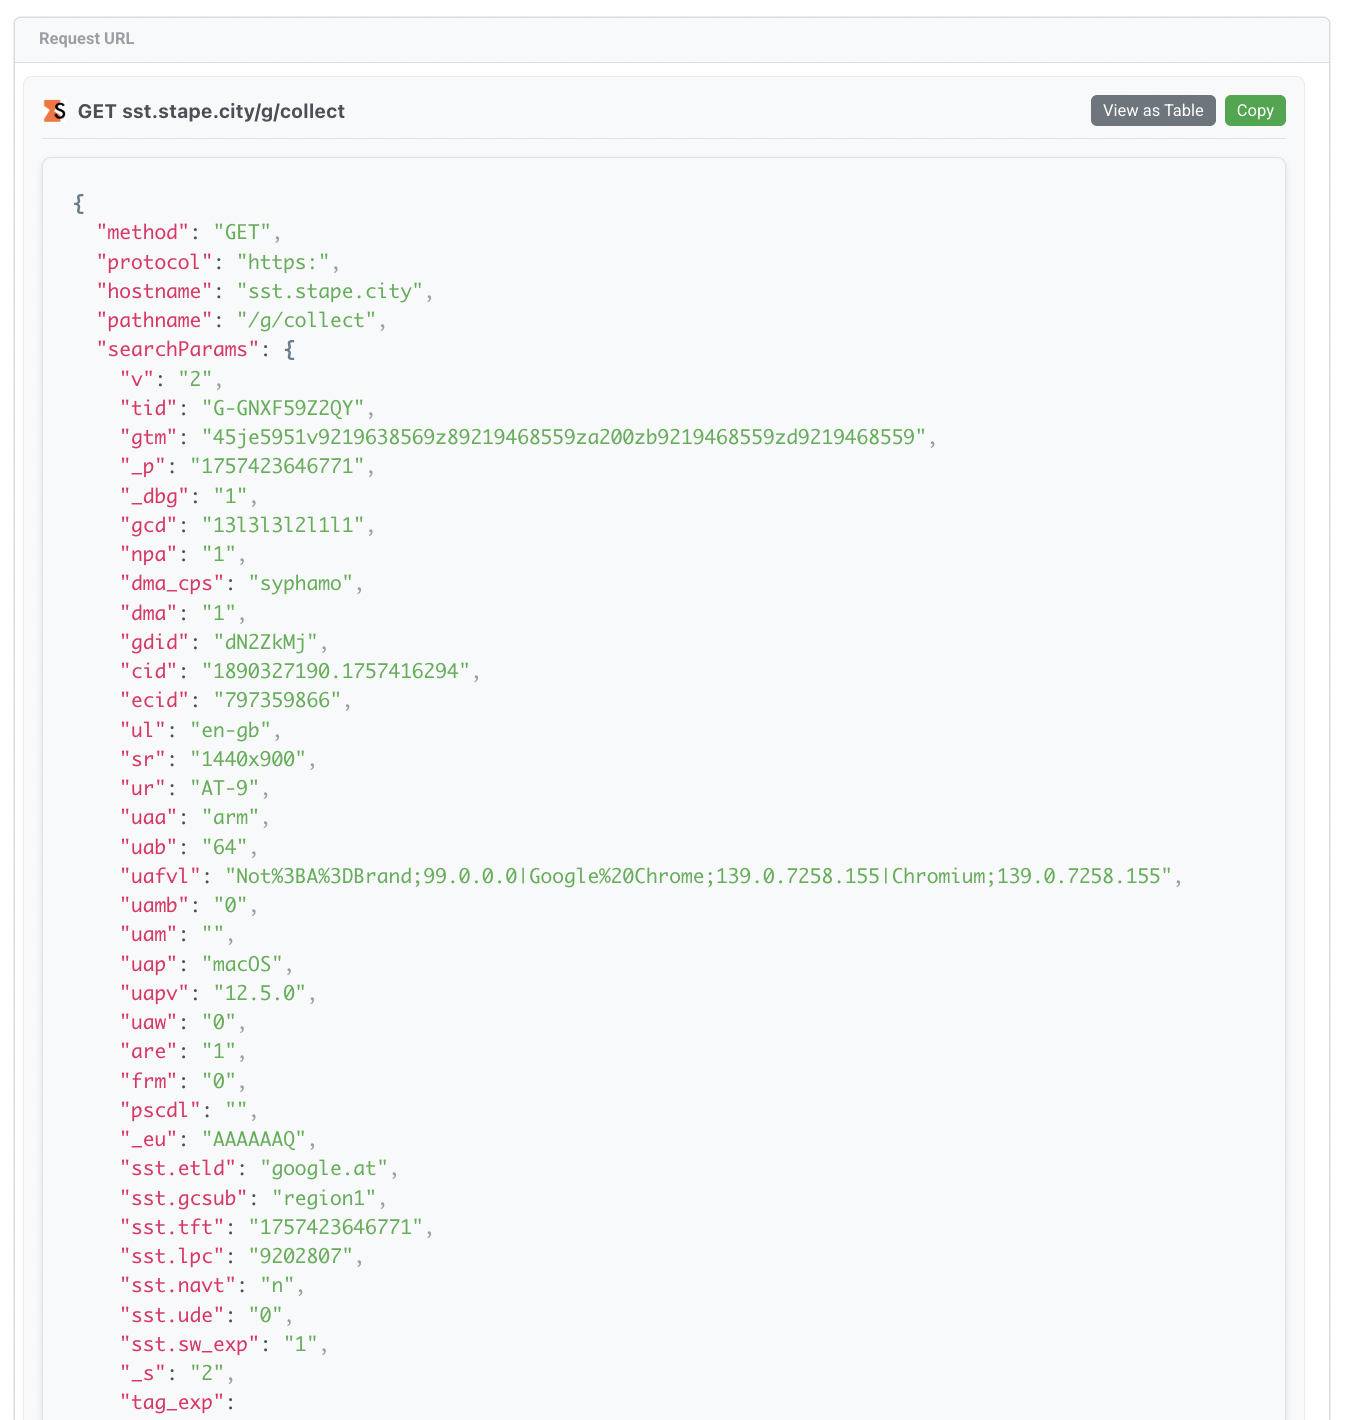
3. Request URL formatter
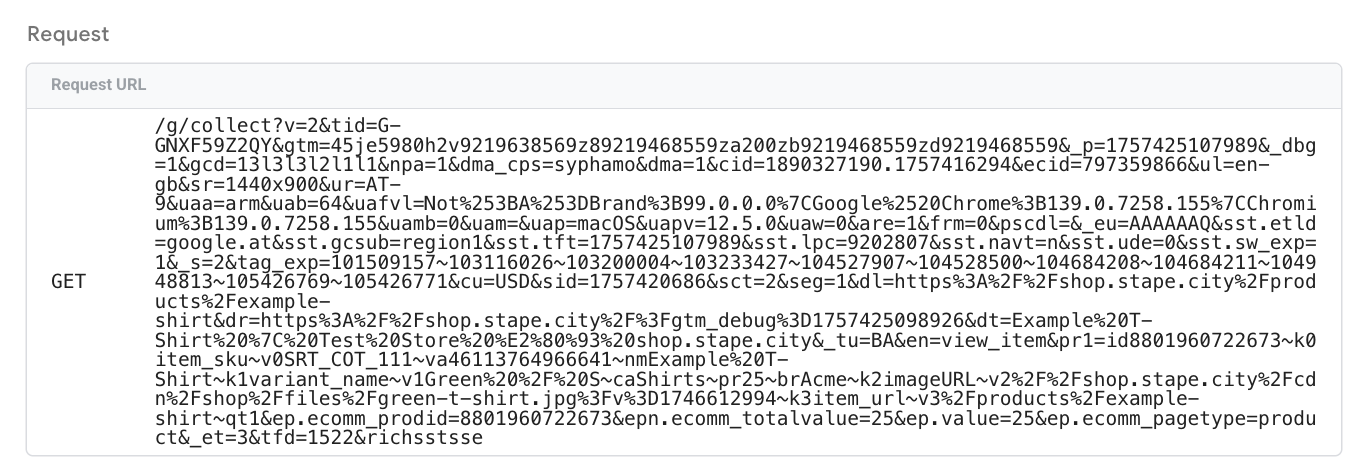
This feature makes queried parameters in URL requests easier to read. It's most useful when viewing incoming and outgoing GA4 requests.
Here's an example of what you get without the extension:
And here's what you get with the Stape GTM Helper:
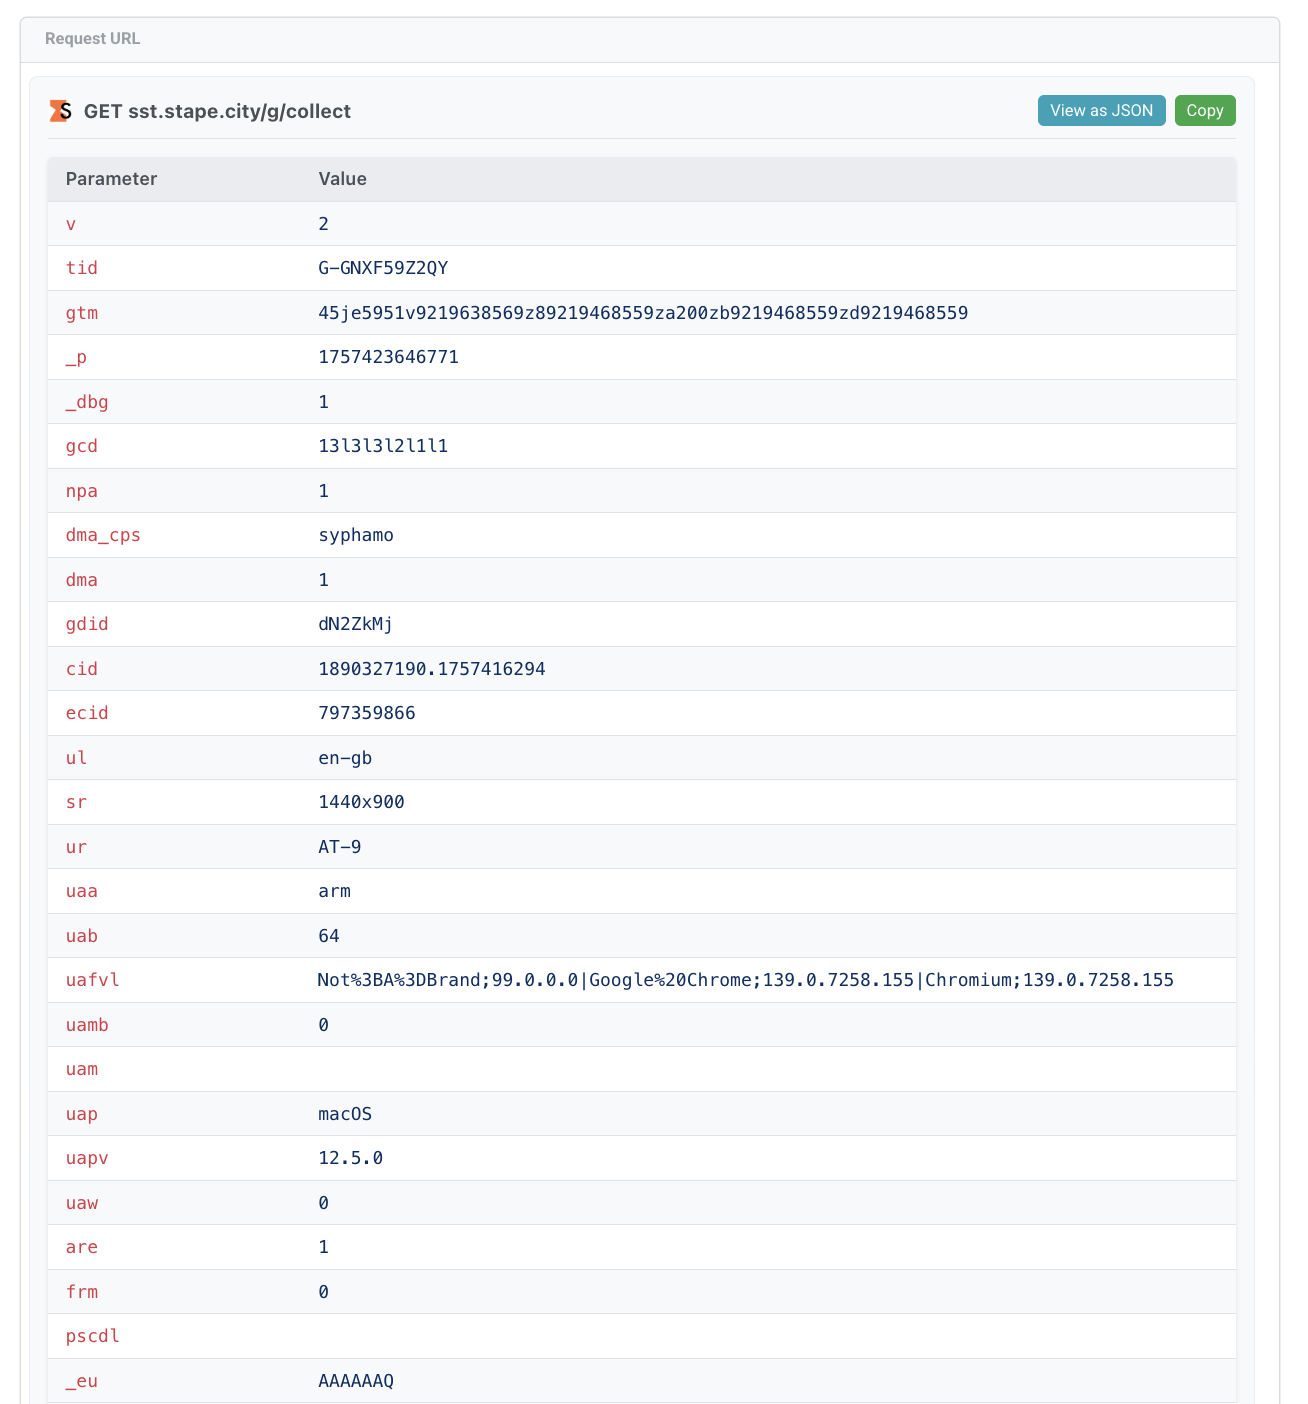
You can also view the Request URL data in JSON format and copy the data by clicking the corresponding buttons.
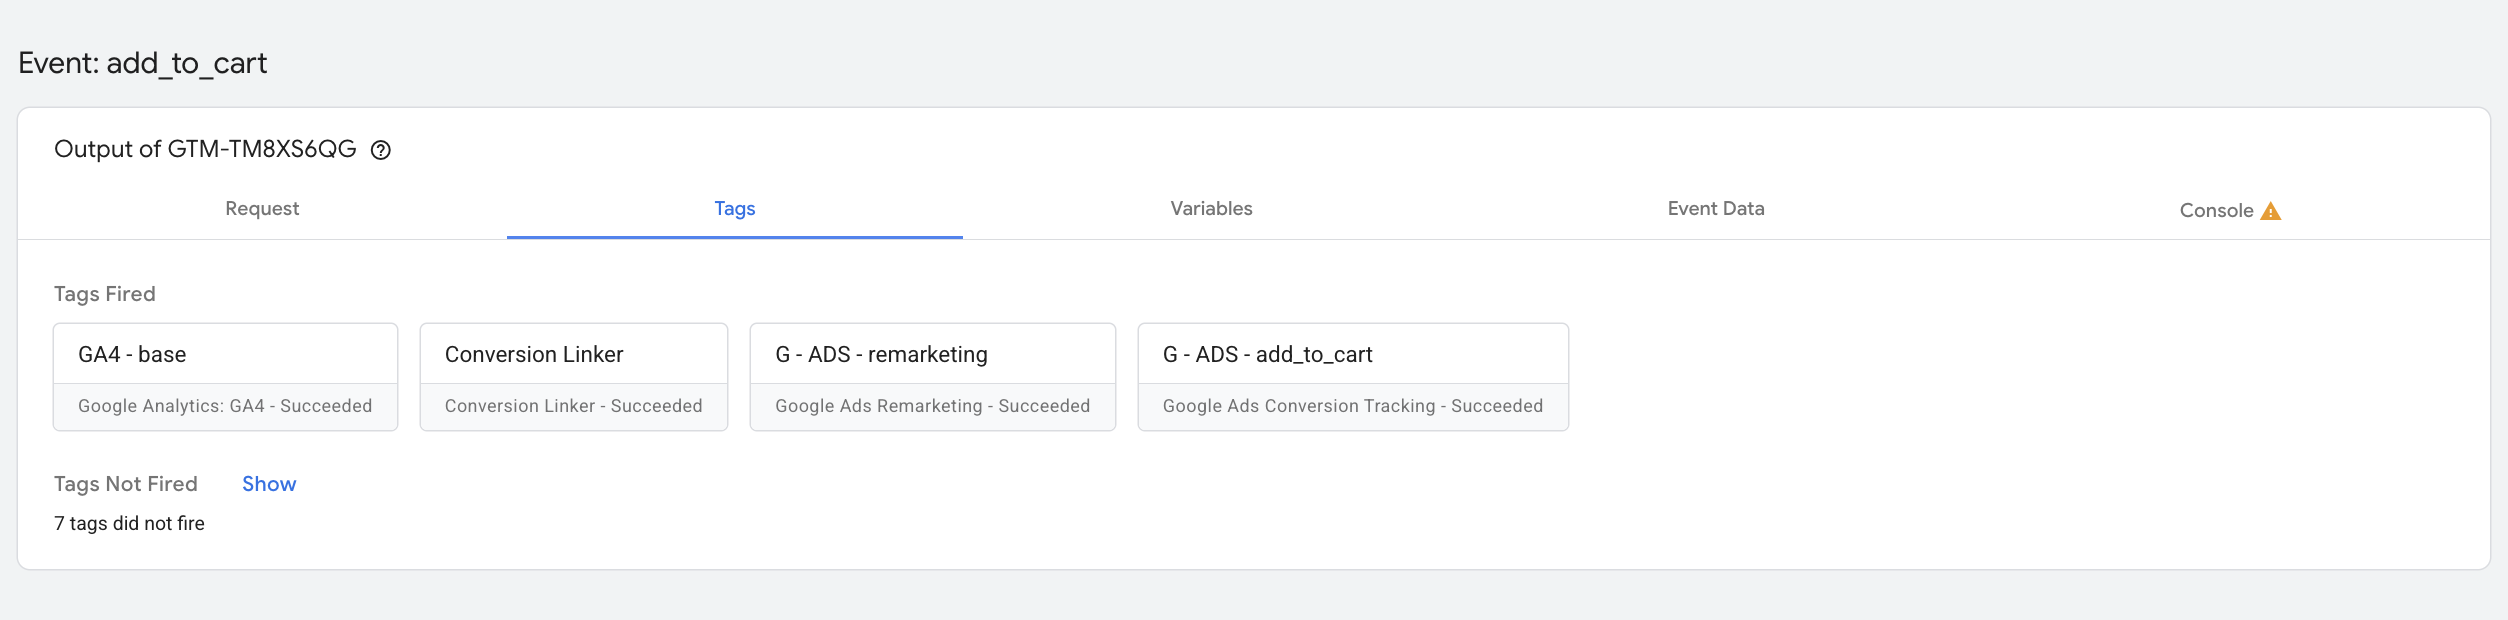
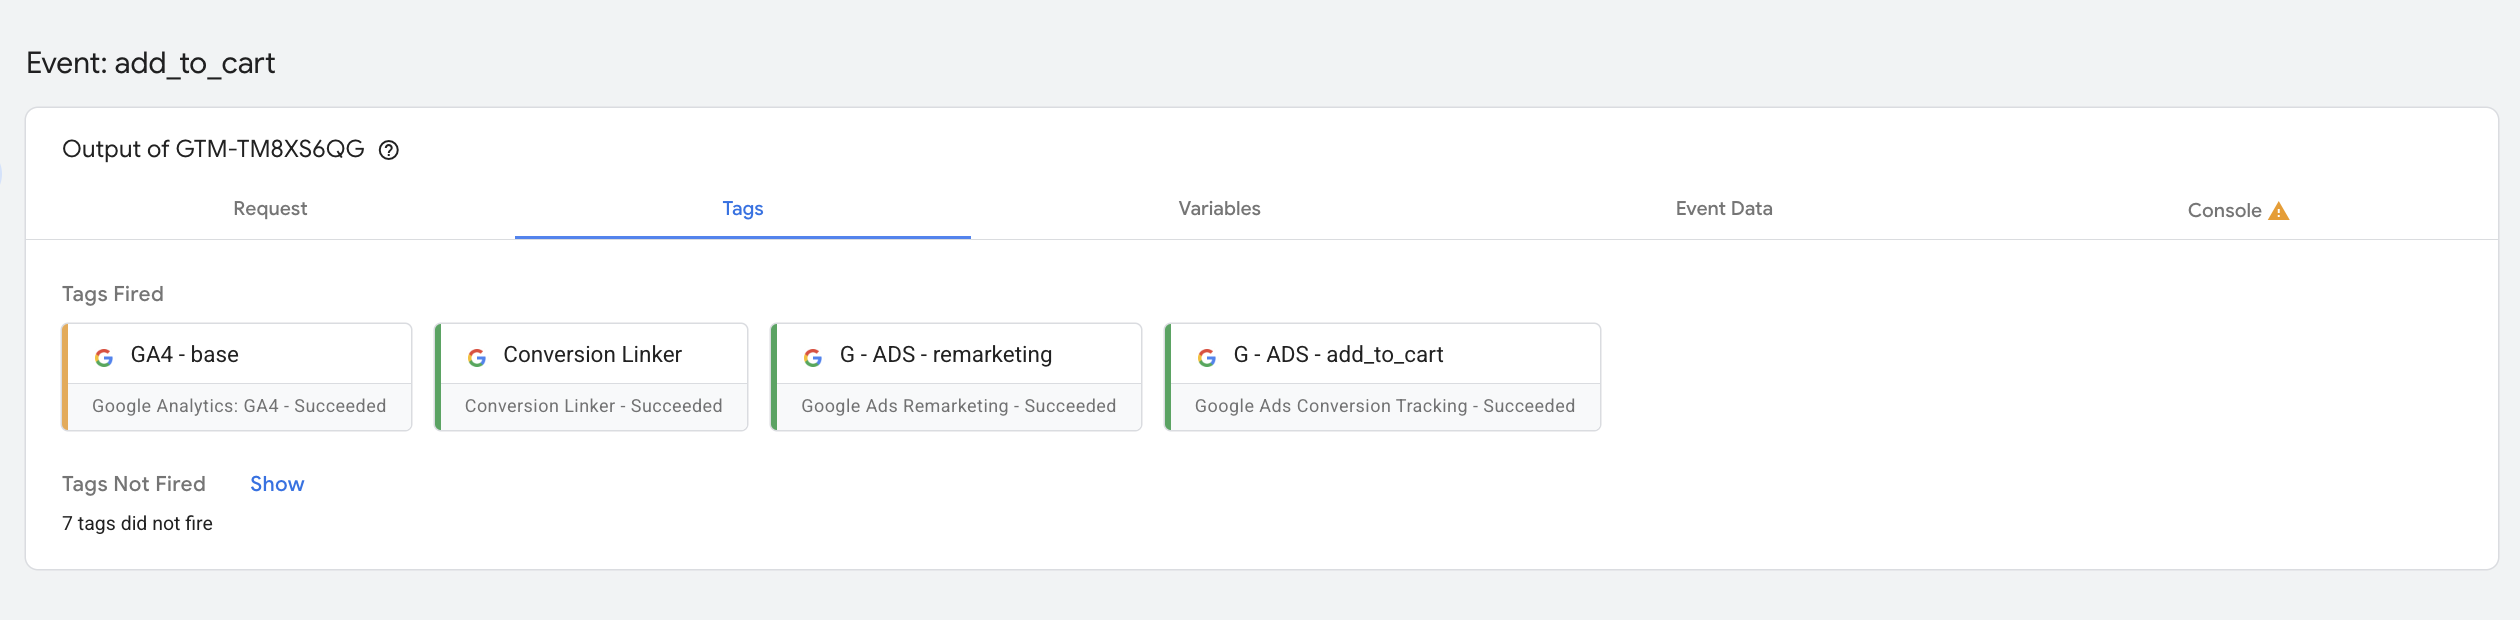
4. Tag type coloring
This feature adds color coding and the platform's logo for the most popular tags (Meta, GA4, Google Ads, Microsoft, etc.). It works on both web and server preview, making it easier to navigate through triggered tags when there are many in the container.
Here's an example of what you get without the extension:
And here's what you get with the extension:
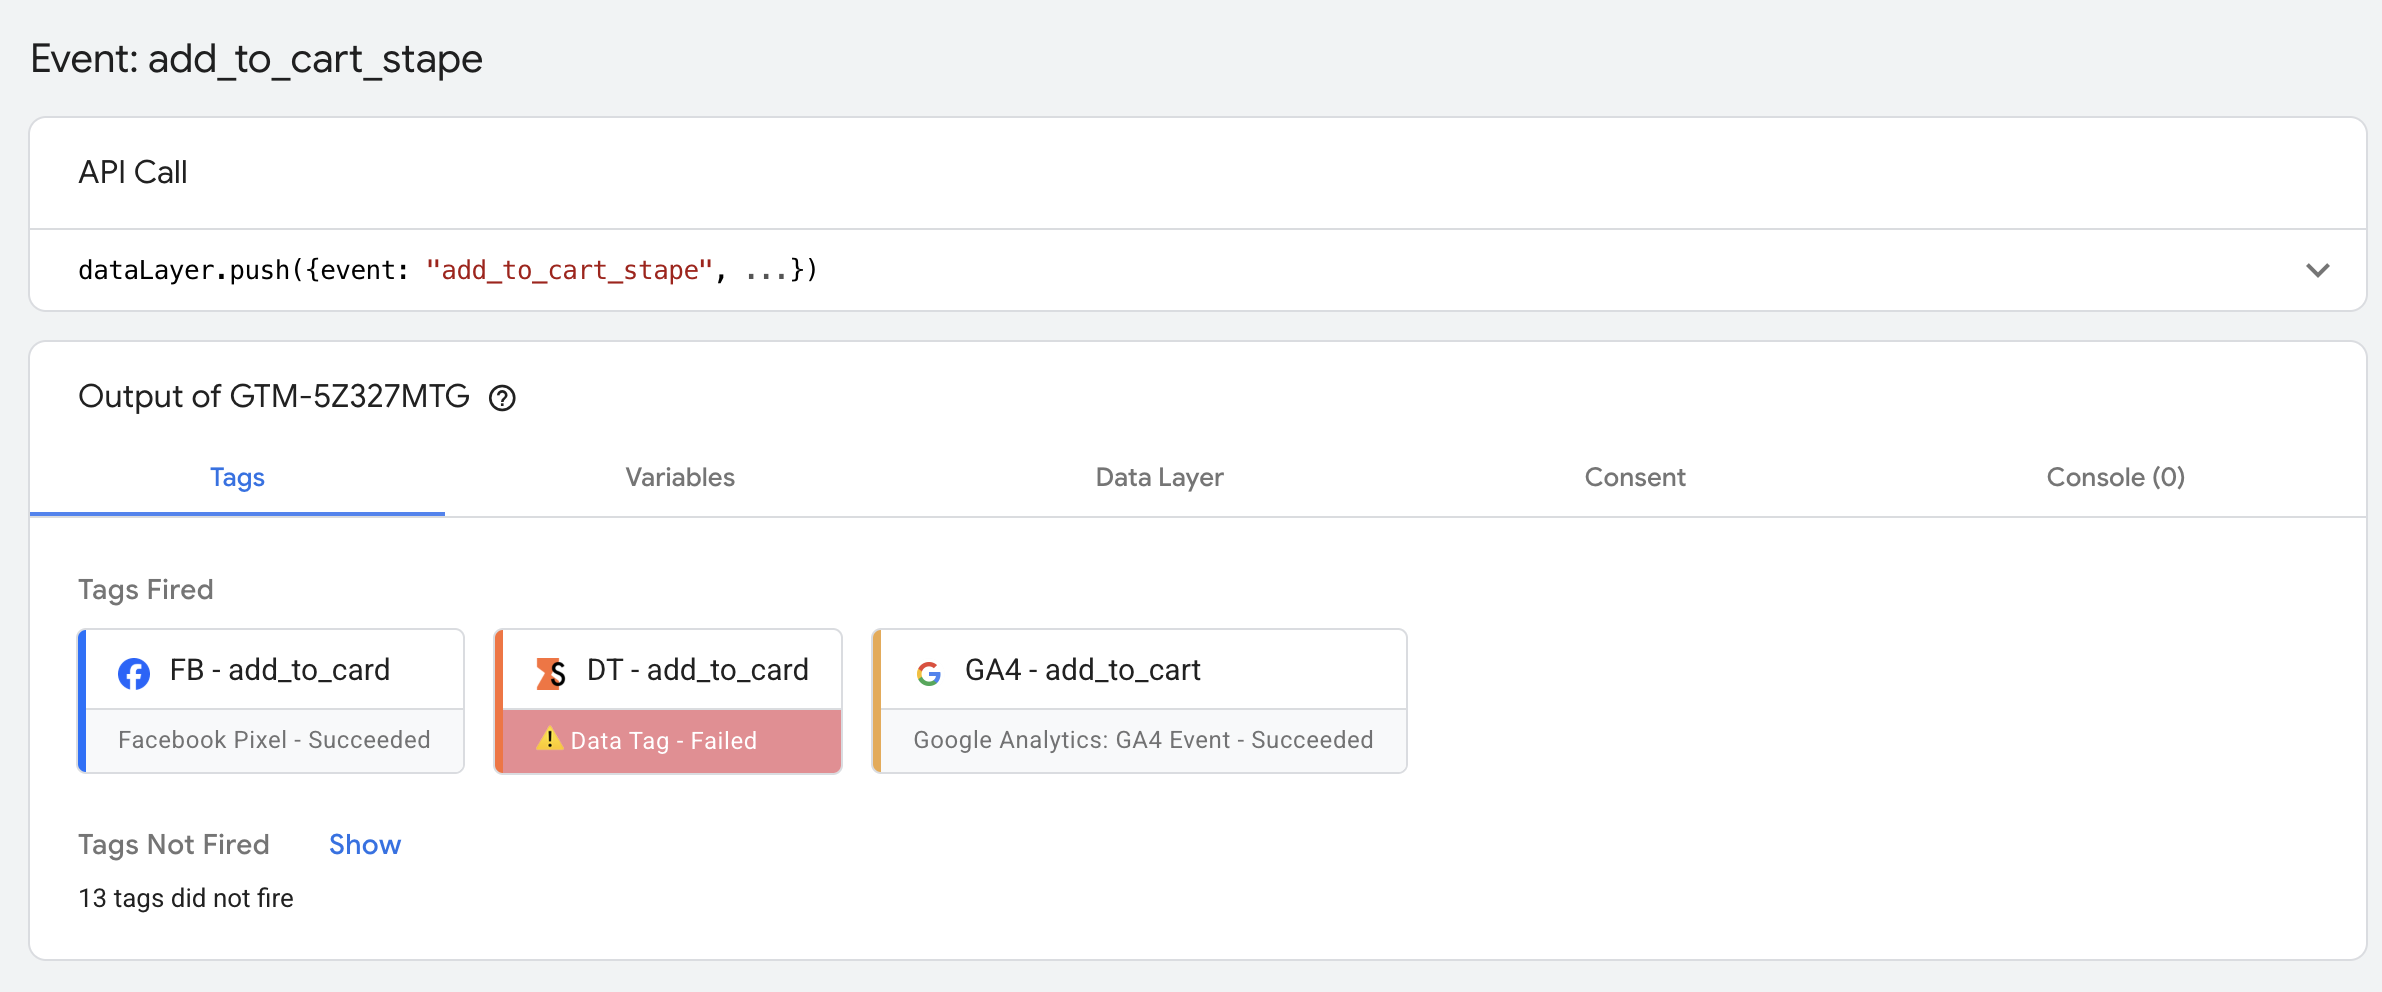
5. Tag status coloring
It helps track tags in Failed status or requests with status 4xx or 5xx. It works in the server and the web preview.
Here's an example of what you get without the extension:
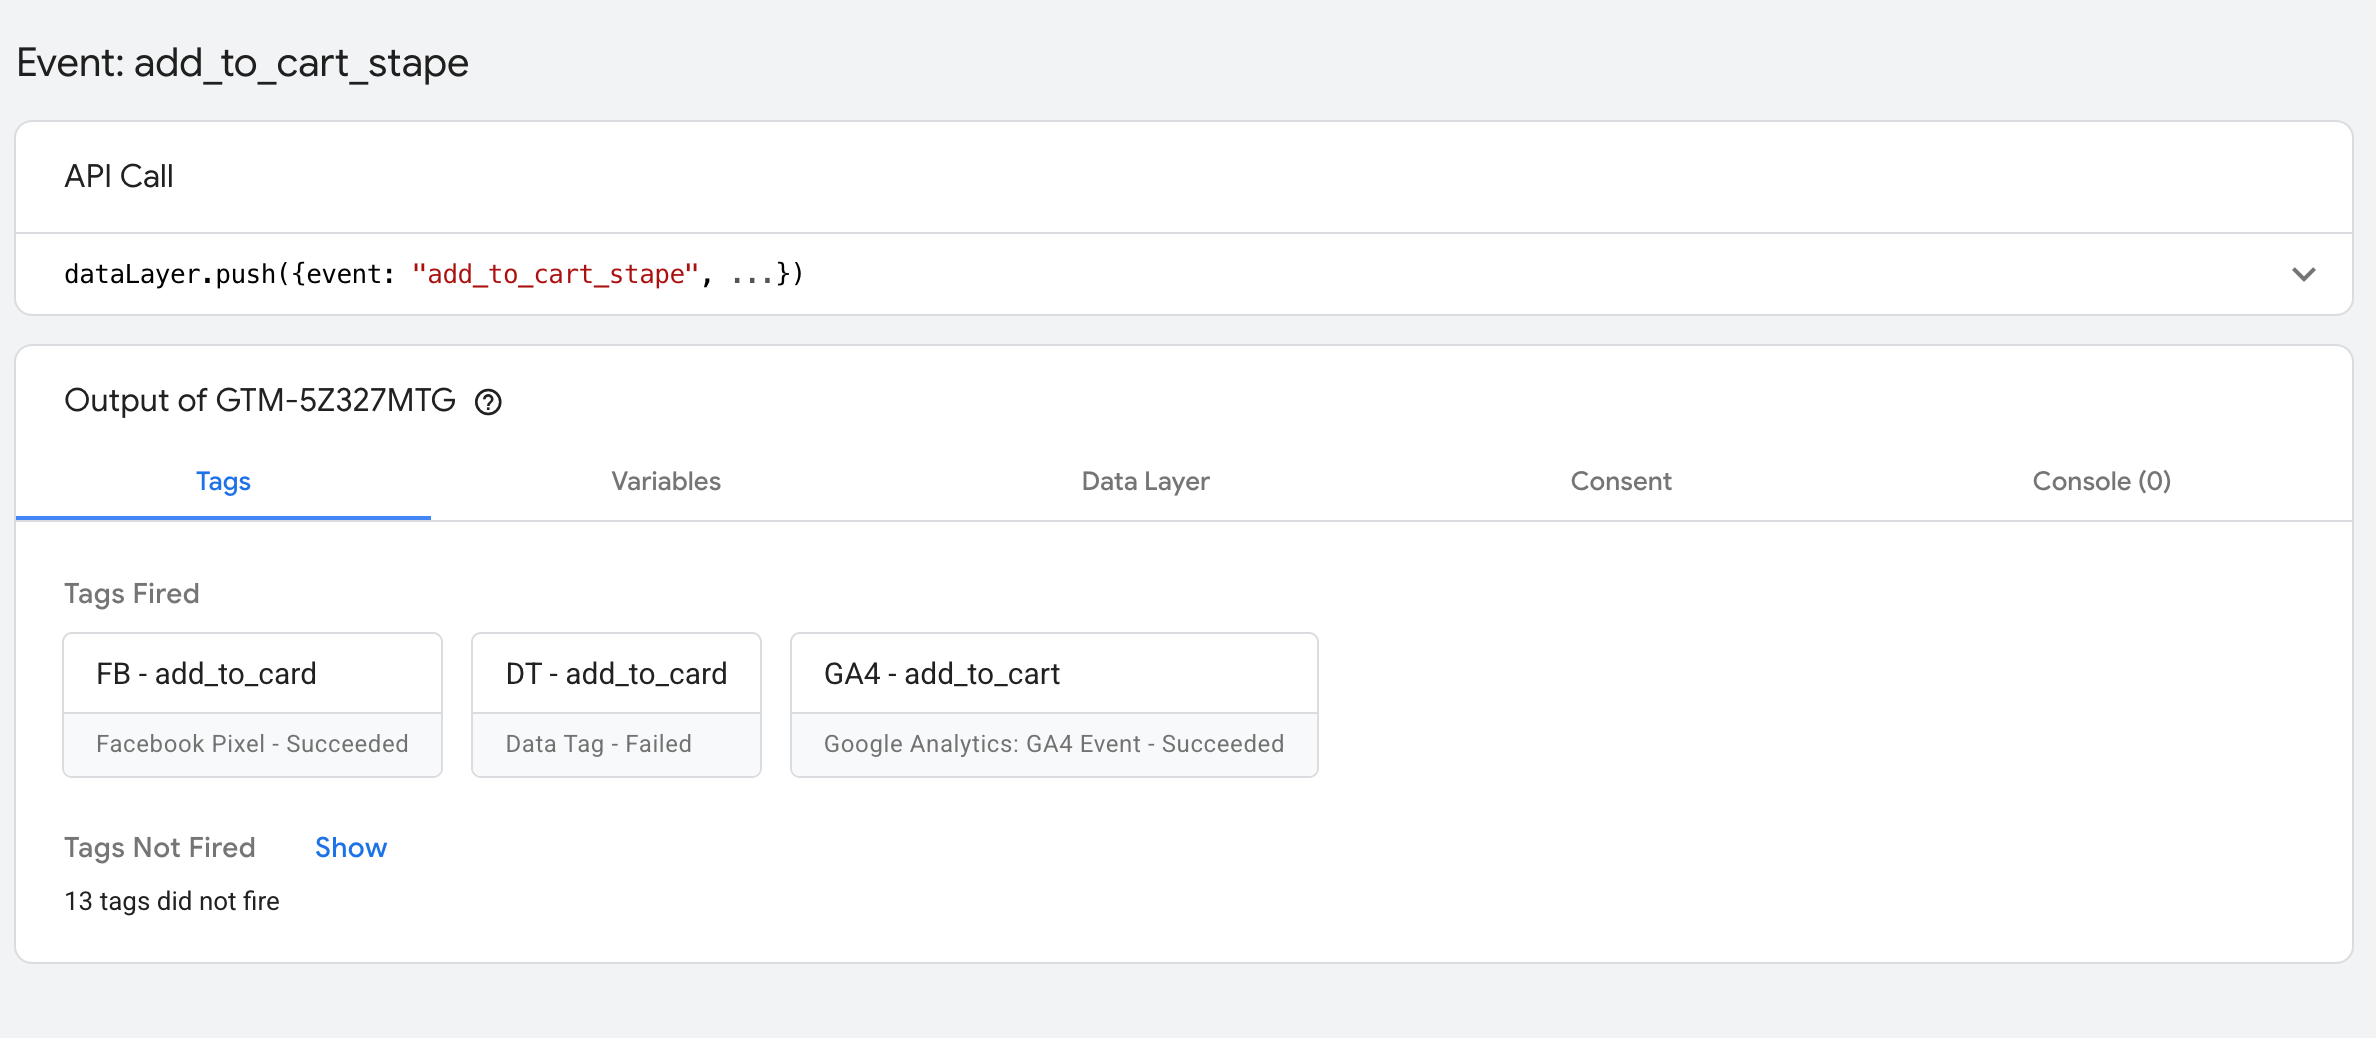
And here's what you get with the extension:
6. Inject the GTM snippet on the checkout page for the Shopify store
When debugging a Shopify setup, the GTM dataLayer is not visible on the checkout page because Shopify restricts access to the checkout environment. The checkout is isolated and does not allow unrestricted DOM manipulation or script injection, as on other Shopify pages.
But you can manually insert the GTM snippet on the checkout page to run preview mode for this part of your setup. It is easy to do with the Stape GTM Helper Chrome extension:
- Turn on the toggle Shopify Sandbox dataLayer in the Settings tab of the extension.

- In the tab Inject GTM, click Enable injection, add your domain name and GTM ID. Save changes.

As a result, you can view in GTM Preview and Debug mode the events that took place on the checkout page:

7. Scanner
If you want a quick review of your website’s tracking health and recommendations on how to improve it, use Scanner. It checks the website page you are reviewing and returns a report on how to improve both web and server-side tracking. The report is generated with Website Tracking Checker by Stape.
How to use Scanner inside GTM Helper:
- Open the website you want to check.
- Open GTM Helper and open Scan your website.
- Click Scan me.
- Review the report summary and click View full report for more details and further steps.

You can view the previous reports in the Scan history section of the extension.

8. Consent status in sGTM
When using Google Consent Mode in a server preview, the consent status can only be checked by examining the parameters of the incoming request. This complicates debugging, particularly if you suspect that some tags aren’t firing correctly due to consent issues.
The free Stape GTM extension for Chrome addresses this by adding the four main consent statuses to the server preview. It works by checking the 'gcs' parameter in GA4 requests. The extension shows the consent type and its status (Granted or Denied).
Here's an example of what you get with the extension:

9. Bulk entity selection in the GTM container
Enable Bulk select in the extension.

After activating the tool, click on any entity inside the container. Then hold Shift to select multiple entities at once. This lets you choose several GTM entities in one go, instead of clicking each checkbox manually.
Was this article helpful?
Comments