Stape Store overview
Updated Jul 13, 2026
Stape Store is a built-in NoSQL database designed specifically for server-side Google Tag Manager (sGTM) containers hosted on Stape. It gives you a simple way to write, read, sync, and manage data directly inside your sGTM container – without the overhead of setting up and authenticating external database platforms like Firestore or Supabase.
With Stape Store, you can easily store vital data like authorization keys, user attributes, custom parameters, and transaction records directly within your sGTM container. This simplifies your setup by decreasing the number of components and authentication requirements, which helps minimize the risk of misconfiguration.
If you've ever used Firestore, Stape Store will feel familiar because its structure and functionality are intentionally close to Firestore.
There are few ways of populating the Stape Store:
- Manually – for more information read How to populate Stape Store manually.
- By using the Stape Store templates – Stape offers a variety of custom templates designed to help you interact with your data within Stape Store. These templates are readily available in the GTM Template Gallery. For more information read Stape Store templates.
- By using the Stape Store API – Stape Store also provides a direct REST API, allowing you to manage your data from external applications entirely outside of GTM. For more information read Stape Store API.
The Stape Store feature is available on the Pro subscription plans and higher. If you'd like a custom solution, you can contact our sales department.
How to find Stape Store
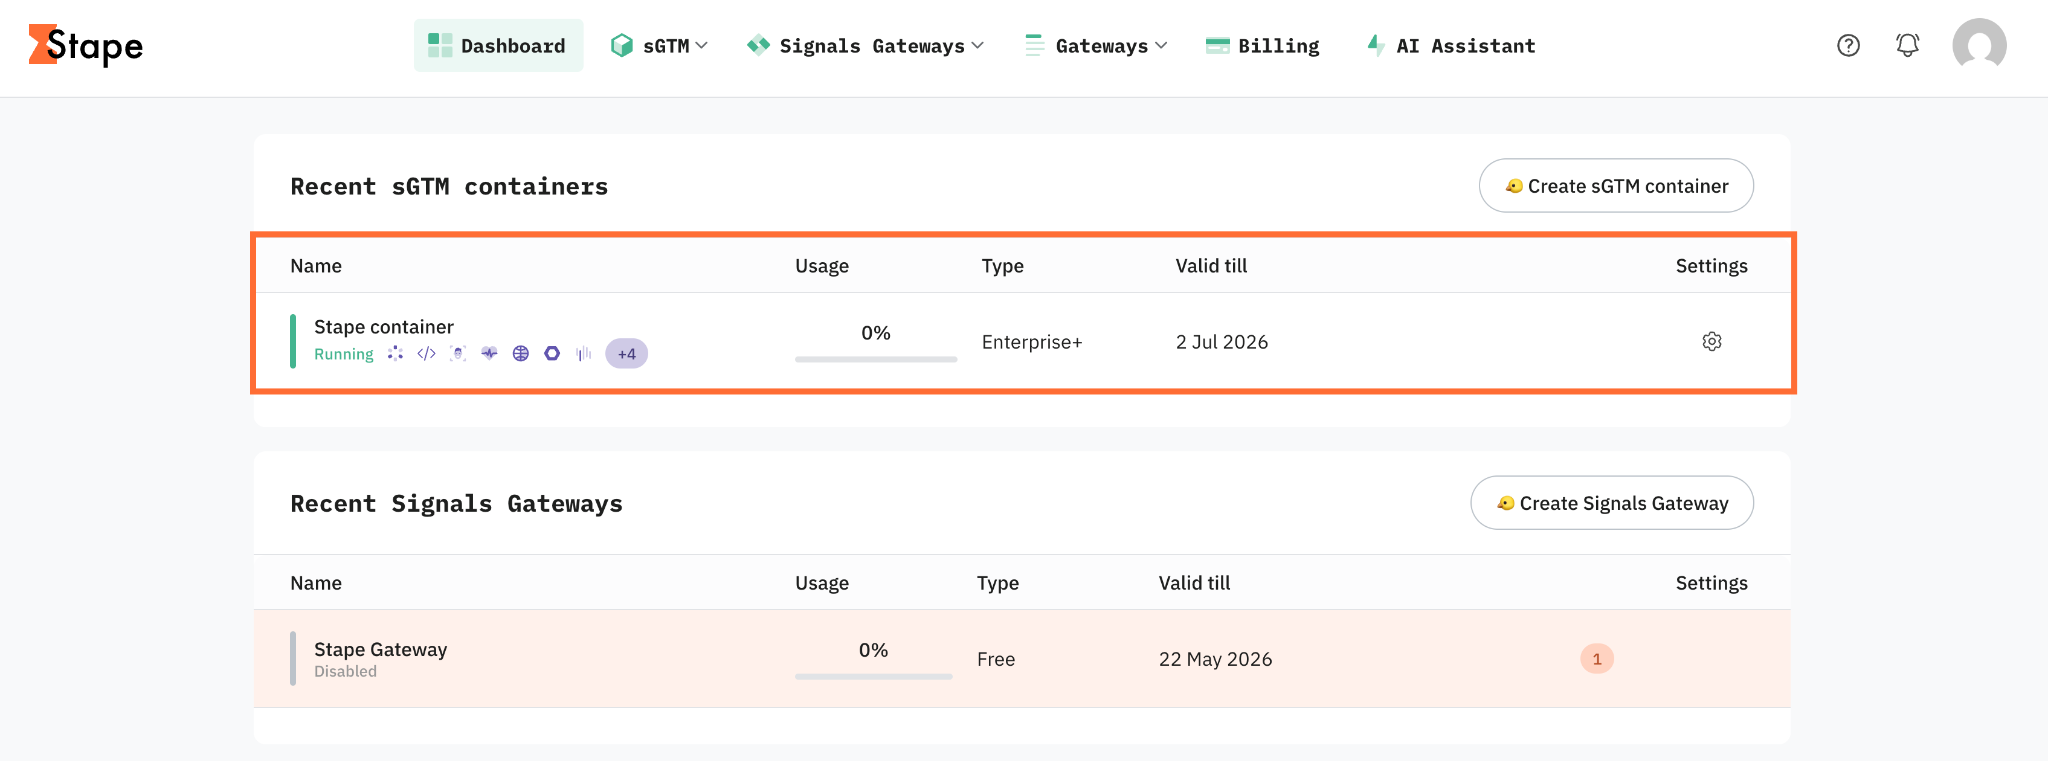
1. Log in to your Stape account and select your sGTM container from the dashboard.
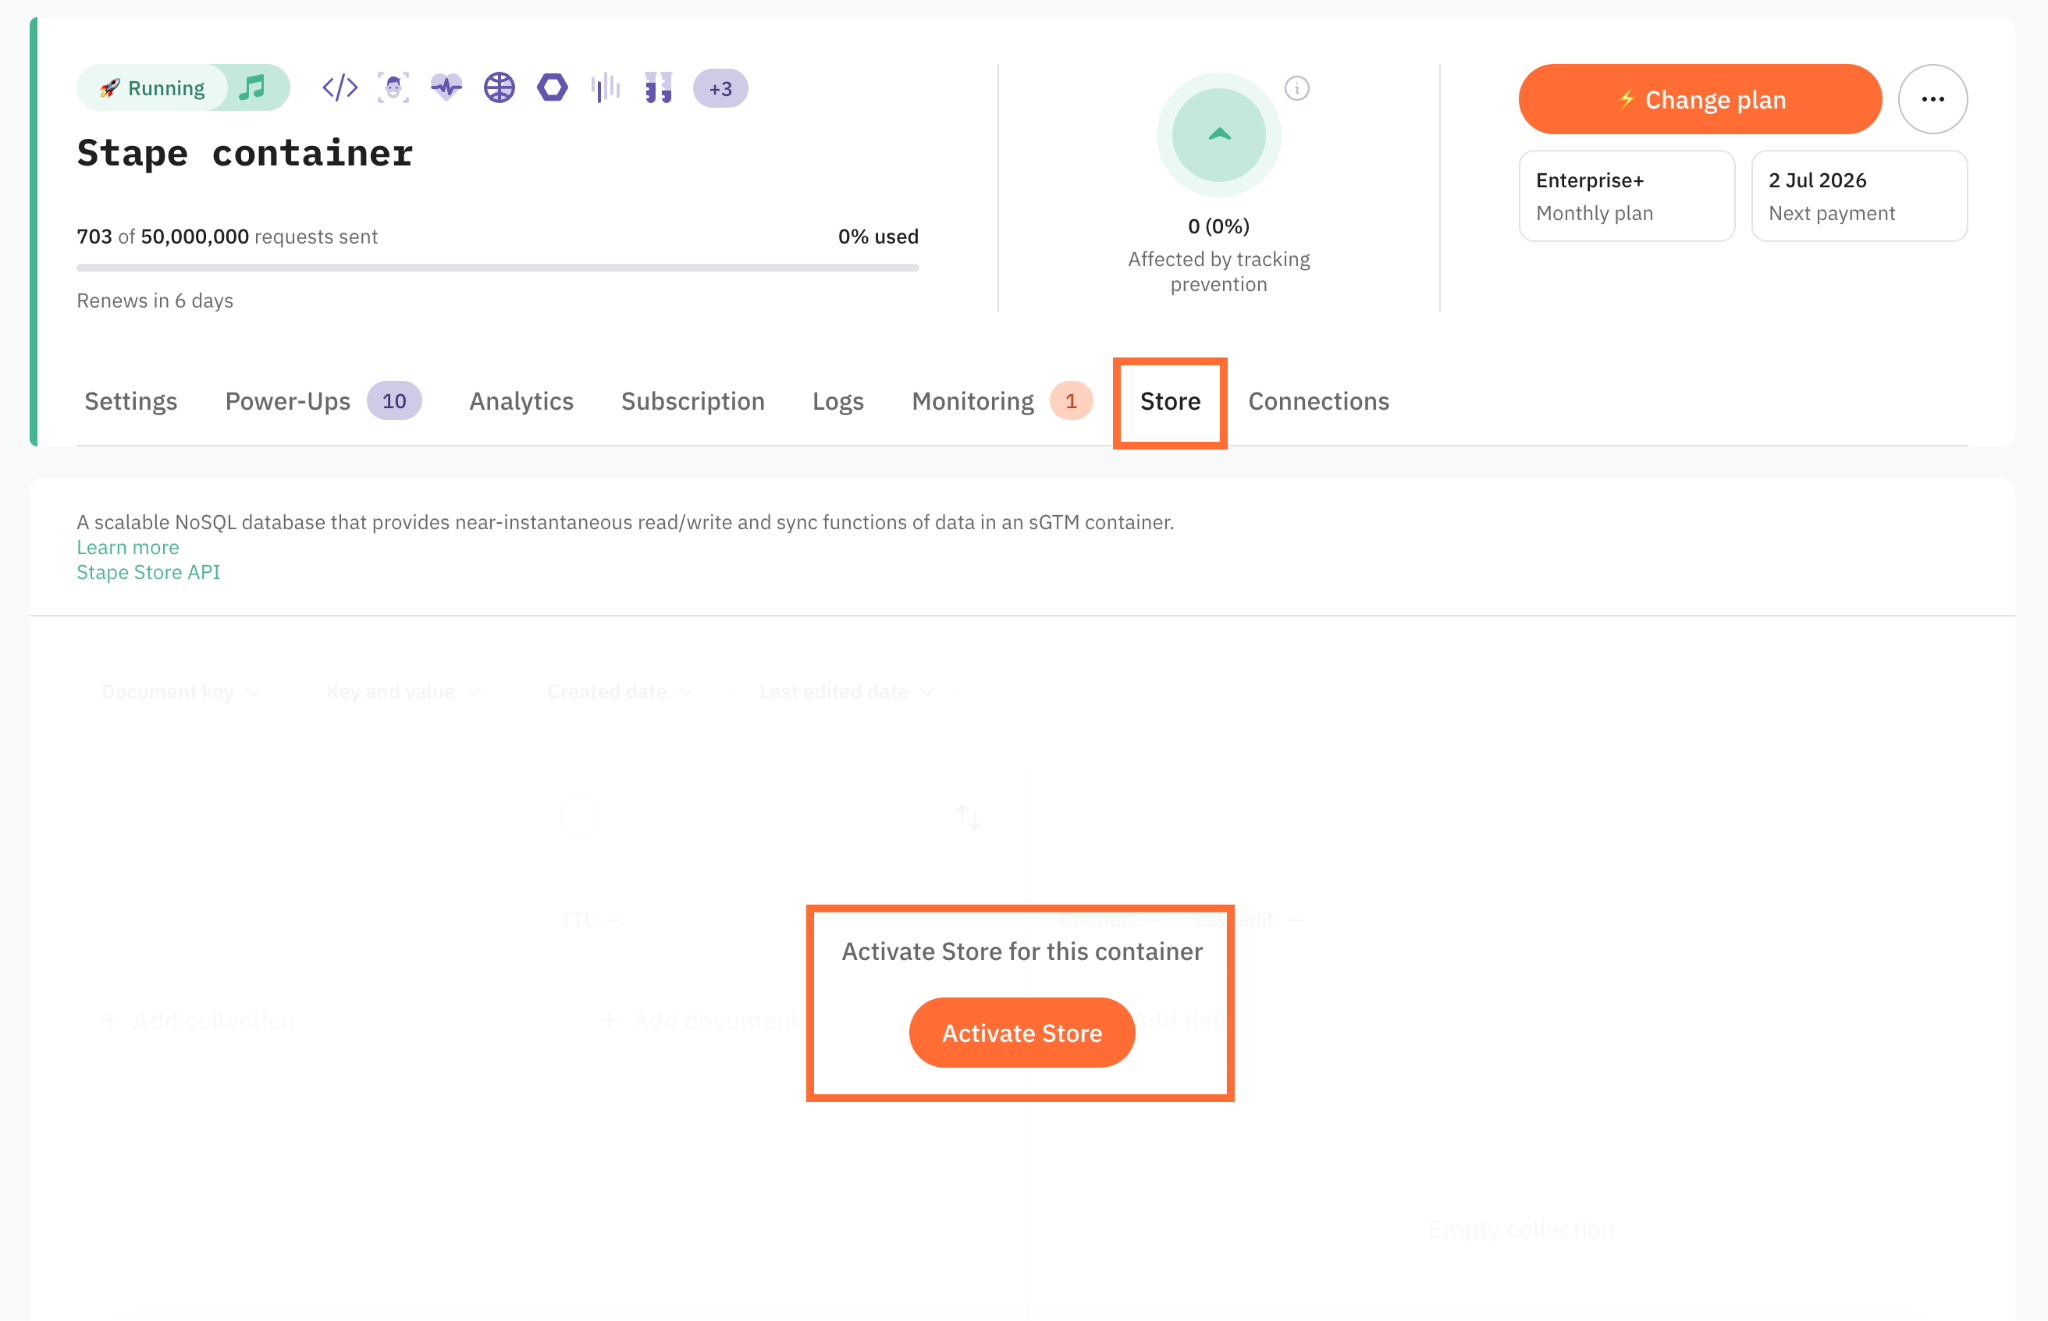
2. Click the Store tab.
3. Click Activate Store.
Dashboard
The Stape Store dashboard gives a centralized view of your stored data. The system organizes information into "documents", which functions as records and are similar to documents in Firestore or other NoSQL databases. You can manage these documents (create, read, update, and delete) directly in the dashboard, through Stape Store templates or through your own apps using the Stape Store REST API.
Here are the key document characteristics:
- JSON payload – each document is a flexible JSON object, capable of storing key-value pairs, nested data, lists, and various data types (strings, numbers, booleans). The document has a limit of 1MB of data.
- Document key – every document is assigned a unique identifier within its collection. The document keys are displayed in each entry of the document column.
- Collections – documents are grouped into collections, acting as folders that keep your datasets organized. For example, you can separate transaction logs from user session keys.
- Time-to-Live (TTL) – you can automate data management by setting a TTL for each collection. This defines how long documents are retained based on their creation or update time. The default collection has a TTL of
0, meaning records are stored permanently until manually removed.
The dashboard layout is organized into three columns – collections on the left, documents in the middle, and the selected document's fields on the right – with a filtering bar at the top.

You can filter the documents with the following filters:
- Document key – enter a specific unique identifier to find an individual document. As this key points to a single, unique entry, using this filter will temporarily disable other search criteria.
- Key and value – search within your document data by defining a key, selecting an operator, and entering a value (for example,
status = completed). You can apply up to 5 conditions at once. - Created date – filter your results based on when the documents were first created.
- Last edited date – filter your results based on when the documents were most recently updated.
Use cases
Take a look at the following use cases for Stape Store:
Was this article helpful?
Comments