How to set up the Model Context Protocol (MCP) server for Stape
Updated Jul 27, 2026
Note:
Before you begin
For the MCP to connect and operate correctly, please make sure that:
- Your node.js version is up to date (v18 or higher).
- You have an AI app or agent (in our case, it’s the Claude app).
- You have the Stape Account API Key. For the instructions read the Account API keys article.
How to configure the MCP server for Stape
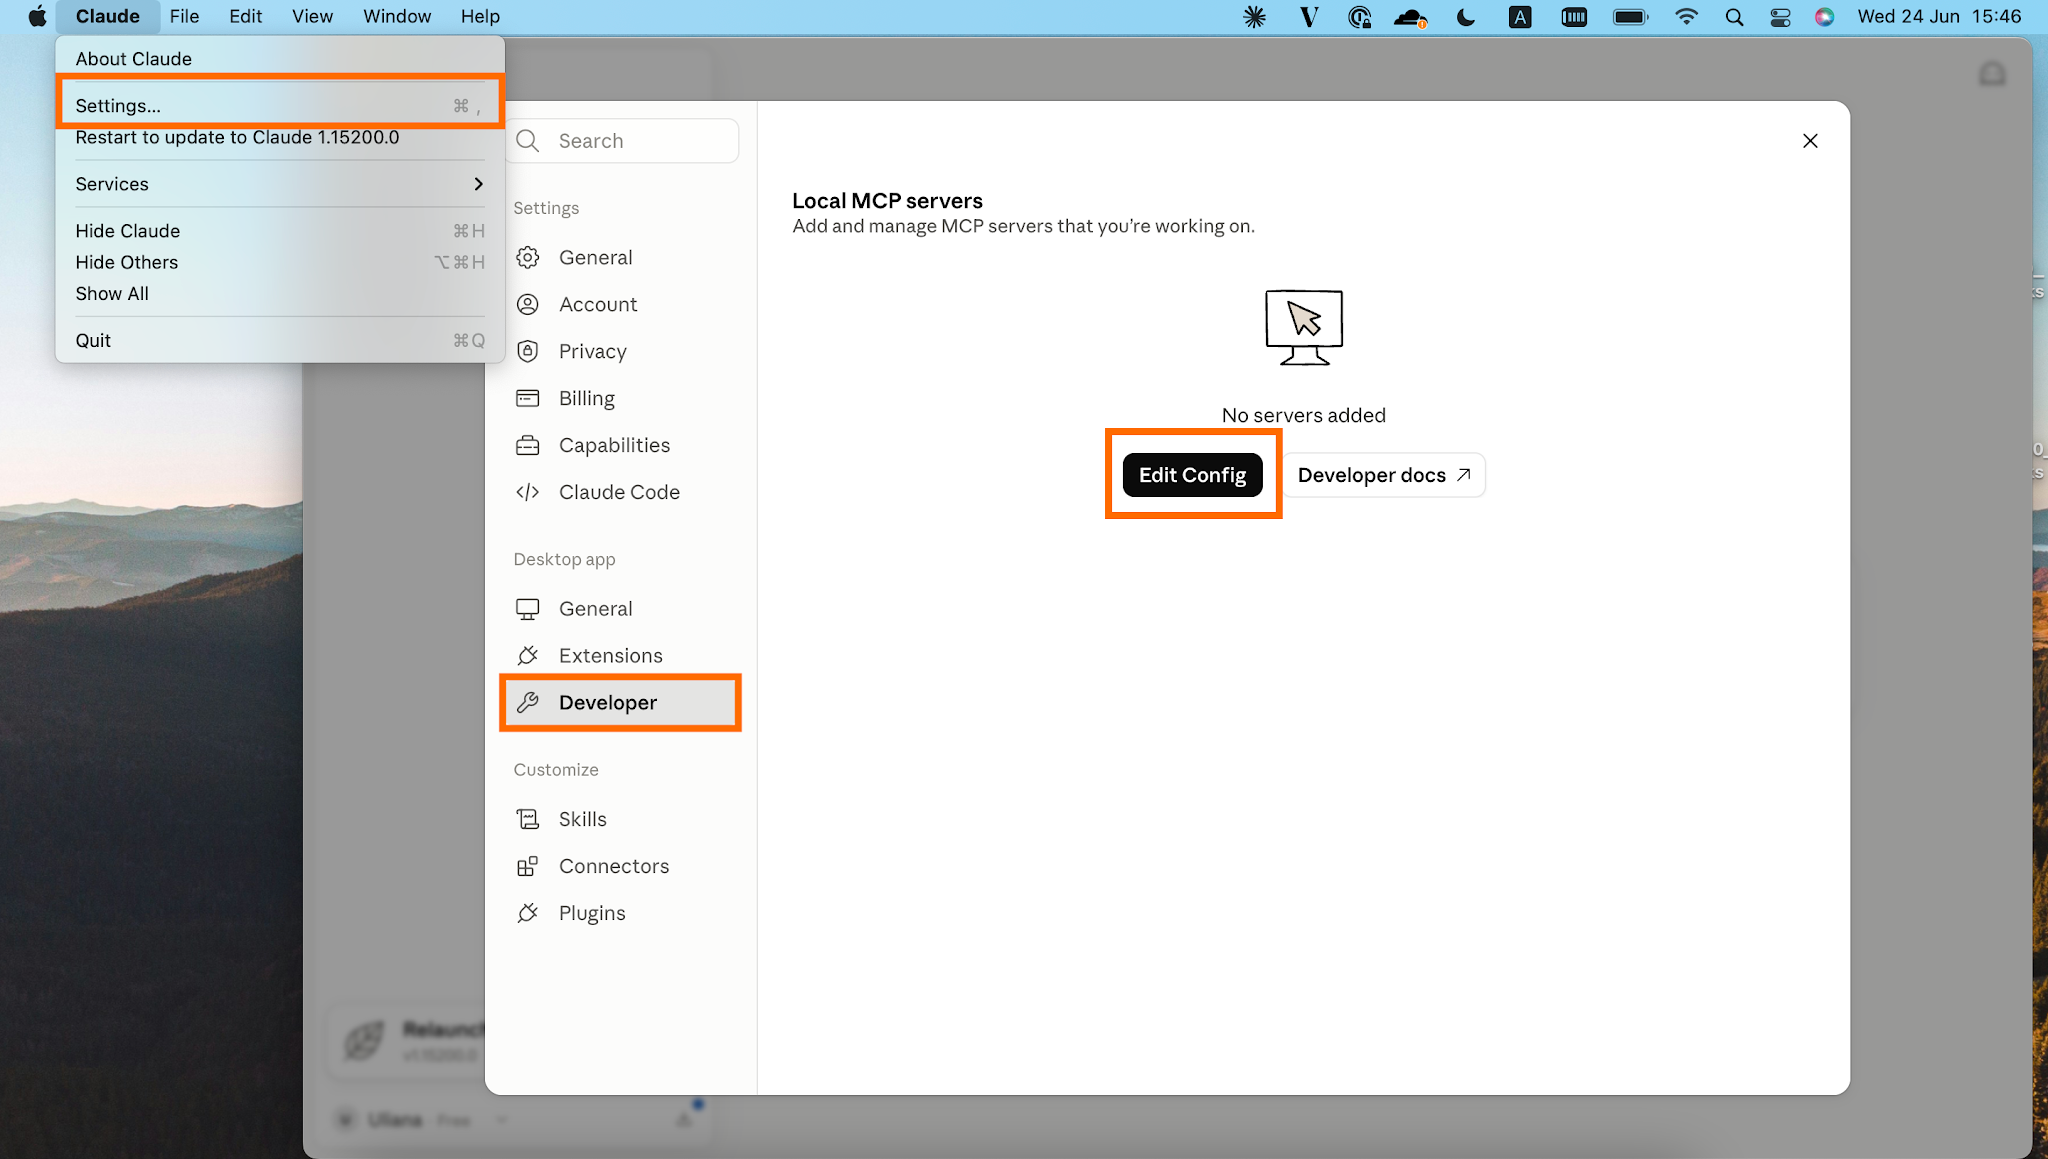
1. Open the Claude Desktop and navigate to Settings → Developer tab → Edit Config → open desktop JSON file called claude_desktop_config.
This opens Claude's JSON configuration file, which is where Claude stores information about the MCP servers it can connect to. Every MCP server that you want Claude to use must be defined in this configuration file.
Based on the Stape environment you use (Global or EU) you should paste different codes:
Stape Global
{
"mcpServers": {
    "stape-mcp-server": {
      "command": "npx",
      "args": [
        "-y",
        "mcp-remote",
        "https://mcp.stape.ai/mcp",
        "--header",
        "Authorization: ${your_stape_api_key}"
      ]
    }
  }
}
Stape EU
If you are using the Stape EU environment, you need to provide an additional header X-Stape-Region: EU.
{
  "mcpServers": {
    "stape-mcp-server-eu": {
      "command": "npx",
      "args": [
        "-y",
        "mcp-remote",
        "https://mcp.stape.ai/mcp",
        "--header",
        "Authorization: ${your_stape_api_key}",
        "--header",
        "X-Stape-Region: EU"
      ]
    }
  }
}
3. Save the changes by pressing Cmd + S.
4. Restart Claude.
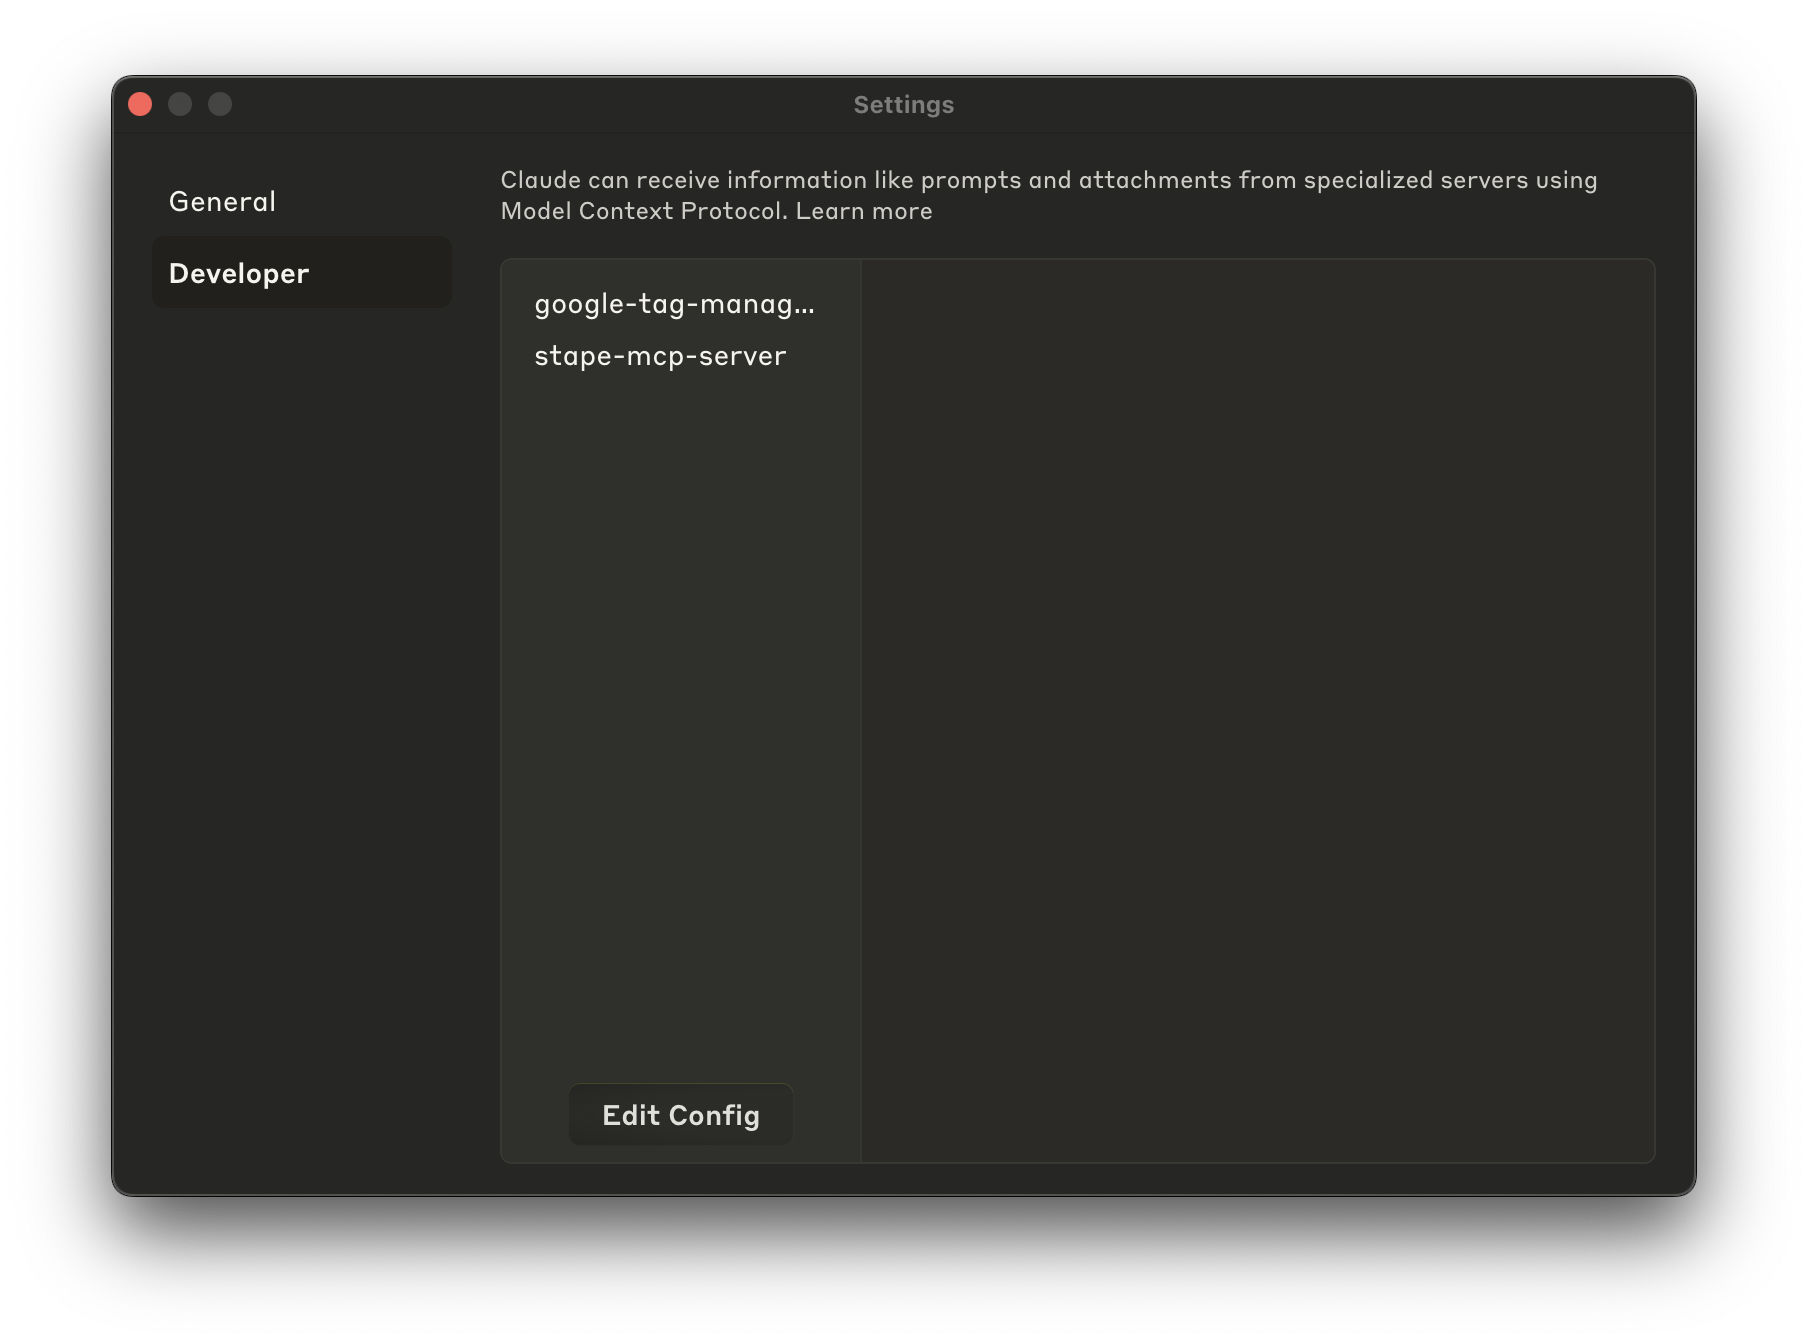
5. You should now be able to see the MCP Servers list in the Developer tab.
6. You can now enter your requests for managing Stape sGTM containers in your AI app.
Testing
To check that everything works as intended, simply enter a request in your AI app and see if it’s completed correctly within Stape’s containers.
Troubleshooting
MCP Server name length limit
Some MCP clients, like Cursor AI, enforce a 60-character limit on the combined length of the MCP server name and the tool name. If your configuration uses a long server name (for example, ga4-mcp-server-your-additional-long-name), this may cause specific tools to be hidden or filtered out by the client.
Action: to ensure all tools are visible, configure your MCP server with a shorter name (for example, ga4-mcp-server).
The MCP cache
mcp-remote stores all the credential information inside ~/.mcp-auth (or wherever your MCP_REMOTE_CONFIG_DIR points to). If you're having persistent issues, try running:
rm -rf ~/.mcp-auth
It will clear any locally stored state and tokens. Then restart your MCP client.
Was this article helpful?
Comments