How to set up Requests Analytics
Updated Oct 14, 2026
Before you begin
Note the following points before you begin:
- Once you've activated Requests Analytics, your data will begin appearing on the dashboard within 48 hours. Requests Analytics starts collecting data from the moment it’s enabled, so historical data prior to activation will not be included.
- Requests Analytics is designed to measure data recovery bypassed by the Custom Loader power-up. It doesn’t track offline server-to-server data (such as webhooks from CRMs like HubSpot or Salesforce).
- If any issues with the Requests Analytics configuration are detected, an email notification will be sent to your account.
How to set up Requests Analytics
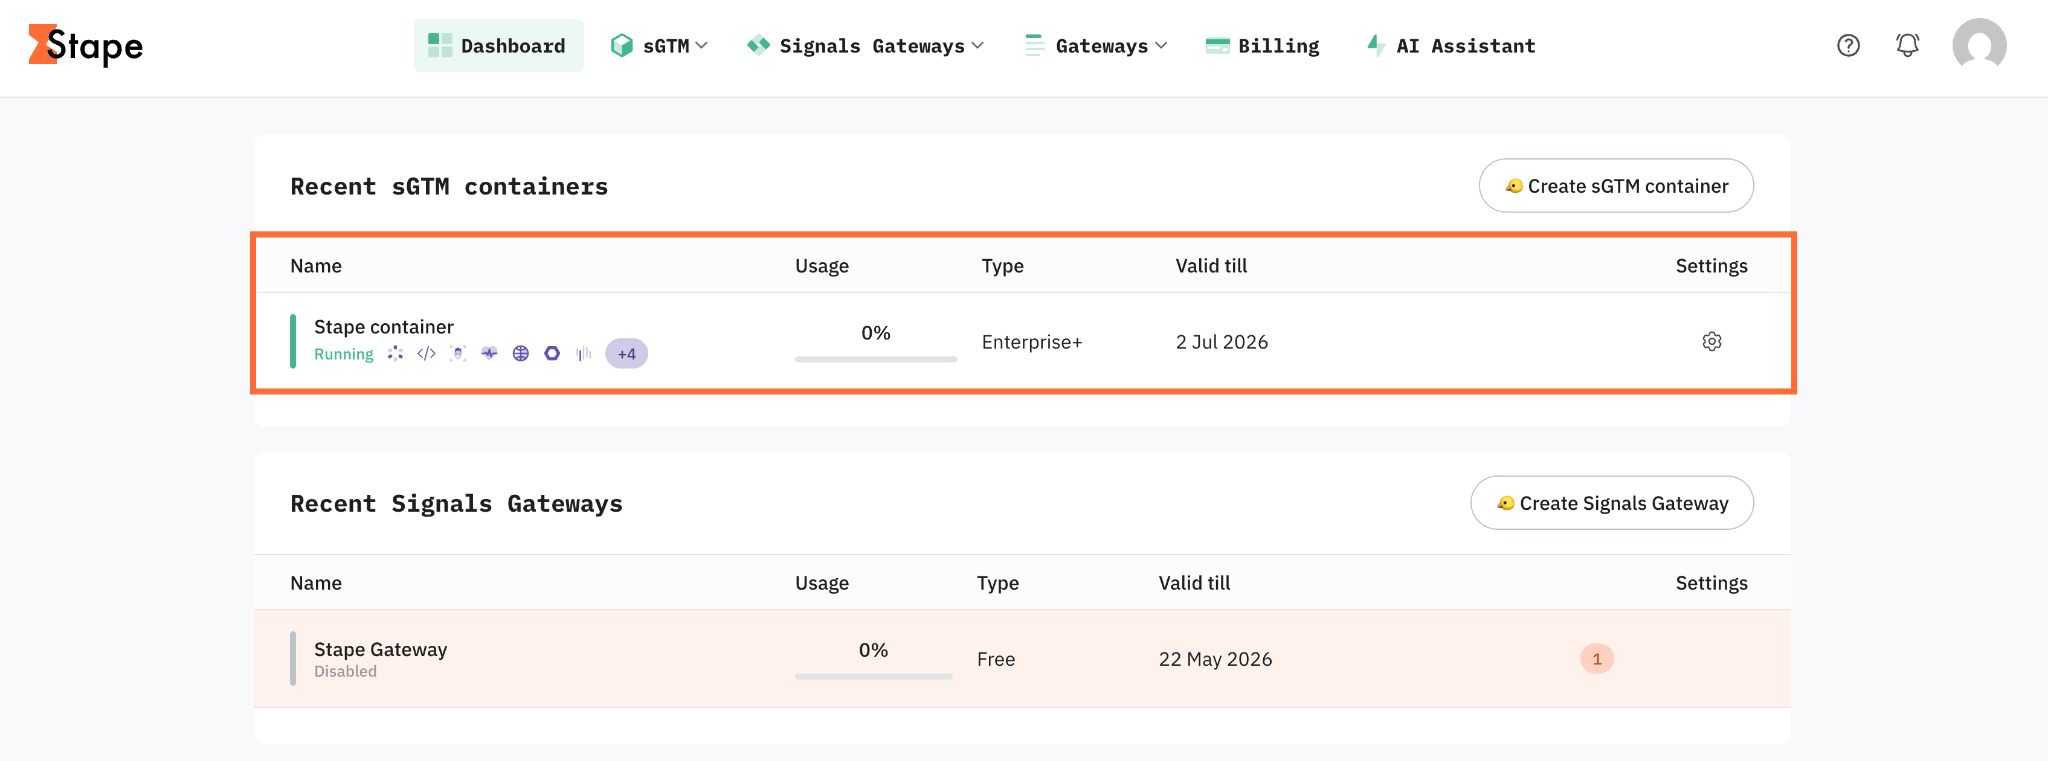
1. Log in to your Stape account and select your sGTM container from the dashboard.
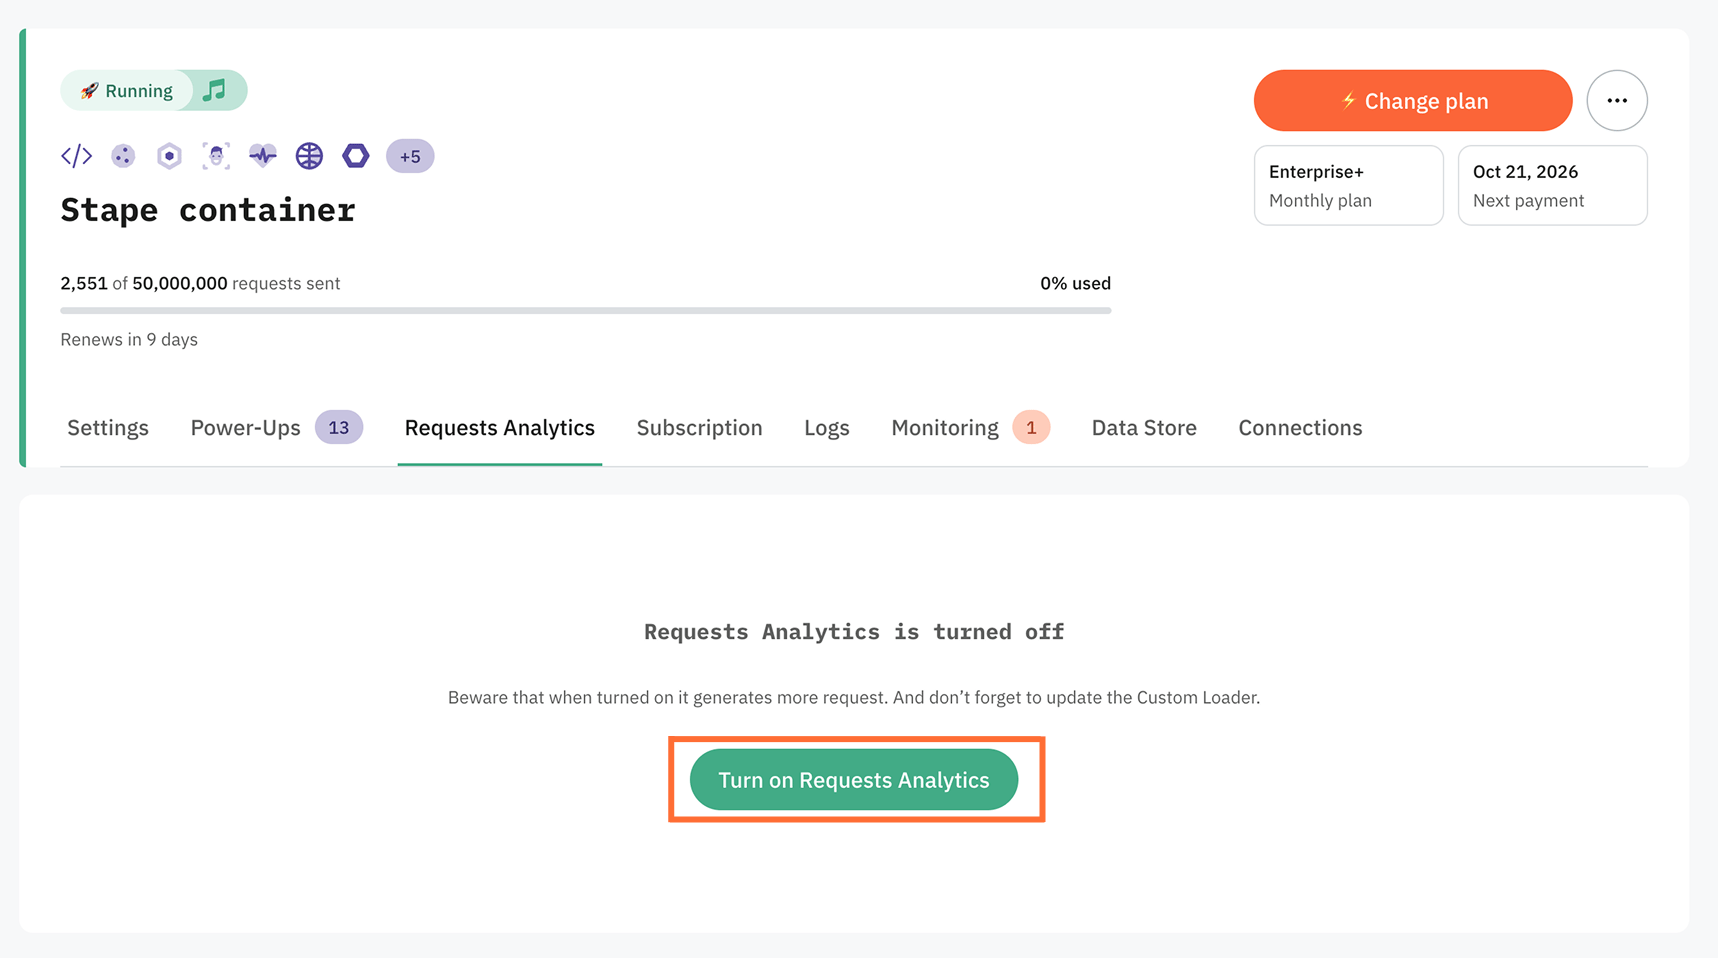
2. Go to the Requests Analytics tab, and click Turn on Requests Analytics.
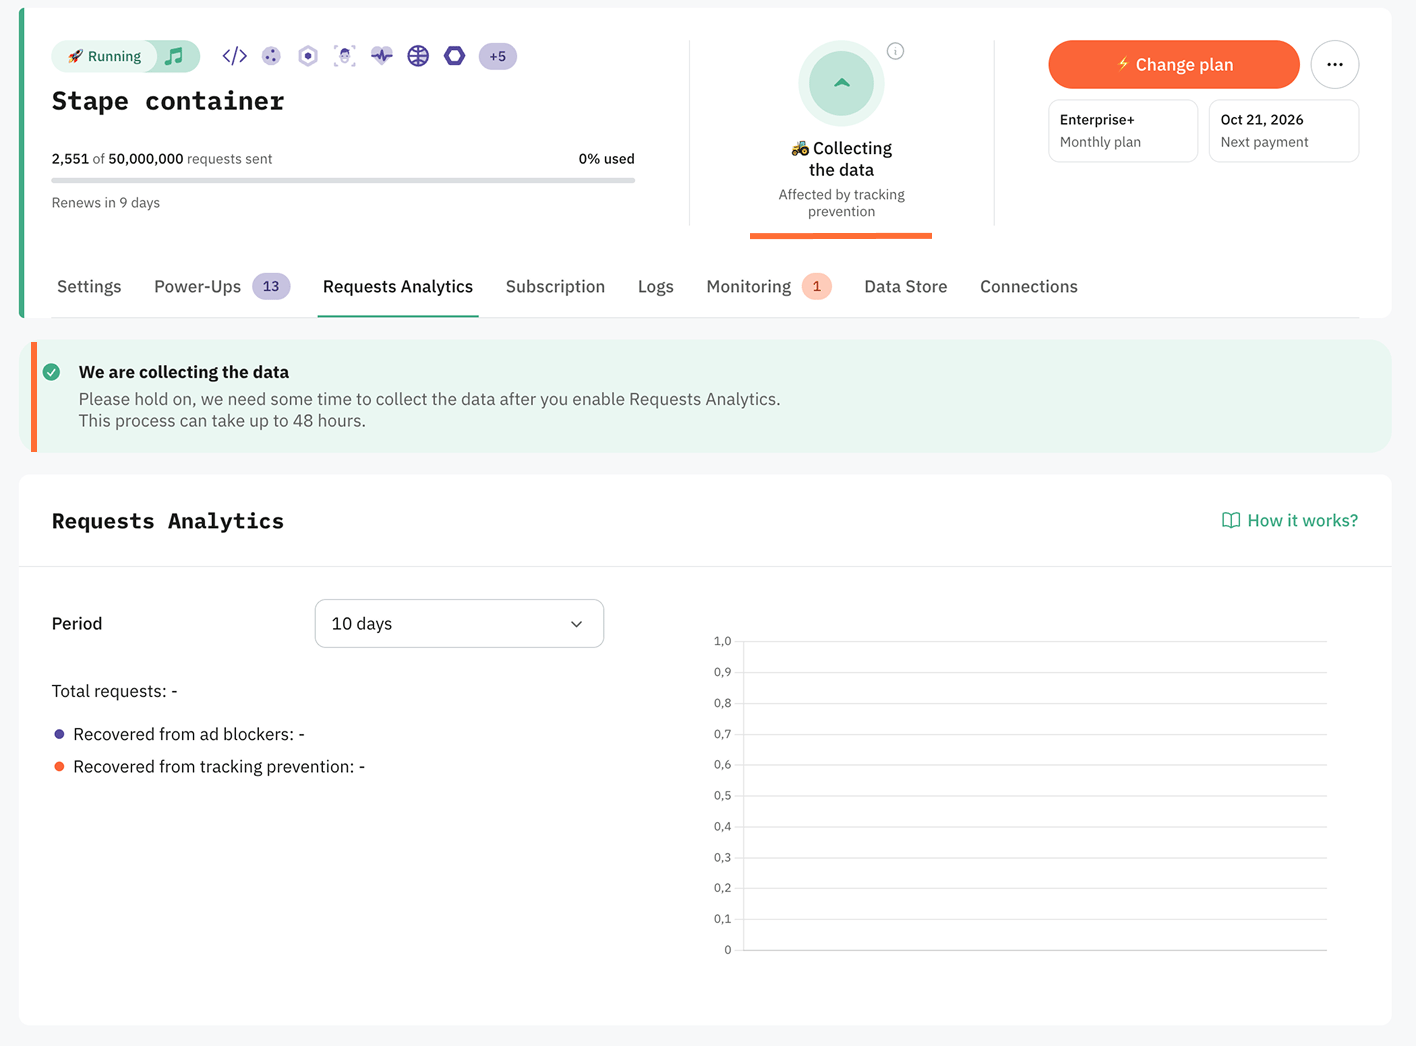
3. You’ll see a banner telling you that the data is being collected. Wait for 48 hours and then go back to look at the metrics.
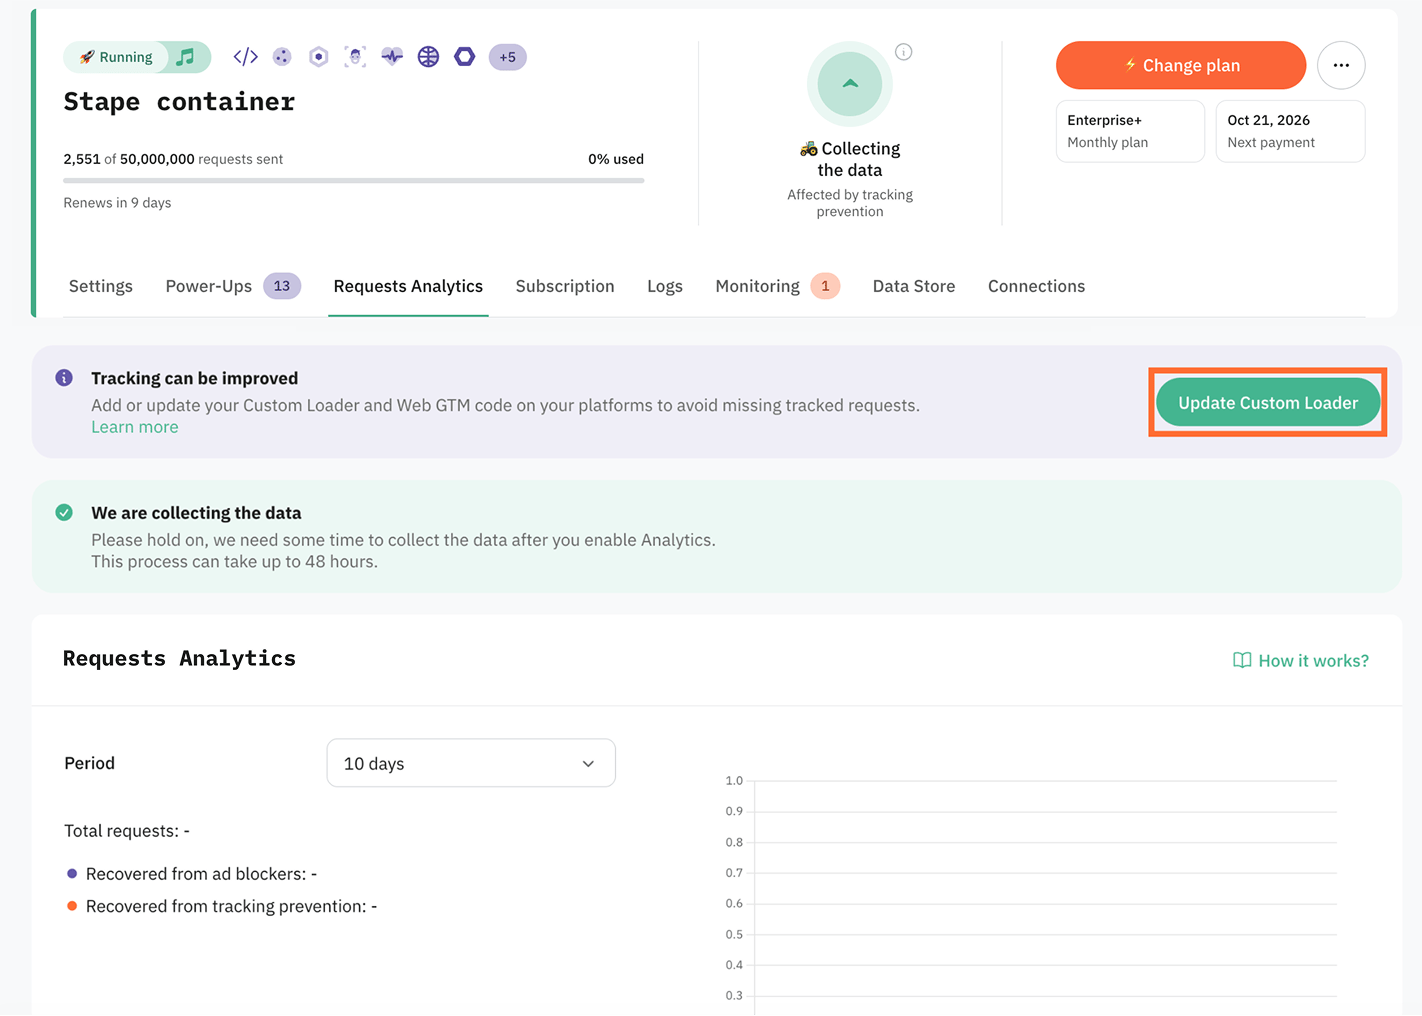
4. If you haven’t enabled the Custom Loader power-up yet, click Update Custom Loader. Follow the instructions for setting up.
How to turn off Requests Analytics
Go to the Prefer not to use Requests Analytics? section at the bottom of the page and click Turn off Requests Analytics.

If you use the manual Custom Loader set up, complete the following additional step:
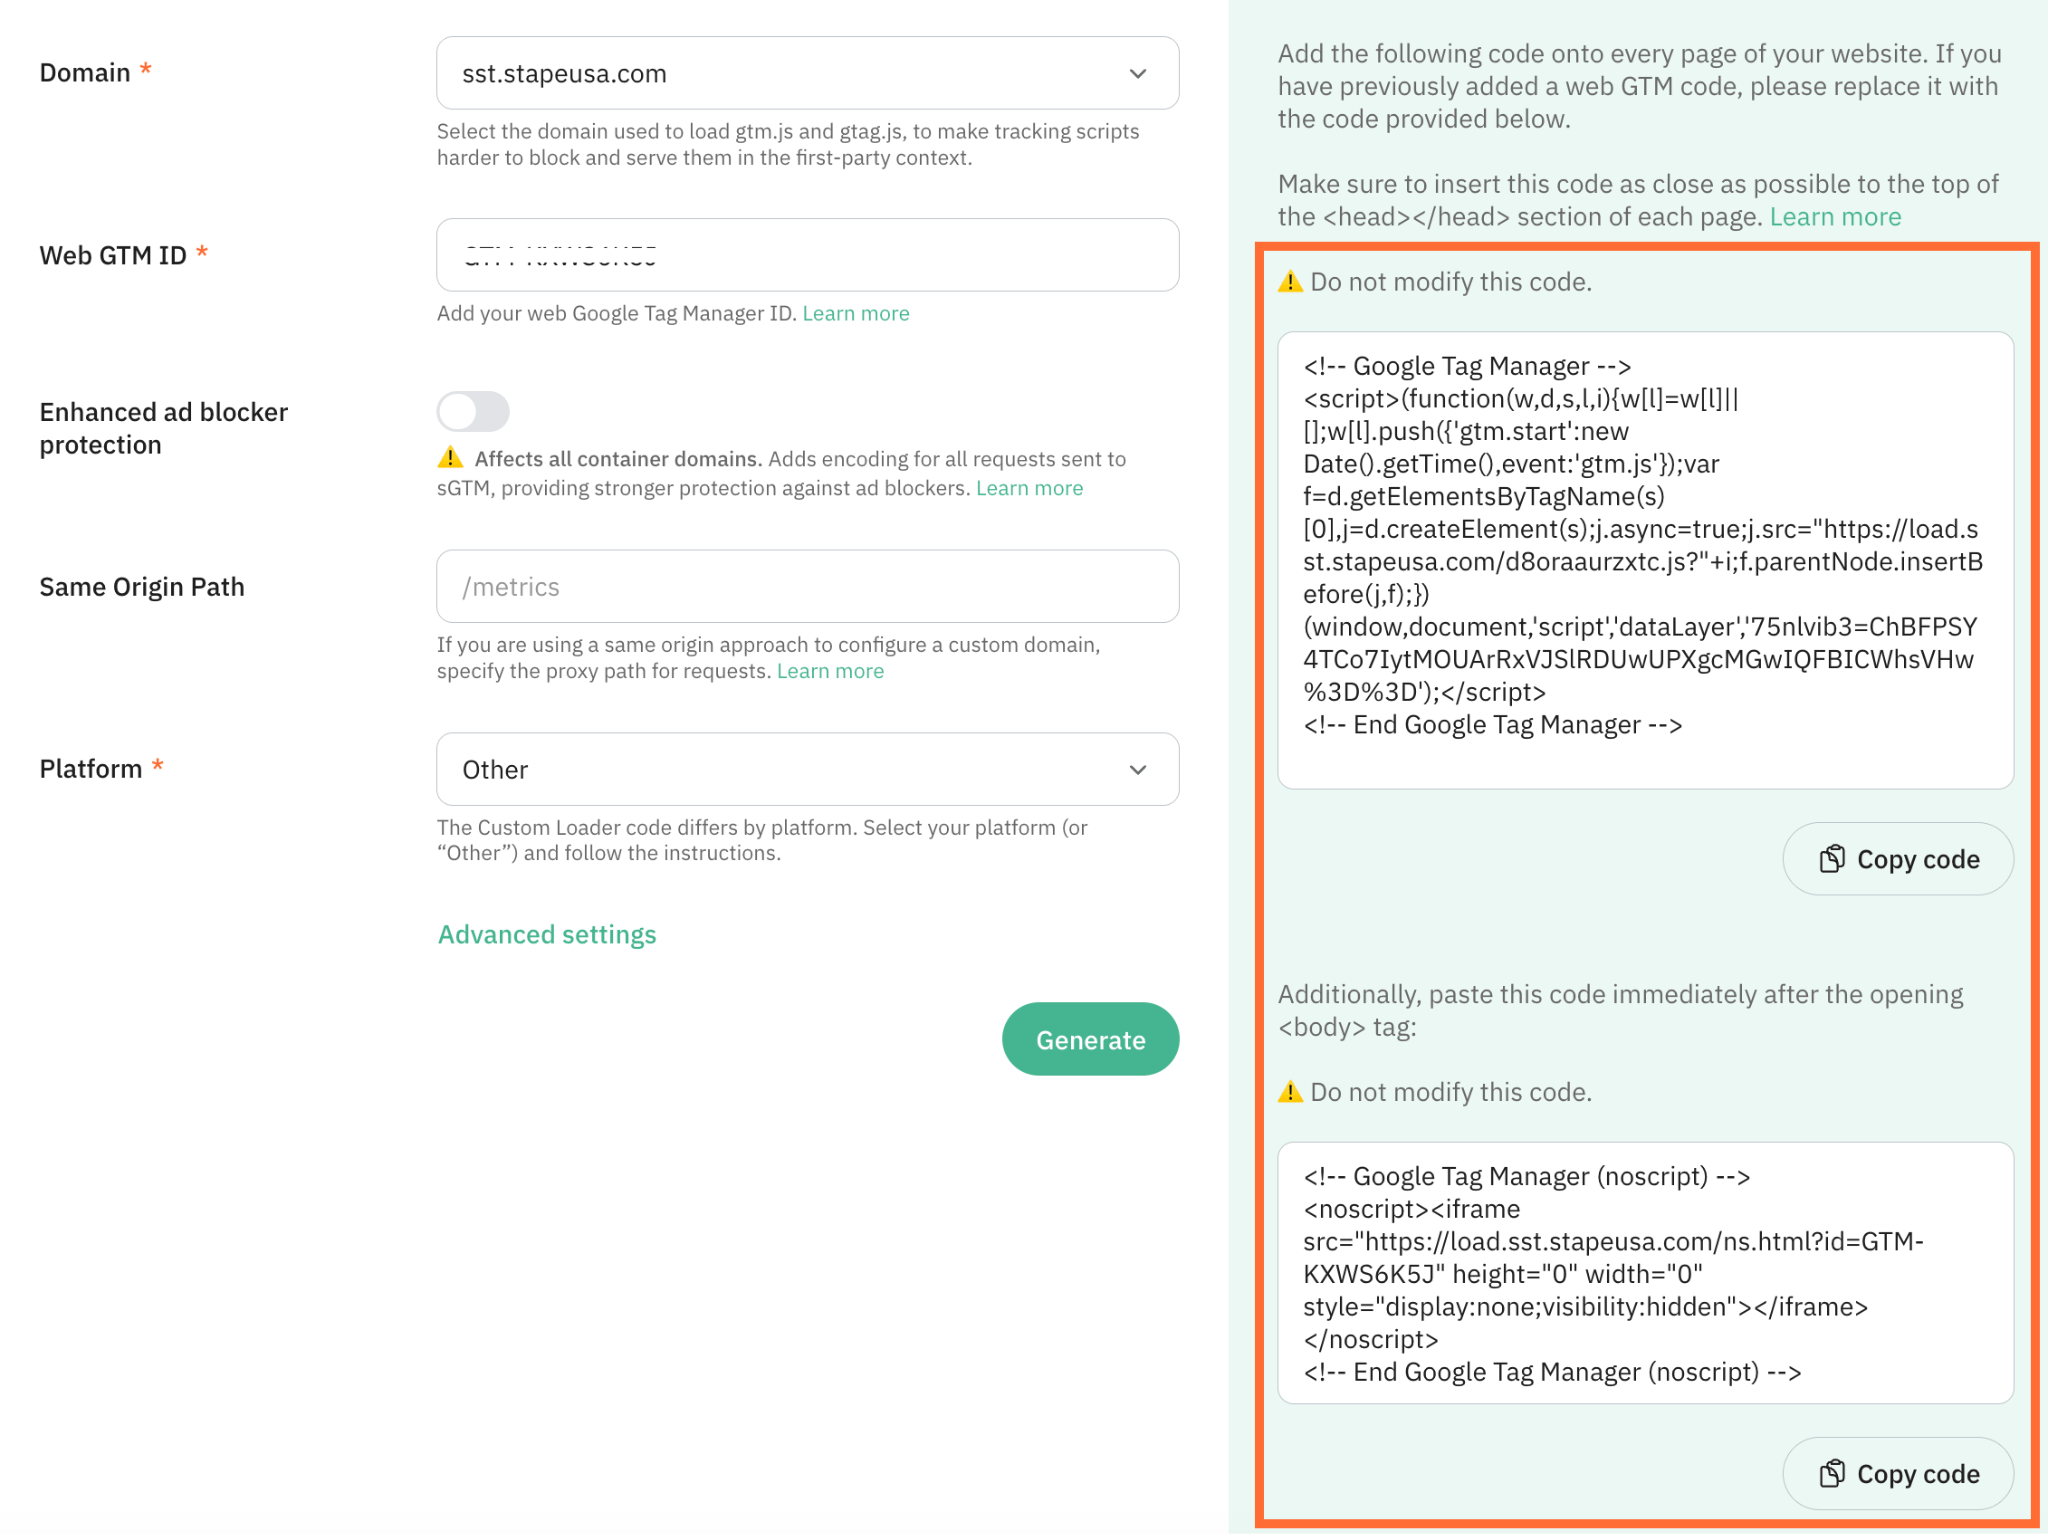
Open the Custom Loader power-up, generate new custom loader code, copy the updated script (which no longer contains the analytics tracking payload), and replace the existing script on your website.
Was this article helpful?
🍽 Table of content:
Comments